视频教程:明度立方体项目
另一则精彩视频教程,灵感源自 arteascuola 的创意,由 Chad Brown 制作完成。跟随该视频,你可绘制出一系列按明度阶调排列的立方体。每个步骤均讲解清晰、演示详尽,最终效果令人惊叹。
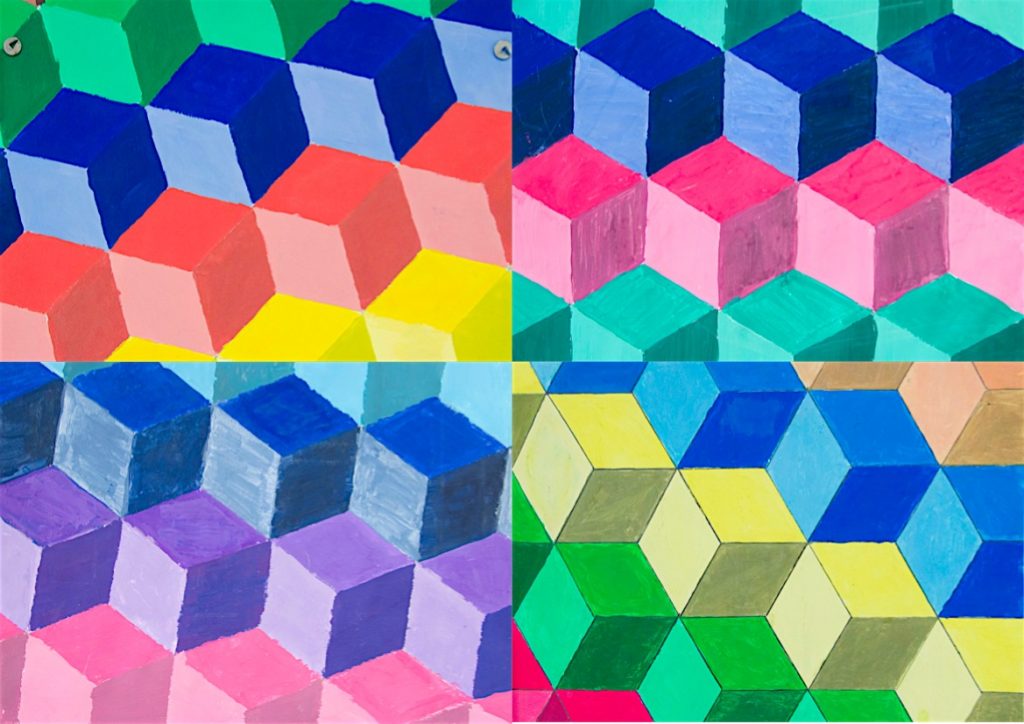
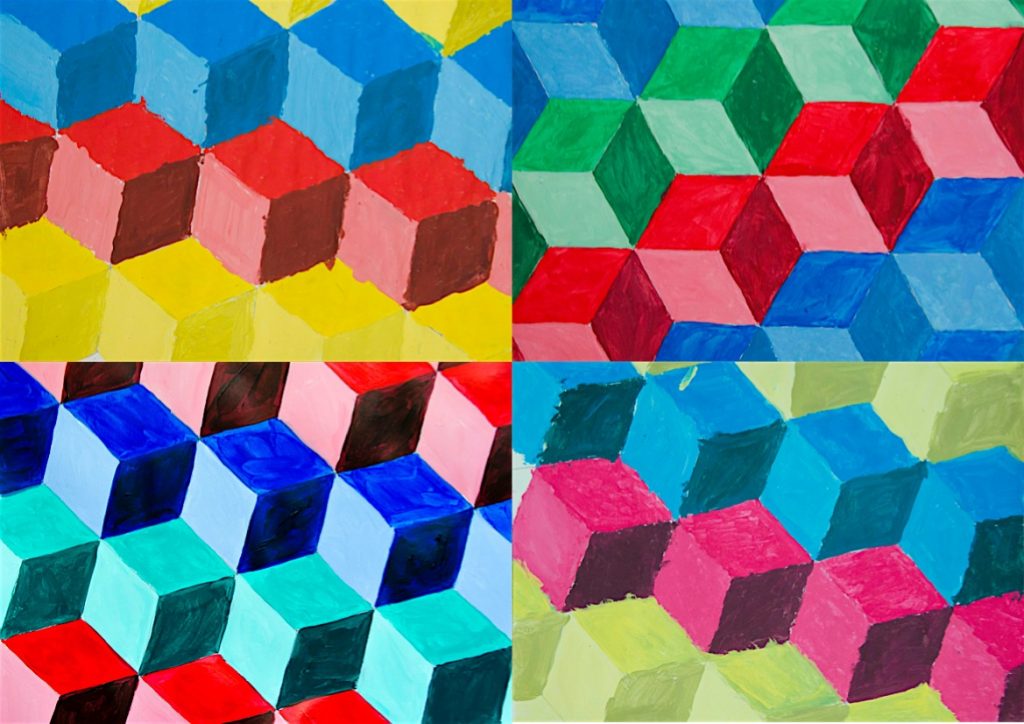
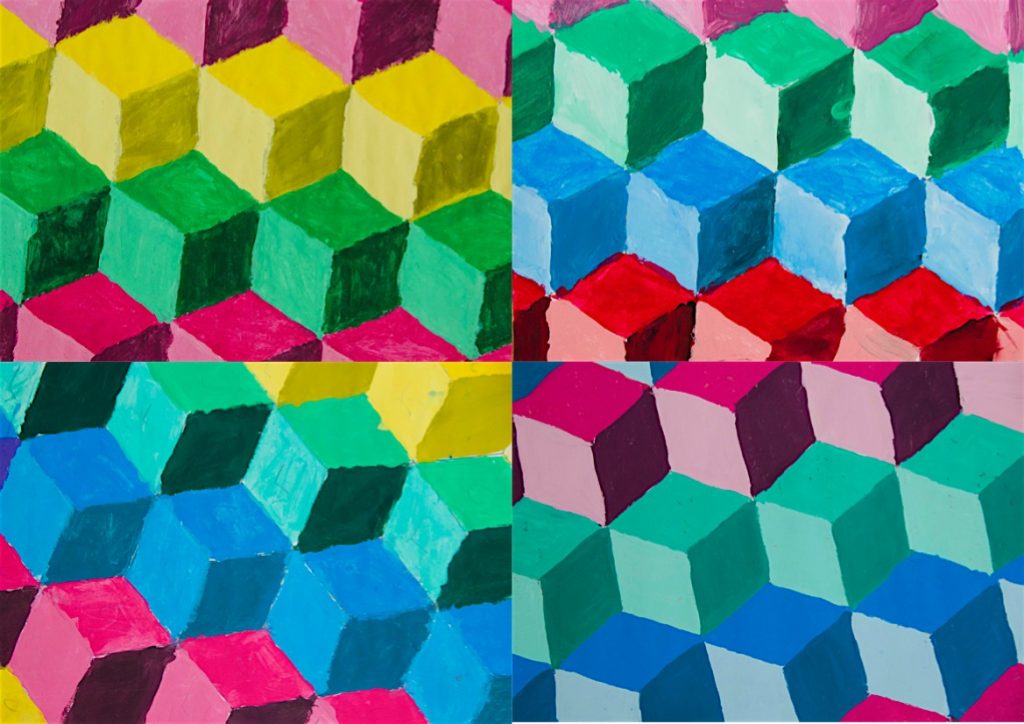
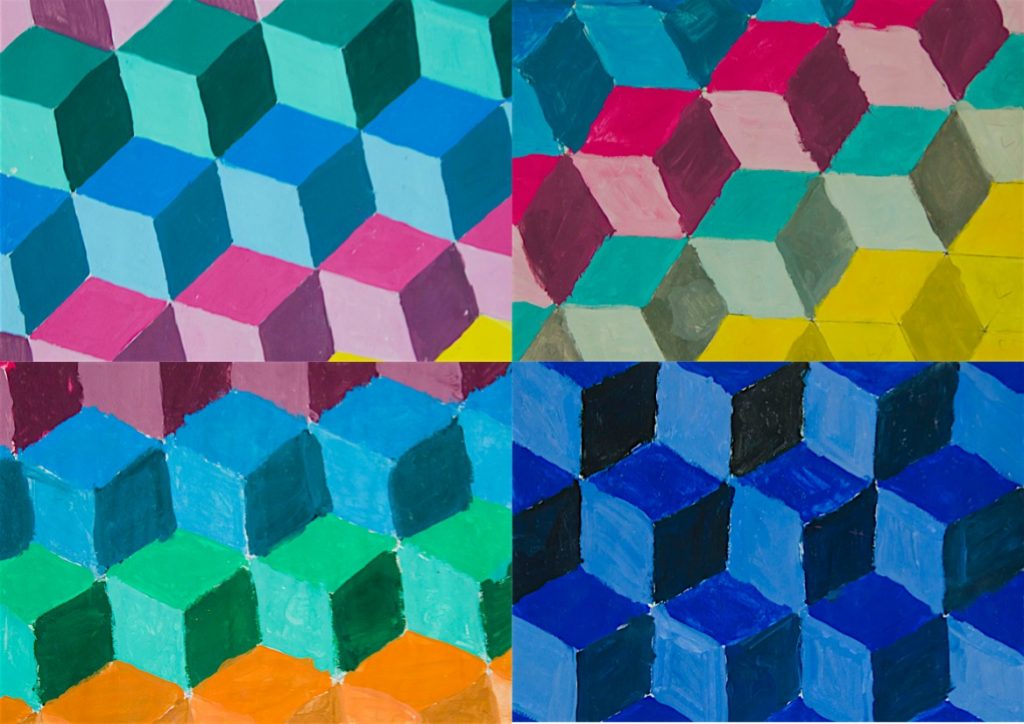
在讲授“明度”(美术基本元素之一)之后,我们带领七年级学生完成了这一立方体绘画练习。我们使用模板在绘图纸上绘制立方体:先用印有三个立方体的练习纸作为底稿进行描摹,再反复复制该图形,直至整张纸布满立方体。我们并未刻意控制立方体的倾斜角度,因此每幅画的整体倾斜方向各不相同。
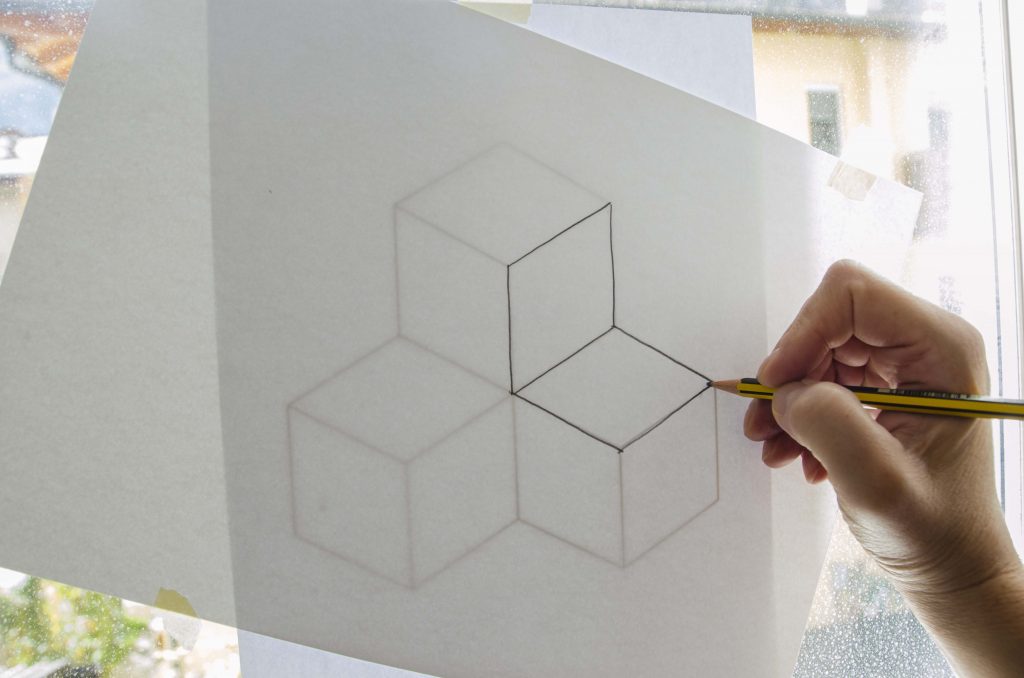
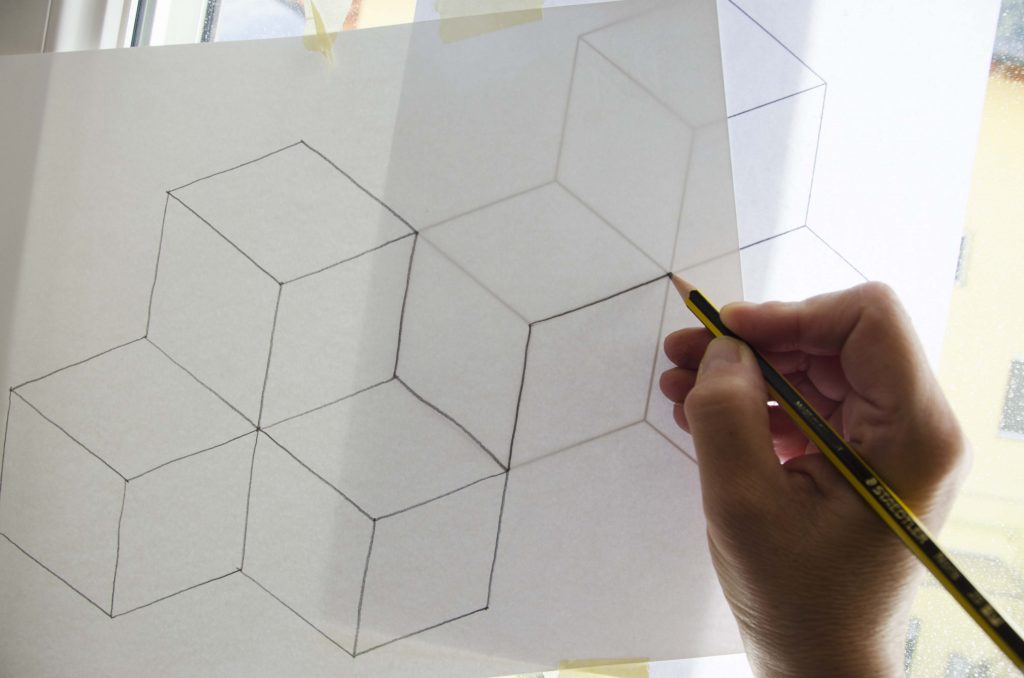
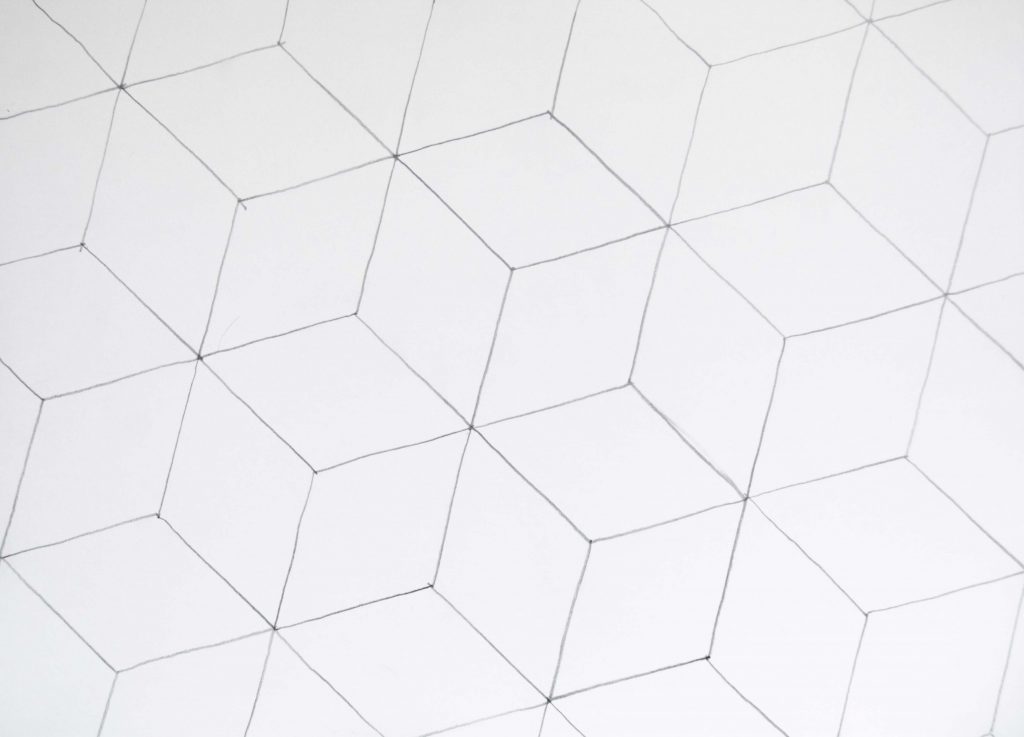
下方为所用模板:
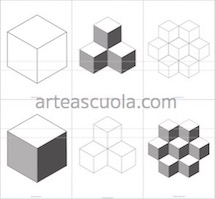
立即购买
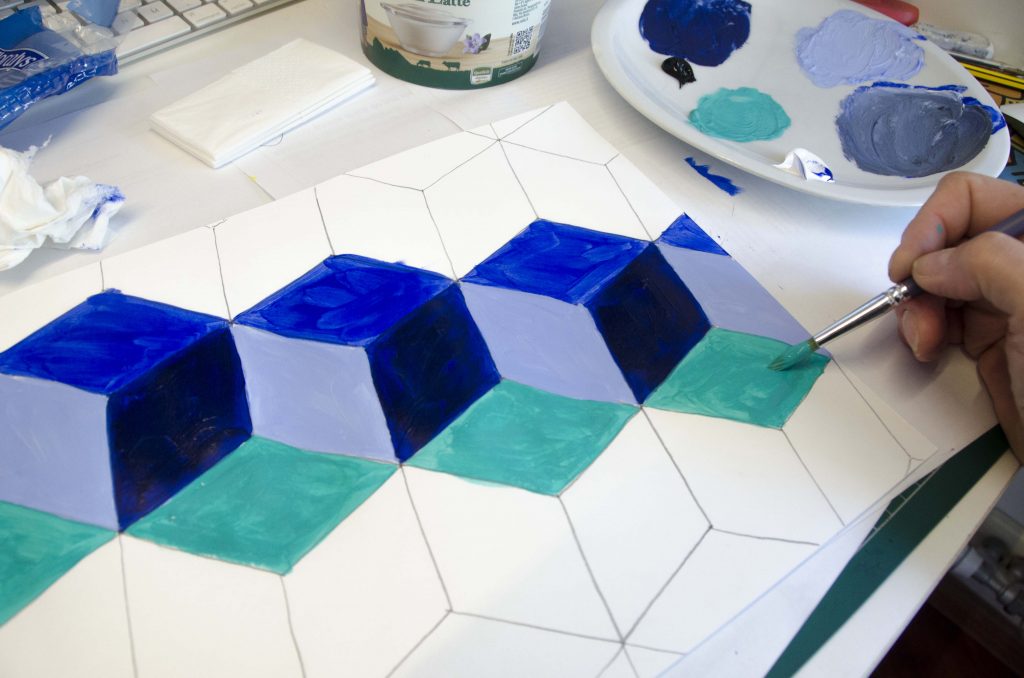
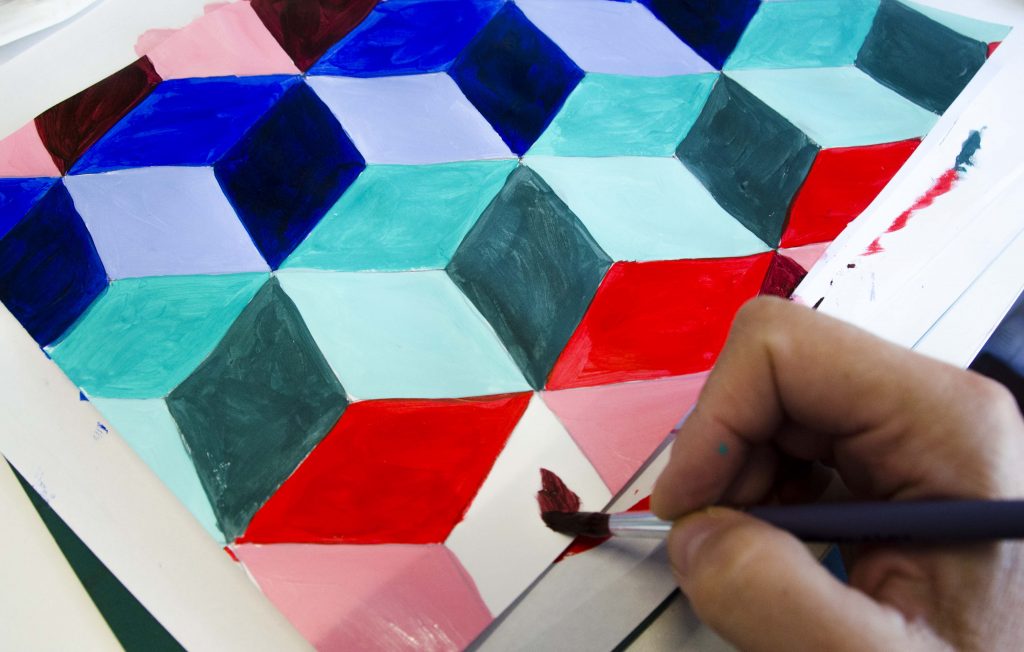
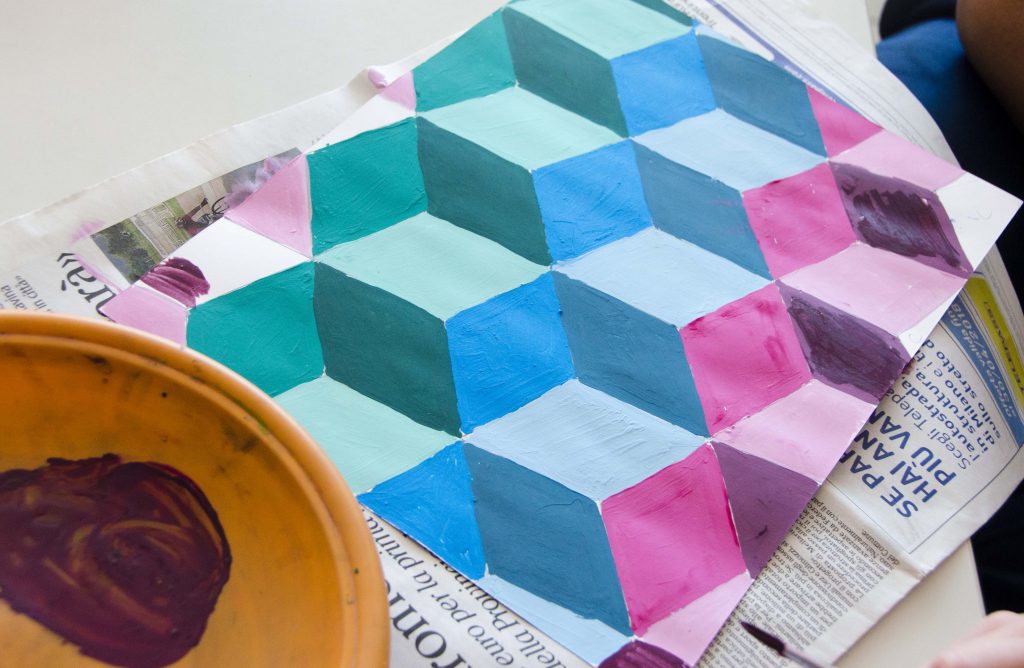
首先,我们选定一行立方体,将所有立方体的顶面涂上一种纯色(即该色的固有色)。接着,将左侧面涂成浅色调(即在白色颜料中加入少量该纯色调和而成)。随后,将右侧面涂成深色调(即在该纯色中加入少量黑色调和而成)。我们依此方法继续绘制其余各行立方体,并为每一行选用不同的颜色。
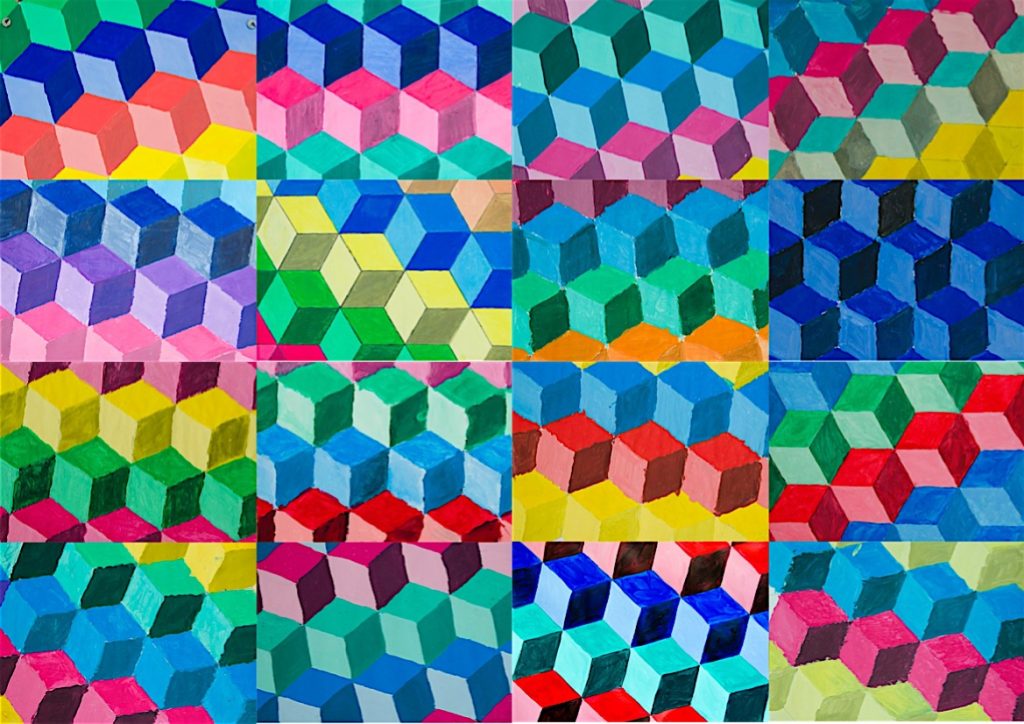
整体呈现三维立体效果;当所有作品并置时,宛如一面由彩色立方体构成的墙面,各立方体微微倾斜,角度各不相同。
Video Tutorial: Value Cubes Project
Another great video tutorial inspired by an idea of arteascuola, realized by Chad Brown. Following the video you can paint these cubes in value scales. Every step is explained and shown in a very clear way and the final result is amazing.
After a lesson about Value as one of the Element of Art, we painted these cubes with 7th Grade students . We used a template to draw the cubes on a drawing paper, tracing them from the worksheet with three cubes, and repeating the drawing until all the paper was full of cubes. We didn’t care about the slope of the cubes, so every painting has a different incline of the whole drawing.
Here below you can find the template:
Buy now
First we chose a row of cubes and paint the upper faces with a hue, painting them with this pure solid color. Then we painted the left face with a tint (a lighter color) adding some pure color to the white paint. After that we painted the face on the right with a shade (a darker color) adding a small amount of black to the pure color. We proceeded painting the other rows of cubes, choosing different colors for every row.
The effect is 3-dimensional and the paintings all together seem a wall of colored cubes, slightly and differently tilted.