麻胶版版画
原文链接:https://tabithaannthelostsock.blogspot.com/2025/04/lino-cut-print.html
日期: 2025-04-25
标签: 麻胶版画、麻胶、黑色版画、版画、版画技法、转印、艺术方法
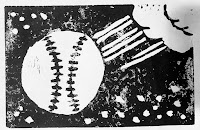
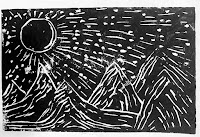
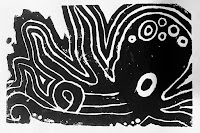
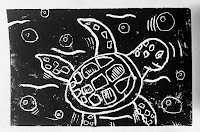
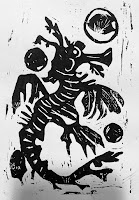
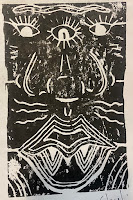
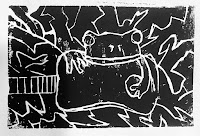
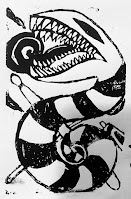
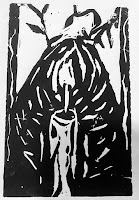
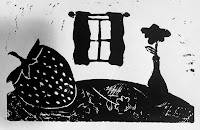
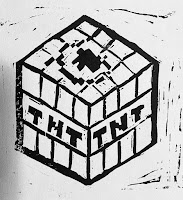
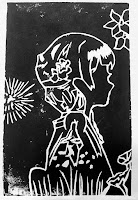
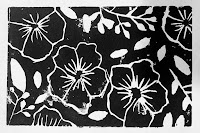
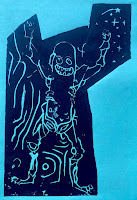
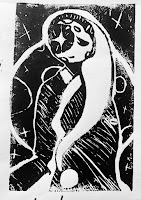
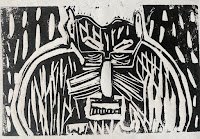
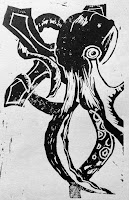
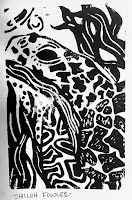
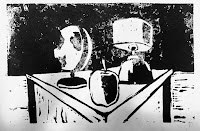
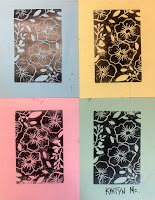
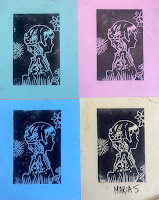
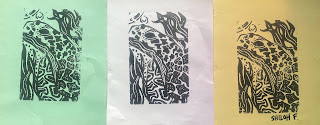
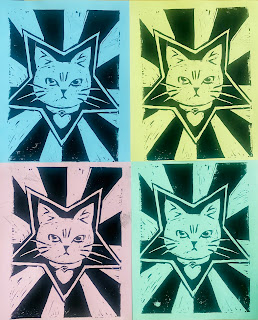
梅茜·西顿,12年级(2025届)
以下艺术家以采用凸版法创作版画而闻名:
巴勃罗·毕加索,
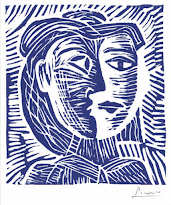
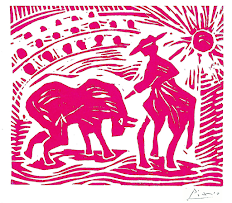
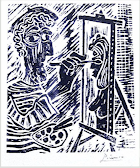
M.C. 埃舍尔
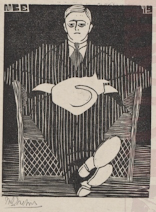
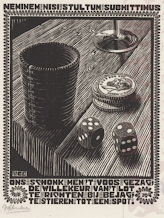
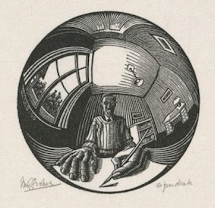
更多创意请见此处……
什么是版画?
----版画种类----
凸版印刷(凸印)
油墨印在未被刻除的凸起部分。
凹版印刷(凹印)
油墨填入被刻出的凹陷部分。
常用材料为金属板或有机玻璃板。
平版印刷(石版画)
使用油性与水性材料。
需保留白色的部分用油脂铅笔绘制,
再于其上覆盖水性油墨或颜料。
孔版印刷(丝网/ stencil)
油墨透过被镂空的区域印出。
未镂空部分则阻挡油墨通过。
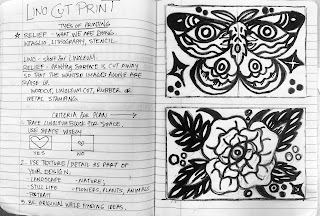
C. 马什制作的优秀幻灯片演示
马什幻灯片
https://docs.google.com/presentation/d/1neEYD26PUMy6O42yS-zM6-MY505_qGUjXaHJP1_Q8mA/edit#slide=id.g2460083c299_1_0
设计
将麻胶版外形描摹到纸上。
充分利用画面空间进行构图设计。
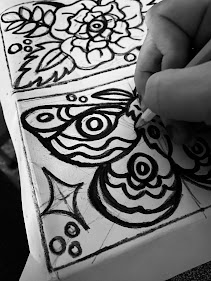
先用铅笔起稿,再用记号笔加粗轮廓线。
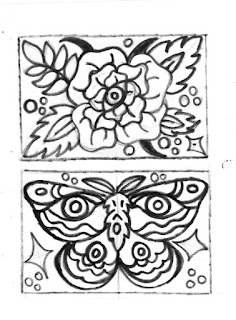
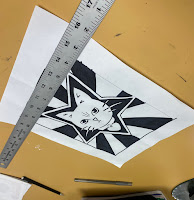
请注意——
黑色 = 未雕刻部分 / 正形空间
白色 = 已雕刻部分 / 负形空间
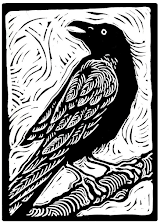
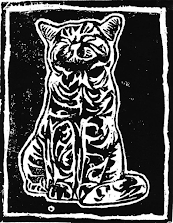
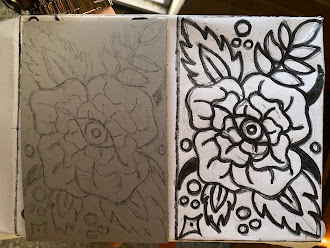
对比性构图示例
左图:背景被刻除;右图:背景保留未刻,并加边框
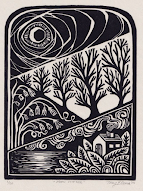
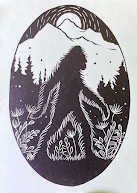
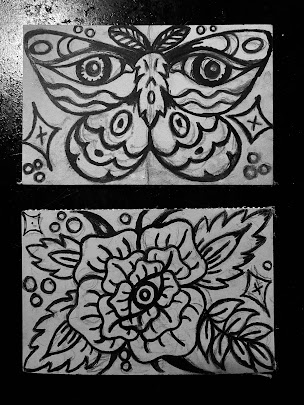
两类手法结合运用
转印
将设计稿翻转至背面,用铅笔在背面多方向均匀涂满。
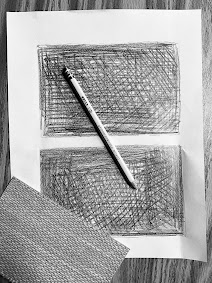
将设计稿正面朝上置于麻胶版表面。
用力描摹原稿轮廓,使背面铅笔痕转移到麻胶版上。
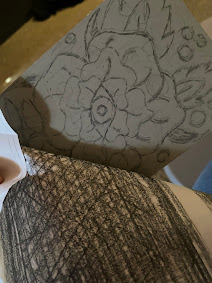
稍抬起纸张,检查图案是否已完整转印。
注意:转印后图像会左右翻转。
(参见抬起操作示意)
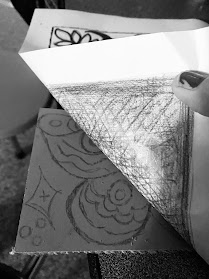
雕刻
请先观看此教学视频……
雕刻小贴士
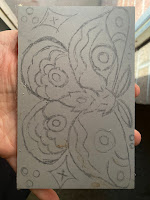
准备转印稿
避免出现过细的凸起线条,因此需对设计稿进行加粗处理。
——用铅笔“×”标记待雕刻区域,
或用其他颜色的永久性记号笔标出。
雕刻所有你希望保持白色的区域!
雕刻 = 不显现(留白)
保留 = 显现(印黑)
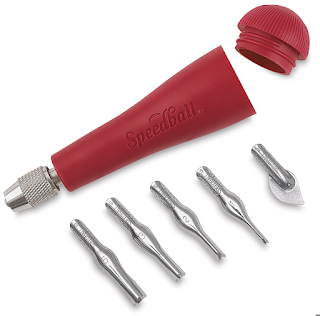
刀具编号 #1–#5
1–#2:用较细刀具围绕需保留的区域雕刻,即“勾边”,适合精细刻画。
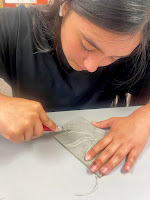
3–#5:用较宽刀具清除较大面积。
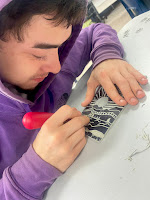
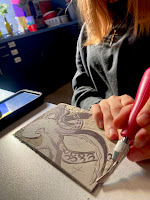
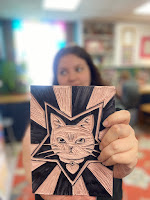
雕刻过程视频
如何刻出细小、清晰的黑色线条?
方法如下……
印刷
油墨上版过程视频
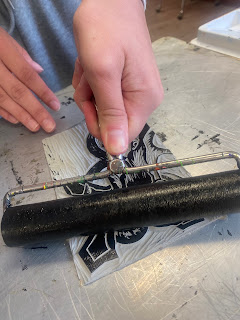
先将油墨调匀……
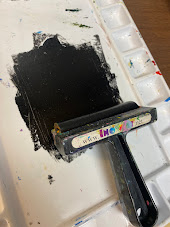
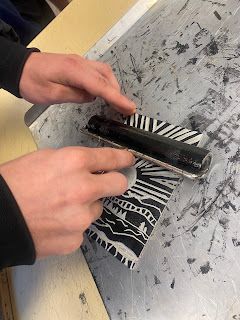
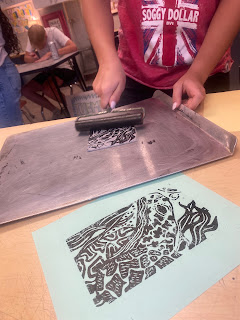
再用滚筒均匀滚涂……
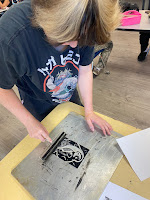
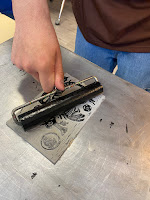
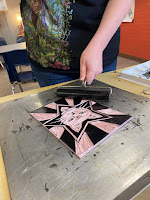
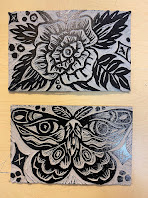
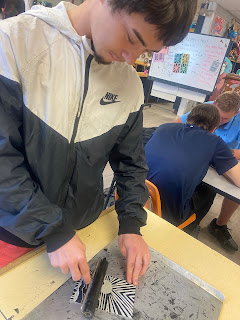
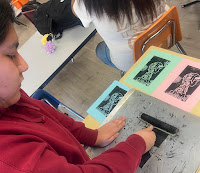
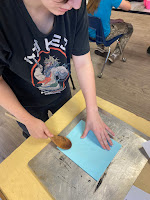
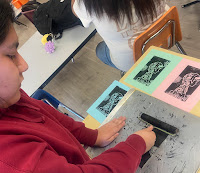
用手掌或压印工具均匀按压……
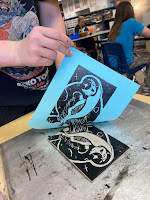
揭起纸张……
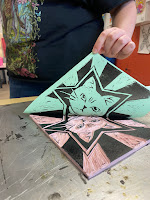
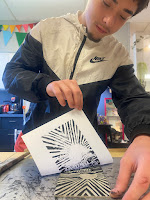
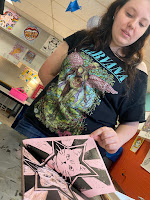
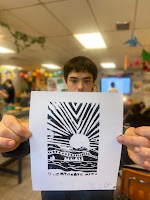
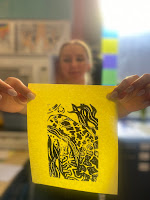
如需,可重复印刷……
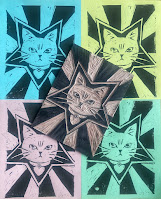
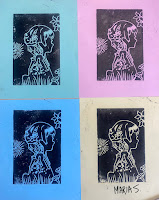
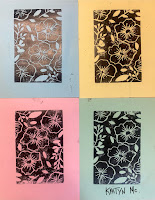
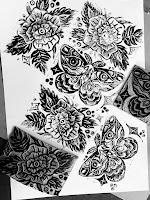
3英寸×5英寸麻胶版
先在纸上描出麻胶版外形并规划构图。
完整制作流程
麻胶版版画
Original: https://tabithaannthelostsock.blogspot.com/2025/04/lino-cut-print.html
Date: 2025-04-25
Tags: lino cut linoleum black print printmaking technique transfer art method
Maisy Seaton 12th grade (2025)
These Artist are famous for their prints using relief method.
Pablo Picasso,
M.C. Escher
MORE IDEAS HERE...
WHAT IS PRINTMAKING?
----Kinds of Printing----
RELIEF
Ink goes onto what you left unscratched (raise area)
INTAGLIO
Ink goes into what you scratched out (lower areas)
Metal plate or plexiglass are commonly used.
LITHOGRAPHY
Oil and waterbased supplies are used.
The area that will remain white is done with a grease pencil
and waterbased ink or paint is added on top.
STENCIL
Ink goes into area where the places are cut out.
The uncut areas block the ink.
Very Good SlideShow by C. Marsh
MARSH SLIDESHOW
https://docs.google.com/presentation/d/1neEYD26PUMy6O42yS-zM6-MY505_qGUjXaHJP1_Q8mA/edit#slide=id.g2460083c299_1_0
DESIGN
Trace your linoleum shape onto paper.
Make a design using up the space.
Start with pencil, then go over thick with sharpie.
REMEMBER-
BLACK = NOT CARVED/POSITIVE SPACE
WHITE= CARVED/NEGATIVE SPACE
Contrasting Designs
left- background cut out. right- background uncut with frame
Mix of Both
TRANSFER
Turn design over on back. Use pencil to color all over the back in multiple directions.
Put design face up over the linoleum piece.
Begin tracing over your original design hard to transfer the pencil lead beneath onto the linoleum.
Lift slightly to make sure design is fully transferred.
Note- is is supposed to be flipped.
(see lifting)
CARVE
Watch this first....
TIPS OF CARVING
PREPARE DESIGN TRANSFER
You do not want thin raised lines, so go in and THICKEN up your design.
-Mark the areas you will be carving out with a pencil X or
with another color permanent marker.
Carve out areas you want to STAY WHITE!
Carve = Nothing
Leave = Show
Blade #s 1-5
1-2 Carve around areas you want to leave and "outline" with smaller detailed blade.
3-5 Use fatter blade to get out bigger areas.
Video of Carving Process
Small Detailed BLACK lines?
Here's How...
PRINT
Video of Ink Process
Even out the ink...
Roll it on...
Rub it ...
Peel it...
Repeat if desired...
3 by 5 linoleum
Trace onto paper & plan design.
ENTIRE PROCESS


