水彩花卉绘画课
原文链接:https://createartwithme.com/hs-watercolor-painting-project/
日期: 2013-07-10
作者: 米歇尔·伊斯
分类: 四年级、五年级、六年级、美术课、高中美术、初中美术、绘画课、水彩课
标签: 五年级美术、儿童美术课、画家绘画工具、基础水彩技法、花卉绘画、留白液课程、儿童绘画艺术项目、水彩绘画课
水彩花卉绘画课
米歇尔·伊斯水彩画(版权所有)
米歇尔·伊斯水彩画(版权所有)
米歇尔·伊斯水彩画(版权所有)
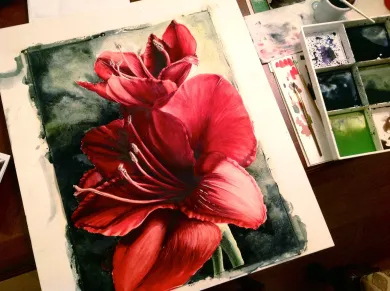
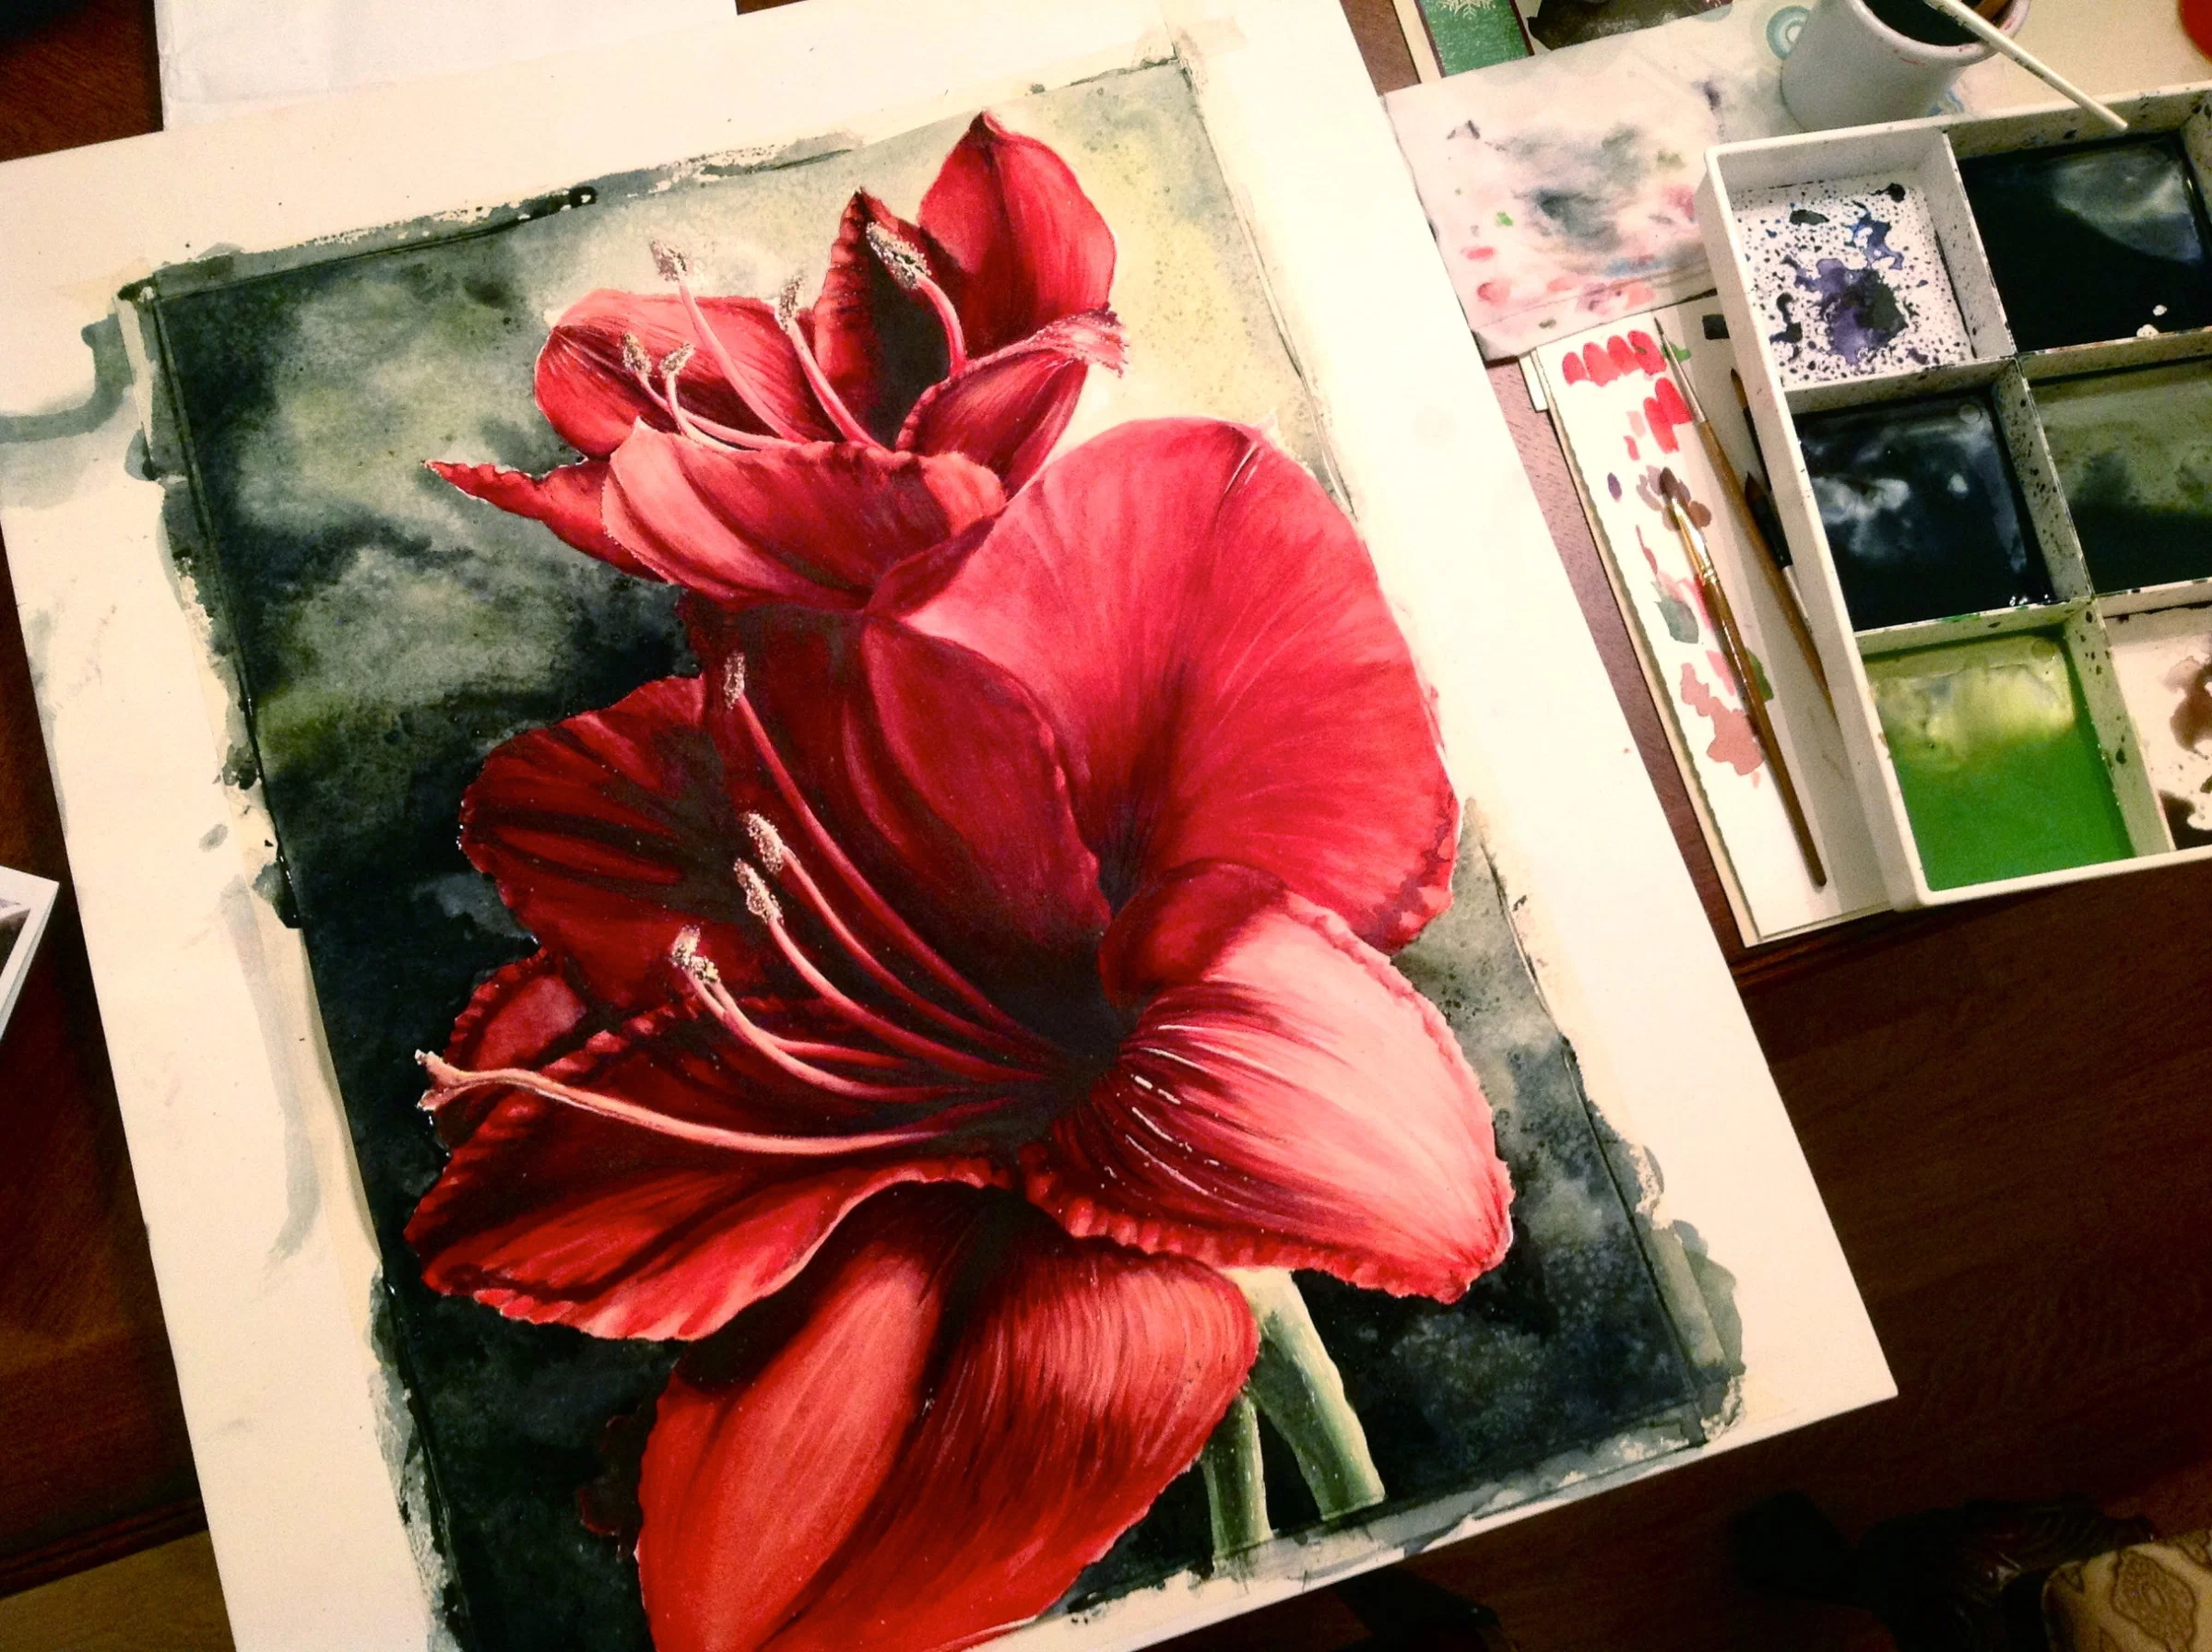
米歇尔·伊斯水彩画(版权所有)
所需材料: 水彩颜料(学生用推荐温莎·牛顿科特曼系列 ,专业创作推荐温莎·牛顿艺术家级管装水彩);画笔——我最常用的是达·芬奇418系列纯蓝松鼠毛水彩 mop 笔,2号
 ;水彩纸(140磅冷压纸);食盐;花卉参考图;3/4英寸留白液;以及一块尺寸大于画纸的硬质画板


操作步骤:
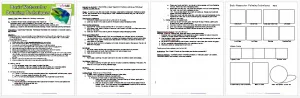
在学生完成基础水彩技法教案与练习表的课堂练习后……请根据本项目实际采用的技法,相应调整绘画练习表内容。我的练习表涵盖:平涂、渐变、留白液使用、硬边与软边处理。
-
使用3/4英寸美纹纸胶带,将水彩纸四边全部粘贴固定于画板上;建议画板边缘比纸张宽出约1/4英寸(可选材质:泡沫板、马松尼特板或木板——总之需质地坚实)。
-
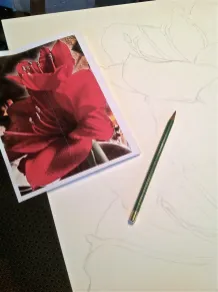
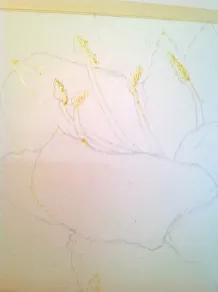
用铅笔在水彩纸上轻轻勾勒轮廓线(铅笔痕迹会显露出来,因此务必画得极轻!)。
-
正式上色前——在希望保留白色的部分涂上留白液。小贴士:先用液体肥皂浸润画笔笔毛,再蘸取留白液;否则会严重损坏画笔!使用完毕后只需彻底冲洗画笔即可。我通常改用其他工具涂抹留白液,例如牙签或画笔末端。
-
从浅色平涂(明度)开始作画,以确立光源方向。此时画面可能显得平淡单薄,但我们将通过多层叠加实现最终效果——此法称为“罩染”。
-
务必频繁参照花卉参考图(或静物写生——直接对景写生效果更佳!),持续叠加颜料层,直至形成鲜明而富有张力的明度对比,使画面鲜活夺目!
-
待颜料干透后去除留白液。若留白部分过于刺眼,可补加少量浅色调;但务必保留部分区域完全留白,以强化对比效果。
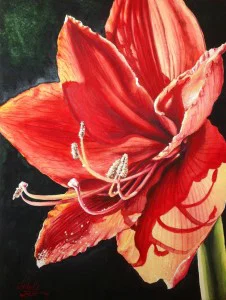
完成作品
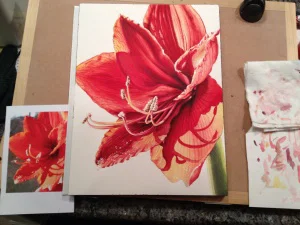
即将完工!
更多水彩技法课程:
进阶水彩绘画技法教案、学生指南与练习表
终极水彩绘画技法课程包(含3节课!)
若您选用本教案或转载相关内容(文字或图片),请务必附上回链至我的博客。 与我一起创作艺术
Watercolor Flower Painting Lesson
Original: https://createartwithme.com/hs-watercolor-painting-project/
Date: 2013-07-10
Author: Michelle East
Categories: 4th Grade, 5th Grade, 6th Grade, Art Lessons, HS Art, MS Art, Painting Lessons, Watercolor Lessons
Tags: 5th Grade Art, art lessons for children, artist painting supplies, Basic Watercolor Techniques, flower painting, masking fluid lesson, painting art projects for kids, watercolor painting lesson
Flower Watercolor Painting Lesson
Watercolor Painting by Michelle East (Copywrite)
Watercolor Painting by Michelle East (Copywrite)
Watercolor Painting by Michelle East (Copywrite)
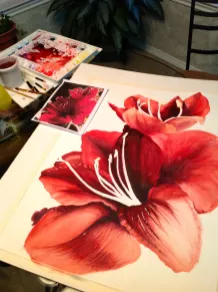
Watercolor Painting by Michelle East (Copywrite)
Supplies: Watercolor paints (I like Winsor & Newton Cotman for student use & Windsor & Newton Artist Water Colour tubes for professional use), brushes-my favorite is Da Vinci Series 418 Pure Blue Squirrel Quill-Petit Gris Pur Watercolor Mop, Size 2, watercolor paper (140lb cold press), salt, reference pictures of flowers, 3/4″ masking fluid, & a sturdy board larger than the size of the paper
Instructions:
After going through Basic Watercolor Techniques Lesson Plan & Worksheet with the students on a practice sheet… Adapt painting worksheet to techniques you will be using on the project. My worksheet included: washes, gradations, masking fluid, hard & soft edges.
1. Using 3/4″ masking tape, tape all four edges of the watercolor paper to a board 1/4″ over the paper is best (options: foam board, masonite or wood-basically something sturdy).
2.Draw light contour line drawing in pencil onto watercolor paper (Pencil marks will show, so draw VERY lightly!)
-
Before painting--Apply masking fluid to areas you want to stay white. TIP: coat brush bristles with liquid soap, then dip into masking fluid- otherwise it will RUIN the brush! Simply rinse out brush when finished. I usually use alternative tools to apply masking fluid like tooth picks or the ends of brushes.
-
Begin painting by applying light washes of color (values) to establish where the light source is coming from. The painting will looked washed out, but we will add many layers of paint until we get the desired result-this is called glazing.
-
Remember to look often at your reference picture (or still life-always better to paint from life!). Continue to build up the paint layers until you have dynamic contrasts of values-making the painting vibrant & eye-catching!
-
Remove masking fluid. Add any additional light values if the whites are too harsh (leave some things completely white for contrast).
Finished painting
Almost done!
Additional Watercolor Technique Lessons:
Advanced Watercolor Painting Techniques Lesson Plan, Student Guide, & Worksheet
Ultimate Watercolor Painting Techniques Lesson Packet (3 Lessons!)
If you choose to use this lesson or to repost it (written info or photos), please link it back to my blog. Create Art with ME

