高中生刮画课
原文链接:https://createartwithme.com/high-school-scratch-art-lesson/
日期: 2014-02-24
作者: Michelle East
分类: 美术课程、绘画课程、高中美术、初中美术、刮版画/刮画
标签: 美术构图、刮画表现肌理、刮画课、刮版画技法、刮画、刮画交叉排线、刮画排线、刮版画课、以线条表现明度
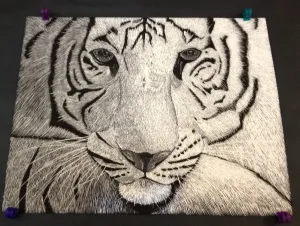
: Jane
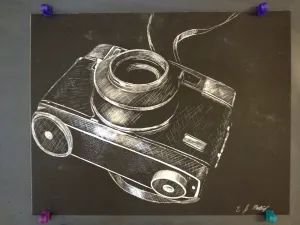
: Ej
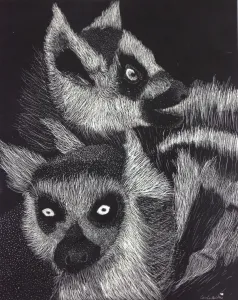
: Carrie
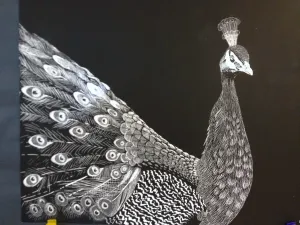
: Becca
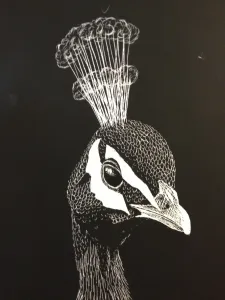
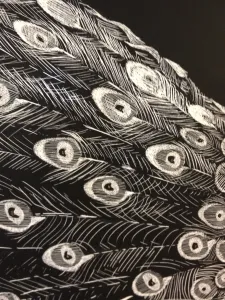
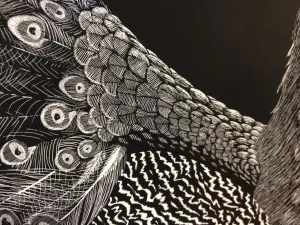
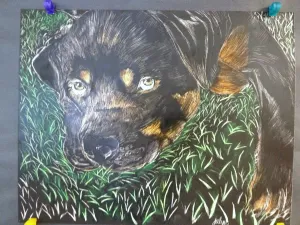
: JaLyn
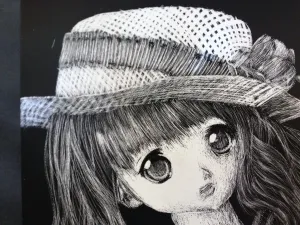
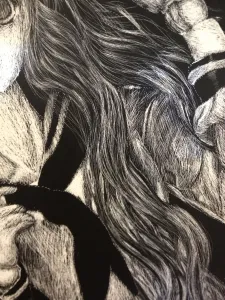
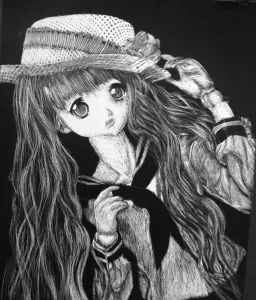
: Rosy
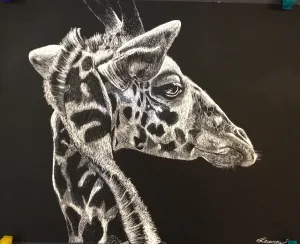
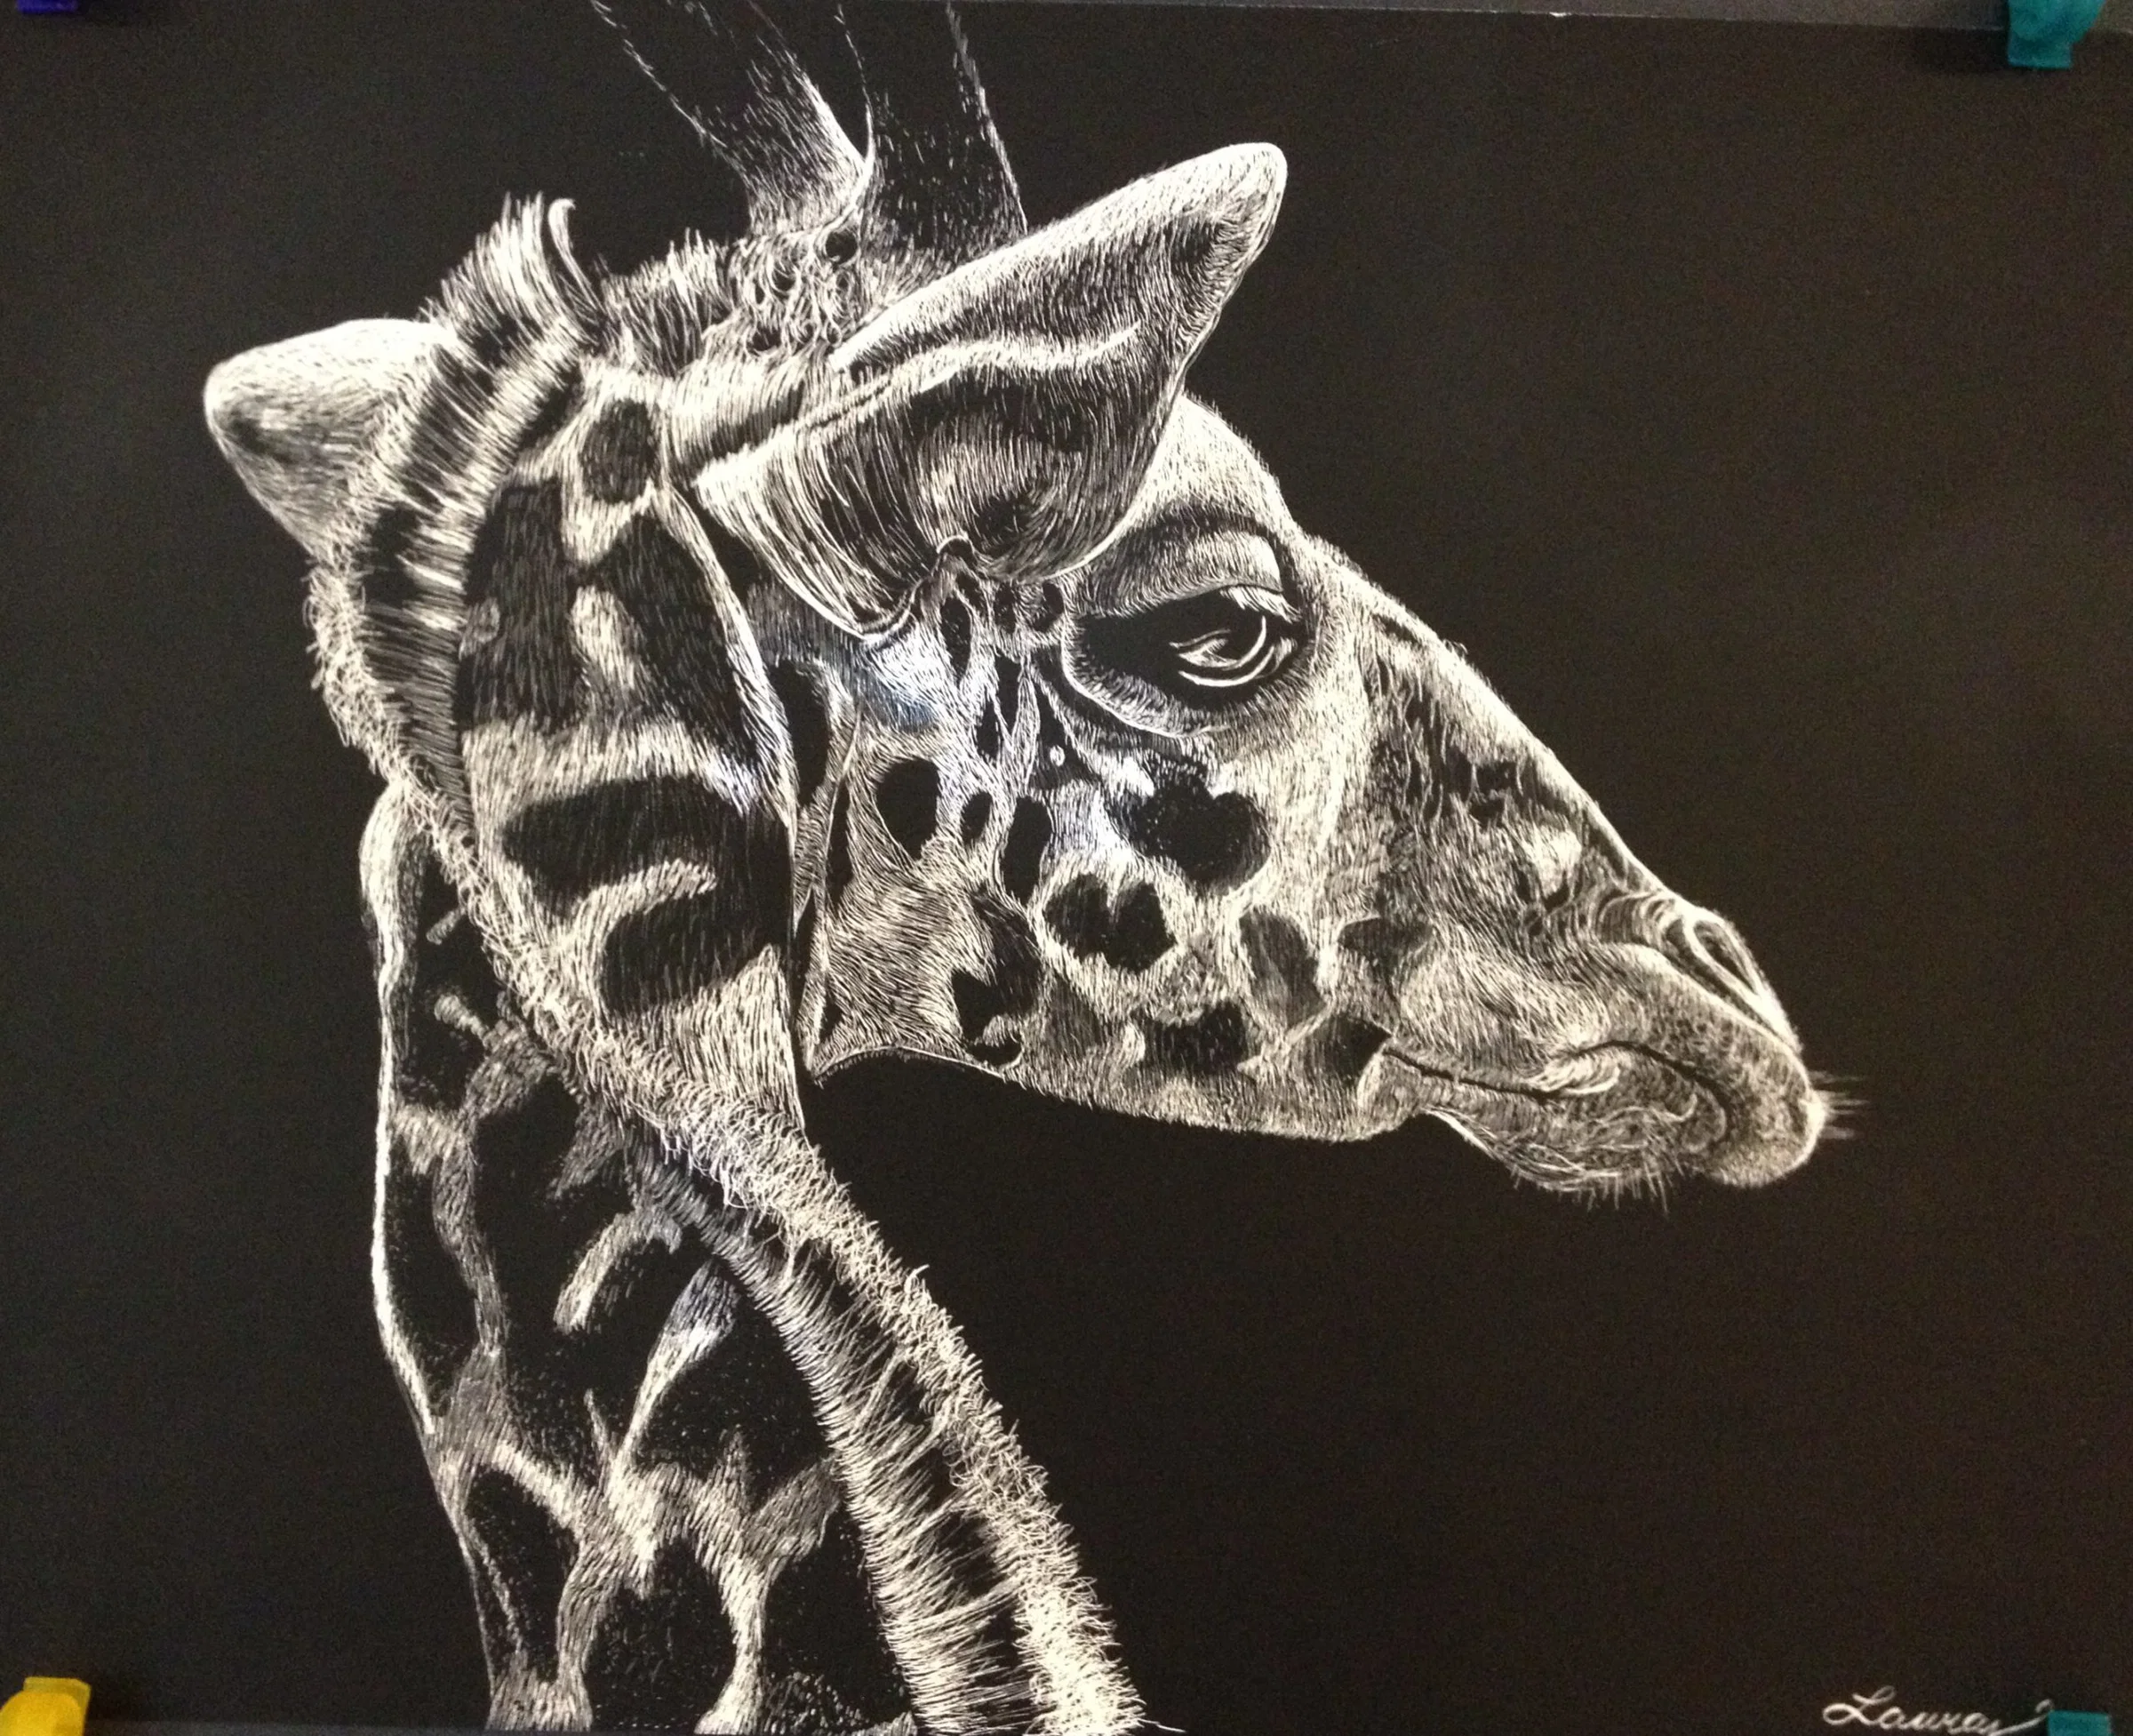
: Laura
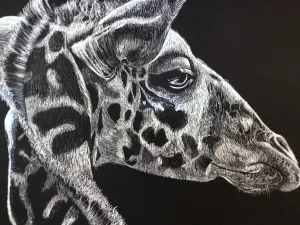
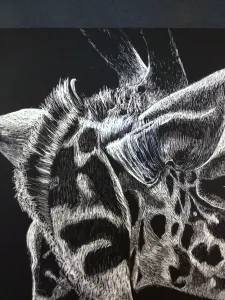
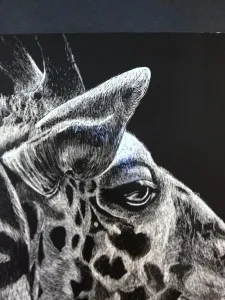
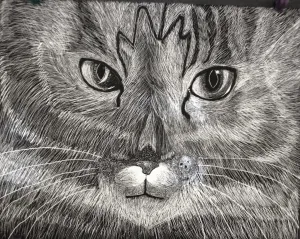
刮版画项目
我校高中美术课复习了三分法(构图)及基础刮画或刮版画技法。学生先在纸上绘制构图,再将其转印至刮画纸。我为他们感到无比自豪——成果极为出色!!本项目亦适用于高年级小学、初中或高中美术课。
所需材料: Scratch Art 黑色涂层刮画板 8½英寸×11英寸,10张装,10点 、刮画工具套装 4件/包


教学目标:
• 学生将了解刮画这一美术媒介属于一种“减法式”绘画过程;
• 学生将学习刮画技法,运用排线、交叉排线与点绘来表现不同明度与肌理;
• 学生将完成一幅具象绘画,通过二维形体的塑造,使其呈现三维立体效果。
教学内容:
明度(Value)
- 明度指色彩的明暗程度;
- 每种颜色都对应一个灰度值。某些颜色几乎接近黑色。
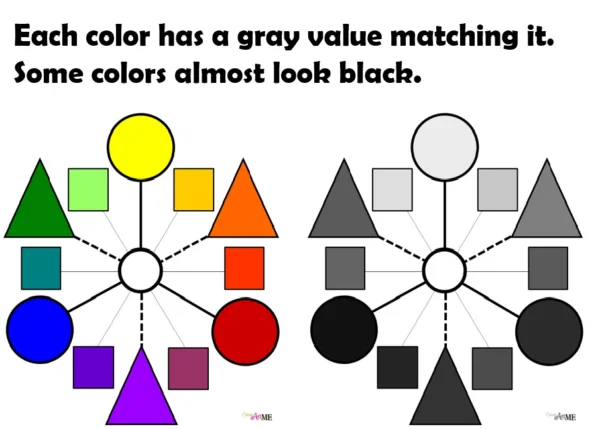
- 明度的一项核心作用是营造空间深度感——使二维物体看上去具有三维效果;
- 添加过渡性明度的过程称为明暗/排线;
- 明暗/排线中最关键的一点是……光源来自何处!
- 以线条表现明度的类型(绘画中):
渐变: 通过色调的柔和过渡来表现明度变化;
- 排线: 运用一组平行线条表现明度。线条间距越小,明度越暗;
- 交叉排线: 运用两组或更多组相交的平行线条表现明度。线条间距越小,明度越暗;
- 波浪线: 运用波浪形或不规则线条表现明度。线条间距越小,明度越暗;
- 点绘: 运用一系列圆点表现明度。圆点间距越小,明度越暗;
- 在球面等曲面上表现明度时,线条应顺应物体的曲面或轮廓走向。
刮画(Scratch Art)
- 刮版画(美术)——刮画是一种图形表现技法,用于创作明度绘画。刮版画纸是在基板上涂覆蜡、黏土或石膏底料,再覆盖一层黑色墨层制成;
- 其原理是?
- 刮版画表面初始为纯黑色。使用刮画工具刮擦(即“蚀刻”)黑色墨层后,底层显露出来,形成白色痕迹;
- 此过程与常规绘画相反:常规绘画是添加深色线条或色块,而刮画则是以“反向亮色”进行蚀刻;
- 蚀刻可使用铅笔或针笔完成,实质是以“反向”或“亮色”作画——即刮去黑色墨层,显露光线照射到物体上的位置。每次刮擦纸面,白色即透出,因此实为逐步构建不同亮度的明度层次;
d. 刮擦前须仔细规划亮部位置;
- 此过程称为减法式;
- 此技法类似于在黑纸上用白色铅笔作画;
- 刮版画工具:
a. 美工刀——用于刮擦;
b. 专业蚀刻刮画工具;
- 刮版画技法:
刮擦时可采用多种运笔方式。依据所描绘对象的不同,应选用相应明度技法,以准确呈现该物体的特定肌理。
- 切勿一次性刮出整条轮廓线!! 轮廓线会破坏羽毛状或毛茸茸的边缘效果!
- 刮擦时务必在手下方垫一张纸;
-
切勿用手触摸刮版画表面——手指油脂会影响刮擦效果。
-
一般准则:使用小笔触!!! 小笔触更易于控制刮擦过程。
-
后退几步,从远处观察你的作品,检查是否达到了你想要的明度范围。
-
三种主要刮画技法:
- 排线: 通过一系列平行线条来表现明度。可通过改变工具施加的压力,调节线条或排线的明暗与粗细。用锋利的工具并施以极轻的压力,可刮出比头发丝还细的线条;若将X-Acto刀片的锋利边缘垂直于线条方向刮擦,则会形成较宽的线条。线条间距越密,明度越亮。
- 交叉排线: 通过一系列交叉或相交的线条来表现明度。线条间距越密,明度越亮。采用随意的交叉排线配合极细小的笔触,可呈现粗糙的肌理与色调;在点绘基础上叠加交叉排线,可获得更精确的明度效果。先在整个区域铺上点绘,再通过交叉排线添加高光与明暗。
-
点绘: 通过一系列圆点来表现明度。点绘是用X-Acto刀片尖端戳刺画面表面而成。改变刀片施加的压力与角度,可改变圆点的大小及深浅(厚度)。圆点间距越密,明度越亮;留白区域则呈现黑色。
-
运用刮画表现肌理时需关注的重要要素:
- 线条类型: 直线或曲线
- 线条方向: 向上、向下或对角线方向
-
线条长度: 短线或长线
-
刮板狼创作延时视频:http://www.youtube.com/watch?v=aF9uFyWx3fk
活动:练习
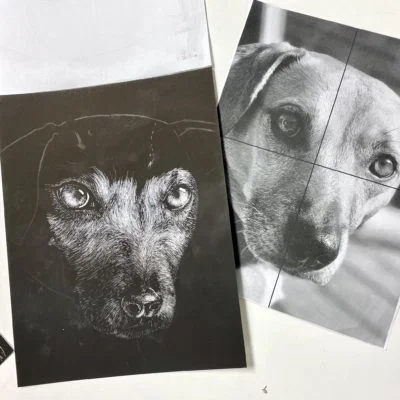
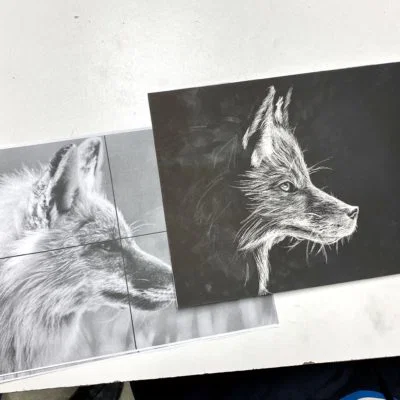
- 使用直刃刮刀或X-Acto刀。握法如同握铅笔。该工具可刮出细线或点状痕迹。
- 以小幅动作与轻柔压力 在刮板上刮擦;必要时可调整刀片角度,以更有效地刮除表层。务必施加极轻微的压力,仅刮掉最上层黑色涂层,切勿划穿底层纸板。
- 练习绘制具有不同特征的线条:
• 朝同一方向刮出的细而松动的线条——排线
• 粗重线条(将刀具侧放以刮除更大面积)
• 短而弯曲的线条,表现毛发
• 长而弯曲或笔直的线条,表现木质肌理
• 交叉排线,表现明暗过渡
• 点绘
项目
项目目标: 创作一幅原创刮板画,主题为毛茸茸或羽毛丰茂的动物或鸟类。绘画须写实且造型准确。运用排线、交叉排线与点绘技法,在刮板上真实地刮出完整的明度层次。
指导步骤
- 寻找一张无版权图片,或自行拍摄一张毛茸茸或羽毛丰茂的动物或鸟类照片。(详见下方说明)
- 在一张8.5×11英寸白纸上,勾勒出你构思对象的轮廓线稿。
- 将草图转印至刮板:用白色粉笔涂满纸张背面,再将其胶带固定于刮板之上,沿轮廓线描摹。切勿取下纸张(它将在保存作品期间保护黑色表面)!
- 先刮出你的亮部。运用排线、交叉排线与点绘进行明暗塑造(点绘特别适合表现鼻头等细微亮部)。
- 作品须呈现完整的明度层次与丰富肌理。
寻找或拍摄照片
- 寻找无版权图片:在Google→图片搜索中,开启“标记为可重复使用”筛选条件。
- 拍摄照片→打开相机应用
- 拍摄一个特写镜头,使你的纸杯蛋糕几乎填满整个屏幕,负空间尽量少。画面可超出“页面”边界,底部(包装纸)部分被裁切亦可接受。构图也可偏移中心(更具趣味性)。
编辑照片
- 打开“照片”应用,选择你要使用的照片。
- 对照片进行编辑:若为竖构图,裁剪为8:10或4:5比例;若为横构图,则裁剪为10:8或5:4比例。
- 点击滤镜,选择“黑白”(Noir)或“单色”(Mono)。
- 可根据需要进一步调整“对比度、亮度或阴影”。
- 点击“完成”。
在照片上添加网格
- 打开Safari浏览器,输入 www.GridDrawingTool.com
- 点击“步骤1:上传”,再点击“照片图库”,选择你的照片。
- 点击“步骤5:添加网格”按钮。
- 取消勾选“保持方格为正方形”选项。
- 将网格尺寸设为:2×2
- 水平格数 = 2
- 垂直格数 = 2
- 如需更改线条样式,可在此设置。
- 应用网格。
- 下载:当图片在新浏览器窗口中打开后,长按图片,点击“保存图像”。
- 重新打开“照片”应用,点击“分享”按钮。
- 点击“打印”。
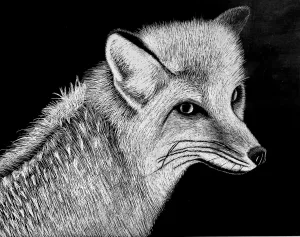
学生作品 2020
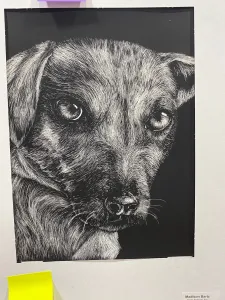
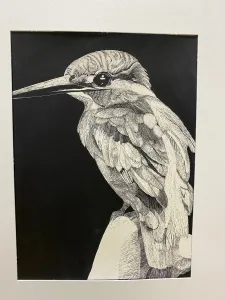
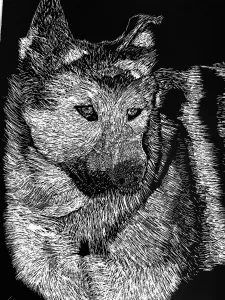
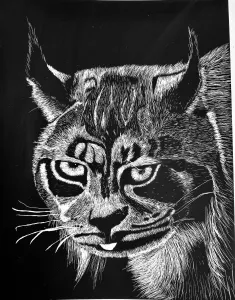
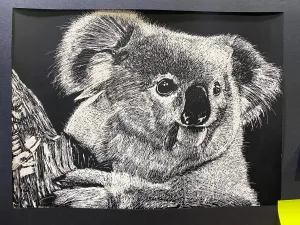
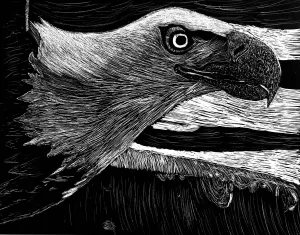
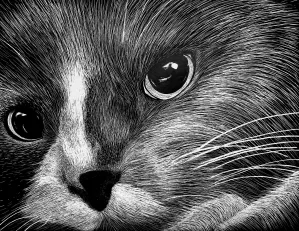
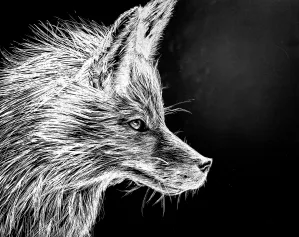
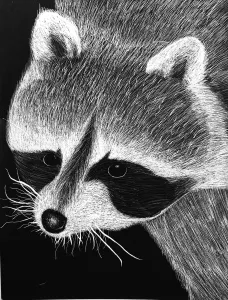
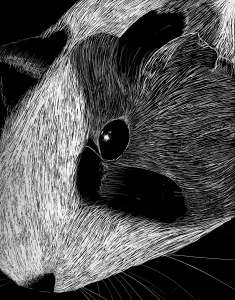
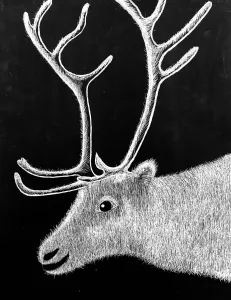
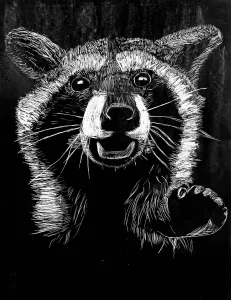
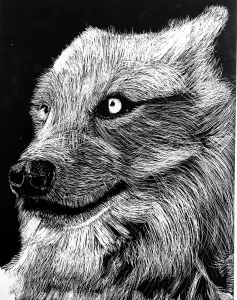
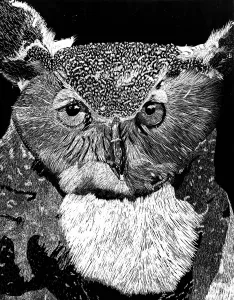
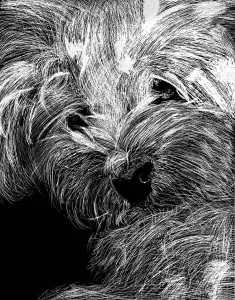
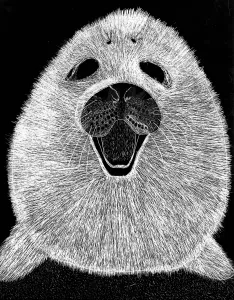
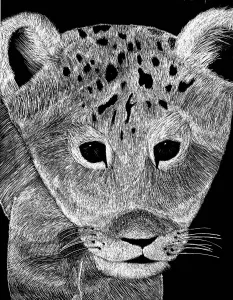
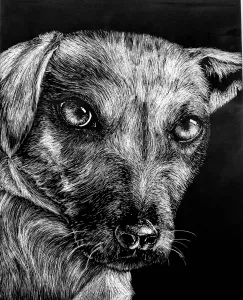
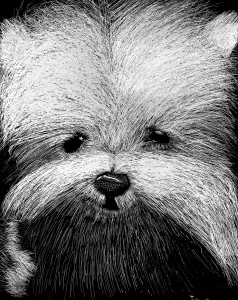
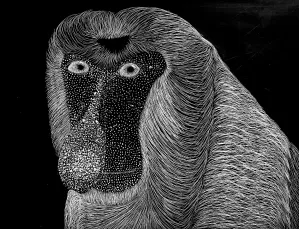
如您选用本课例,请注明出处: Create Art with ME
*联盟链接——我仅推荐自己实际使用并喜爱的产品!
High School Scratch Art Lesson
Original: https://createartwithme.com/high-school-scratch-art-lesson/
Date: 2014-02-24
Author: Michelle East
Categories: Art Lessons, Drawing Lessons, HS Art, MS Art, Scratchboard or Scratch Art
Tags: art composition, creating texture with scratch art, scratch art lesson, scratch board techniques, scratchart, scratchart cross-hatching, scratchart hatching, scratchboard lesson, value through line
: Jane
: Ej
: Carrie
: Becca
: JaLyn
: Rosy
: Laura
Scratch Board Project
My High school art reviewed rule of thirds (composition) & basic scratch art or scratch board techniques. They then drew out their compositions on paper & transferred them to the scratch art paper. I could not be any prouder of them-the results were beautiful!! This project can be done with upper elementary, middle or high school art.
Supplies: Scratch Art Black Coated Scratchboards 8 1/2 in. x 11 in. pack of 10 10 point, Scrapper Tool Set 4/Pkg.
Objectives:
• Students will learn the art medium called scratch art is a subtractive process of drawing.
• They will learn scratch art techniques to create various values and textures using hatching, cross-hatching & stippling.
• They will create a representational drawing that develops two-dimensional shapes to appear three-dimensional.
Delivery:
VALUE
- Value is the lightness or darkness of a color
- Each color has a gray value matching it. Some colors almost look black.
- One purpose of value is to give the illusion of depth-to make a 2D object LOOK like it is 3D
- Adding transitional Values is called SHADING
- The MOST Important thing to know when shading is…Where is the LIGHT SOURCE coming from!
- Types of Shading through LINE. (In DRAWING)
Gradation: Create value changes by using blended tones
- Hatching: Creating value by using a series of parallel lines. The CLOSER the lines are together, the DARKER the value
- Cross-Hatching: Creating value by using 2 or more intersecting sets of parallel lines. The CLOSER the lines are together, the DARKER the value
- Squiggly Lines: Creating value by using squiggly or irregular lines. The CLOSER the lines are together, the DARKER the value
- Stippling: Creating value by using a series of DOTS. The closer the dots are together, the darker the value
- Creating Value on Round Surfaces. Lines should FOLLOW THE CURVATURE or contour of the object.
SCRATCH ART
- Scratch board (Art)– Scratch Art is a graphic technique. It is used to create value drawings. Scratch board is a paper board that is covered with wax, clay, or gesso and coated on top with black ink.
- How does it work?
- The scratchboard surface starts out solid black. When you scratch or “etch” the surface (black ink) using scratch tools you reveal the board beneath leaving a white mark.
- This is the opposite of process of drawing because instead of laying down a dark value or line, you are scratching the drawing with the “reverse” light.
- Etching is with a pencil or pen because you are actually drawing with the “reverse” or with light. You are etching away the black, inked surface to show where the light hits the object(s). Each time you scratch the surface of the paper, the white shows through so you are actually building up the different values of light.
d. You must plan carefully for where you will etch the light out.
- This process is called SUBTRACTIVE.
- This technique is similar to drawing with white pencil over a black paper.
- Scratch board Tools:
a. Exacto Knife- to scratch
b. Engraver Art Scratch tools
- Scratch board Techniques:
You can use a variety of strokes as you scratch. Depending on the object that you are working on – you should use different value techniques to show texture of this particular object.
- NEVER SCRATCH THE WHOLE OUTLINE THE DRAWING!!! Outlines ruin a feathered or furry edge!
- Always keep a piece of paper under your hand while scratching.
- Don’t touch the surface of the scratch board with your fingers-they are oily & this may prevent scratching from happening.
- As a general guideline – USE SMALL STROKES!!!! Smaller strokes are easier to control the scratching process.
- Step back and examine your piece from a distance to see if you are getting the value ranges you desire.
- 3 Main Scratch Art Techniques:
- Hatching: Creating value by using a series of parallel lines. You can vary the brightness and width of the lines or hatching by varying the pressure of your tool. Lines thinner than a hair are possible with a sharp instrument and very little pressure. Using the sharp edge of an X-Acto blade perpendicular to the direction of a line results in a broad line. The closer the line are together, the LIGHTER the value.
- Cross-hatching: Creating value by using a series of criss-cross or intersecting lines The closer the lines are together, the LIGHTER the value. Rough textures and tones can be achieved with random cross-hatching and very tiny strokes. Cross-hatching over stippling can give more precise values. Start with stippling over an area; then add highlights and shading by cross-hatching.
- Stippling: Creating value by using a series of DOTS. Stippling is created by poking at the surface with the tip of a X-Acto blade. Varying the pressure and angle of the blade will change the size of the dots and also the thickness of the dots. The closer the dots are together, the LIGHTER the value. Leaving areas blank results in black.
- When creating texture with scratch art- Important Things to Look at:
- Type of Line: straight or curved
- Line Direction: up, down, diagonal.
- Line Length: short or long
- Time Lapse Video of Scratchboard Wolf: http://www.youtube.com/watch?v=aF9uFyWx3fk
Activity: Practice
- Use the straight scratch knife or an Exacto knife. Hold it as you would a pencil. This tool makes thin lines or stipples.
- Using small movements & gentle pressure, stroke across the scratchboard, you may need to alter the position of the blade to effectively scratch the surface off. Use very little pressure so you just scratch off the top layer of black and don’t cut through to the cardboard underneath.
- Practice drawing lines with different characteristics:
• Thin sketchy lines going in the same direction-hatching
• Bold lines (lay tool on its side to scratch more surface off)
• Short, curved lines to show fur
• Long, curved and straight lines to show wood texture
• Cross-hatched lines to show shading
• Stippling
PROJECT
Project Objective: Create an original scratchboard drawing of a furry or feathery animal or bird. Drawing should be realistic and accurately drawn. Use hatching, cross-hatching and stippling to realistically scratch a full range of values into the scratchboard.
Instructions
- Find a copy-right free image or take a picture of a furry or feathery animal or bird. (See Details Below)
- Draw contour line drawing of your idea onto a sheet of 8.5×11″ white paper.
- Transfer it onto the scratch board by covering the back of the paper in white chalk, then tape it on top of the scratch board & trace over your lines. DO NOT REMOVE PAPER (it will protect the black surface while storing your project)!
- Begin to scratch away your LIGHT VALUES. Shade using hatching, cross hatching & stippling (stippling can be used to add just a little light-great for noses).
- Drawings should show a full range of values & textures
Find or Take the Picture
- Find a copy-right free image. In Google->Images, turn on “Labeled for Reuse”.
- Take Picture->Open the Camera
- Take a close-up picture of your cupcake that fills most of the screen. Have very little negative space. It can go off the “page” and its ok to cut off part of the bottom (wrapper). It can also be off-center (more interesting).
Editing the Picture
- Go to Photos App and select the photo you want to use.
- “Edit” the photo: crop to 8:10 or 4:5 ratio if Vertical & 10:8 or 5:4 if Horizontal
- Click on filters and select either Noir or Mono.
- Make any other “contrast, brightness or shadows” editing you’d like to make.
- Click DONE.
Place a Grid on the Picture
- Open Safari, type in www.GridDrawingTool.com
- Click on Step 1: Upload & Click on photo library. Select your photo.
- Click on the Step 5: Grid button
- Uncheck the box “Keep Boxes Square”
- Change the Grid Dimension to: 2×2
- Horizontal= 2
- Vertical= 2
- If you want to change the Line Style, do so.
- Apply Grid
- Download: When it opens in a new browser window, hold your finger on the picture and click “Save Image”.
- Re-open Photos App & Click on the “share” button .
- Click on Print
Student Artwork 2020
If you choose to use this lesson, please reference back to Create Art with ME
*Affliate Links– I only link products I use and love!


