颅骨绘画|丙烯画教案
原文链接:https://thatartteacher.com/2019/01/08/skull-painting/
日期: 2019-01-08
作者: Sierra Machado
分类: 艺术教程、远程教学、长课时教案、未分类
标签: 丙烯绘画、艺术、艺术教育、艺术家、高中美术、初中美术、油画棒、绘画、教学
这些话,美术教师常听人提起。那么,如何让那些自信心不足或经验有限的学生,学会观察周遭世界,并将所见转化为自己的艺术创作呢?
最近,我给自己定下挑战:把每一堂熟悉的课都稍作调整,换一种方式来教。我们学校按季度划分学期,因此我每年要重复讲授同一套课程四次。我没有任由自己陷入倦怠,而是主动将这种重复视为实验与创新的契机。
我特别喜欢向学生介绍乔治亚·欧姬芙(Georgia O’Keeffe),尤其是她的颅骨系列作品。这些画作气质简洁而优美,学生们也格外喜爱其中精细刻画的颅骨与空灵缥缈背景所形成的强烈对比。此外,她还是一位具有先锋精神的女性艺术家 🤘🏼。来自俄克拉荷马州的孩子们似乎对这一题材尤为共鸣——你知道的,辽阔无垠的旷野,还有那广袤的草原生活。
我虽无法把新墨西哥州的沙漠带到学生面前,但至少可以把颅骨带进教室。我给同事们群发了一封邮件,几天后,便收到了大量可供挑选的颅骨标本。学生一走进我的教室,立刻被那些鹿角深深吸引。
“我们要画那个?!”
惊慌。
我先告诉他们:这会非常有趣;没错,它确实有挑战性;但我保证,会把它拆解成一个个简单步骤;每个人都能画出精彩的作品!
惊慌稍减。
接着,我又宣布:我们不使用铅笔起稿,直接上丙烯颜料作画。
惊慌倍增。
我安抚大家,把这次练习当作一次尝试。前一天我们刚看过一段关于乔治亚·欧姬芙的视频——片中她已近九十高龄。那么,我是否期待你们能画得像一位苦练近九十年的艺术家一样好?当然不。只要尽力而为即可。
我先给每位学生分发三张棕色牛皮纸。我告诉他们:今天要完成三幅画。哪怕其中一幅不满意,你还有两次机会重来。
快速推进的节奏、多次尝试的机会,以及仅限单色作画的限制,大大缓解了多数学生的压力。不过,那些追求完美的学生仍担心:没有橡皮可擦,怎么办?
我们一起观看了我的视频《颅骨绘画基础》(https://youtu.be/FCHiZ2Mfsn0),并就其中要点展开提问与澄清。我还复习了如何用画笔测量比例、寻找角度。
鹿头颅骨被摆放在讲台上,并通过我那台超赞的Elmo实物投影仪投射出来。如果你还没有一台,请务必恳请学校为你购置一台——它将彻底改变你的教学!
我在手机上设定了八分钟倒计时,要求学生专注观察各部分之间的大小关系及基本形体。教室灯光使许多细微结构隐去,反而更便于学生捕捉主要形状。
我还规定:学生不得举手提问。我承诺自己全程站立走动,但他们必须专注于绘画本身,不要害怕“画错”。
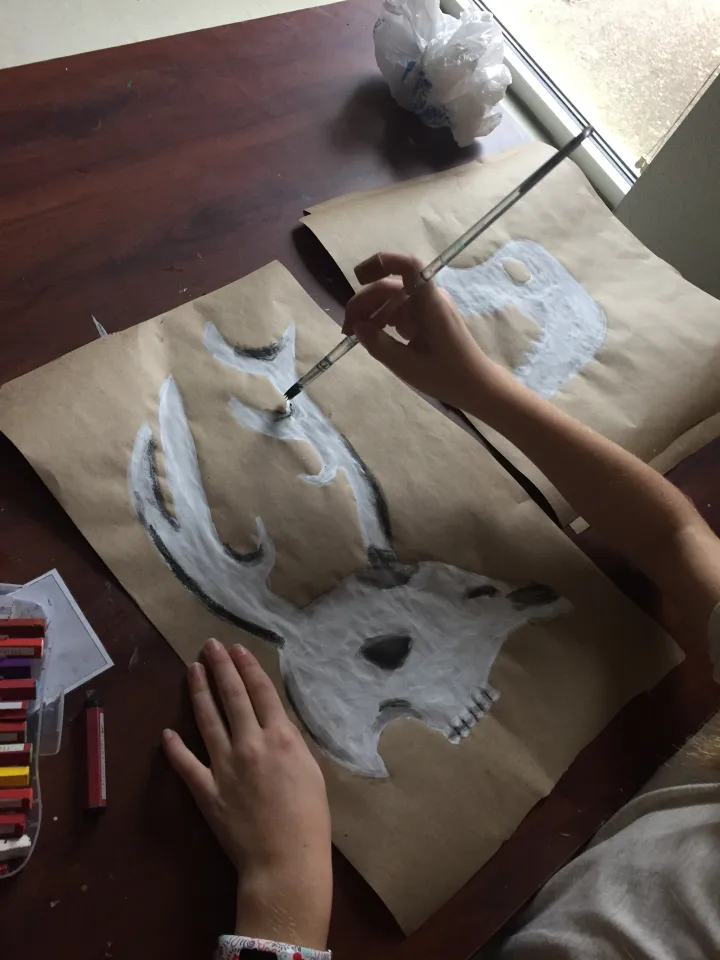
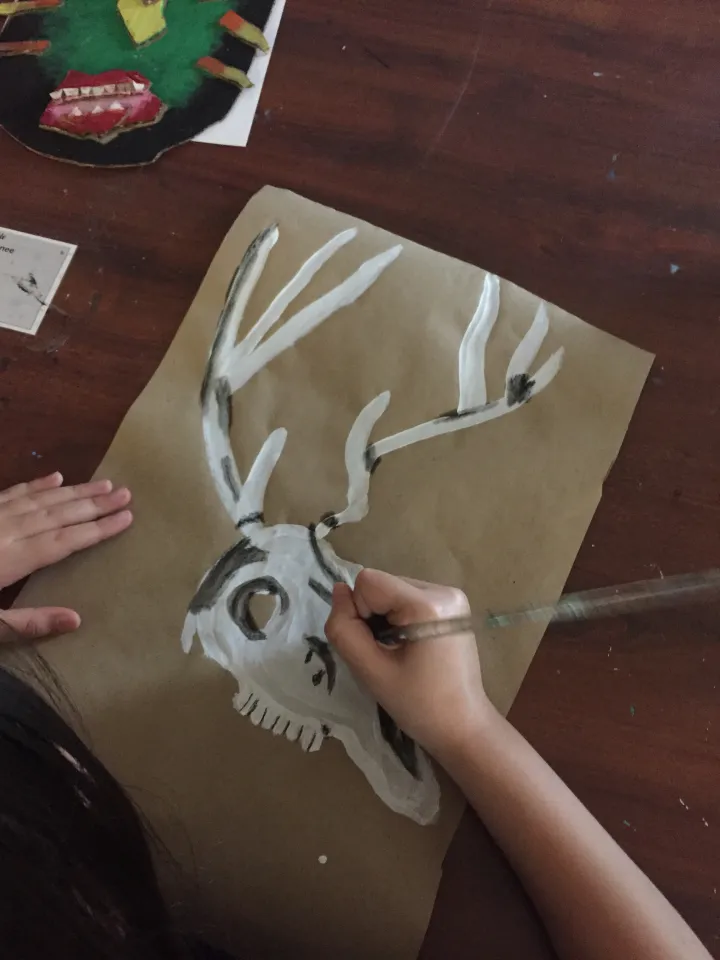
那场景真美。几分钟后,孩子们已举起画笔测量鹿角的角度(身为美术教师,我内心无比自豪);并自信地填充着画面中的白色区域。第二幅画时,我调整了颅骨的角度,学生们画得更快、也更自信。到了第三幅,他们已面带微笑,操作娴熟如专业画家。
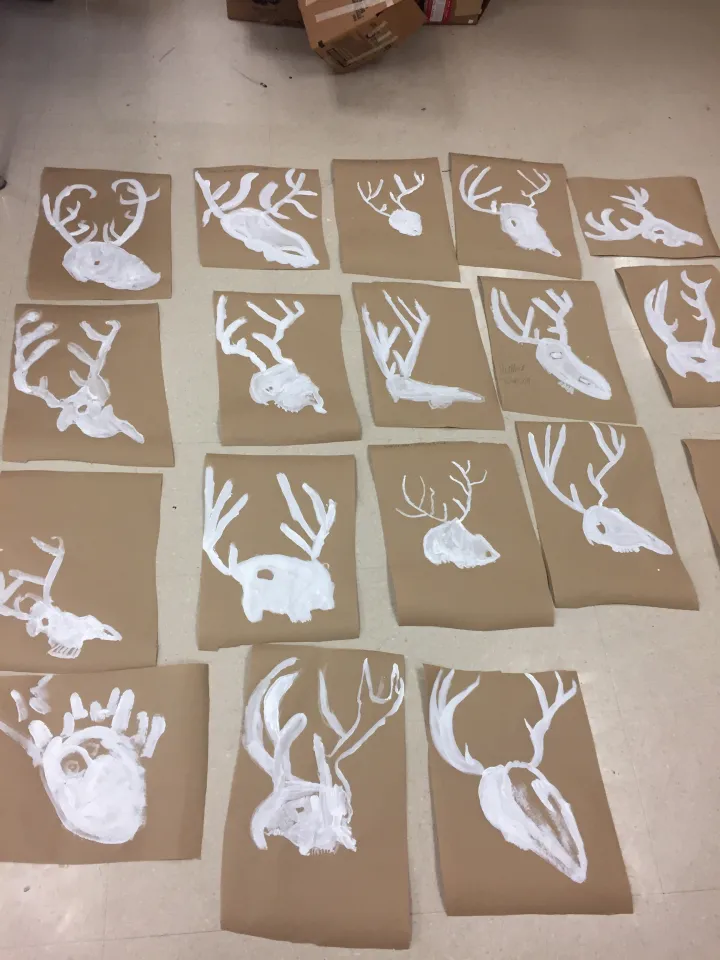
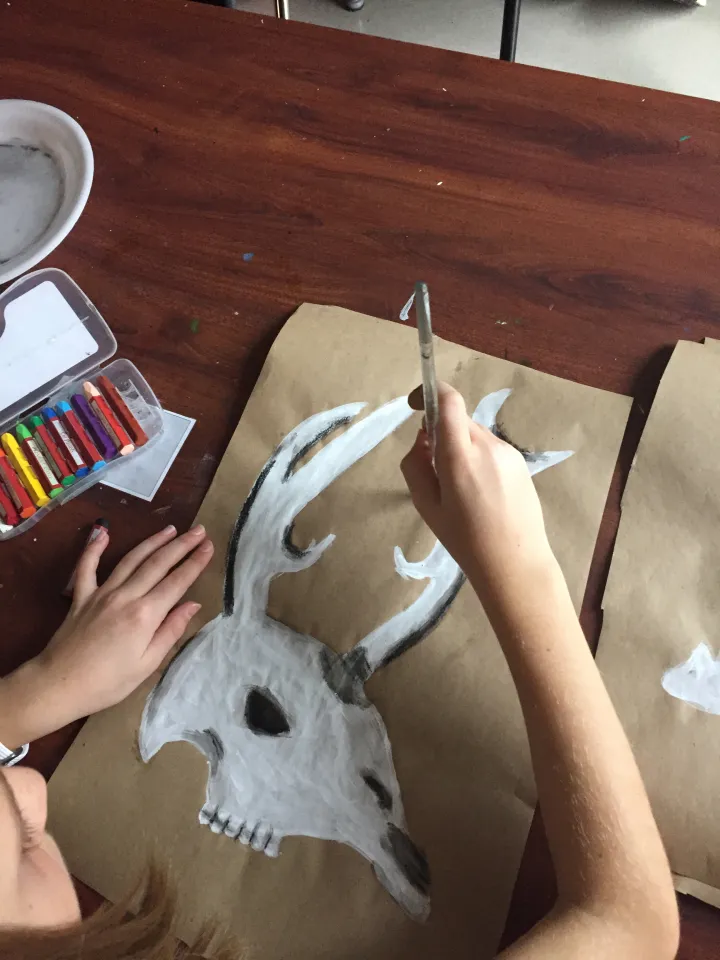
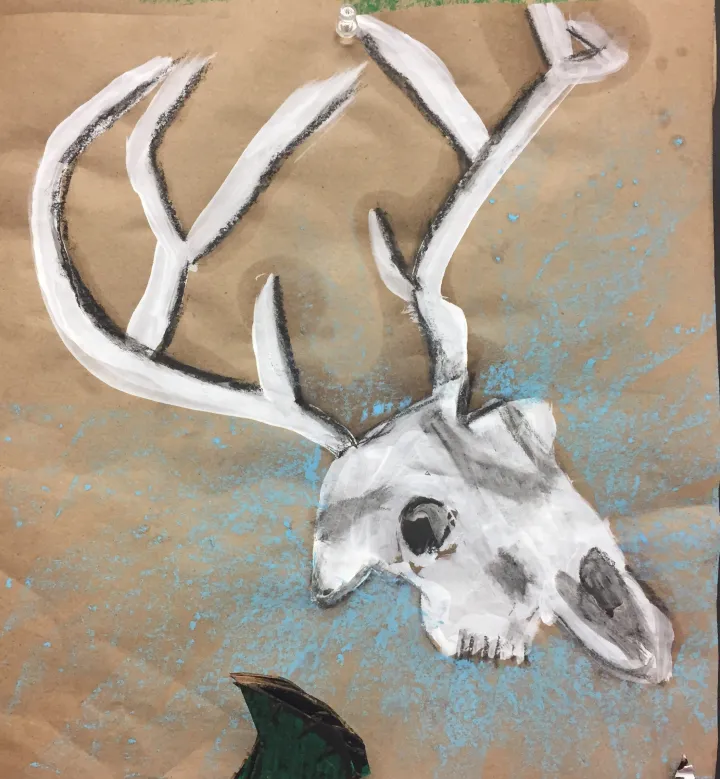
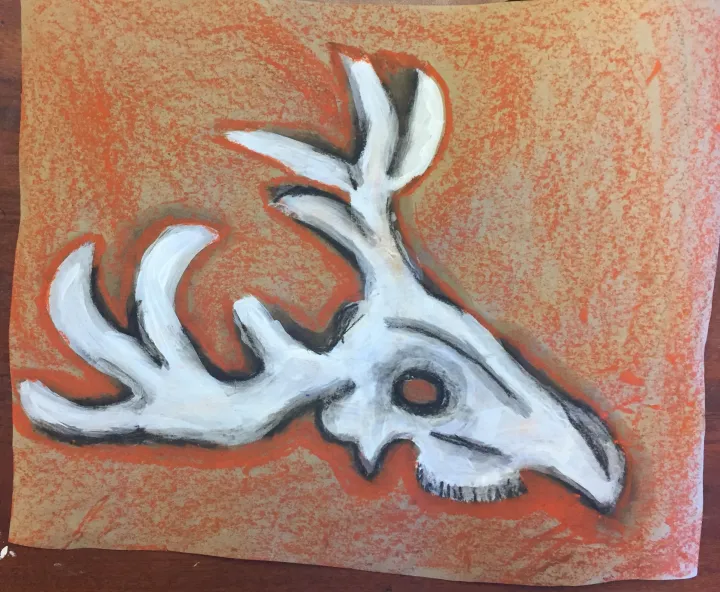
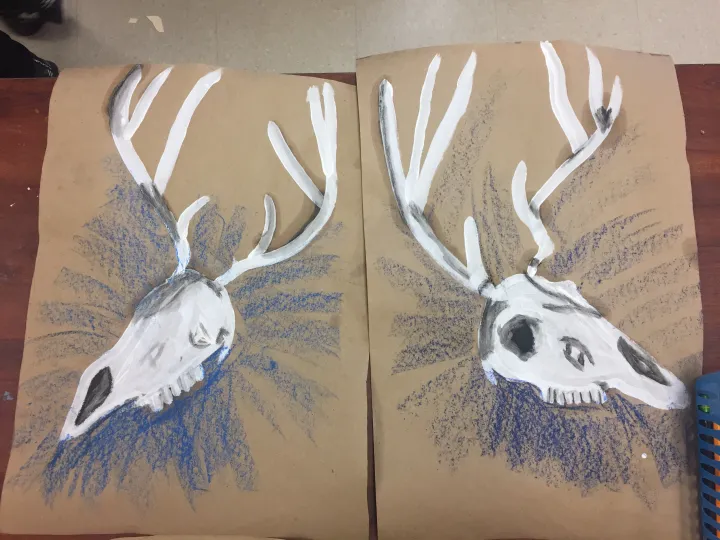
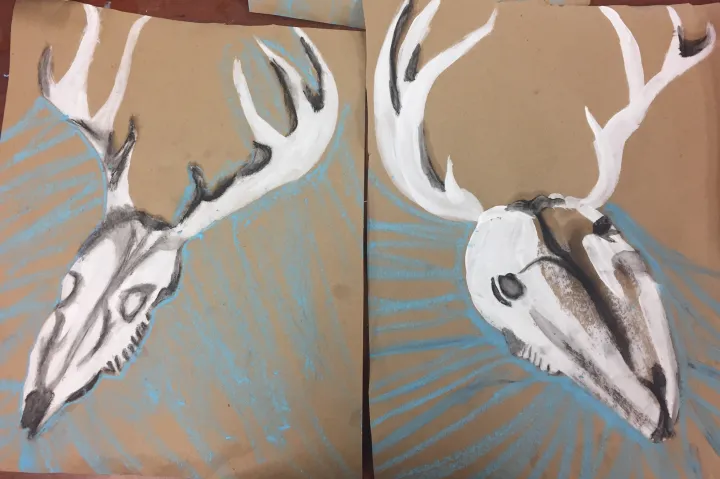
第二天,我们改用黑色油画棒配合婴儿油来添加阴影与明暗。首先观看我的视频《颅骨细节刻画》(https://youtu.be/3QqJeVbE6ng),同时关掉大部分教室灯光,近距离观察颅骨。我喜欢油画棒经婴儿油晕染后自然过渡为明度色块的效果;而且,相比颜料,孩子们面对油画棒时压力更小。
诸如“颅骨最暗的部分在哪里?”这类引导性问题,有助于提升学生的观察能力。学生们纷纷指出最深的暗部,以及其间不同层次的灰色区域。
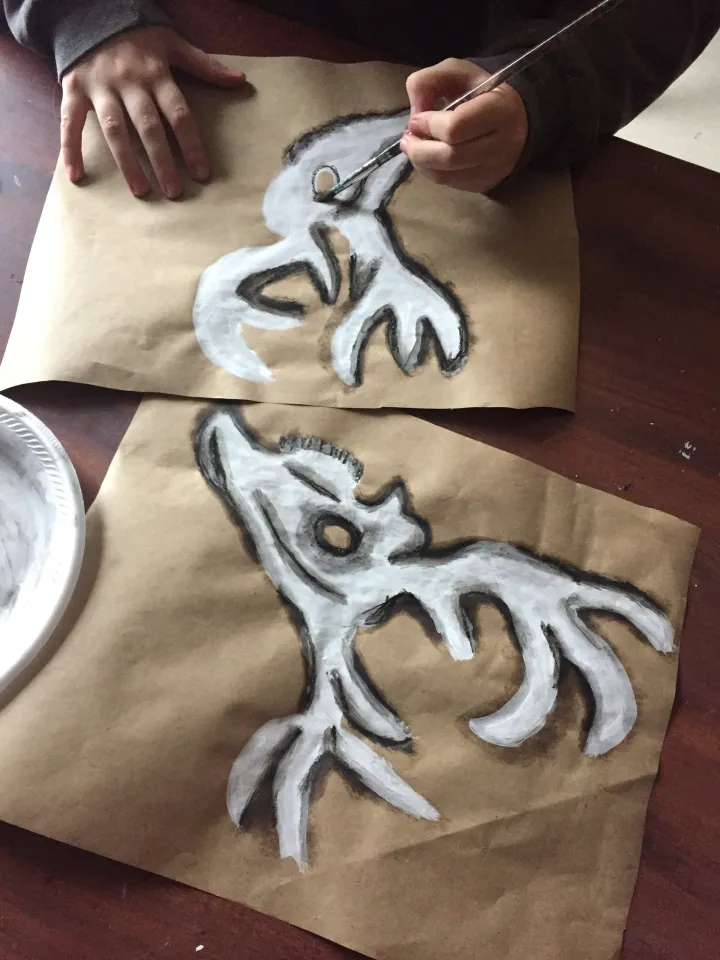
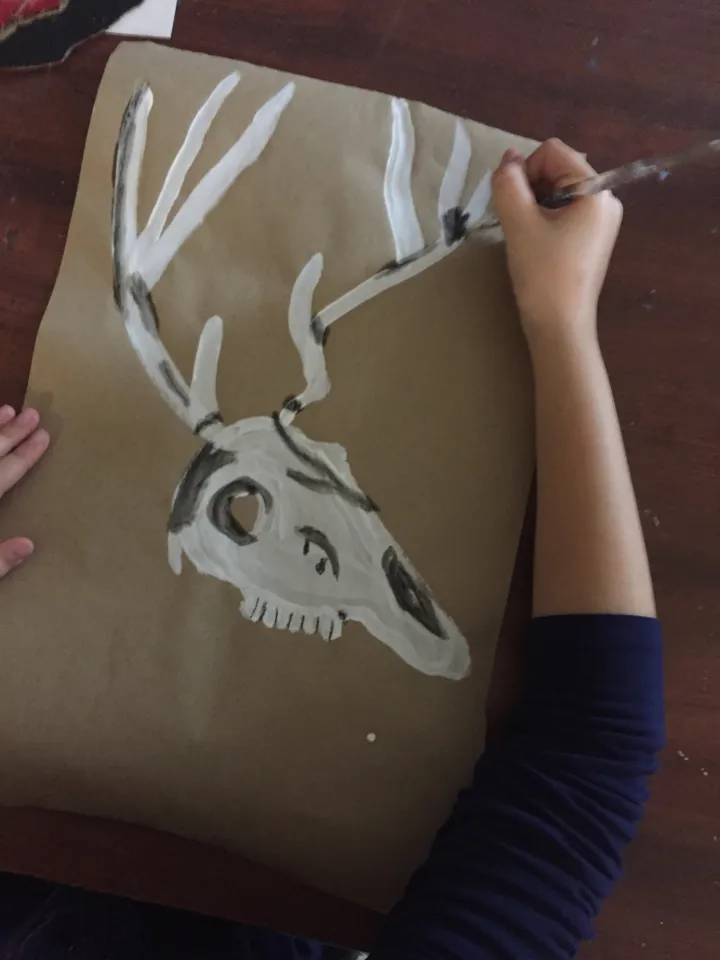
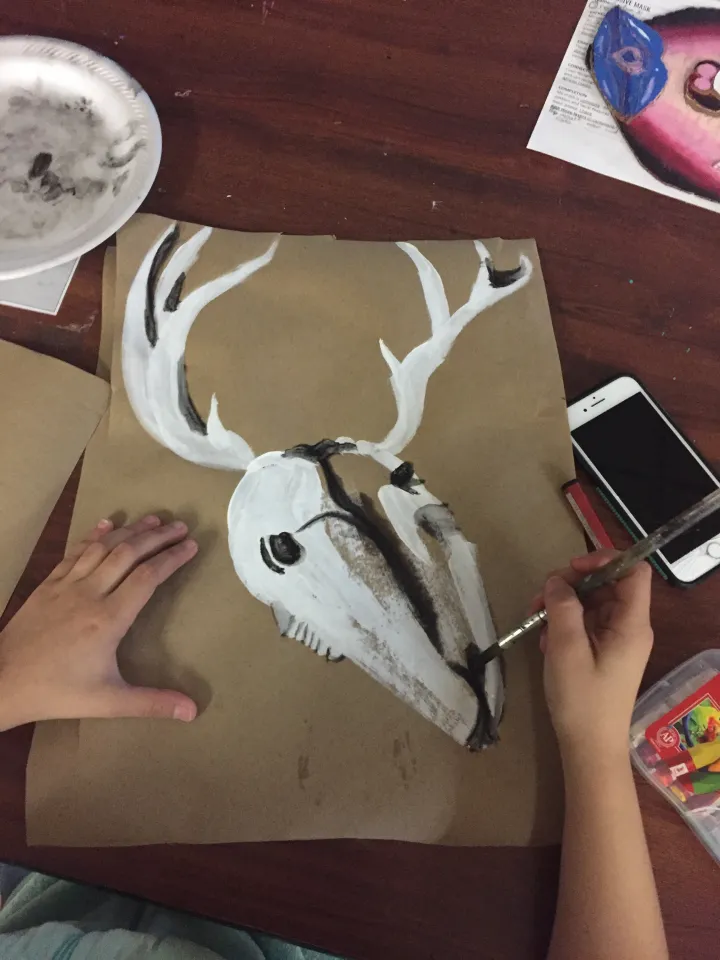
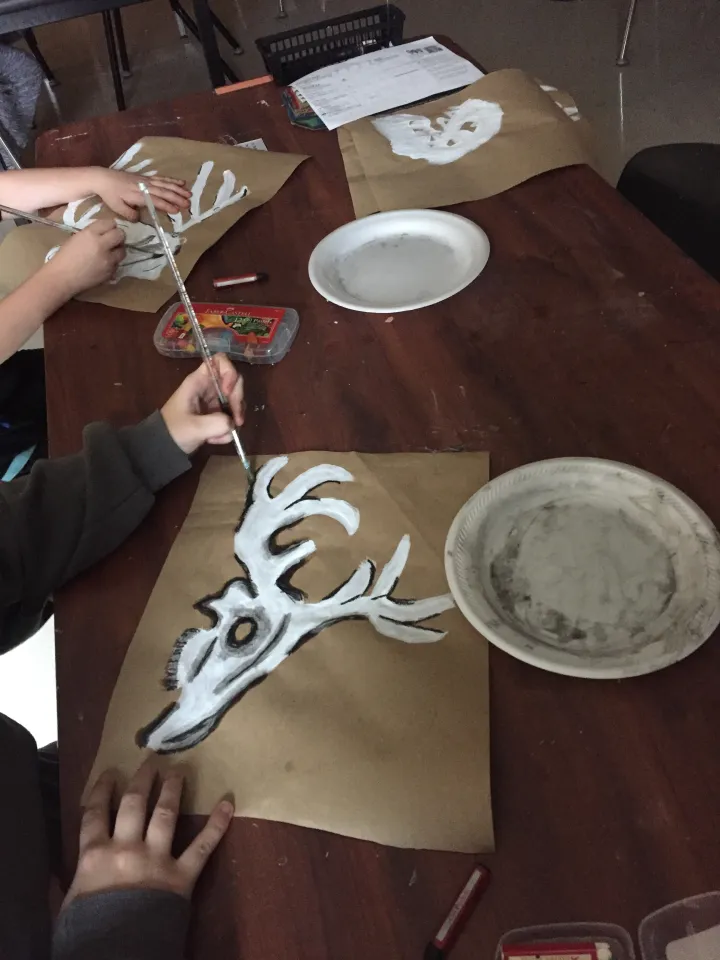
最后一步,是用油画棒扁平侧面在背景中营造空间深度与色彩层次。(顺便也遮盖住一些因婴儿油用量过多而留下的油渍。)
本单元最后一节课上,一名学生告诉我,他回家后告诉爸爸:“我在美术课上画了一个鹿头颅骨。”爸爸惊讶道:“五年级?我们当年上美术课可从来没画过这个!”
✊🏼

Skull Painting | Acrylic Lesson Plan
Original: https://thatartteacher.com/2019/01/08/skull-painting/
Date: 2019-01-08
Author: Sierra Machado
Categories: art tutorials, distance learning, long form lesson plan, Uncategorized
Tags: acrylic painting, art, art education, artist, high school art, middle school art, oil pastels, painting, teaching
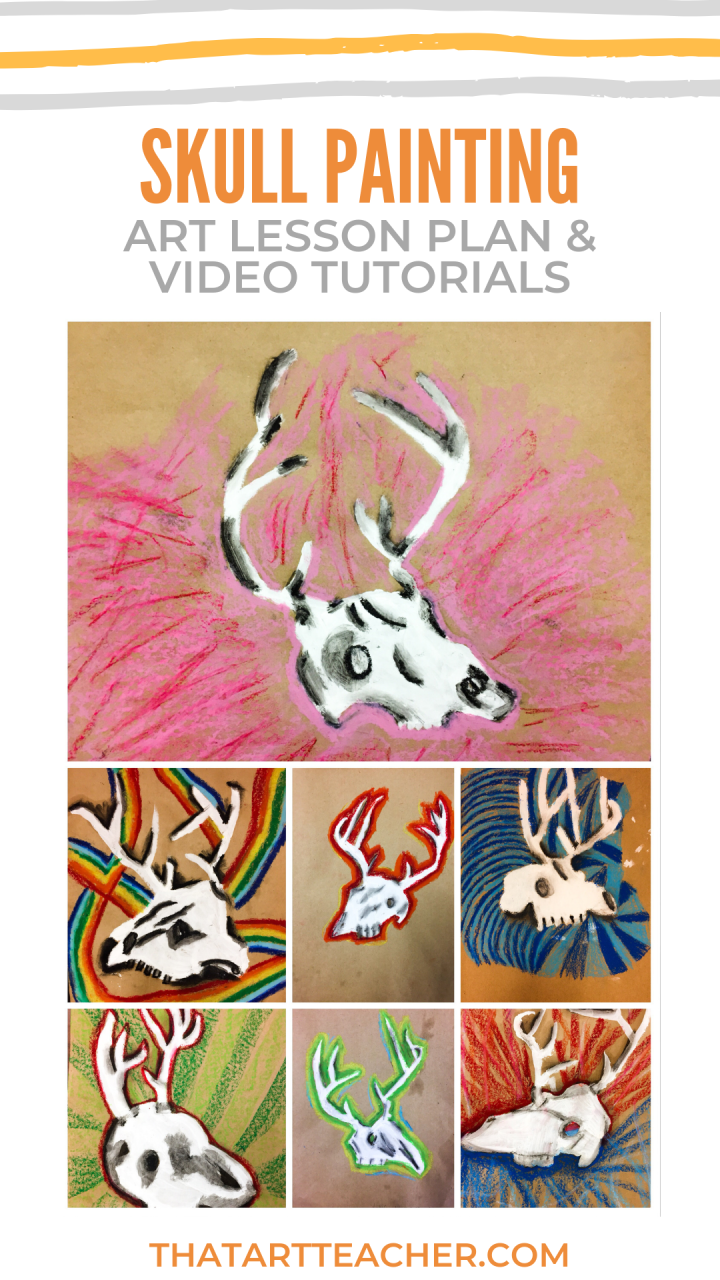
These words are often heard by art teachers. How do you get kids with limited confidence or experience to practice looking at the world around them and translate that into their artwork?
Recently, I challenged myself to teach every familiar lesson a little differently. My school is divided into quarters so I find myself teaching the same lessons four times a year. Instead of letting myself get bored, I pushed myself to use this as an opportunity for experimentation.
I love showing my students Georgia O’Keeffe, especially her skull paintings. There’s a beautiful simplicity to these paintings and the students love the contrast of detailed skulls and the ethereal backgrounds. Also, she’s a progressive woman artist 🤘🏼. Kids from Oklahoma seem to genuinely respond to the subject matter. You know, wide open spaces and all that prairie life.
I can’t bring the New Mexico desert to my students, but I can bring the skulls. I sent out an email to my fellow coworkers and a couple days later I had a plethora of skulls to choose from. As soon as students walked in my classroom they were mesmerized by the deer antlers.
“We’re going to draw that?!”
Panic.
I started out by saying that it would be so much fun, yes it will be challenging, but I promise to break it down into simple steps. Everyone is going to do amazing!
Less panic.
Then I told them that we were not going to be using pencils, we were jumping straight into painting.
So much panic.
I reassured them to think of this as practice. We had watched a video about Georgia O’Keeffe the day before and I reminded them she was almost 90 years old in the video. So do I expect you to paint as well as an artist that has been practicing for almost 90 years? Nope. Just try your best.
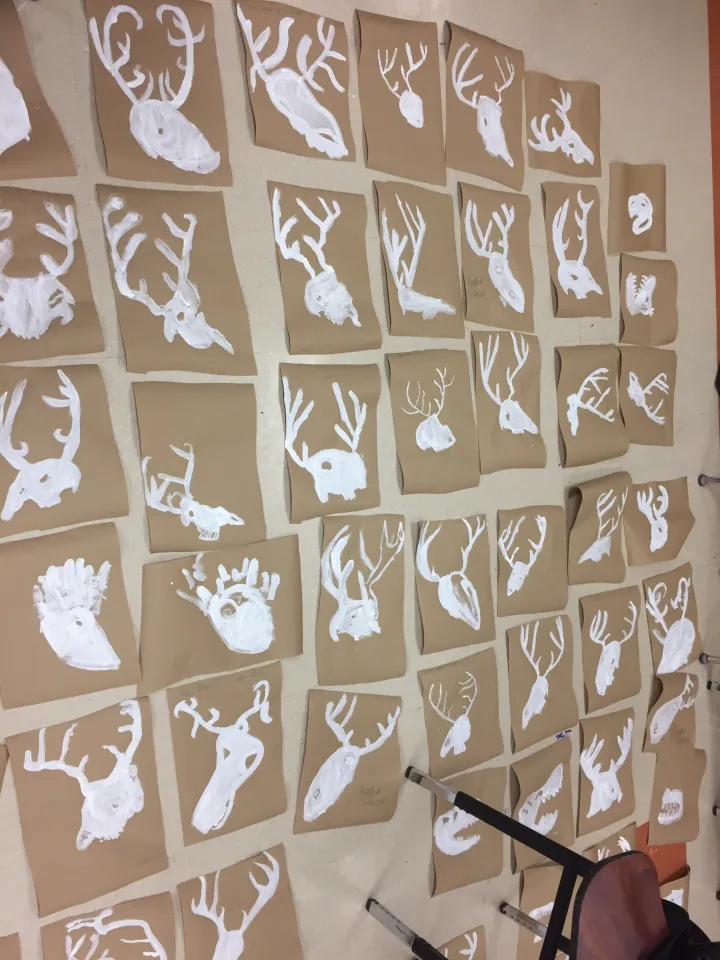
I started by giving each student three pieces of brown butcher paper. I told them that we were doing to do three paintings in one day. Even if you hate one of them you have three chances to get it right.
The quick pace, multiple attempts and being limited to one color seemed to lessen the stress of most students. My perfectionists still seemed concerned there would be no erasing.
We watched my Skull Painting Basics video and worked through our questions and clarifications. I reviewed how to use their paintbrush to measure and find angles.
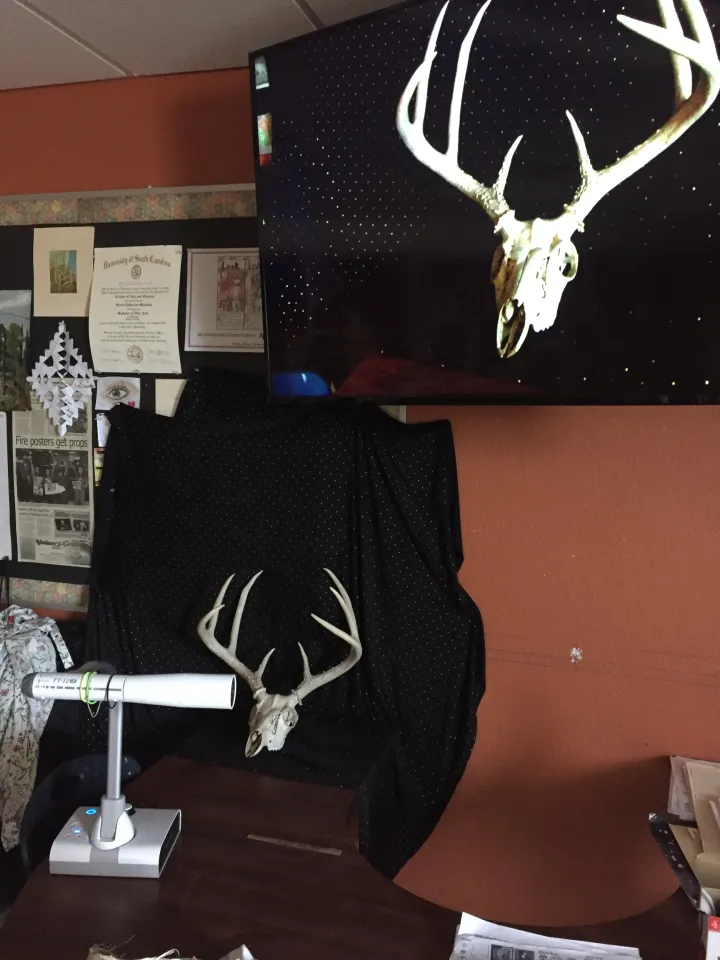
The deer skull was set up and projected using my amazing Elmo document camera. If you don’t have one of these, beg your school to buy one for you because it will change your life.
I set a timer on my phone for 8 minutes and told them to look for size relationships and basic shapes. The lighting of the classroom whited out many of the small details and made it easier for students to see the main shapes.
I also told students they were not allowed to raise their hand. I promised I would not sit down but they had to just focus on painting and not being scared to “mess up”.
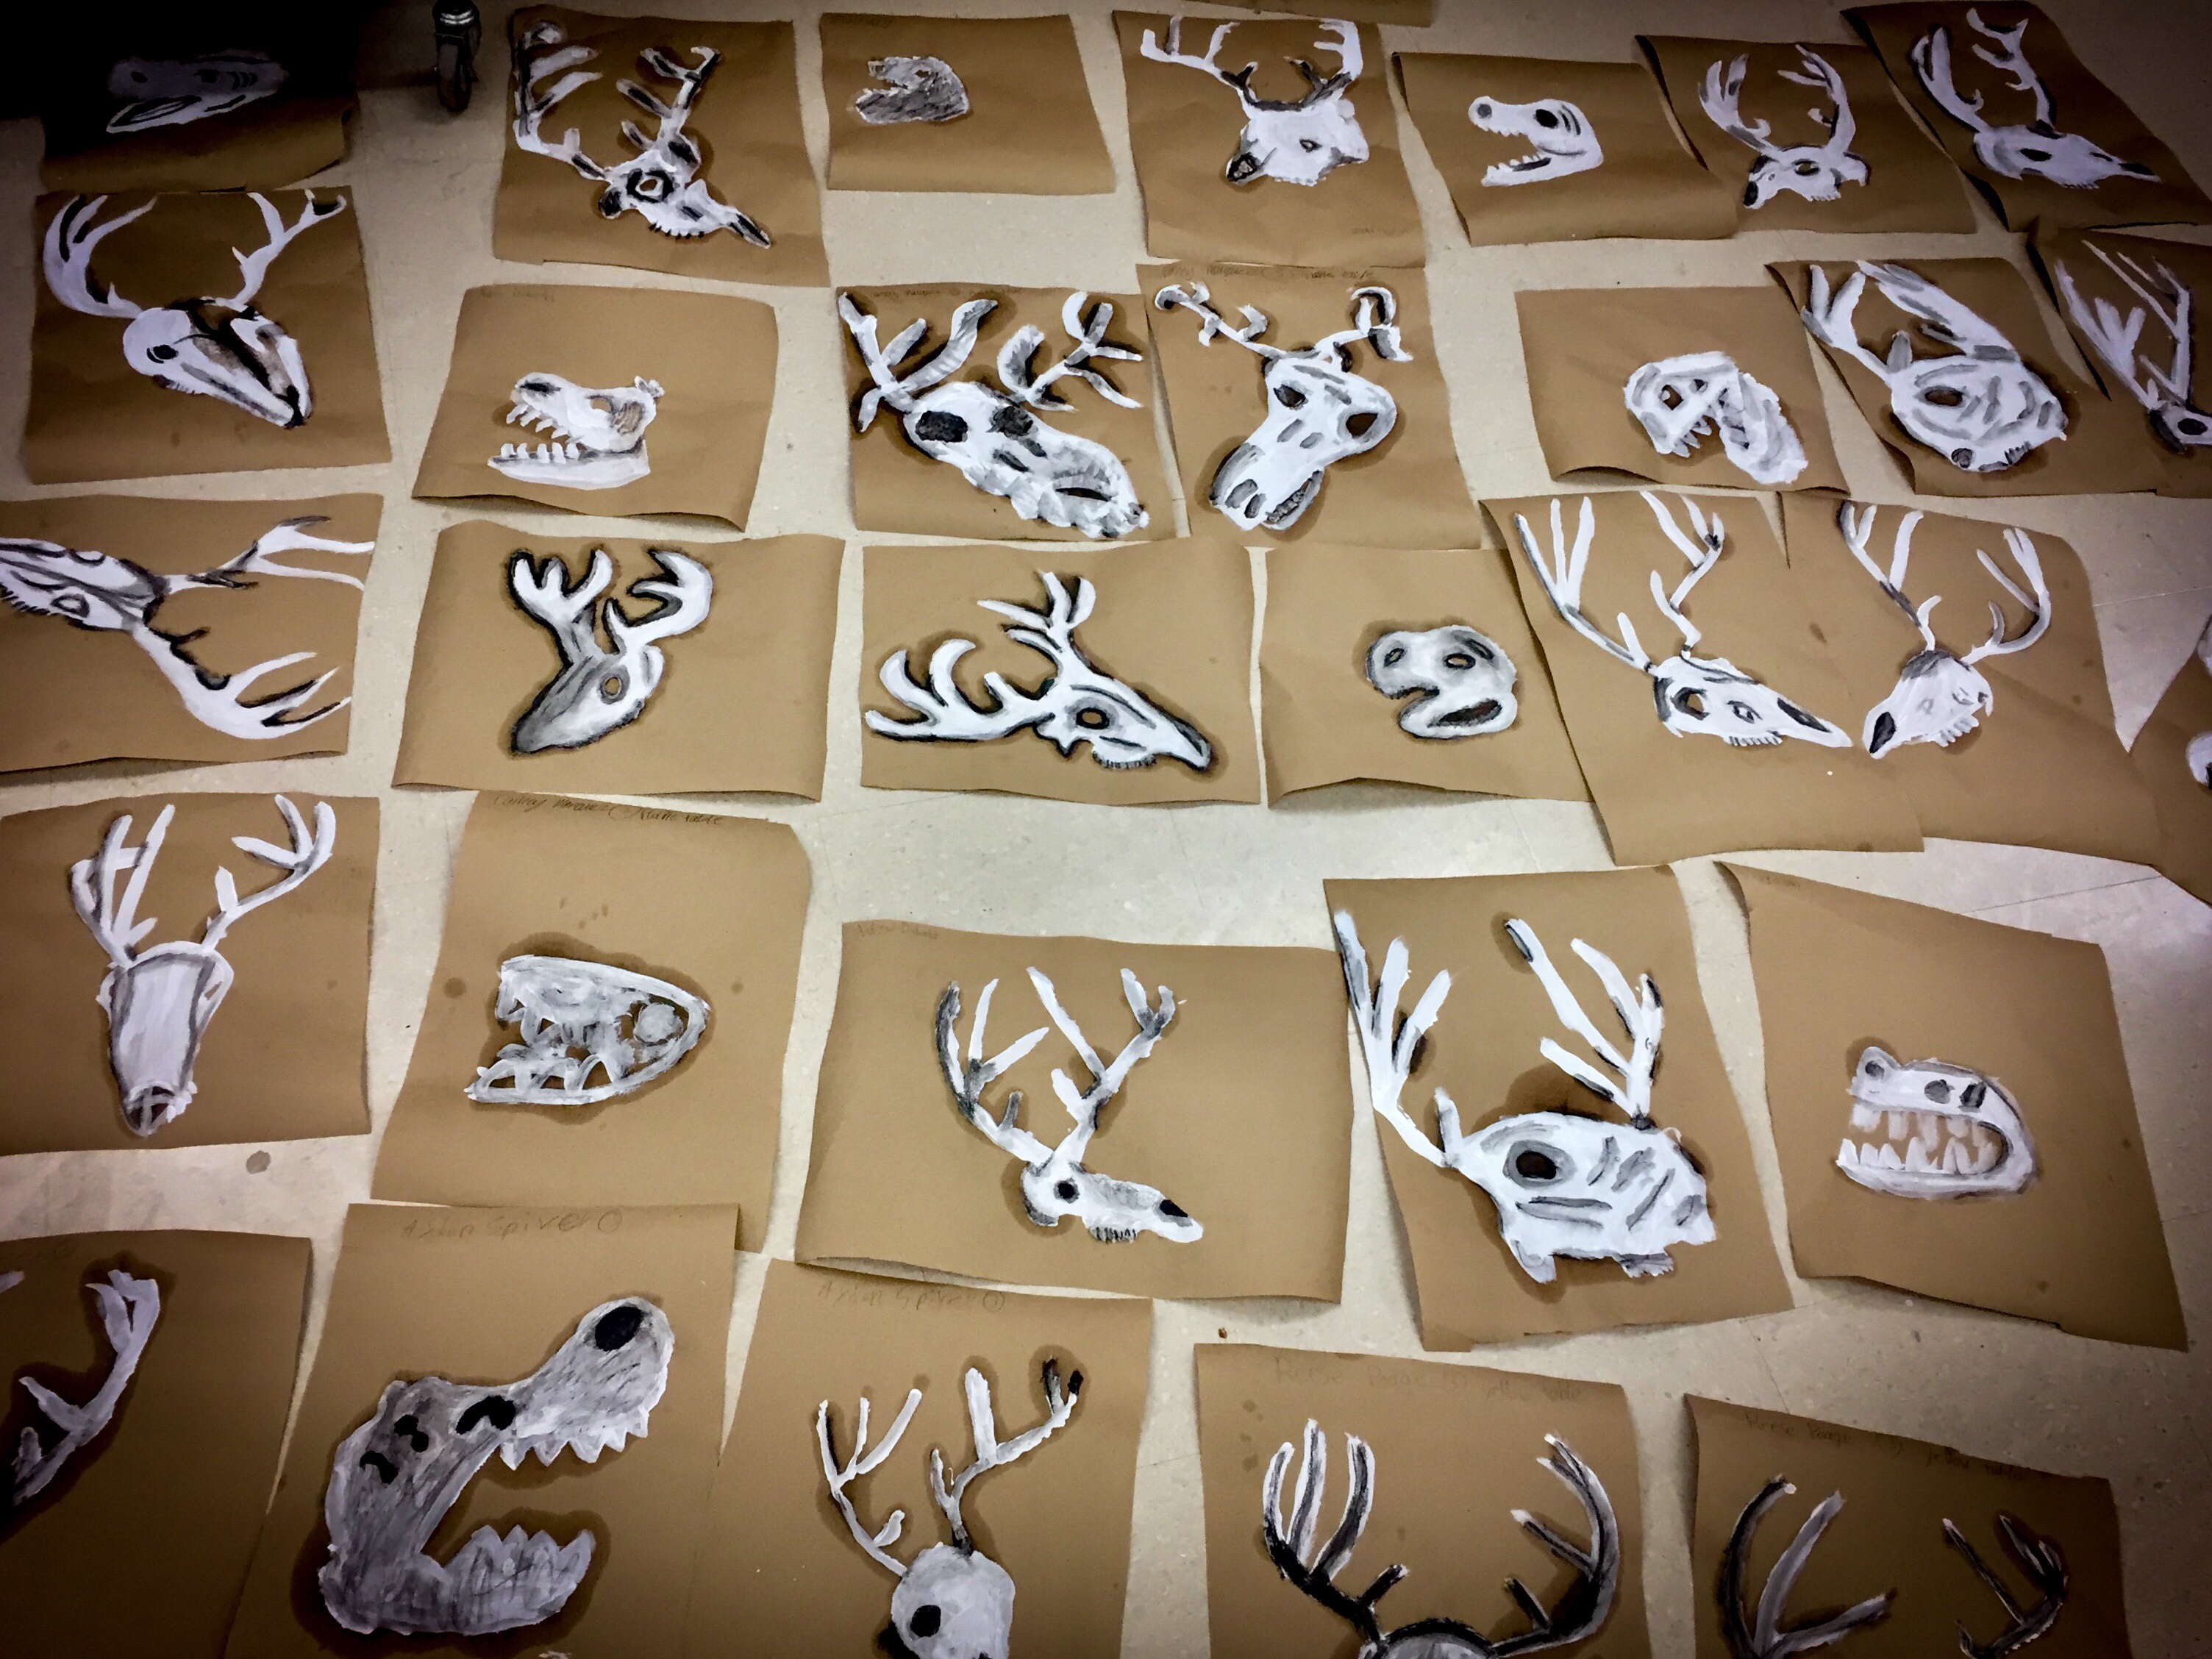
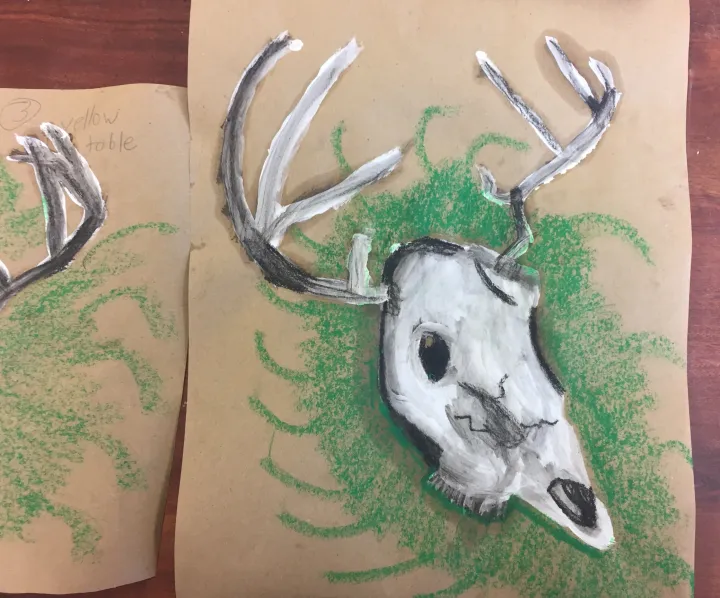
It was a beautiful scene. A couple minutes in and kids were holding their paintbrushes to measure antler angles (proud art teacher heart) and confidently filling in white shapes. The second painting I changed the angle of the skull and kids painted quicker and more confidently. By the third angle kids were smiling and working like pros.
The second day we used a black oil pastel and baby oil to add shadows and shading. We started by watching my Skull Details
video and looking at the skull with most of the lights off. I like how the oil blends lines into value planes, and kids are less intimidated because it’s not paint.
Guided questions like “where are the darkest parts of the skull?” help kids with their observations. Kids shared the areas that were the darkest and the areas of gray in between.
The finishing touch was done by the flat side of an oil pastel to create depth and color in the background. (And to cover up some of the oil spots from over zealous baby oil users.)
One of my students told me on the last day of this unit that he told his dad he painted a deer skull in art class. His dad said “In 5th grade? We never did that in art class!”
✊🏼