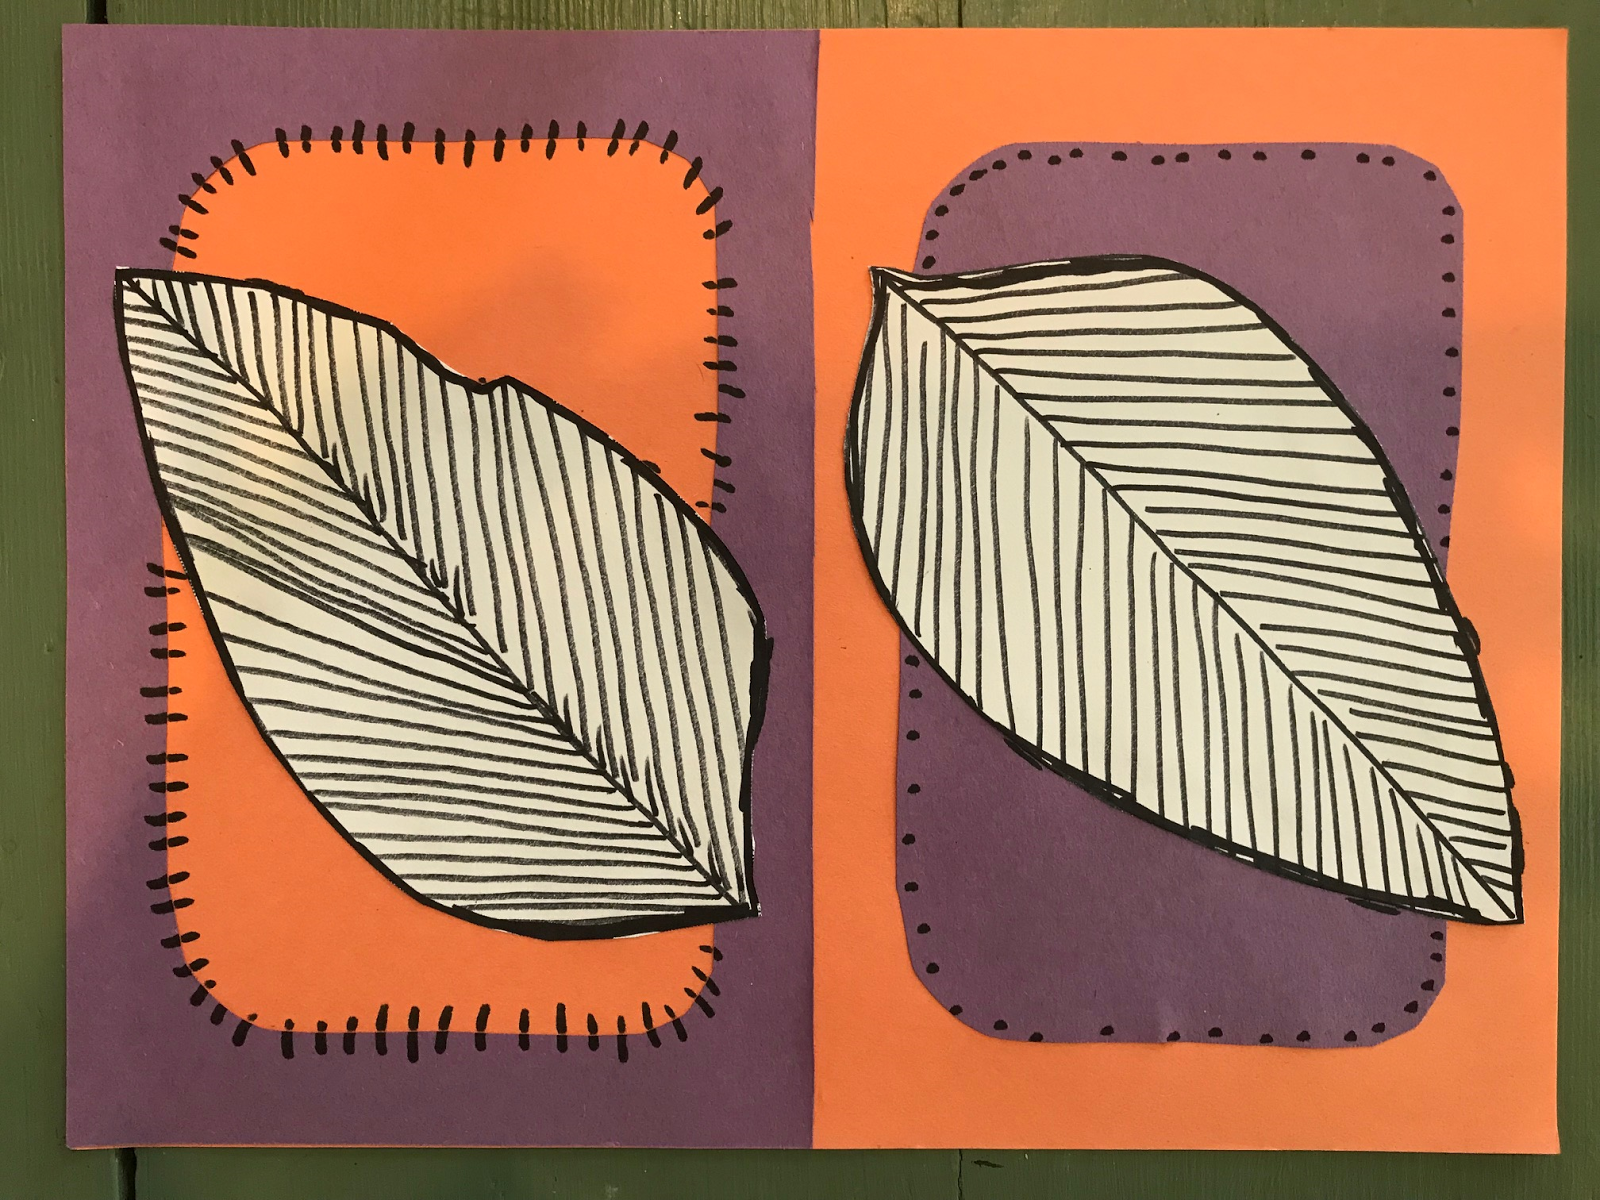
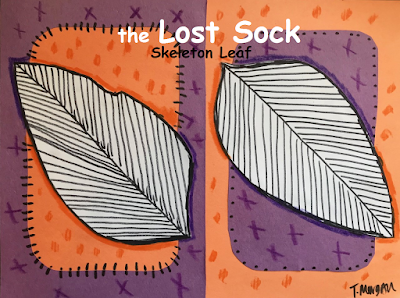
骷髅叶剪纸
原文链接:https://tabithaannthelostsock.blogspot.com/2017/10/skeleton-leaf.html
日期: 2017-10-28
标签: 艺术、秋季、剪裁、小学、秋日、胶水、树叶、课程、负形、教学计划、正形、叶脉骨架
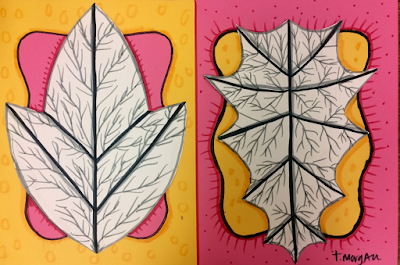
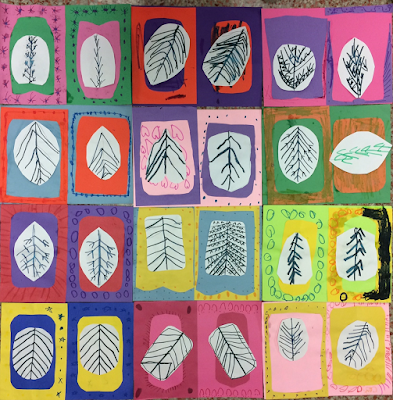
沃伦老师的一年级班级
以下优质视频可帮助学生理解树叶的结构:
https://www.youtube.com/watch?v=_xeYNnzwpSE
https://www.youtube.com/watch?v=WFAFtkDZO-4
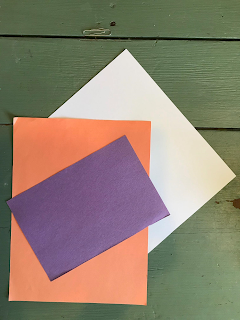
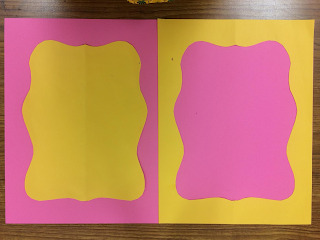
你需要一张9英寸×12英寸的白纸和一张彩色纸;
另需一张9英寸×6英寸的另一种颜色的纸。
从这张较小的彩色纸上剪下一个带圆角的矩形。
切勿丢弃中间部分——它将被使用。
我先将纸对折后再剪,以确保左右对称。
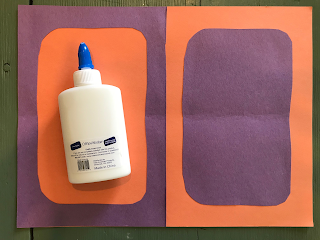
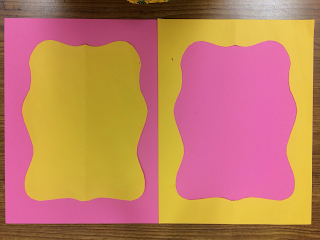
将剪下的中间部分粘贴在较大张异色纸的一侧。
再将外围边框(即剪掉中间后剩下的部分)从中间向另一侧粘贴。
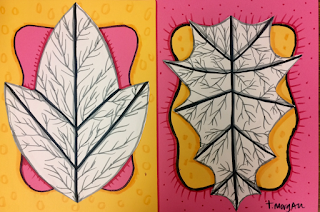
(参见上图)
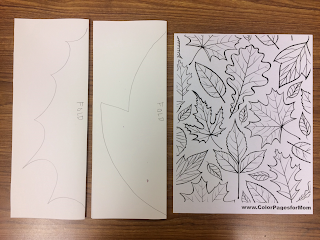
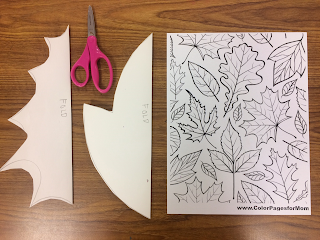
观察各种树叶的形状;
从中挑选一种,画在纸上。
若希望树叶左右对称,可先将纸对折,只画半片叶子;
剪下后展开,再画叶脉。
素材下载自 www.ColorPagesForMom.com
绘制叶脉
在对折的纸上用铅笔画一片大叶子;
再用黑色记号笔勾勒轮廓。
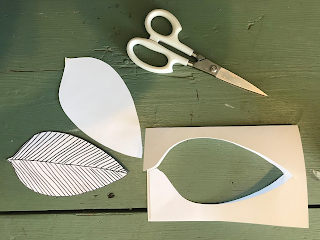
保持纸张对折状态进行剪裁,可一次得到两片相同的叶子。
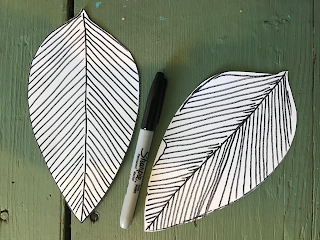
从中心主脉向上延伸添加侧脉线,方向为远离叶柄、朝向叶尖。
叶脉由叶柄处向外生长,最终伸向叶片边缘。
不同树叶的叶脉图案复杂程度各异。
主脉通常更粗;
而从主脉分出的所有次级叶脉则逐渐变细。
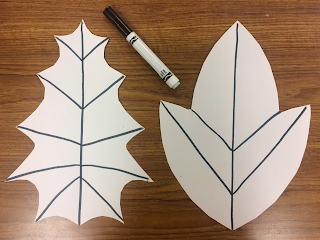
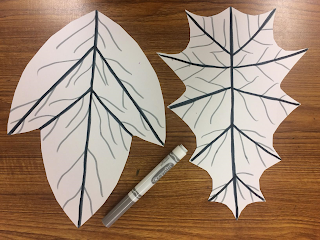
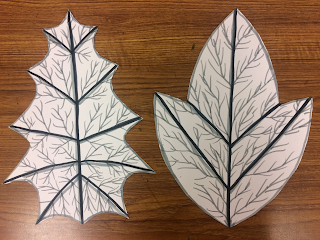
待树叶制作完成后,开始装饰边框。
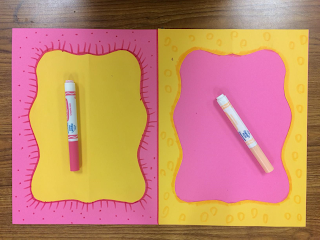
我选用比底纸略深一阶的记号笔或蜡笔,添加阴影、轮廓与图案。
装饰前
装饰后
粘贴固定
我第一次尝试时,是先将树叶粘贴到卡纸上,再装饰边框。
这样操作稍有难度,但最终效果依然不错。
------请参见下方------
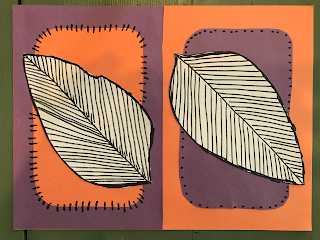
将树叶粘贴到卡纸上;
再用黑色记号笔沿叶缘添加细节。
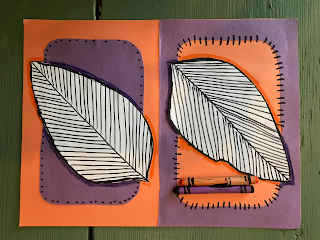
用比卡纸颜色略深的蜡笔,在树叶周围添加阴影。
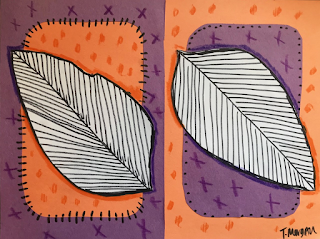
(可选)
在树叶周围添加简洁的装饰细节。
骷髅叶剪纸
Original: https://tabithaannthelostsock.blogspot.com/2017/10/skeleton-leaf.html
Date: 2017-10-28
Tags: art, autumn, cut, elementary, fall, glue, Leaf, lesson, negative, plan, positive, skeleton
Mrs. Warren's 1st grade class
Good videos to watch explaining the parts of a leaf.
https://www.youtube.com/watch?v=_xeYNnzwpSE
https://www.youtube.com/watch?v=WFAFtkDZO-4
You will need one 9 by 12 white paper and one colored paper.
you will need one 9 by 6 alternate color paper.
Cut a rectangle with rounded corners from the smaller piece of colored paper.
Do NOT destroy the middle. It will be used.
I had to fold the paper then cut to make it symmetrical.
Glue the middle down on one side of larger alternative colored paper.
Glue the outside frame from middle to the other side of larger paper.
(see above)
study shapes of leaves
pick a shape to draw onto paper.
If you want them symmetrical, fold paper in half and draw only half of leaf.
Then cut out and open to draw veins.
get this at www.ColorPagesForMom.com
DRAWING VEINS
Draw a big leaf on folded paper with pencil.
Outline with black marker.
Cut from paper when folded to create 2 leafs.
Add vein lines coming from the center line going upward away from stem.
The veins grown away from the stem and out towards tips.
Some leave patters can be more complicated than others.
Main Veins tend to be THICKER.
while all others stemming from them get skinnier.
When leaves are completed, begin decorating the frames.
I used a marker or crayons one shade darker than my paper to add shadow, outline and design.
BEFORE
AFTER
GLUE DOWN
The first time I glued my leaves down BEFORE decorating my frames.
This was a little harder, but still worked out in the end.
------See Below----
Glue down leaf onto construction paper.
Add detail around edges with black marker.
Add crayon shadow around the leaf with a darker shade of the construction paper.
Optional
Add simple detail around the leaf.