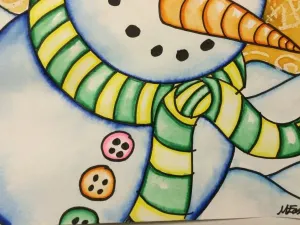
Snowman Painting with Markers & Watercolor Resist!
Original: https://createartwithme.com/snowman-painting-markers/
Date: 2015-01-25 Author: Michelle East Categories: 2nd Grade, 3rd Grade, 4th Grade, After School Art & Art Camp, Art Lessons, Elementary Art, Featured, K-1st Grade, Marker Bleeding, Painting Lessons, Watercolor Lessons, Watercolor Resist Tags: adding water to markers, bleeding markers, marker bleeding, markers, paint with markers, painting with markers, resist lesson, snowman, snowman art, snowman painting, Watercolor and crayon resist paintings, watercolor resist, watercolor resit
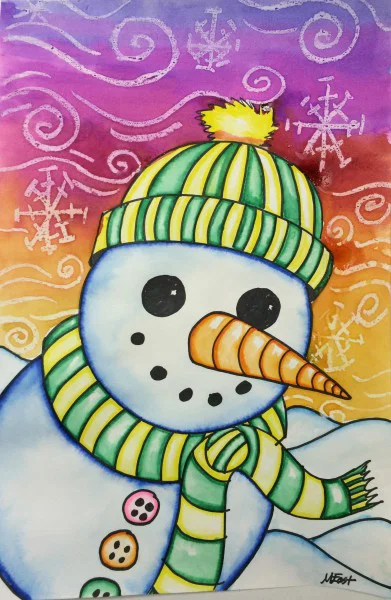
snowman marker bleeding Did you know markers bleed and you can make the look like a painting? You probably figured that out if you accidentally spilled water on a marker drawing-ruined right?!

We used the “bleeding” accident to paint our snowman so they look 3D! IT WAS SO MUCH FUN! I love to use supplies in experimental ways-that’s how we grow & change as artists! The art teacher blogs Deep Space Sparkle and Mary Making also explored this same concept with their elephant projects (which are great projects to do with 2-3rd graders-I’ve done this with my students & they LOVED it!). Try it!!
Supplies: 12×18 tagboard, sharpies, Crayola markers, white oil pastels, watercolor paints, 2 sizes of paper or Styrofoam plates (to trace the body)
Snowman Painting with MarkersInstructions: (2-45 minute classes)

- Use the smaller plate to draw the head of the snowman in the middle of the page.
- Use the larger plate to draw the body of the snowman, slightly overlapping (behind) the head.
- Draw in the eyes, smile & buttons with circles.
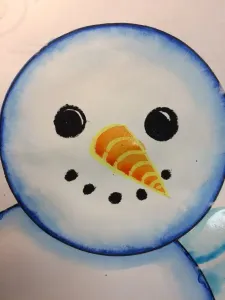
- Draw the carrot nose as cone. You can use a yellow oil pastel to outline, then paint with orange paint later.
- Draw all other details like hats, scarves, mittens, arms, & hills.
- Use a brown oil pastel for the branch arms.
- Outline everything in Sharpie.
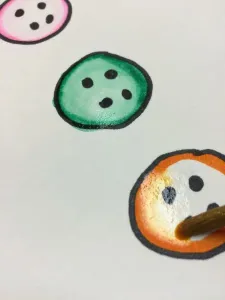
- Use a blue Crayola marker to draw a line INSIDE the outline of the head & body.
- Use a paint brush & water to gently rub against the blue line, making it bleed into the head. Add more water if a harsh line is formed-the goal is for the color to fade into white (the color of the paper).
- Use colored markers to color the buttons, scarves & mittens with the same bleeding process.
- Let dry.
- Use white oil pastels to draw snow & swirly lines (like Van Gogh’s Starry Night).
- Finally, paint the background with watercolors & see the watercolor resist happen-Magic!
If you choose to use ANY part of this blog (pictures or written), please link back to Create Art with ME!
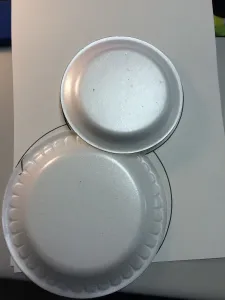 : Trace Body with plates
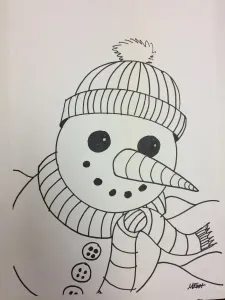
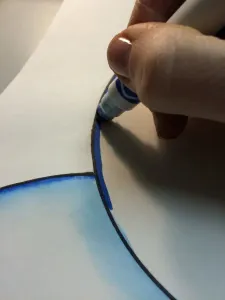 : Draw with Blue Marker
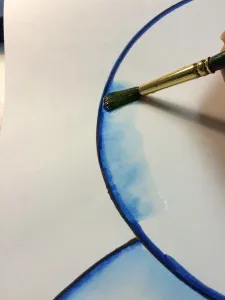 : Paint with Water to make marker “Bleed”
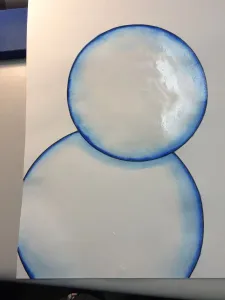
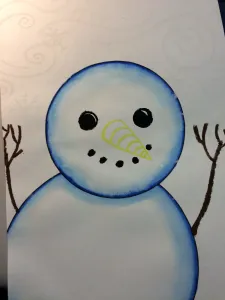 : Oil Pastel Carrot Nose
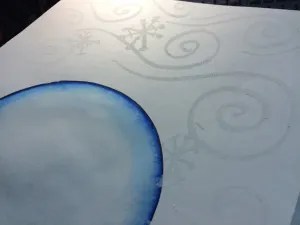 : Oil Pastel Snow & Swirls
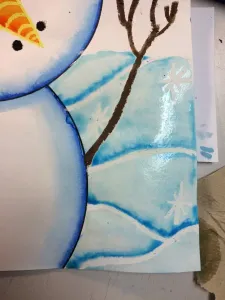
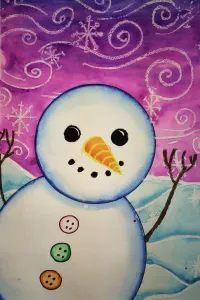
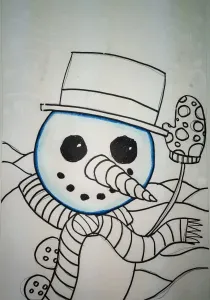 : Add Lots of Details!!
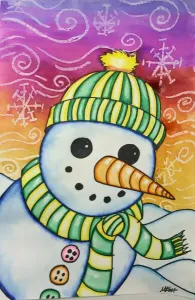 : Marker Painting-Snowman
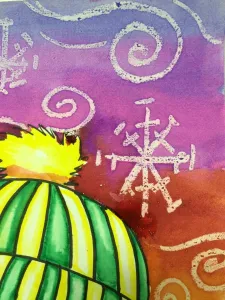 : Watercolor Resit!