马克笔与咖啡滤纸月影剪影美术课
原文链接:https://createartwithme.com/marker-coffee-filter-moon-silhouette-art-lesson/
日期: 2015-10-17
作者: Michelle East
分类: 二年级、三年级、四年级、五年级、课后美术与美术夏令营、美术课程、咖啡滤纸美术、拼贴课程、小学美术、幼儿园至一年级、综合媒介课程
标签: 课后美术项目、美术社团、咖啡滤纸美术、咖啡滤纸月亮、秋季主题美术项目、地平线、马克笔晕染、带稻草人的透视南瓜风景画、南瓜美术、南瓜园、剪影、绘制于染色咖啡滤纸上的剪影
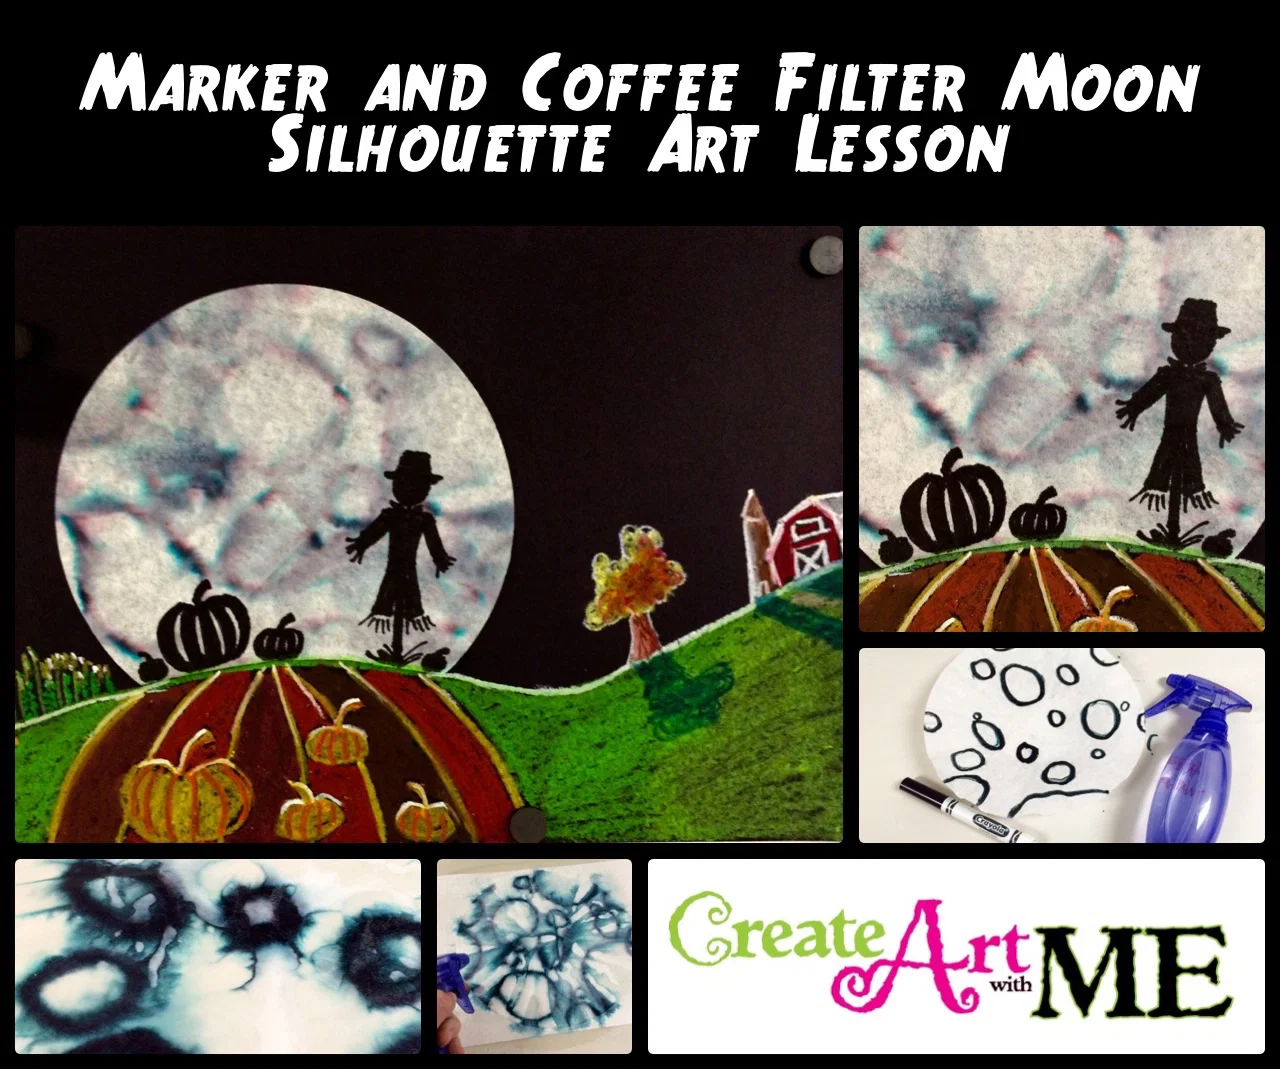
 用咖啡滤纸能完成的趣味美术项目实在太多了! 我将几个不同创意融合起来,设计了本课:咖啡滤纸月亮、带稻草人的透视南瓜风景画以及绘制于染色咖啡滤纸上的剪影。欢迎查阅这些精彩课程!
本周,我的课后美术班完成了这项“马克笔与咖啡滤纸剪影美术项目”——这是一次充满秋日气息的趣味美术活动!孩子们(还有我自己)在制作月亮时玩得特别开心!
关注我的课后美术Pinterest专栏
关注Michelle East — “Create Art with ME” 的 Pinterest 专栏:课后美术
我们是这样完成本项目的:
马克笔与咖啡滤纸剪影美术项目
材料: 咖啡滤纸、复印纸、Crayola黑色马克笔、装有水的喷雾瓶、固体胶棒、12×18英寸黑色卡纸、油画棒、记号笔(Sharpie)
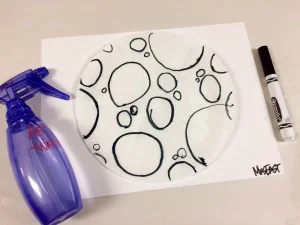
月亮制作步骤:
- 用记号笔(Sharpie)在咖啡滤纸底部或复印纸上写上自己的名字。
- 在咖啡滤纸上用各种大小的圆圈画出月球表面的环形山,部分圆圈可延伸至滤纸边缘之外。
- 将一张复印纸垫在滤纸下方。
- 用喷雾瓶向滤纸均匀喷水,直至整张滤纸完全浸湿。
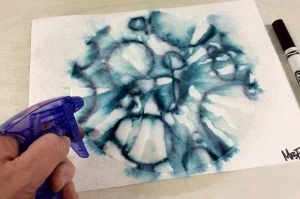
- 自然晾干。若时间紧张,可用吹风机吹干(我们正是这样做的),可大幅缩短干燥时间。若选择吹风机干燥,请先静置滤纸约3分钟,让马克笔颜料充分“晕染”。
风景制作步骤:
- 待咖啡滤纸完全干燥后,剪去滤纸底部一小段。此边缘将作为画面中的地平线位置;你也可将月亮粘贴在纸面其他任意位置。
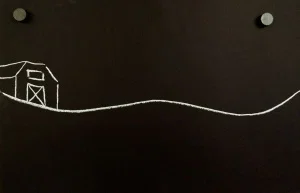
- 用固体胶棒将滤纸粘贴到黑卡纸上。
- 用白色油画棒沿滤纸被剪裁的边缘画出地平线。
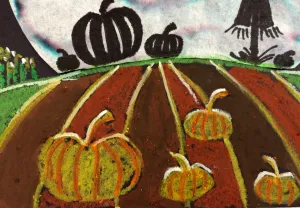
- 用油画棒绘制并涂色完成整幅风景画。
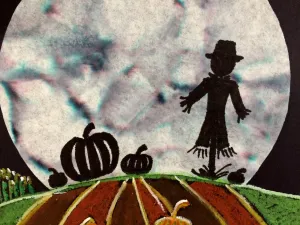
- 用记号笔(Sharpie)在月亮上绘制剪影。
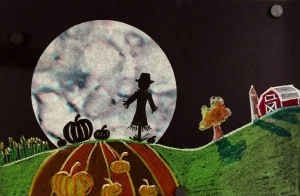
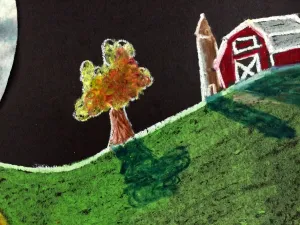
如您引用本课程内容(文字或图片),请务必附上回链至我的博客Create Art with ME。
Marker and Coffee Filter Moon Silhouette Art Lesson
Original: https://createartwithme.com/marker-coffee-filter-moon-silhouette-art-lesson/
Date: 2015-10-17
Author: Michelle East
Categories: 2nd Grade, 3rd Grade, 4th Grade, 5th Grade, After School Art & Art Camp, Art Lessons, Coffee Filter Art, Collage Lessons, Elementary Art, K-1st Grade, Mixed Media Lessons
Tags: after school art projects, art club, Coffee filter art, Coffee Filter Moon, Fall Themed art project, horizon line, marker bleed, Perspective Pumpkin Landscape with Scarecrow, pumpkin art, pumpkin patch, silhouettes, Silhouettes on painted coffee filters
There are so many fun art projects to do with coffee filters! I created this lesson by combining several different ideas: Coffee Filter Moon, Perspective Pumpkin Landscape with Scarecrow & Silhouettes on painted coffee filters. Please checkout these great lessons!
My after school art class created this Marker and Coffee Filter Silhouette Art Project this week-it was a fun Fall Themed art project! The kids (& myself) had SO much fun making the moons!
Follow my After School Art Pinterest Board
Follow Michelle East-Create Art with ME’s board After School Art on Pinterest.
Here’s how we did our project:
Marker and Coffee Filter Silhouette Art Project
Supplies: Coffee Filters, copy paper, Crayola Black Markers, Spray bottle filled with water, Glue Sticks, 12×18″ Black Construction Paper, Oil Pastels, Sharpies
Moon Instructions:
1.Write your name with a Sharpie at the bottom of the coffee filter or on the copy paper.
2.Draw the craters of the moon by drawing various size circles all over the coffee filter, some going off the filter.
3.Put a piece of copy papy under the filter.
4.Spray the filter with water until the whole filter is wet.
5.Let dry. If you are in a hurry, you can dry with a hair dryer (as we did). It will significantly speed the drying time. If you choose to dry with a hair dryer, let the filter sit for about 3 minutes to allow the marker to “bleed”.
Landscape Instructions:
- When the coffee filter is dry, cut off a small portion of the bottom. This is going to sit on the horizon line of the drawing. You could also choose to put the moon in a different location on the paper.
2.Glue the filter onto the paper with stick glue.
-
Use a white oil pastel to draw in the horizon line along the cut edge of the filter.
-
Use oil pastels to draw and color in the artwork.
-
Use a Sharpie to draw silhouettes on the moon.
If you choose to use any part of this lesson (written or photo), please link back to my blog Create Art with ME.
 用咖啡滤纸能完成的趣味美术项目实在太多了! 我将几个不同创意融合起来,设计了本课:咖啡滤纸月亮、带稻草人的透视南瓜风景画以及绘制于染色咖啡滤纸上的剪影。欢迎查阅这些精彩课程!


