顶到底文字线条
原文链接:https://tabithaannthelostsock.blogspot.com/2014/05/top-2-bottom-text-lines.html
日期: 2014-05-28
标签: 美术课、色彩、线条、姓名、短语、引语、文字、字体设计
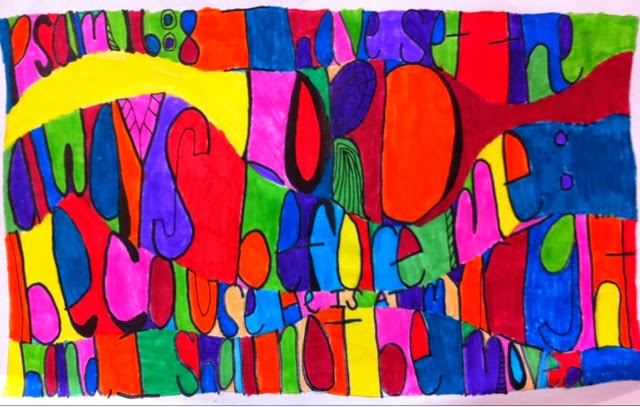
布鲁克·B. 八年级 2014年
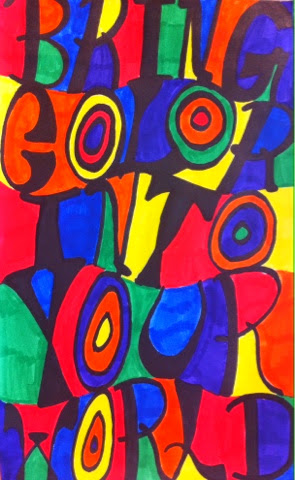
莎娜·R. 八年级 2014年
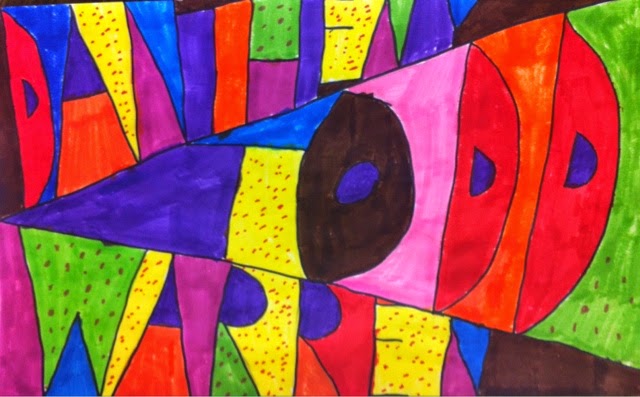
托德·W. 八年级 2014年
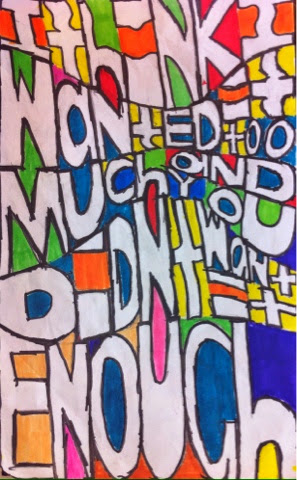
印迪·R. 八年级 2014年
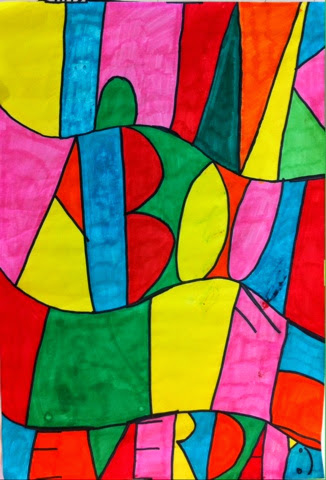
巴勃罗·O. 六年级 2014年
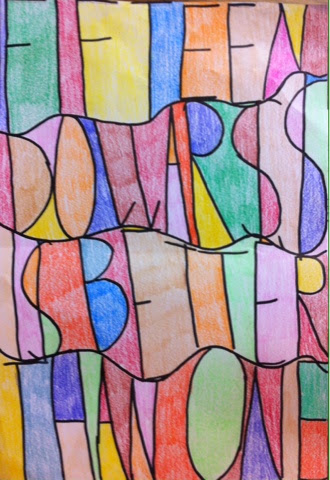
安杰尔,六年级 2014年
本字体设计课程的创意源自:
http://artfulartsyamy.blogspot.com/2012/11/lesson-plan-art-typography-literacy-and.html
而画框创意则来自 Natalie @ Elementary:
http://elementaryartfun.blogspot.com/search/label/2%20point%20perspective%20names
我将本课命名为……
头到脚文字
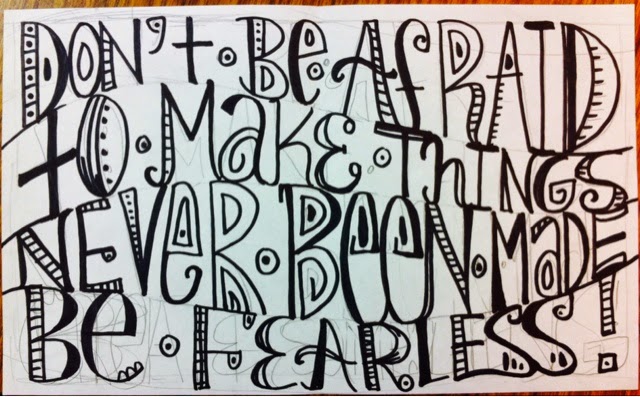
先用铅笔在纸上画出横向线条(可略带斜度、弯曲或完全平直),横贯整页。共画约3–5条。
接着,在这些线上书写文字(如姓名设计、短语、引语、诗句等)。确保每个字母的顶部与底部均恰好触碰到上下两条线,且文字尽可能向两端延展,以充分撑满整条线。我需先用铅笔轻画,并反复擦改,直至布局恰到好处。
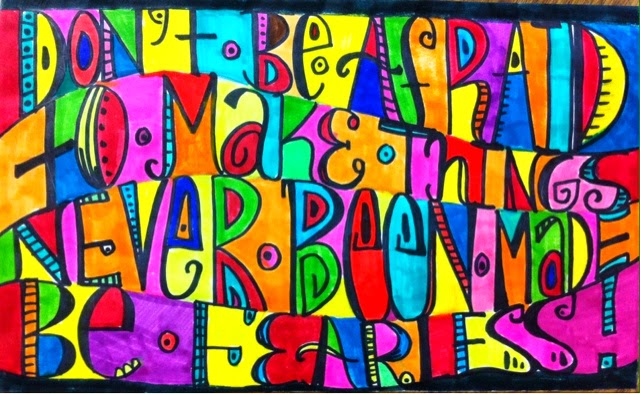
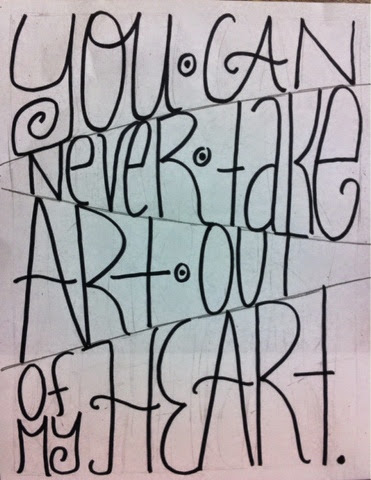
待铅笔稿完成,再用粗黑马克笔(Sharpie)勾勒文字轮廓。
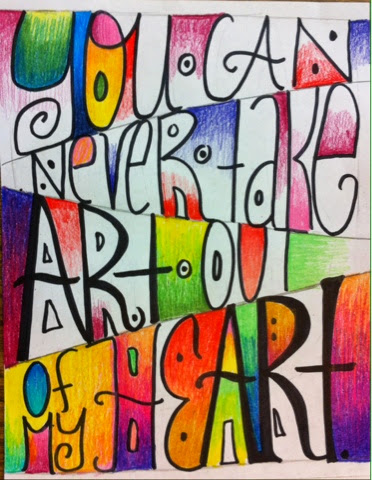
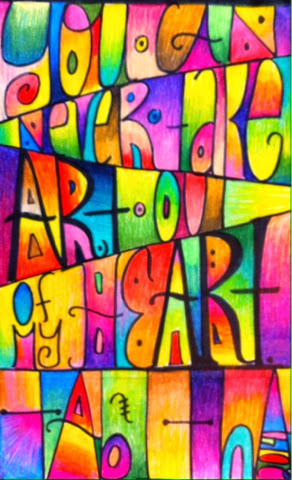
使用记号笔、蜡笔或彩铅为每个字母之间的空白区域填色。注意避免过多使用深色,否则会与黑色字形混融,影响文字辨识度。
精美画框
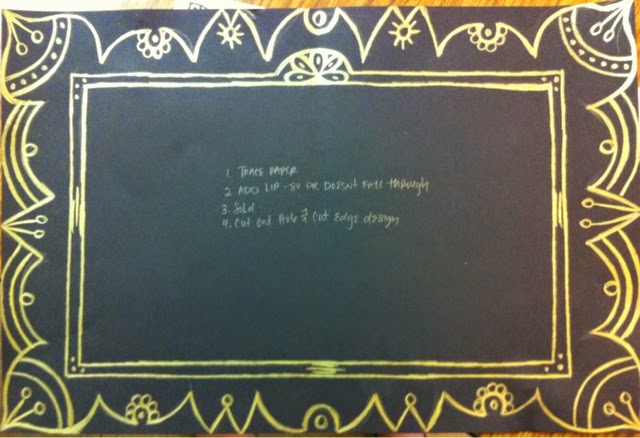
我专为本次“头到脚文字”作品定制了此画框尺寸。先将待装裱的画纸居中置于一张较大的黑色卡纸上,用铅笔沿其边缘描出外框;再于该线内侧另画一圈稍小的方框,作为画框的“边沿”。随后,用金色绘儿乐(Crayola)彩铅,在整张卡纸四周绘制对称图案。
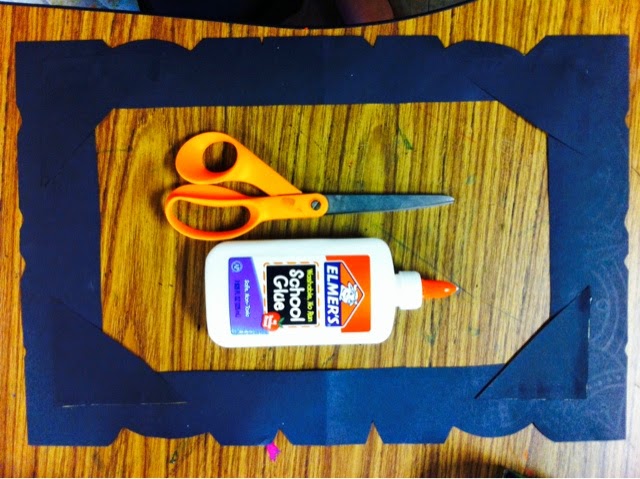
接着,裁去中心部分。再将裁下的中心纸片四角剪开,并将其分别粘贴至画框内侧四角,充当支撑结构,以固定画纸位置。
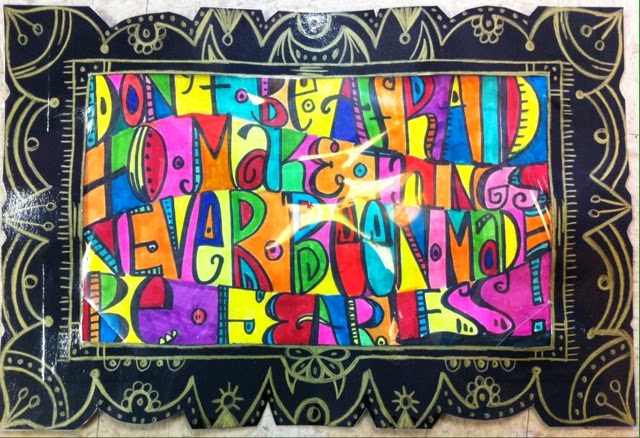
最后,我对画框整体进行覆膜处理,再剪开四角支撑结构,以便插入并固定画纸于画框后方。如此一来,若将来制作同尺寸新作,即可轻松更换画面。
顶到底文字线条
Original: https://tabithaannthelostsock.blogspot.com/2014/05/top-2-bottom-text-lines.html
Date: 2014-05-28
Tags: art lesson, color, line, names, phrases, quotes, text, typography
Brooke B. 8th grade 2014
Shanna R. 8th grade 2014
Todd W. 8th grade 2014
Indy R. 8th grade 2014
Pablo O. 6th grade 2014
Anjel, 6th grade 2014
I got this idea for the typography lesson from
http://artfulartsyamy.blogspot.com/2012/11/lesson-plan-art-typography-literacy-and.html
and the frame idea from Natalie @ Elementary
http://elementaryartfun.blogspot.com/search/label/2%20point%20perspective%20names
I call my version...
Head to toe Text
Begin with drawing horizontal lines (slight diagonal, curvy, or straight) running across page with your pencil. You should draw about 3-5 lines.
After this, use text (name design, phrase, quote. Poem...) on lines. Make sure each letter's top and bottom both touch the lines and text should be spread as far out as possible stretching the span of line. I had to do this lightly with pencil and much erasing till it fit just right.
When text is done in pencil, outline in thick black Sharpie marker.
Use markers, crayons, or colored pencil to color in each area between the letters. Try not to use too much dark colors because it will blend in with black lettering and complicate reading if words.
Fancy Frames
I measured this farm just specific for my Text Zhead to Yoe picture. I placed the paper I wanted to frame on the larger black construction paper centered and traced with pencil. I drew another box inside that line as a "lip" for the frame. Using a gold Crayola Colored Pencil, I made symmetrical designs all around the paper.
I then cut the center out. I cut the four corners of the cut out center and glued them in the inner corners of the frame to act as braces to hold the picture in place.
I then laminated the frame and cut the braces free to put the picture in and behind the frame. This way if I ever do another picture the same size I can change them out.


