Miniature Ceramic Bird Bath – Pinch Pot and Slab Lesson
Original: https://createartwithme.com/ceramic-bird-bath-pinch-pot-slab-lesson/
Date: 2015-05-03 Author: Michelle East Categories: 4th Grade, 5th Grade, 6th Grade, Art Lessons, Ceramics Lessons, Elementary Art, Sculpture Lessons Tags: ceramics lesson, elementary art clay project, elementary ceramic lesson, fairy bird bath, hand building ceramics, Mini Bird Bath Ceramics, miniature birdbath, pinch pot bird bath
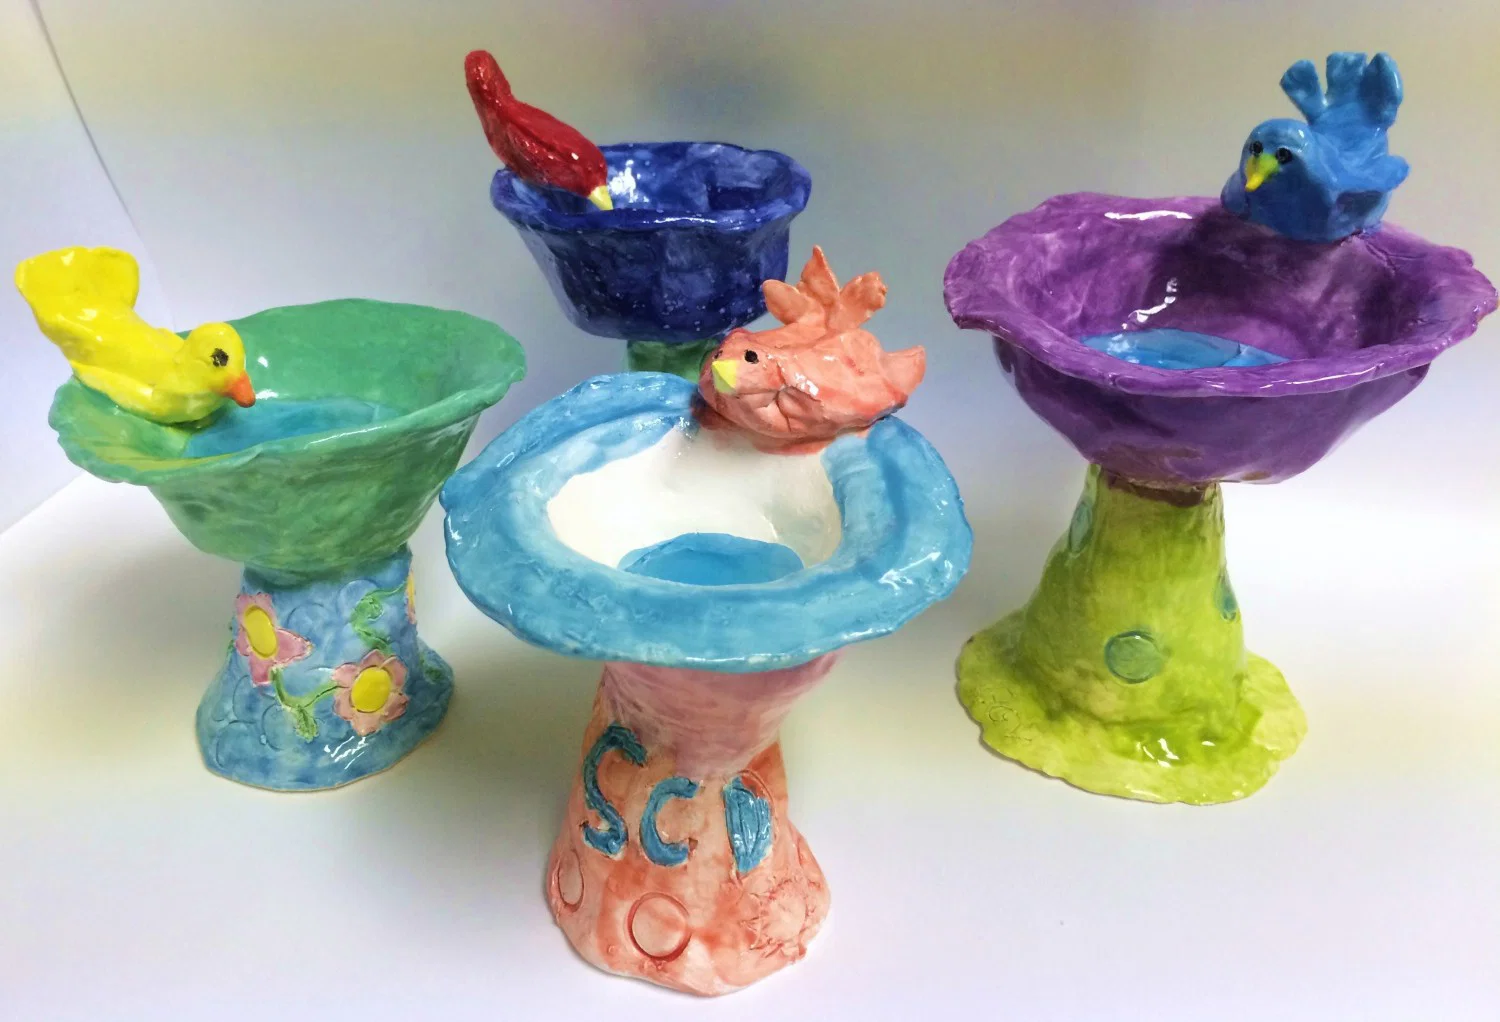
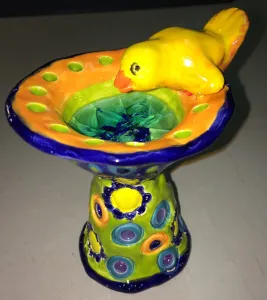
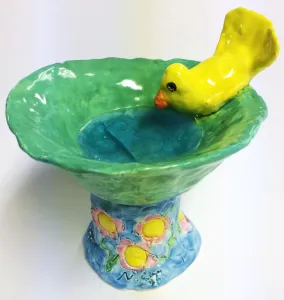
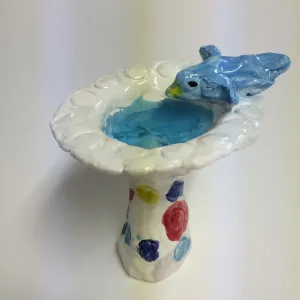
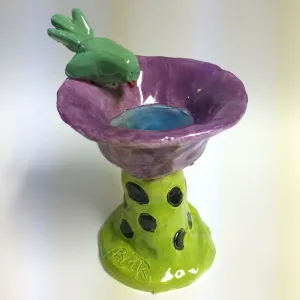
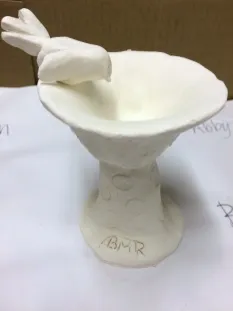
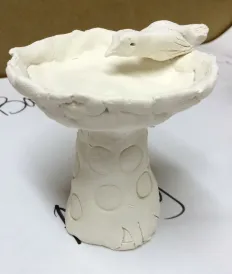
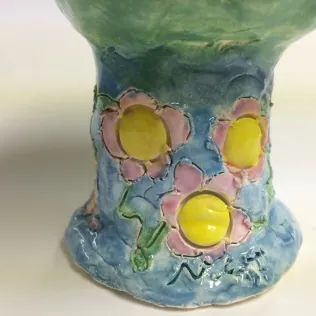
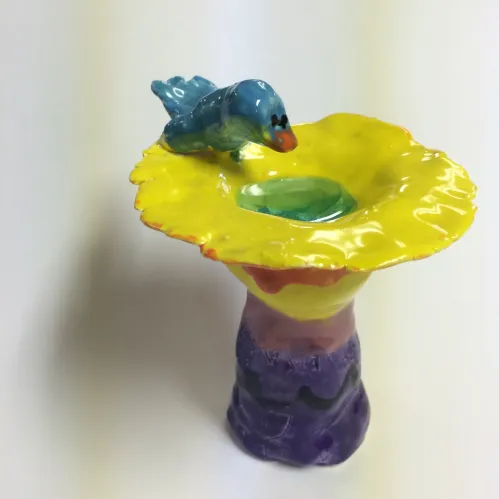
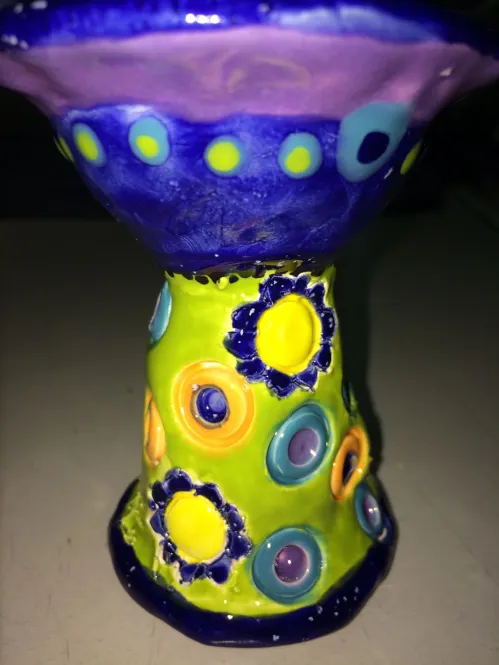
Mini Ceramic Birdbaths are a great way to teach two ceramic techniques in one lesson: pinch pots & hand building (2 class periods for the construction)! We made the bowl & base of the bird bath using the pinch pot method (we made the base by forming a ball, then pressing the clay around our finger to form a tall thin cylinder) and the bird is made using a hand building method.
I first saw this lesson at these excellent art teacher blog Splats, Scras, and Glue Blobs Clay Bird Bath Sculptures Part 1 & Birdbath Sculptures with Melted Glass Water. SmART Class also has reference to this project. Many other art teachers have done this project with precious results! Parents LOVE this project!

Supplies: Low fire clay, clay modeling tools, glass beads, Mayco Stroke & Coat Glazes
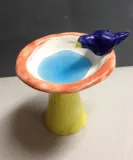


Activity: Mini Bird Bath Ceramics
Construct a miniature bird bath and bird out of ceramics using pinch pot and hand building methods of construction.
Instructions:
- Give each student a bat with plastic wrap on it. Have the write their name on a piece of masking tape & put it on the front corner of the bat. Also give them a large plastic bag and rubber band for storage.
- Give each student two balls of clay one for the bath and one for the base or the stand.
- Create the bath with a small ball using the pinch pot method, form it into the desired shape of the bath.
- Create the base or stand by forming the other ball into a tall thin cylinder. This time after pulling out your thumb, insert your pointer finger & gently squeeze the clay around you finger until you have an even thickness all the way around the finger & it makes a tall cylinder. Wiggle your finger until it comes out & tap the open end on the table to that is even & not wobbly.
- Optional Slab Base: You could give them a ball of clay & have them roll out the slab with a larger ball, then cut out the 4×2” section measuring with a ruler. (Have them save the extra clay to form the bird.)
- Score & slip the bath & base together.
- Use a needle tool to draw patterns or other objects to press in texture (like the end of a marker cap).
- Use hand building techniques to form the bird. Cut the wings with scissors & gently sculpt them into the position you want.
- Score & slip the bird onto the bath.
- Scratch your initials onto the side of the base
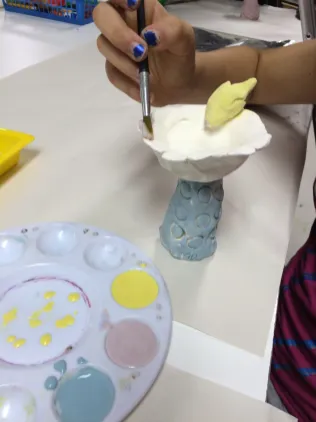
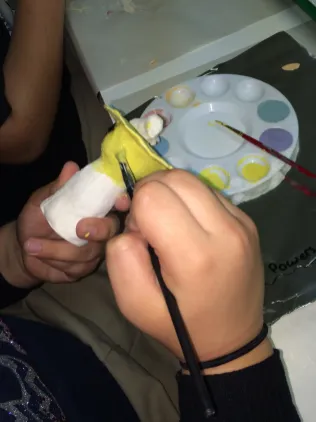
- Let dry 5-7 days, Fire, Glaze -Add 3-5 glass beads & re-fire.
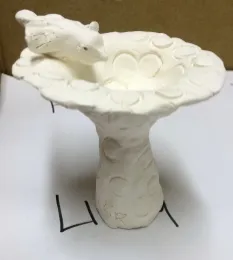
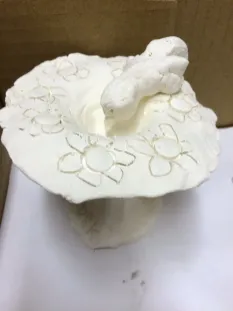
Addition references for this project came from: http://splatsscrapsandglueblobs.blogspot.com/2012/03/clay-bird-bath-sculptures-part-1.html http://www.etsy.com/listing/97040552/miniature-birdbath-for-fairy-garden http://media-cache-ak0.pinimg.com/originals/71/bc/2d/71bc2da18bab430ca0f623ba965ddfd7.jpg

If you use any of my images or text, please link back to my blog Create Art with ME!

Additional Ceramic Lessons:
Ceramic Butterfly Bowls Part 1 & Part 2 (Glazed)
Funny Face Mugs Part 1 & Part 2 (Glazed)