带盖陶盒课程
原文链接:https://createartwithme.com/ceramic-box-lid-lesson/
日期: 2015年1月28日
作者: 米歇尔·伊斯
分类: 六年级、美术课程、陶艺课程、高中美术、初中美术
标签: 加法成型法、主题式陶盒、带盖陶盒、陶艺课、陶艺单元、陶土盒教案、如何制作泥板成型盒、泥板盒、泥板成型、泥板陶艺课、泥板成型盒、泥板成型法
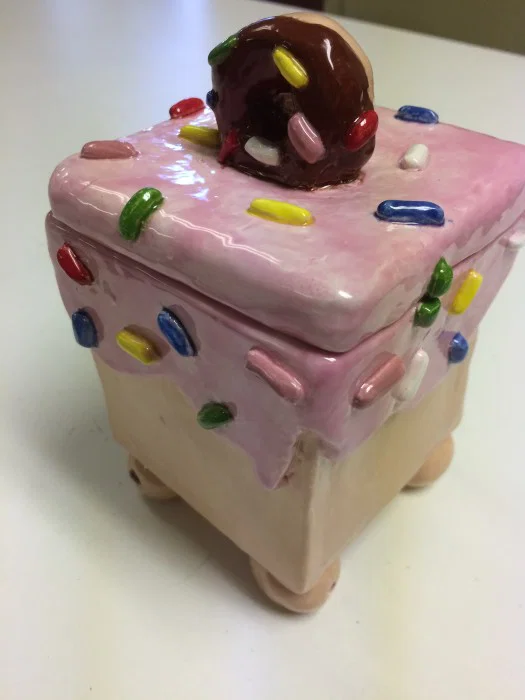
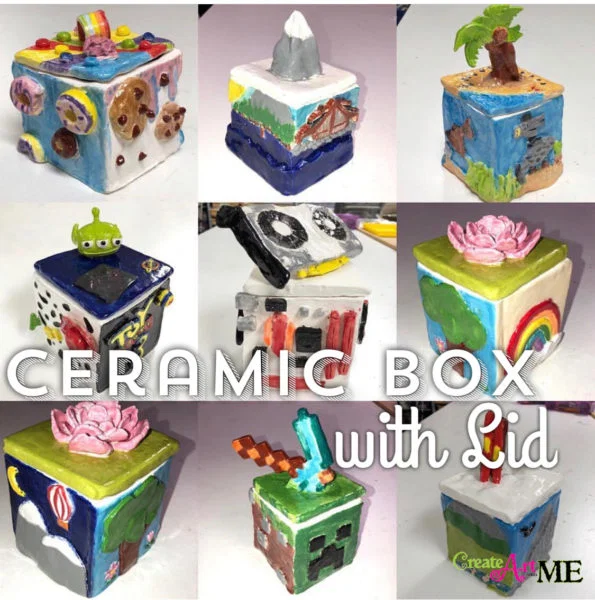
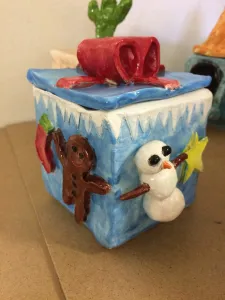
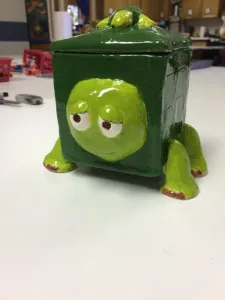
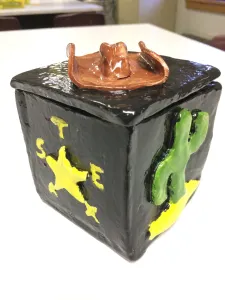
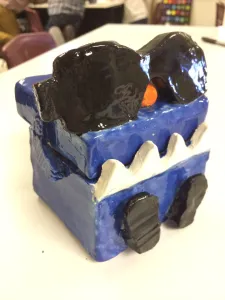
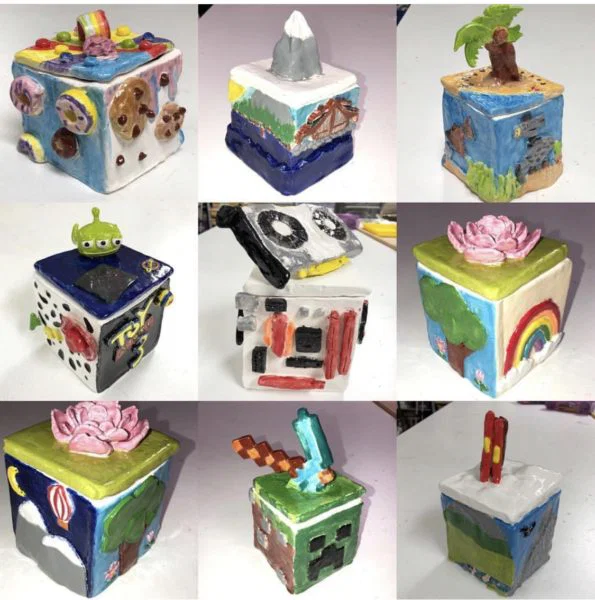
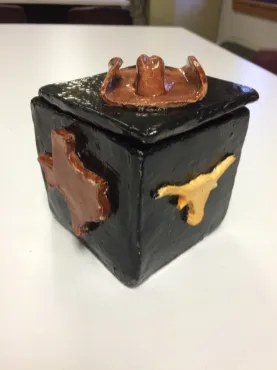
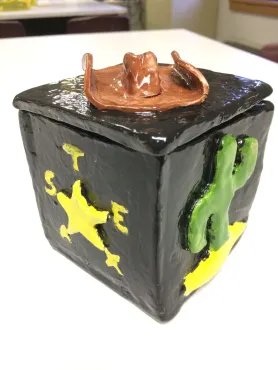
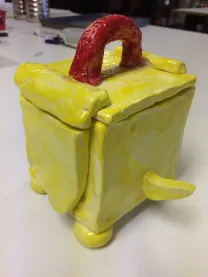
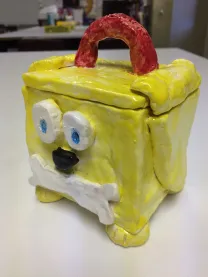
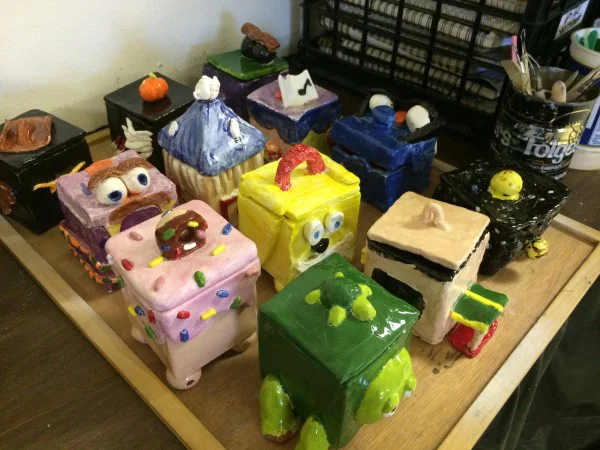
我校初中部(七至八年级)学生最近完成了“带盖陶盒”项目,成果非常出色!我为他们付出的努力与展现出的优良工艺深感自豪!每位学生需选定一个主题,并运用加法成型法来设计与塑造自己的陶盒。
制作带盖陶盒(泥板成型法)视频教程:
以下是一些关于泥板成型盒的优质视频或博客资源:
- Slide Share——《陶艺单元》(http://www.slideshare.net/cequinn1/ceramics-unit?next_slideshow=1)
- 《角落小屋》——陶土盒(http://www.littlehouseonthecorner.com/clay-box/)
我们是这样做的:
- 向每位学生发放讲义:《主题陶盒模板》(http://createartwithme.com/wp-content/uploads/2019/12/Themed-Box-Template.pdf),并指导其剪下各部件。*注意:每种形状需剪出三份!
- 将泥板擀压至¼英寸–⅜英寸厚。
- 将模板置于黏土表面,用针具沿边缘裁切出各部件。
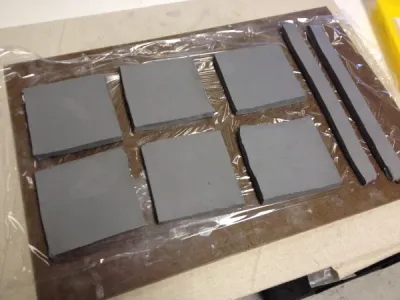 将裁好的部件叠放,每层之间夹入塑料膜或纸张。模板置于最上方,便于识别各部件对应关系!
- 待其干燥至皮革硬状态。
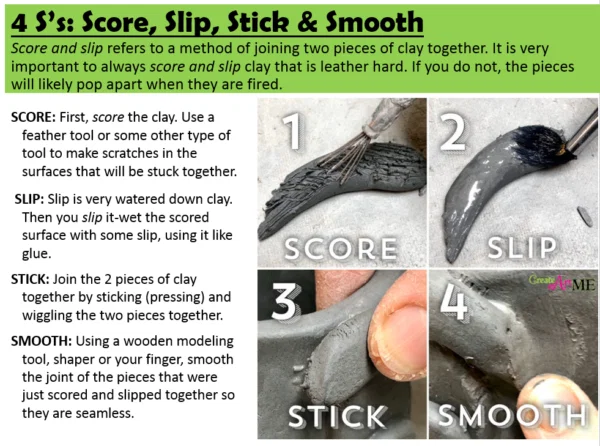
- 运用黏土连接的“四S法则” 将各部件粘合:
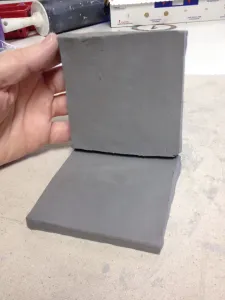
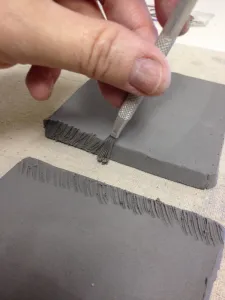
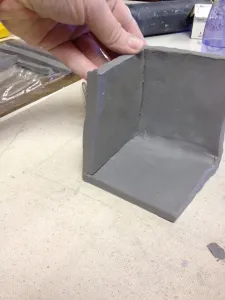
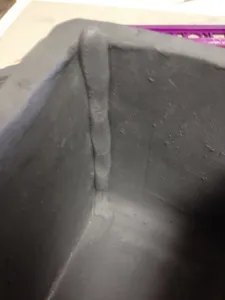
- 在盒体四角添加泥条以加固接缝。
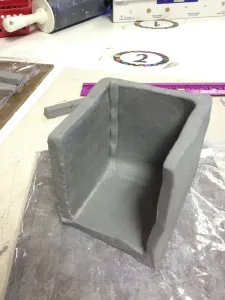
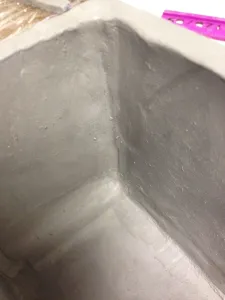
- 用旧礼品卡打磨盒体所有侧面。
- 运用加法与减法成型技法,在盒体四面添加体现主题的装饰元素。
- 盒盖: 在盖底加一圈泥条,使其能 snugly 嵌入盒壁内侧;并在盖面添加主题元素。盒盖必须配有符合主题的提手。
- 底足: 在盒底添加底足属可选步骤,但能极大提升作品趣味性!若无底足,这些盒子还会如此可爱吗?


-
完成后填写一张陶土登记卡,并将其置于陶盒下方的干燥架上。
-
我将进行素烧。
-
用海绵擦拭作品表面,再以与主题相协调的方式施釉!
-
置于釉烧完成架上。
-
我将进行釉烧。
制作过程:
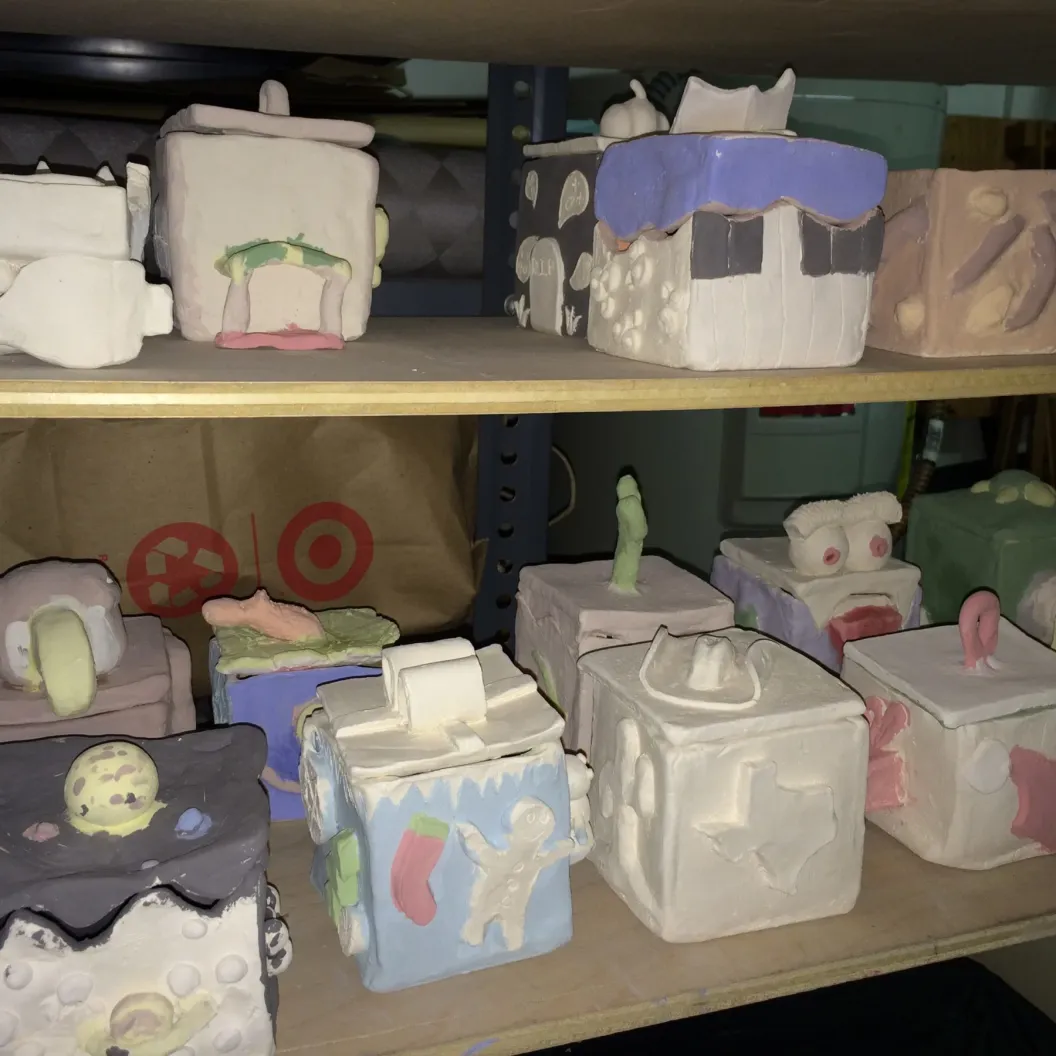
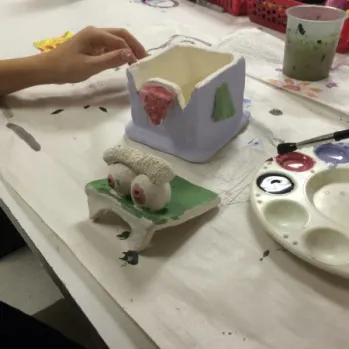
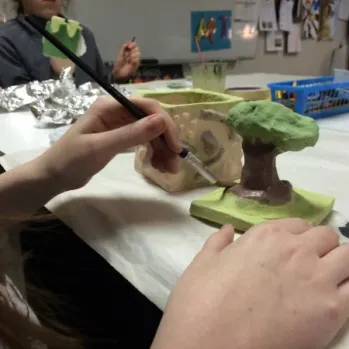
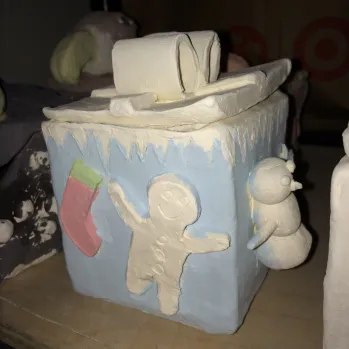
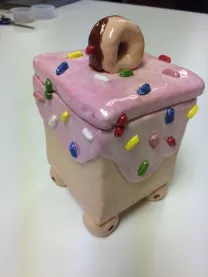
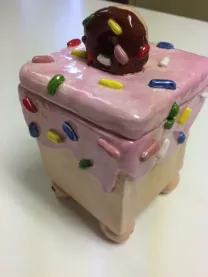
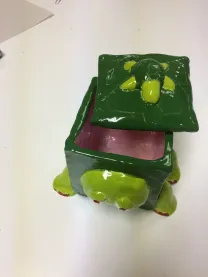
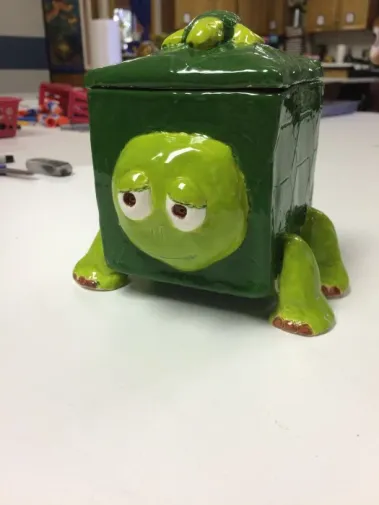
完成的泥板成型盒:
2019届八年级作品
2017届八年级作品
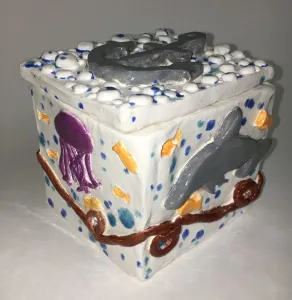
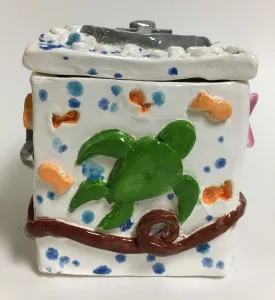
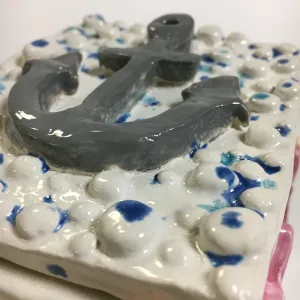
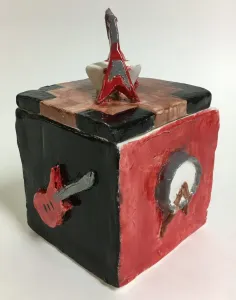
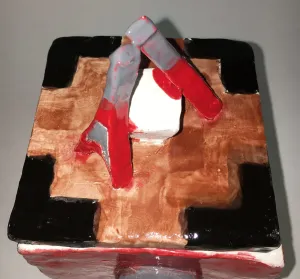
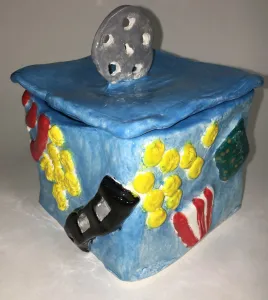
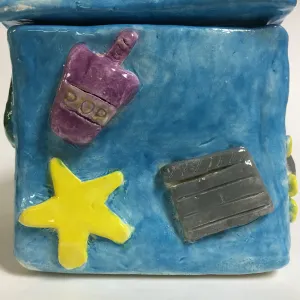
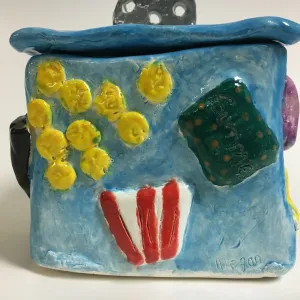
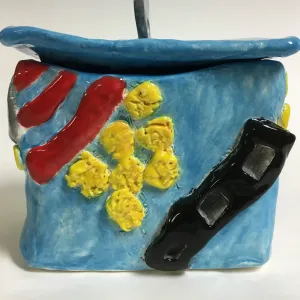
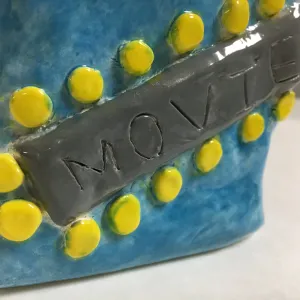
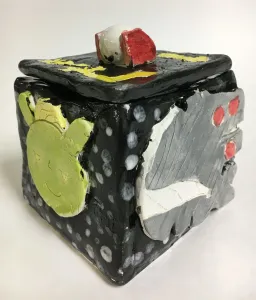
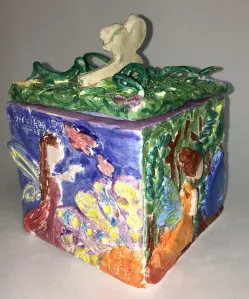
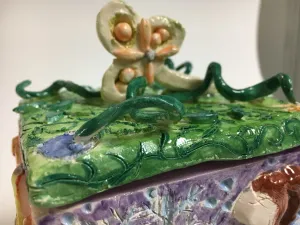
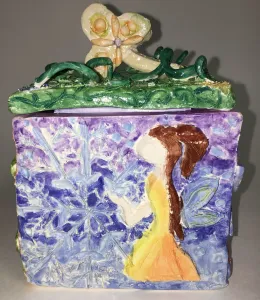
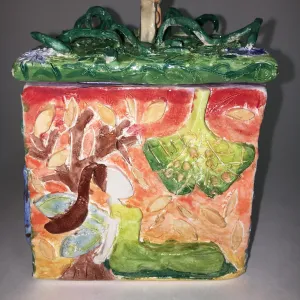
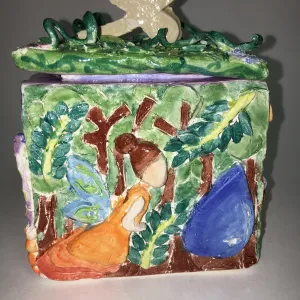
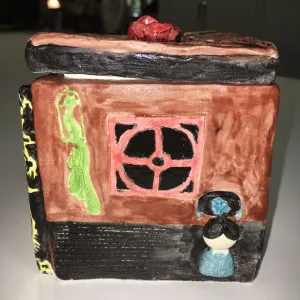
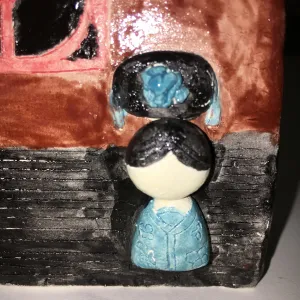
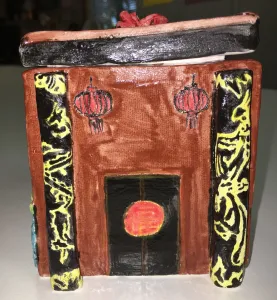
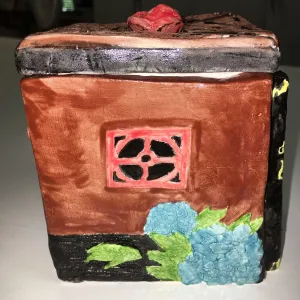
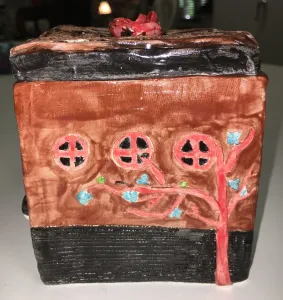
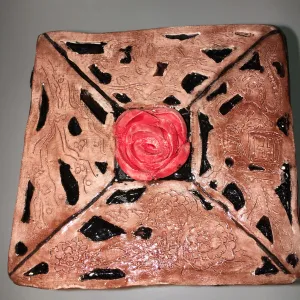
往届作品(未强制要求使用减法成型技法)
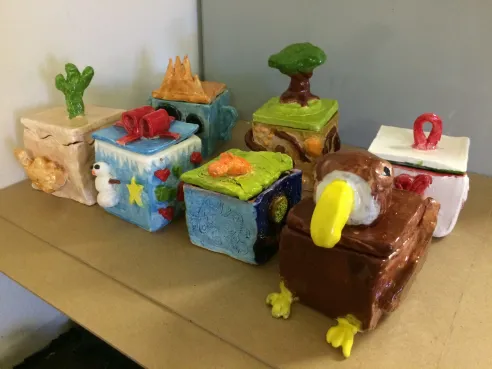
若您选用本课程内容(文字或图片),请务必回链至本博客 Create Art with ME!
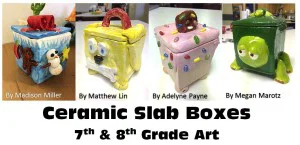
Ceramic Box with Lid Lesson
Original: https://createartwithme.com/ceramic-box-lid-lesson/
Date: 2015-01-28
Author: Michelle East
Categories: 6th Grade, Art Lessons, Ceramics Lessons, HS Art, MS Art
Tags: additive methods, Ceramic " Themed" Box, Ceramic Boxes with Lids, ceramic lesson, ceramic unit, clay box lesson plan, How to Make Slab Construction Boxes, slab box, slab built, slab clay lesson, Slab Constructed Boxes, Slab Construction
My Middle school class (7-8th graders) recently finished their Ceramic Box with Lid project & they came out so good! I’m proud of their hard work & good craftsmanship! They had to incorporate a theme & use additive methods to design & sculpt their boxes.
Video Tutorials on How to Make Ceramic Box with Lid -Slab Construction:
Here are some great videos or blogs on Slab Constructed Boxes:
Here’s how we did it:
- Give each student handout: Themed Box Template and instruct them to cut out each piece. *Note that you will cut 3 pieces of each of the shapes!
- Roll out your slab to 1/4″ – 3/8″ thick.
- Lay templates on top of the clay and use a needle tool to cut them out. Stack them with a piece of plastic wrap or paper between them. Put the template on top so you know which pieces is what!
- Allow to harden to leather-hard.
- Use the 4 S’s of Joining Clay to attach the pieces together
6. Add coils in the corners to strengthen the joints.
7. Smooth all the sides with an old gift card.
8. Use additive and subtractive techniques to add your theme elements to the 4 sides of your box.
9. LID: construct the lid by adding a coil on the bottom of the lid that fits inside the walls of the box. Add theme elements to the lid. You must add a handle that goes with your theme.
10. FEET: Adding feet to the bottom of your box is option, but adds a lot of interest! Would these boxes have been as cute without feet?
-
When finished fill out a Clay Ticket and put under your box on the drying shelf.
-
I will bisque fire.
-
Sponge off your piece. Glaze in a way that complements your theme!
-
Place on Glaze Finished Shelf.
-
I will glaze fire.
Work in progress:
Finished Slab Boxes:
8th Grade Boxes 2019
8th Grade Boxes (2017)
Past Boxes (these did not have to use subtractive techniques)
If you choose to use any of this lesson (written or photos), please link back to this blog Create Art with ME!


