陶土猫头鹰——拇指塑形法课程
原文链接:https://createartwithme.com/ceramic-owls-thumb-method-lesson/
日期: 2016年11月12日
作者: 米歇尔·伊斯特(Michelle East)
分类: 二年级、三年级、四年级、五年级、课后美术班与美术夏令营、美术课程、陶艺课程、拉坯机陶艺课程、小学美术、幼儿园至一年级、雕塑课程
标签: 课后美术班、猫头鹰奇妙知识、陶土猫头鹰、黏土猫头鹰、黏土猫头鹰项目、拇指塑形法猫头鹰、小学黏土美术项目、猫头鹰趣味知识、运用“拇指法”制作的猫头鹰、拇指黏土课程、拇指黏土技法
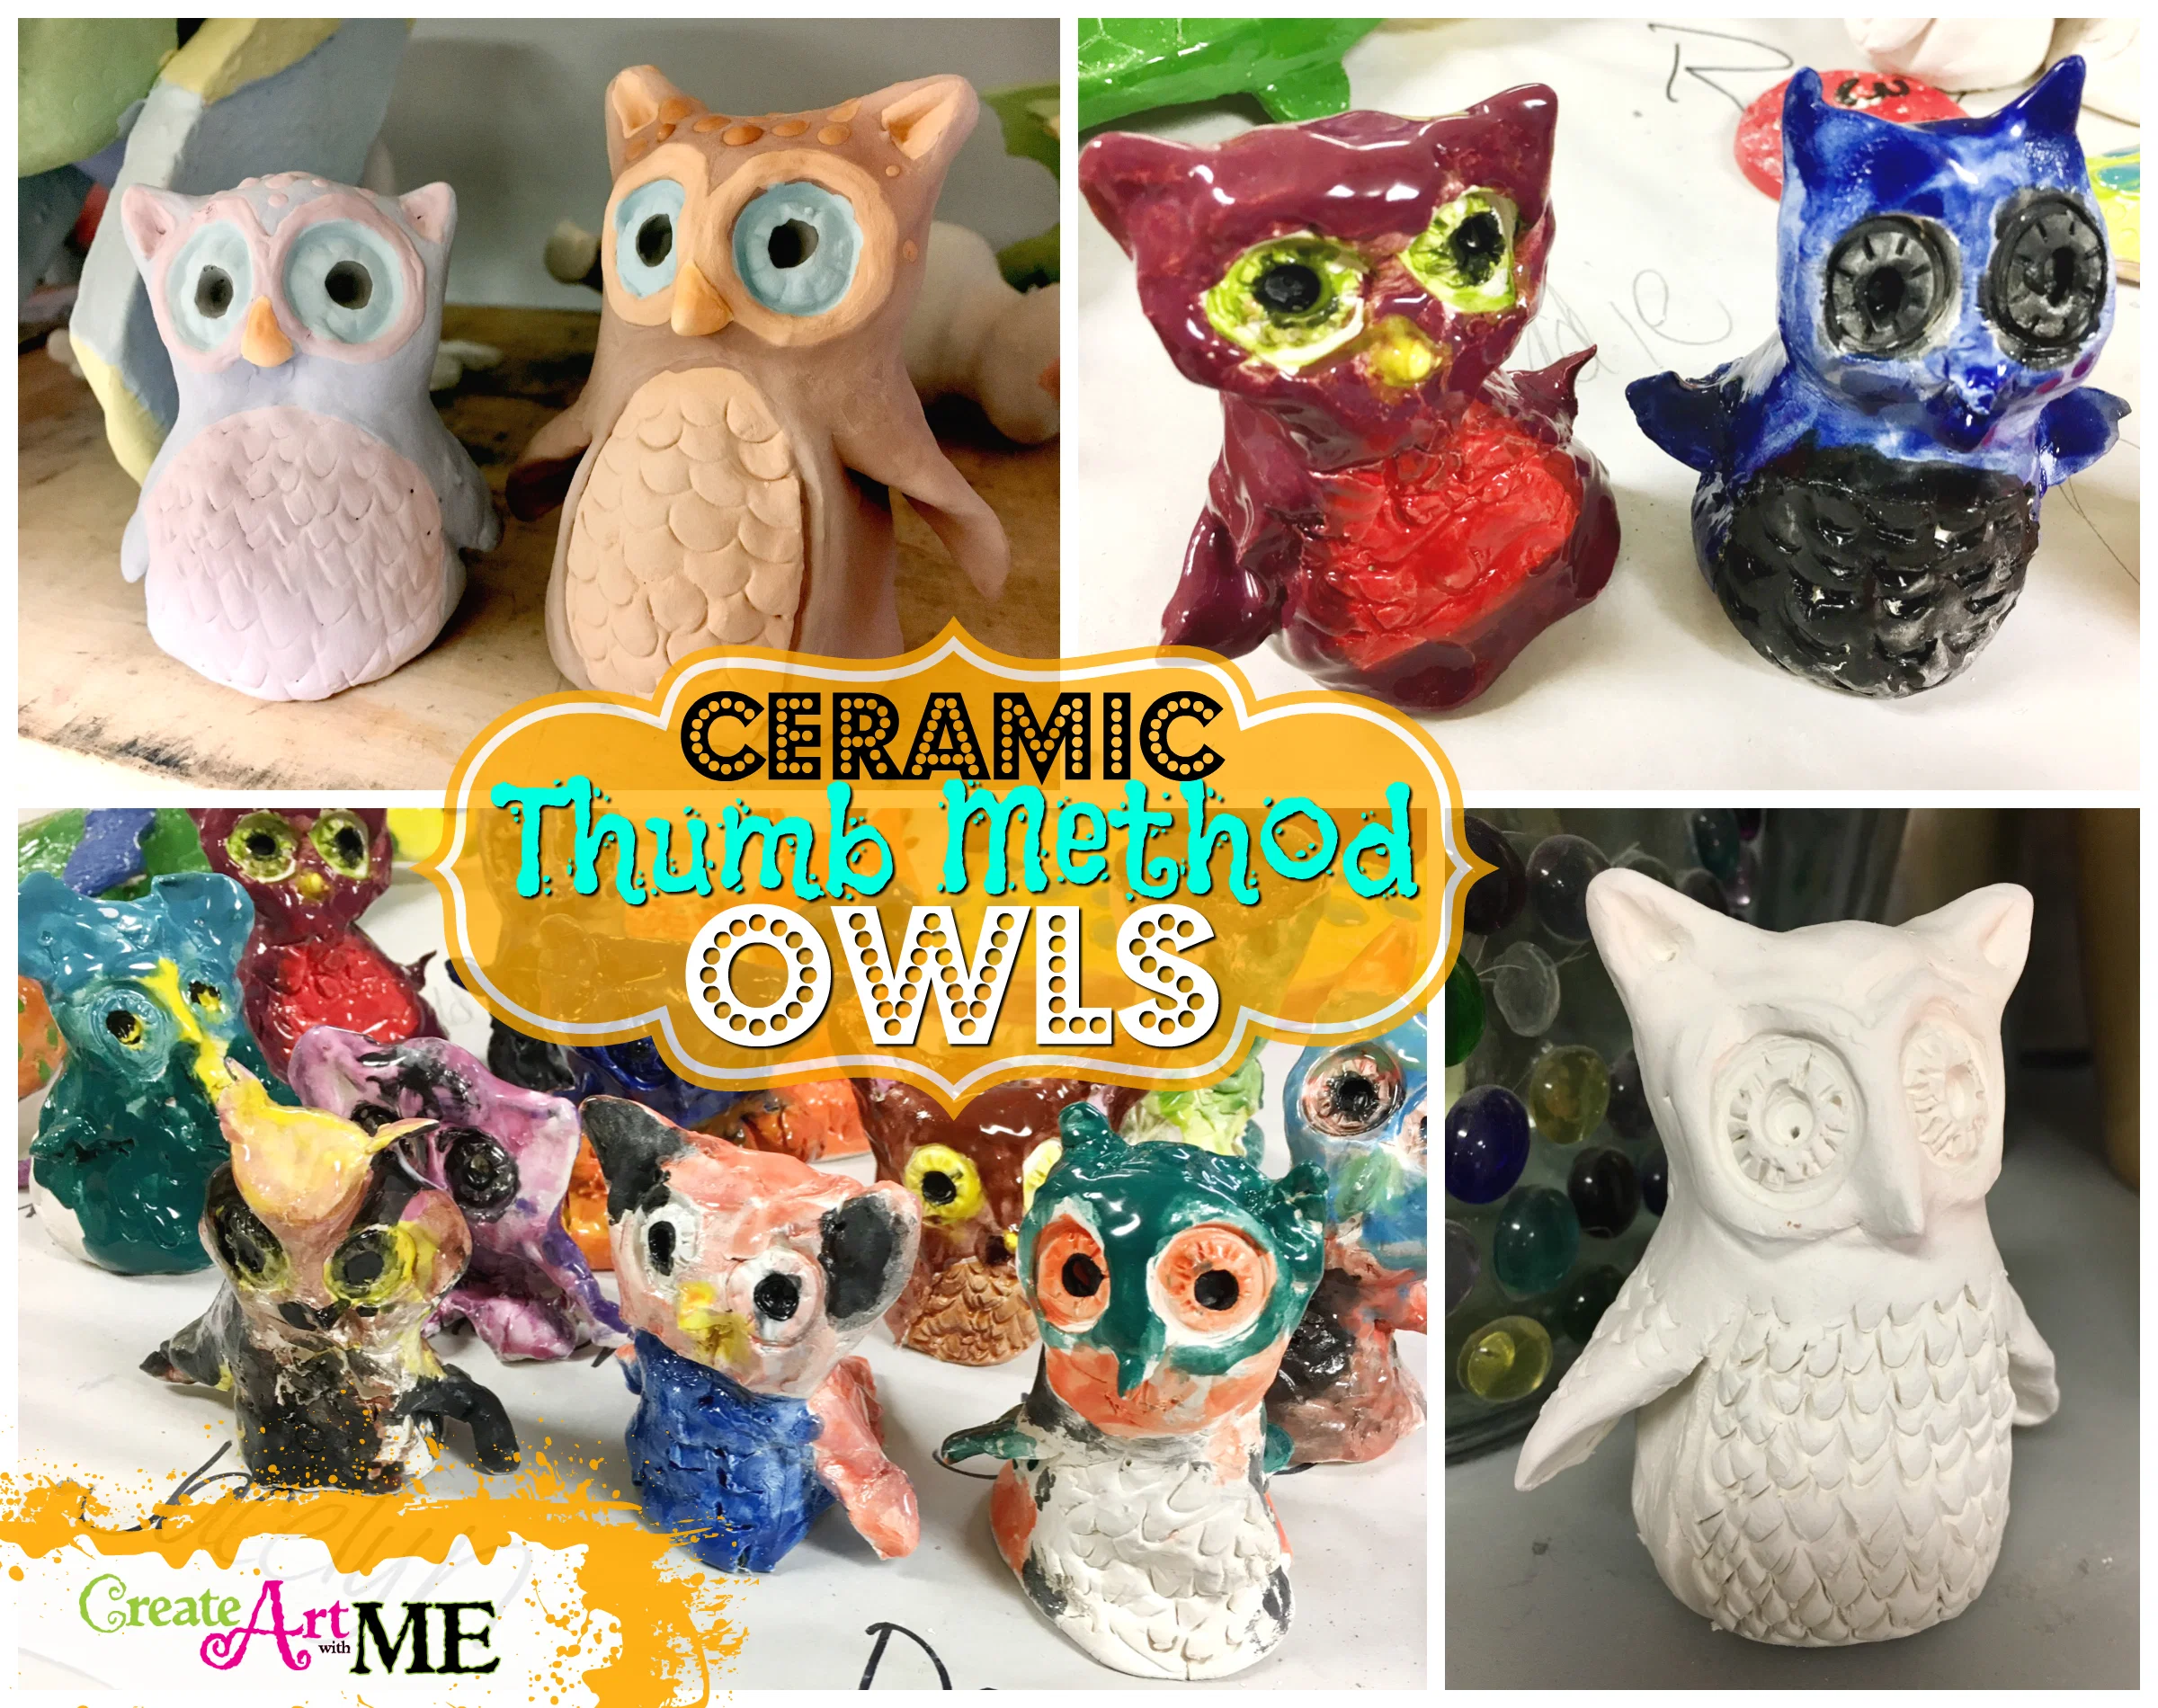
谁?谁?谁创作了这个富有挑战性却十分有趣的项目?我的课后美术班(幼儿园至四年级)刚刚完成了这些超级可爱的迷你猫头鹰雕塑。我们采用了拇指黏土技法(并做了一些调整),该技法源自 Artsmudge 的黏土猫头鹰 和 Mrs. Knight’s Smartest Artists 的拇指黏土猫头鹰。请向这两位超棒的美术教师致以敬意,感谢她们设计出这一项目(我超爱她们的博客!)!!
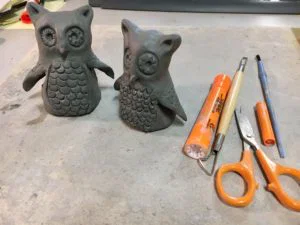 所需材料: 低温烧制黏土、釉料、黏土塑形工具、剪刀、水杯
项目目标: 运用“拇指法”制作一只猫头鹰;展示正确的技法与良好的工艺水准。
教学流程:
- 猫头鹰趣味知识:猫头鹰奇妙知识(本文提炼出我的“十大猫头鹰趣闻”)
- 猫头鹰被认为是最聪明的鸟类之一。
- 猫头鹰几乎全为夜行性动物,即仅在夜间活动。
- 几乎所有猫头鹰种类中,雌鸟体型比雄鸟大约25%。
- 尽管猫头鹰种类繁多,但主要分为两大类——典型猫头鹰与仓鸮。
- 猫头鹰拥有极佳的视力,使其成为出色的猎手;同时听觉也极为敏锐。
- 猫头鹰飞行时几乎无声。
- 南极洲是全球唯一没有猫头鹰分布的地区。
- 世界上最小的猫头鹰是侏儒角鸮,体高仅约10厘米;最大的猫头鹰是欧亚雕鸮,体高约71厘米。
- 啸叫(鸣叫)是猫头鹰最广为人知的发声方式,此外它们还会吹哨、呼噜及嘶嘶作响。
- 猫头鹰拥有三层眼睑,用以保护其硕大的眼睛。
- 精彩猫头鹰知识视频:
- 儿童版《认识猫头鹰》:后院鸟类系列——FreeSchool
- 你可知道?不可思议的猫头鹰知识! SciShow Kids
- 陶艺制作流程: 手工制作陶艺作品 → 完全阴干10–14天(直至“素坯干透”)→ 窑炉素烧 → 施陶瓷釉料 → 再次入窑釉烧
- 陶艺术语:
- 泥板(Slab): 通过手工堆砌擀平的黏土片来构建陶艺造型。
- 泥浆(Slip): 呈泥状的液态黏土,用于粘合两块黏土。
- 刮痕(Score): 在黏土表面刻划纹路,以便粘合两部分。
制作步骤:
- 给每位学生分发一小团黏土。
- 让学生将非惯用手的拇指蘸湿。
- 将黏土球按压在拇指上,顶部保留约1.3厘米厚的壁。
- 轻柔地沿拇指四周挤压黏土,直至抵达拇指根部。**注意保持厚度均匀,切勿单侧用力过猛!!
- 在预设颈部位置稍加内压、轻柔捏挤,塑造出头部轮廓。
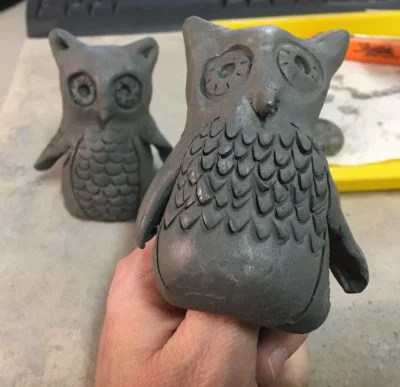
- 轻柔向上提拉黏土形成耳羽;再用画笔末端在耳羽中心按压出凹痕。
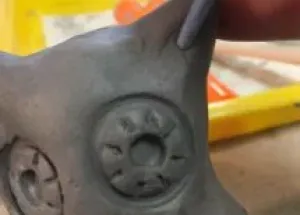
- 轻轻晃动黏土,使其脱离拇指。提醒学生务必小心,切勿捏合黏土内部的“拇指孔”。
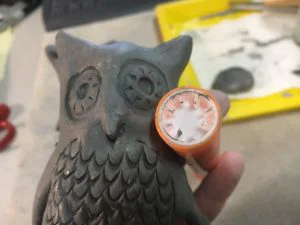
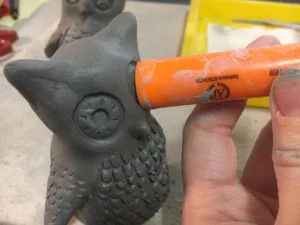
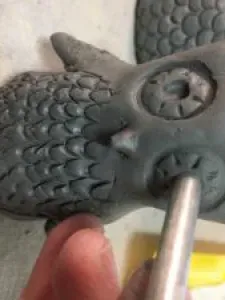
- 使用荧光笔或白板笔(笔尖带凸起刻线者)末端按压出双眼轮廓;再用圆头塑形工具末端或铅笔橡皮头,在圆形中心进一步按压塑形。
- 另取一小团黏土搓成三角形,作为喙部;采用“刮痕+泥浆”法粘接固定。
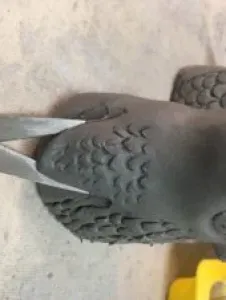
- 用剪刀剪开并挑起翅膀造型。
- 使用V形塑形工具,或把吸管一侧削尖,按压出羽毛纹理。
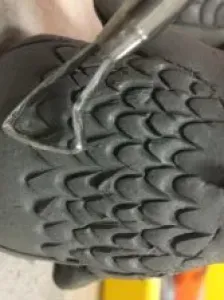
- 在部分羽毛处戳孔,以防烧制时产生气泡,尤其当“拇指孔”已塌陷时更需注意。
- 阴干10–14天后进行素烧。
- 素烧完成后,为猫头鹰施釉。
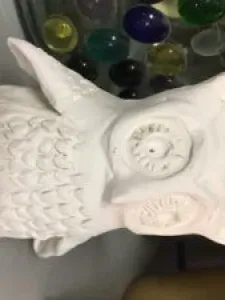
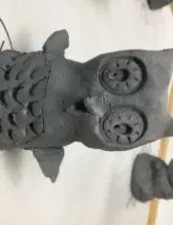
以下是素烧前的猫头鹰作品图:
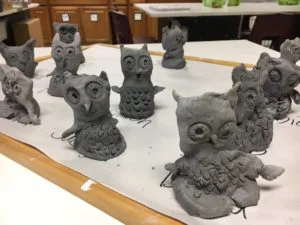
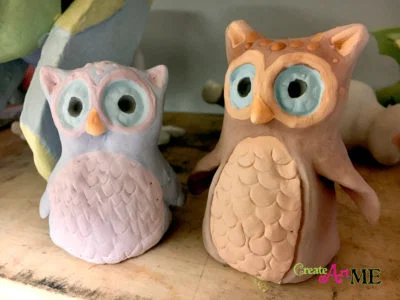
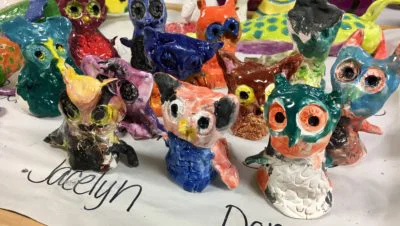
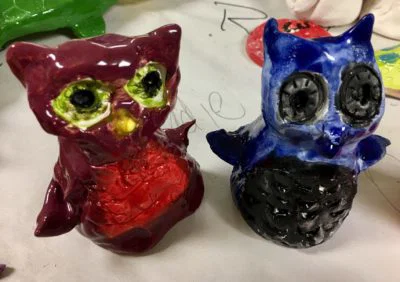
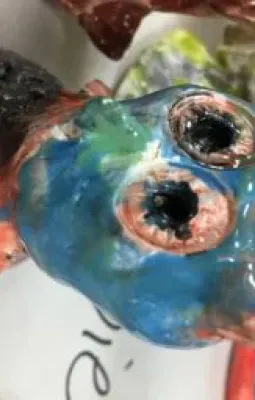
这是我们完成施釉与烧制后的猫头鹰作品(幼儿园至四年级)
 所有图片与文字版权均归 © Create Art with ME 所有。若您希望转载本文中的任何图片或文字,请务必回链至我的博客 Create Art with ME。
Ceramic Owls – Thumb Method Lesson
Original: https://createartwithme.com/ceramic-owls-thumb-method-lesson/
Date: 2016-11-12
Author: Michelle East
Categories: 2nd Grade, 3rd Grade, 4th Grade, 5th Grade, After School Art & Art Camp, Art Lessons, Ceramics Lessons, Ceramics Throwing Wheel Lessons, Elementary Art, K-1st Grade, Sculpture Lessons
Tags: after school art class, Amazing Facts about Owls, Ceramic Owls, clay owl, clay owl project, clay thumb owls, elementary art clay project, Interesting Owl Facts, owl using the "thumb" method, Thumb Clay Lesson, thumb clay technique
WHO? WHO? Who created this challenging but FUN project? My After School Art Class (k-4th grades) just finished up these ADORABLE little owl sculptures. We used the thumb clay technique (with some modifications) used on Artsmudge’s Clay Owls and Mrs. Knight’s Smartest Artists’ Clay Thumb Owls. Please give credit to these AWESOME art teachers for creating this project (I LOVE their blogs)!!
Supplies: Low fire clay, glazes, clay modeling tools, scissors, water cups,
Project Objective: Create an owl using the “thumb” method. Demonstrate proper technique and good craftsmanship.
Delivery:
- Interesting Owl Facts: Amazing Facts about Owls (my Top 10 Owl Facts derived from this article)
- Owls are believed to be among the smartest of all birds.
- Owls are almost always nocturnal which means they will only be active at night.
- The female owls of almost all the species are about 25% larger than the males.
- Even though there are many species of owls there are two main categories – typical owls and barn owls.
- Owls have exceptional vision that allows them to be very good hunters. They also have very good hearing.
- Owls are able to fly silently.
- Antarctica is the only place in the world where there are no species of owls found.
- The Least Pygmy Owl is the smallest in the world and is only about 4 inches tall. The largest owl in the world is the Eurasian Eagle Owl which is about 28 inches tall.
- Hooting is the most common type of vocalization that owls are associated with. However, they also whistle, purr, and hiss.
- Owls have three eyelids that protect their huge eyes.
- Great Videos on Owl Facts:
- All About Owls for Kids: Backyard Bird Series – FreeSchool
- Who Knew? Amazing Owl Facts! SciShow Kids
- Ceramic Process: build ceramic artwork, let dry completely for 10-14 days (until Bone dry), fire in kiln (Bisque-ware), glaze with ceramic glazes, fire again (Glaze Firing)
- Ceramics Vocabulary:
- Slab: Creating a ceramic form by hand-building walls using flat rolled-out pieces of clay.
- Slip: muddy, liquid clay used to attach two pieces
- Score: to make marks on the clay to attach two pieces
Instructions:
- Give each student a small ball of clay.
- Have them wet their non-dominate thumb.
- Press the ball of clay onto the thumb. Leave about 1/2″ wall at the top.
- Gently squeeze the clay around the thumb until it goes down to the bottom of the thumb. **Try to keep an even thickness, so don’t squeeze too hard on one side!!
- Gently squeeze the clay by pressing in slightly where the neck would be in order to form the head.
- Gently pull the clay upward to form the ears. Press the end of a paint brush in the center of the ear.
- Wiggle the clay gently off the thumb. Remind students to be careful to NOT squeeze the “thumb” opening in the clay closed.
- Use the end of a highlighter or Expo Dry erase marker (one that has the lines poking out) to press in the eyes. Then press into the center of the circle with the end of a round modeling tool or with the eraser of a pencil.
- Form another small ball of clay into a triangle for the beak. Attach with the “score and slip” method
- Use scissors to cut & lift the wings.
- Use a V-Shaped modeling tool or a straw that you shape into a point on one side to press in the feather texture.
- Poke through some of the feathers to prevent air holes, especially if the “thumb hole” collapsed.
- Dry for 10-14 days and then bisque fire.
- After bisque fire, glaze the owls.
Here are some pre-fired Owl pictures:
Here are our glazed & finished owls ( K-4th grade)
All images and text are copyright © Create Art with ME. If you choose to use any of the images or text in this post please link back to my blog Create Art with ME.
 所需材料: 低温烧制黏土、釉料、黏土塑形工具、剪刀、水杯


 所有图片与文字版权均归 © Create Art with ME 所有。若您希望转载本文中的任何图片或文字,请务必回链至我的博客 Create Art with ME。