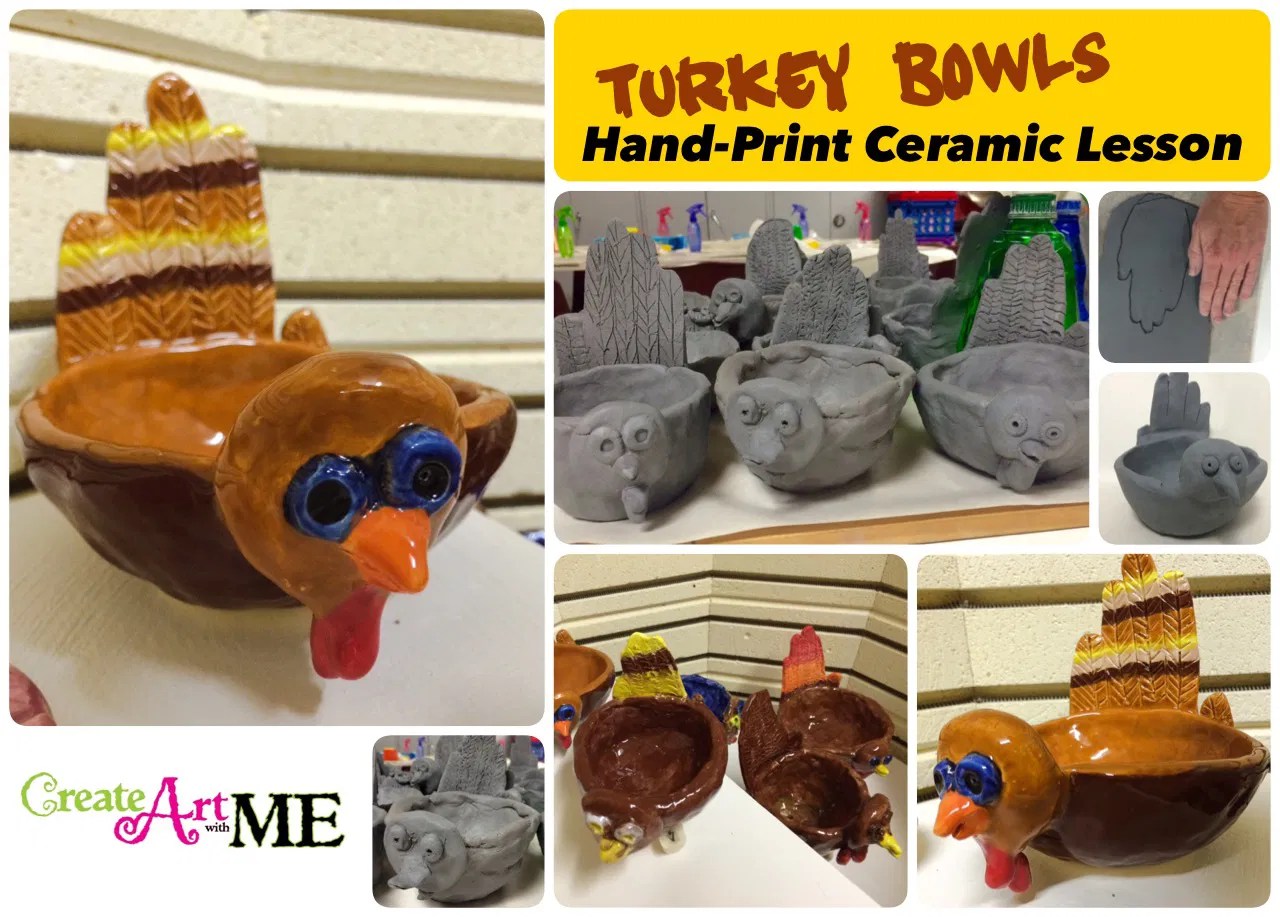
陶瓷火鸡与手印捏塑陶罐课
原文链接:https://createartwithme.com/ceramic-turkey-hand-print-pinch-pot-lesson/
日期: 2015-10-25
作者: 米歇尔·伊斯
分类: 二年级、三年级、四年级、五年级、课后美术班与美术夏令营、美术课程、陶艺课程、捏塑陶罐课程、泥板成型课程、小学美术、幼儿园至一年级、雕塑课程
标签: 课后美术班、陶瓷课程、陶瓷工艺、黏土美术课、创意捏塑陶罐范例与课程、秋季主题黏土项目、秋季主题项目、捏塑陶罐制作指南、捏塑陶罐课程、捏塑陶罐技法、泥板与捏塑结合、火鸡与手印捏塑陶罐课、火鸡陶瓷捏塑陶罐
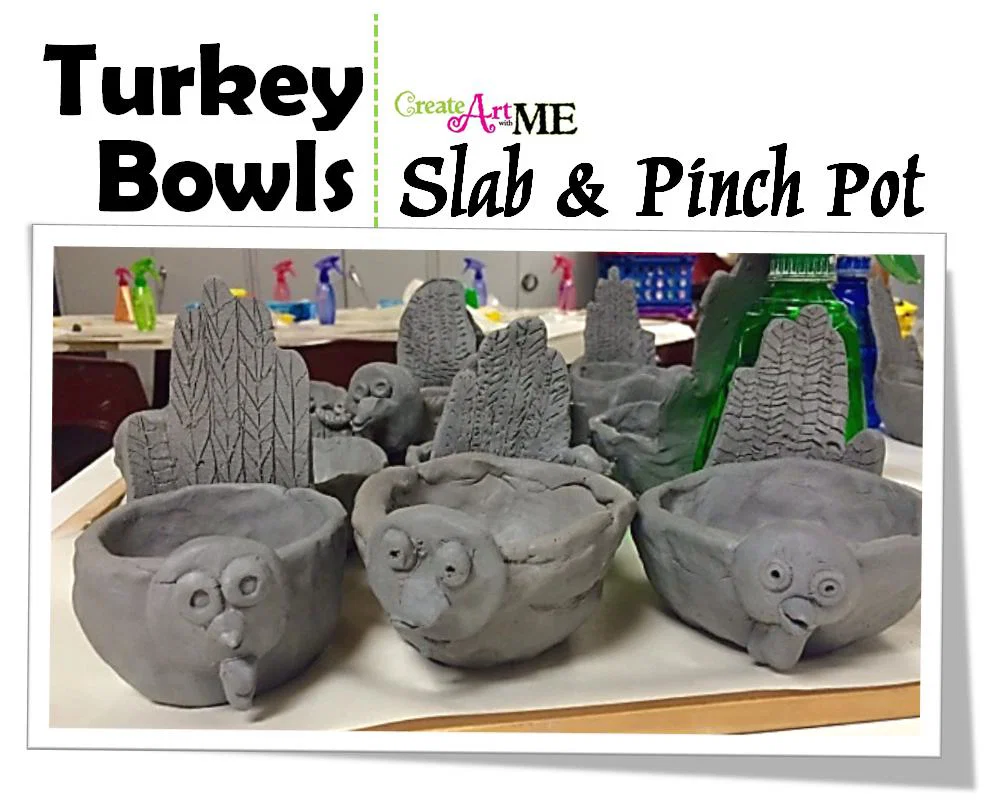
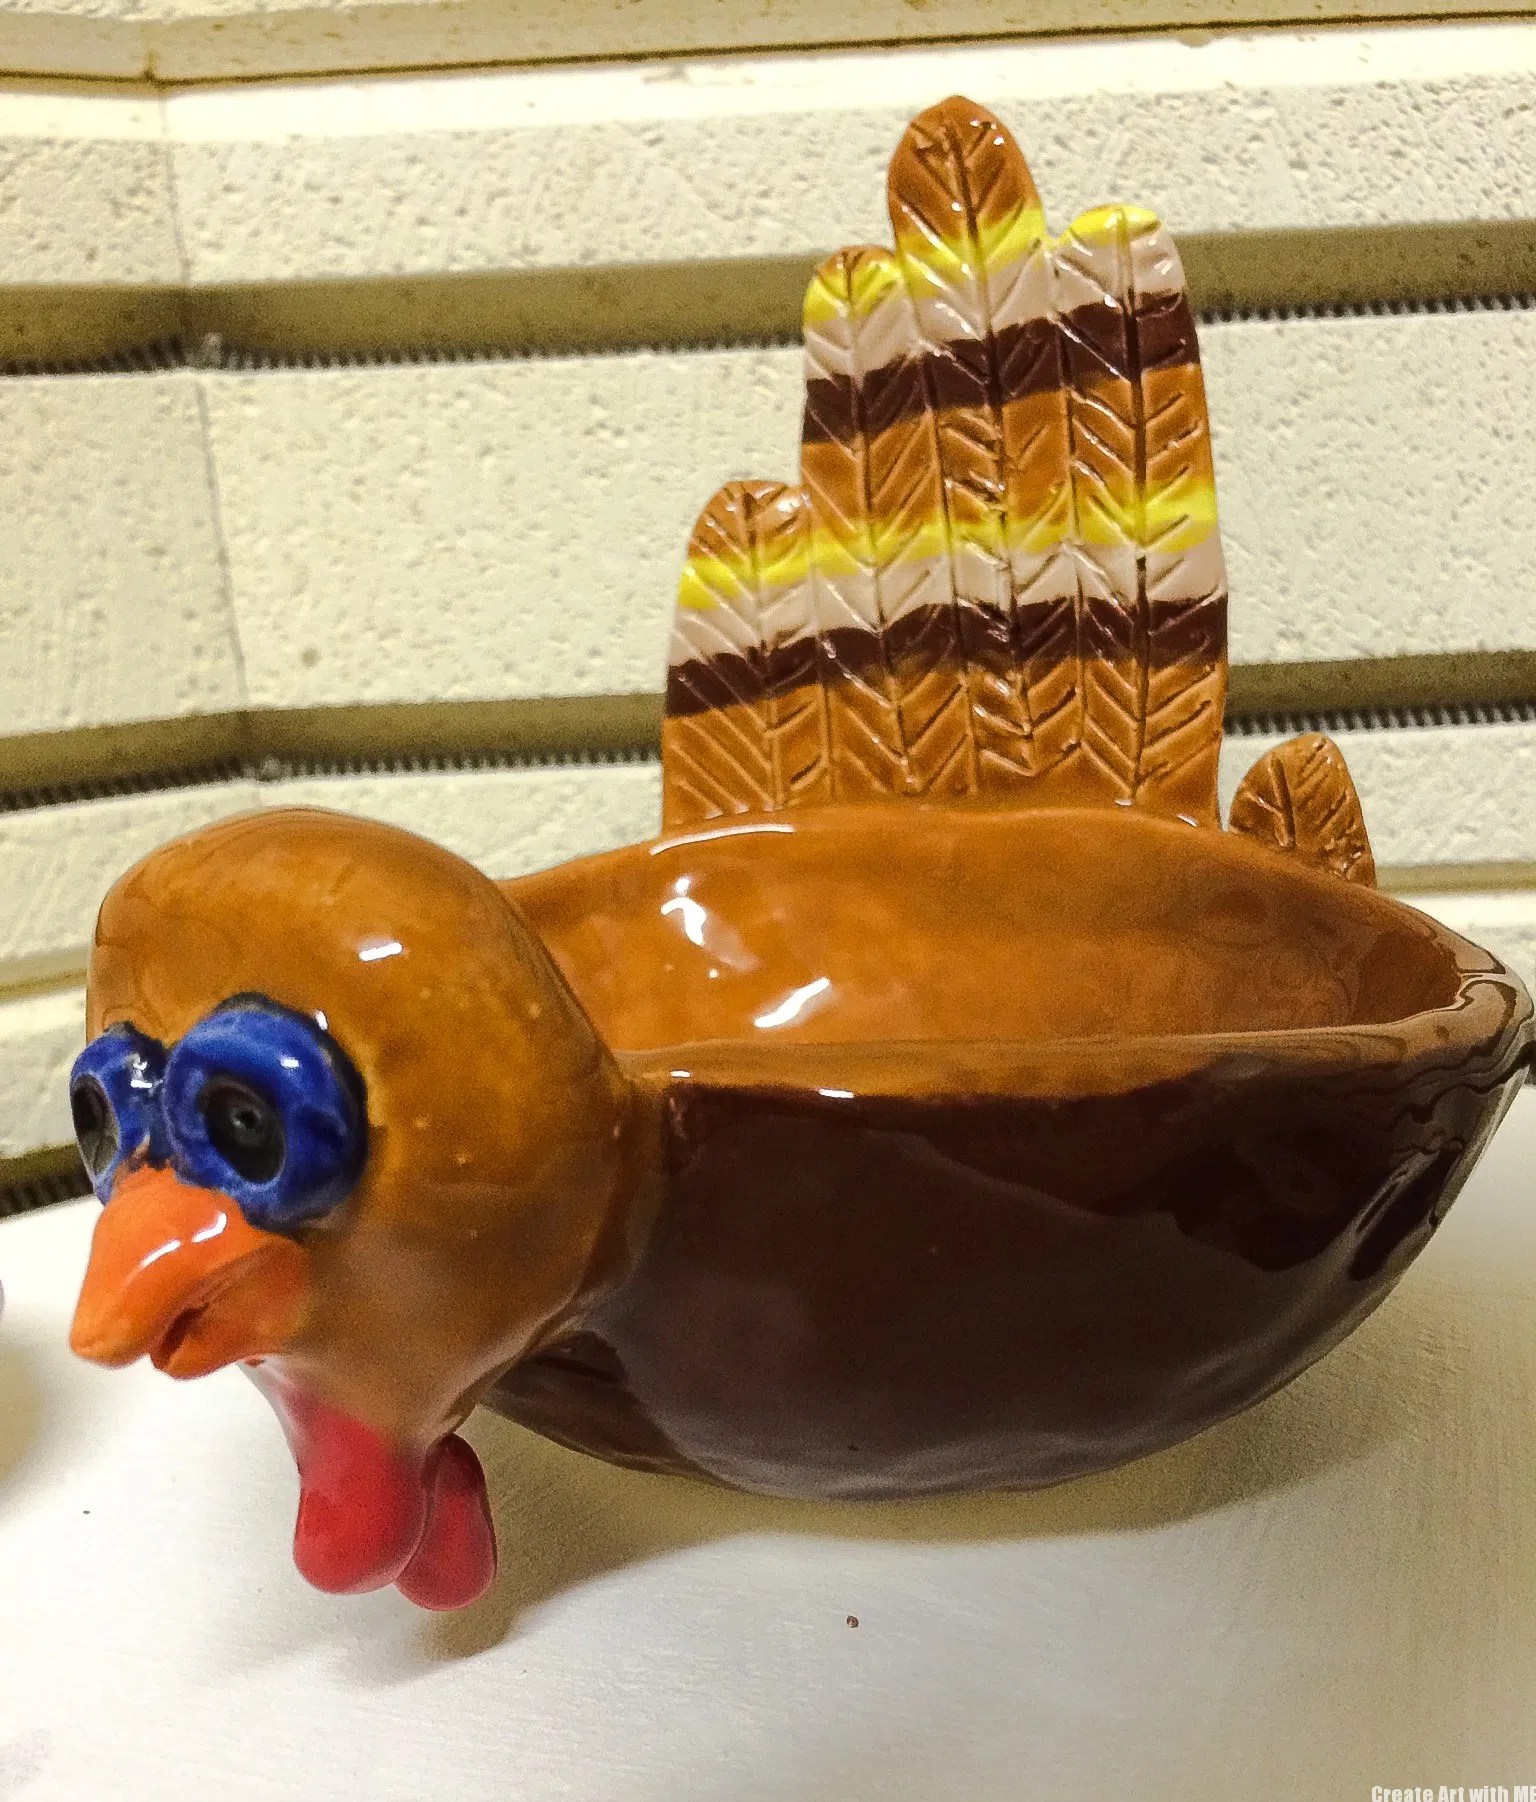
 陶瓷火鸡与手印捏塑陶罐课 是一门面向小学(二至五年级)学生的黏土美术课,同时教授泥板与捏塑技法。您可稍作调整,将其用于年龄略大的学生(六年级及以上),例如为火鸡添加更多细节与羽毛。
我希望设计一个有趣且积极向上的秋季主题黏土项目,让学生在整个秋季都能使用它。 我们在自己的课后美术班中成功实施了这一项目,该班招收从幼儿园到五年级的学生(年幼儿童在捏塑陶罐及粘贴手印环节需要大量协助)。
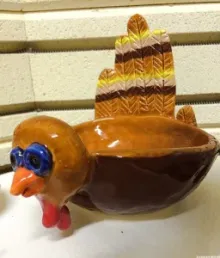
文末附有上釉后火鸡作品的更多图片!
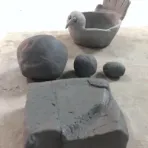 材料: 低温烧制黏土、食品级釉料、黏土塑形工具
课前准备: 擀制一块泥板(尺寸需足够覆盖一名儿童的手掌)、一个直径约2英寸的球体(用作陶罐主体)、一个直径约1英寸的球体(用作火鸡头部)、少量额外黏土(用于制作眼睛、喙与肉垂)——将上述材料分别装入每名学生的加仑密封袋中。
教学流程:
- 陶瓷工艺流程: 制作陶瓷作品 → 完全阴干5–7天(直至呈骨干状态)→ 窑炉素烧(制成素坯)→ 施陶瓷釉料 → 再次窑烧(釉烧)
- 陶瓷术语:
- 泥板(Slab): 通过手工堆砌擀压成片的扁平黏土来构建陶瓷造型。
- 泥浆(Slip): 呈泥浆状的液态黏土,用于黏合两块黏土。
-
刮痕(Score): 在黏土表面刻划痕迹,以便黏合两块黏土。
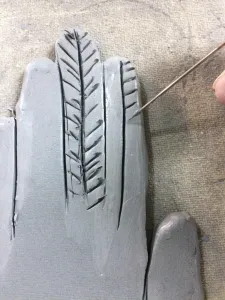
手印羽毛
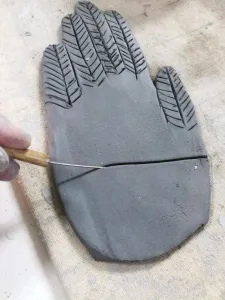
- 给每名学生分发一块泥板。
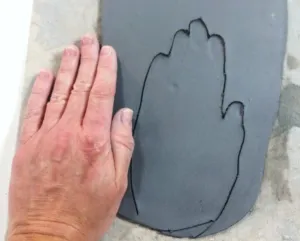
- 手指并拢,沿手掌外轮廓描画(切勿在指缝间描画!!)。
- 清除手掌印周围多余的黏土。
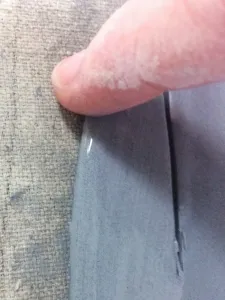
- 用手指蘸水,抚平所有边缘。
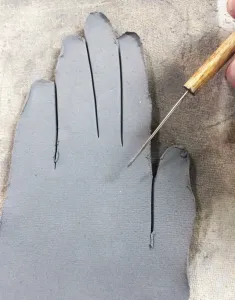
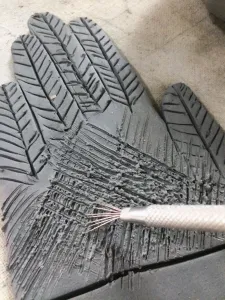
- 使用针具,在指印处轻划出指纹线位置——切勿划穿黏土。
- 在每一根手指印上轻划出羽毛纹路。
- 将手印暂置一旁使其变硬,同时进行陶罐主体与头部的制作。若分两节课完成,则将手印妥善收存,留待下节课使用。
陶罐主体(碗)
- 捏塑法(教师引导示范)
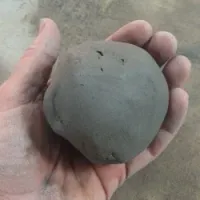
- 给每名学生分发一个直径约2英寸的黏土球。
- 示范捏塑陶罐的步骤:
- 将湿润黏土球在手中揉成圆球状。
- 将拇指蘸水,垂直插入黏土球中央,深度约为球体一半。
- 若为右利手,则用左手持握黏土球;若为左利手,则用右手持握。
- 将惯用手拇指插入孔洞,其余四指自然覆于黏土球顶部(教师可向低龄学生形象地称此动作为“木偶手——柯密特青蛙”)。四指并拢,用拇指从孔洞内侧朝手指方向轻柔捏压,同时缓慢旋转黏土球,使内壁逐渐变薄。(动作如同柯密特在说话)
- 若出现“大象皮”现象(黏土表面产生细小裂纹或开裂),则用蘸水手指在裂纹处来回轻擦,直至抚平。
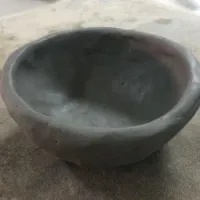
- 持续边捏边转,直至黏土球初具陶罐形态。
- 待罐壁厚度均匀(约等同于小指厚度)后,轻轻将罐底叩击桌面,使其底部形成平整表面。
火鸡头部
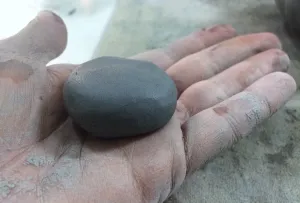
- 给每名学生分发一个小黏土球——直径约等于一枚硬币或略大。
- 让学生在掌心滚动黏土球,确保其呈正圆形。
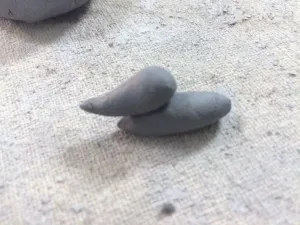
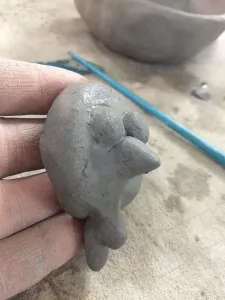
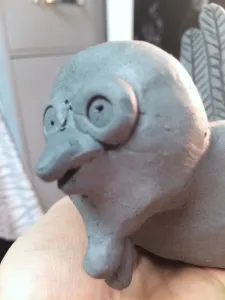
- 另提供少量黏土用于制作眼睛与喙(可选:添加肉垂——即火鸡喙下方垂挂的软组织)。
- 将眼睛搓成小圆球,将喙塑成三角形。
- 肉垂由两个泪滴形黏土片组成,粘贴于下巴下方。
整体组装
- 粘贴前,可能需修剪手印底部,以适配陶罐弧度。
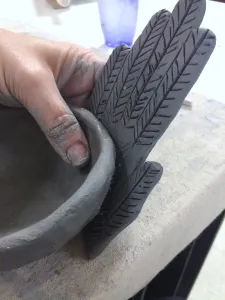
- 运用刮痕与泥浆法,将手印粘贴于陶罐背面,再于陶罐另一侧粘贴火鸡头部、眼睛、喙与肉垂。
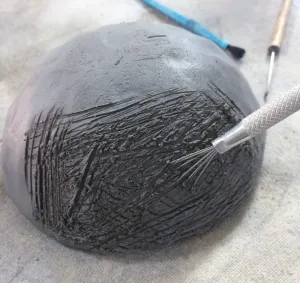
- 刮痕与泥浆法: 教师示范 “刮痕与泥浆”指黏合两块黏土的方法。首先对黏合面进行刮痕——即在待黏合表面刻划交叉纹路;接着进行泥浆处理——即用泥浆湿润刮痕面,起胶黏作用;最后将两部分按压贴合。务必始终遵循“先刮痕、后泥浆”的步骤。
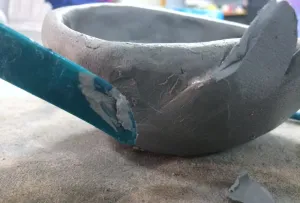
- 干燥过程中,可能还需用支撑物固定羽毛,使其保持直立姿态。
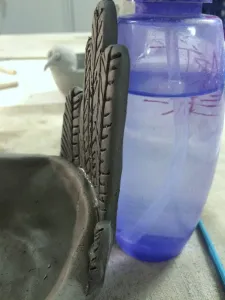
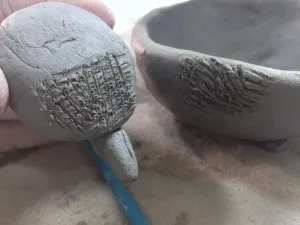
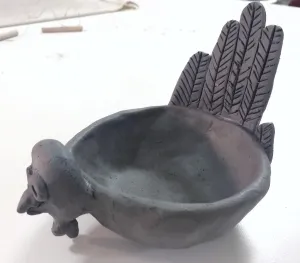
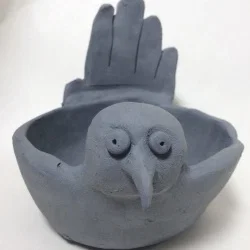
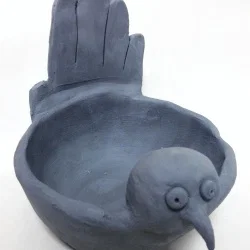
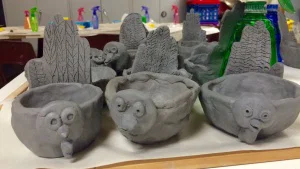
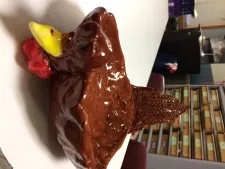
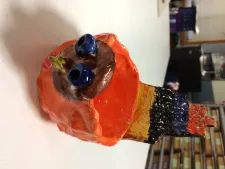
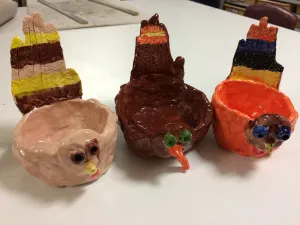
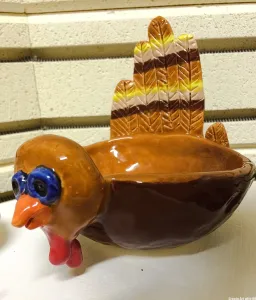
学生作品:
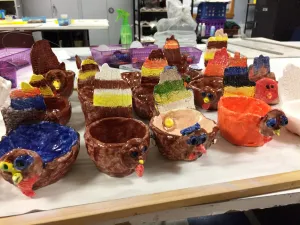
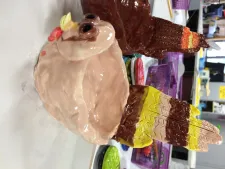

其他小学陶艺项目
 睡莲与荷花陶艺课
 微型陶瓷鸟浴盆——捏塑与泥板综合课
 陶瓷蝴蝶碗(第一部分)——泥板成型
上釉陶瓷蝴蝶碗(第二部分)
 捏塑陶艺小生物——小学陶艺课
创意捏塑陶艺点子与教案
Ceramic Turkey and Hand-Print Pinch Pot Lesson
Original: https://createartwithme.com/ceramic-turkey-hand-print-pinch-pot-lesson/
Date: 2015-10-25
Author: Michelle East
Categories: 2nd Grade, 3rd Grade, 4th Grade, 5th Grade, After School Art & Art Camp, Art Lessons, Ceramics Lessons, Ceramics Pinch Pots Lessons, Ceramics Slab Construction Lessons, Elementary Art, K-1st Grade, Sculpture Lessons
Tags: after school art class, ceramic lesson, Ceramic process, clay art lesson, Creative Ceramic Pinch Pot Examples & Lessons, fall themed clay project, fall themed project, pinch pot instructions, pinch pot lesson, pinch pot techniques, slab & pinch pot, Turkey and Hand-print Pinch Pot Lesson, Turkey Ceramic Pinch Pot
Ceramic Turkey and Hand-print Pinch Pot Lesson is a clay art lesson that is targeted to elementary (2nd-5th grade) and teaches both slab & pinch pot techniques. You could adapted this to slightly older students by adding more detail & feathers to the turkey (6th+).
I wanted a fun & positive fall themed clay project that the children could use through the fall season. We created this project successfully in my After School Art Class that has Kinder-5th graders enrolled (young children needed lots of help with the pinch pot and attaching the handprint).
More pictures of the GLAZED turkeys at the bottom of the post!
Supplies: Low fire clay, food safe glazes, clay modeling tools
Preparation: Roll a slab (big enough for a child’s hand), a 2″ ball (bowl), a 1″ ball (head), a small bit of extra clay (eyes, beak, & snood)-put in a gallon zip lock bag for each student
Delivery:
- Ceramic Process: build ceramic artwork, let dry completely for 5-7 days (until Bone dry), fire in kiln (Bisqueware), glaze with ceramic glazes, fire again (Glaze Firing)
- Ceramics Vocabulary:
- Slab: Creating a ceramic form by hand-building walls using flat rolled-out pieces of clay.
- Slip: muddy, liquid clay used to attach two pieces
-
Score: to make marks on the clay to attach two pieces
Hand-Print Feathers
- Give each student a slab of clay.
- KEEPING FINGERS TOGETHER, trace around the outline of the hand (don’t go in between the fingers!!).
- Remove extra clay from around the hand-print.
- Dip finger in water and smooth out all the edges.
- Using a needle tool. LIGHTLY draw in wear the finger lines would be. Do NOT go all the way through the clay.
- In each finger LIGHTLY draw in feather lines.
- Set aside to stiffen while you work on the bowl & head. If you are doing this in 2 class periods, then put this away until the next class.
Bowl
- Pinch Pot Method (Teacher Guided Demo)
- Give each student a ball of clay about 2” in diameter.
- Demonstrate how to create a pinch pot:
- Roll the moist clay ball in your hands to form a ball.
- Dip you thumb in water and stick it into the middle of the ball about 1/2 way down.
- Hold the clay ball with your left hand if you are right-handed or with your right hand if you are left-handed.
- Insert your dominant hand’s thumb into the hole and wrap your four remaining fingers over the top of the clay ball (The teacher may refer to this step as “puppet hand-Kermit the frog” for young students.). Keep these fingers together and GENTLY pinch with your thumb on the inside of the hole towards your fingers. This will make the interior wall of the clay ball thinner as you gently turn the ball while pinching slowly. (like Kermit is talking)
- If you start to get elephant skin (small crack or splits in the clay), the dip your finger in water then rub your finger back & forth over the crack until it is smoothed out.
- Continue to pinch and turn until your ball looks more like a pot.
- Once the walls of the pot are an even thickness, (approx. the thickness of your pinky finger) shape the bottom of your pot by gently tapping it on your desktop to form a flat surface.
Turkey Head
- Give each student a small ball- about the diameter of a quarter or slightly larger.
- Have them roll it around in their palms to make sure its round
- Give them another small amount of clay for the eyes and the beak (optional: add a wattle-that dangly thing under the turkey’s beak)
- Roll the eyes into small balls and form the beak (like a triangle).
- The wattle is 2 tear drop shapes attached under the chin.
Putting It All Together
- You may need to trim off the bottom of the hand-print before attaching it to the bow.
- Use the Score & Slip Technique to attach the hand-print on the back of the bowl and then add the turkey head, eyes, beak & snood on the other side of the bowl.
- Score and Slip Technique: Teacher DEMO Score and slip refers to a method of joining two pieces of clay together. First, score the clay; this means that you make scratches in the surfaces that will be sticking together. Then you slip it; that is you wet the surface with some slip, using it like glue. Next, you press the two pieces together. It is very important to always score and slip
- You may also need to prop up the feathers to keep them upright as they dry.
Student Artwork:
If you choose to use any of this lesson (written or photos), please link back to this blog Create Art with ME!
Other Elementary Ceramic Projects
Lilypad & Lotus Flower Ceramics Lesson
Miniature Ceramic Bird Bath – Pinch Pot and Slab Lesson
Ceramic Butterfly Bowls (Part 1) Slab Construction
Ceramic Butterfly Bowls – Glazed! (Part 2)
Pinch Pot Creatures – Elementary Ceramics Lesson
Creative Ceramic Pinch Pot Ideas & Lessons
 陶瓷火鸡与手印捏塑陶罐课 是一门面向小学(二至五年级)学生的黏土美术课,同时教授泥板与捏塑技法。您可稍作调整,将其用于年龄略大的学生(六年级及以上),例如为火鸡添加更多细节与羽毛。
 材料: 低温烧制黏土、食品级釉料、黏土塑形工具