陶板灯笼:镂空设计
原文链接:https://createartwithme.com/ceramic-slab-lanterns-cut-out-design/
日期: 2017-01-18
作者: 米歇尔·伊斯特(Michelle East)
分类: 美术课、陶艺课、陶板成型课、精选内容、高中美术
标签: 陶板成型美术课、陶板灯笼、黏土灯笼、黏土灯笼课、镂空设计、高中美术课、高中陶艺项目、灯笼、皮革硬态雕刻、宝塔式灯笼、陶板成型、陶板成型课、陶板课
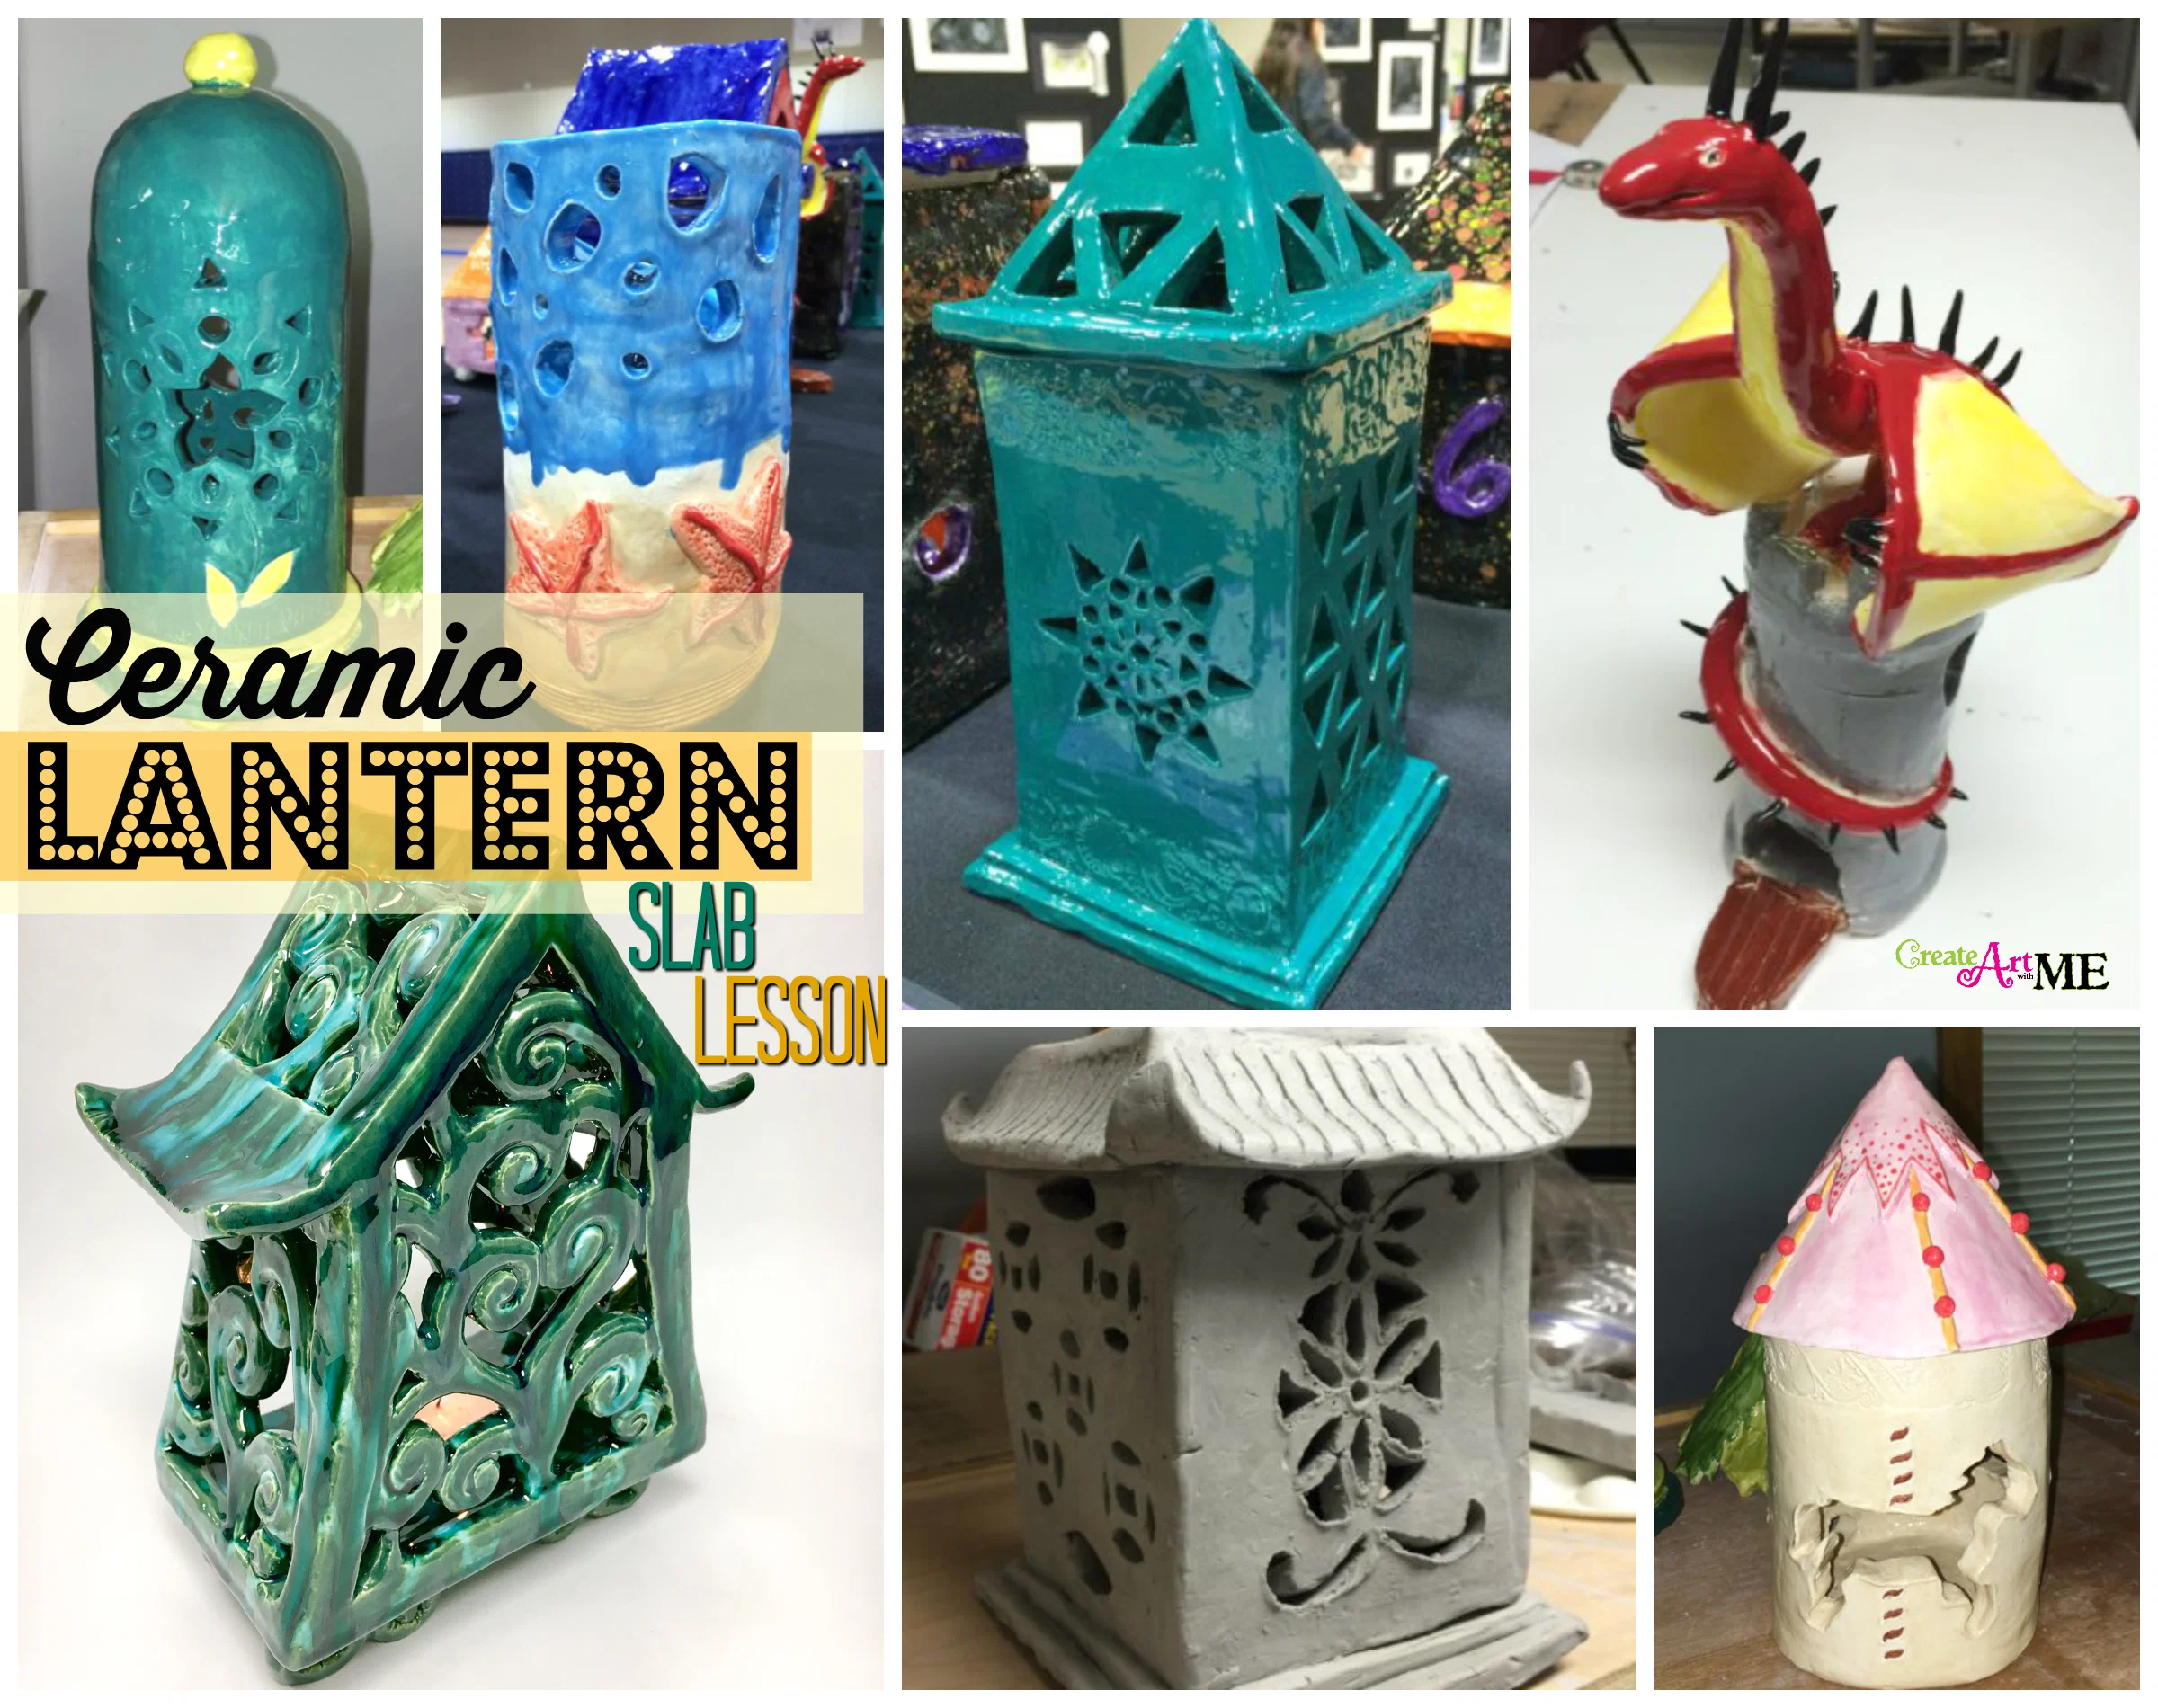
高中美术:陶板灯笼
每个人都需要一个恰当的挑战来促进成长! 镂空设计是我希望向高中生介绍的一项新技术。学生们已准备好迎接挑战!此前我们已完成陶板成型与拉坯轮操作,也做过大量加法式手筑,现在是时候迈向更高阶了!他们需要掌握一些进阶技法。因此,“镂空设计灯笼”项目正是他们所需。
在研究镂空设计技法时,我发现了Lakeside Pottery Studio(宝塔式灯笼)——这是一个超棒的网站,也是任何美术教师或陶艺家都值得珍藏的陶艺资源!本课教案是在以往陶板课程基础上,融入新授的“镂空设计”技法而编写而成。
参考资料: Lakeside Pottery Studio(宝塔式灯笼),Amaco-灯笼点灯。
本教案由米歇尔·C·伊斯特(Michelle C. East)撰写。
教学目标:
- 学生能准确说出指定的陶艺专业词汇;
- 学生将学习陶板成型与手筑技法;
- 学生需在速写本中绘制至少两幅灯笼创意草图;
- 学生将运用陶板成型法制作灯笼,并探索镂空设计与肌理表现;
- 学生将通过陶板与手筑技法,展现良好的工艺水准。
材料: 陶艺用品(画布板、陶泥[低温陶土]、塑形工具、擀面杖、厚度规[slats]、低温釉料)、美工刀(Exacto knives)、纸巾、铺桌用新闻纸
 课前准备
• 将陶泥揉制成葡萄柚大小的泥球,每人3–4个,另备若干备用;或**示范如何直接从泥块上切割取泥;
• 在工作区铺设纤维板(Masonite boards)或画布;
• 摆放好陶泥、针具、盛有泥浆或清水的容器,以及厚度规(“slats”)。
第1天授课:陶艺导论
概述——陶泥成型方法(以下方法皆可选用):
1. 手筑法: 仅用手及手持陶艺工具塑造器皿;
2. 陶板法: 将陶泥擀压成薄片(即“陶板”),再将其塑造成各种形状或立体结构;
3. 捏塑法: 将一只手的拇指插入陶泥中心,另一只手以拇指在内、手指在外轻捏按压,同时缓慢旋转陶泥,逐步扩大中心开口;
4. 泥条盘筑法: 将陶泥搓成泥条,再以“刮擦+泥浆粘接法”(slip & score method)将泥条逐圈盘筑连接,形成陶瓷造型。
陶泥干燥阶段:
1. 湿泥态
2. 皮革硬态(leather hard)
3. 素坯态(greenware)或骨干态(bone dry)
4. 素烧坯(bisquesware,首次烧成)
5. 施釉坯(glazeware,施釉后二次烧成)
第1天活动 #1–2:陶板成型导入——教师示范指导
- 教师逐一演示各项技法,随后学生练习擀制陶板。(保留湿润状态,存至下节课使用)
a. 擀压陶泥: 在陶泥球两侧各放置一根厚度规,其高度即为所需陶板厚度;确保擀面杖可平稳骑跨于两根厚度规之上。先将陶泥以倾斜角度摔打于桌面,启动初步压平过程;再从陶泥中心开始,向外擀压至边缘;返回中心,以同等力度向内擀压;拿起陶泥翻面,此举可防止其粘连画布板。重复上述步骤,直至陶泥表面与厚度规齐平,无法继续压薄为止。
b. 向学生示范如何储存陶板(置于板上、装入袋中,并正确扭转缠绕橡皮筋)。
- 学生将在速写本中构思并绘制灯笼设计方案。
第2–6天:模板制作与灯笼成型
回顾项目任务单。
项目目标: 探索陶板成型(盒式或圆筒式)、镂空设计与肌理表现。
陶板成型法:教师示范(第2–3天)
 参见 带盖陶盒课 了解陶板课内容
-
制作模板: 在纸上逐一绘制出灯笼所需的全部独立部件。
-
活动: 为即将从陶泥中裁切的每一结构部件分别制作纸质模板。取出直尺,精确测量各部件尺寸。
- 为每一块陶板部件绘制严格等大的模板:
- 四个侧面(其中两个侧面可不同);
- 底部;
- 顶部或屋顶——可用陶板或捏塑法制作。
- 擀制陶板(数量视灯笼尺寸而定,通常需多片),并用模板裁切所有灯笼部件:
- 在按模板裁切前,先于陶板表面添加肌理。(第4天)
a. 添加肌理的两种方式:
- 使用肌理板按压陶板表面。此法宜在灯笼成型前完成;注意陶泥不可过软,否则肌理板易粘附陶板,破坏表面。
-
使用各类手工工具或实物按压陶泥表面以制造肌理。此法宜在灯笼成型后进行。
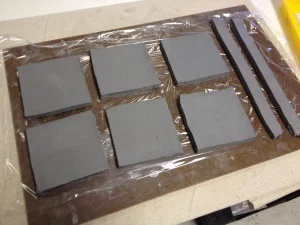
切出6块尺寸完全相同的泥板(后续再修整)
4.刮痕与泥浆粘接法——(示范)要将两块陶泥粘合,必须使用刮痕与泥浆粘接法。(第4–6天)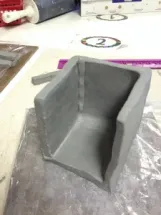
- 用针状工具在待粘合的两个表面反复刮划数次,并在两侧各涂少量泥浆或清水。注意不可过度湿润陶泥,水分过多会使泥料过软、发滑,难以塑形。
- 将两个表面压紧并轻轻左右晃动,使其贴合。若未采用刮痕与泥浆粘接法,泥板在干燥过程中容易分离甚至崩裂。
- 如需增强粘结强度,可搓一条极细的泥条,将其嵌入墙体相接的缝隙内。
- 用塑形工具或“刮刀”将所有接缝处抹平。
镂空设计(第7–9天)
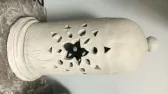
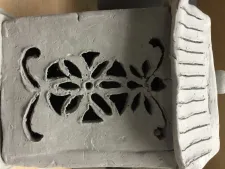
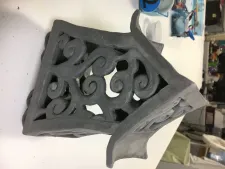
- 镂空设计仅可在陶泥呈皮革硬状态时进行。须将泥料静置30分钟以上,直至达到皮革硬状态。
- 示范如何切割开口——如窗与门。同时演示减法(挖除)与加法(添加)两种造型方法。
收尾工序
- 全部制作完成后,在作品侧面或底部刻写自己的姓名,并置于窑房内的垫板上;垫板须标注你的姓名及今日日期,以待阴干。阴干需5–10天。
- 素烧:指陶瓷坯体未经施釉,仅经一次高温烧制后的状态。
第10–12天:施釉
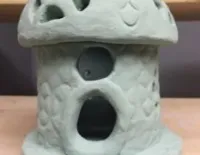 施釉——将液态釉料涂覆于陶瓷坯体表面。釉料由极细的玻璃粉末悬浮于液体中制成;经高温烧制后,釉料熔融形成玻璃质涂层,并与坯体表面牢固结合。
釉烧——在素烧坯(或偶为生坯)表面施釉后所进行的烧成,旨在获得玻璃质感的表面效果。
课堂活动:为素烧完成的灯笼施釉,至少涂覆3遍。
学生作品图集(项目各阶段)
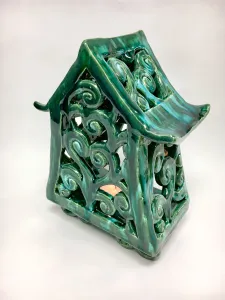
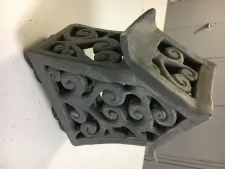
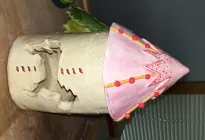
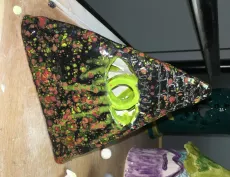
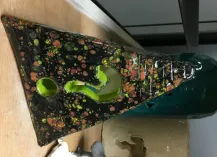
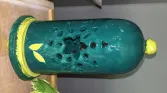

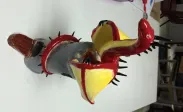
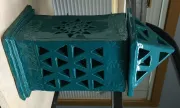
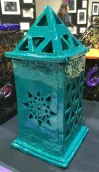
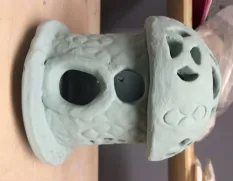
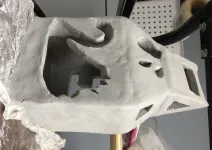
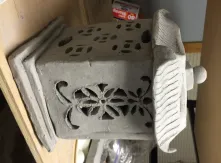
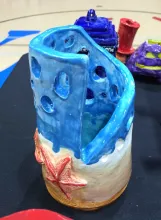
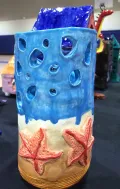
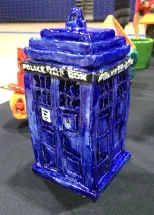
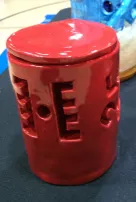
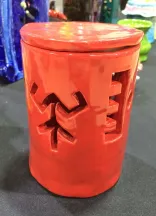
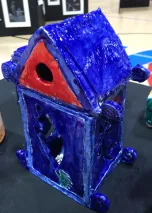
本教案由Michelle C. East撰写。若您选用本教案内容(文字或图片),请务必回链至本博客Create Art with ME!
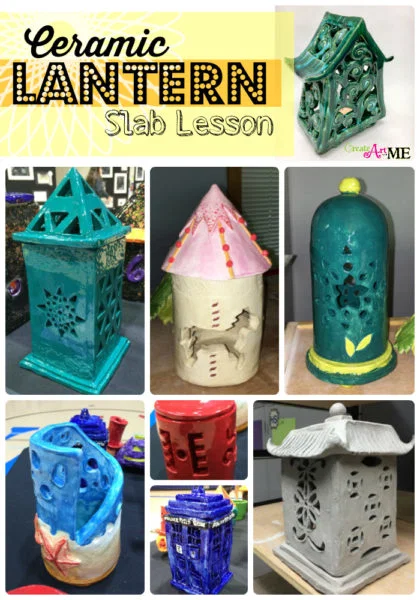
Ceramic Slab Lanterns Cut-Out Design
Original: https://createartwithme.com/ceramic-slab-lanterns-cut-out-design/
Date: 2017-01-18
Author: Michelle East
Categories: Art Lessons, Ceramics Lessons, Ceramics Slab Construction Lessons, Featured, HS Art
Tags: . Slab construction art lesson, Ceramic Slab Lanterns, clay lantern, clay lantern lesson, Cut-Out Design, high school art lesson, high school ceramics project, lantern, leatherhard carving, pagoda lantern, Slab Construction, slab construction lesson, slab lesson
High School Art: Ceramic Slab Lanterns
Everybody needs a good challenge to help them grow! Cut-design was a new technique that I wanted to introduce my high school students to. They were ready for a challenge! We had done slab construction and the throwing wheel in the past and we had done lots of additive hand-building, but it was time to take it to the next level! They needed to learn some advanced techniques. So the cut-out design lanterns project was exactly what they needed.
While researching cut out-design techniques I cam across Lakeside Pottery Studio (Pagoda Lantern), this is an AWESOME website and valuable ceramic resource for any teacher or ceramic artist! I wrote this lesson building upon previous slab lessons and adding the new Cut Out-Design technique.
Resources: Lakeside Pottery Studio (Pagoda Lantern), Amaco-Lantern to Light.
This lesson plan was written by Michelle C. East
Objectives:
- Students will be able to define the given clay vocabulary.
- Students will learn slab construction and hand building techniques.
- Students will draw at least two preparatory sketches of ideas for their lantern.
- Students will create a slab constructed lantern while exploring cut-out design and texture.
- They will demonstrate good craftsmanship using slab and hand-building techniques.
Materials: ceramic supplies (canvas boards, clay (low fire earthenware), modeling tools, rolling pins, slats, glazes-low fire), Exacto knives, paper towels, newsprint for tables
Preparation
• Wedge the clay into grapefruit-size balls, 3-4 per child plus a few extra. OR **show them how to cut from the blocks of clay
• Cover the work area with Masonite boards or canvas.
• Set out the clay, needle tools, containers of slip or water, and the guide sticks “slats”
Day 1 Delivery: Ceramics Intro
Overview-Clay Building Methods: (all of these may be used)
1. Hand-building: building pots using the only the hands and hand-held clay tools
2. Slab: clay is rolled into thin sheets or slabs and then formed into shapes or forms.
3. Pinch: shaping clay by inserting the thumb of one hand into the clay and lightly pinching/ pressing with the thumb on the inside and fingers on the outside while slowly turning the clay to enlarge the center opening of the clay.
4. Coil: creating ceramic forms by rolling out coils of clay and joining them together by the slip & score method.
Stages of Dryness
1. Wet
2. Leather hard
3. Greenware or Bone dry
4. Bisquesware (first firing)
5. GlazeWare (second firing with glaze)
Day 1 Activity #1-2: Slab Construction Into –Teacher Guided Demo
1. Teacher will demo each technique then have student practice rolling out a slab. (Save & store wet for next class)
a. Rolling the Clay: Place guide sticks the thickness of the desired slab on each side of the clay ball. The guide sticks need to be positioned so that a rolling pin can ride on top of both of them. Throw the clay down at an angle to get the flattening process started. Starting from the center of the clay and roll away from yourself. Roll only to the edge of the clay. Return to the center and roll towards you using the same pressure. Pick up the clay & flip it over, this helps prevent the clay from sticking to the canvas board. Repeat these steps, until the clay is flush with the guide sticks and cannot be flattened any more.
b. Demonstrate to students how to store their slabs (on boards, in bags & how to twist & wrap the rubber bands).
- Students will work on designs for their clay lanterns in their sketchbooks.
Day 2-6: Template & Construction of Lantern
Go over project handout.
Project Objective: Explore Slab Construction (BOX or cylinder), Cut-Out Design, & Texture
SLAB Construction Method: Teacher Demo (Day 2-3)
See Ceramic Box with Lid Lesson for Slab Lesson
-
Create a template: on a piece of paper draw out the EACH of the separate pieces to your clay lantern.
-
Activity: Create a paper template for each structural piece you will cut out of clay. Get out a ruler and make precise measurements of the dimensions of your piece.
- Draw a template for EVERY slab piece the EXACT size you need it to be:
- 4 Sides (2 sides can be different)
- Bottom
- Top or Roof- can be slab or pinch pot
- Roll slabs (it will probably take several depending on the size of your lantern) & use templates to cut all the pieces for your lantern
- Apply Texture to slab before cutting out templates. (Day 4)
a. Two ways to apply texture:
- Use texture plates to press into the slab. Best done BEFORE construction of the lantern. Make sure clay is not super soft or the plates will stick to the slab & mess it up.
-
Press texture into the clay using various hand tools or objects. Best done AFTER construction of the lantern.
Cut 6 slabs all the same size (we will trim later)
4.Score and Slip – (DEMO) In order to attach two pieces of clay, you must use the score and slip method. (Day 4-6)
- Score or scratch both of the surfaces that will be joined several times with a needle tool and apply a small amount of slip or water on both sides. Be sure not to over-wet the clay, too much water will cause it to become too soft, slimy, and unworkable.
- Press & wiggle the surfaces together. If the pieces are not attached with the score and slip method, the slabs tend to pull apart and could pop apart as they dry.
- To make an even stronger bond, roll a very thin coil of clay and push it inside the joints where the walls meet.
- Smooth out all joints with a modeling tool or “rib”.
CUT-OUT DESIGN (Day 7-9)
- Cut-Out Design can ONLY be done when the clay is leather-hard. You must leave it out for 30+ minutes to let it get leather-hard
- Demonstrate how to cut openings-windows & doors. Demo Subtractive and Additive methods.
FINISHING
- When completely finished, scratch your name into the piece (side or bottom) & set on a bat labeled with your name & today’s date in Kiln room to dry. Dry 5-10 days,
- Bisque Fire: The term bisque refers to ceramic ware that has been fired once without glaze.
Day 10-12: Glaze
Glazing – Applying liquid glazes to the ceramic pieces. Glazes are made from finely ground glass suspended in a liquid. In the presence of heat, the glaze becomes a glassy coating which fuses to the surface.
Glaze Firing – Firing done after glaze has been applied to bisque or (occasionally) green-ware to produce a glass-like surface.
Activity: Apply glaze to bisque-ware lanterns 3+ coats
Student Gallery (at various stages of the project)
This lesson plan was written by Michelle C. East. If you choose to use any of this lesson (written or photos), please link back to this blog Create Art with ME!

 课前准备


 施釉——将液态釉料涂覆于陶瓷坯体表面。釉料由极细的玻璃粉末悬浮于液体中制成;经高温烧制后,釉料熔融形成玻璃质涂层,并与坯体表面牢固结合。
