陶瓷“掷骰造兽”动物雕塑
原文链接:https://createartwithme.com/ceramics-roll-a-beast-animal-sculptures/
日期: 2012-12-17
作者: 米歇尔·伊斯(Michelle East)
分类: 美术课第一课、六年级、美术课程、陶艺课程、绘画课程、高中美术、初中美术、雕塑课程
标签: 儿童三维艺术项目、三维陶土、绘画用动物解剖知识、动物身体部位、动物雕塑、陶瓷中的动物、美术项目、儿童美术项目、面向儿童的美术项目、画家绘画材料、陶瓷动物、陶瓷艺术课、陶瓷生物、陶艺创意、陶瓷项目、陶土美术课、陶土创意、陶艺词汇、手工、创意生物、“拨号造兽”、骰子艺术、骰子怪兽、骰子生物、骰子怪物、绘画游戏、适用于高中、高中美术、高中陶艺、结合陶艺的儿童美术课、儿童美术课、儿童校内美术项目、初中美术、初中陶艺、全新生物、机器人陶艺、“掷骰造生物”、“掷骰造兽”、“掷骰造兽”陶艺课、“掷骰造兽”陶土课、“掷骰造创物”、雕塑艺术课、雕塑创意、雕塑项目、拓展想象力、教师面向儿童的美术项目、面向儿童的美术教学
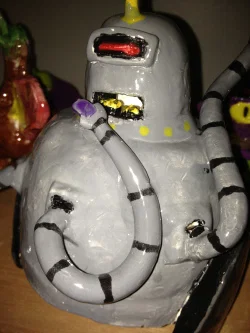
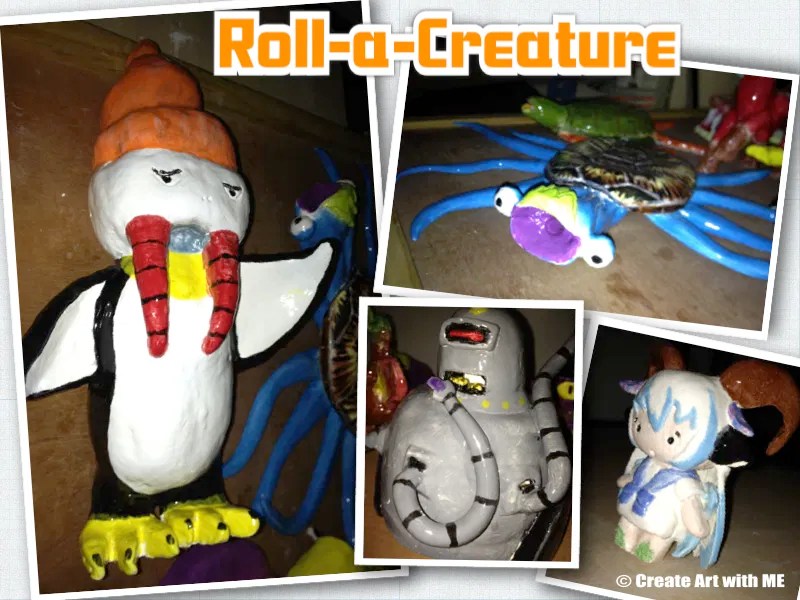
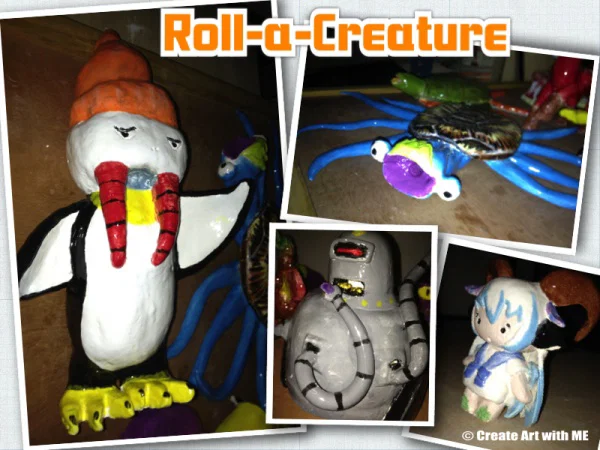 设计一个真正能拓展学生想象力、挑战其雕塑技能的项目,对其创造性发展至关重要! 我们的陶瓷“掷骰造兽”动物雕塑项目既有趣、富创意,又具挑战性——学生们全程乐在其中!
我的高中美术班完成了这一项目,但也可向下调整至六年级(若不使用陶艺材料,甚至可适用于更低年级)。这一创意源于我女儿的科学课——当时他们正在学习动物及其各自独特的构造方式!科学与美术是绝佳组合!如需融入圣经内容,本课也十分契合(可用于教案设计)!
教学目标:
• 学生能够准确定义所给陶艺术语。
• 学生将通过组合三种不同动物的身体特征,创作一件原创动物雕塑,从而构建一种全新的幻想生物。
• 学生将学习捏塑法与泥板成型法,以及徒手塑形技法;并在制作过程中妥善保存未完成的陶土作品。
• 学生将运用捏塑法、徒手塑形法(泥板法为选修)及施釉技法,展现良好的工艺水准。
• 学生须为其幻想生物至少绘制两幅构图草图。
圣经融合: 创造是上帝的艺术作品;祂是首位创造者(《创世记》第1–2章)。创造力蕴含选择之力,是自由意志的体现——尽管这种自由存于一定界限之内。(参见露丝·C·海科克(Ruth C. Haycock)著《圣经真理百科全书:美术与健康》第3页与第6页)
教具: 泡沫巨型骰子 、素描本或白纸、绘图铅笔、彩铅、陶艺材料(雕塑工具、陶土、釉料(可选——亦可用丙烯颜料替代釉料))
教学与活动一:“掷骰造生物”——构思幻想生物
 1. 讨论各类动物的解剖结构。不同类群动物(哺乳类、爬行类、海洋生物、鸟类等)各具哪些典型特征?(例如:翅膀/羽毛、獠牙/长牙、触手、鳍、鳞片、毛发、角/鹿角、甲壳、爪、长鼻、尾巴等。)
附件缺失:未找到 www.createartwithme.com
2. “掷骰造兽”身体部位表: 预先选定6种拟纳入本项目的动物身体部位,并为每种部位分配一个数字(例如:1=翅膀/羽毛,2=触手,3=角/鹿角,4=甲壳,5=獠牙/长牙,6=鳞片)。我将该表内容保密,直至所有学生完成掷骰后再统一公布。
3. 每位学生掷骰三次,获得三个互不重复的数字(若出现重复则重掷)。学生须记录下自己抽中的三种身体部位。
4. 待全体完成掷骰后,向全班展示“掷骰造兽”身体部位表。
5. 学生在素描本中构思一种新生物,须将上述三种身体部位全部融入其造型之中。该生物属幻想类型,但可力求写实!甚至有学生将这些特征融入机器人造型——效果惊艳!
6. 使用彩铅为设计方案上色。
教学/活动二:陶艺入门讲解
陶土塑形方法(面向初学者陶艺课): 教师须逐一示范各项技法,再指导学生练习。
 1. 徒手塑形法: 仅依靠双手及手持陶艺工具塑造器皿。
附件缺失:未找到 www.createartwithme.com
2. 泥板法: 将陶土擀压成薄片(即“泥板”),再将其裁剪、弯曲或拼接成所需形状或立体结构。(更多泥板创意)
3. 捏塑法与捏塑罐: 将一手拇指插入陶土中心,同时以拇指从内侧、其余手指从外侧轻柔捏压并缓慢旋转陶土,逐步扩大其中心开口。(更多捏塑罐创意)
4. 泥条盘筑法: 将陶土搓成长条状(即“泥条”),再以“刮擦+泥浆粘接法”(slip & score method)将泥条逐圈盘叠、连接,构成陶瓷造型。
陶土干燥阶段: 湿泥(可塑态)、皮革硬态、素坯(完全干透)、素烧坯(首次烧制后)、釉烧坯(施釉后二次烧制)
请讲解 乔·考克斯(Joe Cox)提出的陶艺十大黄金法则
活动三:幻想生物的立体塑造
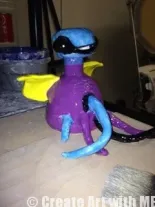 下一步是用陶土将构思转化为三维实体。因此,在简要复习陶艺基础知识后,我们立即投入实践——学生们开始用陶土制作各自的雕塑(其中多数作品以捏塑罐作为基本结构)。
附件缺失:未找到 www.createartwithme.com
• 刮擦/刻痕与泥浆粘接法(教师示范):将两块陶土粘合时,先用针具在待粘接表面反复刮擦数次,再于两侧均匀涂抹少量泥浆或清水,随后将表面压合。注意不可过度湿润陶土,否则会导致其过软、发黏。此步骤至关重要,因为泥板干燥过程中易收缩分离,导致部件开裂或脱落。如需增强粘接强度,可搓制极细的泥条,嵌入墙体相接处的缝隙内。
• 运用减法与加法塑形法在陶土上雕刻细节。
• 全部完成后,用针具在作品底部刻写姓名,并置于窑房标有本人姓名与今日日期的托板上自然阴干。阴干时间:5–7天。
• 素烧: 指陶坯经一次无釉烧制后的状态。
活动4:施釉
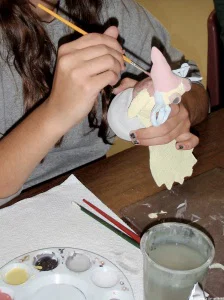 施釉—— 将液态釉料涂覆于陶瓷坯体表面。釉料由悬浮于液体中的精细玻璃粉末制成;再次入窑烧制后,釉层熔融成玻璃质涂层,牢固附着于坯体表面。
釉烧—— 在素烧坯(或偶为生坯)表面施釉后进行的烧制,旨在形成玻璃质感表面。
对素烧雕塑施釉不少于3遍。
评价标准:
结构/组装: 学生是否选用并正确运用了最适配其动物造型的成型方法?动物基本形态是否准确构建?器壁厚度是否整体保持一致(约1/4英寸)?各部位是否采用刮擦与泥浆粘接法牢固结合?组装痕迹不可见。所有刻划线整洁、已修平。整体结构无需外力支撑即可平稳立放。内部空气已妥善排气。
工艺水平: 纹理处理位置恰当、手法工整。
过程记录/提交评分: 学生已在作品底部注明姓名(或缩写)、班级编号及年份;已将作品放置于指定阴干架上。选做:规范拍摄作品照片。
整体审美与时间管理: 构图富于创意与原创性;学生主动选择具挑战性的题材和/或技法;整个创作过程体现出专注、思辨及优异的时间规划能力。
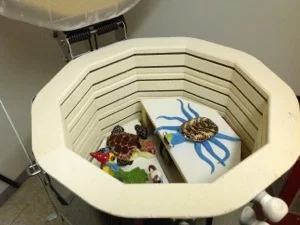 若您选用本教案或转载(文字或图片),请务必附上原文链接回溯至我的博客。本教案作者:米歇尔·C·伊斯(Michelle C. East)。Create Art with ME
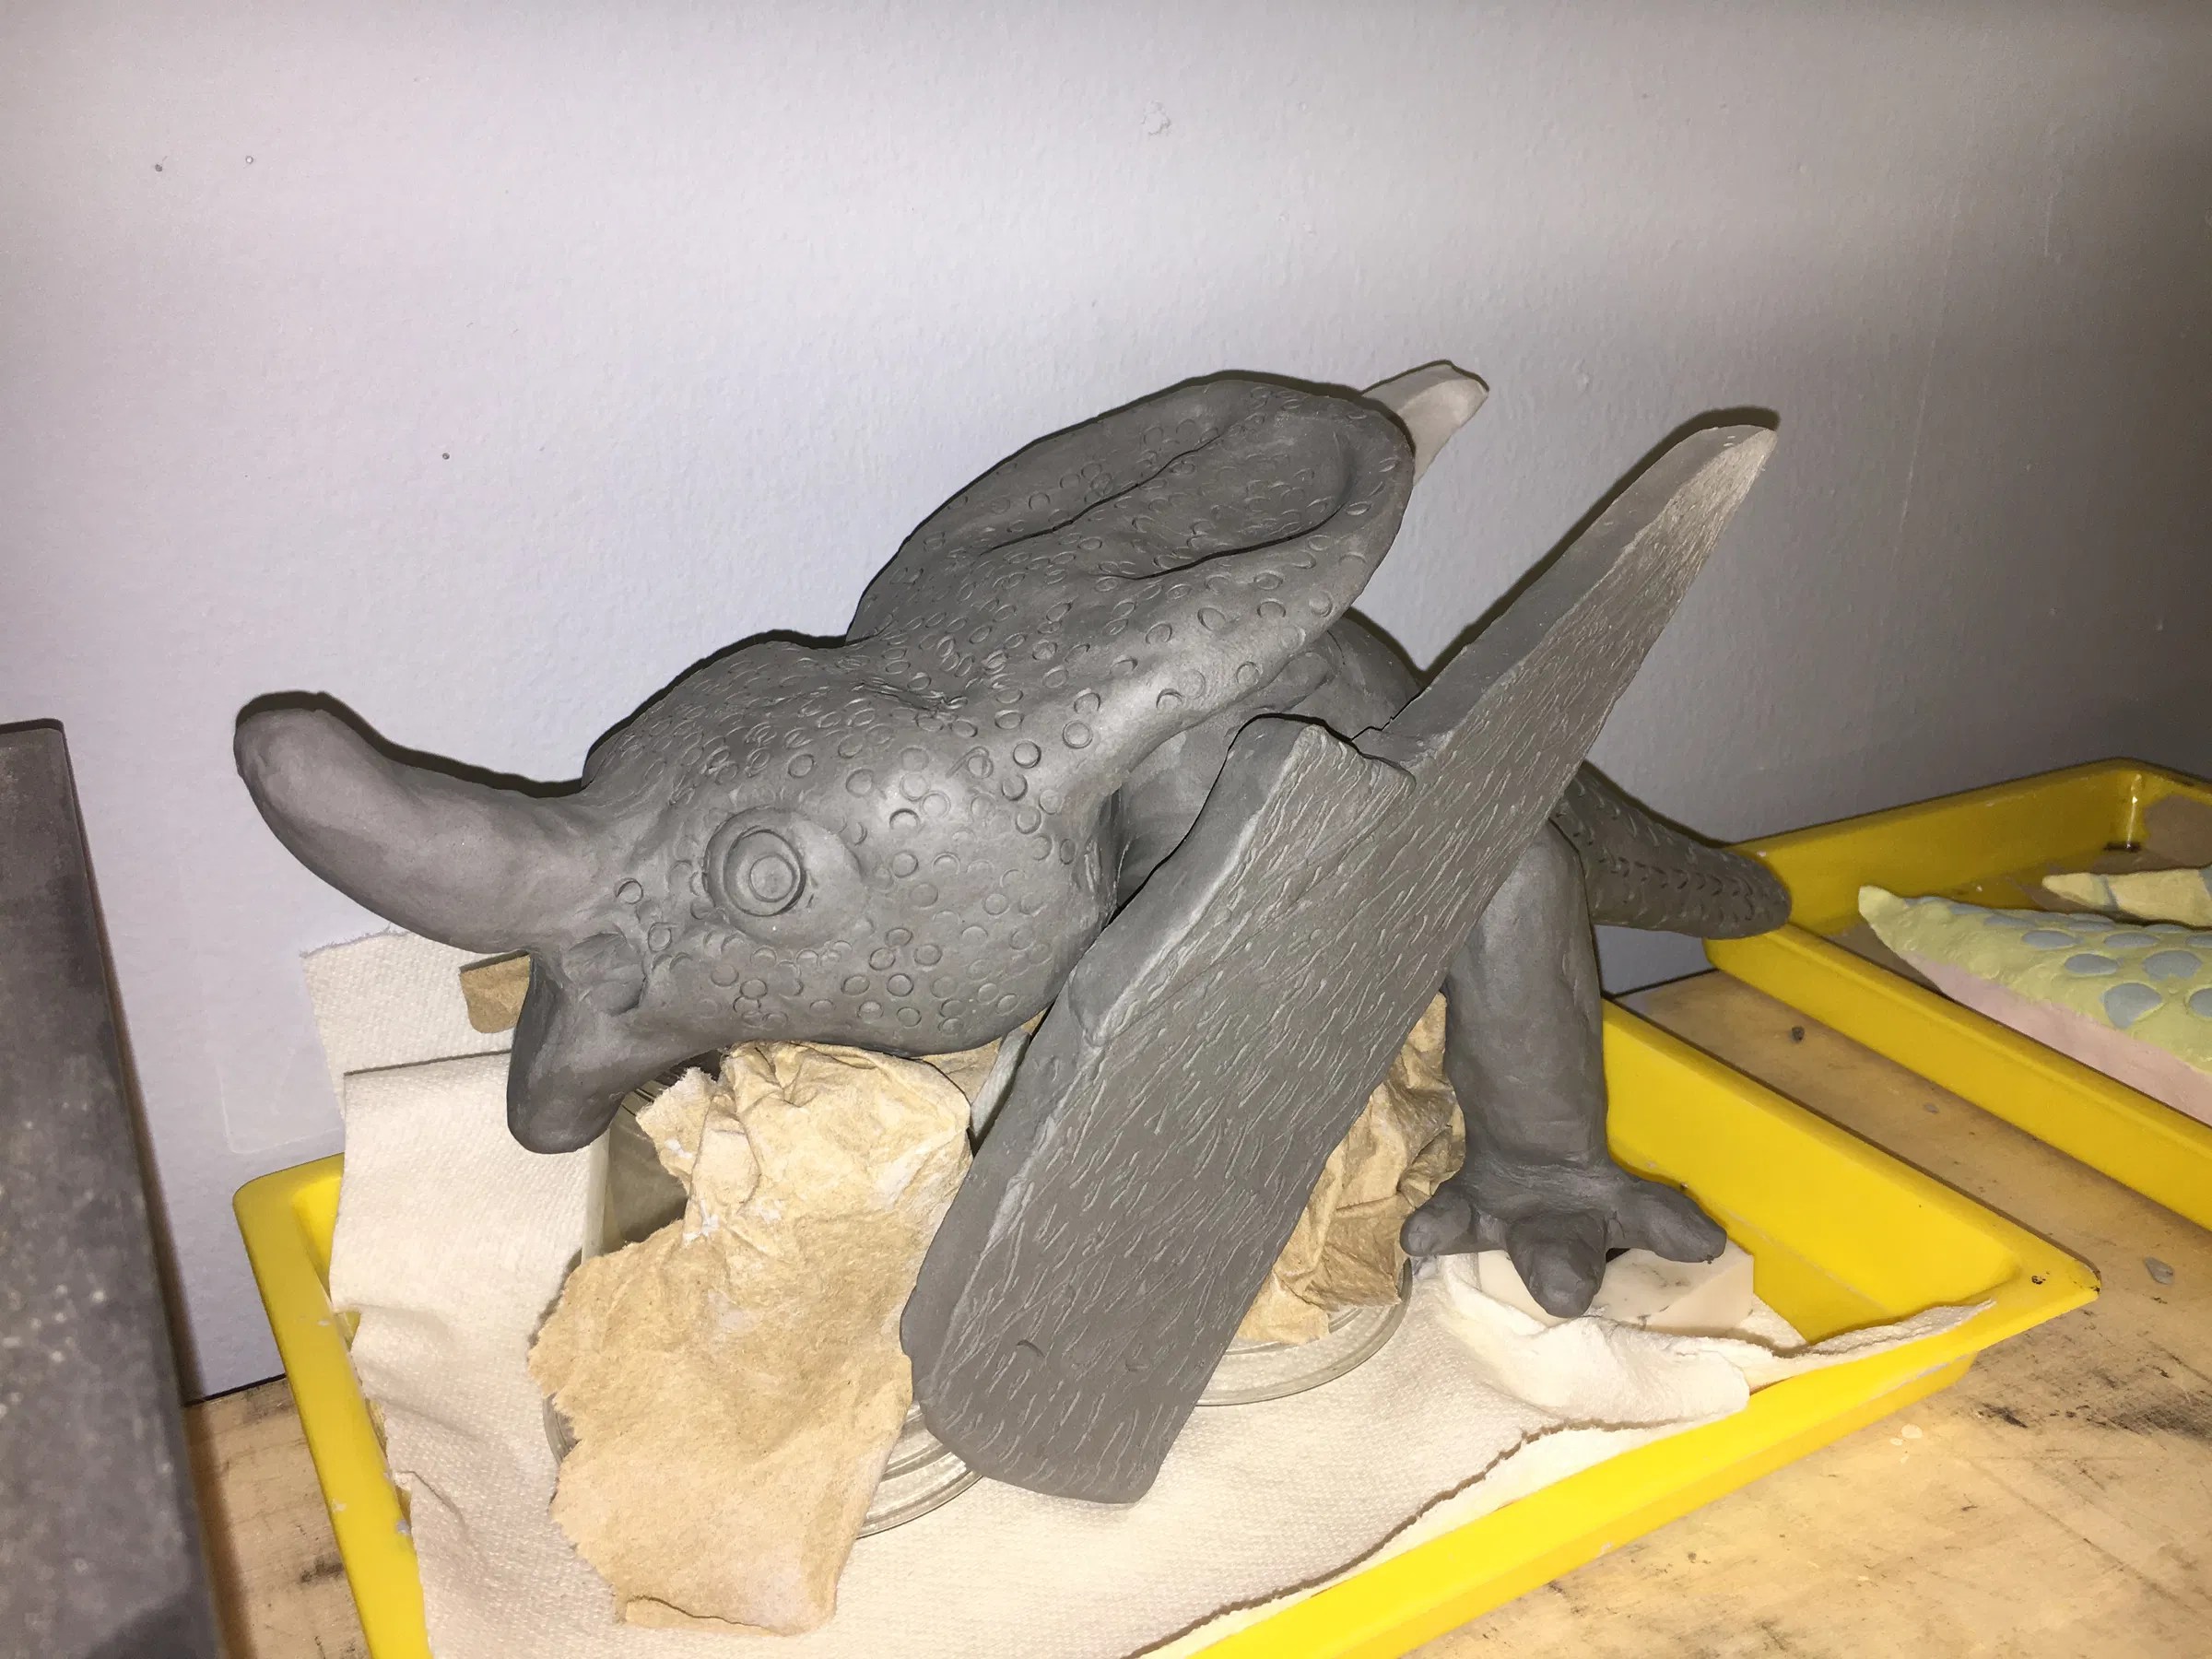
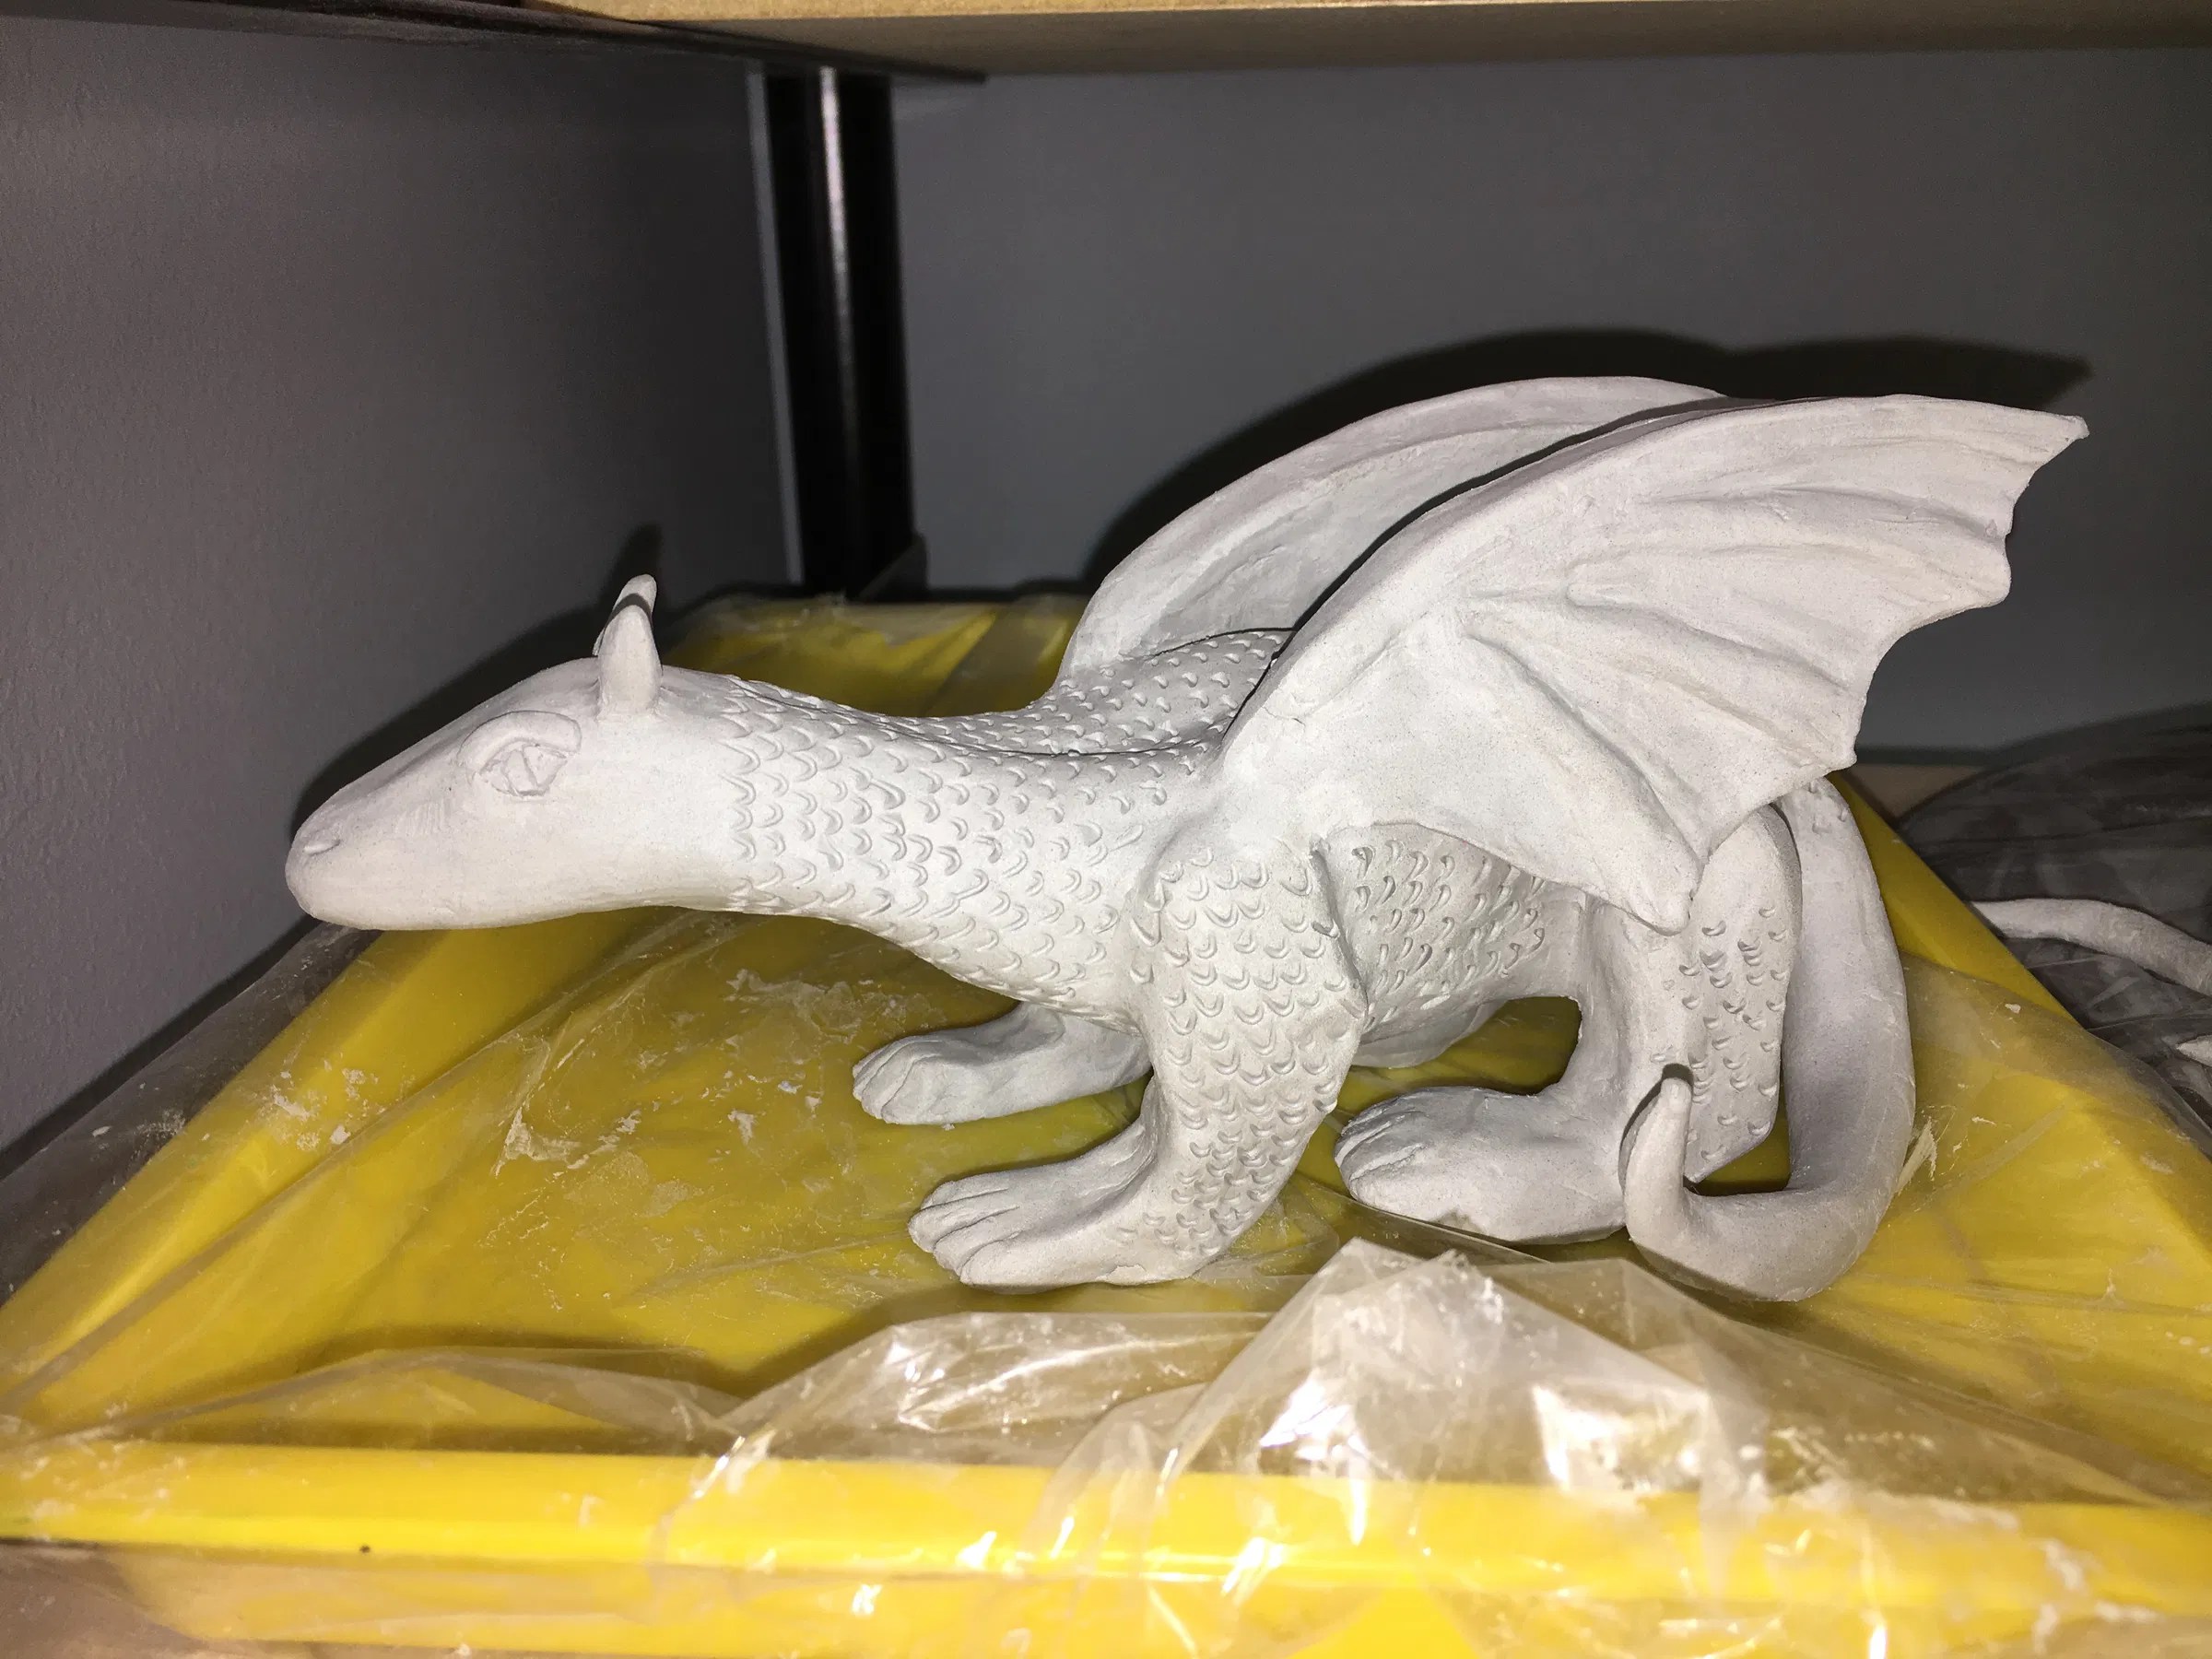
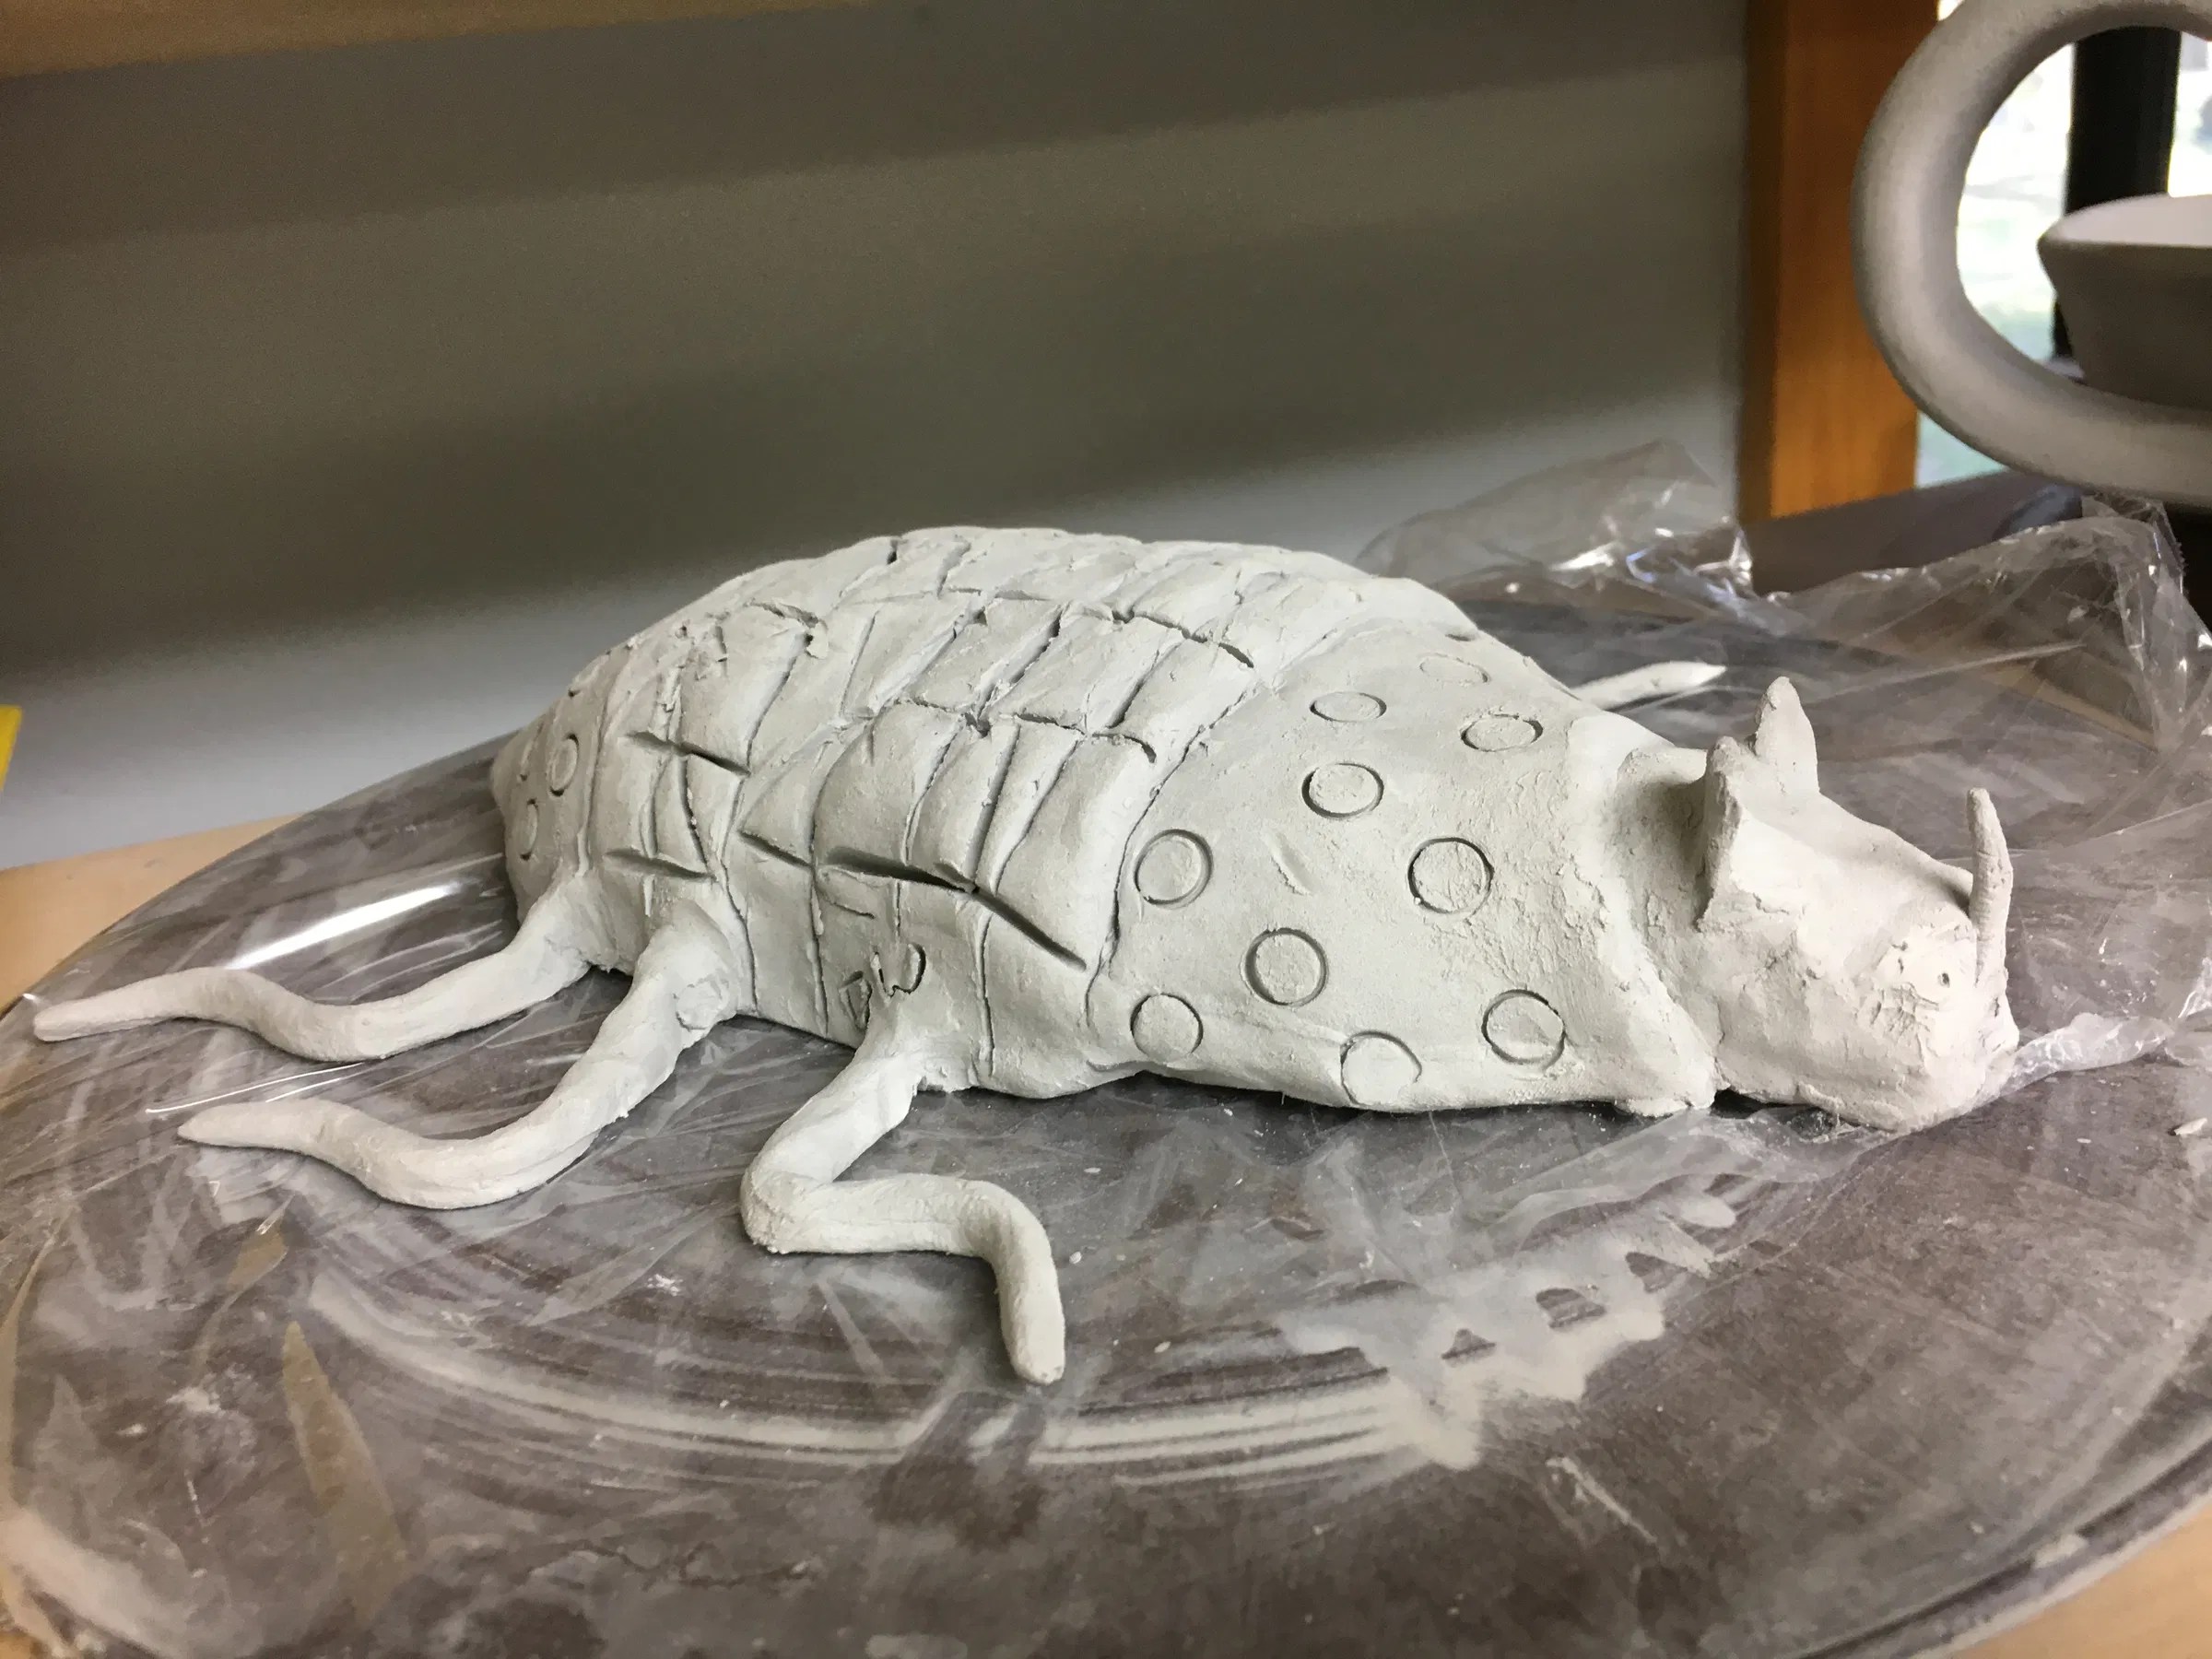
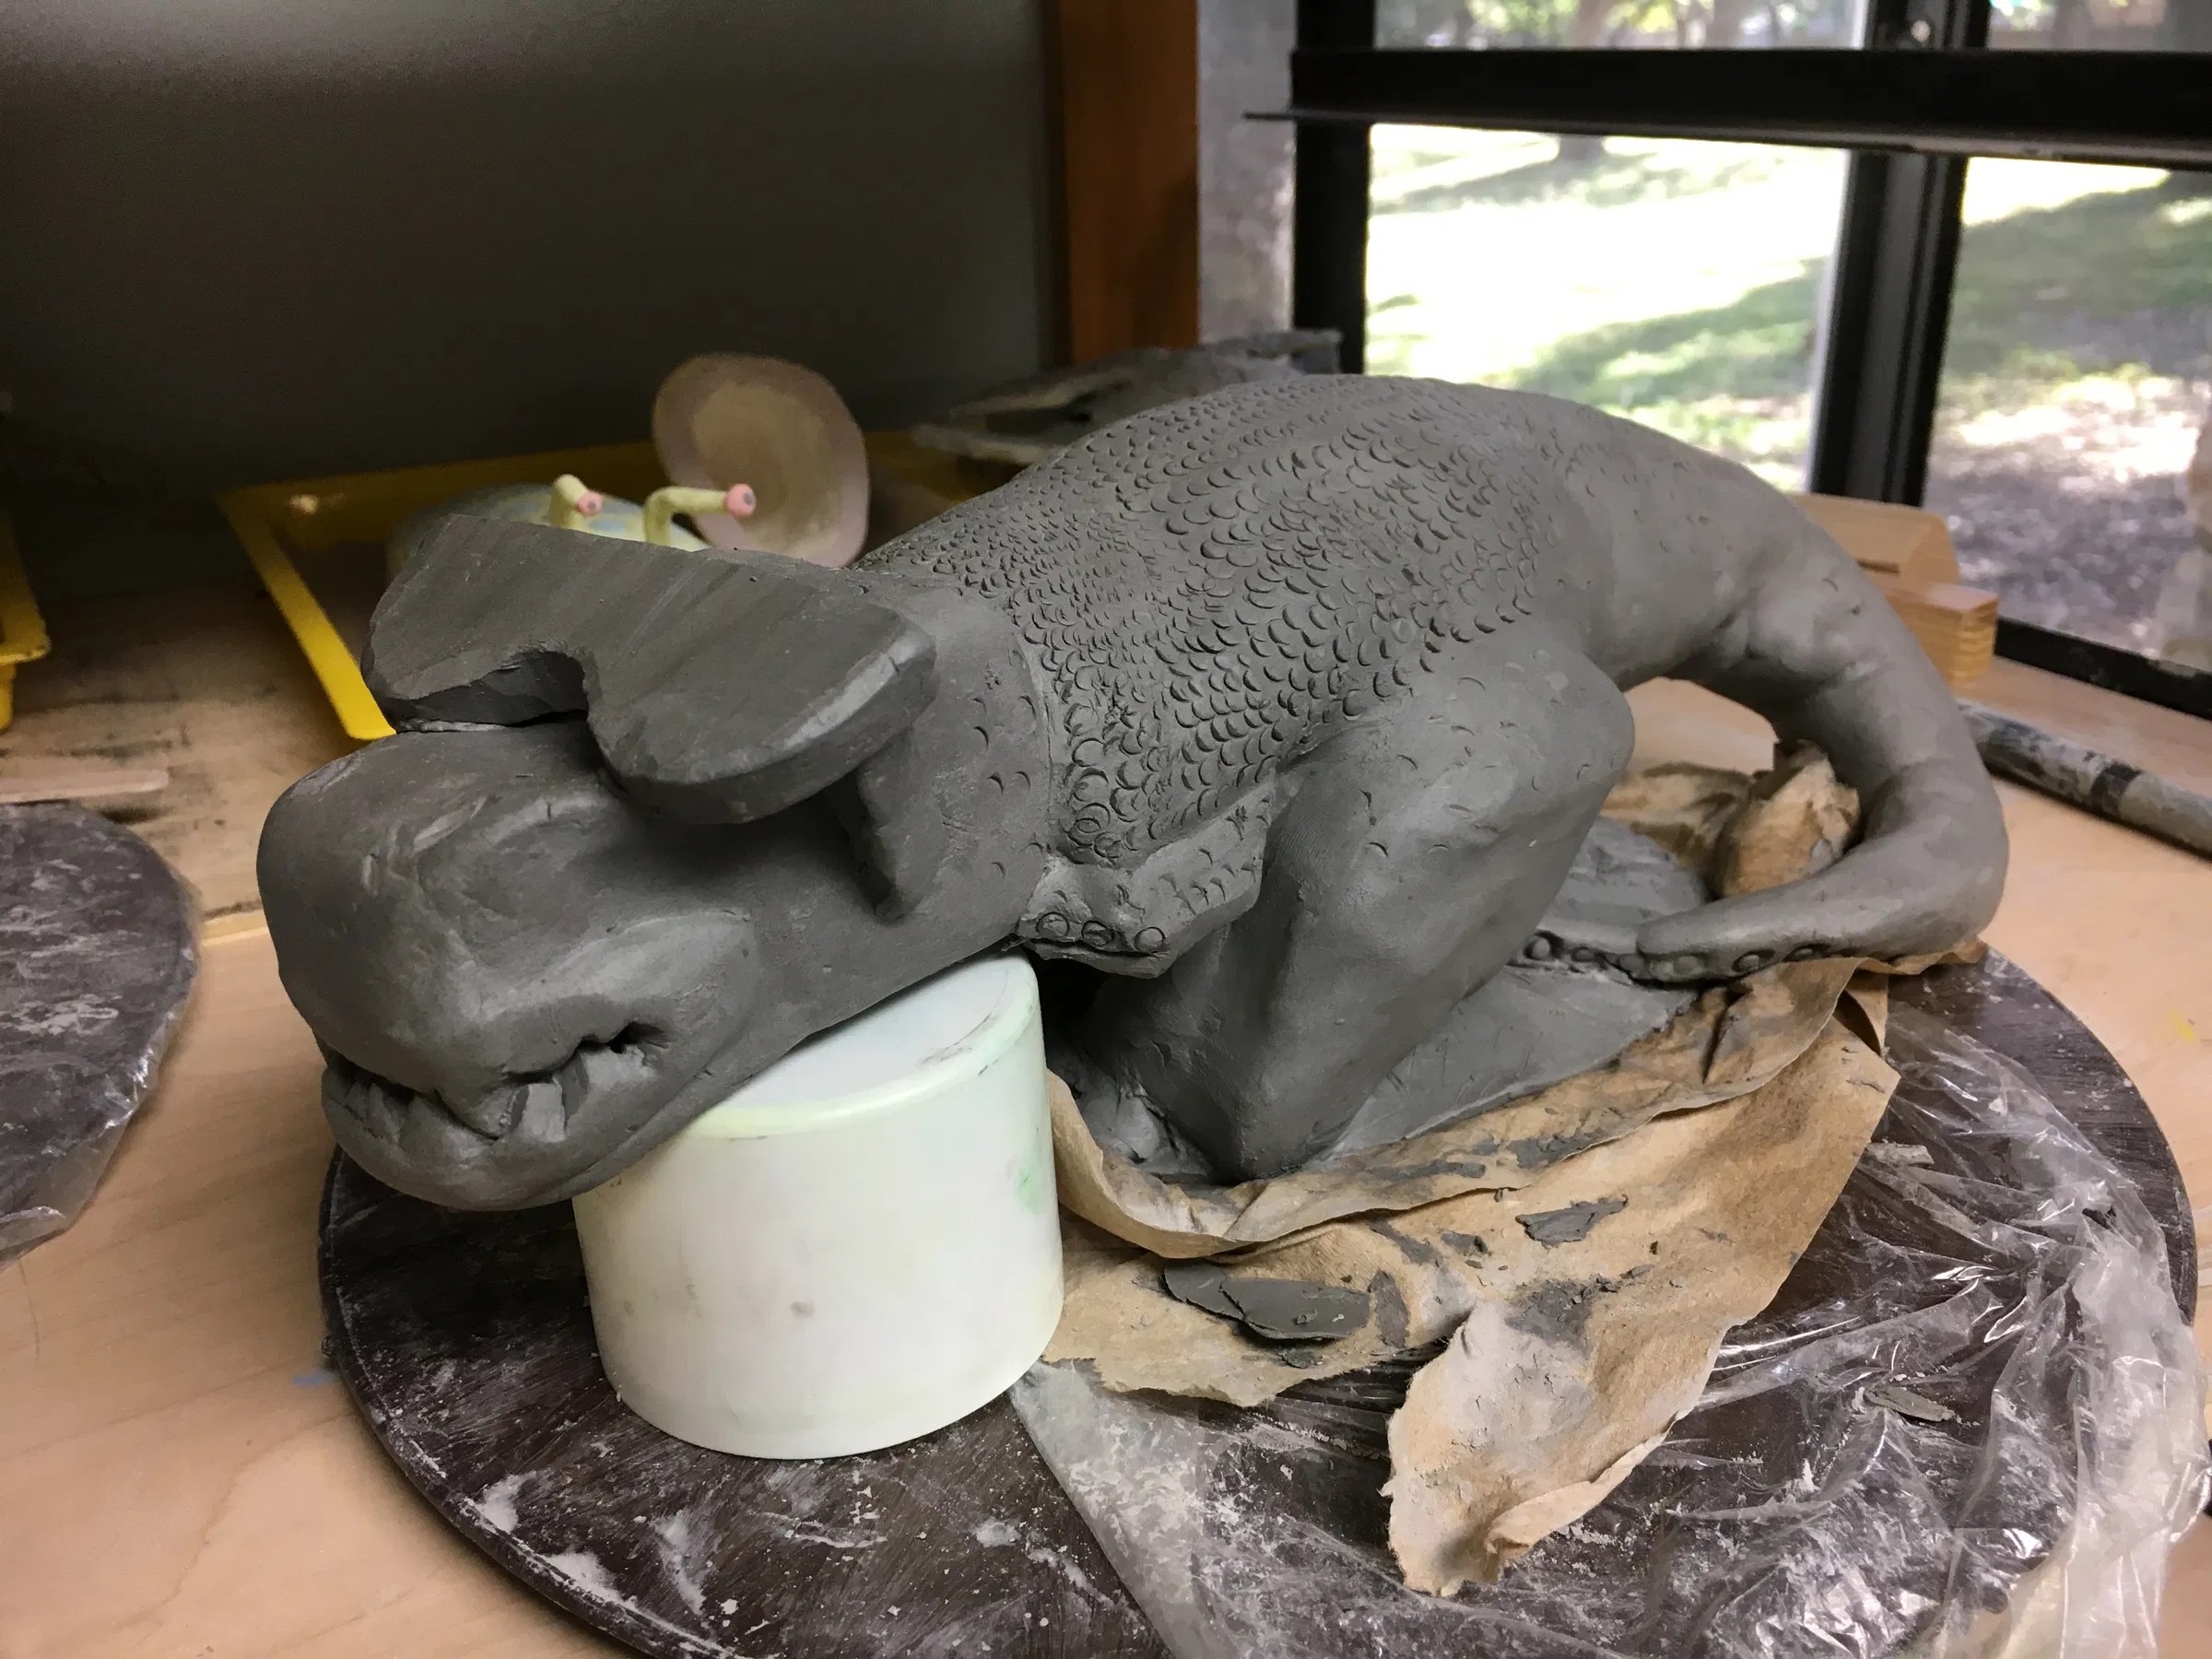
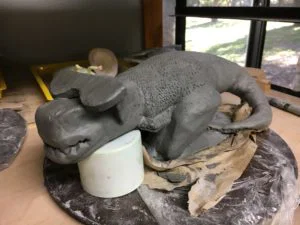
新学生作品 2016年——制作中!
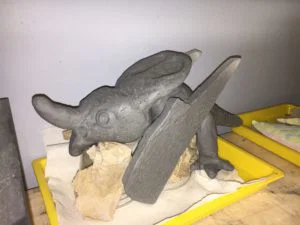
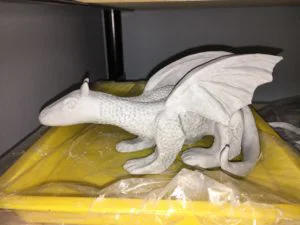
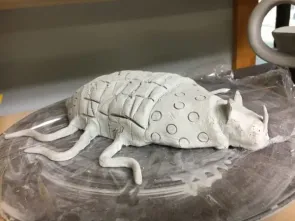
学生作品 2012年
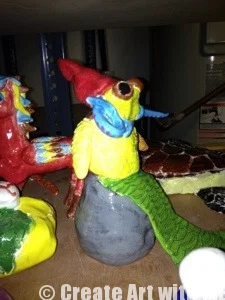
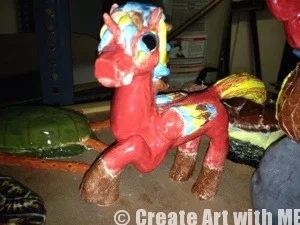
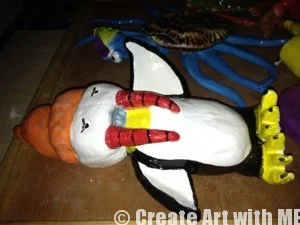
附件缺失:未找到 www.createartwithme.com
附件缺失:未找到 www.createartwithme.com
中学与高中陶艺拓展课程:
带盖陶瓷盒
陶瓷精灵屋教案(第一部分:泥板成型)
陶瓷精灵屋教案(第二部分:施釉)
若您选用本教案或转载,请务必附上原文链接回溯至我的博客。 Create Art with ME
Ceramic Roll-A-Beast Animal Sculptures
Original: https://createartwithme.com/ceramics-roll-a-beast-animal-sculptures/
Date: 2012-12-17
Author: Michelle East
Categories: 1st Day of Art Class, 6th Grade, Art Lessons, Ceramics Lessons, Drawing Lessons, HS Art, MS Art, Sculpture Lessons
Tags: 3-d art projects for kids, 3D clay, animal anatomy for drawing, animal body parts, animal sculpture, animals in ceramics, art projects, art projects children, art projects for, artist painting supplies, ceramic animal, ceramic art lesson, ceramic creatures, ceramics ideas, ceramics project, clay art lessons, clay ideas, Clay Vocabulary, craft, creative creatures, dial a beast, dice art, dice beast, dice creature, dice monster, drawing game, for high school, HS art, HS ceramics, kids art class art with ceramics, kids art lessons, kids school art projects, MS Art, ms ceramics, new creatures, robot ceramics, roll a creature, Roll-a-beast, roll-a-beast ceramics, roll-a-beast clay, roll-a-creatiure, sculpture art lesson, sculpture idea, sculpture projects, stretch imagination, teacher art projects for kids, teaching art to kids
Creating a project that will really stretch your students’ imaginations and challenge their sculpting skills is essential to their creative development! Our Ceramic Roll-A-Beast Animal Sculptures were FUN, creative, and challenging-the students LOVED the whole process!
My HS art class did this project, but it could be modified down through 6th grade (possibly lower grades if you weren’t using ceramics). I developed this idea for the project when my daughter’s science class was studying about animals & how each one is uniquely created! Science & Art are a great combination! Great Biblical integration as well if you need to include that in lesson plans!
Objectives:
• Students will be able to define the given clay vocabulary.
• Students will create an original animal sculpture by combining three body features from different animals to create a new fantasy creature.
• Students will learn pinch pot and slab construction as well as hand building techniques. They will store clay projects properly while under construction.
• Students will demonstrate good craftsmanship using pinch pot, hand-building (slab optional) and glazing techniques.
• Students will draw at least two preparatory sketches of design ideas for their creatures.
Biblical Integration: Creation is God’s Artwork; He is the first creator (Genesis 1-2), Creativity involves the power of choice; it is an indication of freedom, at least within limits. (Encyclopedia of Biblical Truths: Fine Arts & Health by Ruth C. Haycock page 3 & 6
Supplies: Foam Jumbo Playing Dice, sketchbooks or paper, drawing pencils, colored pencils, ceramic supplies (sculpting tools, clay, glazes (optional– acrylic paint instead of glazes)
Delivery & Activity 1: Roll-a-Creature – Developing the Creature
1. Discuss different anatomy of animals. What are different features that various animals have-mammal, reptile, sea creatures, birds, etc. (Wings/feathers, fangs/tusks, tentacles, fins, scales, fur, horns/antlers, shells, claws, trunks, tails, etc.)
附件缺失:未找到 www.createartwithme.com
2. Roll-a-Beast Body Features List: Predetermine 6 animal parts that you want to include in the project & assign each part to a number (EX: 1=Wings/feathers, 2=Tentacles, 3=Horns/Antlers, 4=Shell, 5=Fangs/Tusks, 6=Scales ). I kept the list a surprise until everyone had a chance to roll the dice.
3. Have each student roll the dice 3 times so they get 3 unique numbers (roll again if you get a duplicate number). Have the students write down their 3 body parts.
4. After everyone has rolled, display the Roll-a-Beast Body Features list.
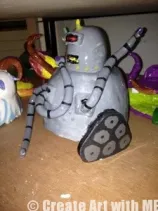
5. In their sketchbooks, have them come up with a new creature that incorporates all these parts on it. This will be a fantasy creature, but can look real! I even had one student incorporate the features into a robot-it came out awesome!
6. Use colored pencils to color the design.
Delivery/Activity 2: Ceramics Intro
Clay Building Methods: (For beginning Ceramics: Teacher will demo each technique then have students practice.)
1. Hand-building: building pots using the only the hands and hand-held clay tools
附件缺失:未找到 www.createartwithme.com
2. Slab: clay is rolled into thin sheets or slabs and then formed into shapes or forms. (More Slab Ideas)
3. Pinch & Pinch Pot: shaping clay by inserting the thumb of one hand into the clay and lightly pinching/ pressing with the thumb on the inside and fingers on the outside while slowly turning the clay to enlarge the center opening of the clay. (More Pinch Pot Ideas)
4. Coil: creating ceramic forms by rolling out coils of clay and joining them together by the slip & score method.
Stages of Dryness: Wet (Plastic), Leather hard, Greenware or Bone dry, Bisquesware (first firing), GlazeWare (second firing with glaze)
Go over The Ten Golden Rules of Ceramics Submitted by Joe Cox
Activity 3: Construction of Creature
The next step is to create the piece in 3D using clay. So after a reminder lesson on ceramics, we dove in & the students created their sculptures in ceramics (most of these were created by using pinch pots as a basic structure).
附件缺失:未找到 www.createartwithme.com
• Scratch/Score and slip – (DEMO) To attach two pieces of clay, scratch the surfaces to be joined several times with a needle tool and apply a small amount of slip or water on both sides. Press the surfaces together. Be sure not to over-wet the clay, which will cause it to become too soft and slimy. This is important to do because as slabs dry they tend to pull apart and pieces could pop apart or off. To make an even stronger bond, roll a very thin coil of clay and push it inside the joints where the walls meet.
• Use Subtractive and Additive methods to sculpt details in the clay.
• When completely finished, scratch your name into the piece & set on a bat labeled with your name & today’s date in Kiln room to dry. Dry 5-7 days
• Bisque: The term bisque refers to ceramic ware that has been fired once without glaze.
Activity 4: Glaze
Glazing – Applying liquid glazes to the ceramic pieces. Glazes are made from finely ground glass suspended in a liquid. When fired again in the kiln, the glaze becomes a glassy coating which fuses to the surface.
Glaze Firing – Firing done after glaze has been applied to bisque or (occasionally) greenware to produce a glass-like surface.
Apply 3+ coats of glaze to bisque ware sculptures
Evaluation:
Construction/Assembly: Did the student choose and use the proper method of construction that would work best for their animal? Is the basic structure of the animal formed properly? Do the walls have a consistent 1/4″ thickness throughout. Is the creatures feature properly joined together using the score and slip method. There are no visible signs of assemblage. All incisions are neat and smoothed out. Structure stands balanced without external aids. Trapped air is properly vented.
Craftsmanship:Texture applied where needed in a neat way.
Documentation/Submission for Grading: Student wrote name or initials, class # and year on the bottom of the piece. They left project on the appropriate shelf for drying. Optional: photographed piece properly
Overall Aesthetic and Time Management: Composition shows creativity and originality. Student chose challenging subject matter and/or methods. Entire project demonstrates care, thought and excellent use of time.
If you choose to use this lesson or to repost it (written or photo), please link it back to my blog. I, Michelle C. East, am the author of this lesson. Create Art with ME
NEW Student Work 2016-Works in Progress!
Student Work 2012
附件缺失:未找到 www.createartwithme.com
附件缺失:未找到 www.createartwithme.com
Additional MS & HS Ceramics Lessons:
Ceramic Box with Lid
Ceramic Fairy Houses Lesson (Part One-Slab Construction)
Ceramic Fairy Houses Lesson (Part Two-Glazing)
If you choose to use this lesson or to repost it, please link it back to my blog. Create Art with ME
 设计一个真正能拓展学生想象力、挑战其雕塑技能的项目,对其创造性发展至关重要! 我们的陶瓷“掷骰造兽”动物雕塑项目既有趣、富创意,又具挑战性——学生们全程乐在其中!
 施釉—— 将液态釉料涂覆于陶瓷坯体表面。釉料由悬浮于液体中的精细玻璃粉末制成;再次入窑烧制后,釉层熔融成玻璃质涂层,牢固附着于坯体表面。
 若您选用本教案或转载(文字或图片),请务必附上原文链接回溯至我的博客。本教案作者:米歇尔·C·伊斯(Michelle C. East)。Create Art with ME