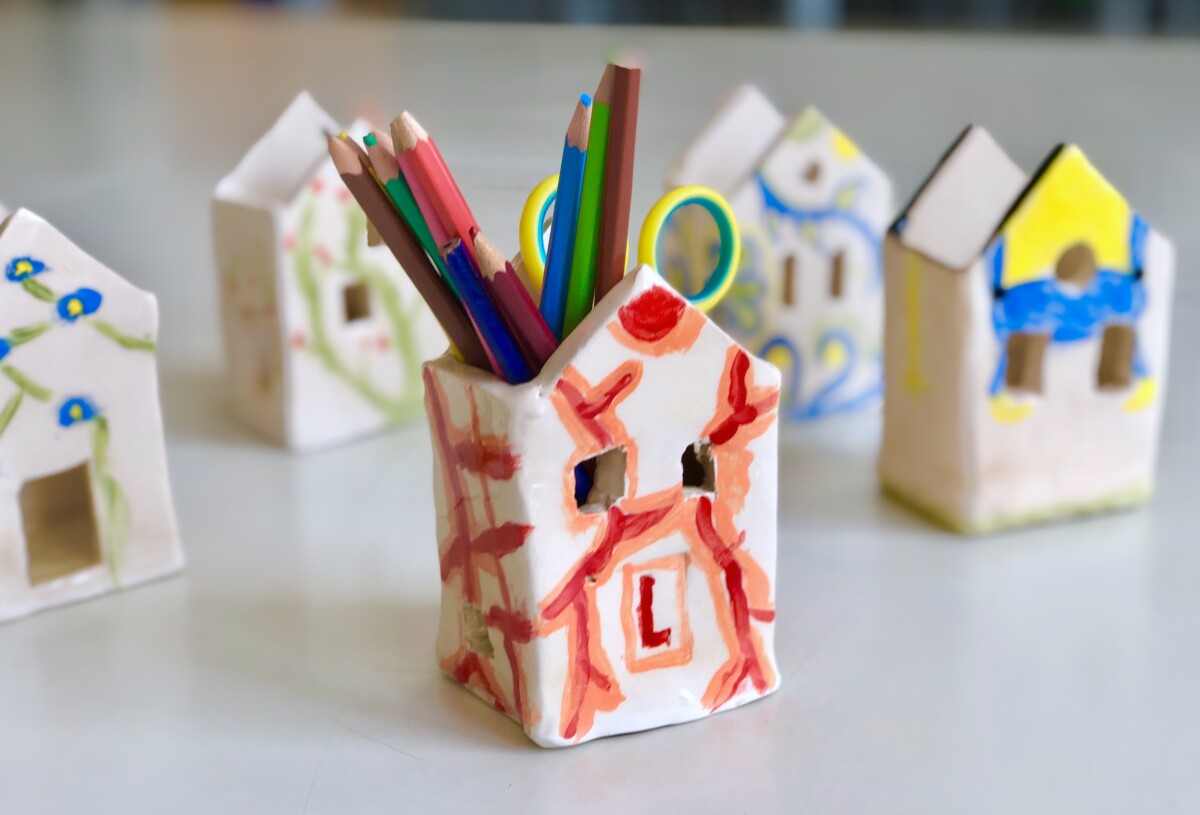
陶瓷小房子笔筒
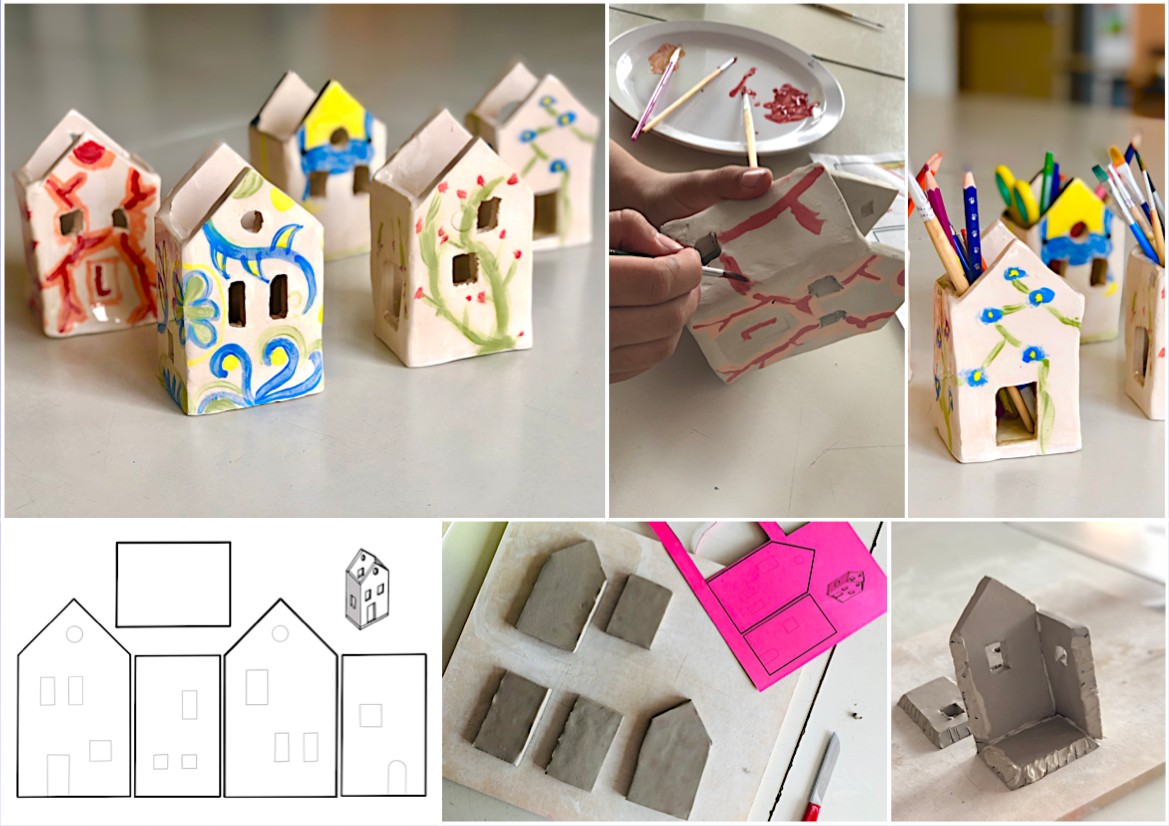
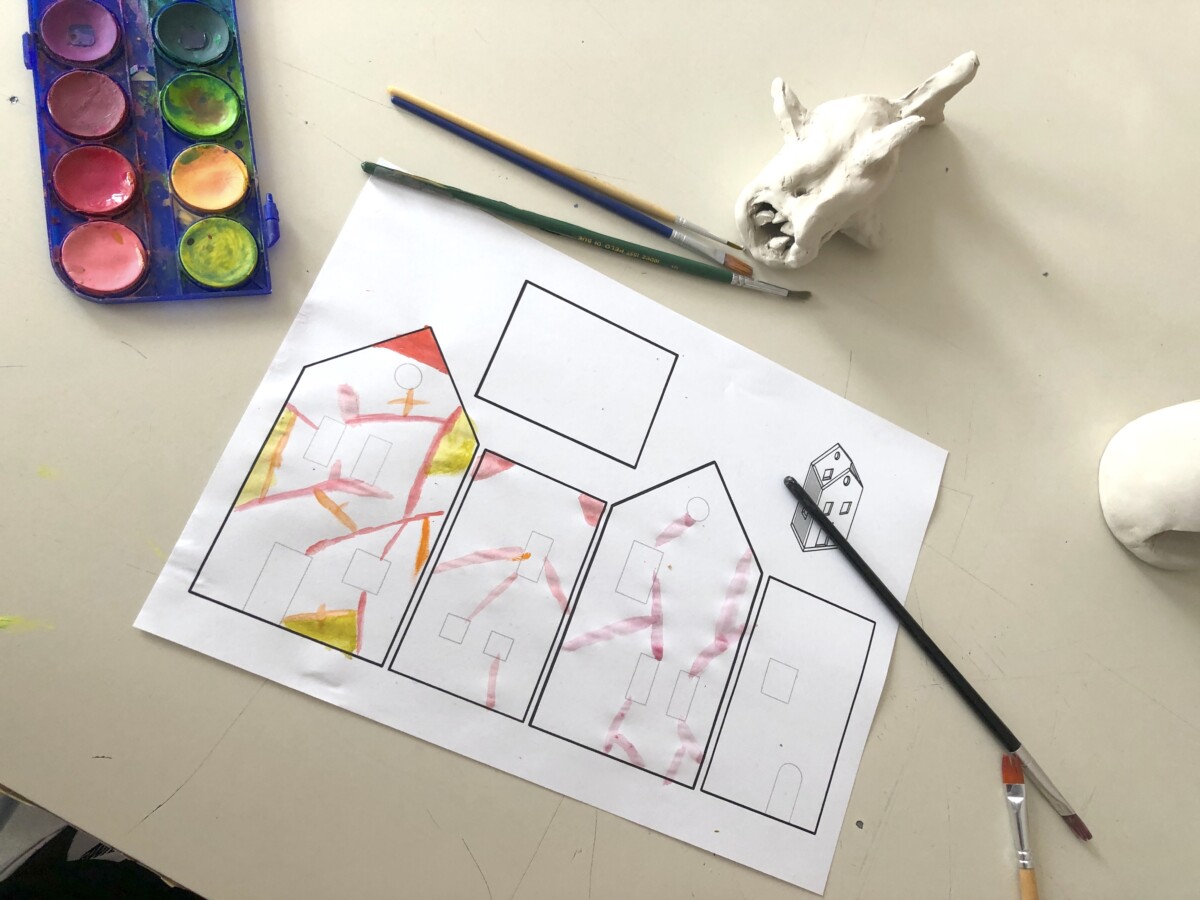
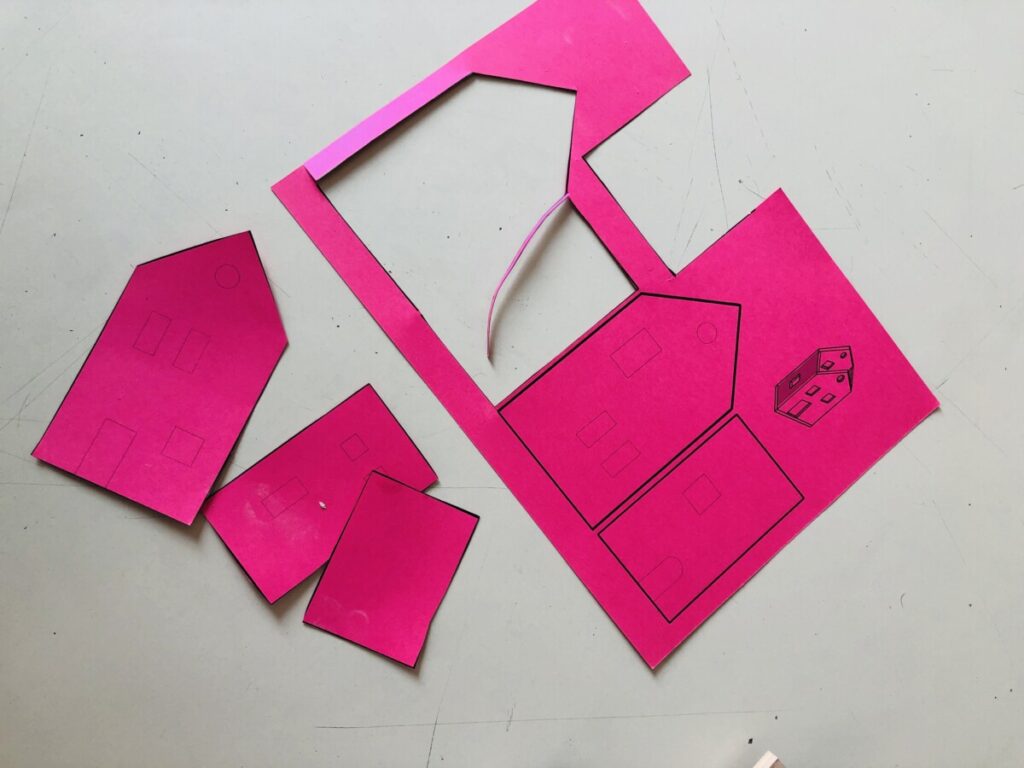
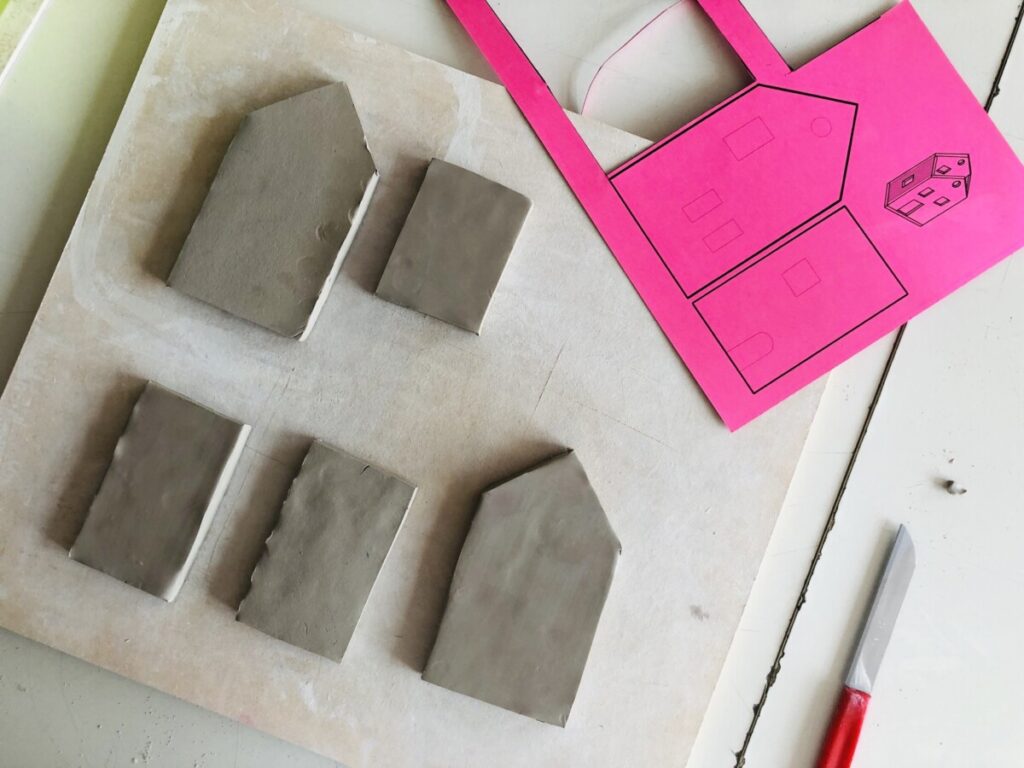
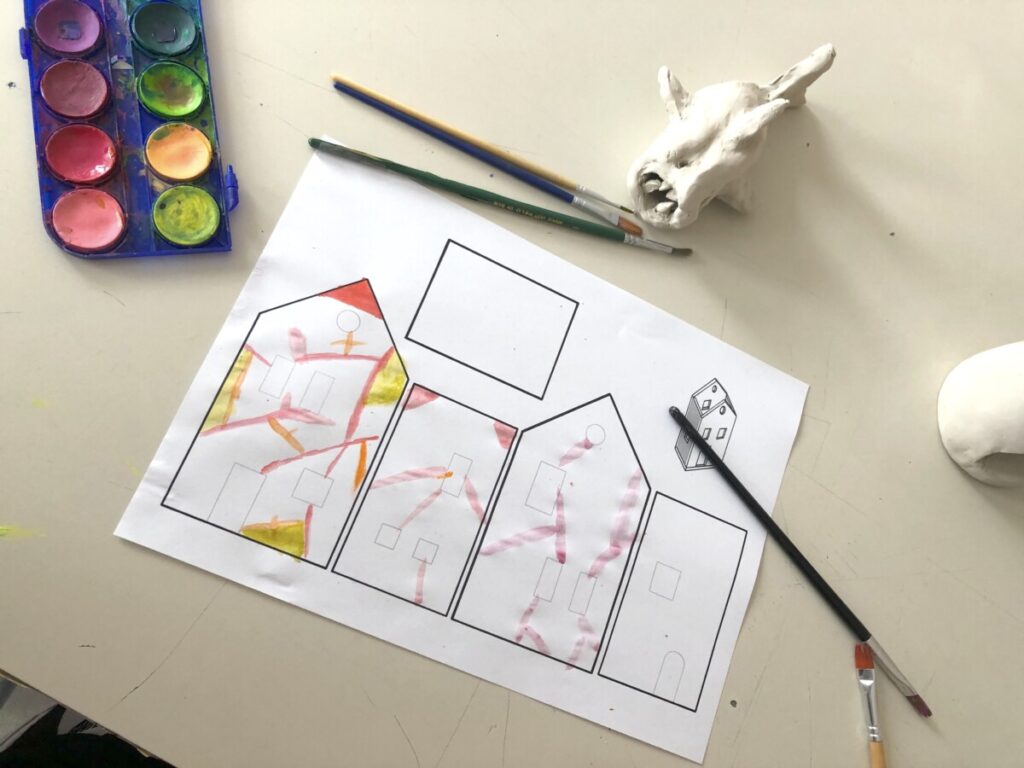
六年级学生用泥板成型法制作了这些陶瓷笔筒,所用模板见下方工作表:
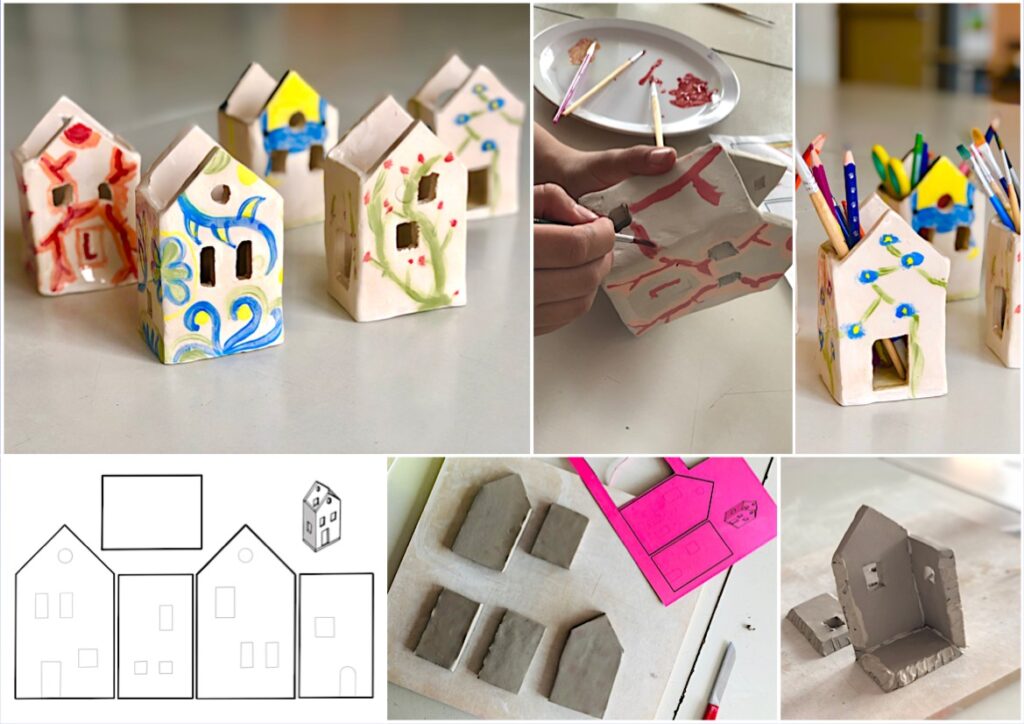
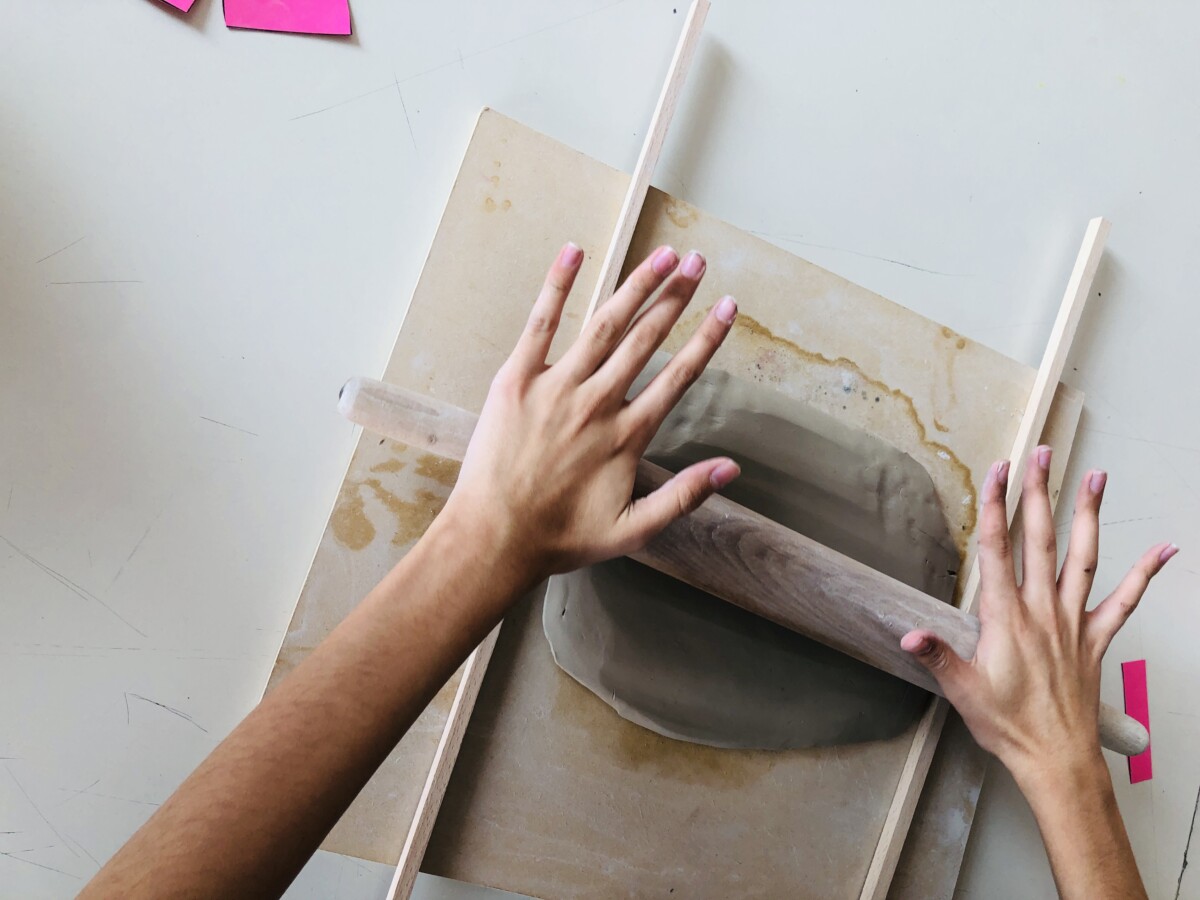
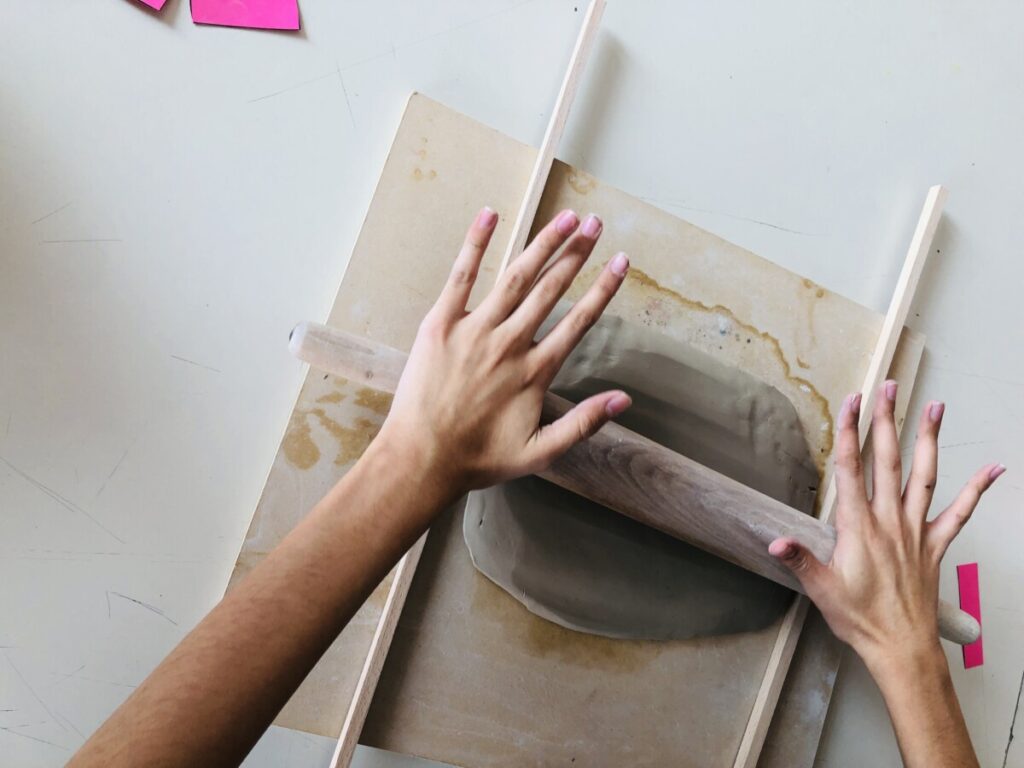
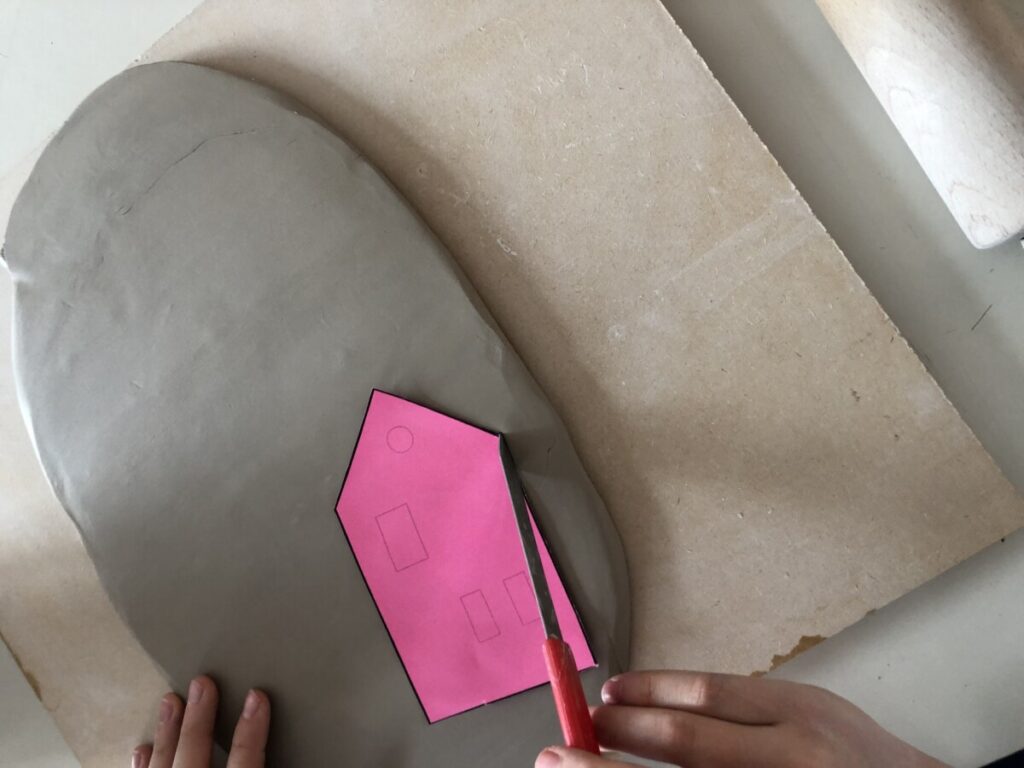
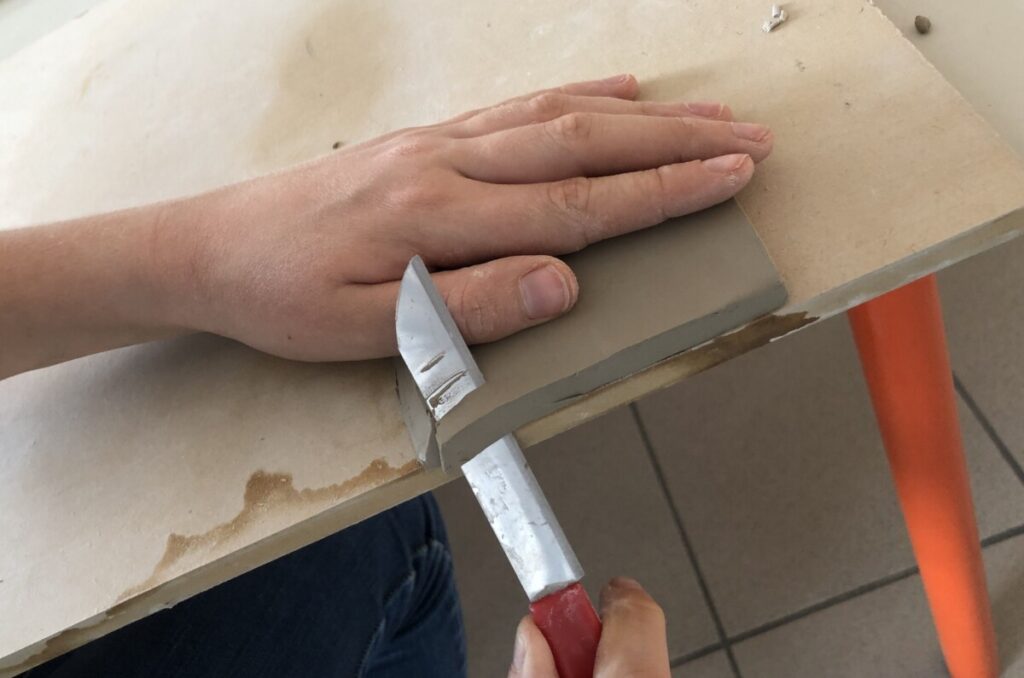
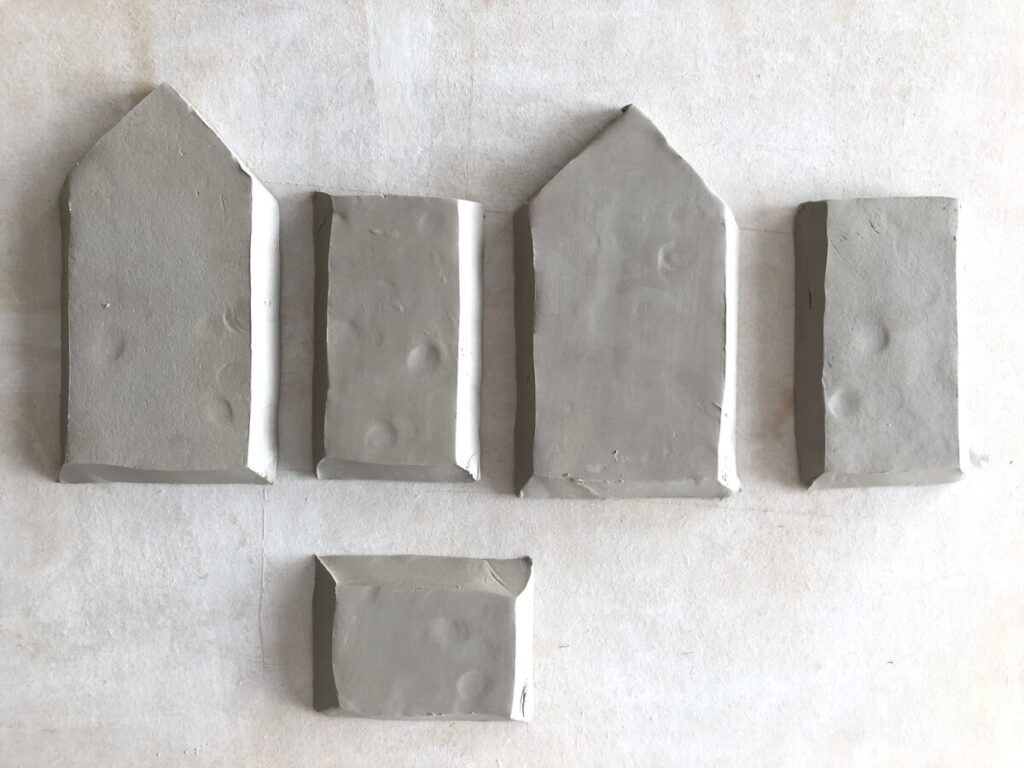
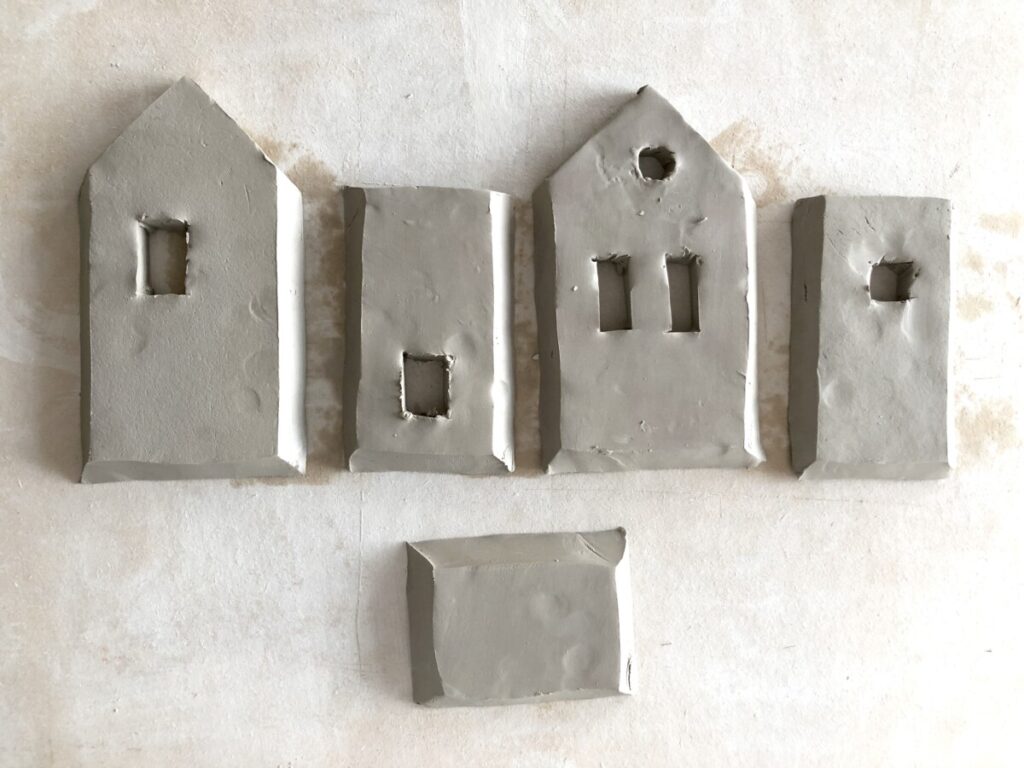
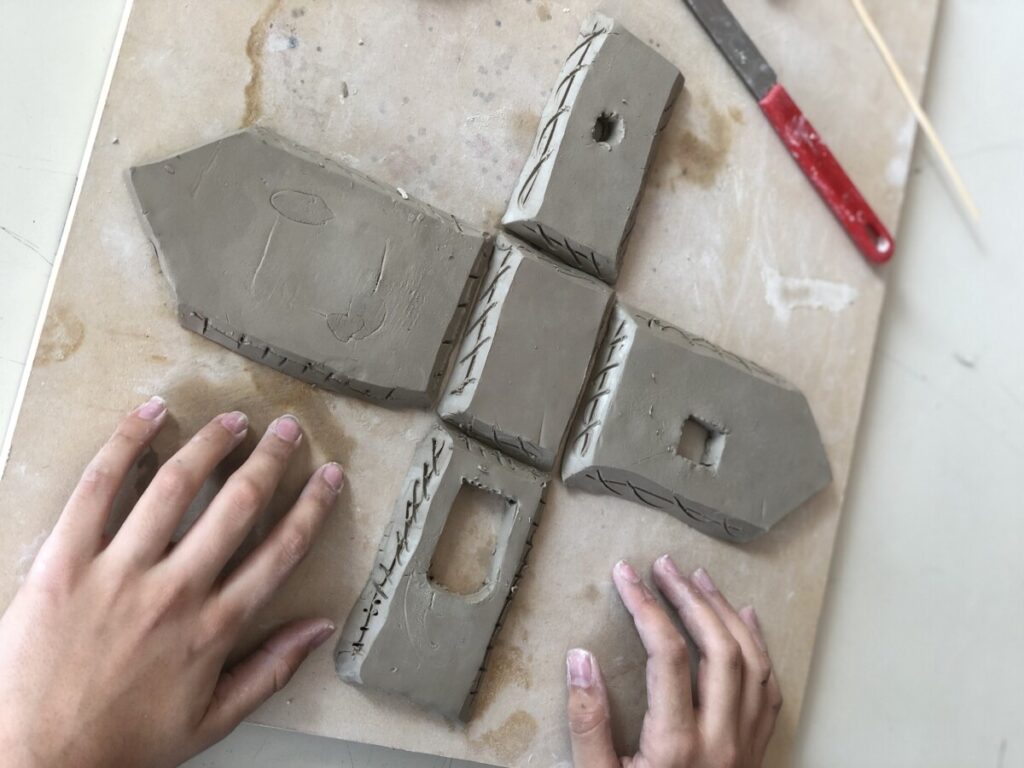
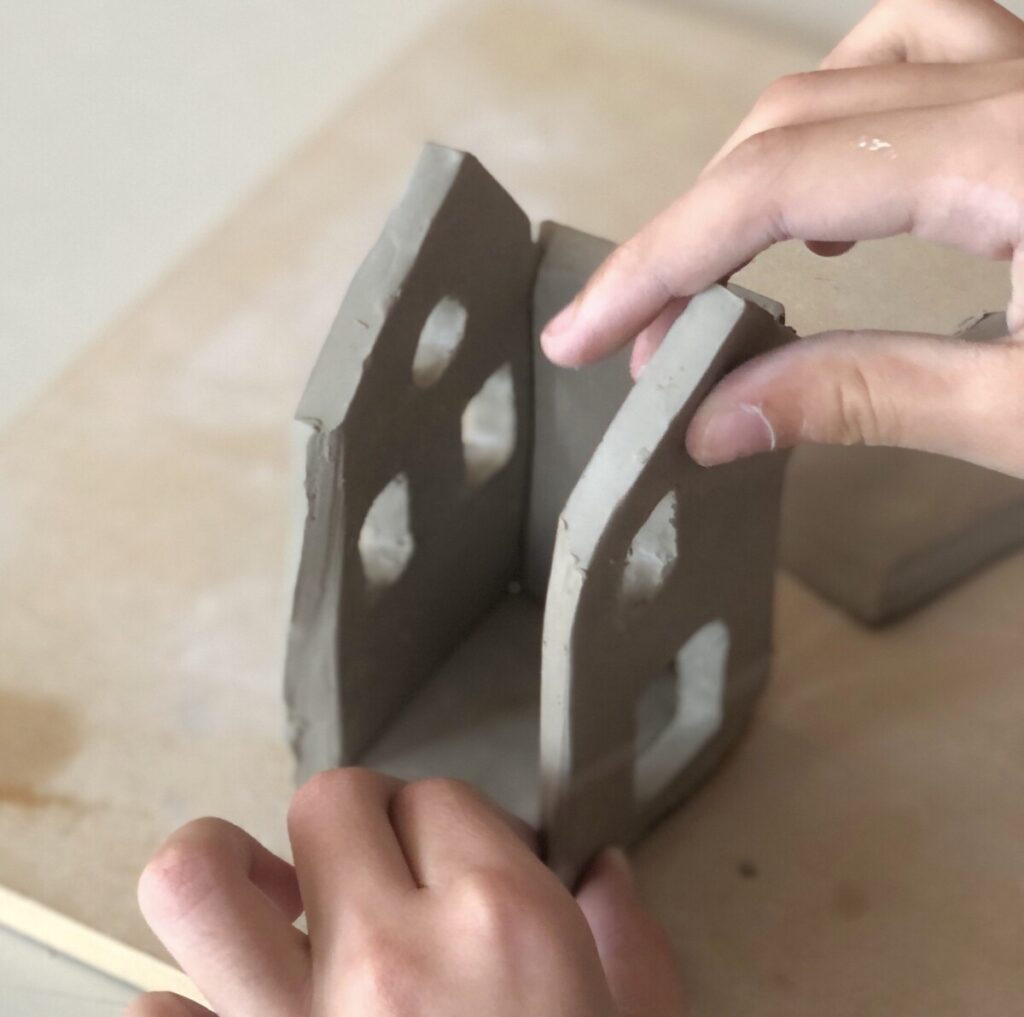
首先,我们用擀面杖配合侧边限厚条将陶泥擀成厚度为0.5毫米的泥板。接着,我们使用工作表中剪下的形状,在泥板上裁出小房子的底板与四面墙体,并用刻刀切出若干小型矩形窗户。
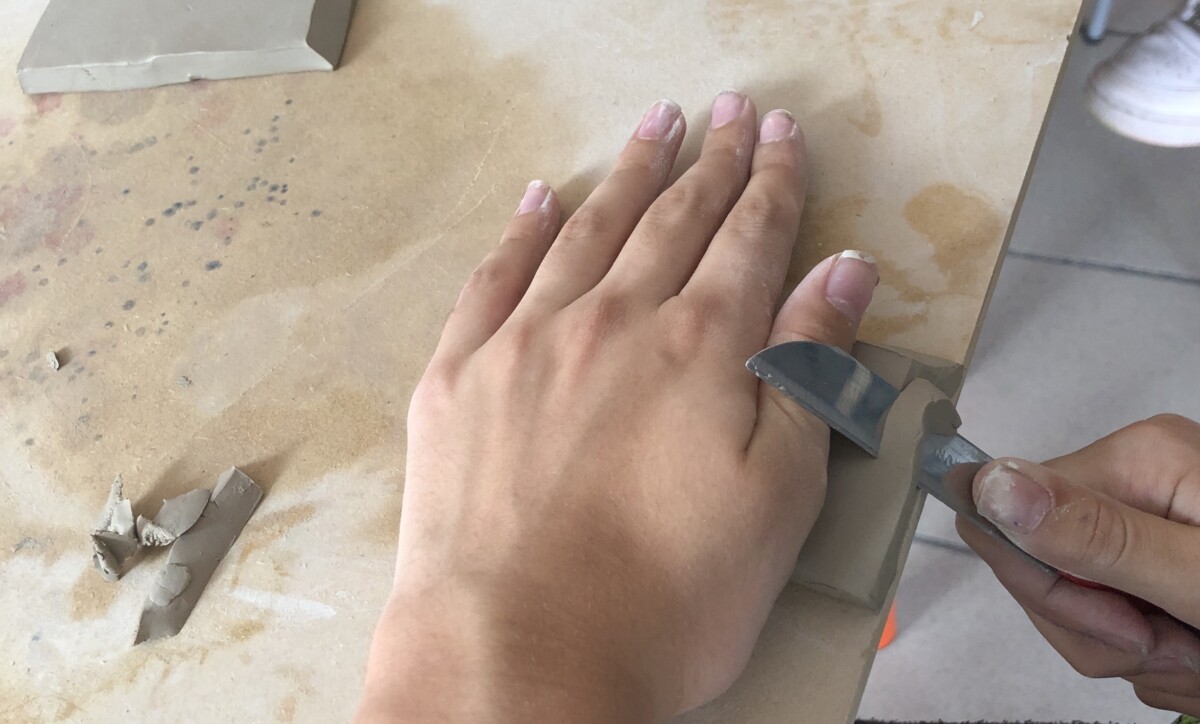
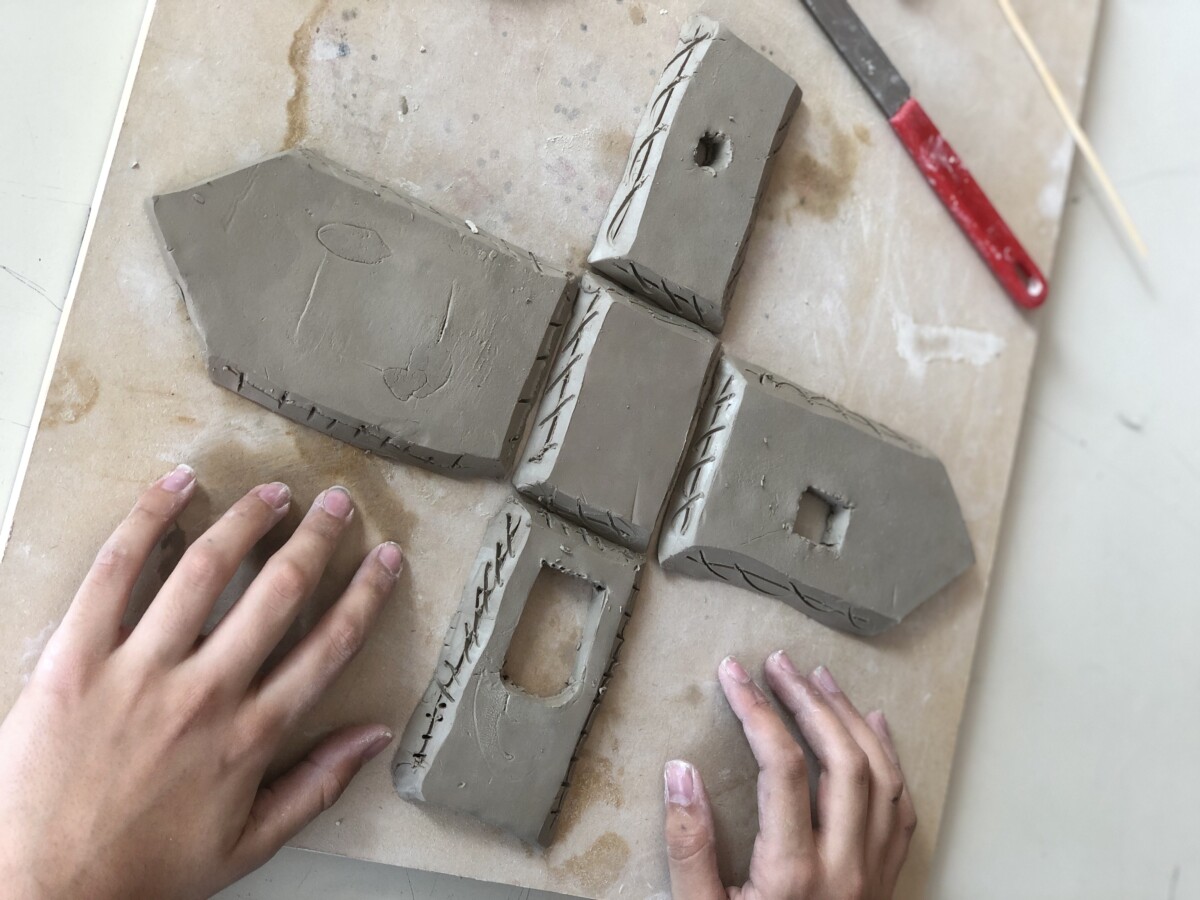
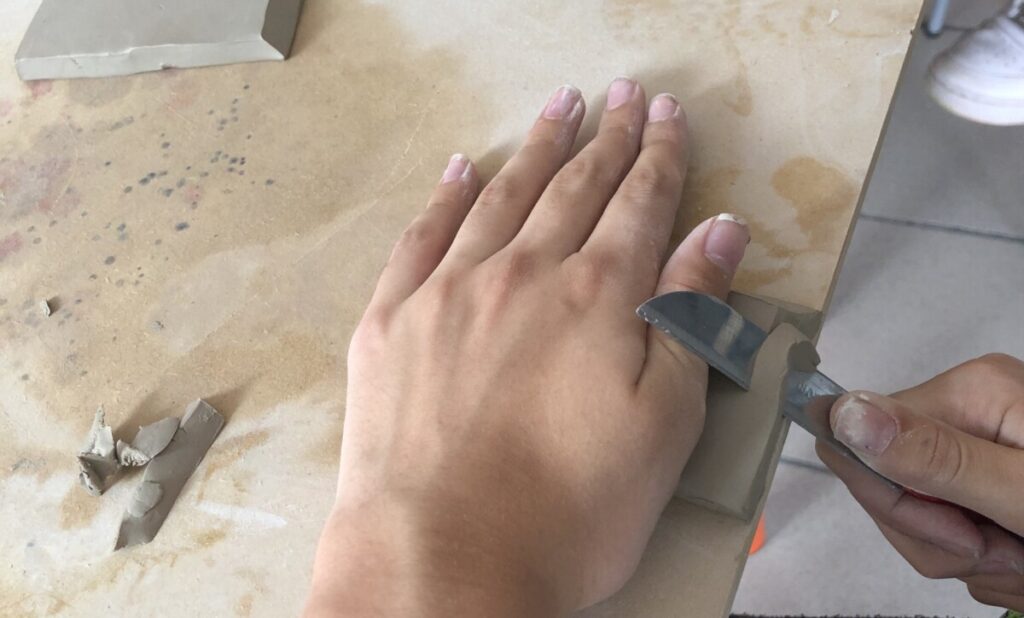
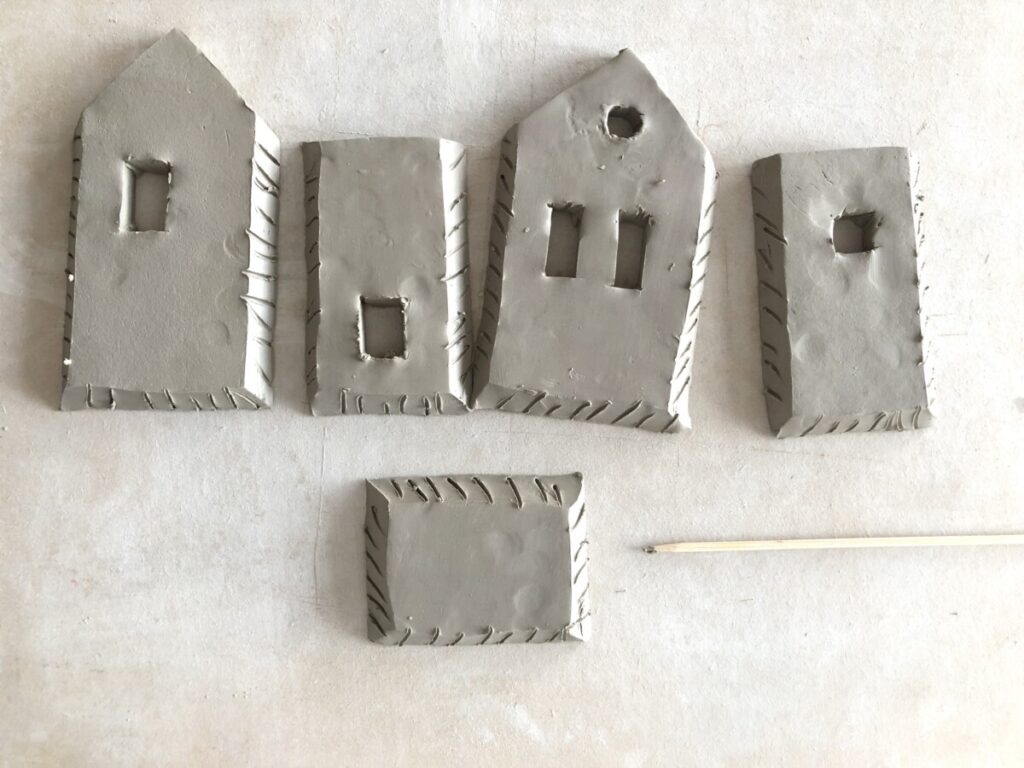
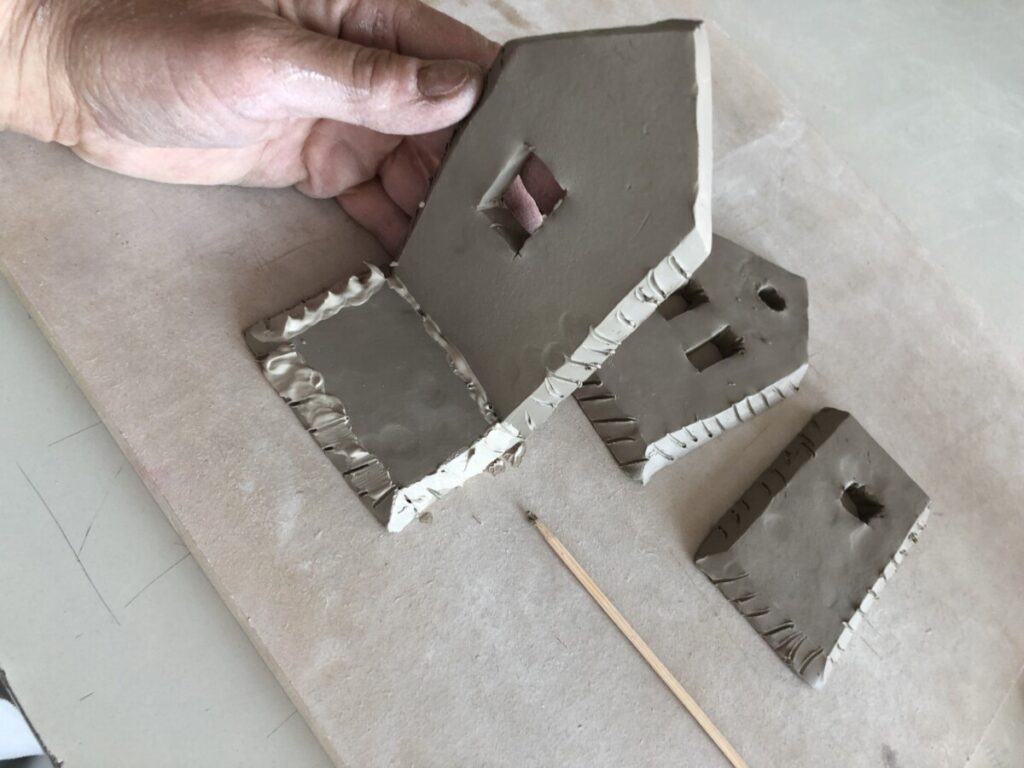
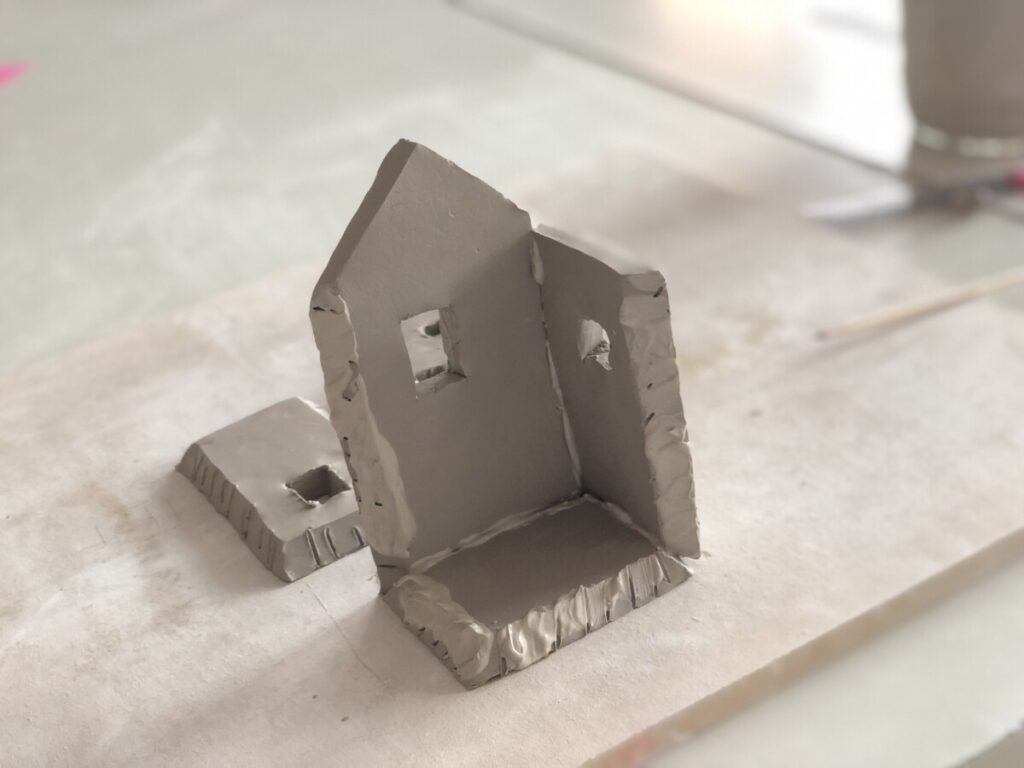
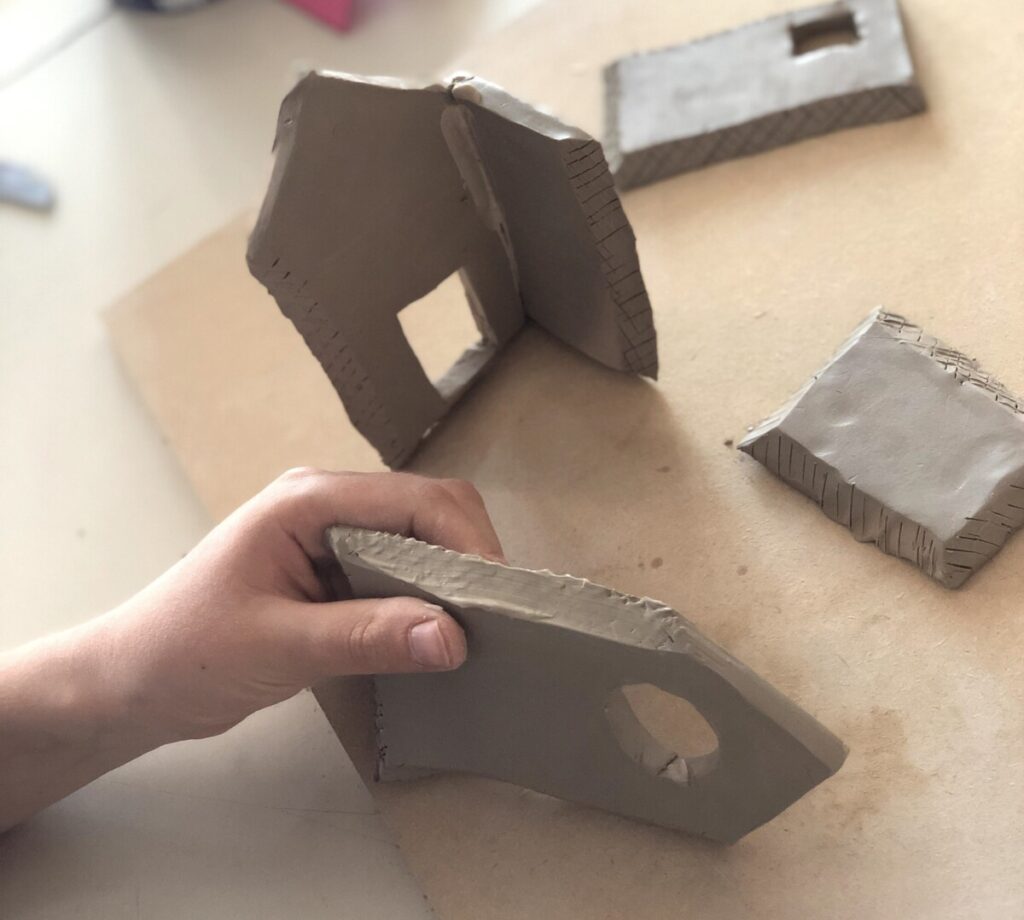
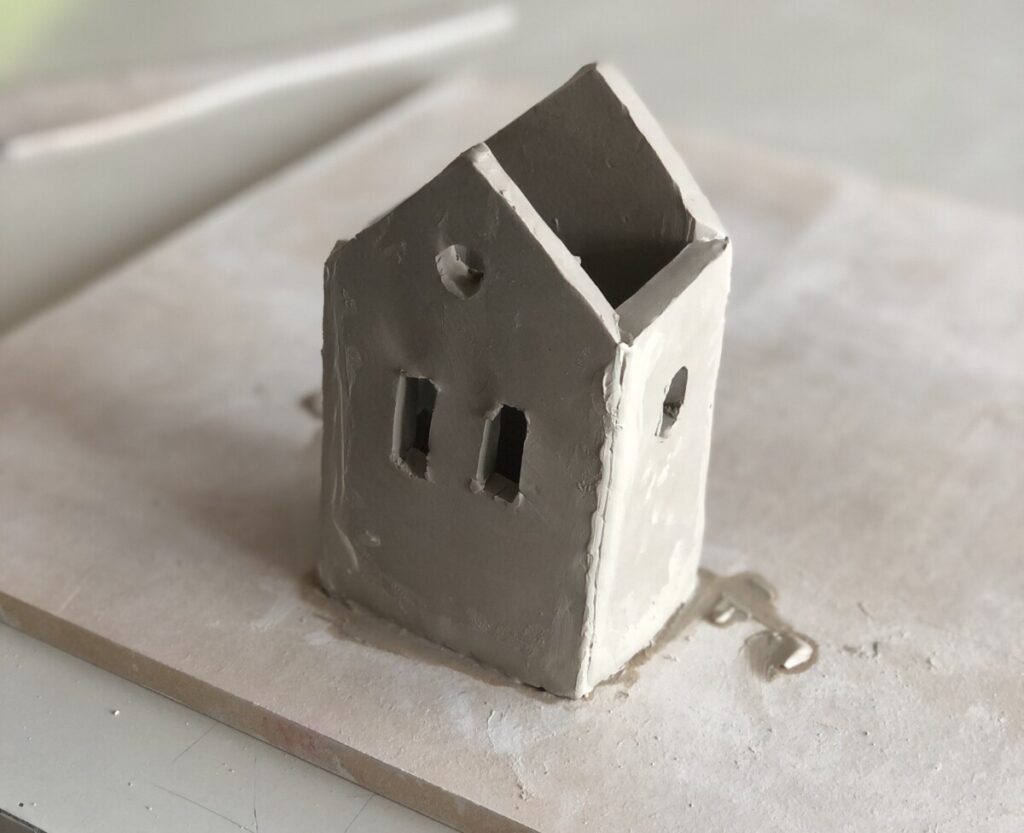
我们将需粘接的墙体边缘以45°角斜切,以便拼接后表面不留接缝痕迹。组装时,需先在接触面压出麻点(knurling),再涂上泥浆(SLIP——加水调和成奶油状的陶泥,起黏合剂作用)。组装完成后,将小房子静置阴干至皮革硬度。
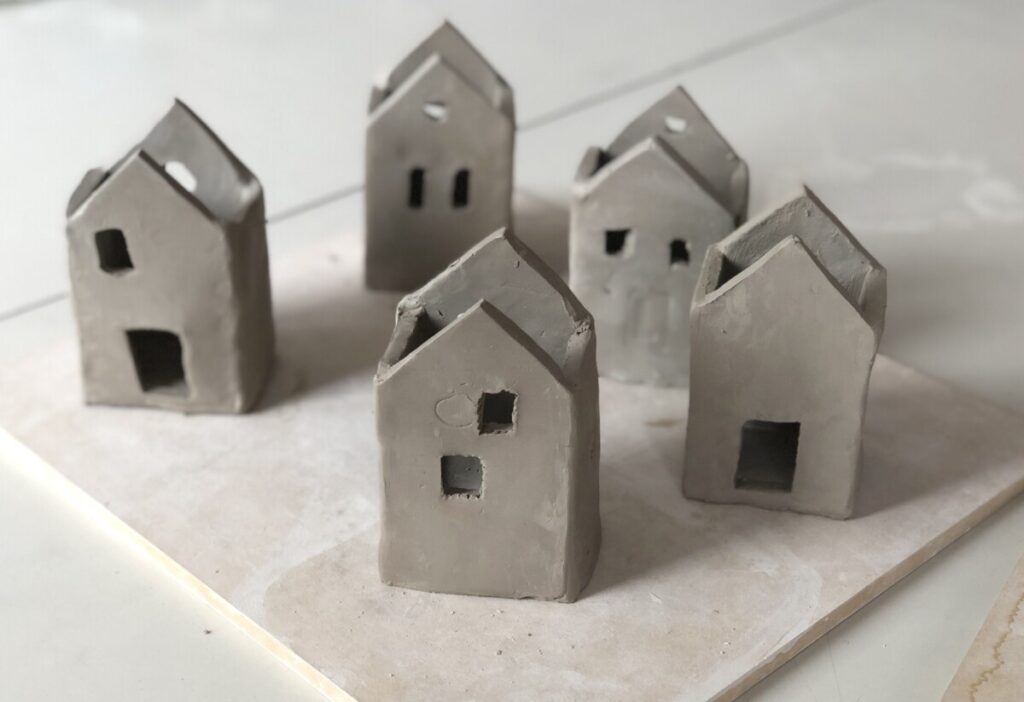
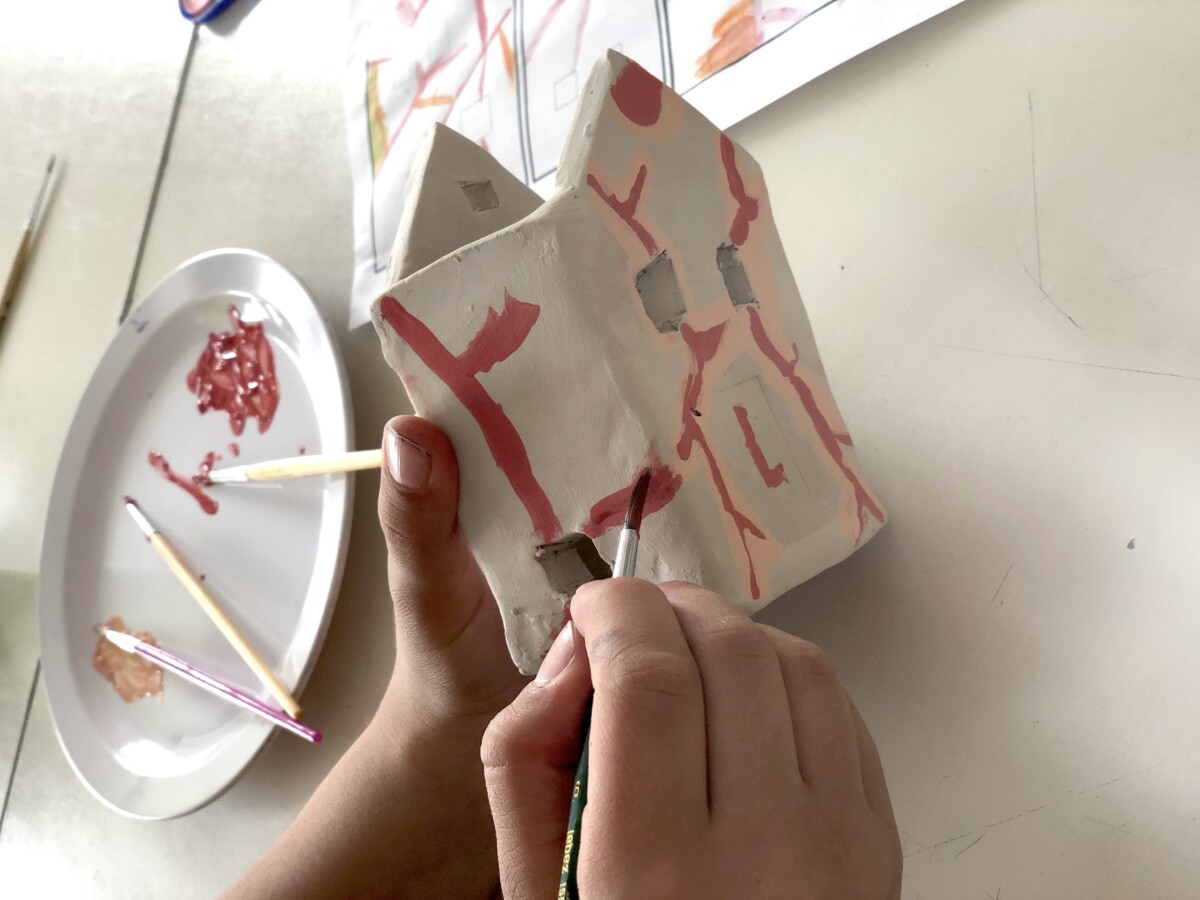
待坯体干燥至皮革硬度/骨硬度后,可用化妆土(ENGOBES——有色液态陶泥)进行装饰,随后进行第一次烧制,得到素坯(BISCUIT——经初次烧制后的坯体,呈多孔、不透明状)。
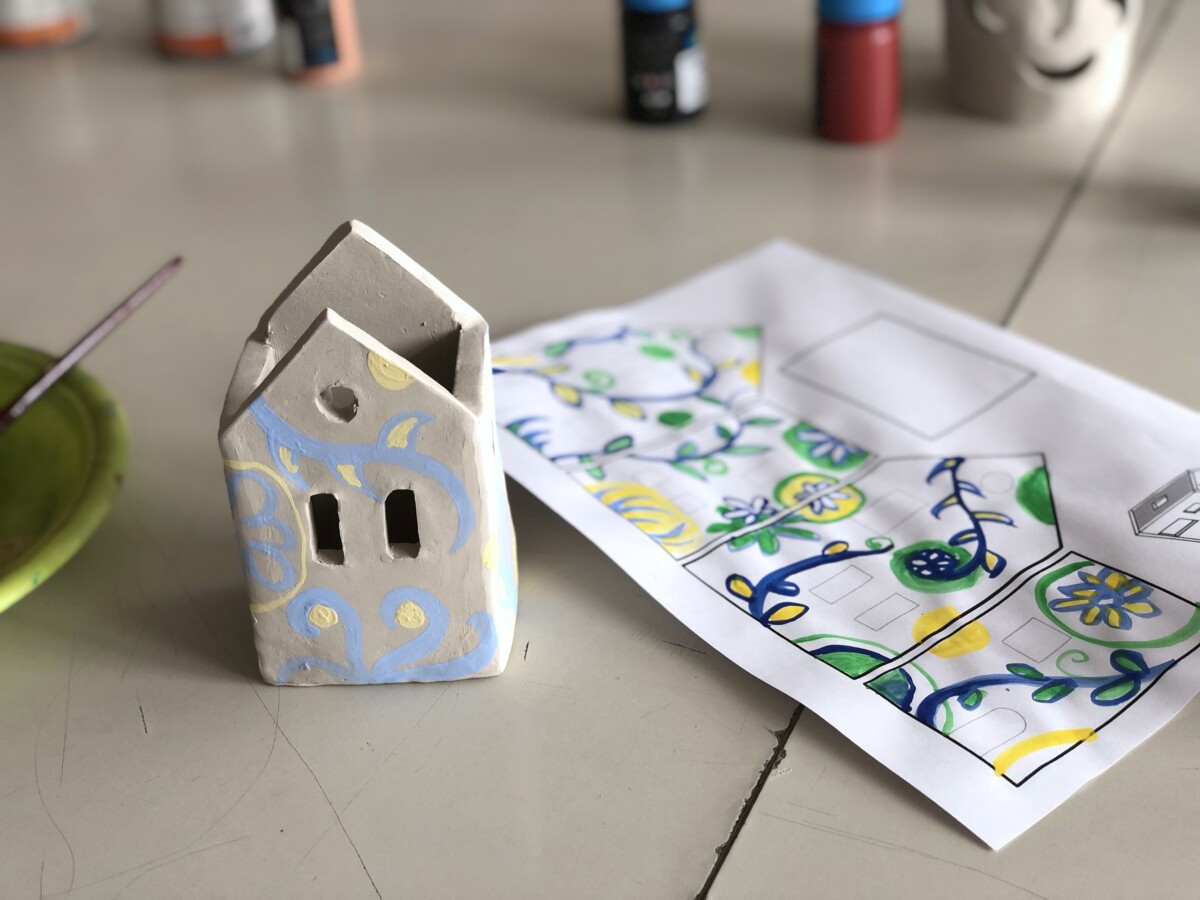
为设计装饰图案,我们再次使用同一套含模板的工作表,并预先绘制水彩草图,以规划化妆土在陶坯上的纹样布局。
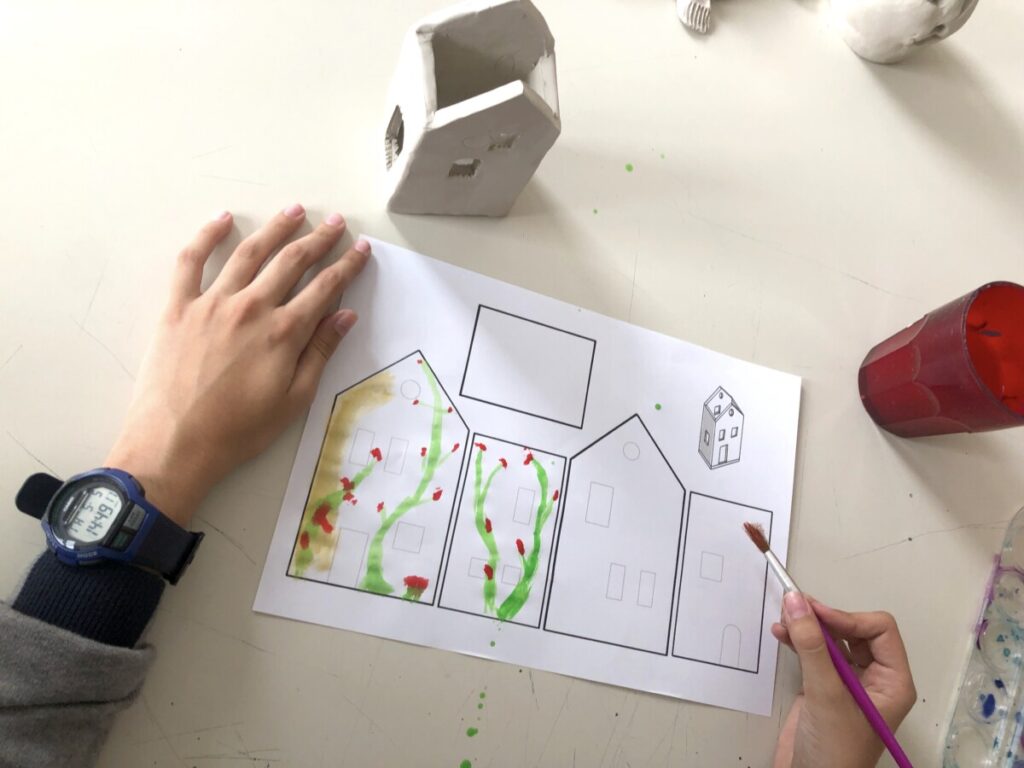
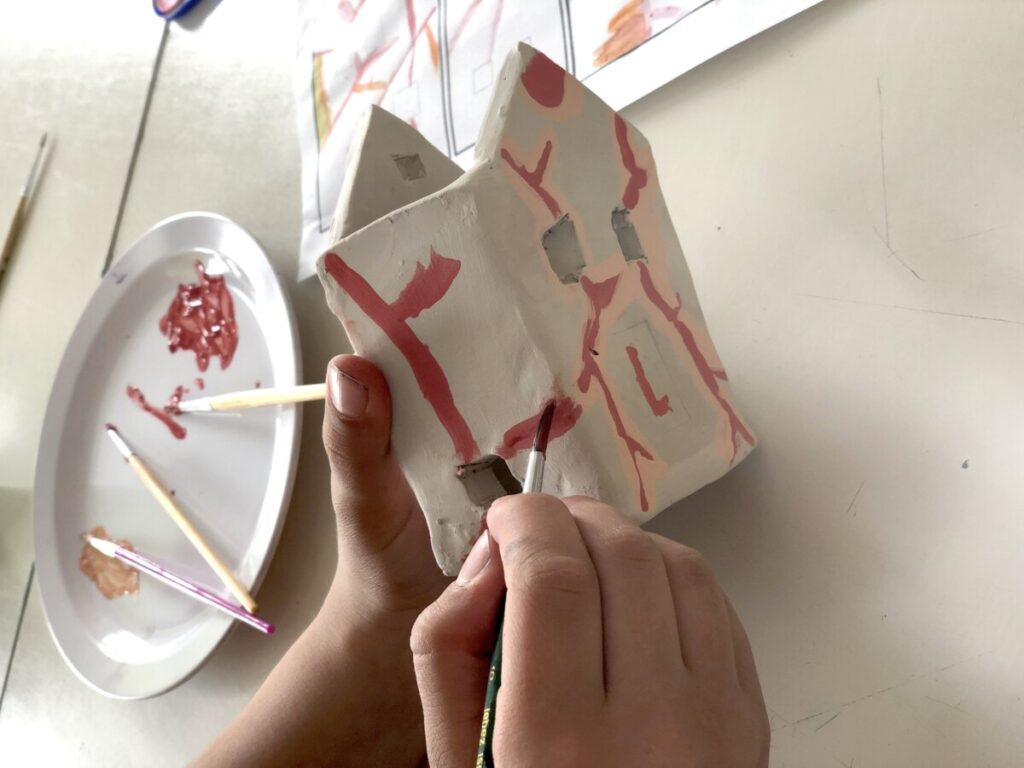
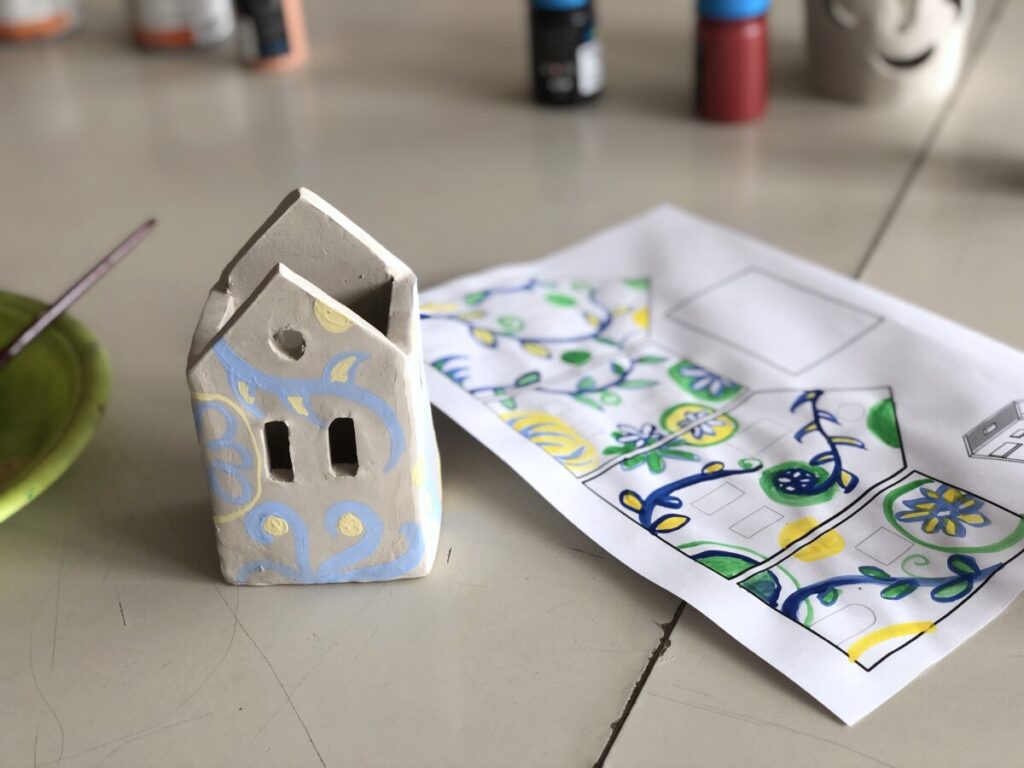
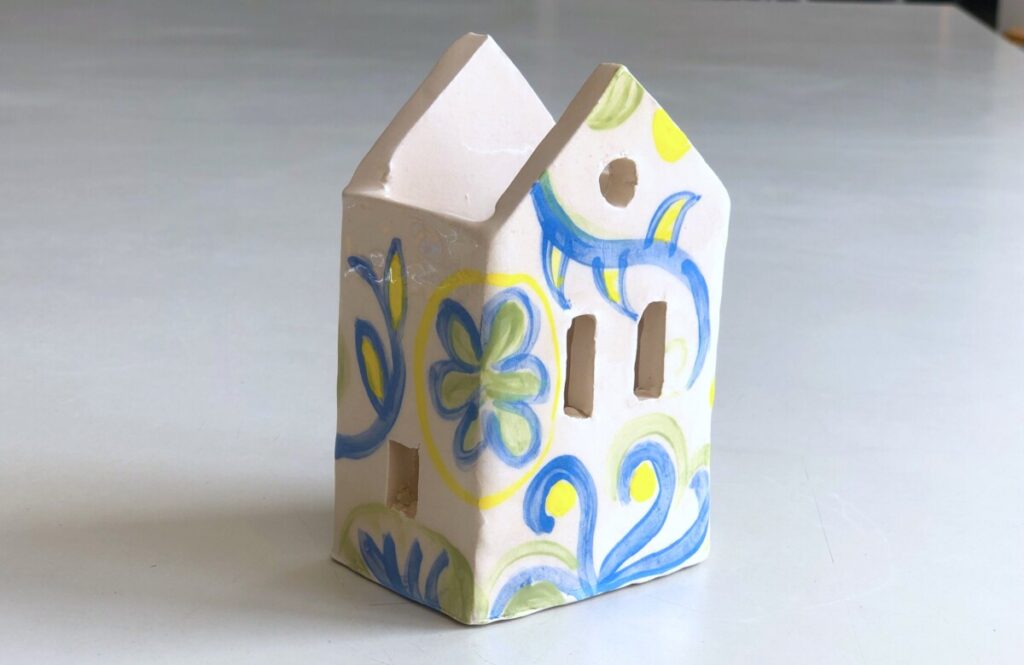
皮革硬度阶段的化妆土装饰效果(首次烧制前)
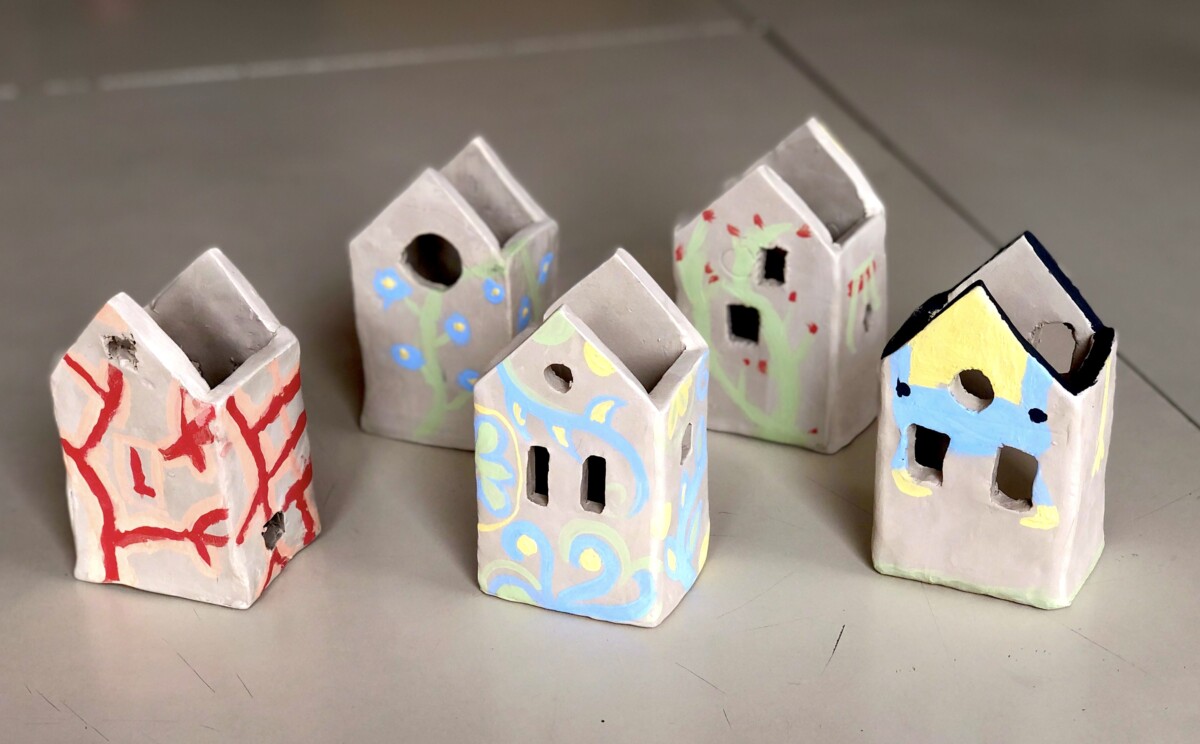
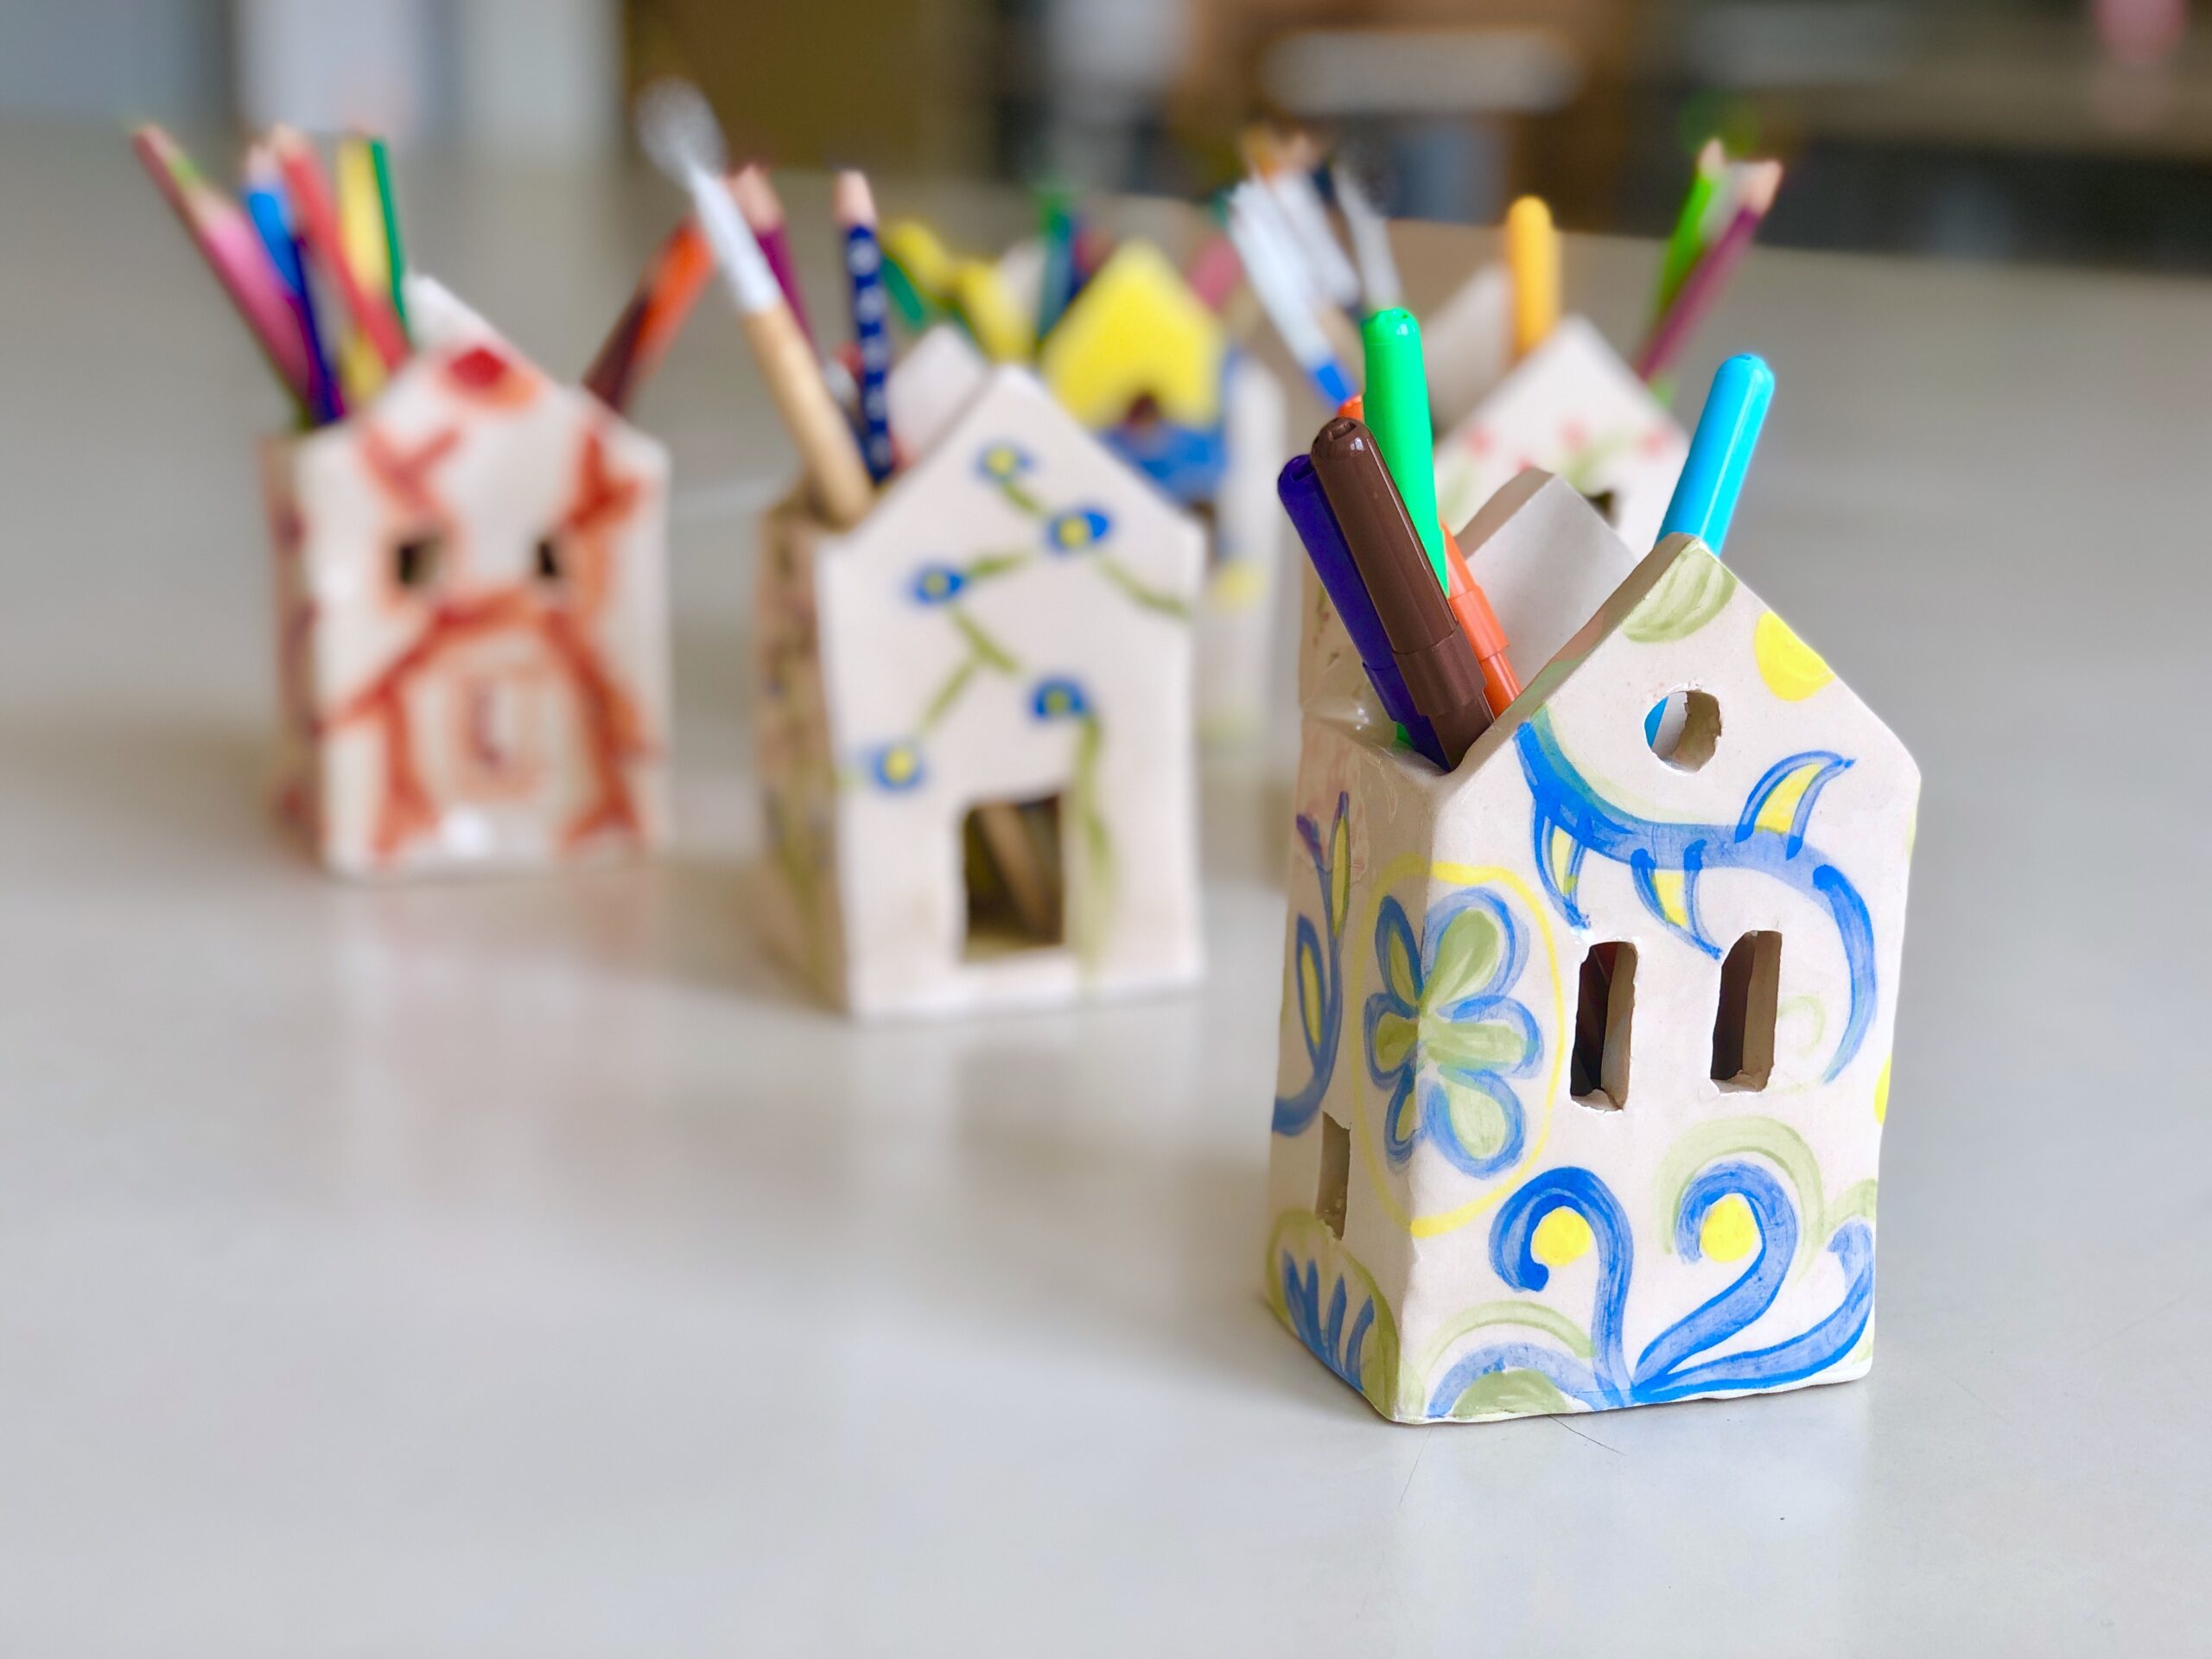
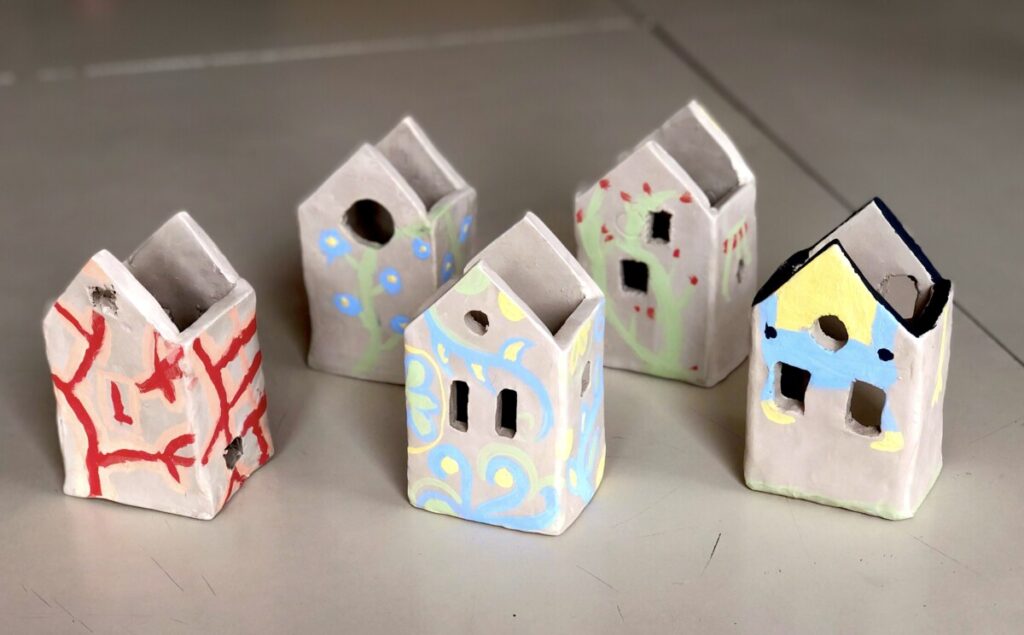
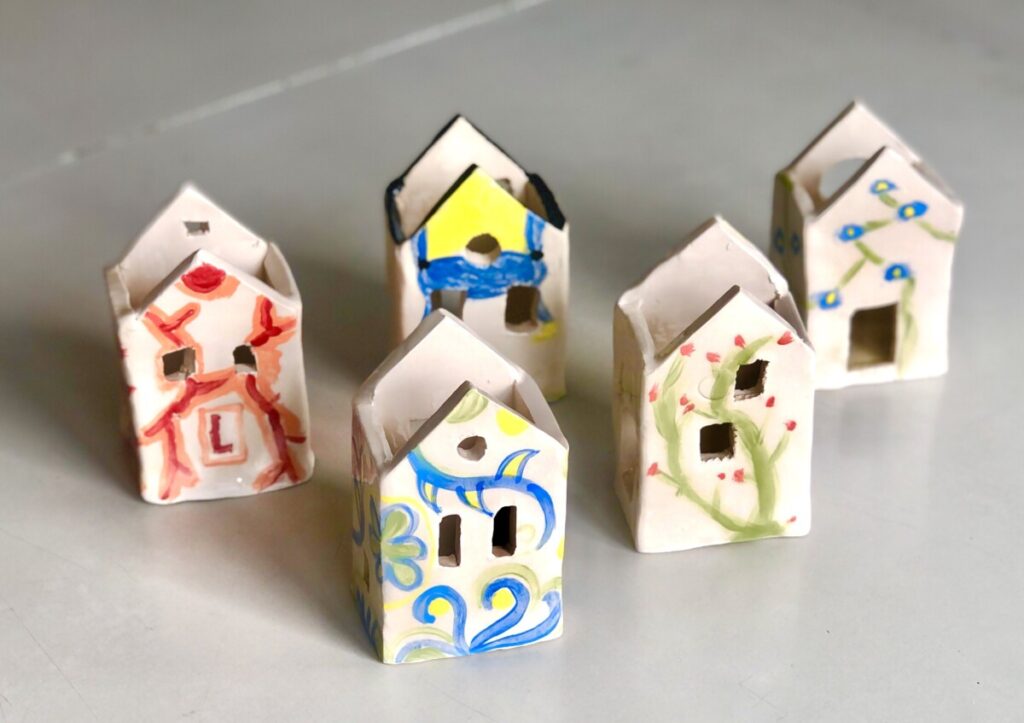
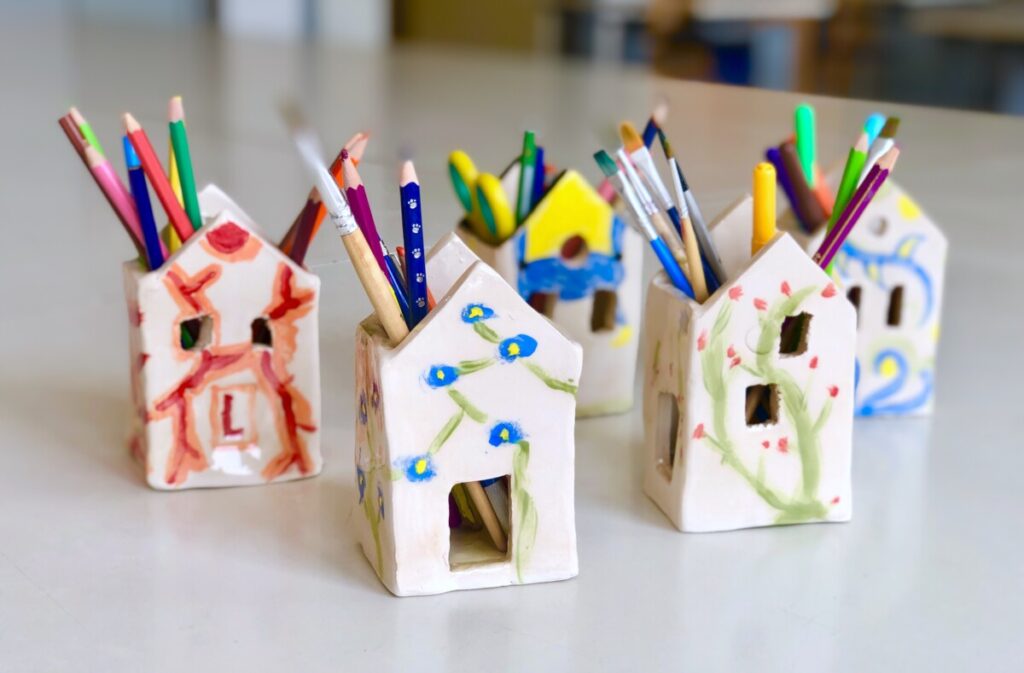
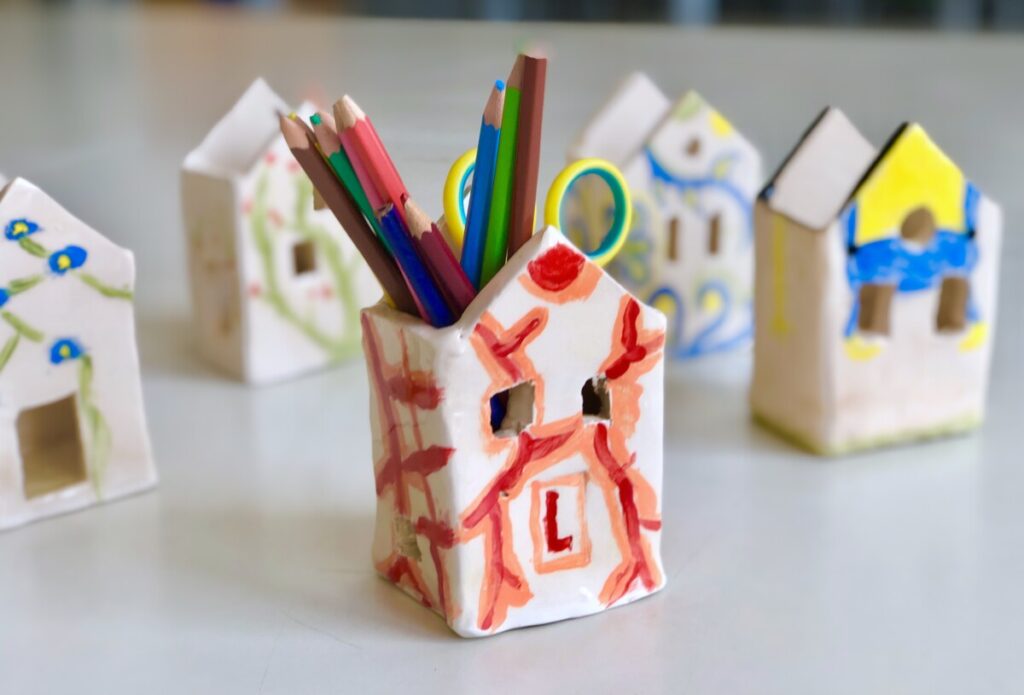
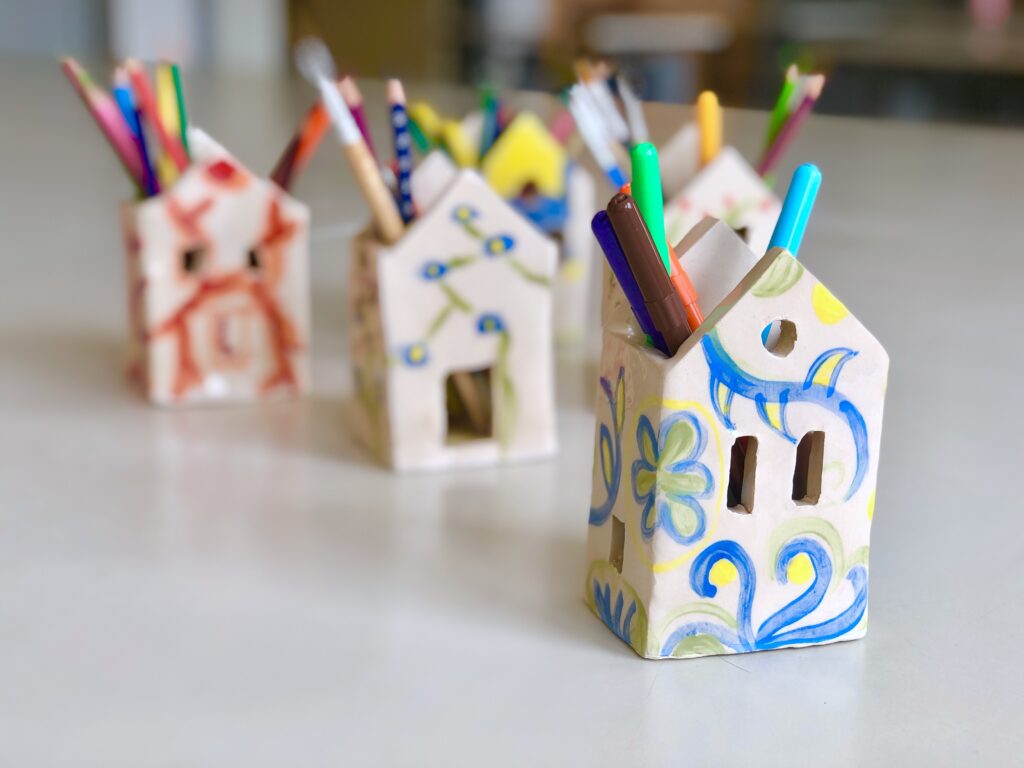
烧成后,小房子笔筒浸入无铅透明釉中施釉,再经第二次烧制完成釉烧。最终成品如下:
Ceramic little house box
With 6th Grade students we have made these ceramic pen-holders with the slab technique, using the templates that you can find in the worksheet below:
First we lay out the clay slabs using a rolling pin and side sticks, to maintain a thickness of 0.5mm. Then we use the shapes cut from the worksheet and cut out from the slab the base and the four sides of the house with a knife. We then create some small windows cutting some rectangular holes.
We cut the sides of the pieces that have to be joined, with an angle of 45 °, in order to join the edges without creating joining lines on the surface of the house. To assemble the pieces we need to knurl the contact surfaces and add the SLIP (creamy clay diluite in water, that acts as a glue for the pieces). Once assembled, the house is left to dry to leather hardness.
Once the pieces are dry to leather / bone hardness, they can be decorated with ENGOBES (colored liquid clays) and then we can proceed to the first firing to obtain the BISCUIT (the piece after the first firing, which is porous and opaque).
To design the decorations we used the same worksheets with the templates and we prepared a watercolor sketch, in order to make a small project of the patterns to paint on the clay with the engobes.
leather-hardness engobes decoration, before the first firing
Once fired, the houses-box were glazed by immersion in lead-free transparent glaze, and subsequently they were fired for the second time to obtain the glazing. Here is the final result