陶瓷圣诞树模板
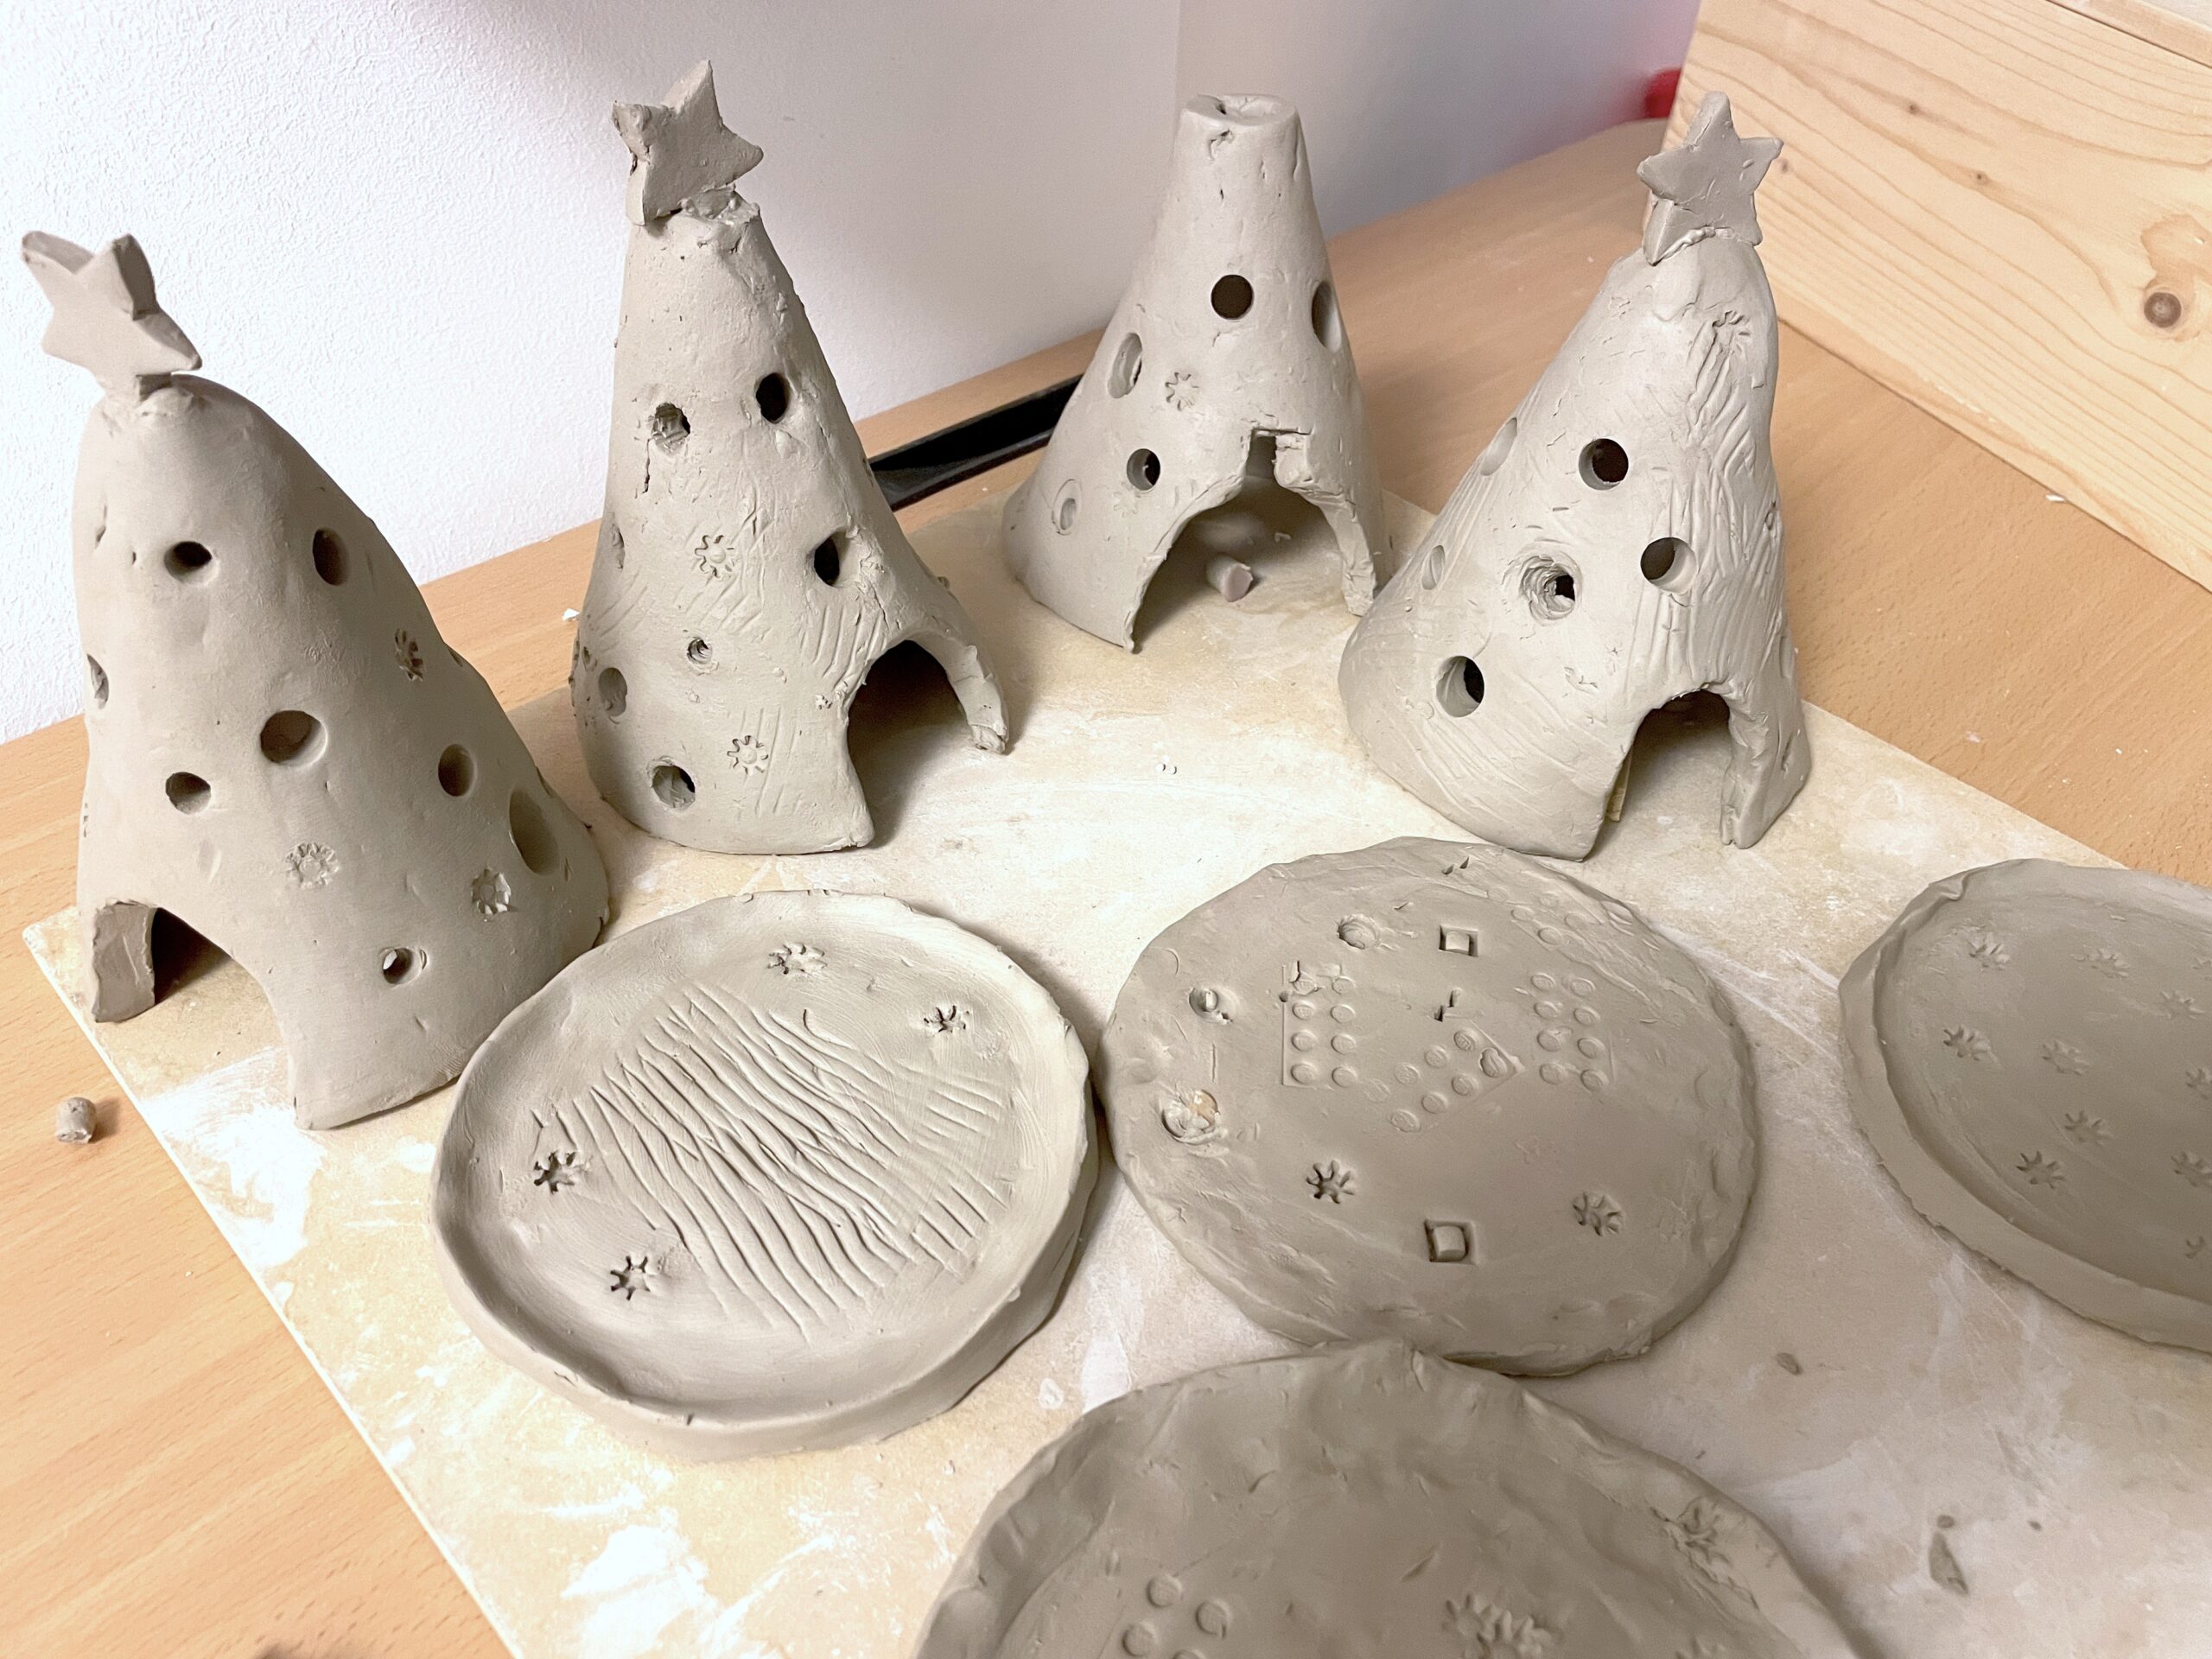
六年级陶艺工作坊制作了圣诞烛台树,采用泥板成型法,并以釉料上色。
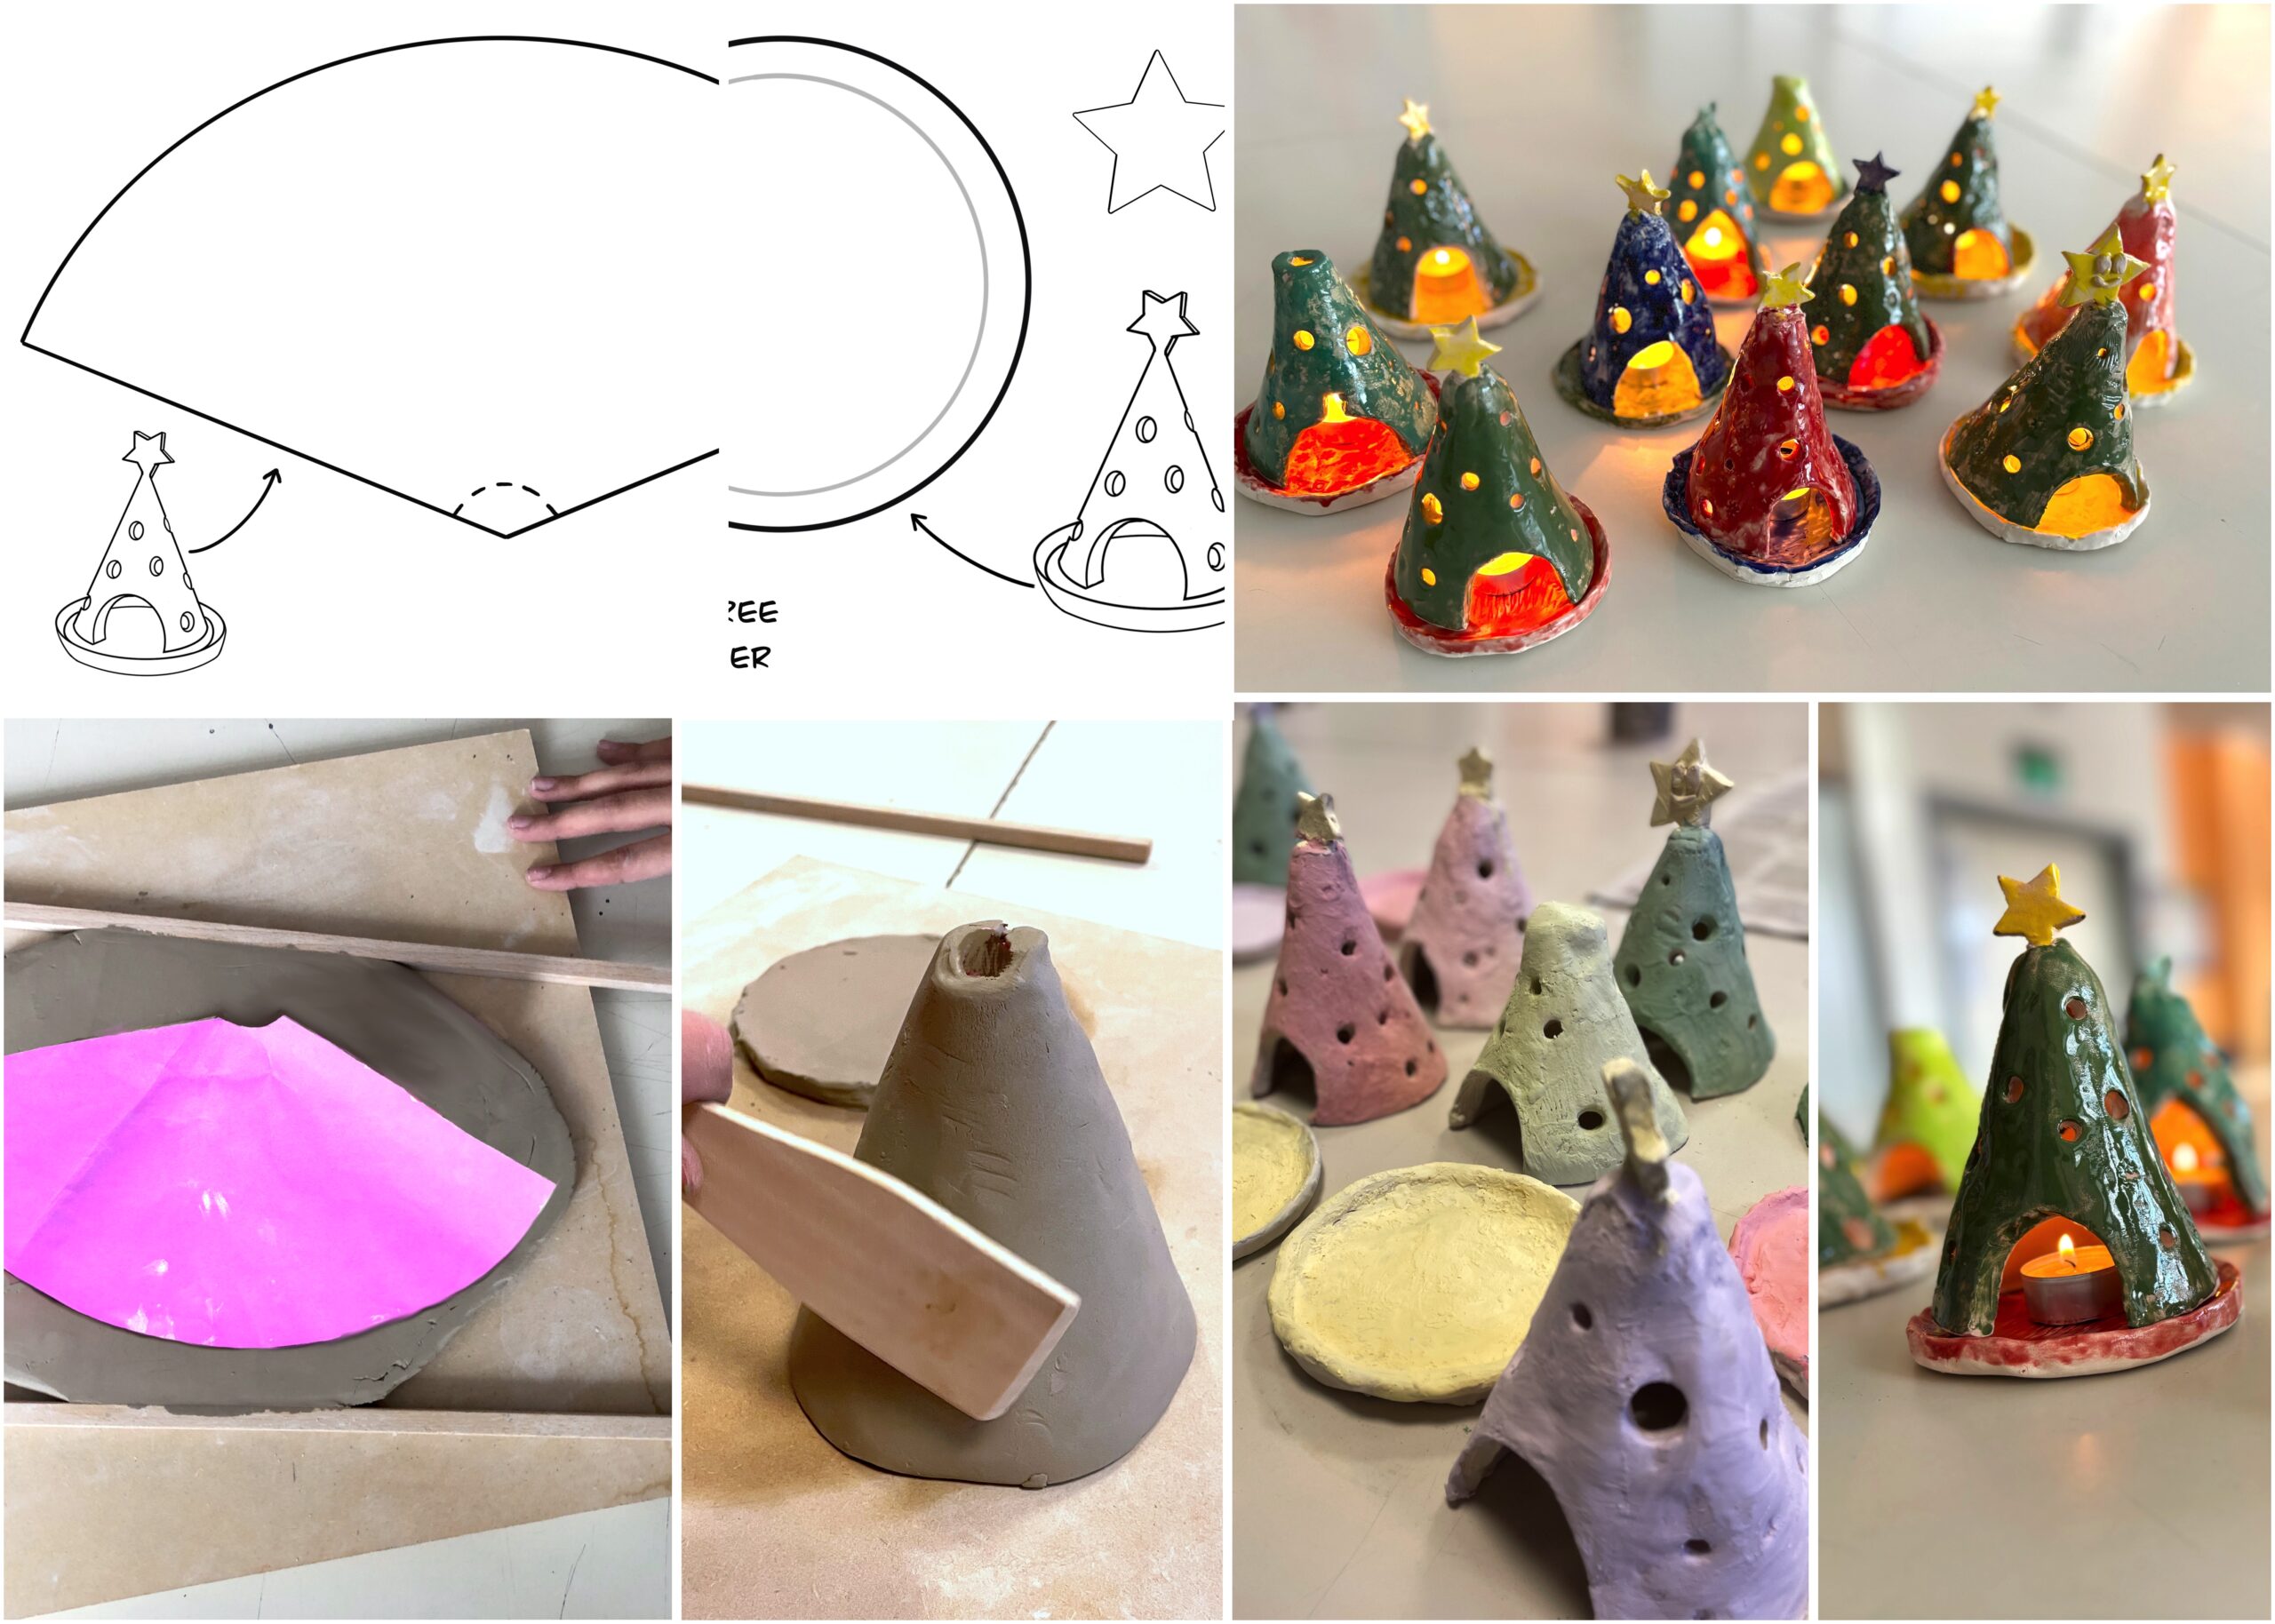
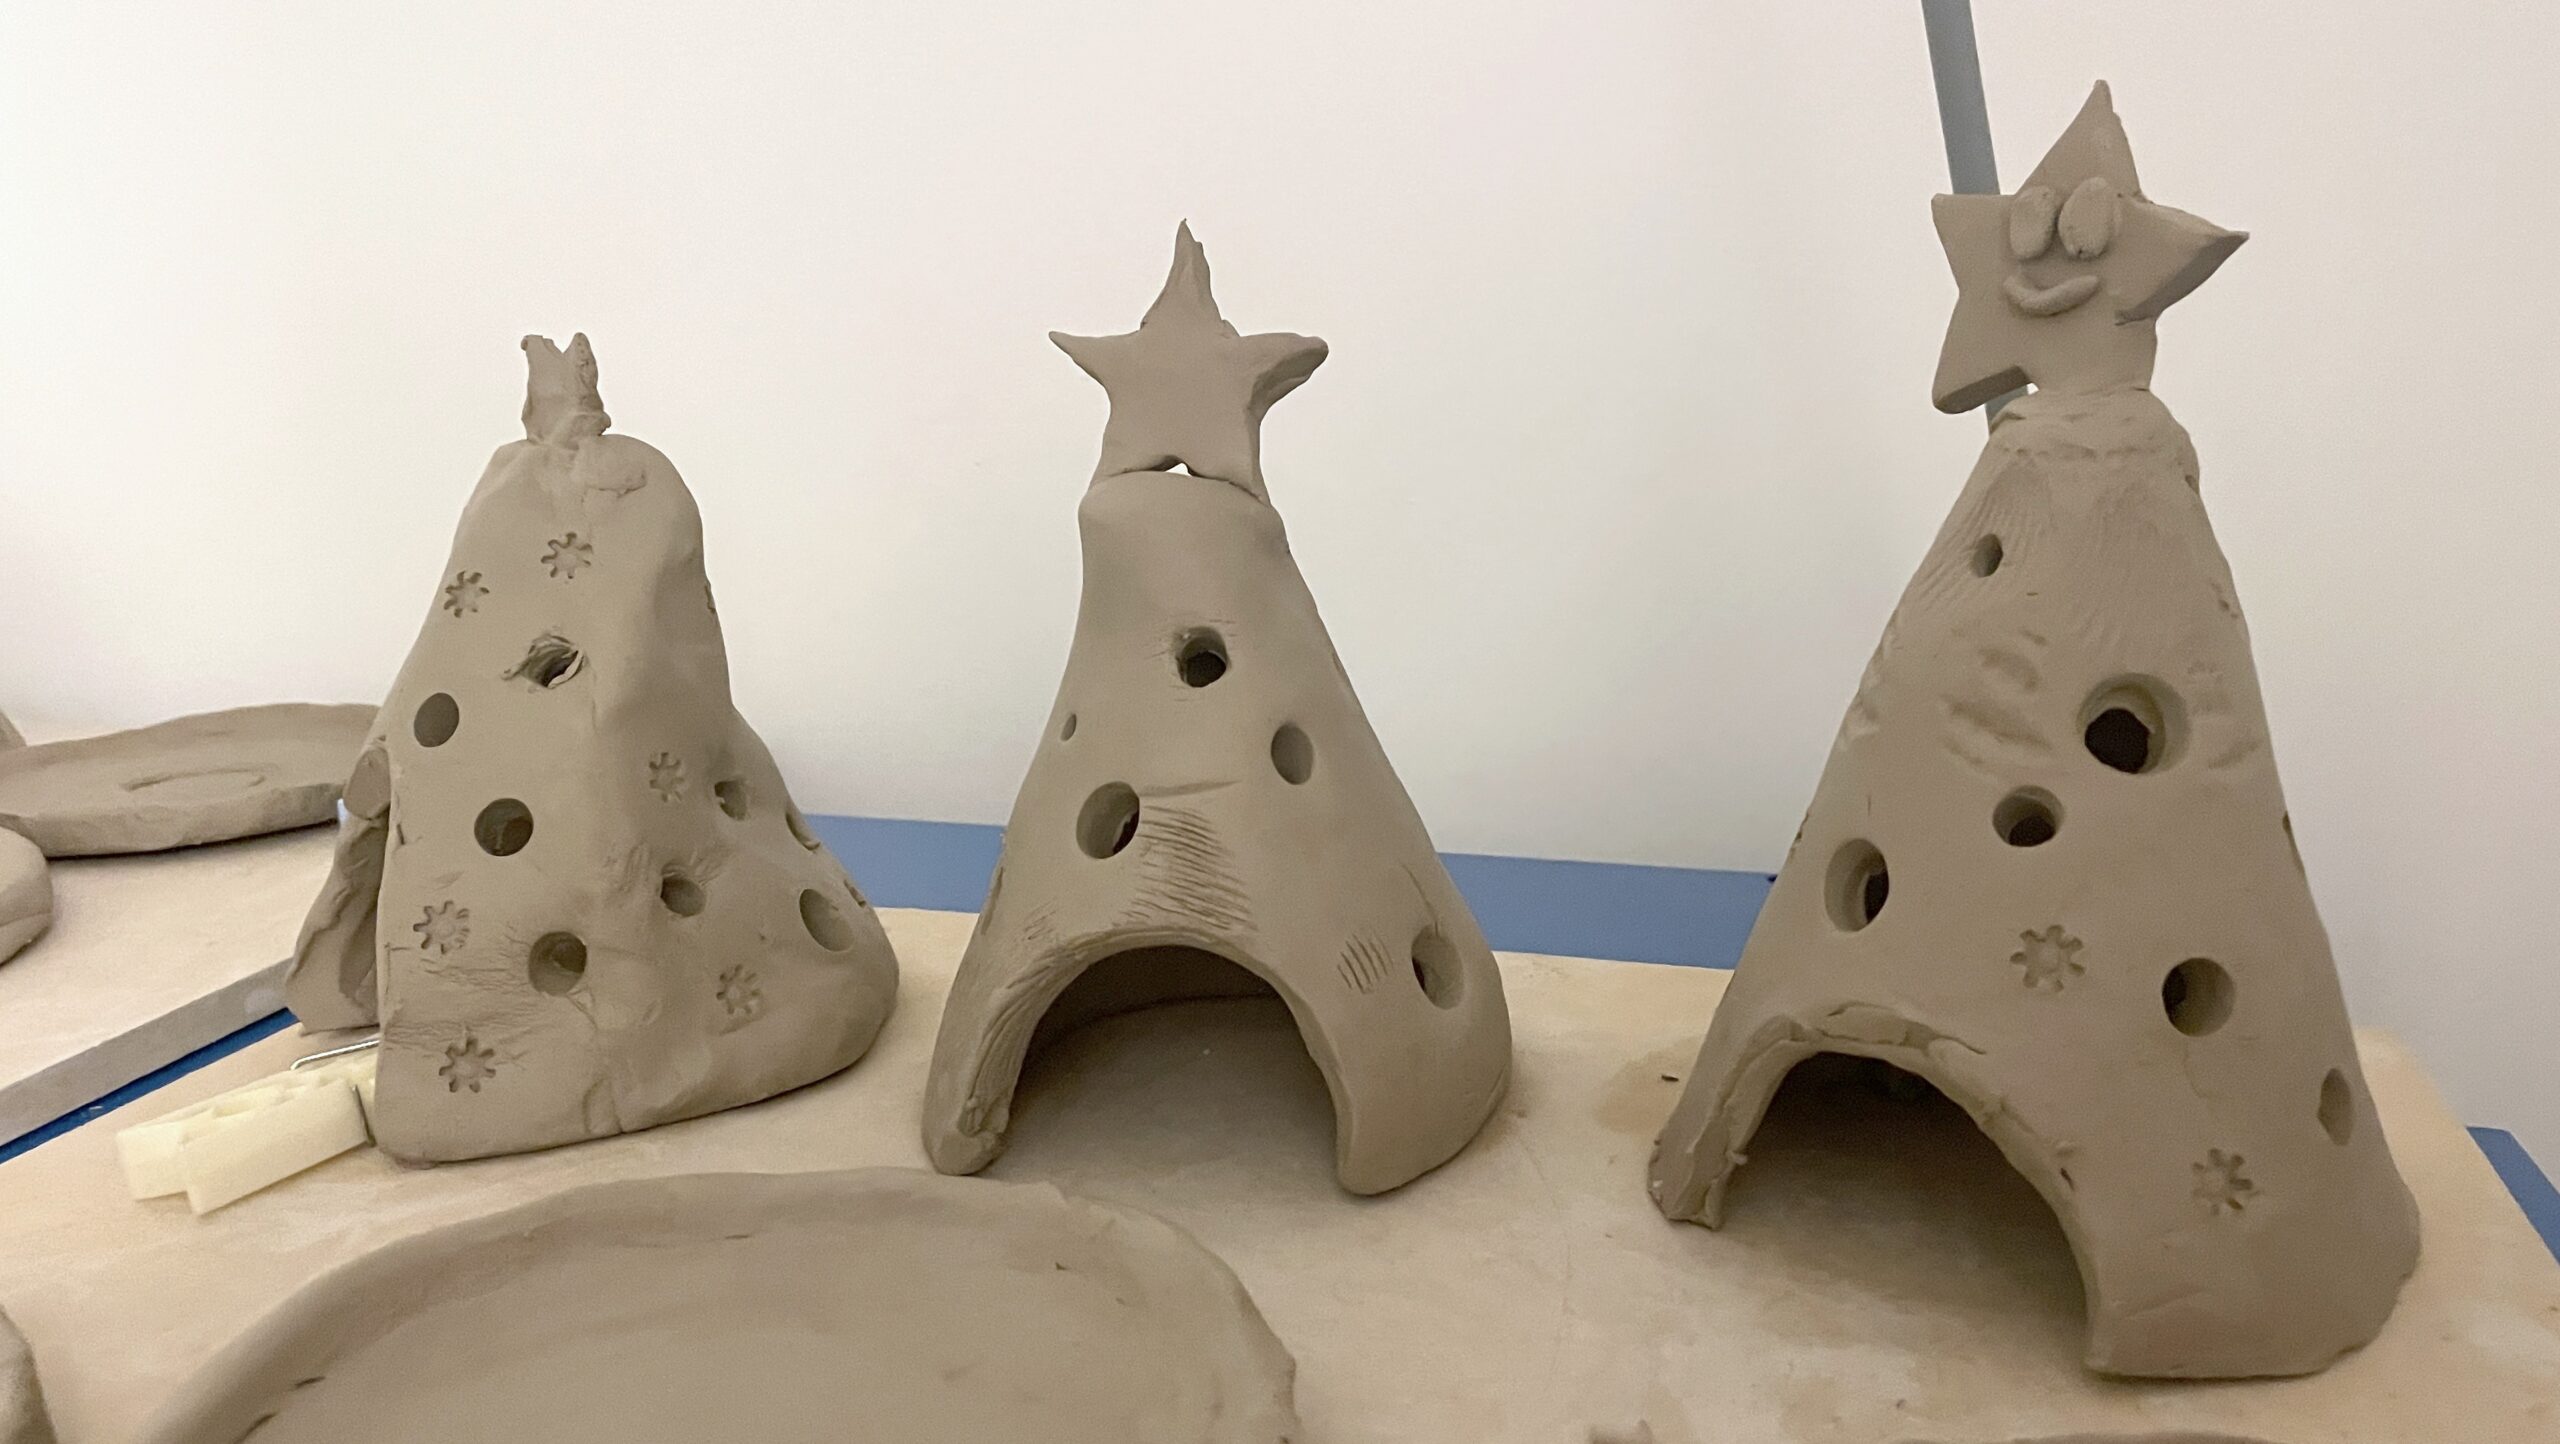
我们使用以下可购模板来制作主要部件(圆锥体与托盘)。整棵树由一个带顶部星形装饰的穿孔圆锥体,以及下方用于放置蜡烛的托盘构成。
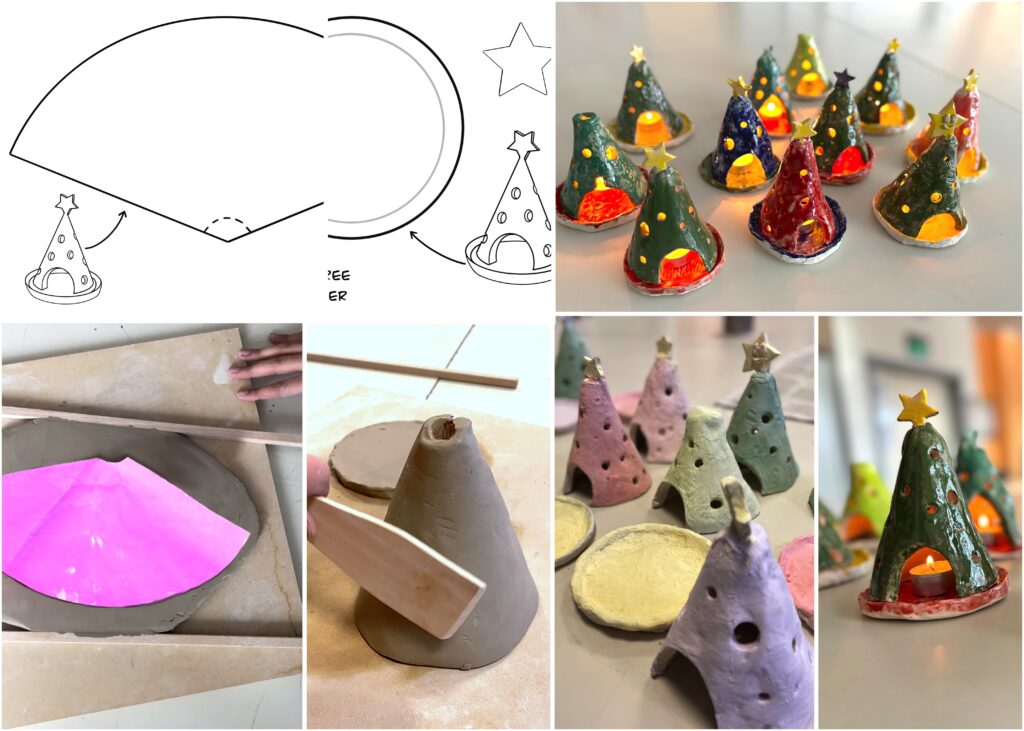
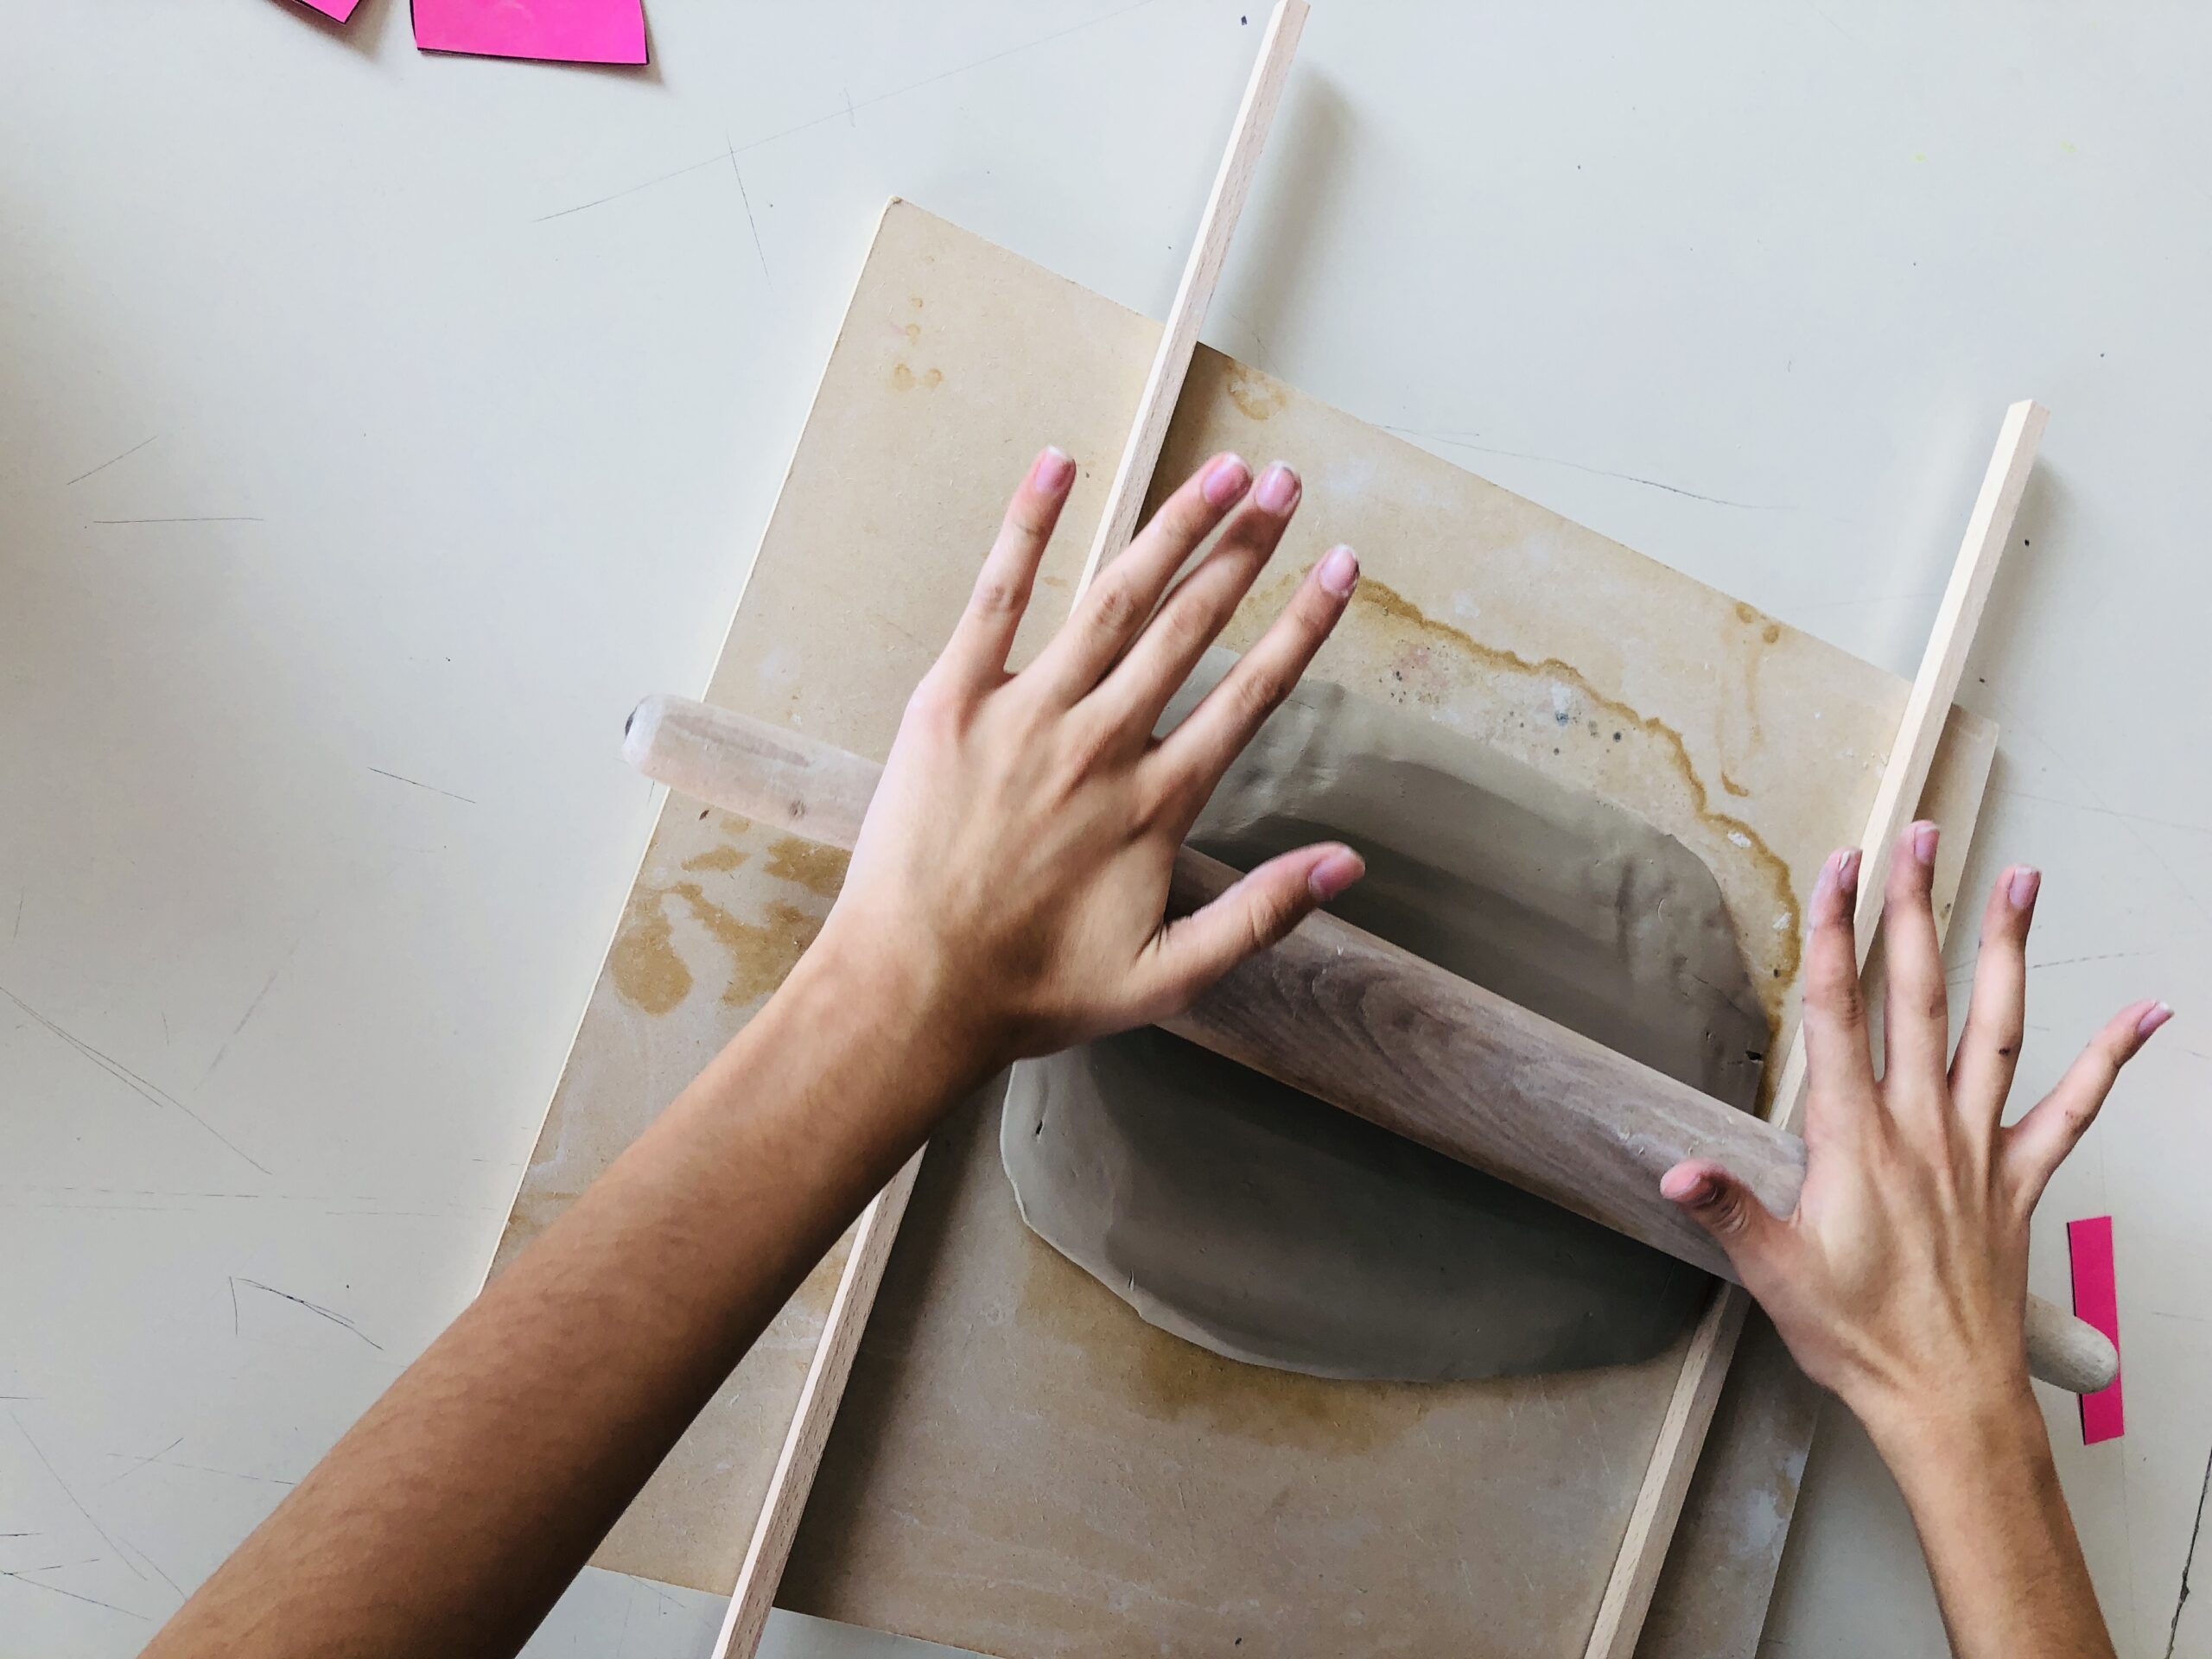
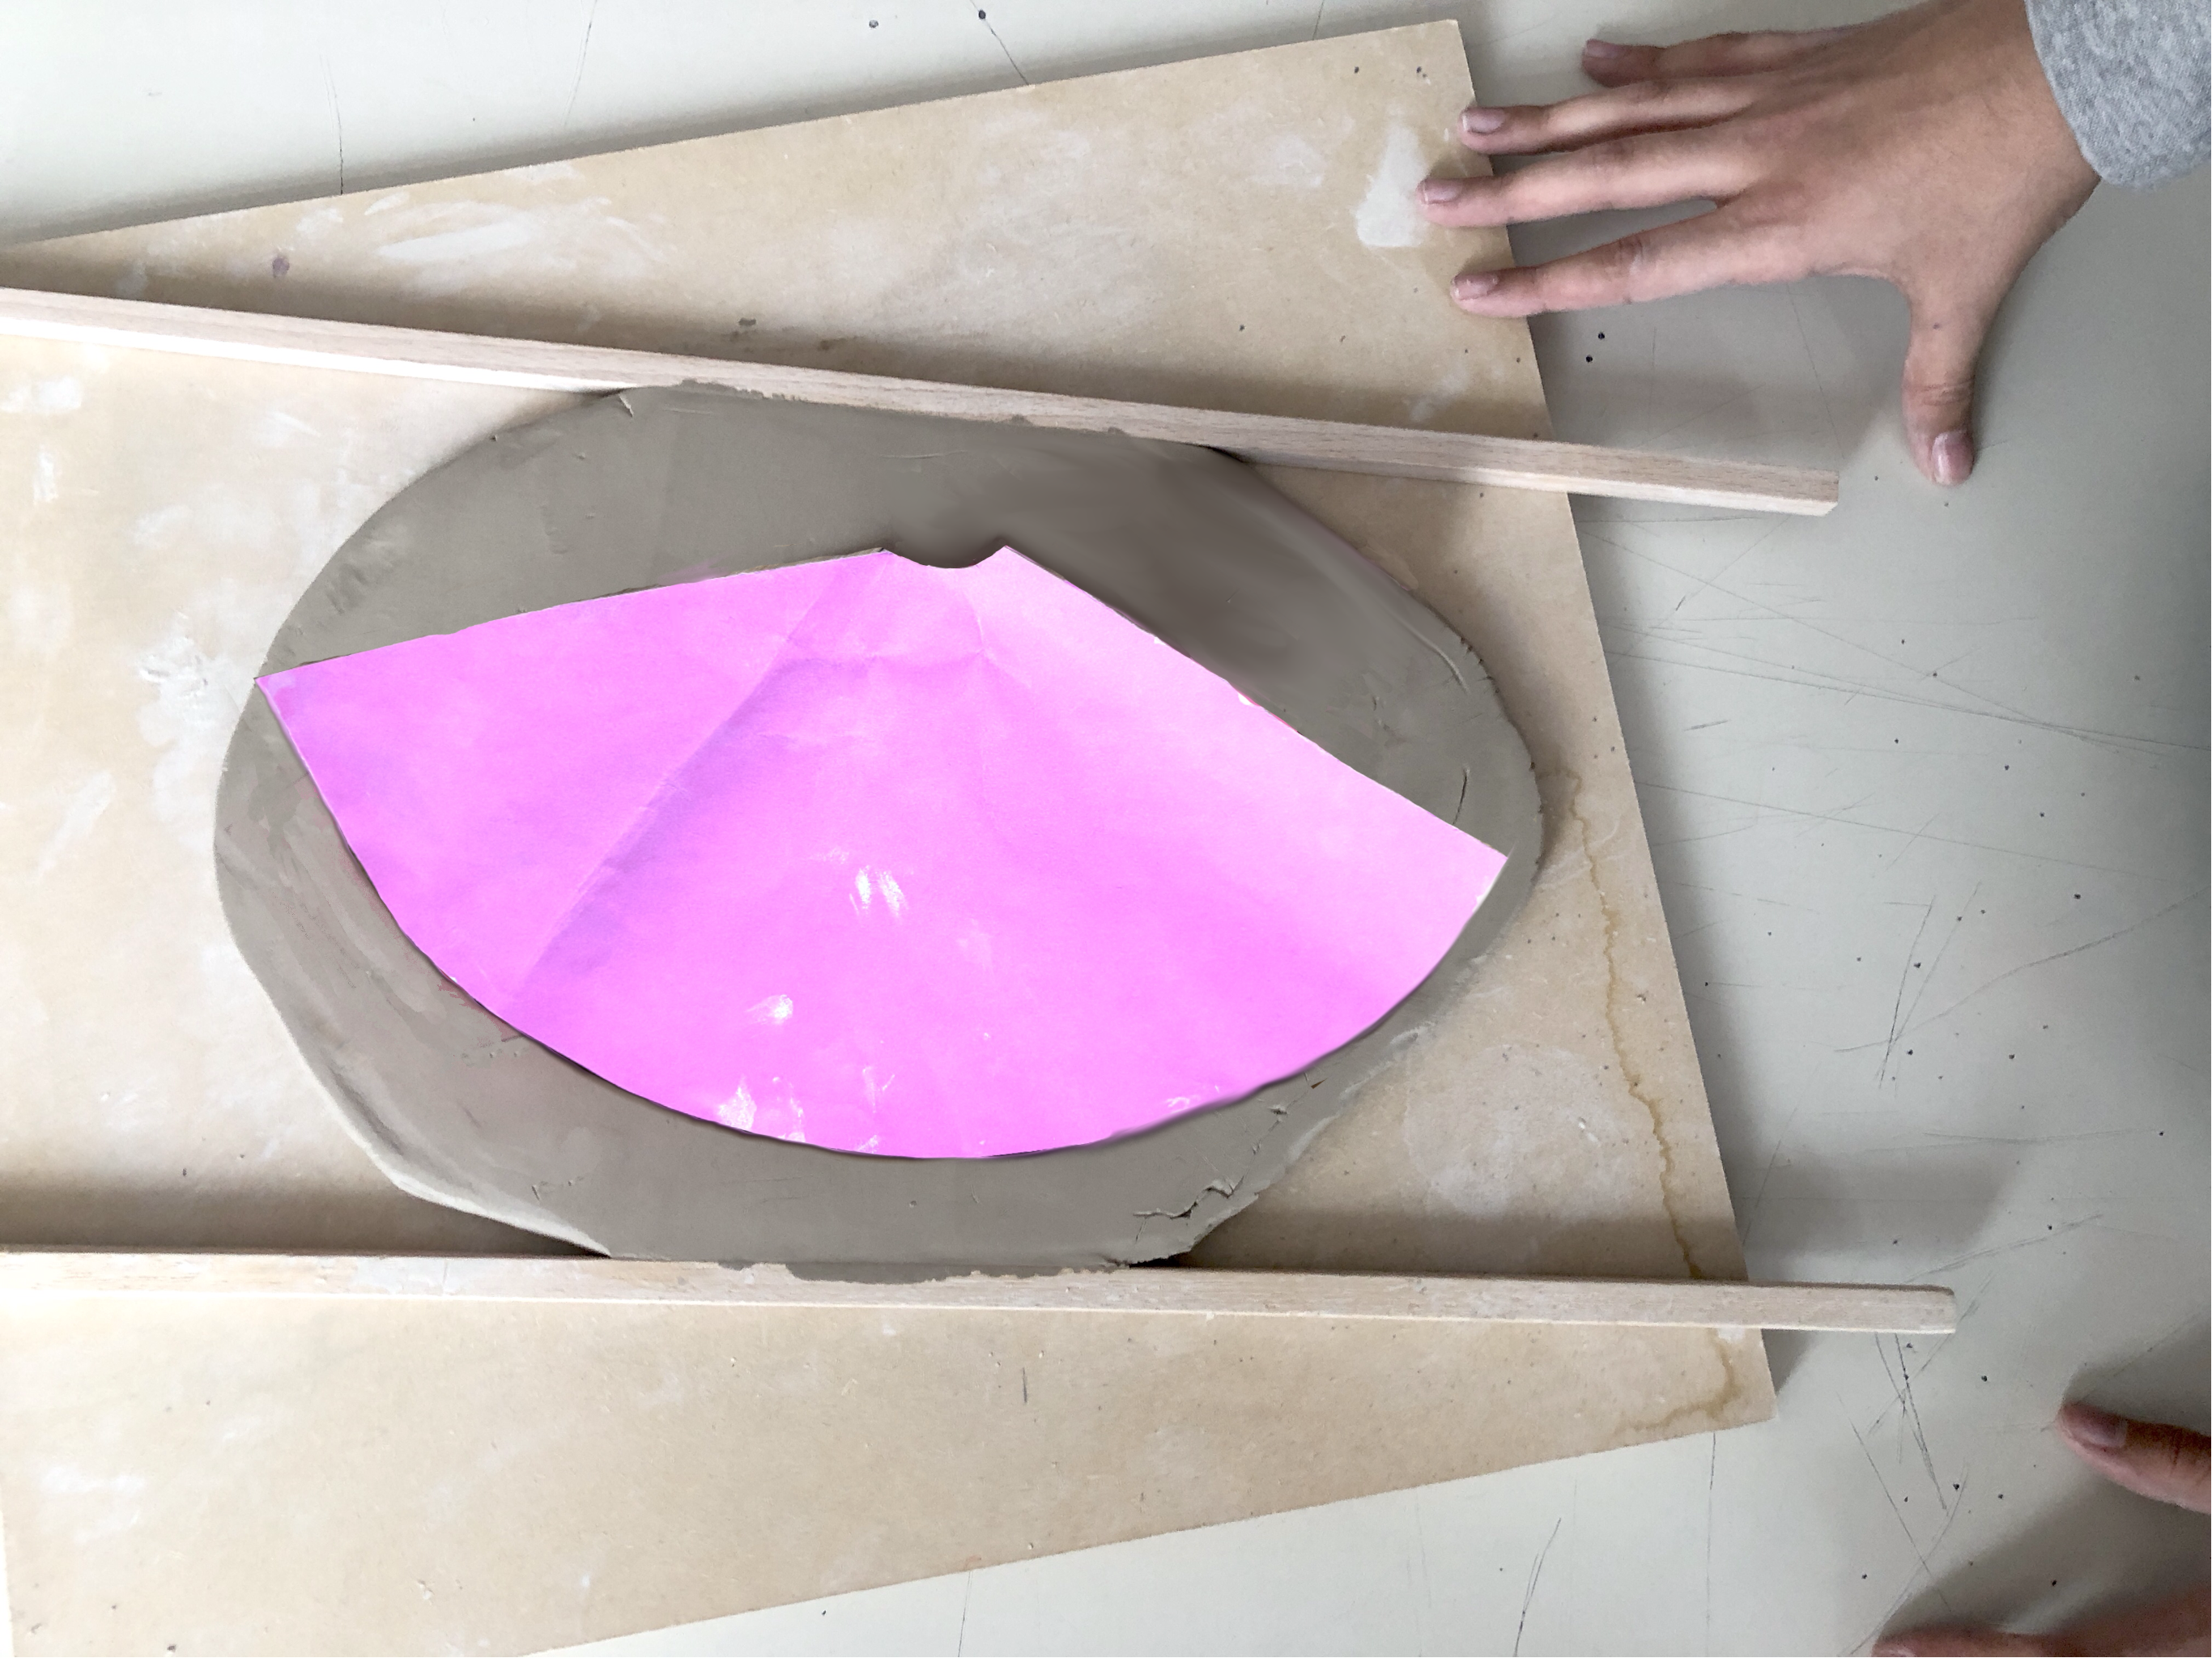
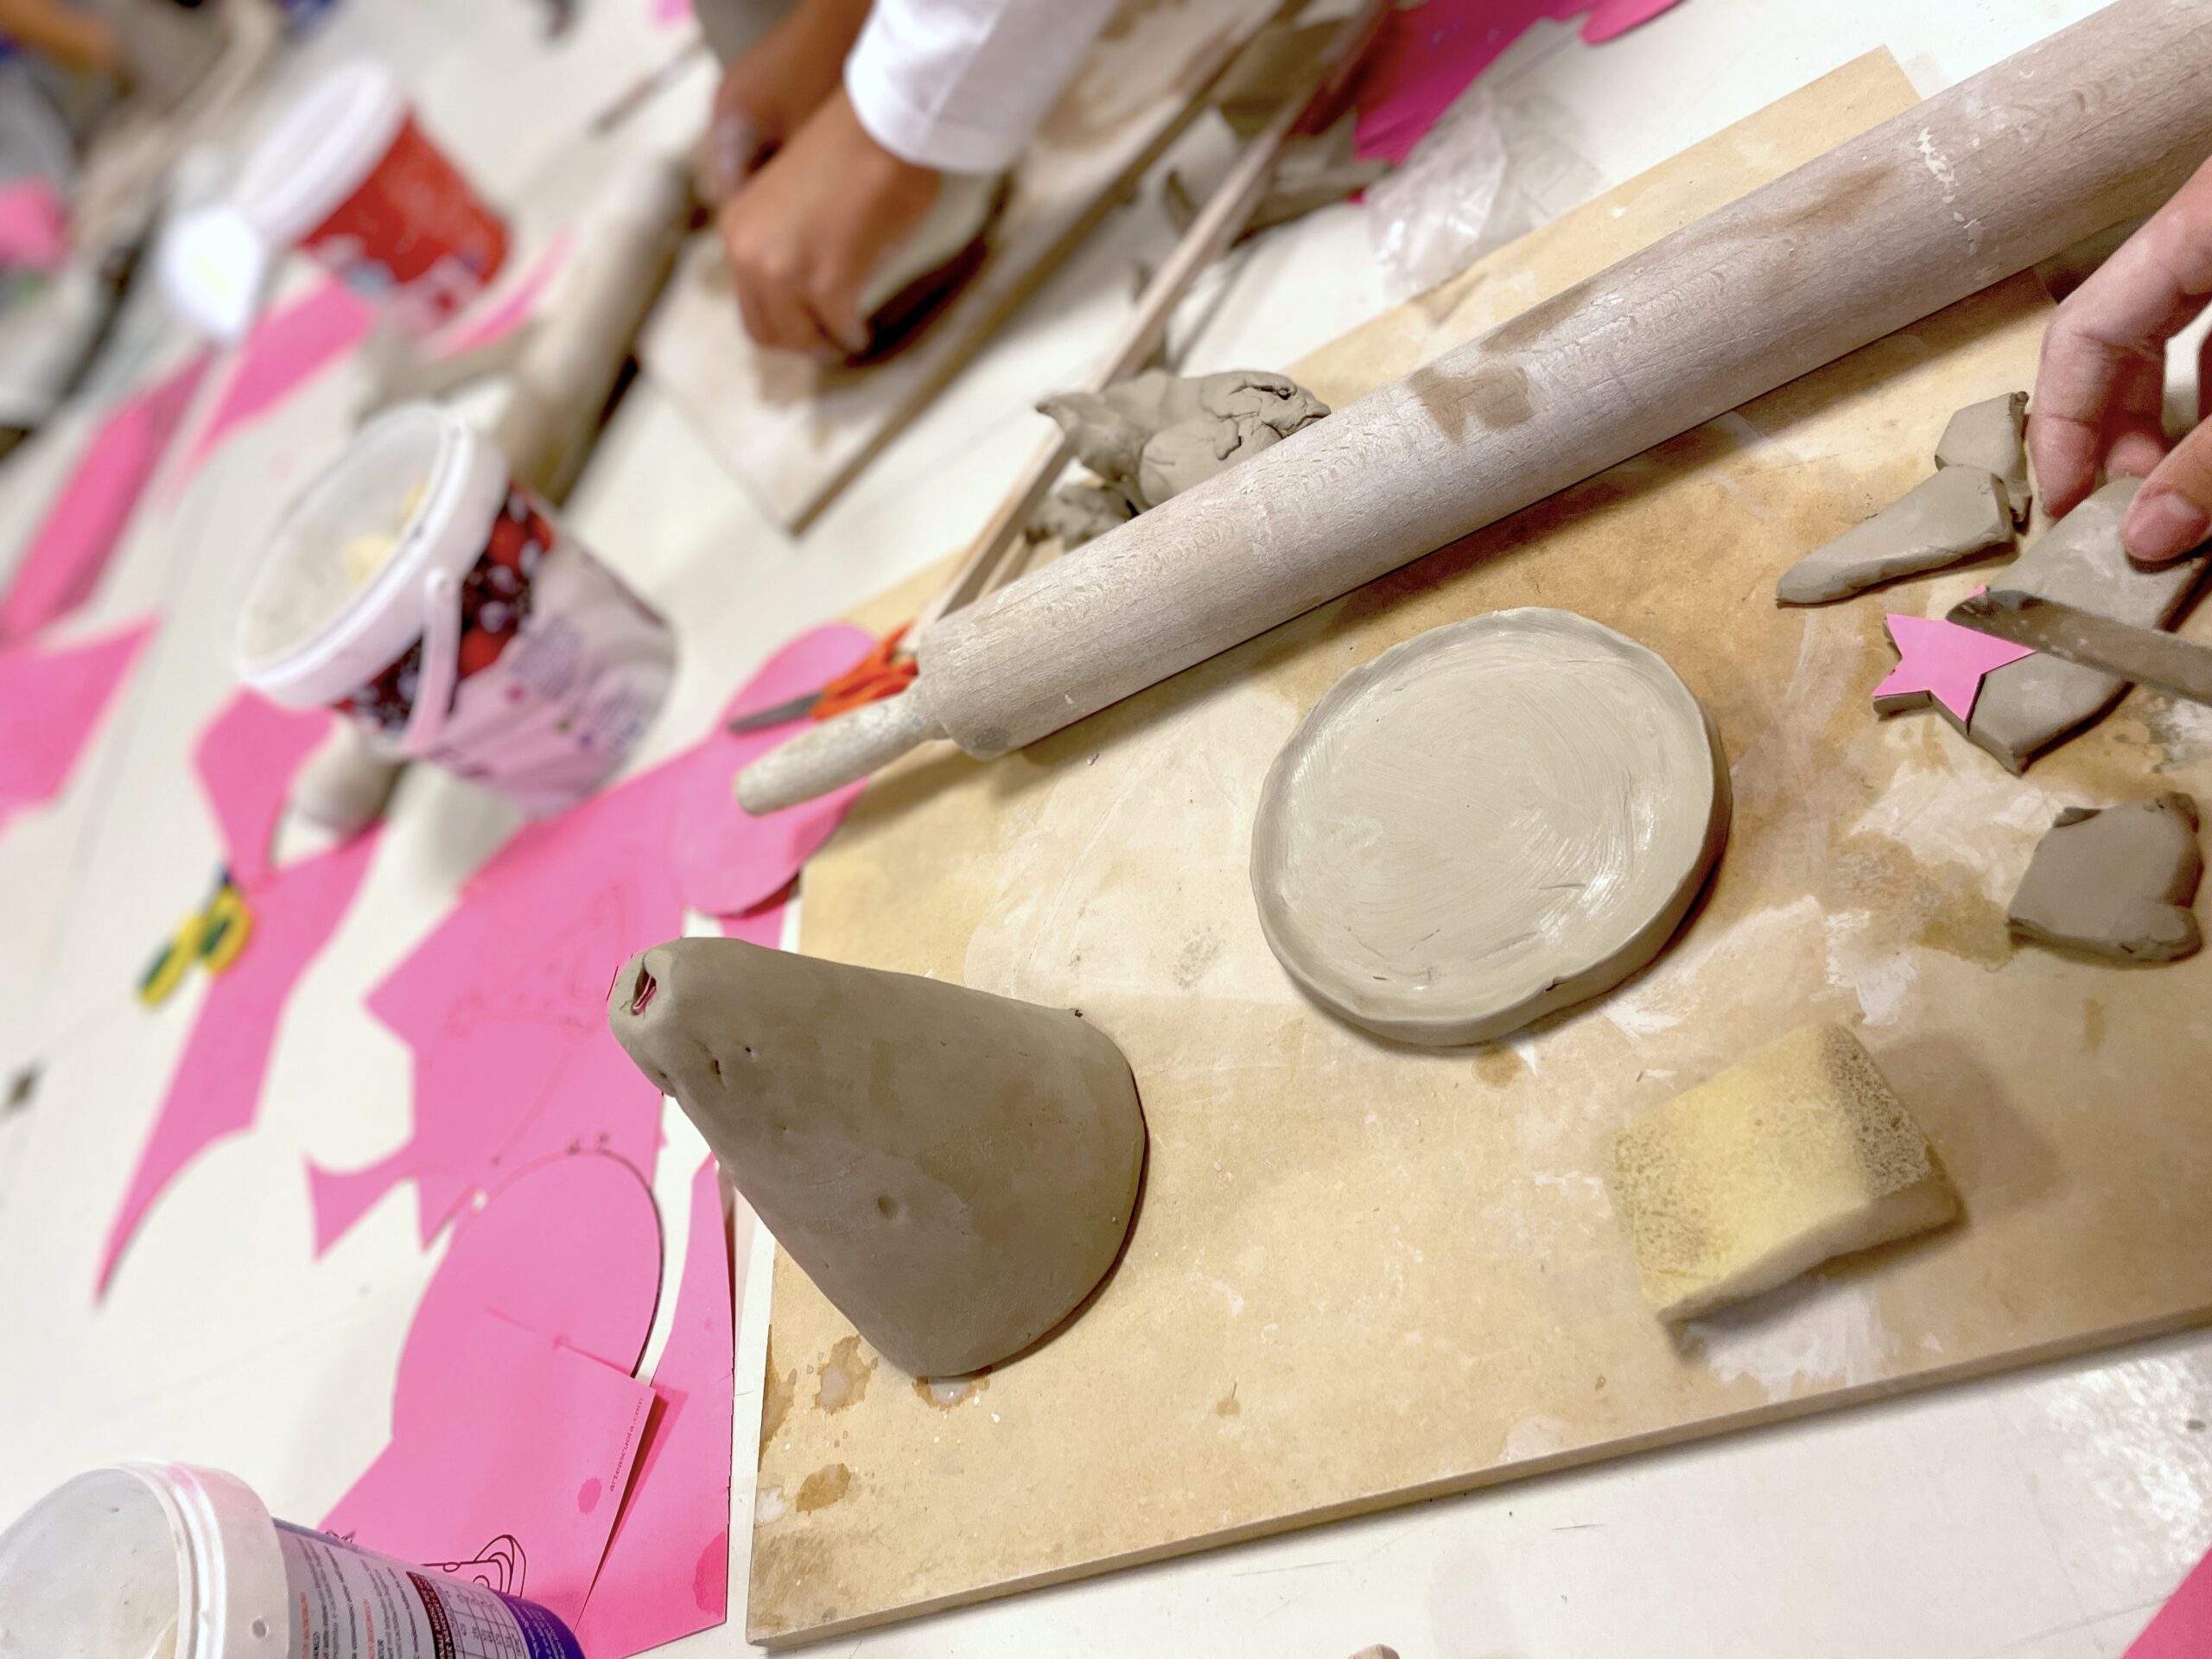
泥板制备完成后,我们使用印在硬纸板上的模板进行裁剪,从而制作出陶土部件:托盘通过从泥板上裁切圆形获得;圆锥体则通过裁切第二张模板形状后组装而成,顶部附有星形装饰。
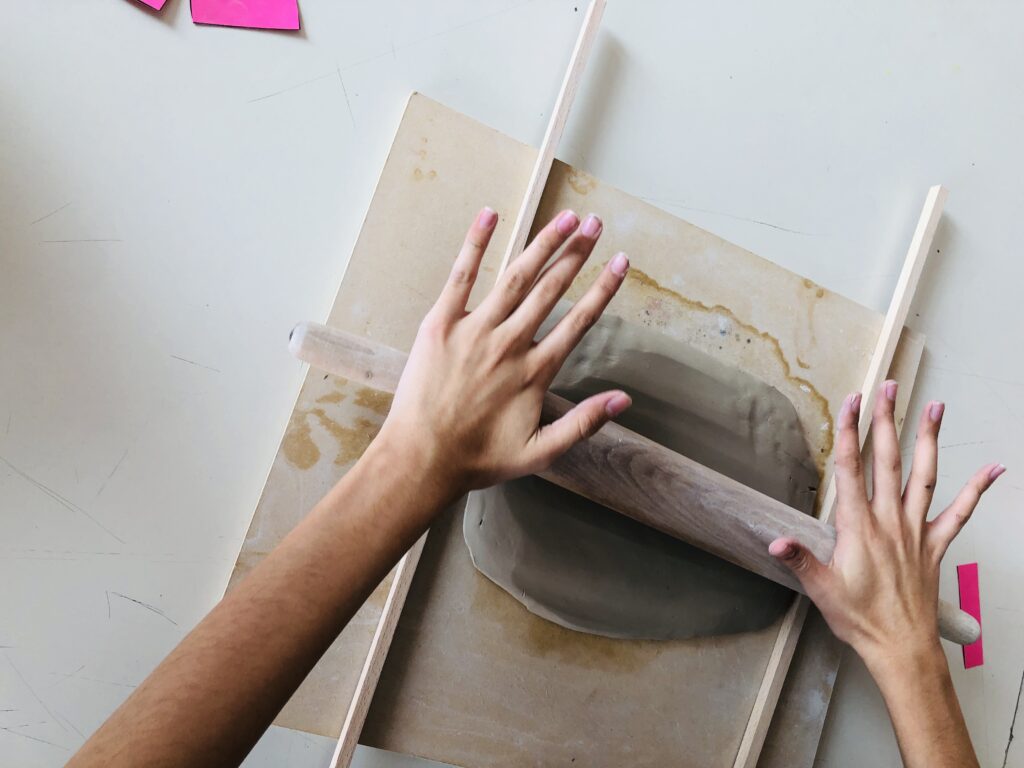
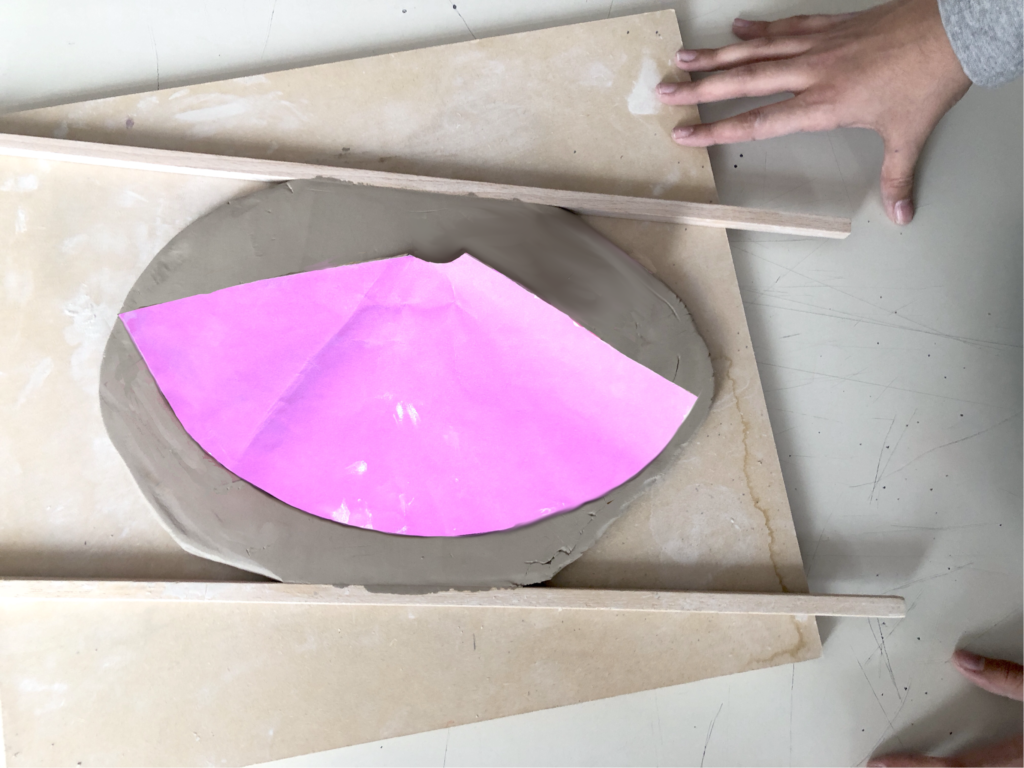
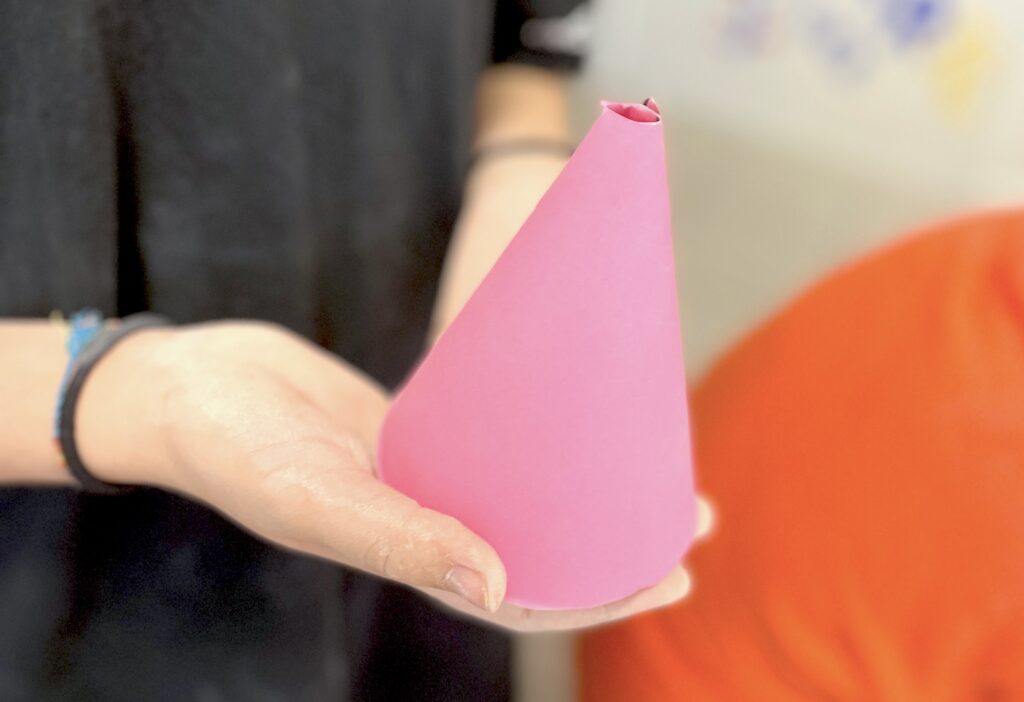
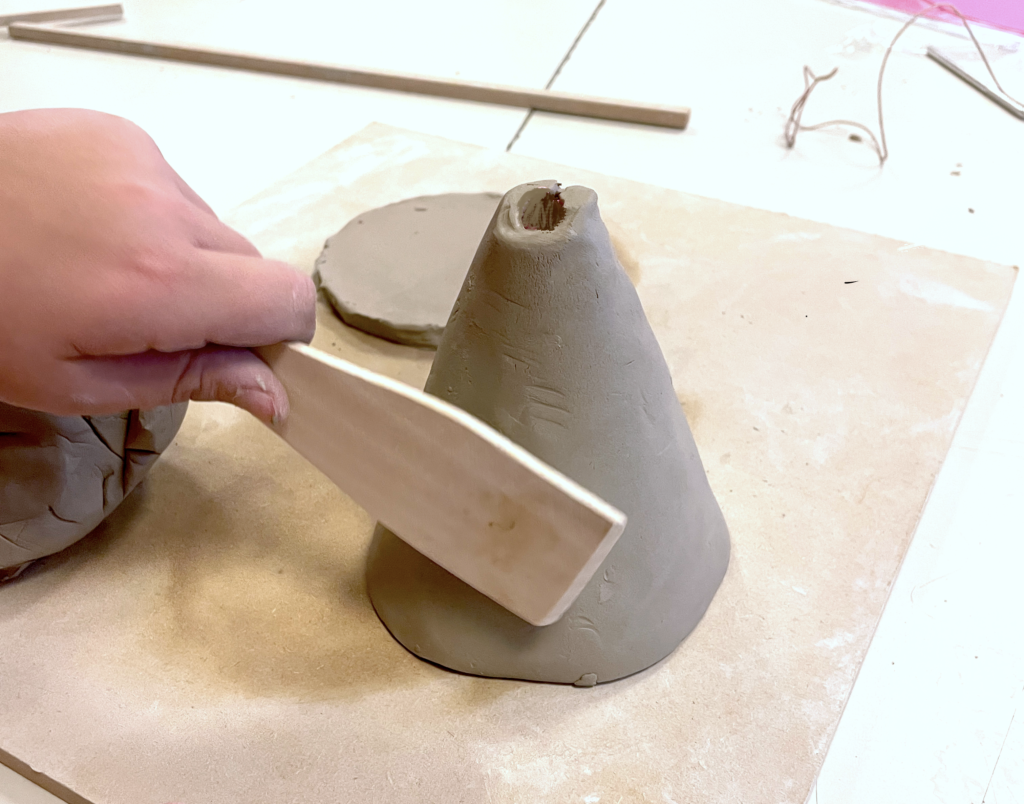
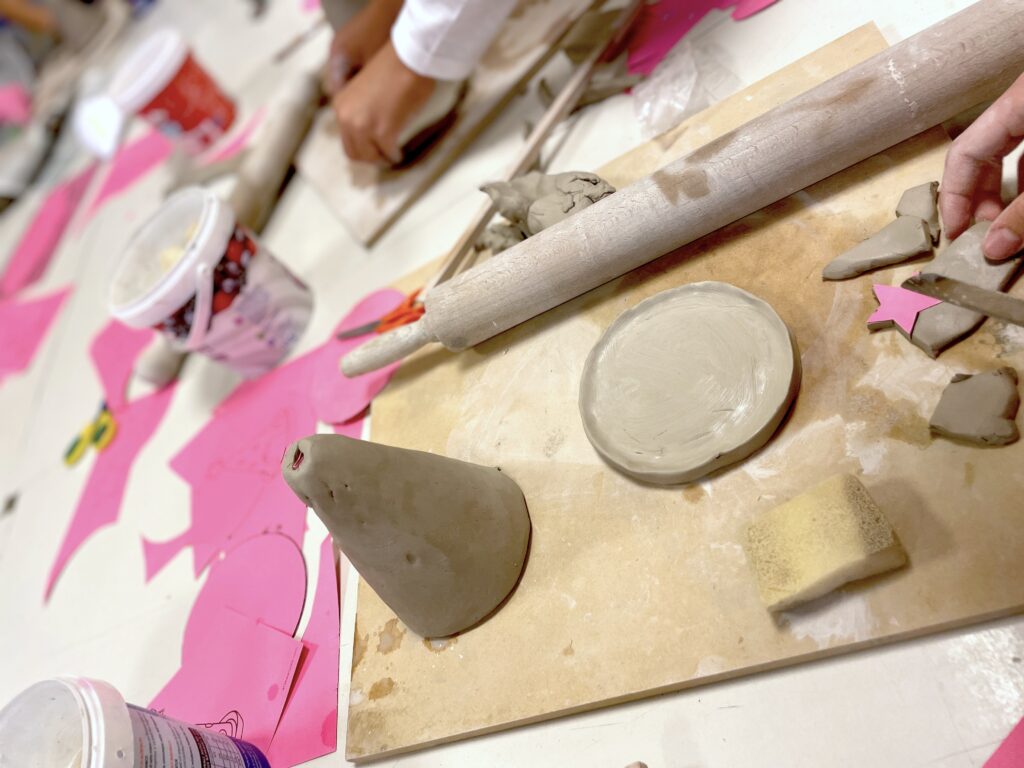
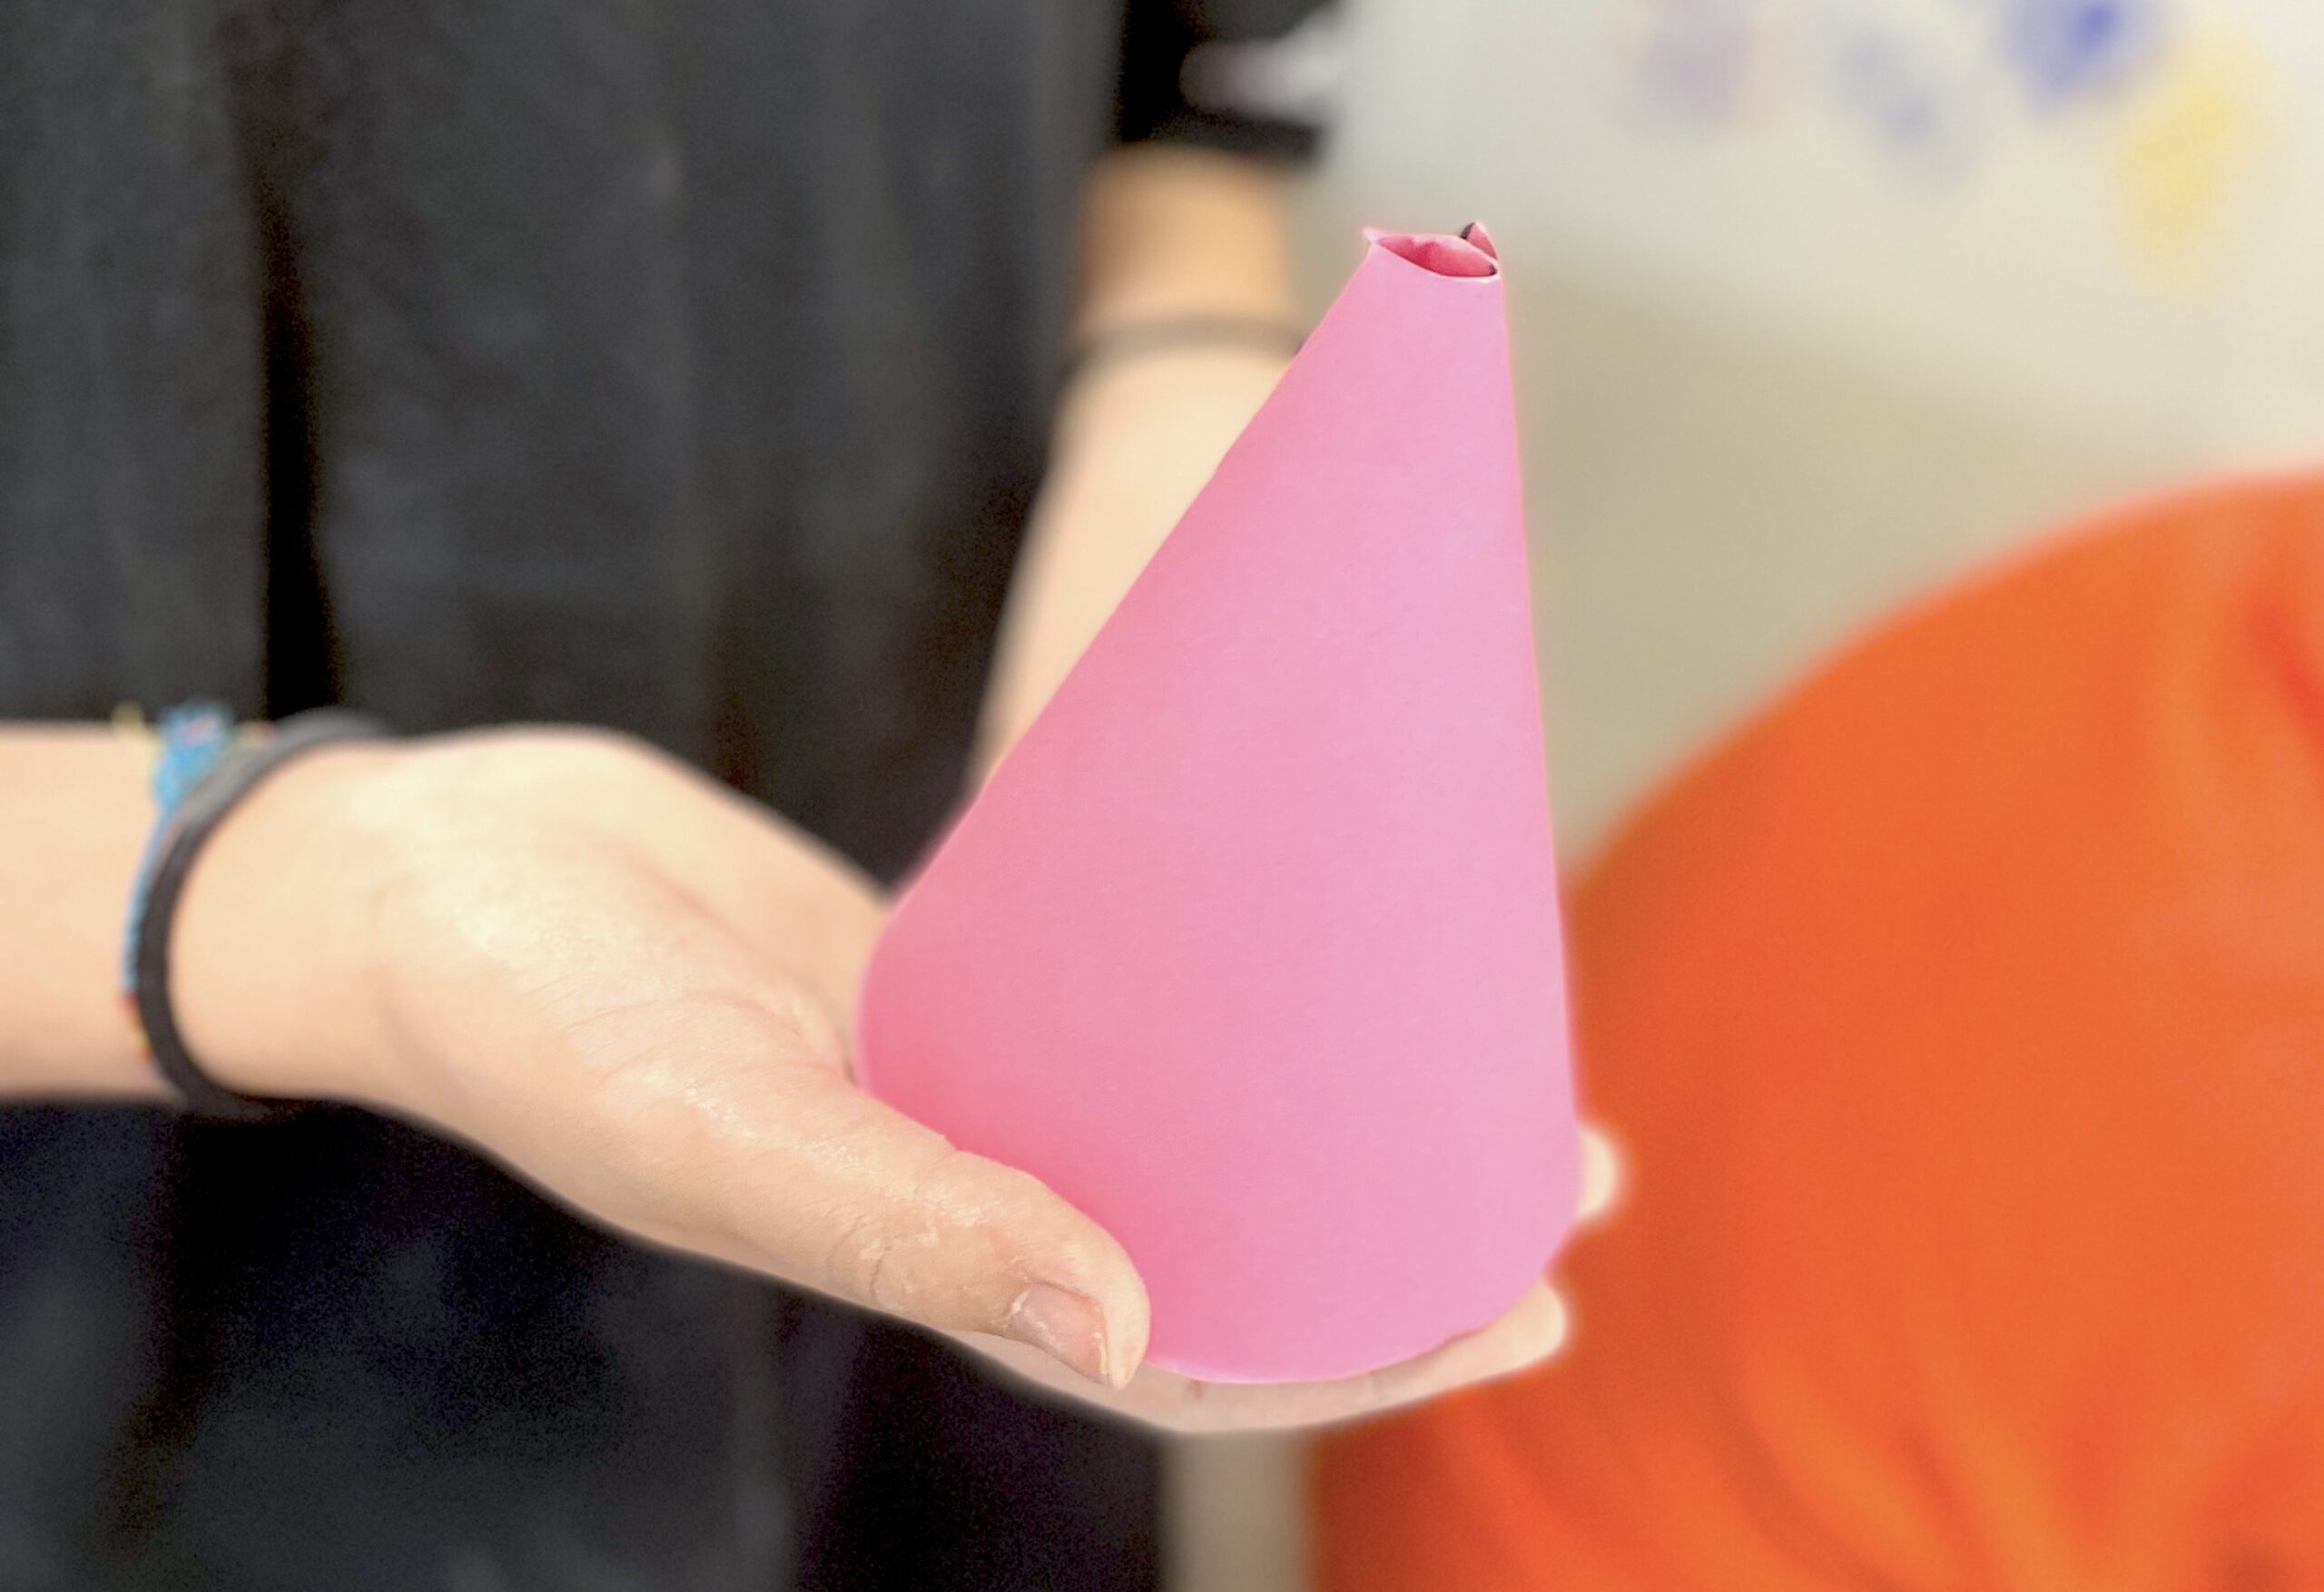
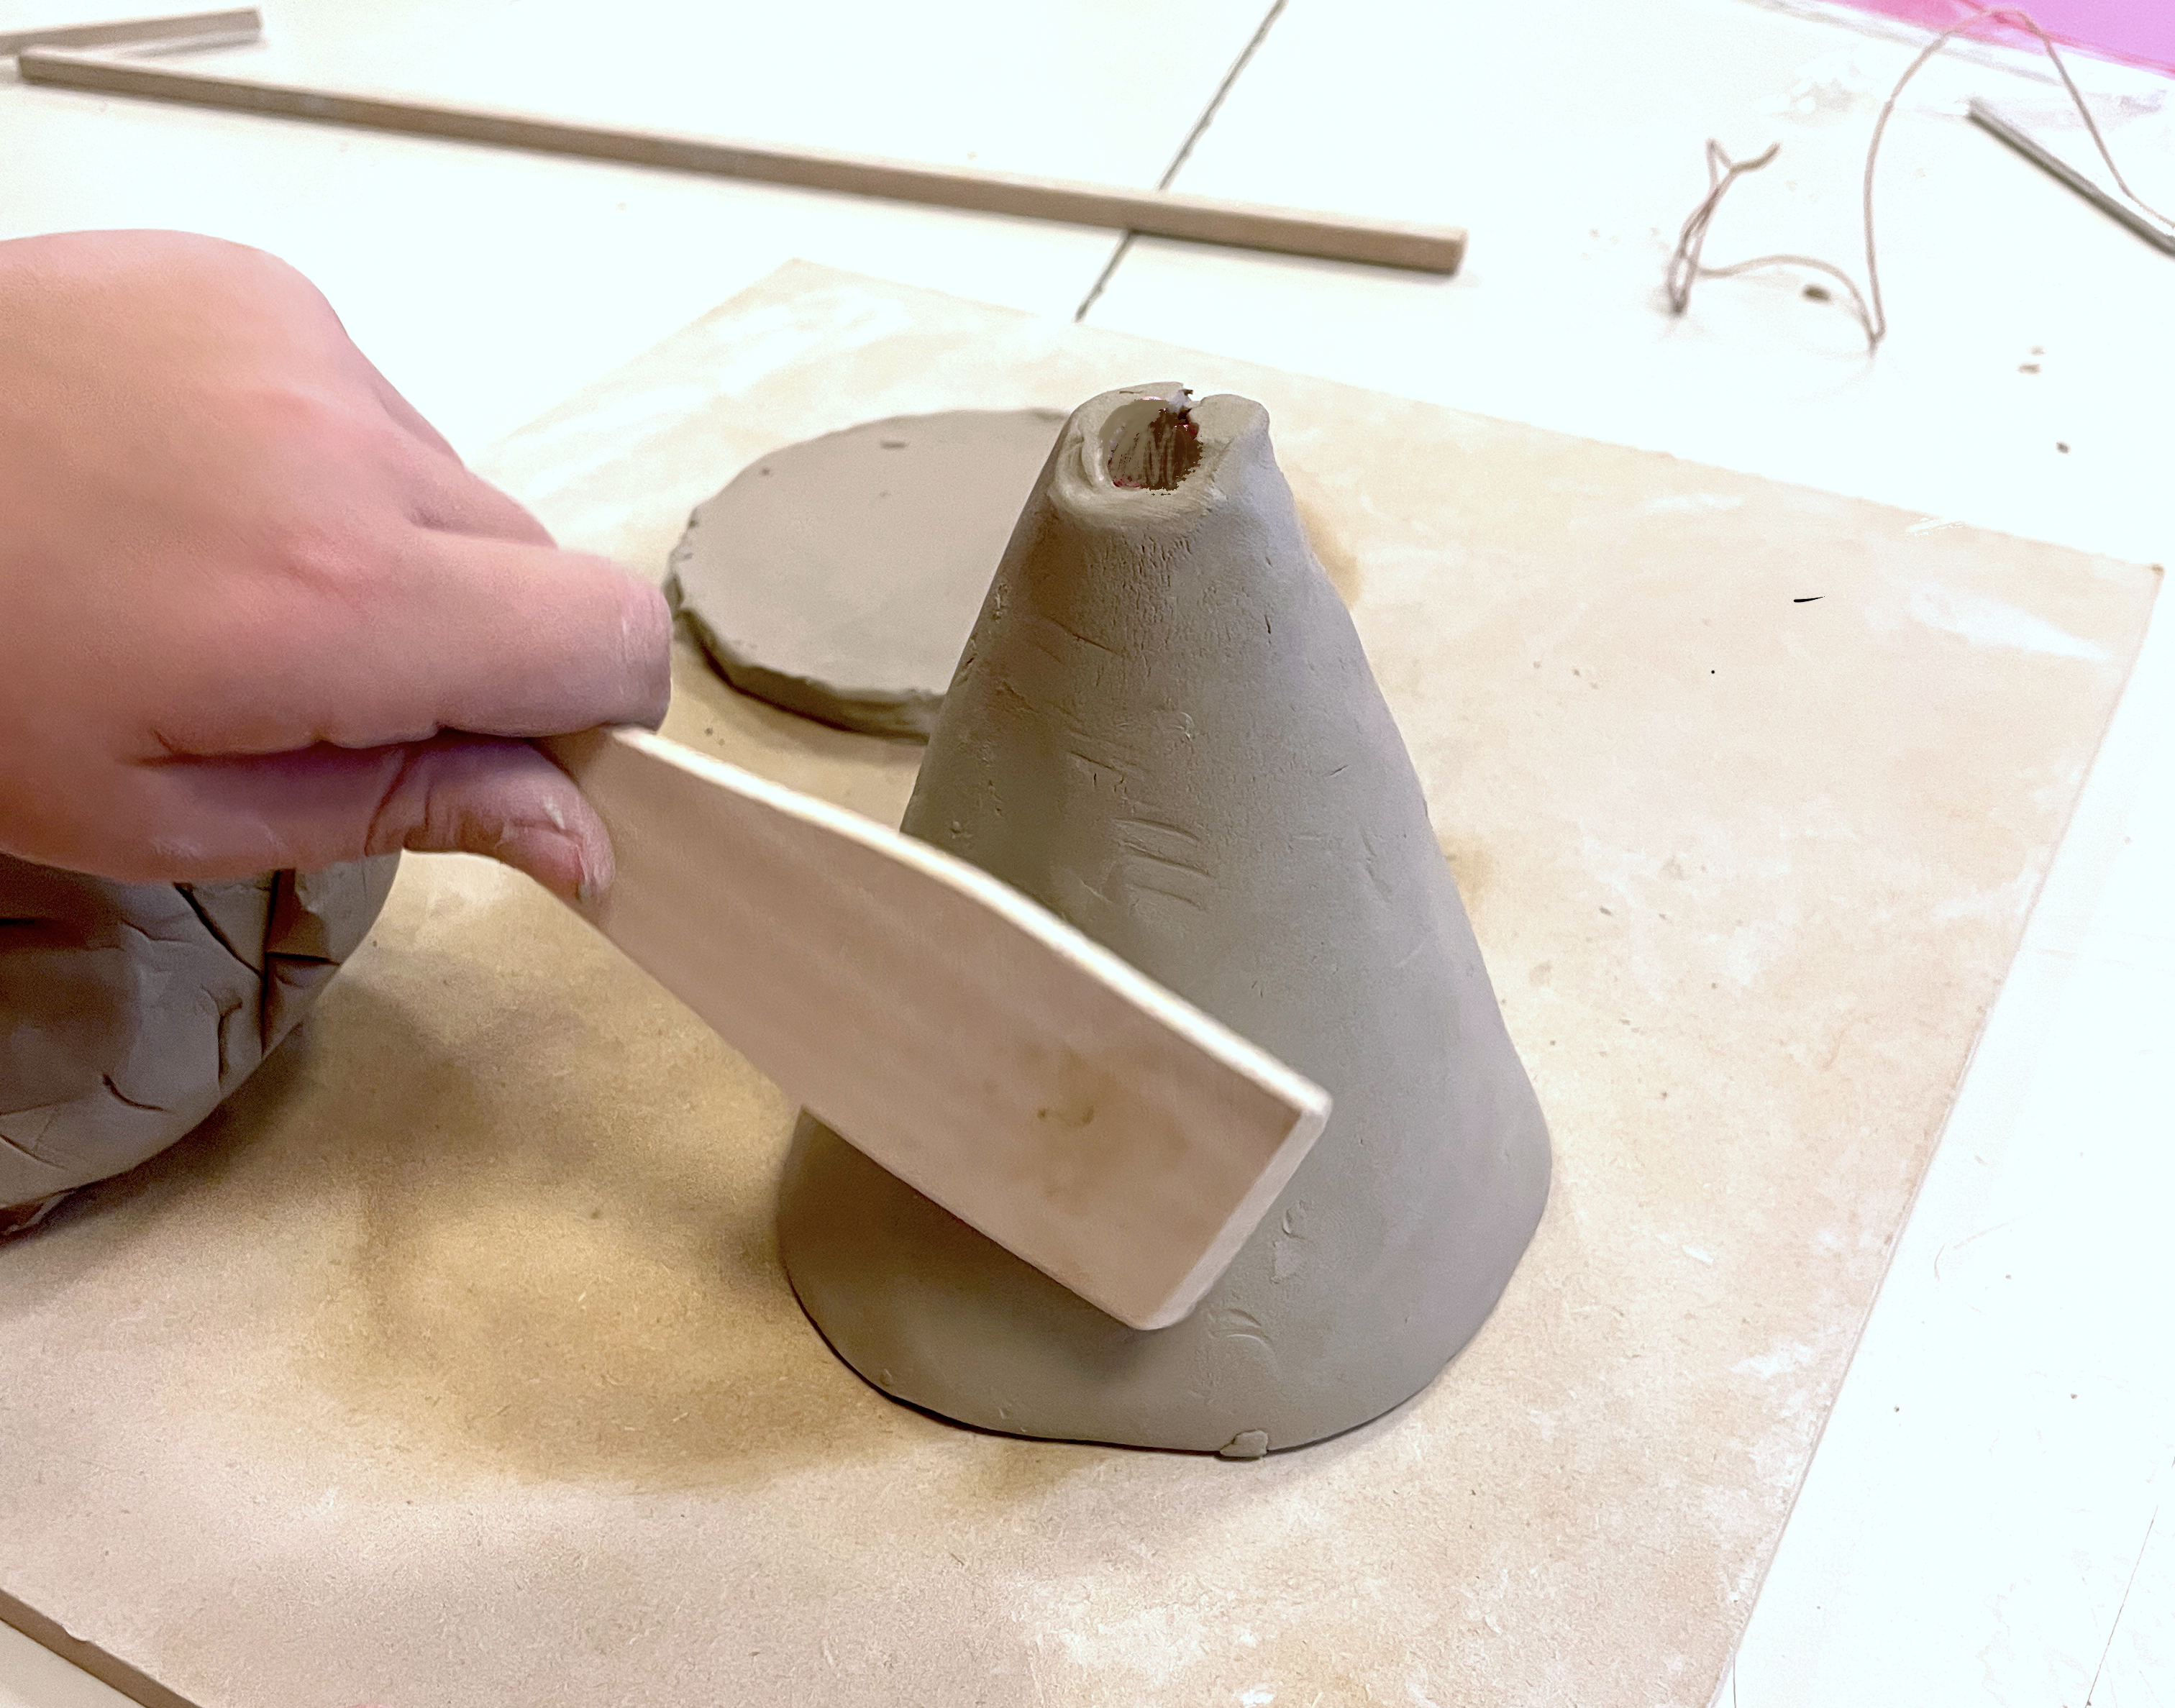
圆锥体通过泥浆粘接泥板边缘完成组装——粘接前需先对拟粘合表面进行刮擦处理(起毛);外部轮廓可用木拍轻拍修整至平滑。托盘则通过裁切圆形泥板并徒手将边缘向上翻起制成。最后,从泥片上裁切一小颗星形(亦可直接使用模板上的星形图案),经刮擦处理并涂上泥浆后,粘贴于树顶。
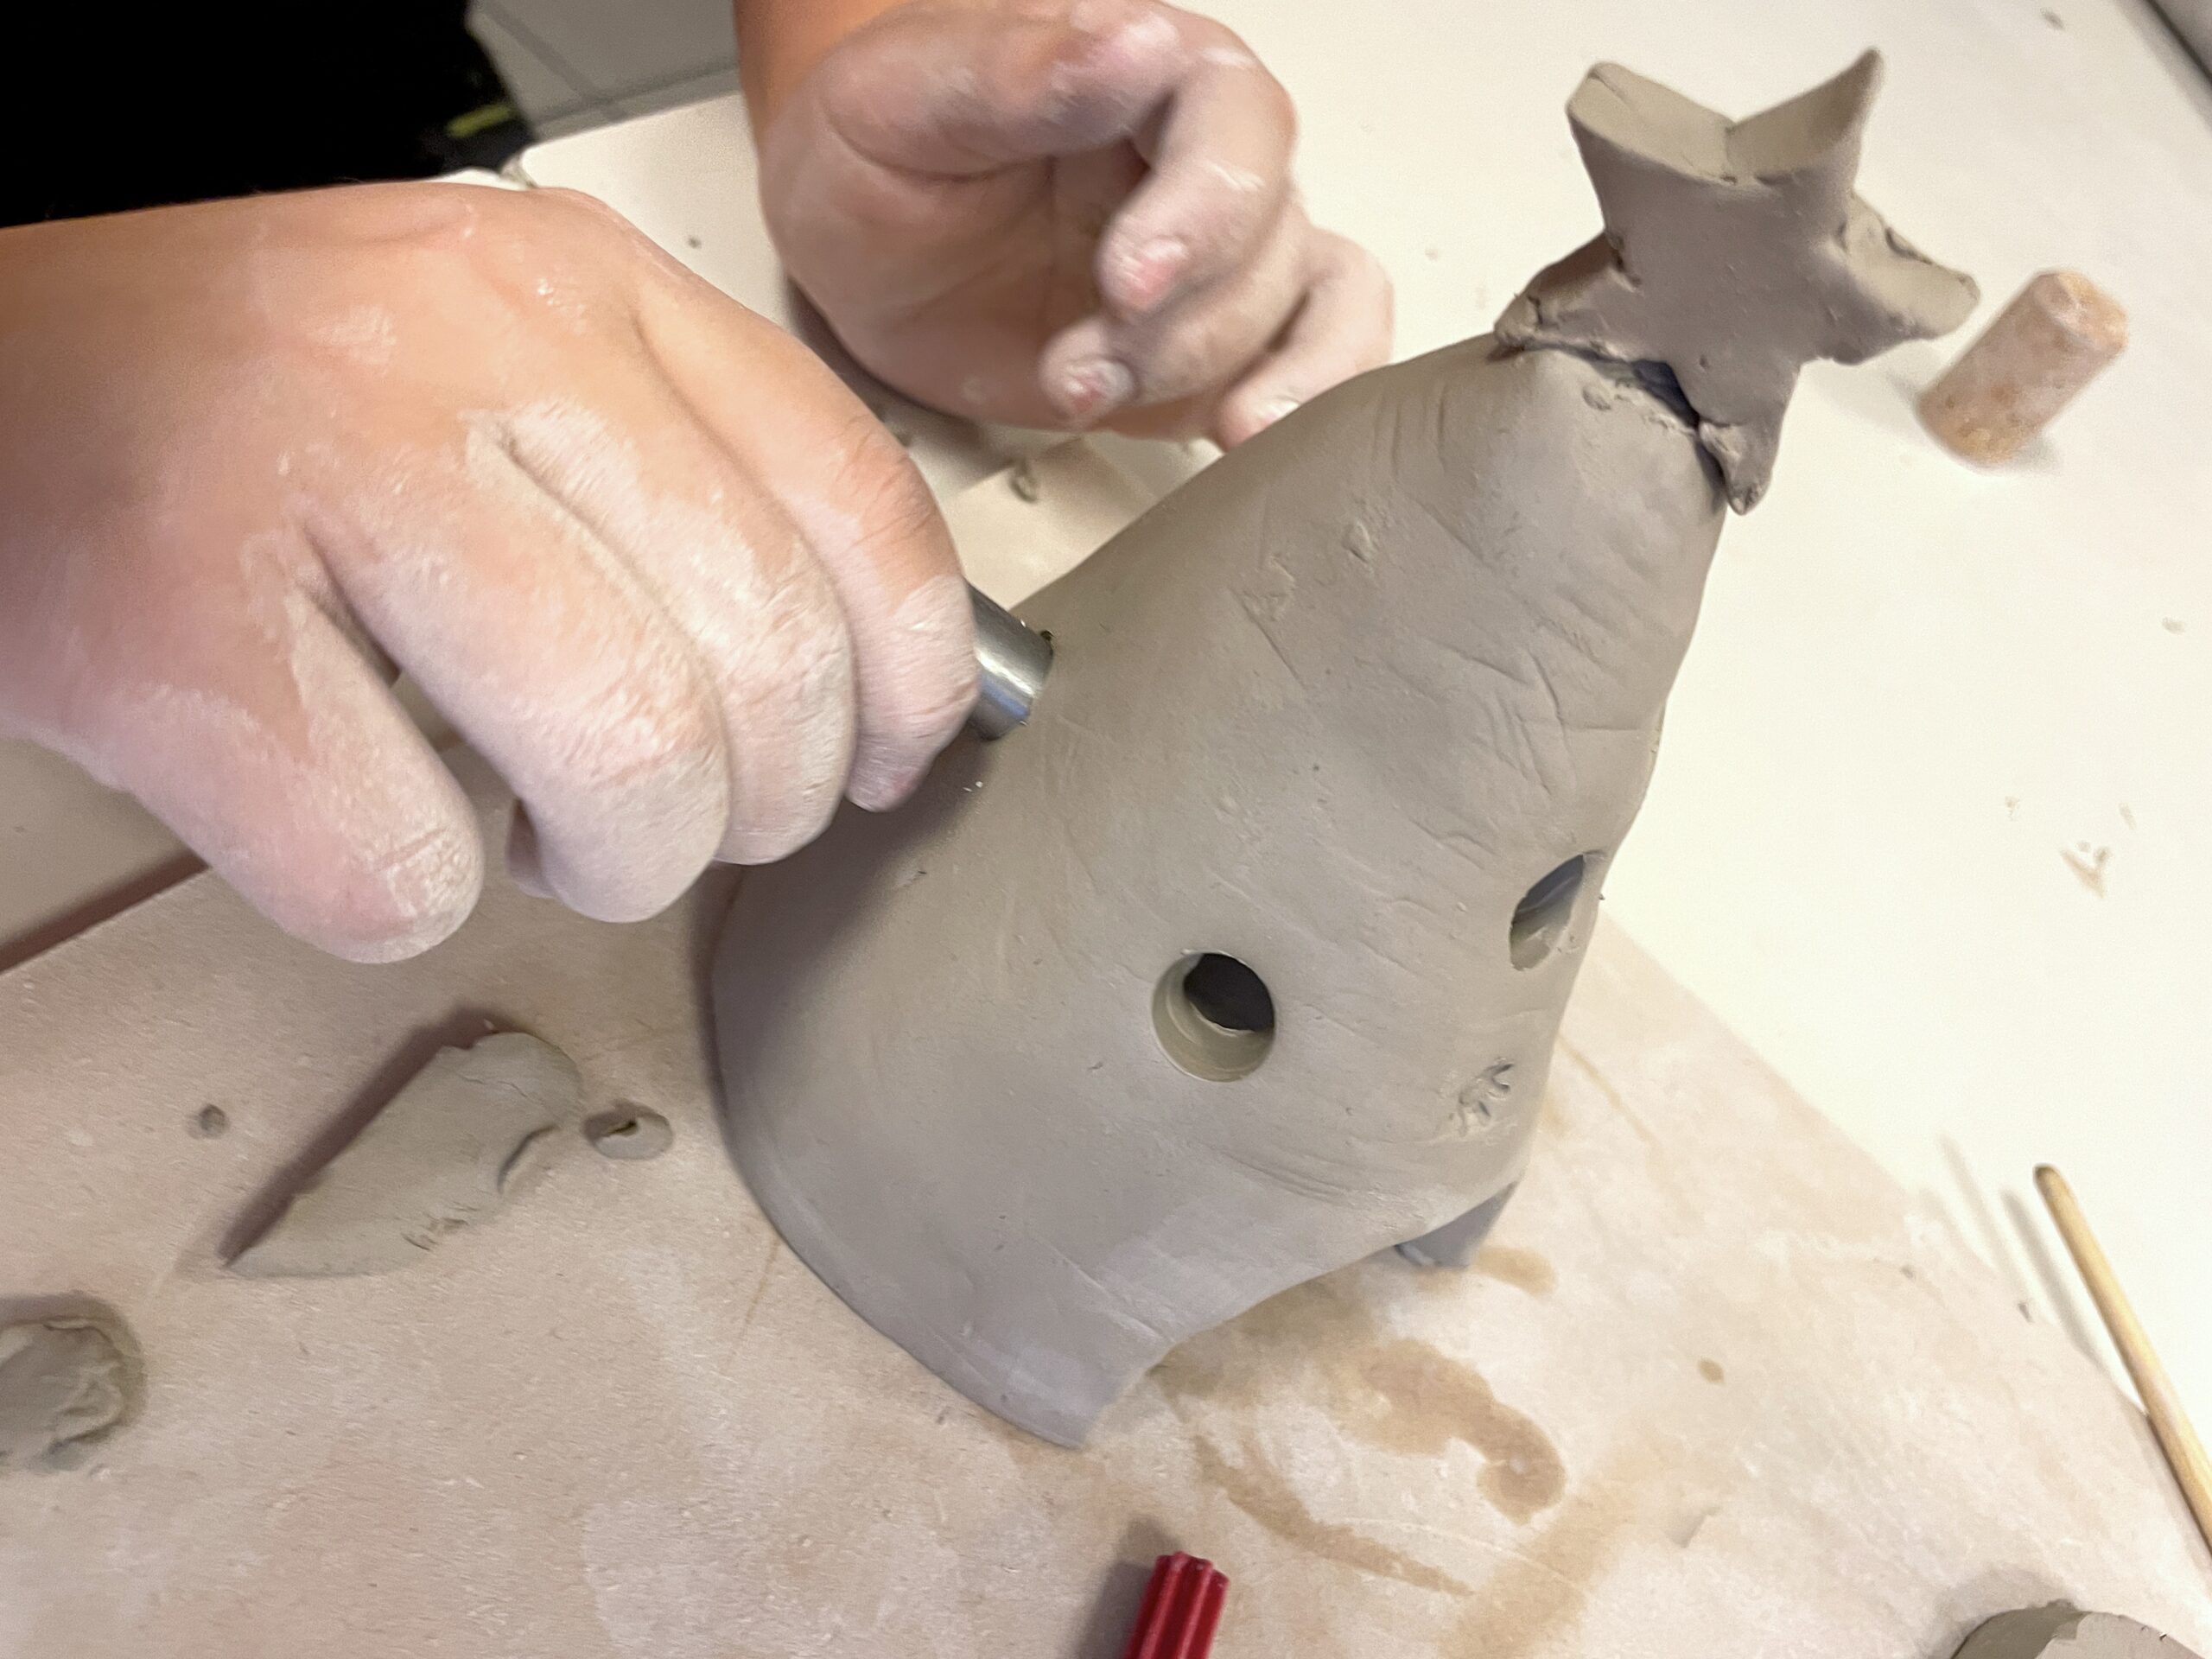
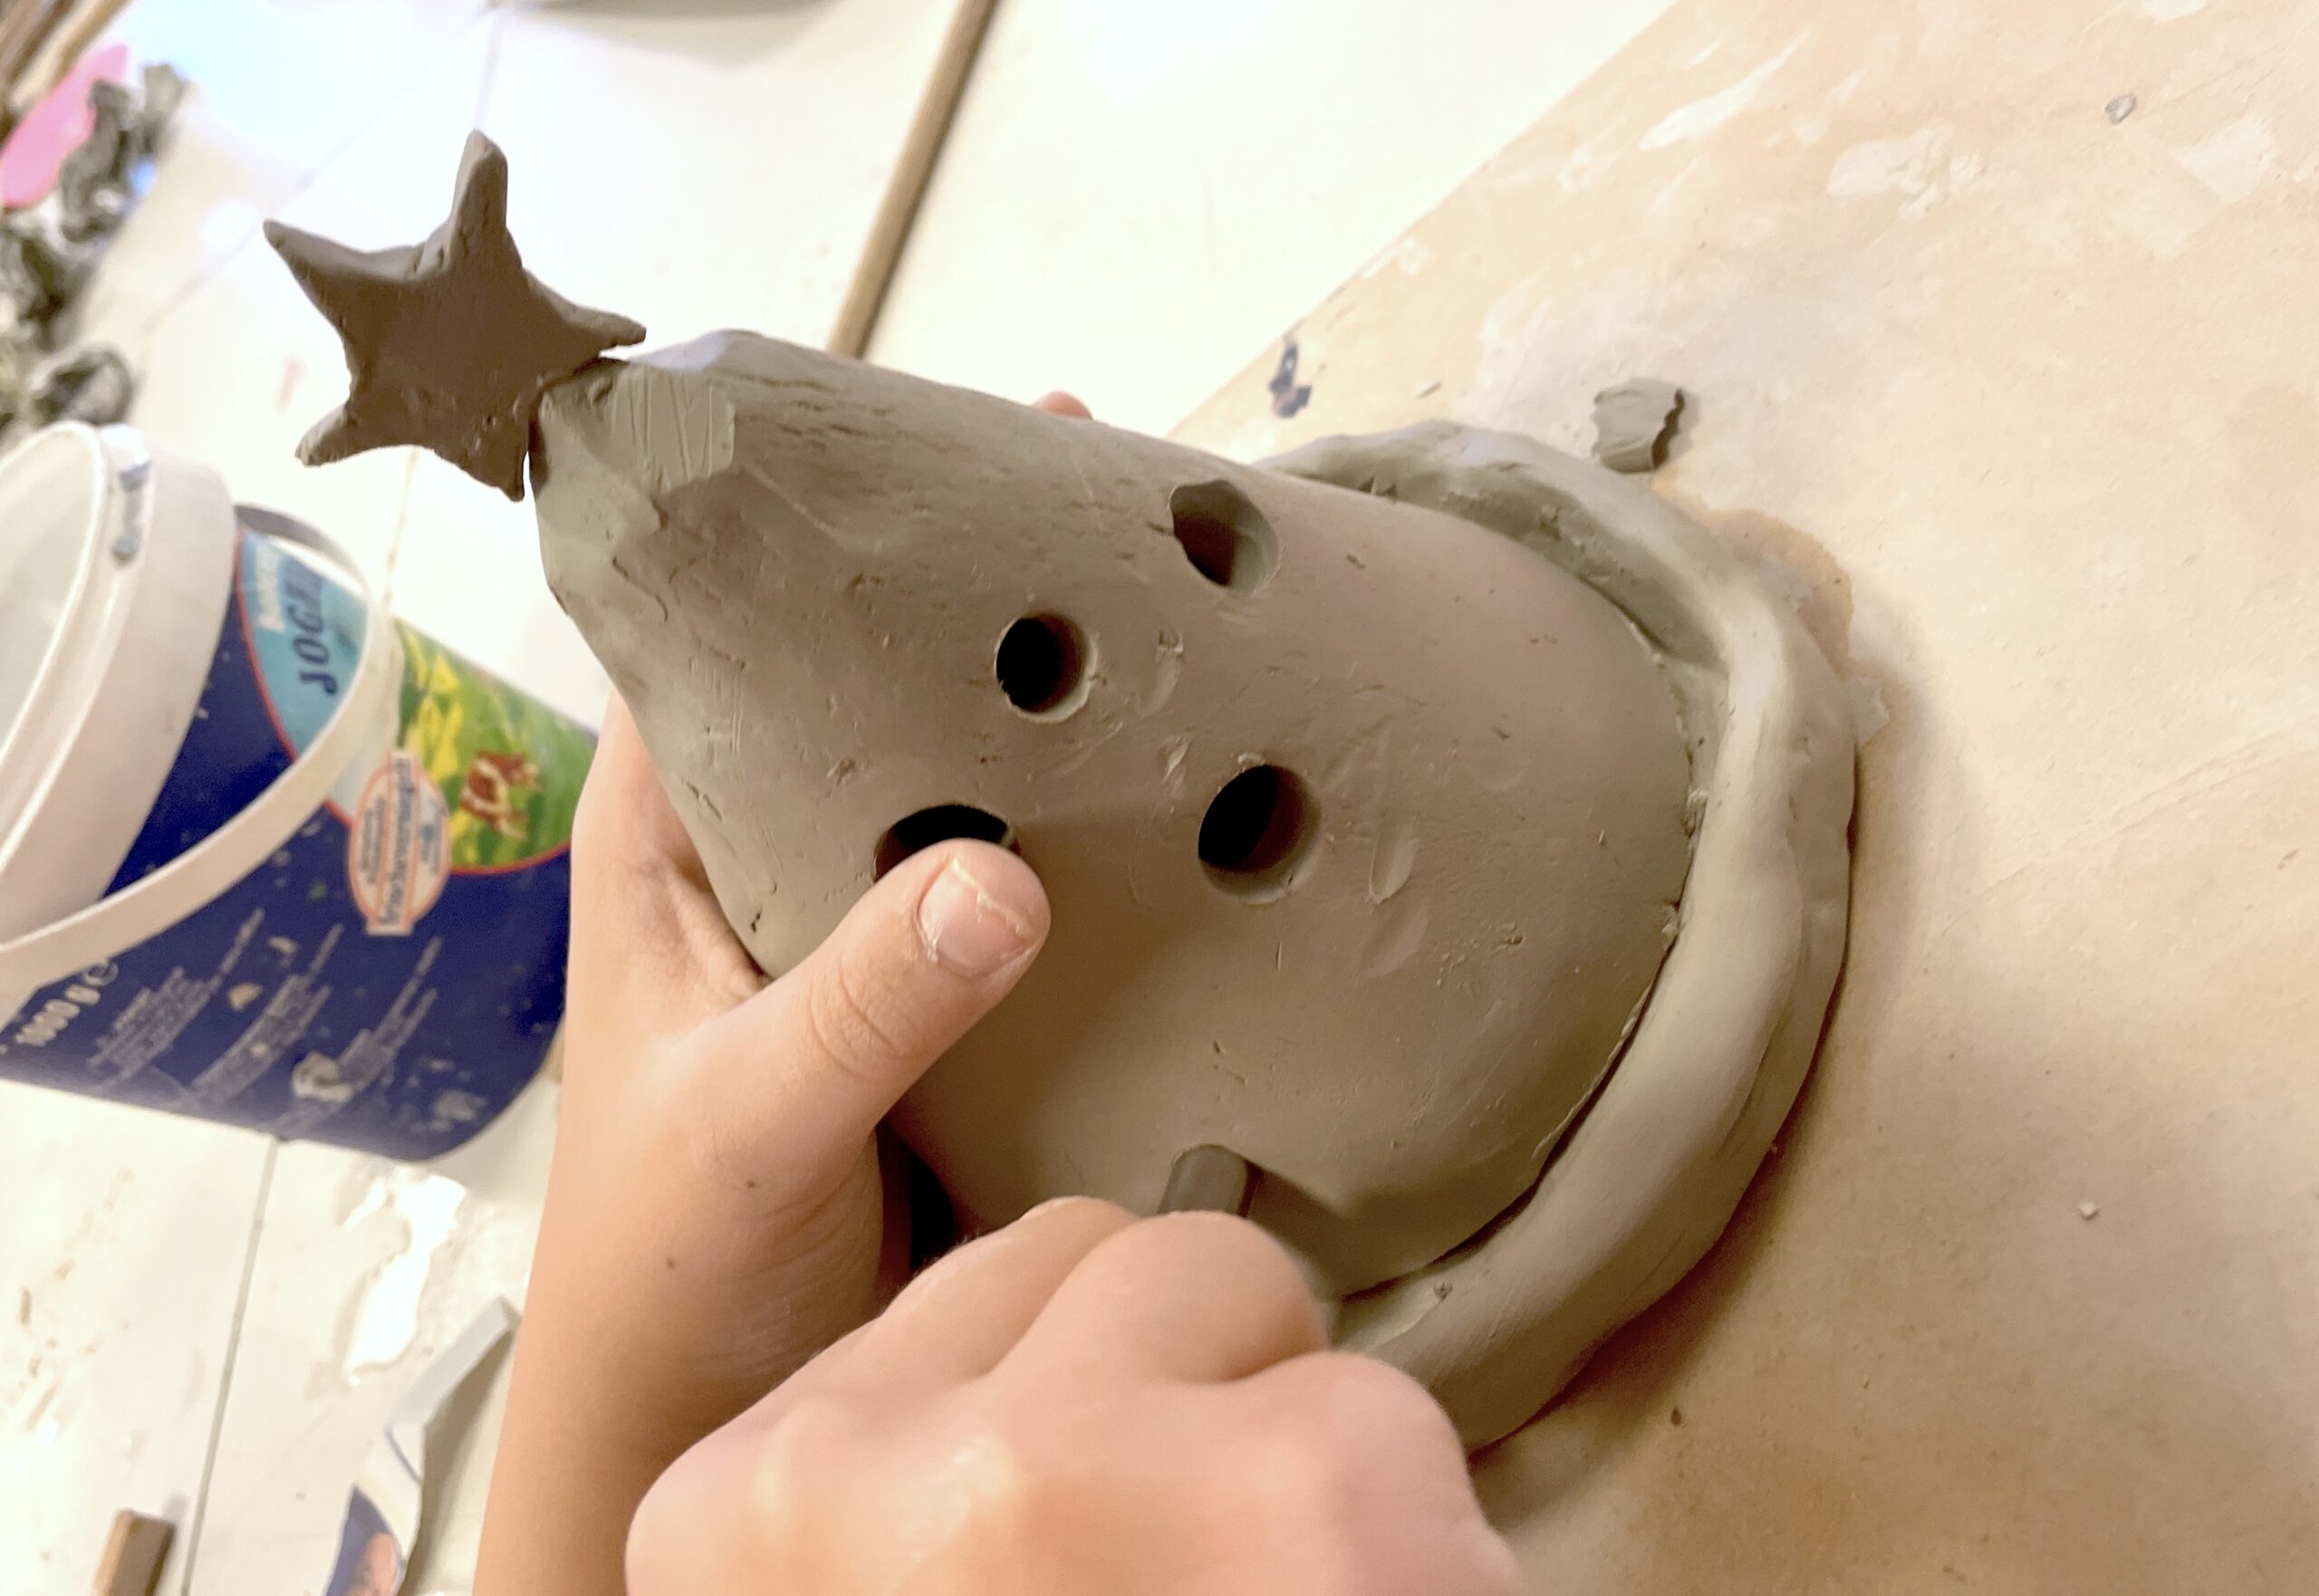
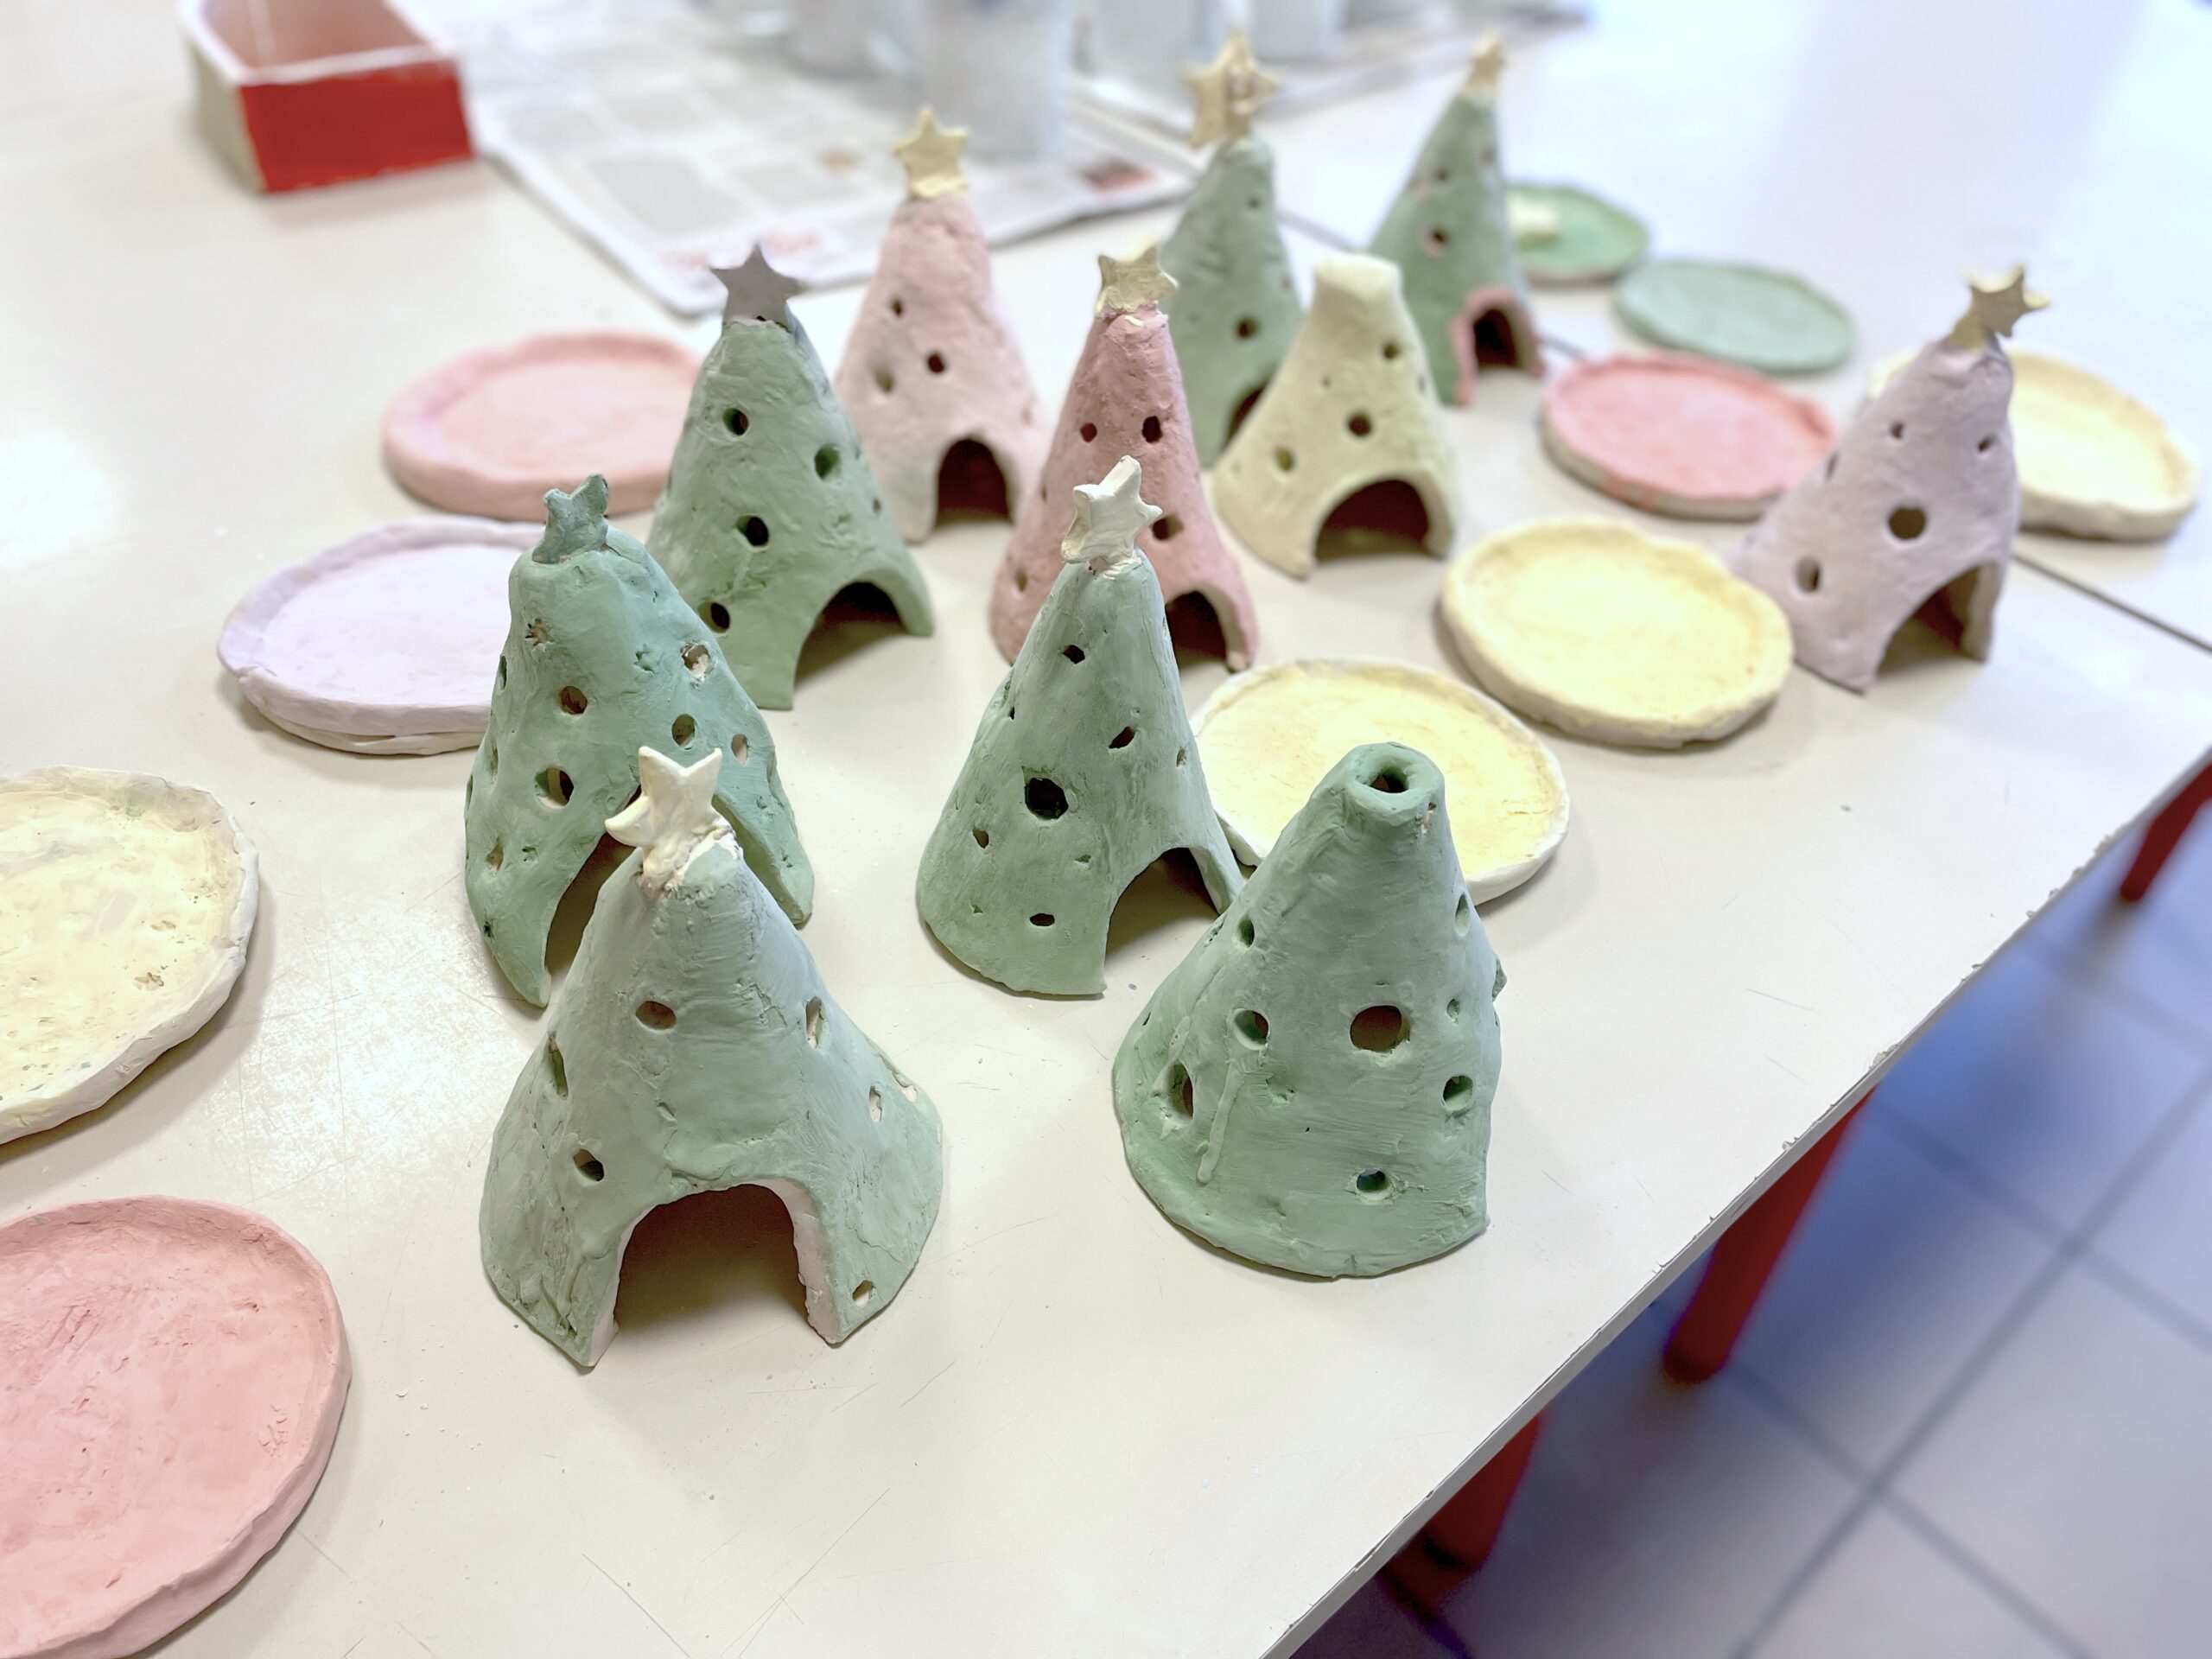
待陶土达到皮革硬度时,即可开凿蜡烛插孔及透气孔。蜡烛插孔使用小刀开凿,透气孔则借助不同直径的小金属管完成。
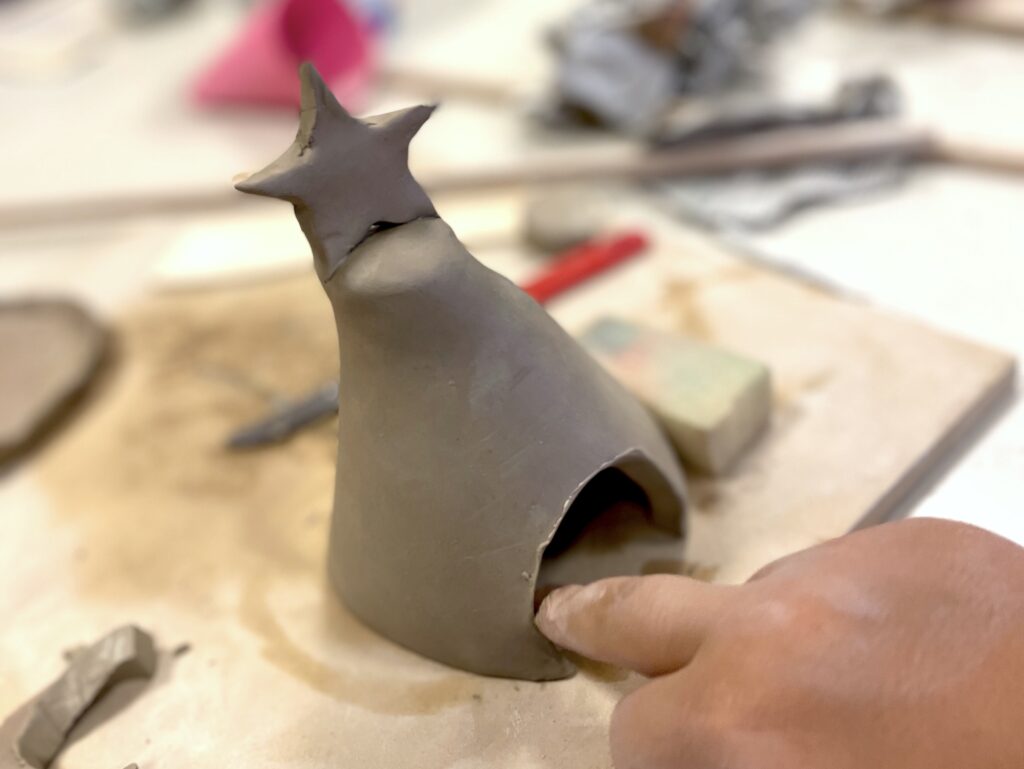
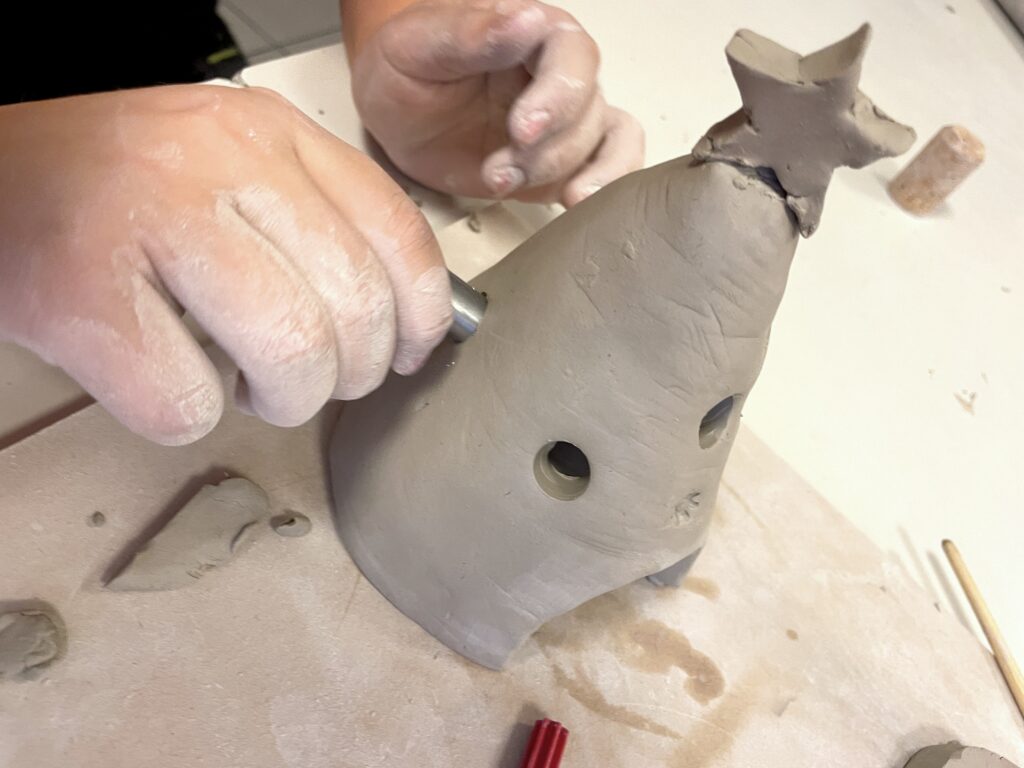
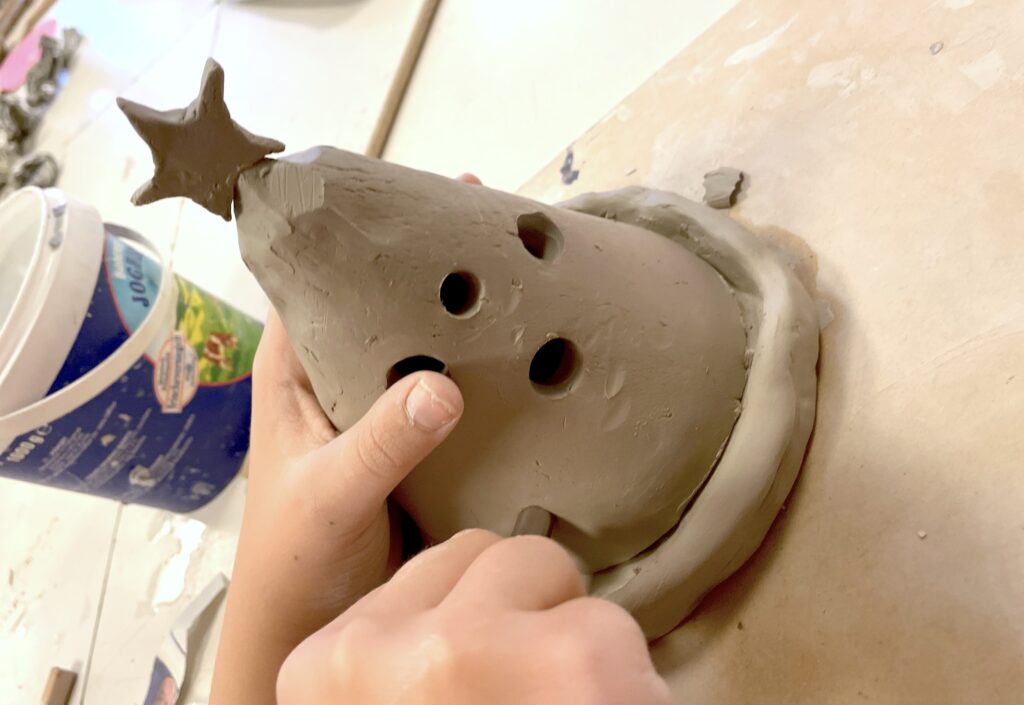
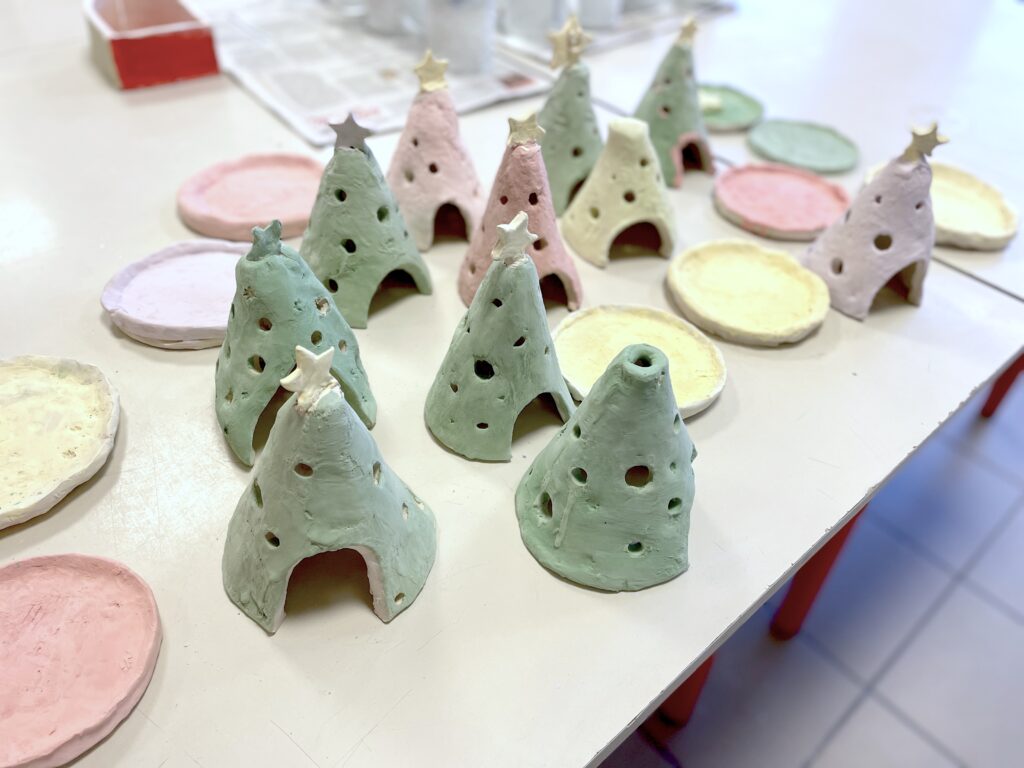
随后,托盘与树体表面通过多种物体压印与肌理处理加以装饰,使表面更富装饰性。
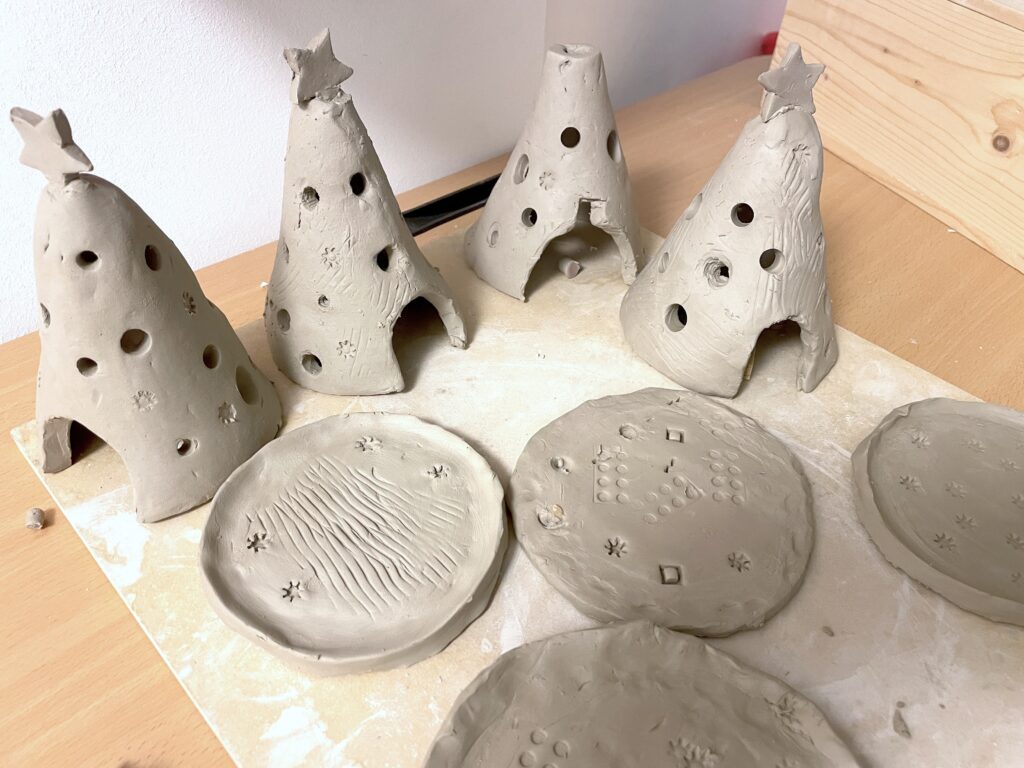
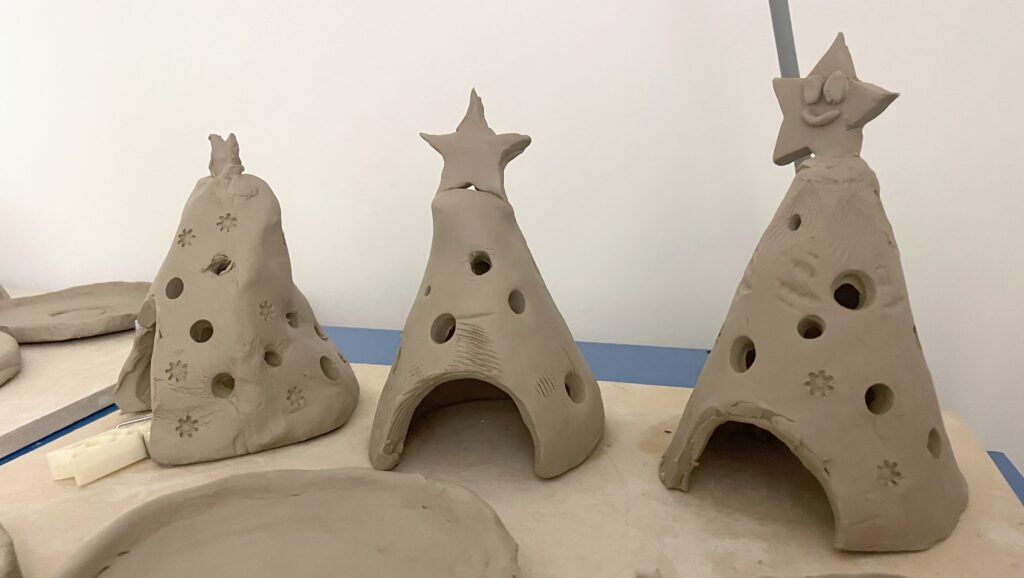
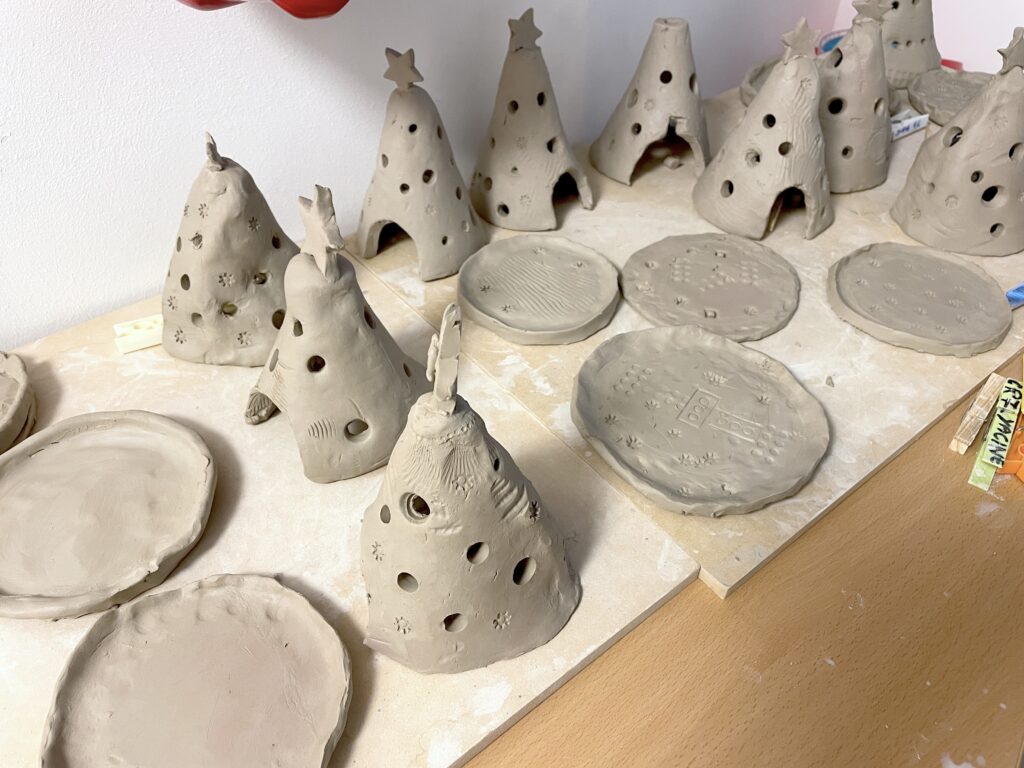
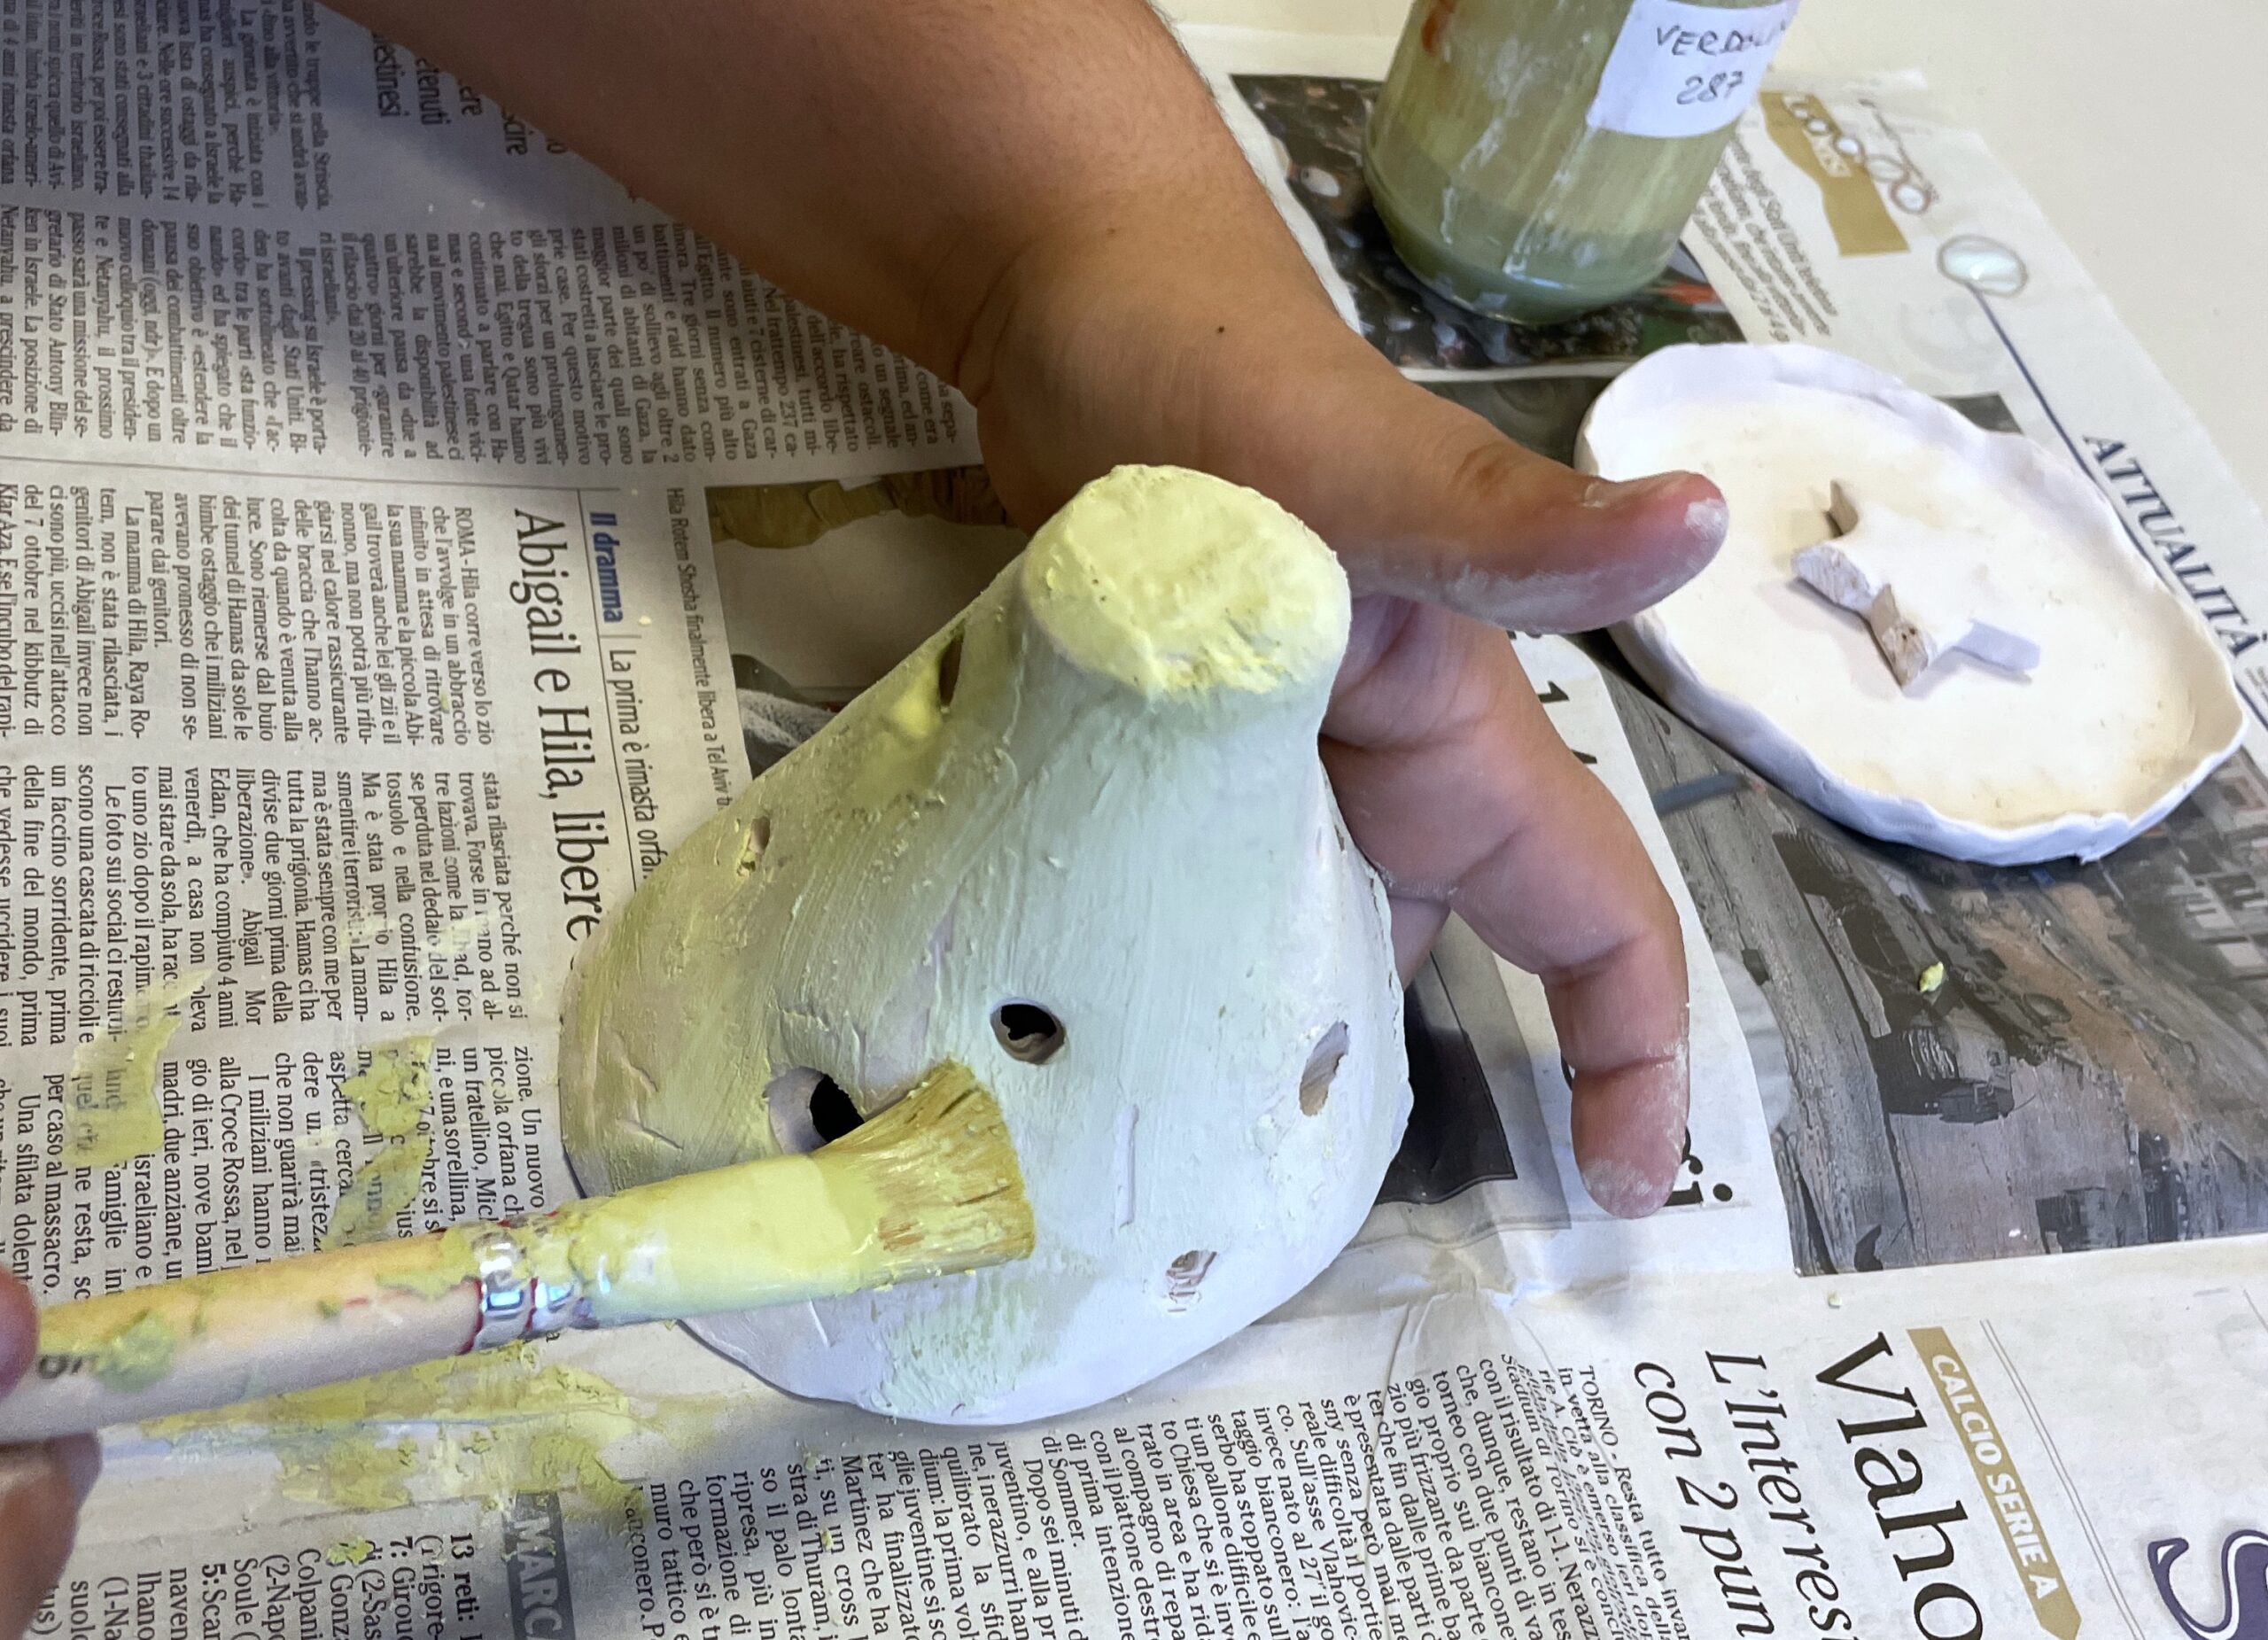
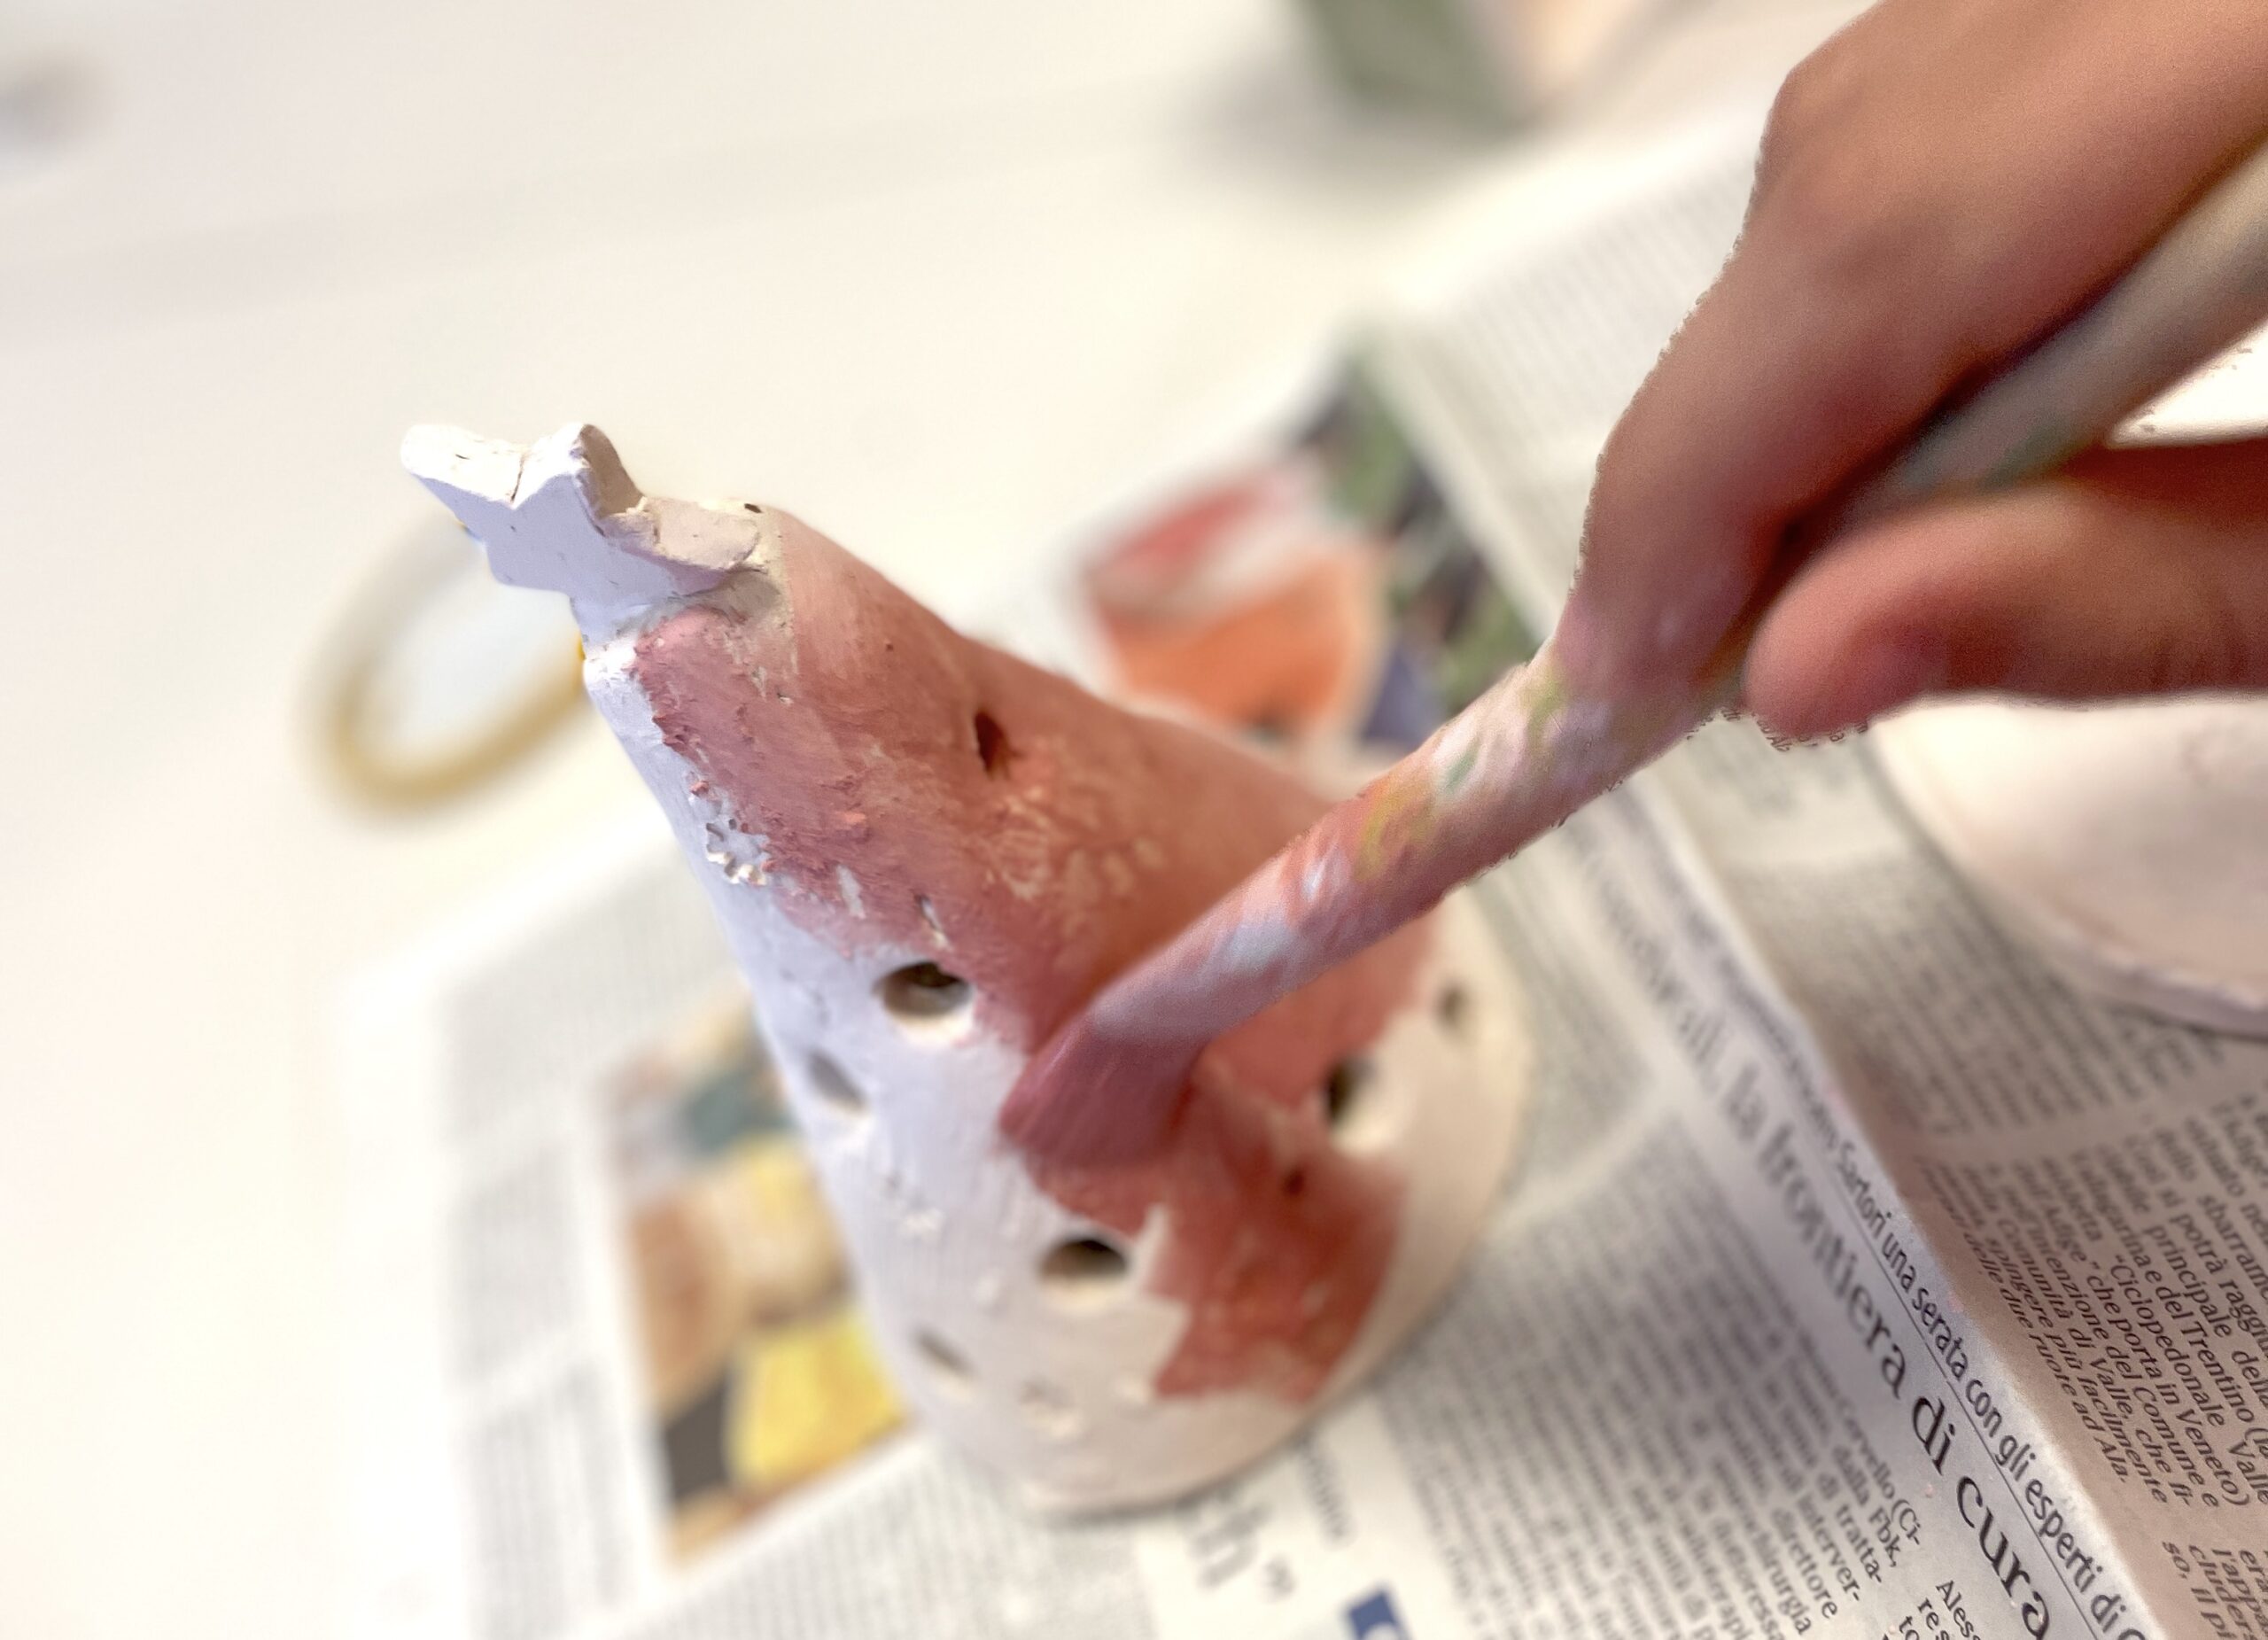
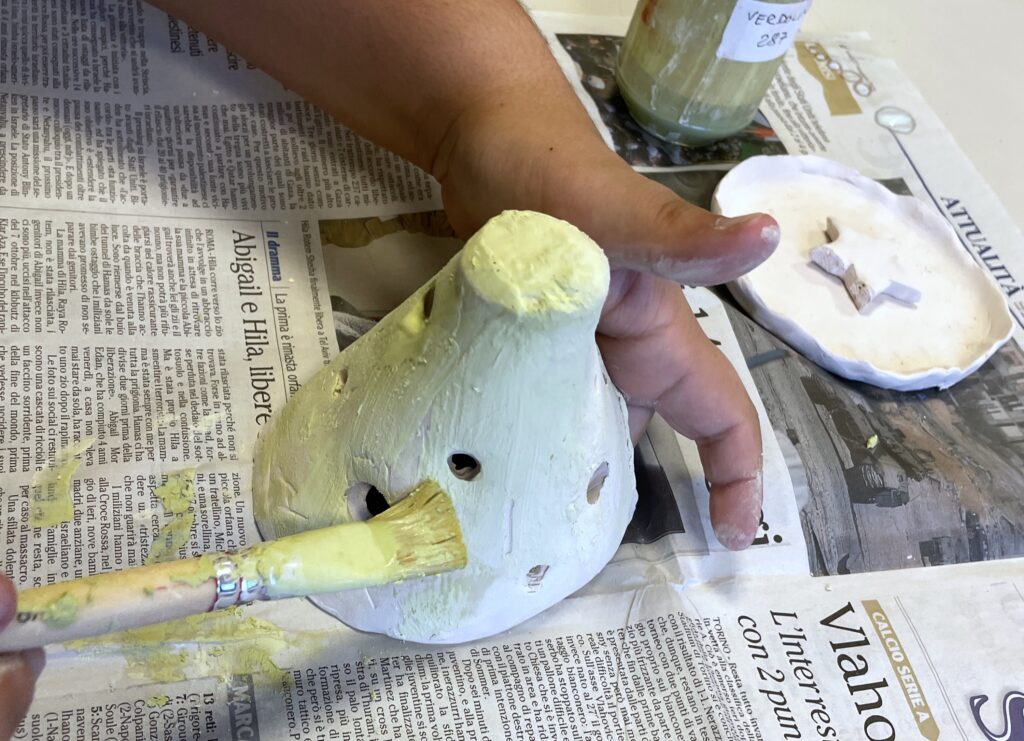
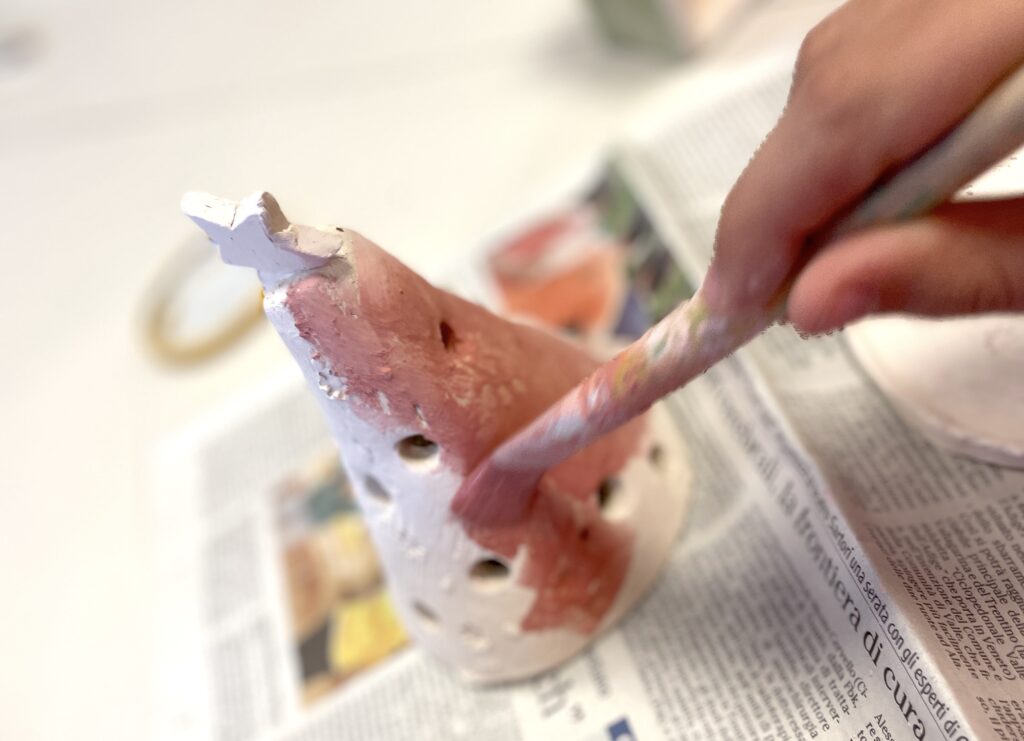
素烧完成后,作品以彩色釉料装饰,并进行第二次烧成:
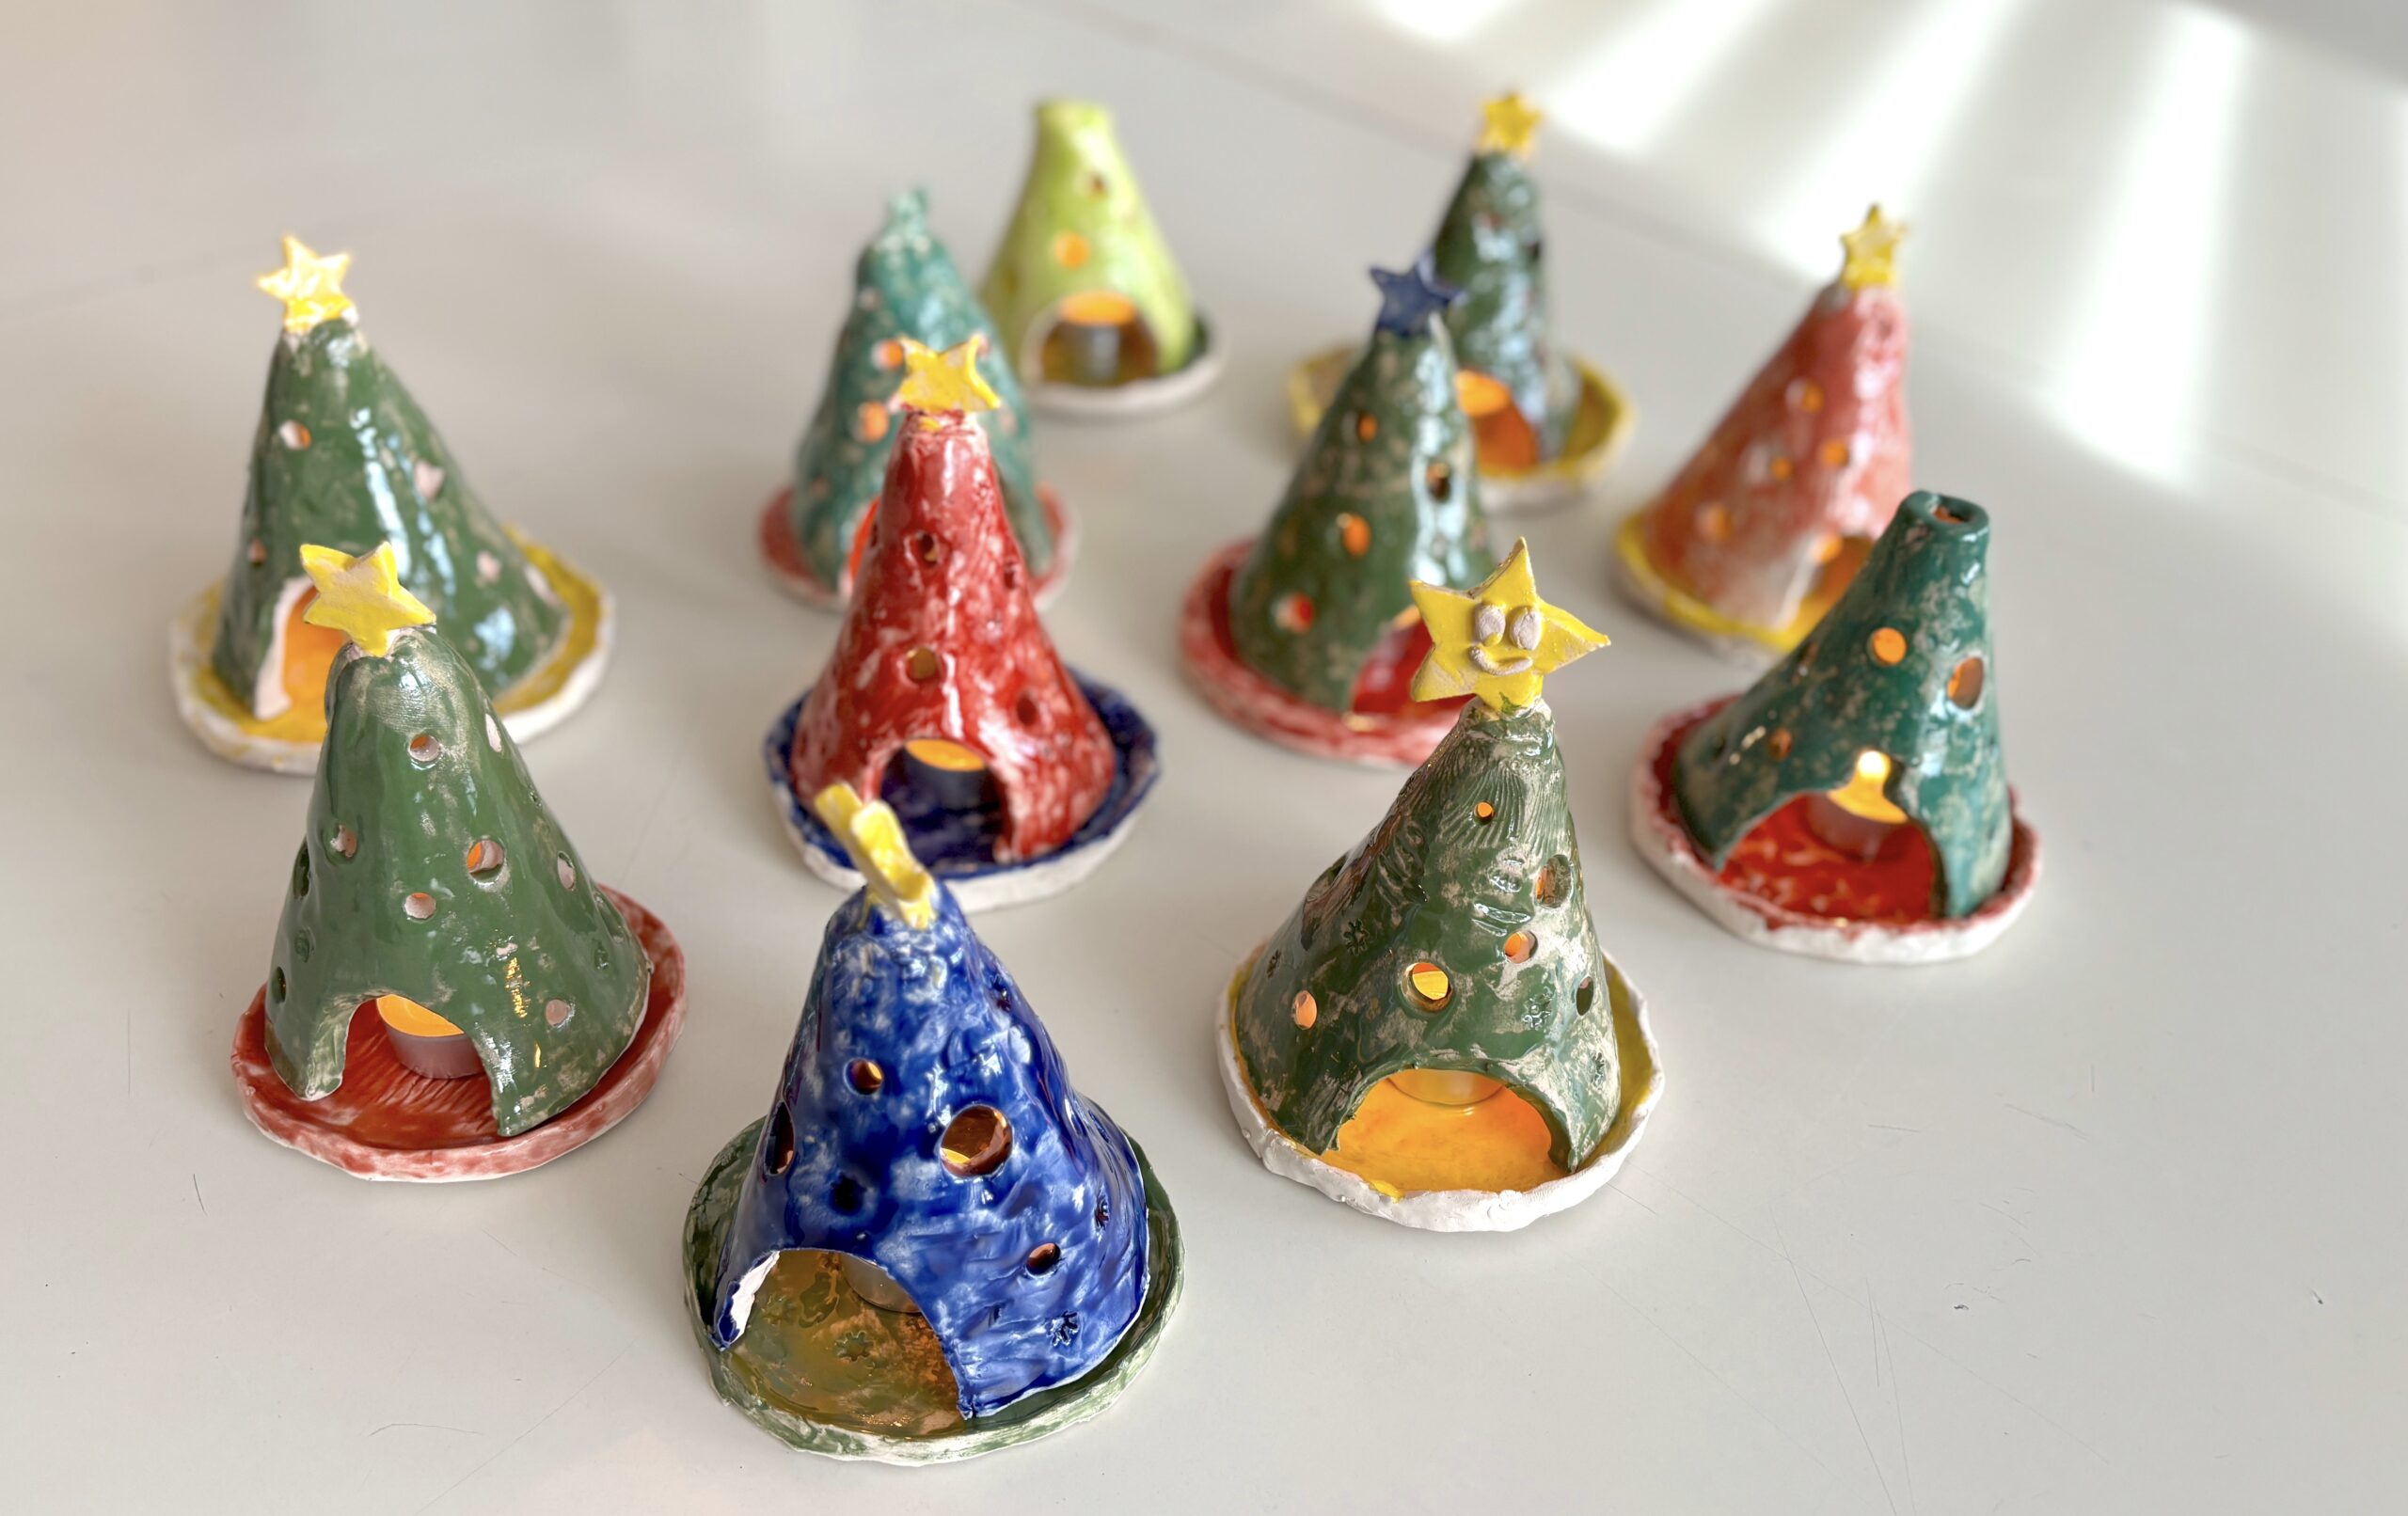
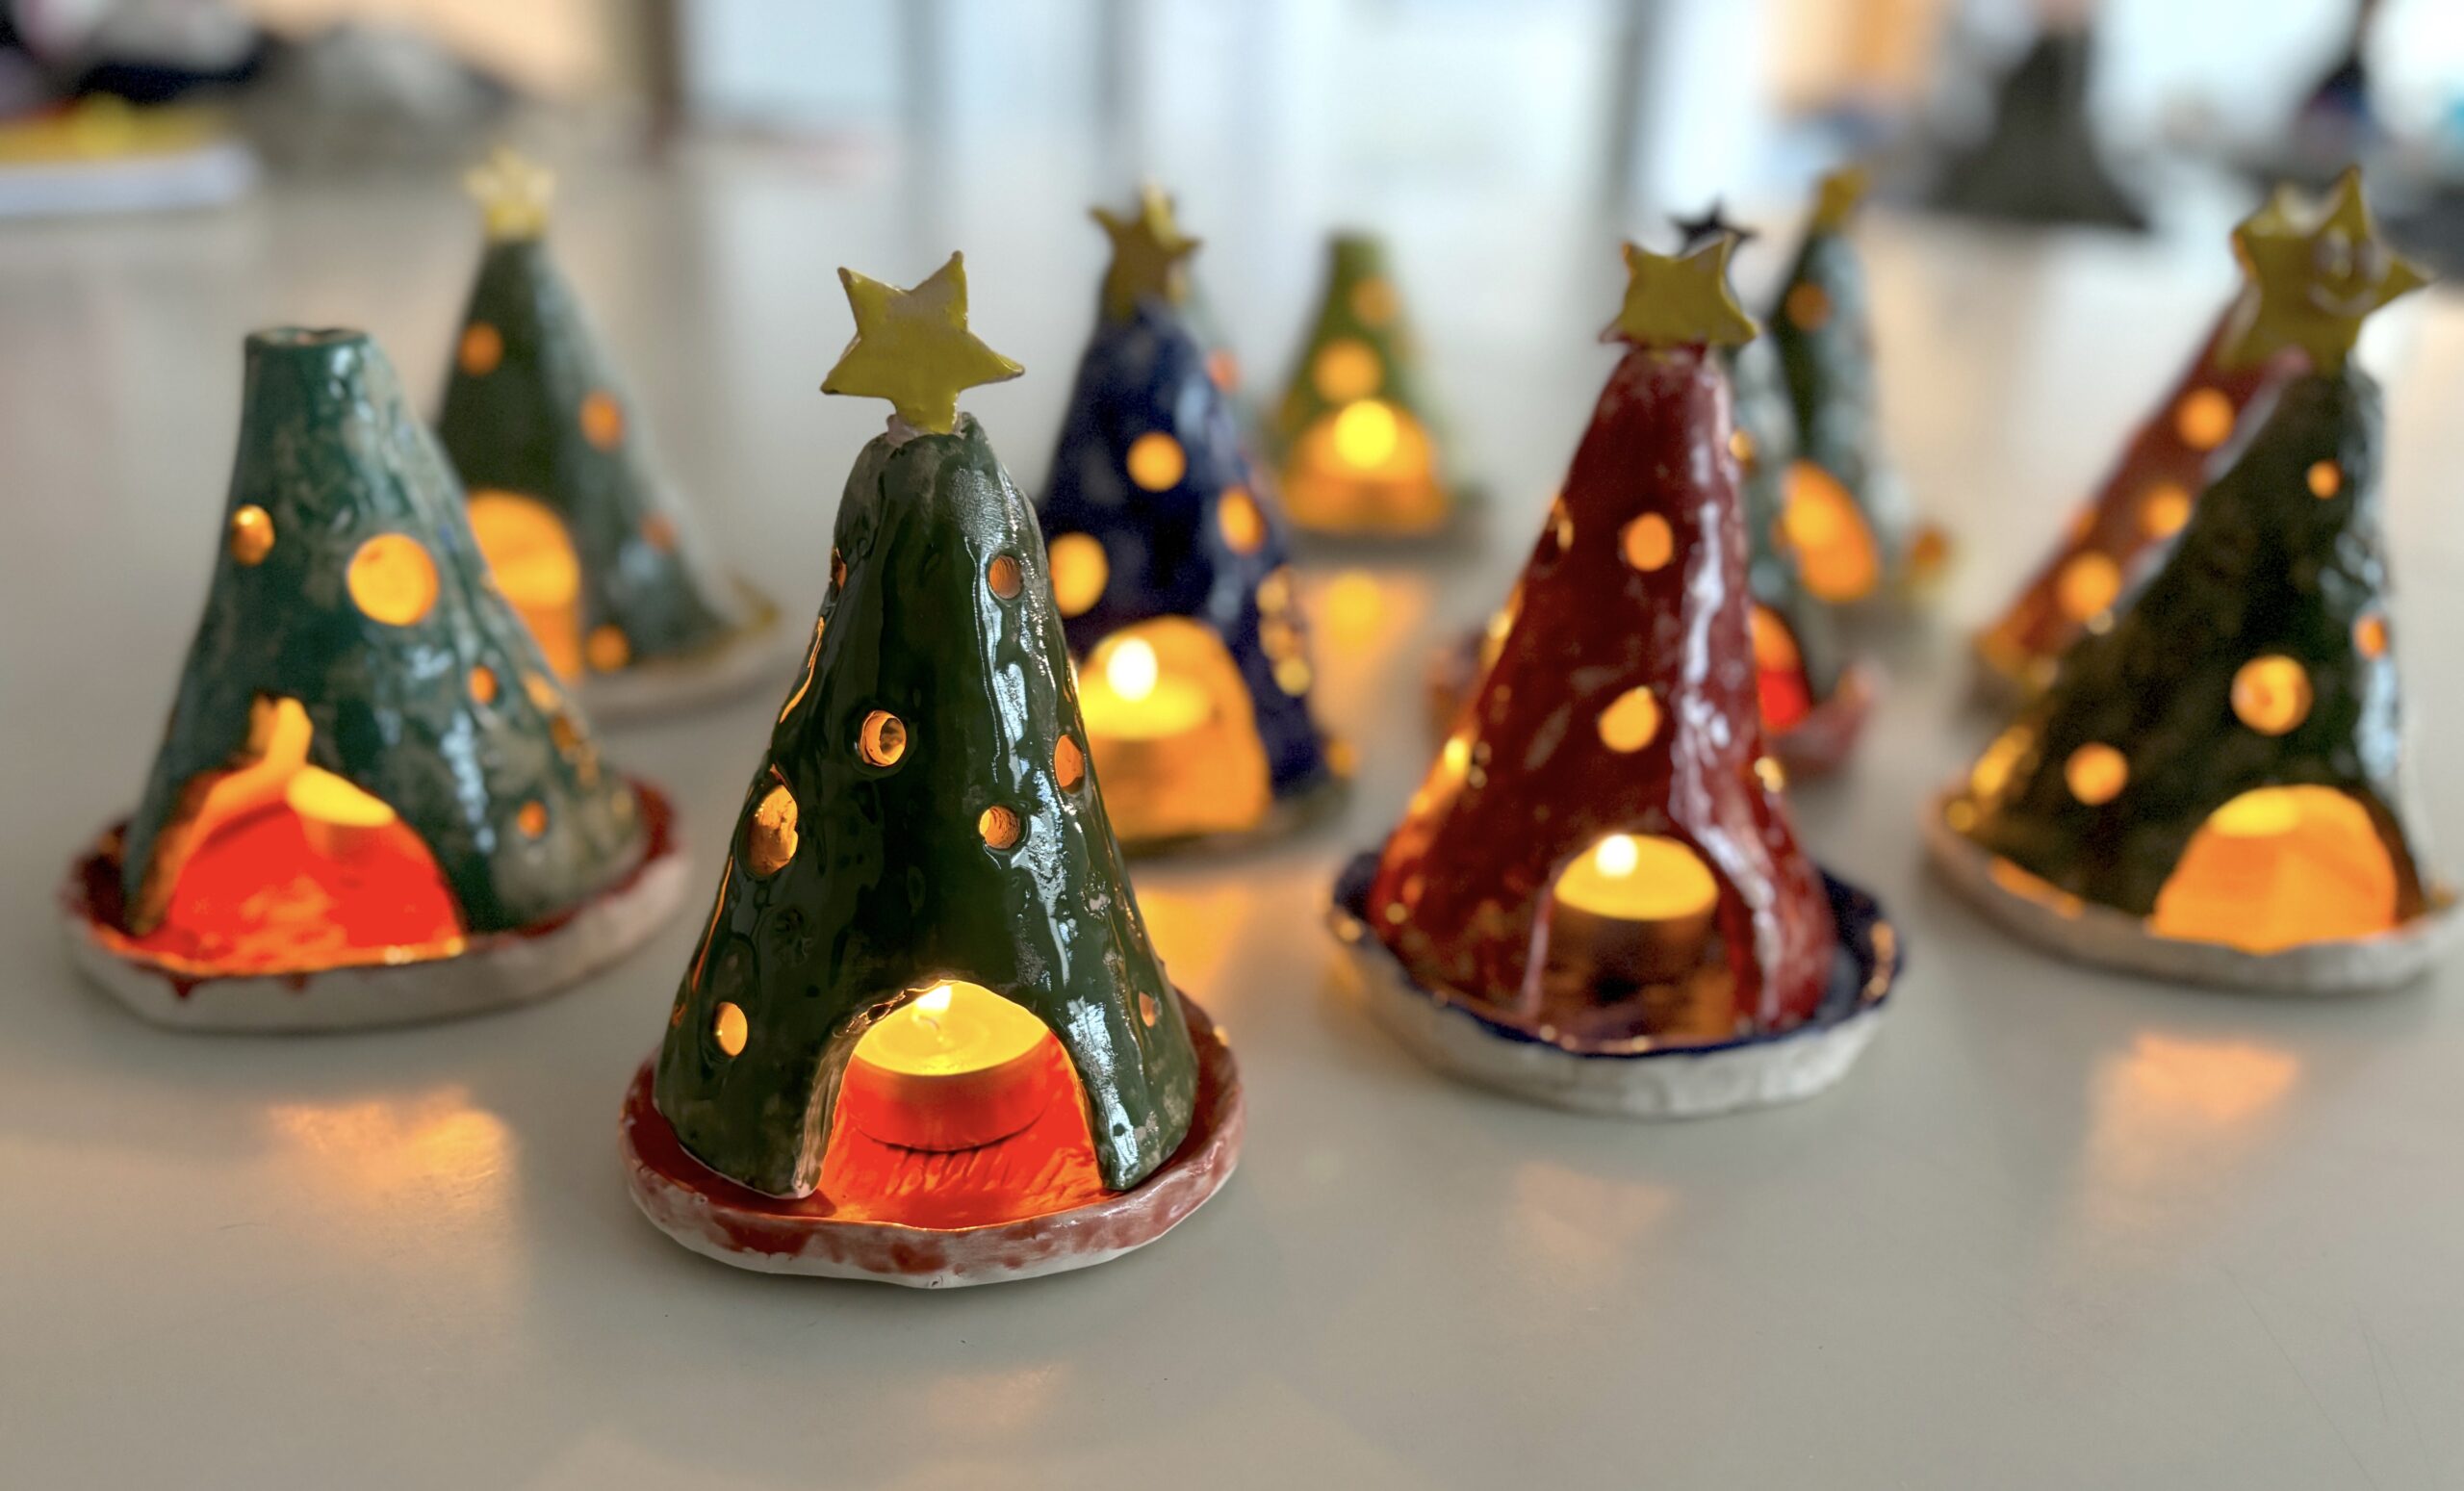
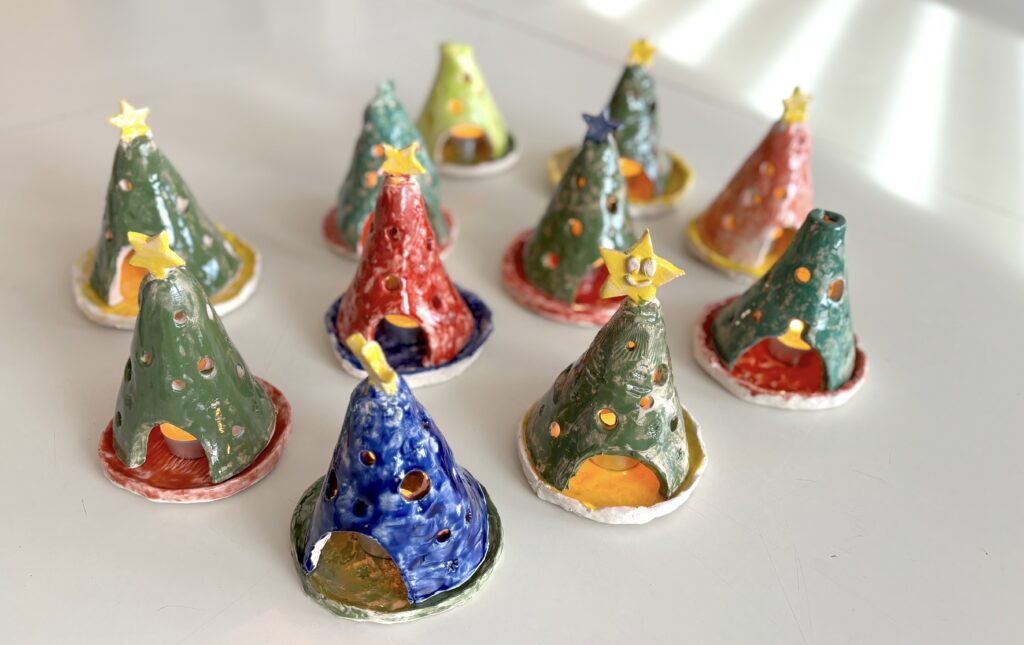
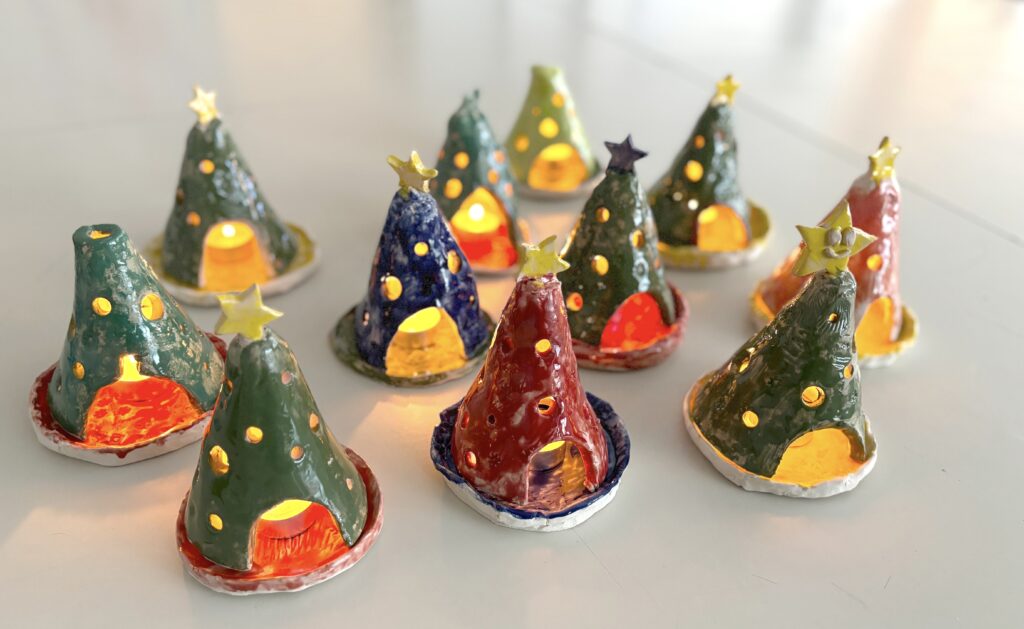
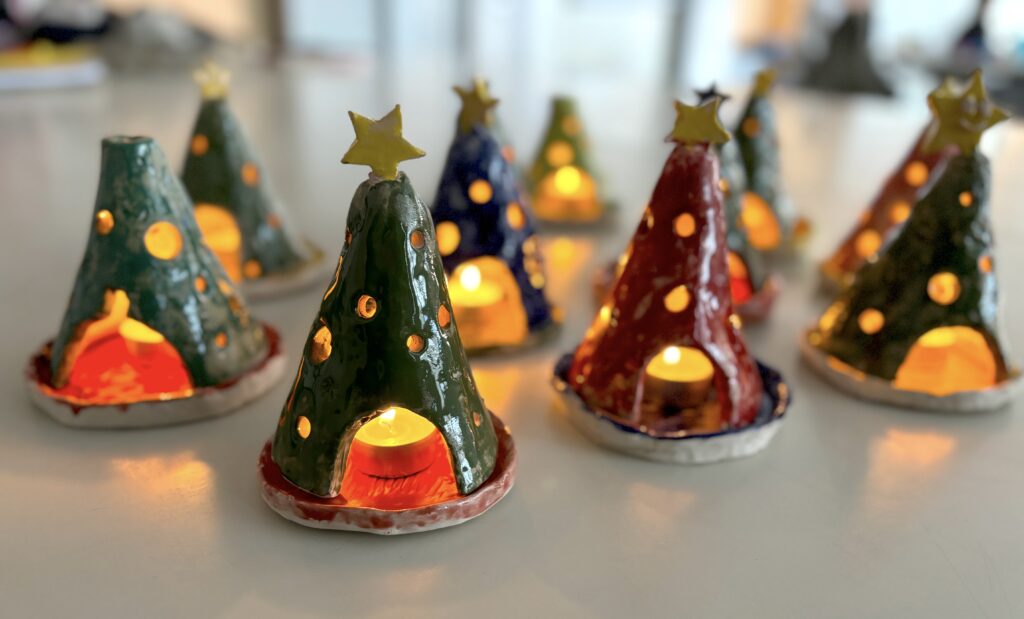
这是二次烧成后的成品,足以营造完美的圣诞氛围!
Templates for ceramic Christmas trees
For the sixth grade students ceramics workshop we created Christmas candle-holder trees, using the slab technique and colored with enamel.
To create the main elements (cone and saucer) we used templates that you can purchase below. The tree is made of a perforated cone decorated with a star at the top, and a saucer underneath, on which to place the candle.
When the clay slabs were prepared we used the templates printed on cardboard and cut out to create the clay elements. To create the saucer we cut out the circle from the clay slab, and to create the cone we cut out the second shape, to be assembled with the star at the top.
The cone is assembled by welding the edges of the slab with the slip, after having knurled the surfaces to be “glued”: the shape can be smoothed on the outside by lightly tapping the surfaces with a wooden paddle. The saucer is created by cutting out the circle and raising the edge with your fingers. Finally, cut out a small star from the sheet (you can also use the shapes on the sheet) to apply to the top of the tree, always knurling the surfaces and applying the slip.
When the clay reaches leather hardness, you can open the arch for the candle and the holes. To make the opening for the candle we used a small knife, while for the holes we used small metal tubes of various sizes.
The surface of the saucers and trees was subsequently decorated with textures and imprints of various objects, to make the surface more ornate.
After the first firing, the pieces were decorated with colored glazes and the second firing was carried out:
Here are the pieces after the second firing, ready to create a perfect Christmas atmosphere!