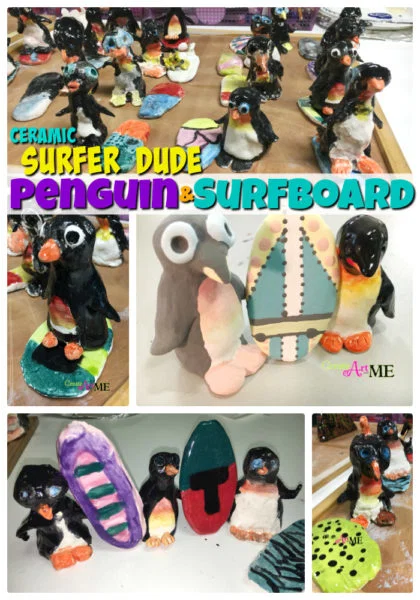
Ceramic Surfer Dude Penguin and Surfboard Thumb Clay Lesson
Original: https://createartwithme.com/ceramic-surfer-dude-penguin-surfboard-thumb-clay-lesson/
Date: 2016-12-09 Author: Michelle East Categories: 2nd Grade, 3rd Grade, 4th Grade, 5th Grade, After School Art & Art Camp, Art Lessons, Ceramics Lessons, Ceramics Slab Construction Lessons, Ceramics Thumb Sqeeze, Elementary Art, Featured, K-1st Grade Tags: ceramic ideas, ceramic penguin, ceramic penguin surf board, Ceramic Surfer Dude Penguin, Ceramic Surfer Penguin, clay idea for elementary, clay ideas, clay penguin, clay thumb penguin, elementary ceramic lesson, Fun Facts About Penguins, Penguin with surf board, pinch thumb, slab ceramic lesson, slab clay lesson, surf's up art, Surfer Dude, surfs up penguin, surfs up penguin art, thumb clay technique, thumb method clay, Thumb penguin
penguin-surfer-clayCeramic Surfer Dude Penguin and Surfboard – Thumb Clay Lesson
Penguins have got to be some of the cutest creatures ever created! I wanted a fun project for my After School Art Class that would be good for the winter and early spring season, but also do-able for a wide age range of students (k-5th grades). After seeing Thomas Elementary Art’s First Grade Clay Penguins, the thumb clay technique used on Artsmudge’s Clay Owls and Mrs. Knight’s Smartest Artists’ Clay Thumb Owls, and a certain movie with a similar theme ;), I was inspired to create this penguin and surfboard ceramic project. Our surfer penguins were such a BIG HIT! Parents & kids LOVED this project! Check out a similar project using the clay Thumb Method: Ceramic Thumb Owls
 Supplies: Low fire clay, glazes, clay modeling tools, scissors, water cups
Don’t have access to a kiln? Use Crayola Model Magic & Acrylic Paint!
Project Objective: Create a penguin using the “thumb” method and a surfboard using the slab method. Demonstrate proper technique and good craftsmanship.
Delivery:
- Interesting Penguin Facts: 20 Fun Facts About Penguins(Share kid friendly facts)
- Short Video Clip from the movie Surf’s Up: Surf’s Up – Cody and Big Z Surfing together
- Ceramic Process: build ceramic artwork, let dry completely for 10-14+ days minimum (until Bone dry-Dry time based on your location), fire in kiln (Bisque-ware), glaze with ceramic glazes, fire again (Glaze Firing)
- Ceramics Vocabulary:
- Slab: Creating a ceramic form by hand-building walls using flat rolled-out pieces of clay.
- Slip: muddy, liquid clay used to attach two pieces
- Score: to make marks on the clay to attach two pieces

Instructions:
- Give each student a small ball of clay.
- Have them wet their non-dominate thumb.
- Press the ball of clay onto the thumb. Leave about 1/2″ wall at the top.
- Gently squeeze the clay around the thumb until it goes down to the bottom of the thumb.
- Gently squeeze the clay to form the head.
- Wiggle the clay gently off the thumb. Remind students to be careful to NOT squeeze the “thumb” opening in the clay closed.
- Make 2 small balls of clay for the eyes. Use the “score and slip” method to attach them. Press into the center with the eraser of a pencil.
- Form another small ball of clay into a triangle for the beak. Attach with the “score and slip” method
- Use scissors to cut & lift the wings.
- Pull and form a small tail in the back.
- Form 2 small balls for the feet. Flatten the ball then use a needle tool to cut the “toes” in triangles (webbed feet). Use the “score and slip” method to attach feet to body.
- Give each student a small ball for the surf board. have them gently flatten down the ball so it is about an inch thick. Use 1/4″ slats (I use 2 square 1/4″ dowel rods) & a rolling pin to roll the slab down to the correct size.
- Use a needle tool to cut the surf board (slightly larger than the penguin).
- ** Do NOT attach the penguin to the surf board. This will create trapped air! It also makes it easier to glaze the pieces separately after bisque firing.
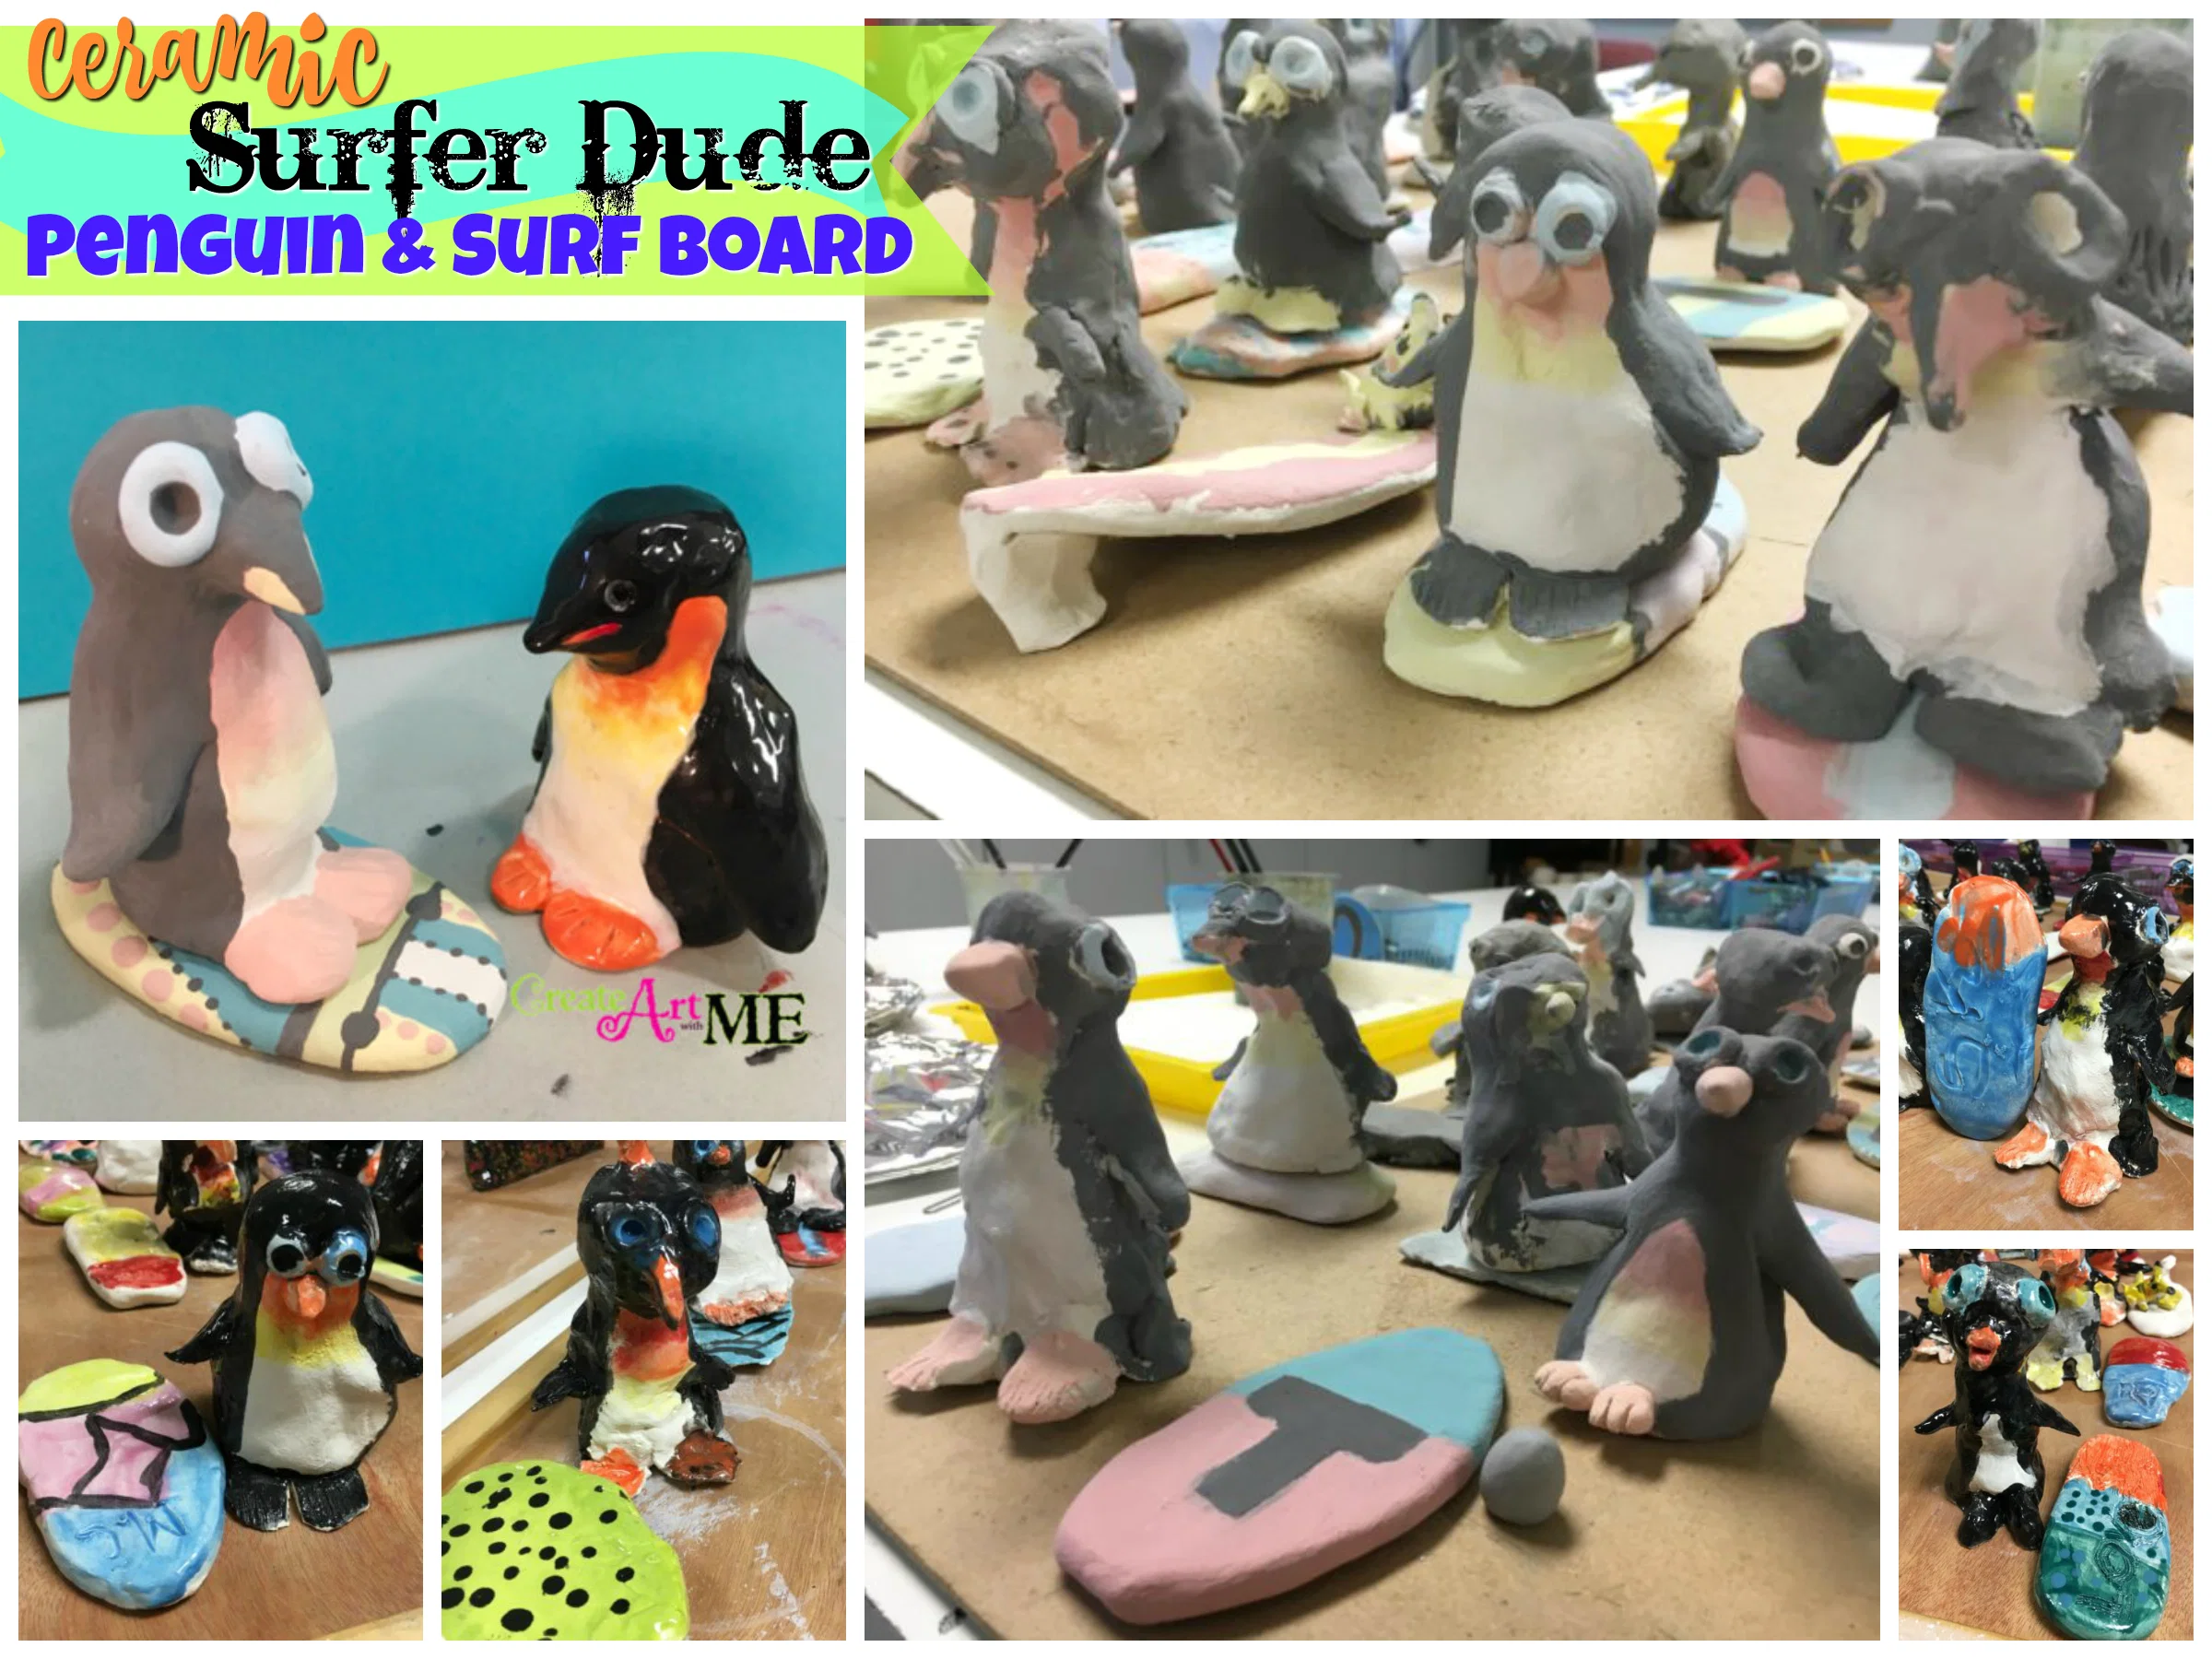
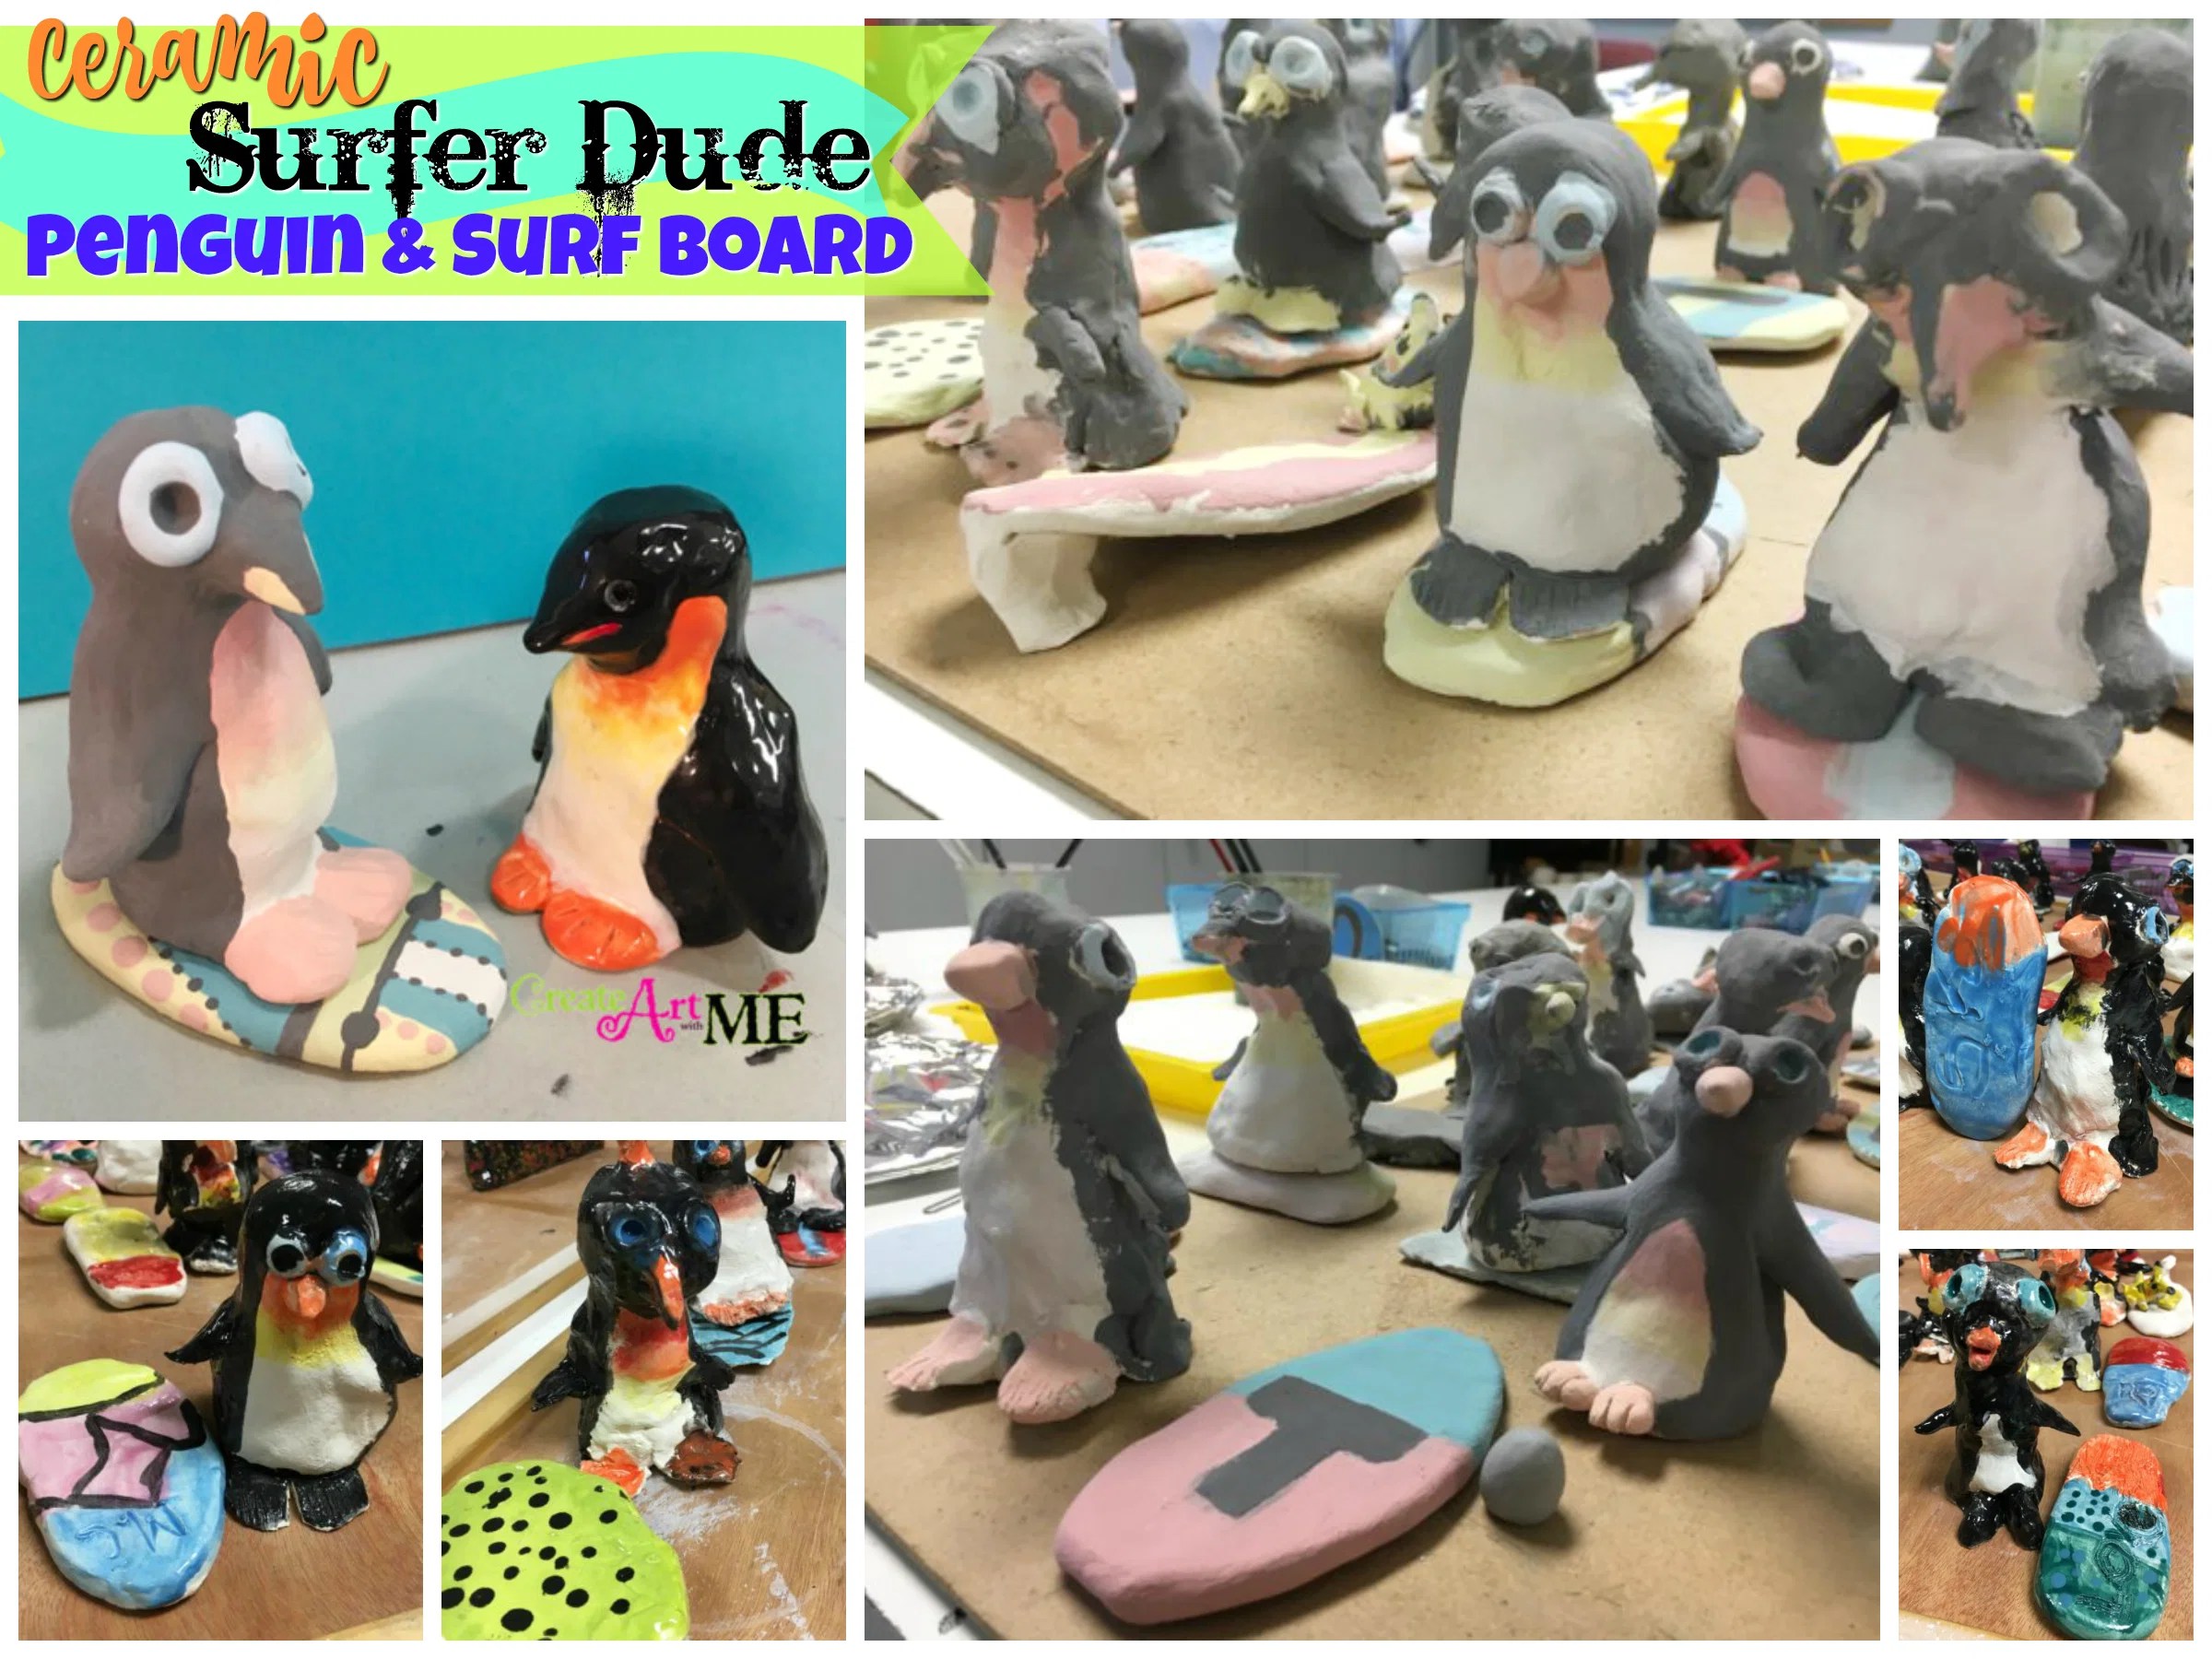
Here are some pre-fired penguin pictures:
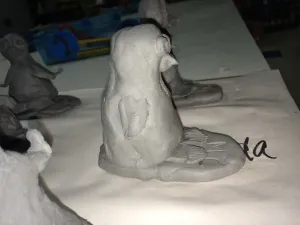
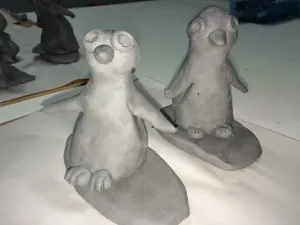
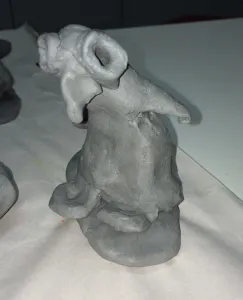
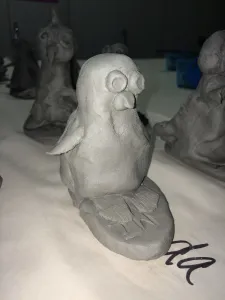
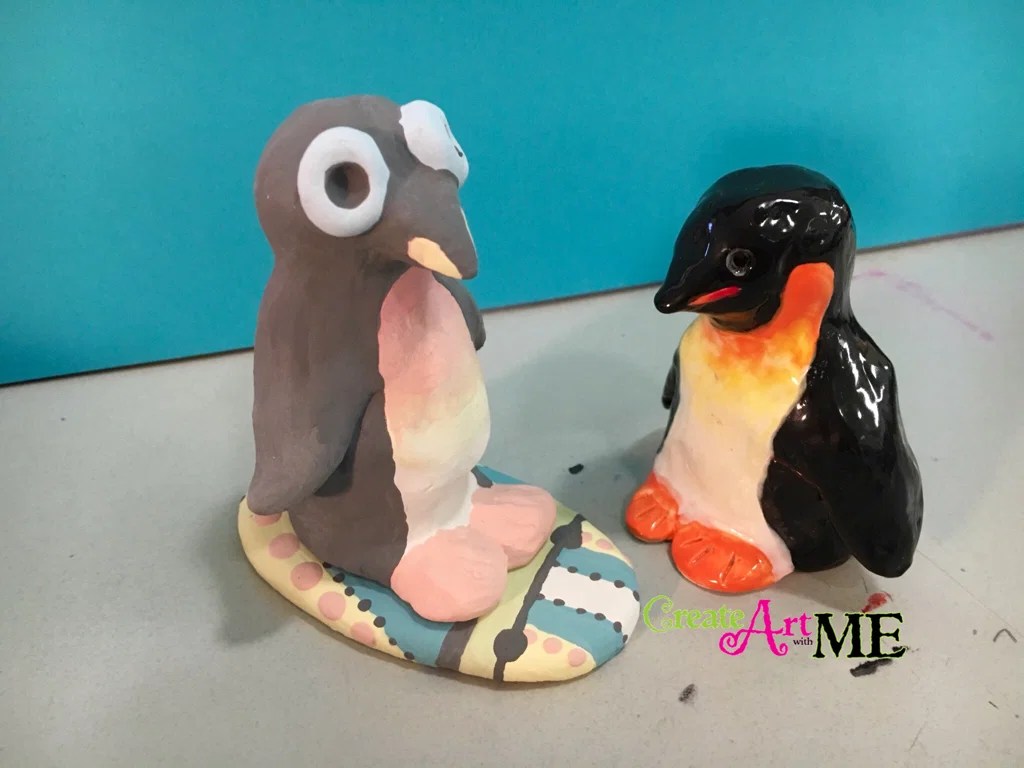
Here is our Glazed Penguins:


All images and text are copyright © Create Art with ME. If you choose to use any of the images or text in this post please link back to my blog Create Art with ME.