明暗/排线表现立体形态
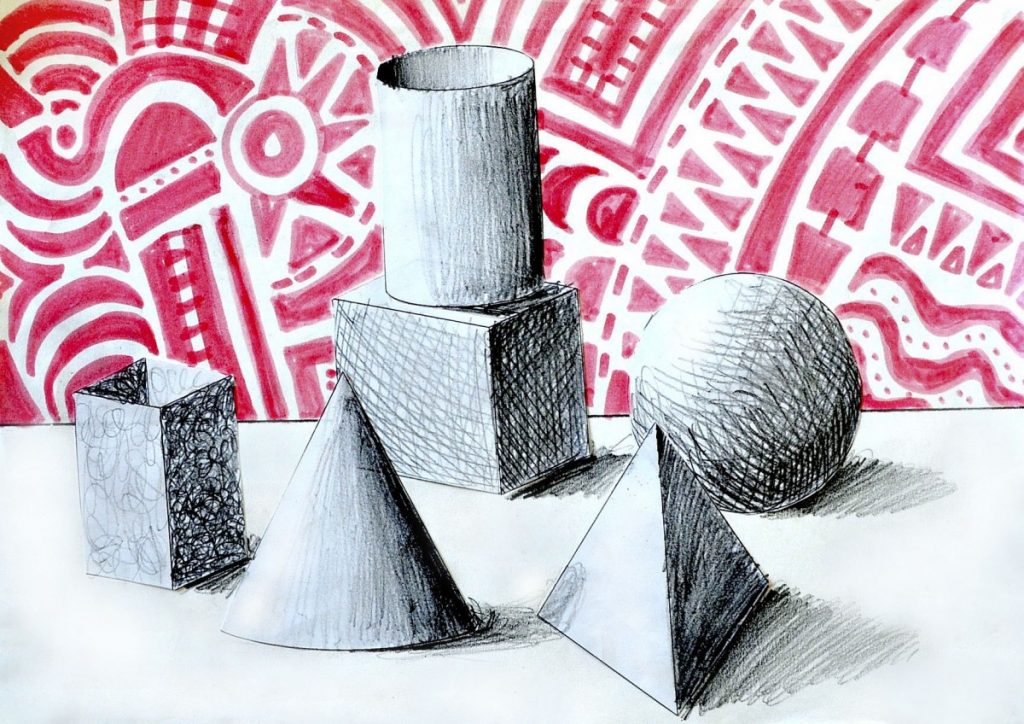
如何用不同种类的表面来为各类立体形态与几何体进行明暗/排线?我们观察到,阴影边缘的强弱取决于你所描绘的对象。具有锐利边缘和平整表面的物体(例如立方体),其边缘处的阴影较深、较硬;而阴影在各面上的明度变化则不大。而具有曲面的物体(例如球体),其阴影则更柔和、过渡更渐进。
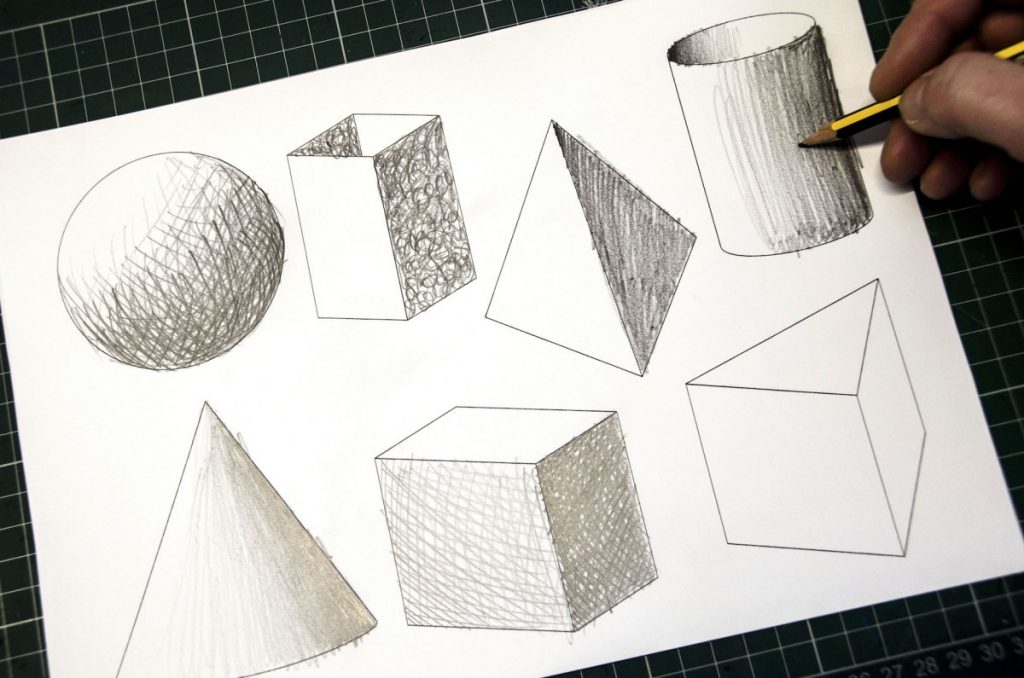
为练习在不同形态上进行明暗/排线,我们使用了下方提供的练习纸。我们依据唯一的光源,在练习纸上绘制形态阴影,并运用三种不同的明暗法(可参阅此前关于明暗法的课程链接)。
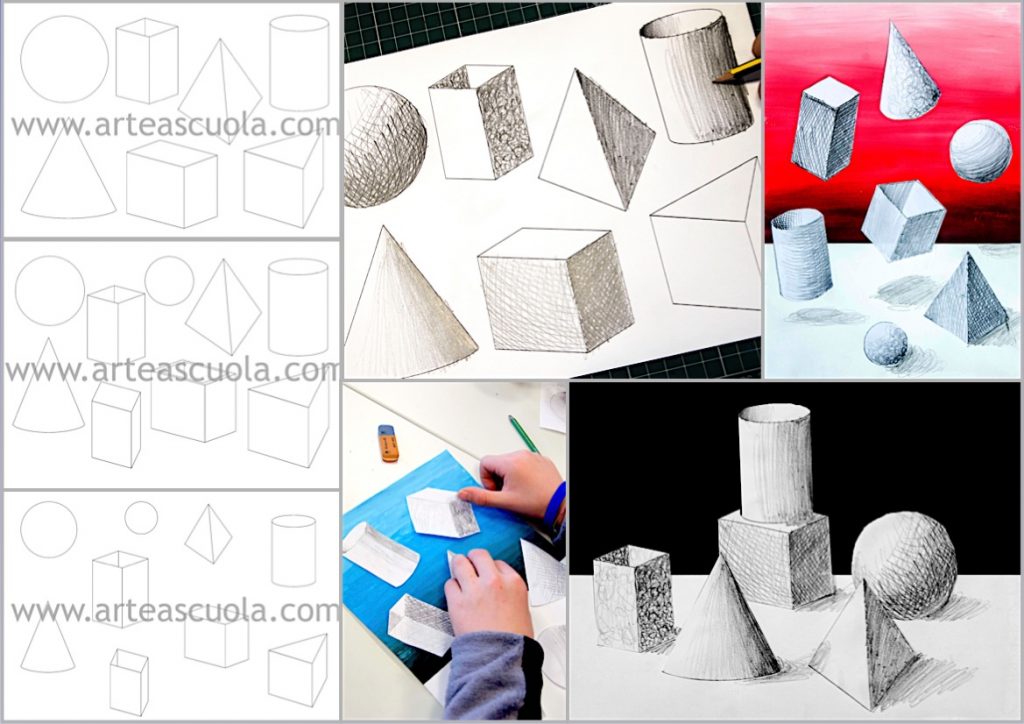
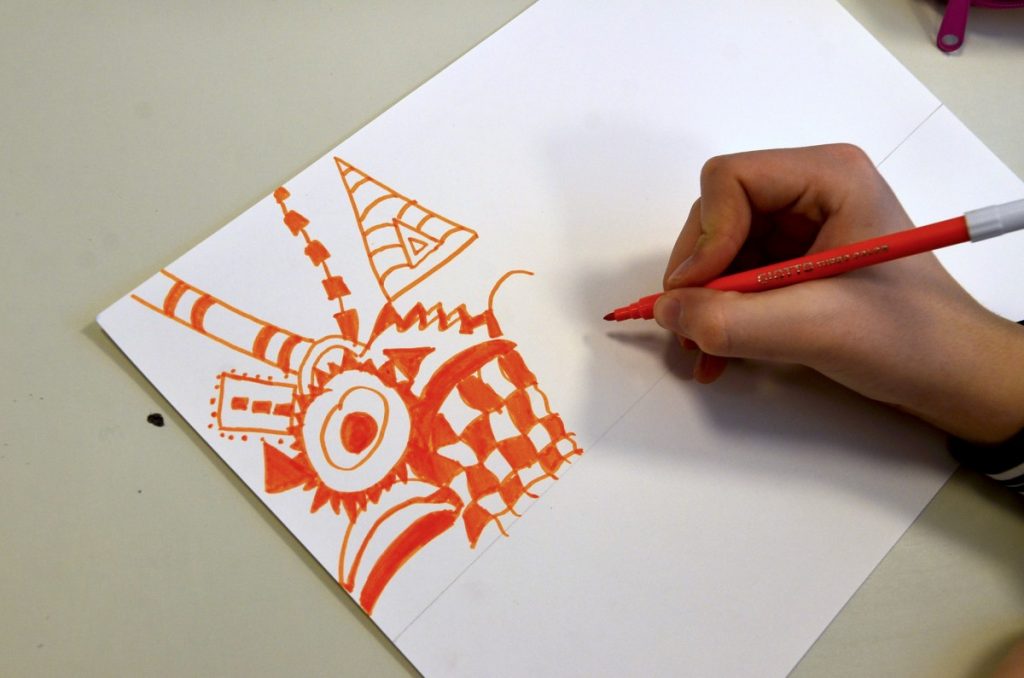
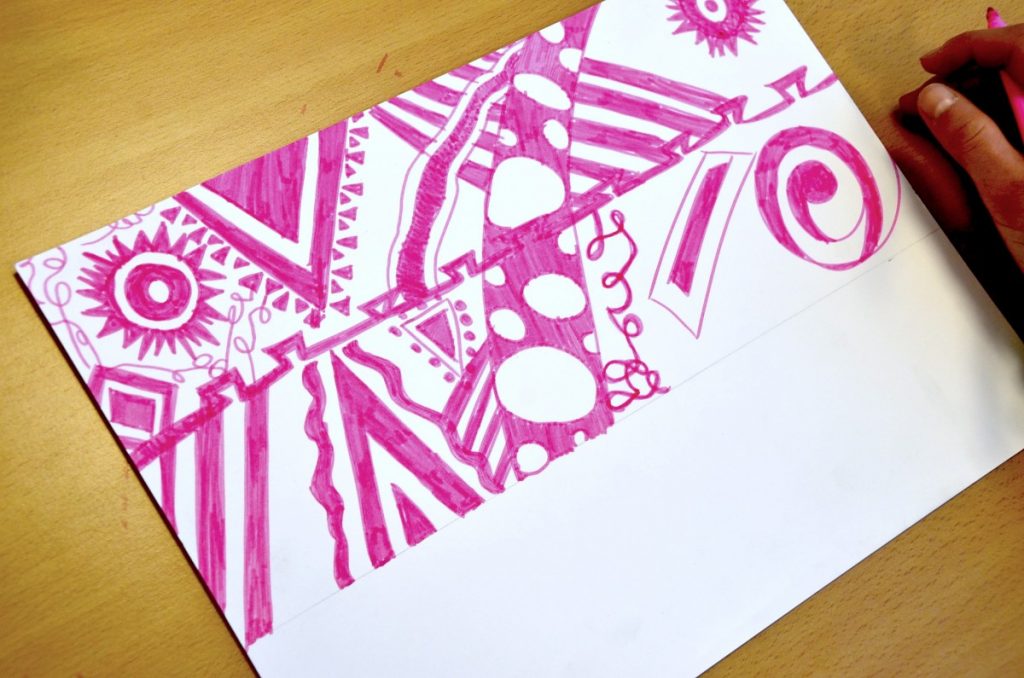
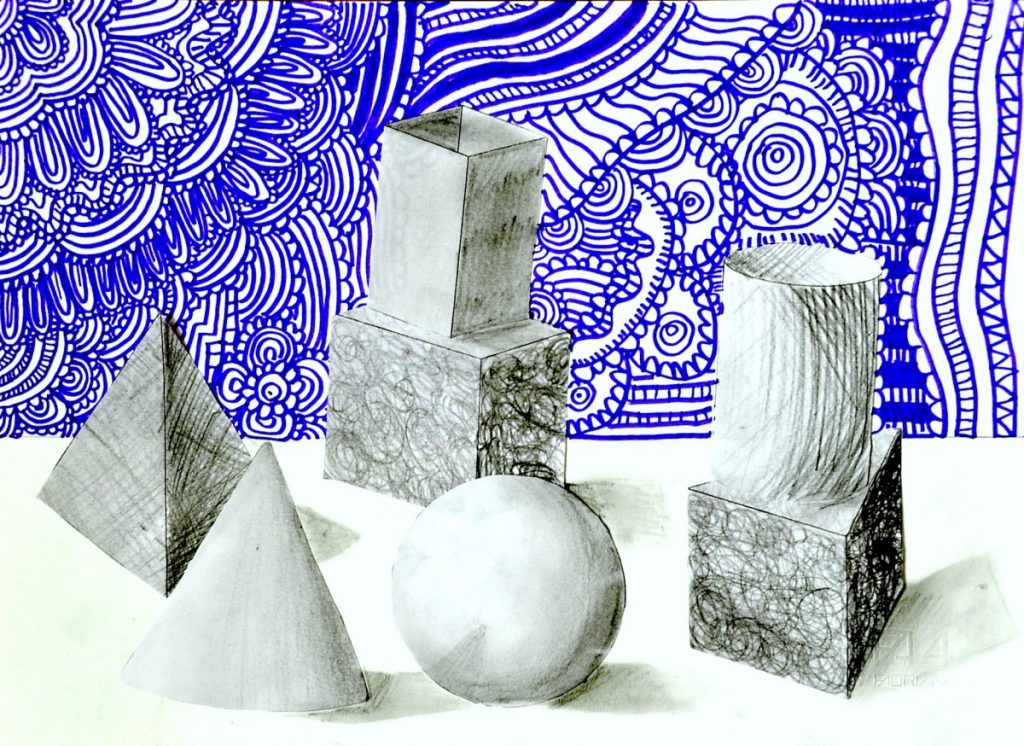
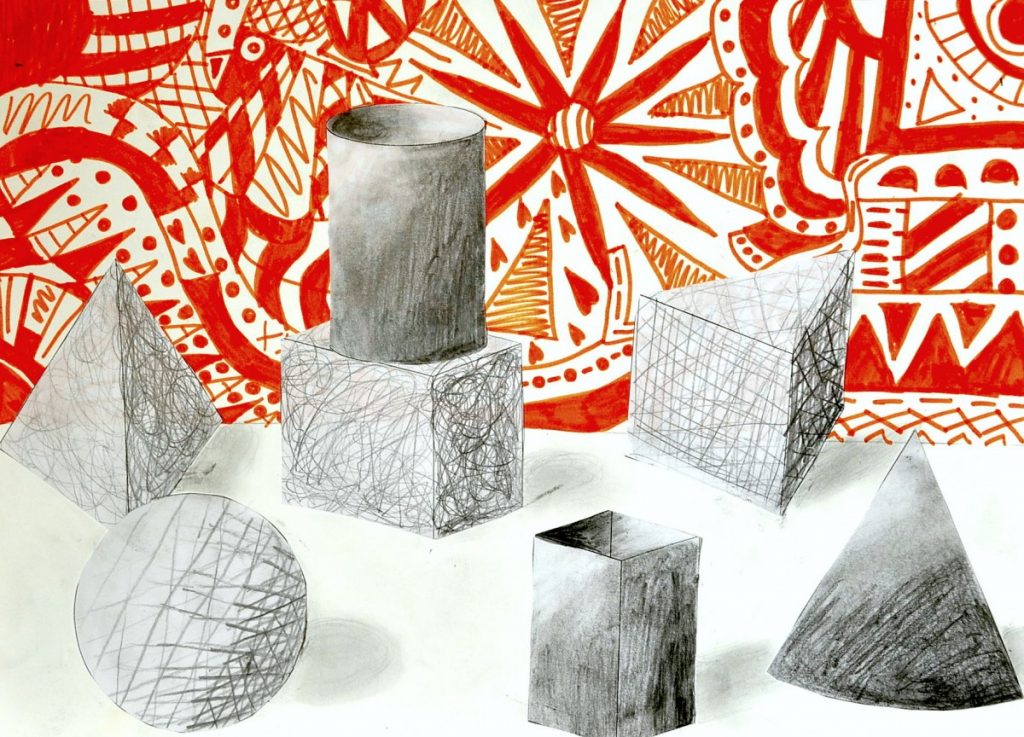
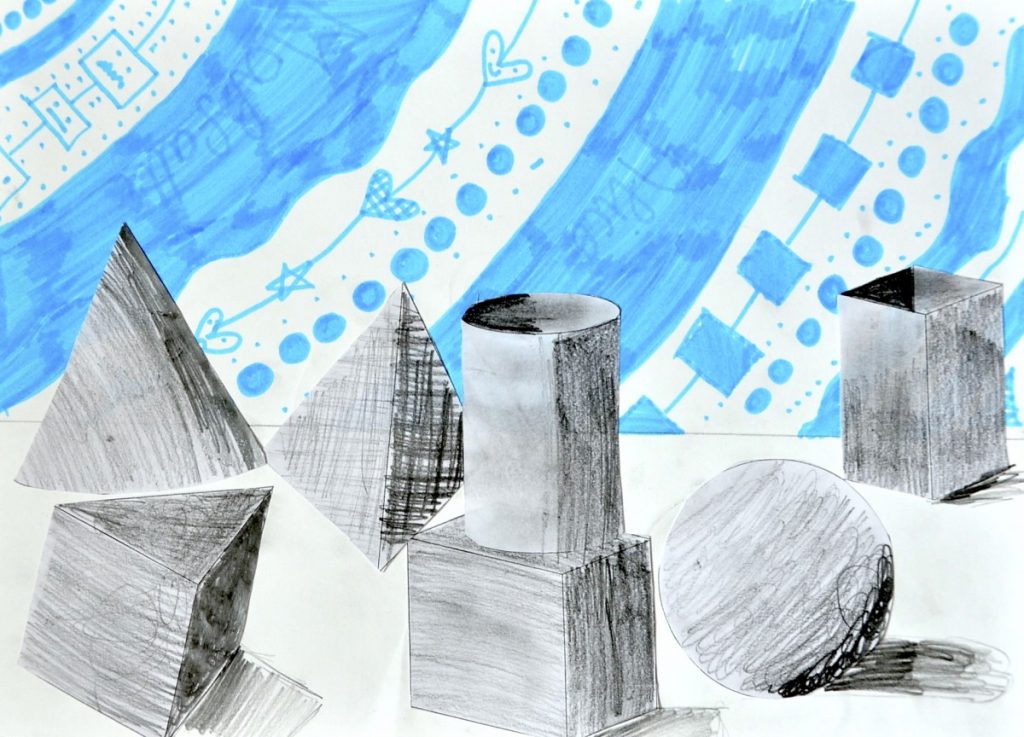
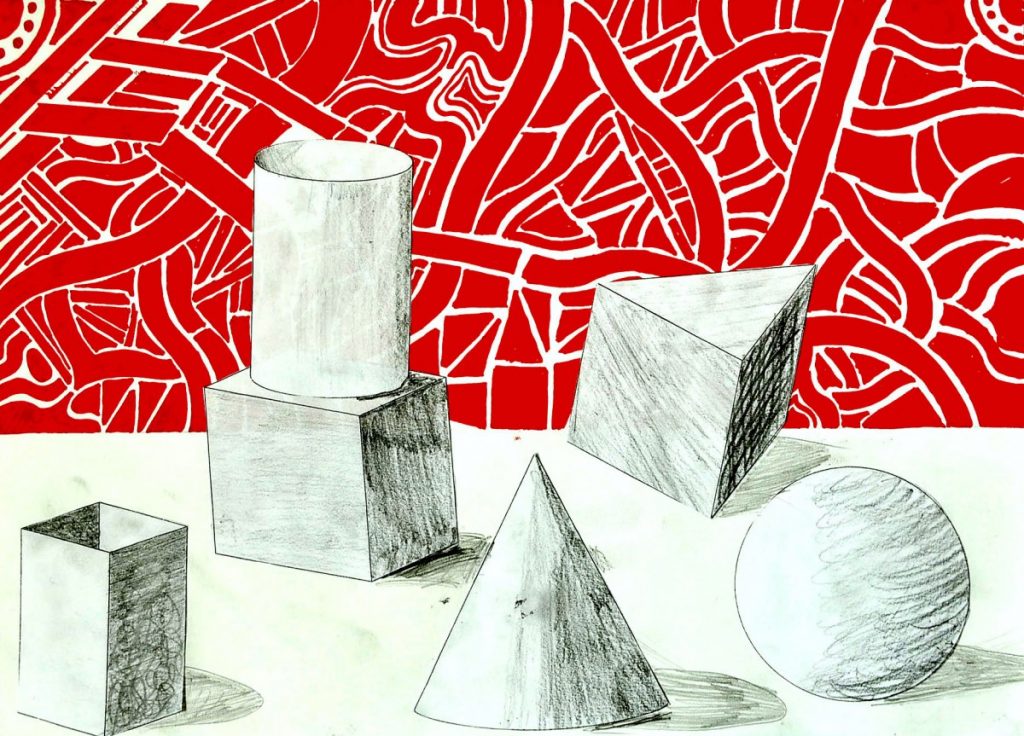
在一张24×33 cm的绘图纸上,我们画一条高10 cm的横线,以此划分前景与背景,并用记号笔以自由形态为背景着色。
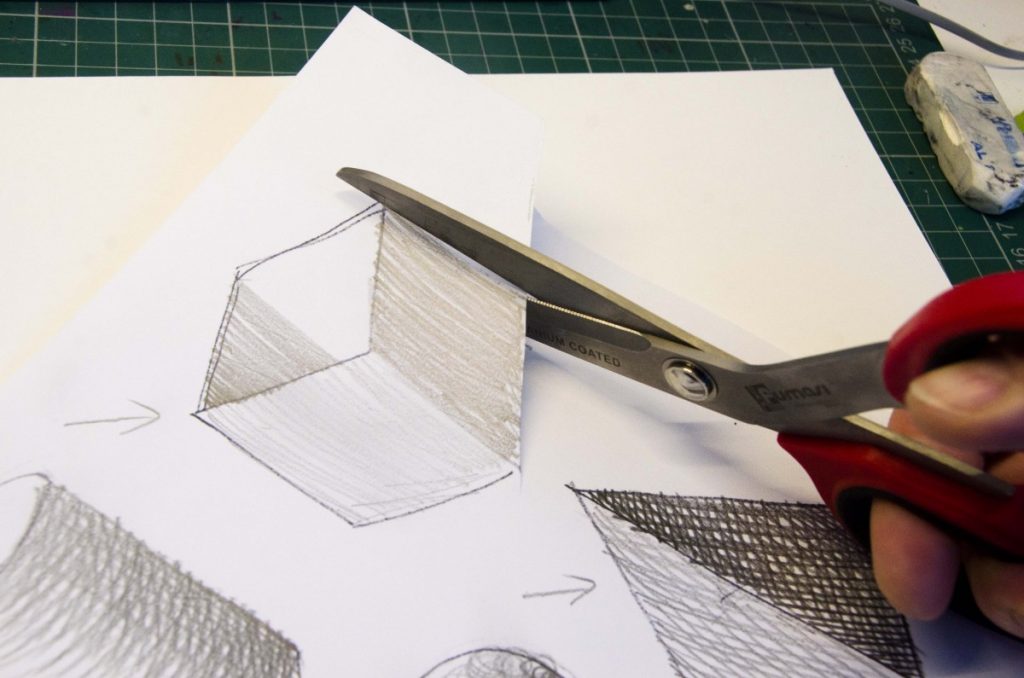
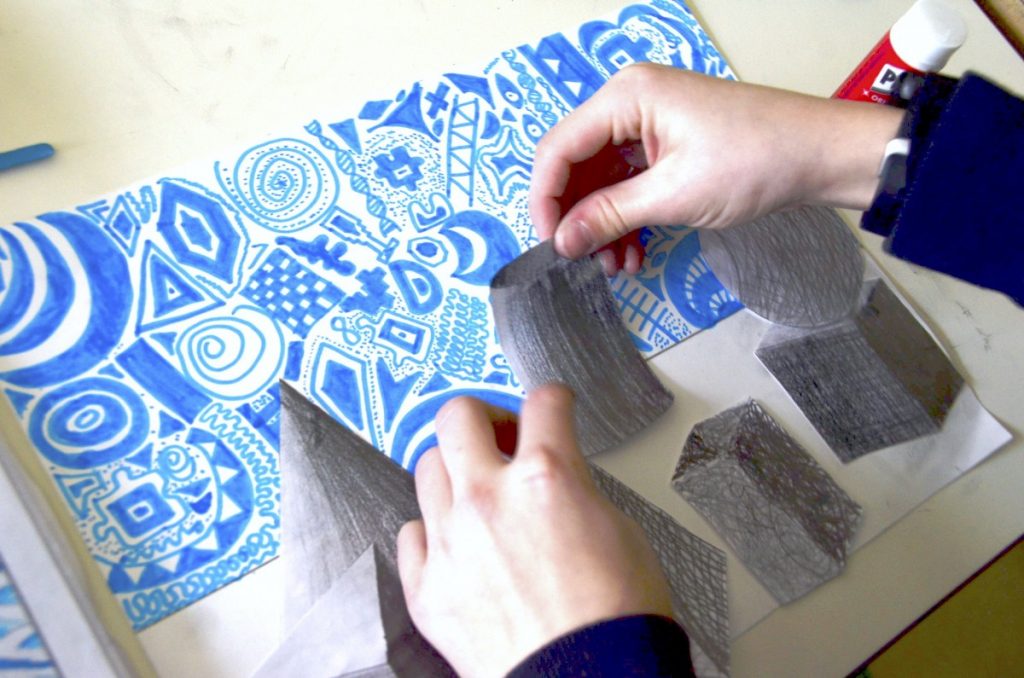
完成背景装饰后,我们将先前剪裁好的几何体粘贴到画面上,注意使其排列符合既定光源方向,并仔细安排各形态在前景平面上的位置(前后关系、上下关系)。
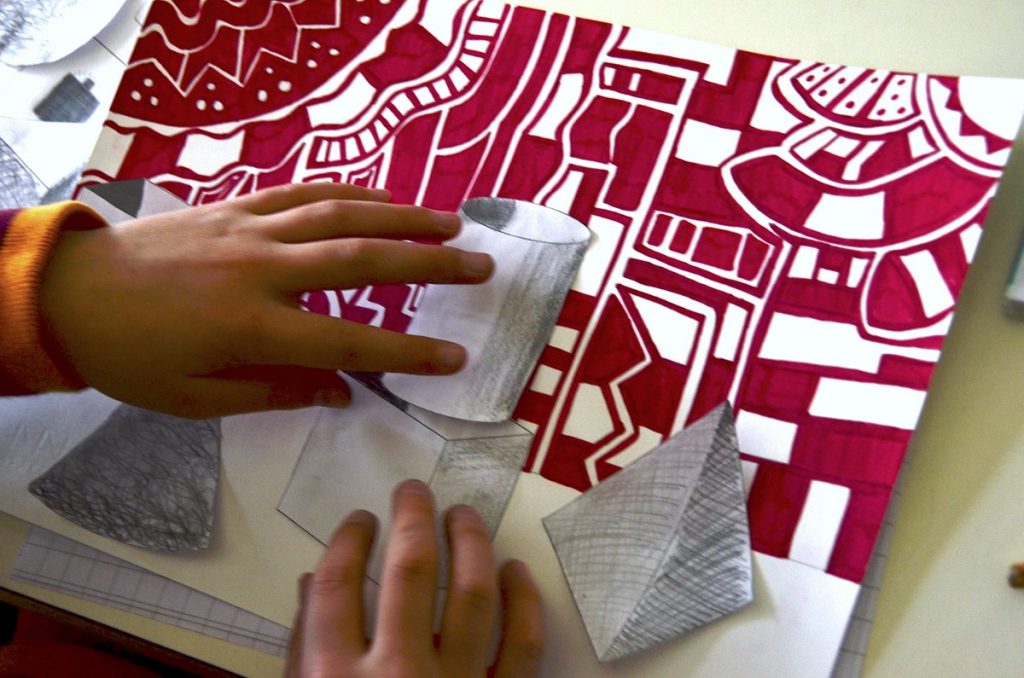
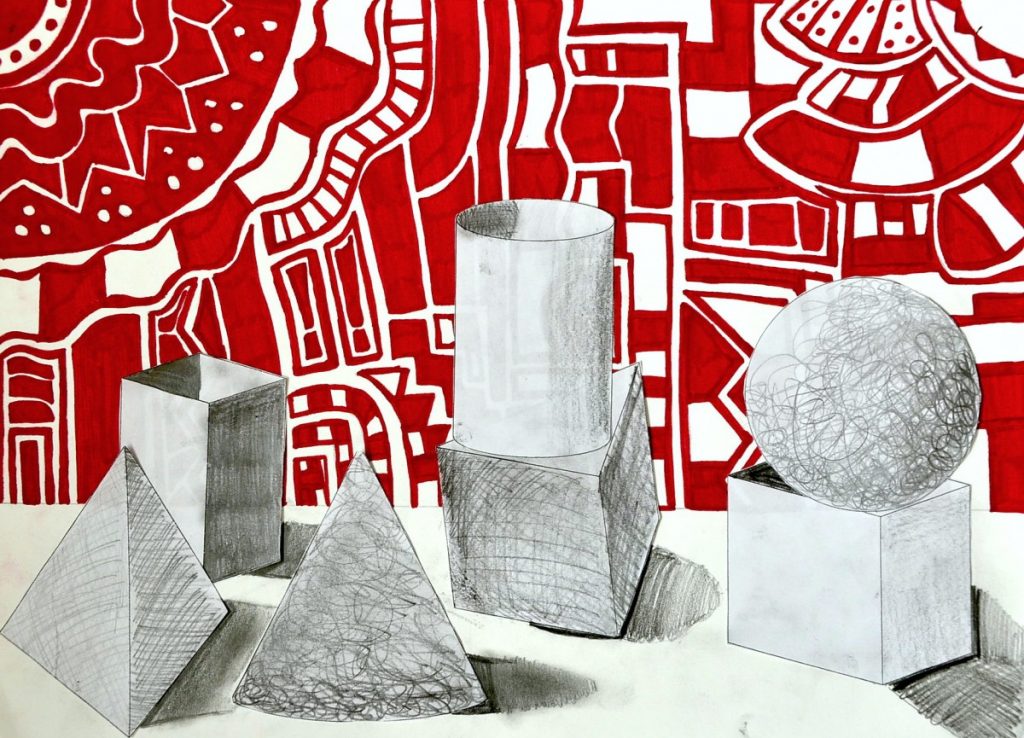
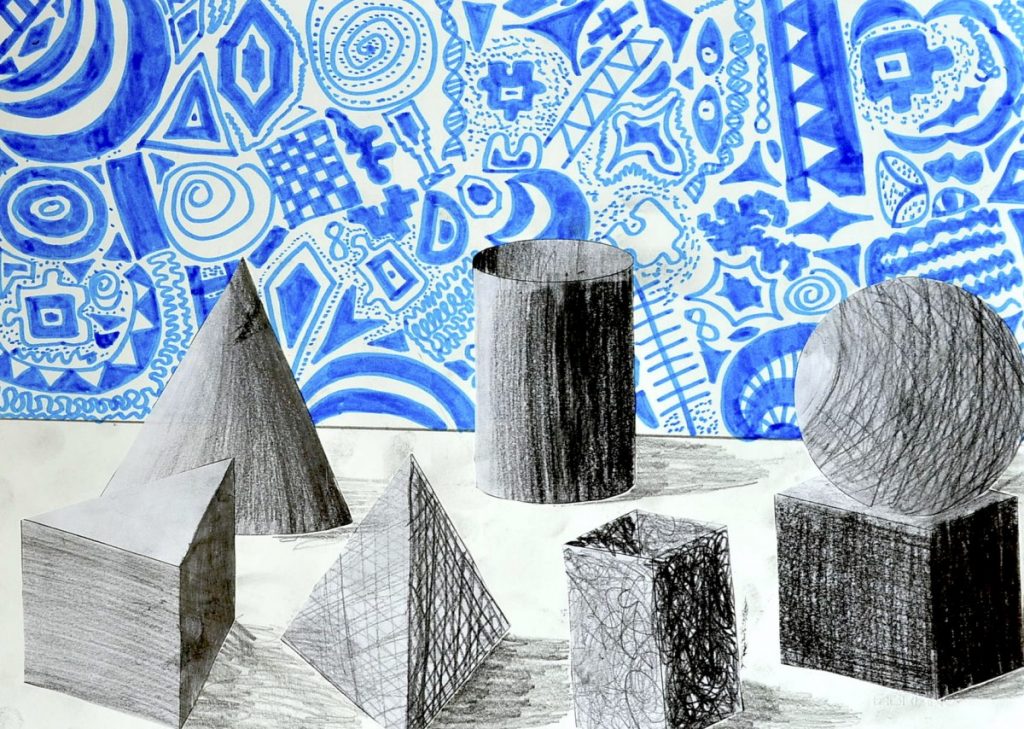
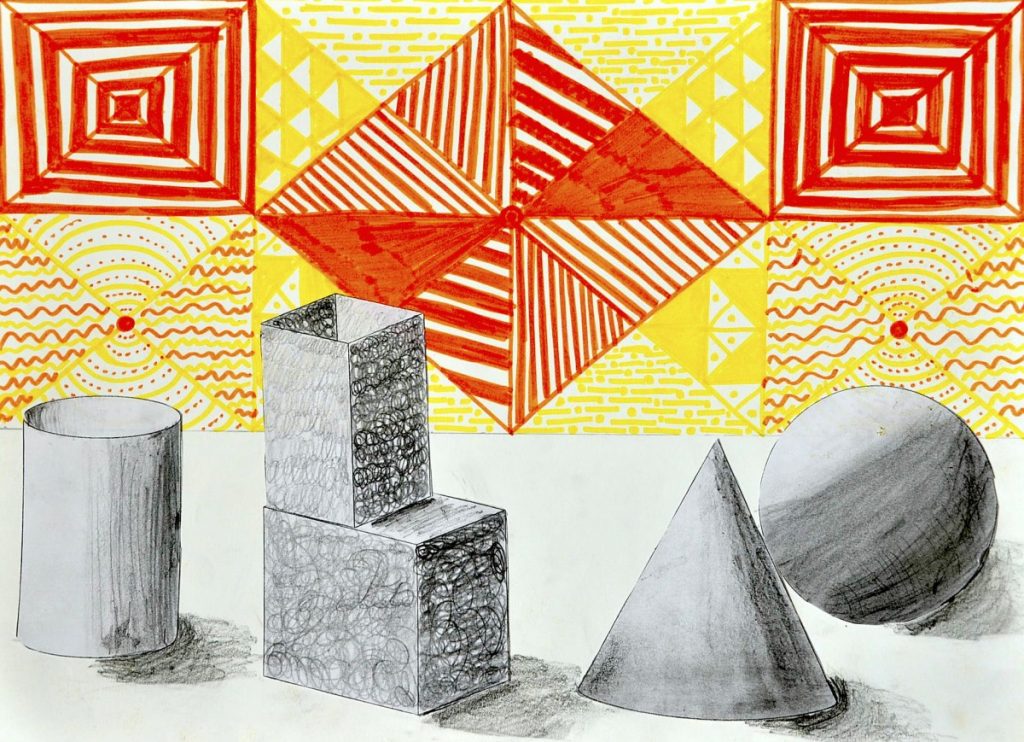
为增强画面真实感,我们在前景的承托面上添加了投影,并用铅笔将其绘制在形态阴影的同一侧。
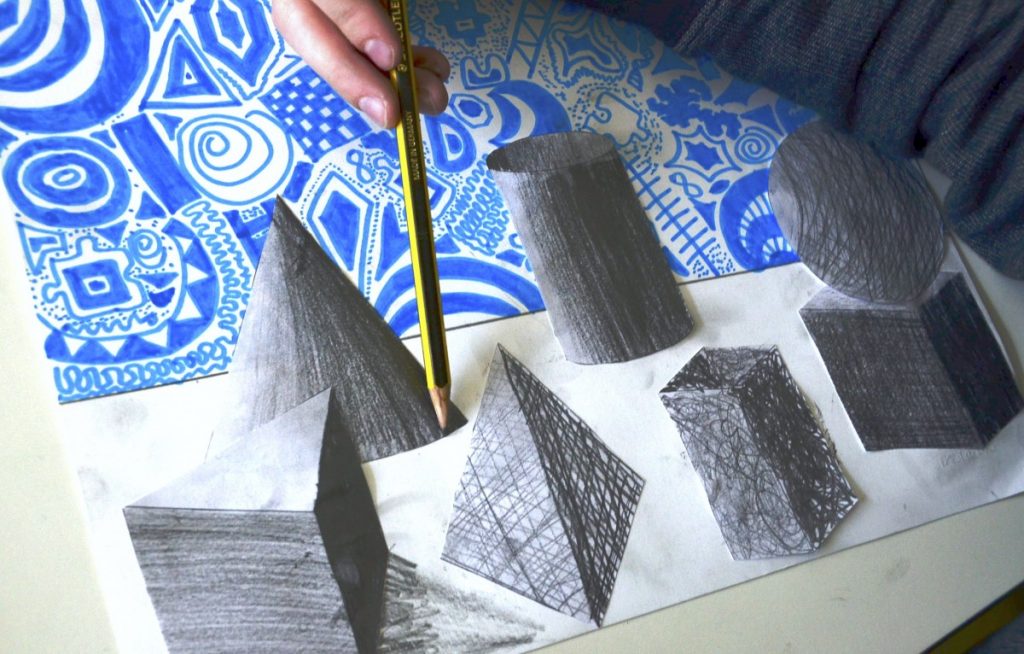
每幅作品中几何体的组合构图均不相同,取决于我们各自选择的组装方式。生动活泼的背景进一步强化了黑白形体之间的明暗对比效果。
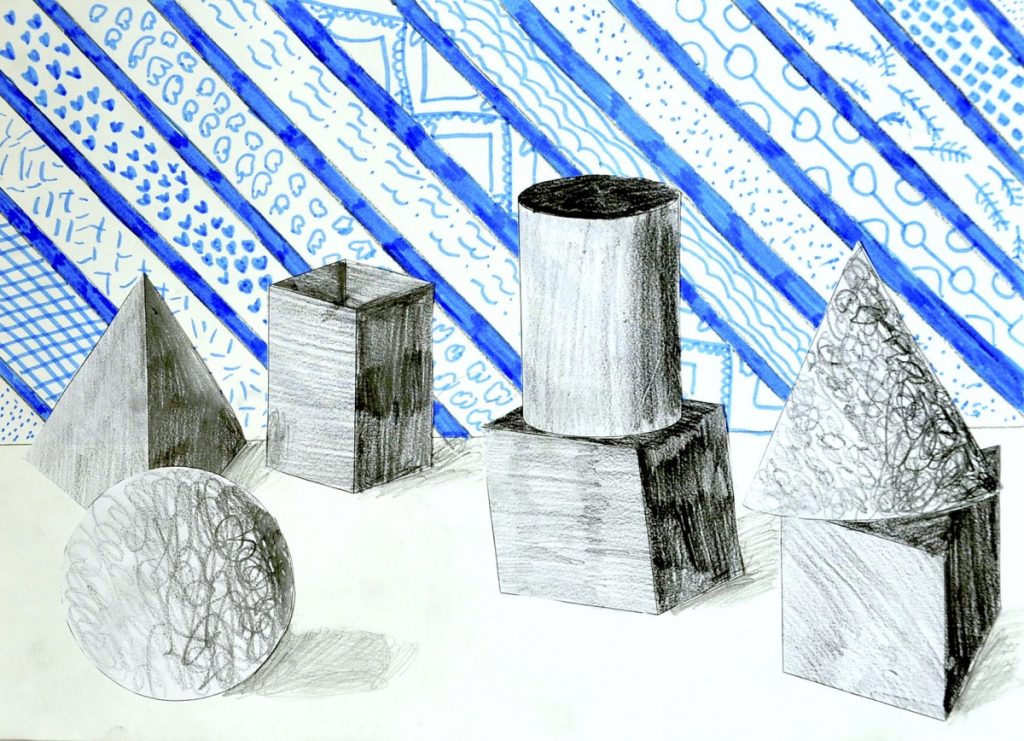
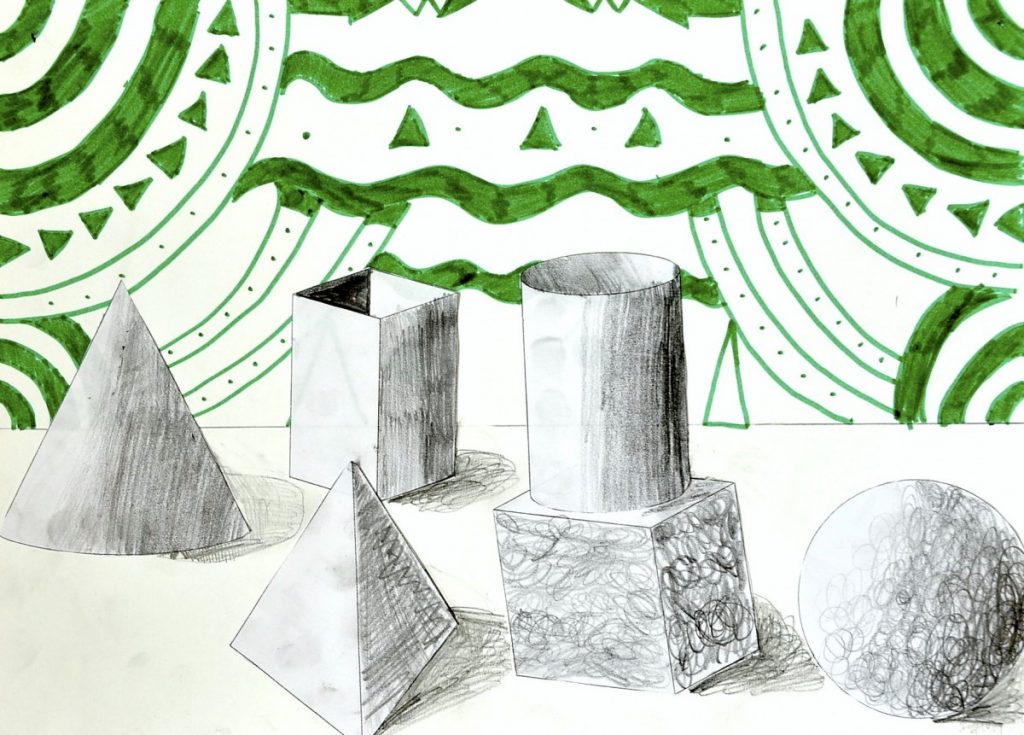
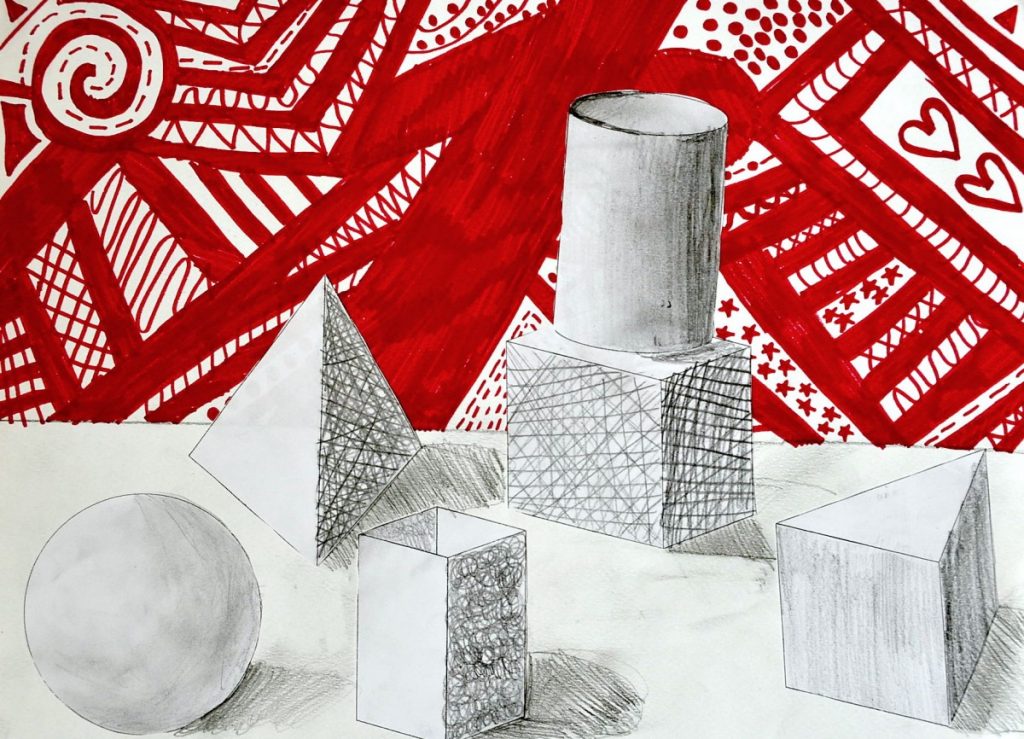
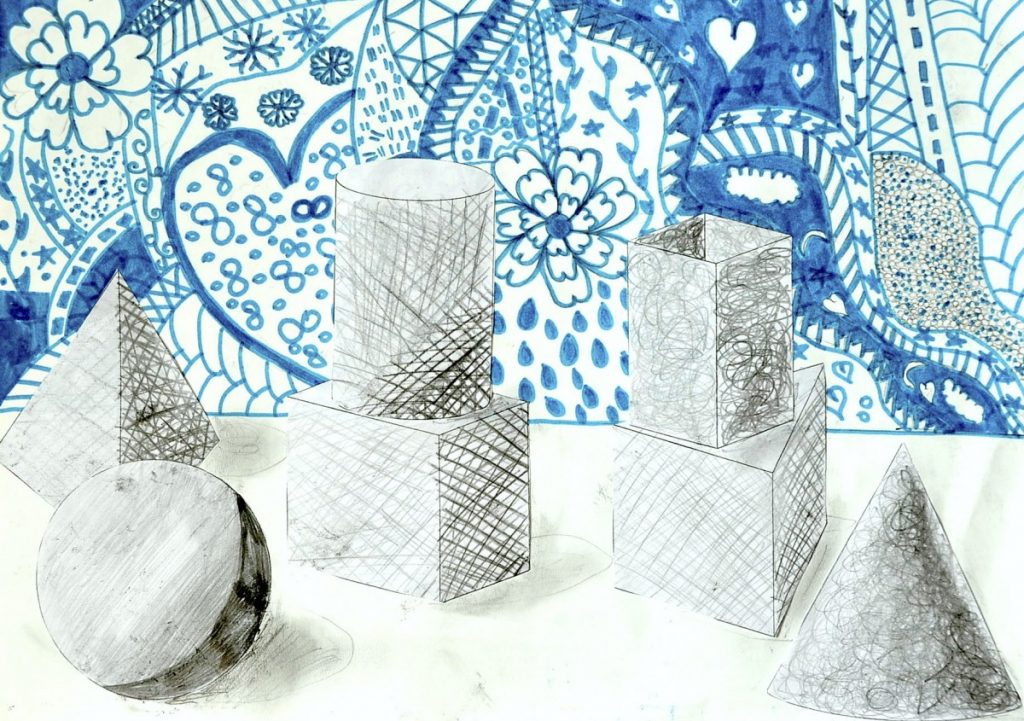
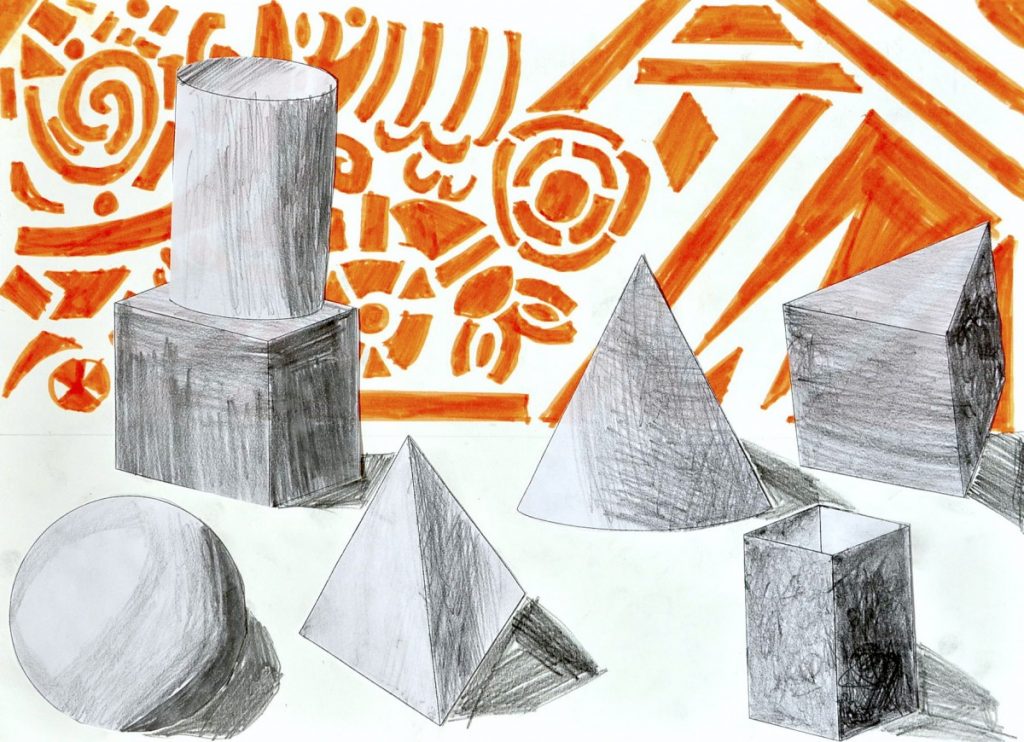
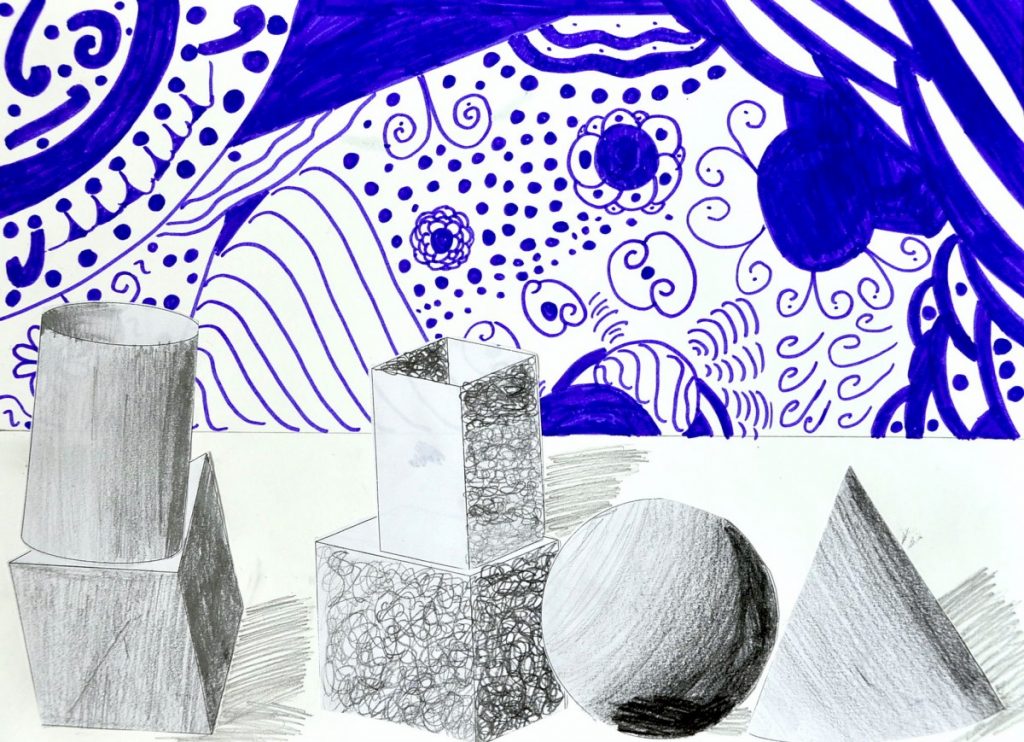
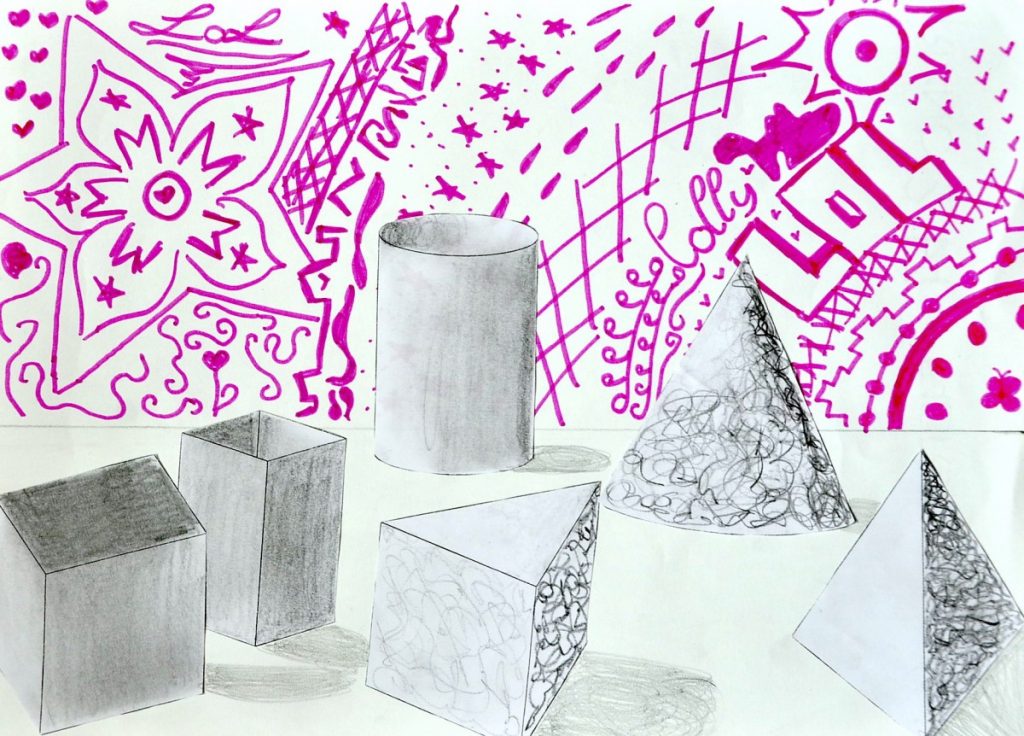
How can you shade different forms and solids with different kinds of surfaces? We observed that the strength of the shadow’s edges are determined by the object you are drawing. Something with sharp edges and flat surfaces, like a cube, will have dark, or hard, shadows at the edges. The darkness of the shadow on the faces will not change much. Something with a curved surface, like a ball, will have a softer, more gradual shadow.
To practice shading on different forms we used the worksheets you can find here below. We drew the form shadows on the worksheet, according to a unique light source using three different kinds of chiaroscuro (have a look at this previous lesson about chiaroscuro).
On a drawing paper (24x33cm) we draw a line at 10 cm in height that separates the foreground from the background and we color the background with free forms using a felt-tip pen.
When we finished decorating the background, we glue the previously cut solids by arranging them in a manner consistent with the light source and taking care of the positions of the forms on the foreground surface (front/back – top/bottom).
To make our design more realistic, we added the cast shadow on the support surface in the foreground, drawing it with a pencil on the same side of the form shadow.
Each drawing will have a different composition of solids, depending on the assembly we have chosen. The lively background enhances the chiaroscuro of the black and white shapes.