Aluminum Foil-Metal Embossing (Repousse) Ornament
Original: https://createartwithme.com/aluminum-foil-embossing-repousse-ornament/
Date: 2012-12-12 Author: Michelle East Categories: 2nd Grade, 3rd Grade, 4th Grade, 5th Grade, 6th Grade, After School Art & Art Camp, Art Lessons, Elementary Art, HS Art, K-1st Grade, Metal Embossing Repousse, Sculpture Lessons Tags: 1st grade art, 2nd grade art, 3-d art projects for kids, 3rd grade art, 4th grade art, 5th Grade Art, 6th grade Art, aluminum foil embossing, art class for kids, art lessons for kids, art projects, art projects children, art schools for kids craft for christmas kids art lessons art projects for art lessons for children kids art class art with metal teacher art projects for kids, artist painting supplies, elementary art, foil embossing, kids school art projects, metal ornament, metal tooling, Relief sculpture, repousse, teaching art to kids, Video lesson
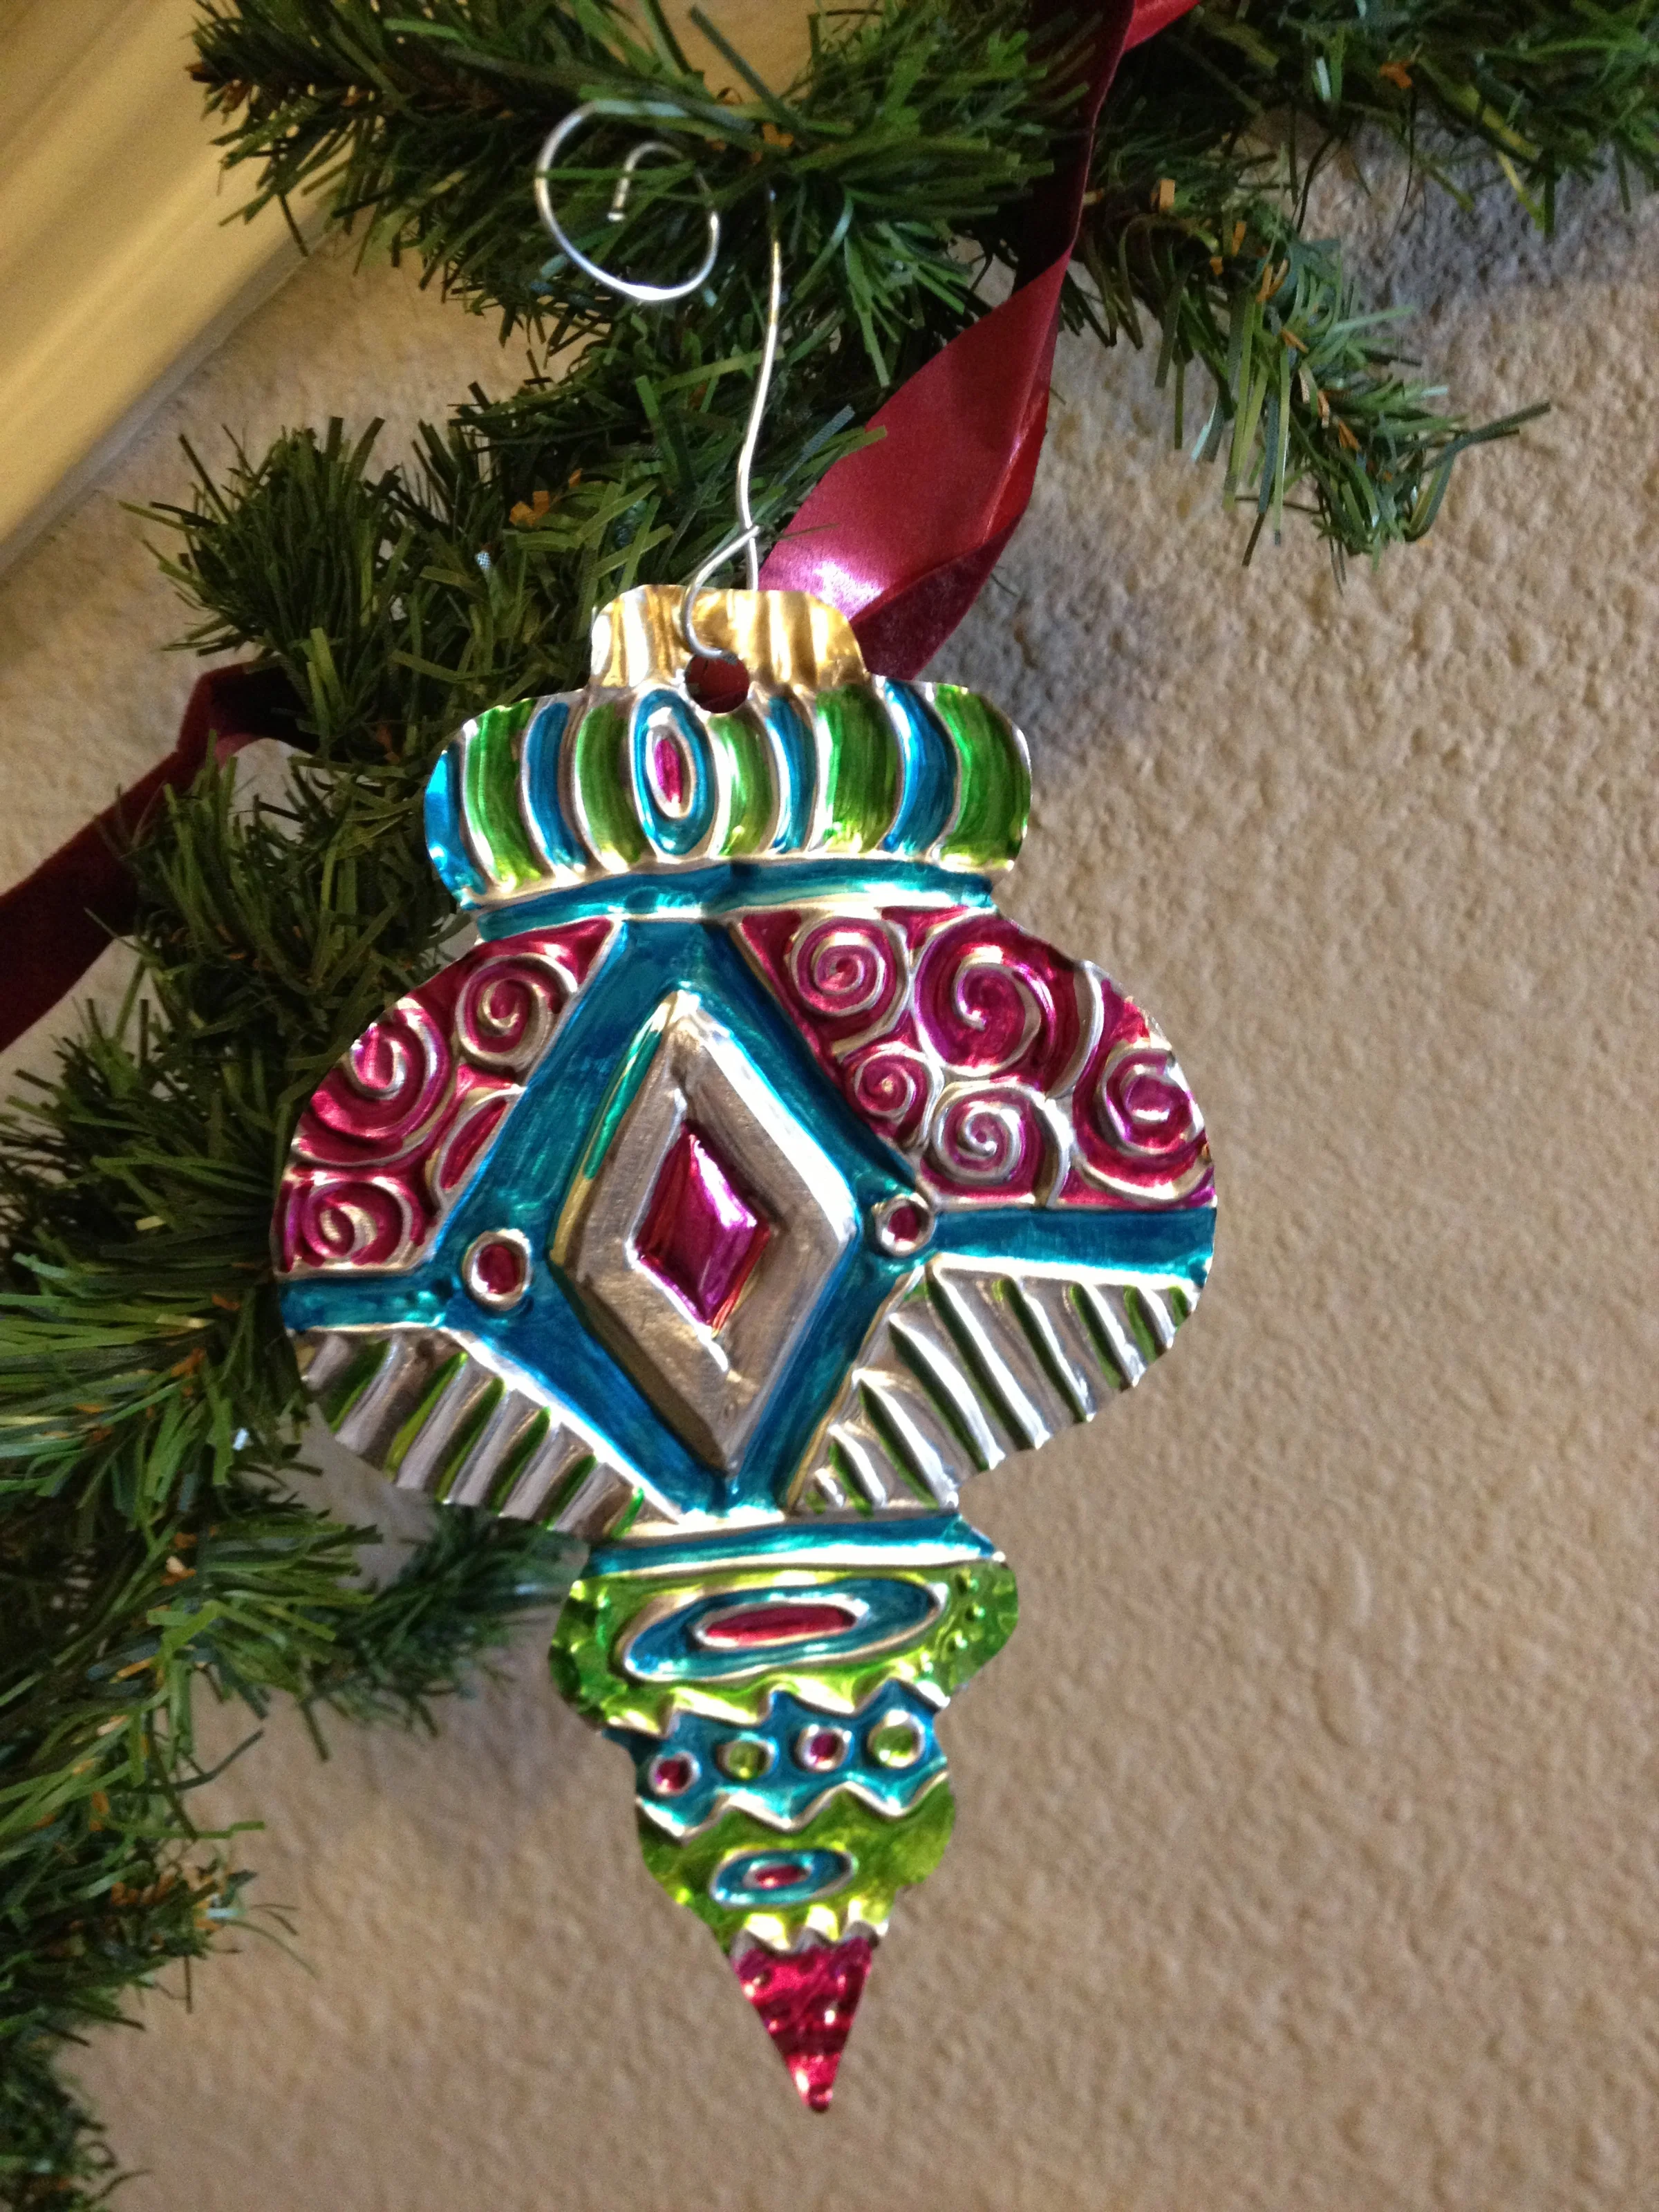
MetalEmbossingOrnament.jpgMetalEmbossingOrnament.jpg Aluminum Foil Embossing Ornament
I did this project successfully with my after school art class which is a mixture of 1th-6th grade students. They LOVED this project!
Supplies: Aluminum sheets-36 gauge-St Louis Crafts Aluminum Metal Foil Sheet Roll – 36 Gauge – 12 inches x 25 feet


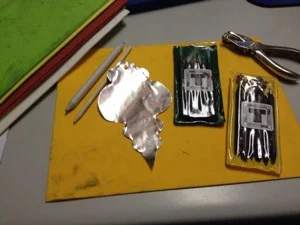
| The tools we use in class are Ten Seconds Studio Metal Tools. We have both the basic tools & the texture sets. They work great & are worth the investment! We also have texture plates for rubbing-from Fiskar-I think they are supposed to go in a cuddlebug, but we don’t use that we just put the metal ontop of the plate & rub with the crochet tools or tortillions. Less expensive options are crochet or knitting tools & wooden sticks (only if it is a thick metal) |
Here are the Fiskar Rubbing templates-Fiskars Texture Plate Double-Sided Assortment III 6 Package (12 Designs)
Project: Repousse-Foil Embossing
Video Tutorial: Repousse – Foil Embossing Techniques
Project Sheet: Aluminum Foil Embossed Ornament Lesson Plan
Instructions:
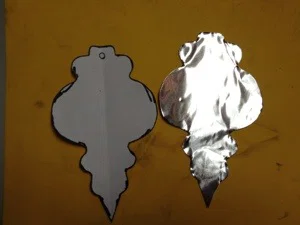
- Cut aluminum foil in desired shape using regular scissors.
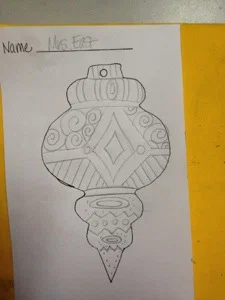
- Trace the outline of the ornament onto a sheet of paper. Draw designs & patterns onto the paper.
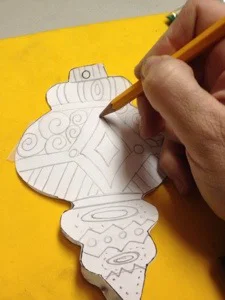
- Cut the shape out & tape it to the aluminum.
- Place foam sheet under the aluminum. This is vital for the embossing process!
- Trace over all your lines with a pencil. This will dent in the aluminum.
- Flip the aluminum over & visually make sure you’ve trace all the lines.
- Remove the paper from the aluminum & use the embossing supplies to further emboss the metal.
- After you have finished embossing, use the permanent markers to color the aluminum.
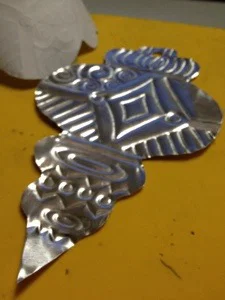
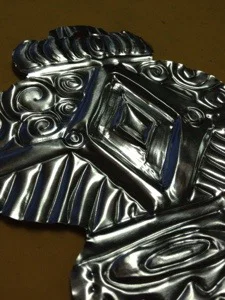
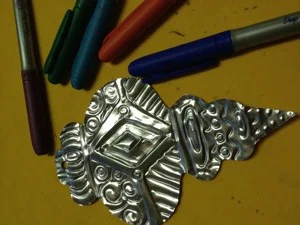


Metal Tooling – Repousse
Project Sheet: Aluminum Foil Embossed Ornament Lesson Plan Another Metal Embossing Project: Repousse Masks
If you choose to use this lesson or to repost any part of it, please link it back to my blog. Create Art with ME
Additional Metal Embossing Repousse Lessons:
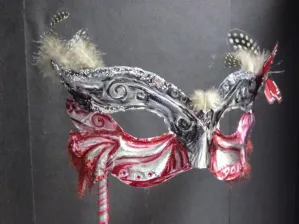 Metal Embossing Masks- Repousse Lesson
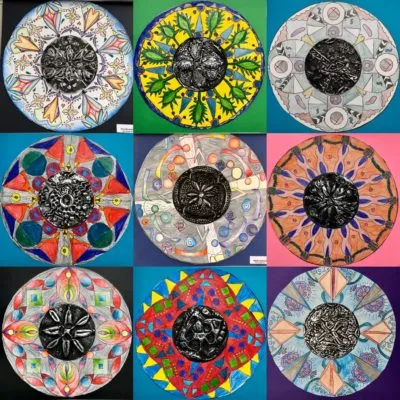
Talavera Repousse Metal and Drawing Project – Middle School Art
Radial Balance with Talavera Pottery Repousse and Drawing Project
Design Principles Metal Repousse and Drawing