金属压花面具——浮雕工艺课
原文链接:https://createartwithme.com/metal-embossing-masks-repousse-lesson/
日期: 2014-03-10
作者: 米歇尔·伊斯特
分类: 六年级、美术课、文化主题美术课、高中美术、面具、金属压花浮雕、综合材料课、初中美术、雕塑课、肌理
标签: 38 号箔材、六年级美术、箔材压花、高中美术、面具课、金属压花、金属压花面具、金属压花面具——浮雕工艺课、金属课、金属面具、金属工艺、初中美术、repouse、repousse、浮雕工艺课、技法、压花工具
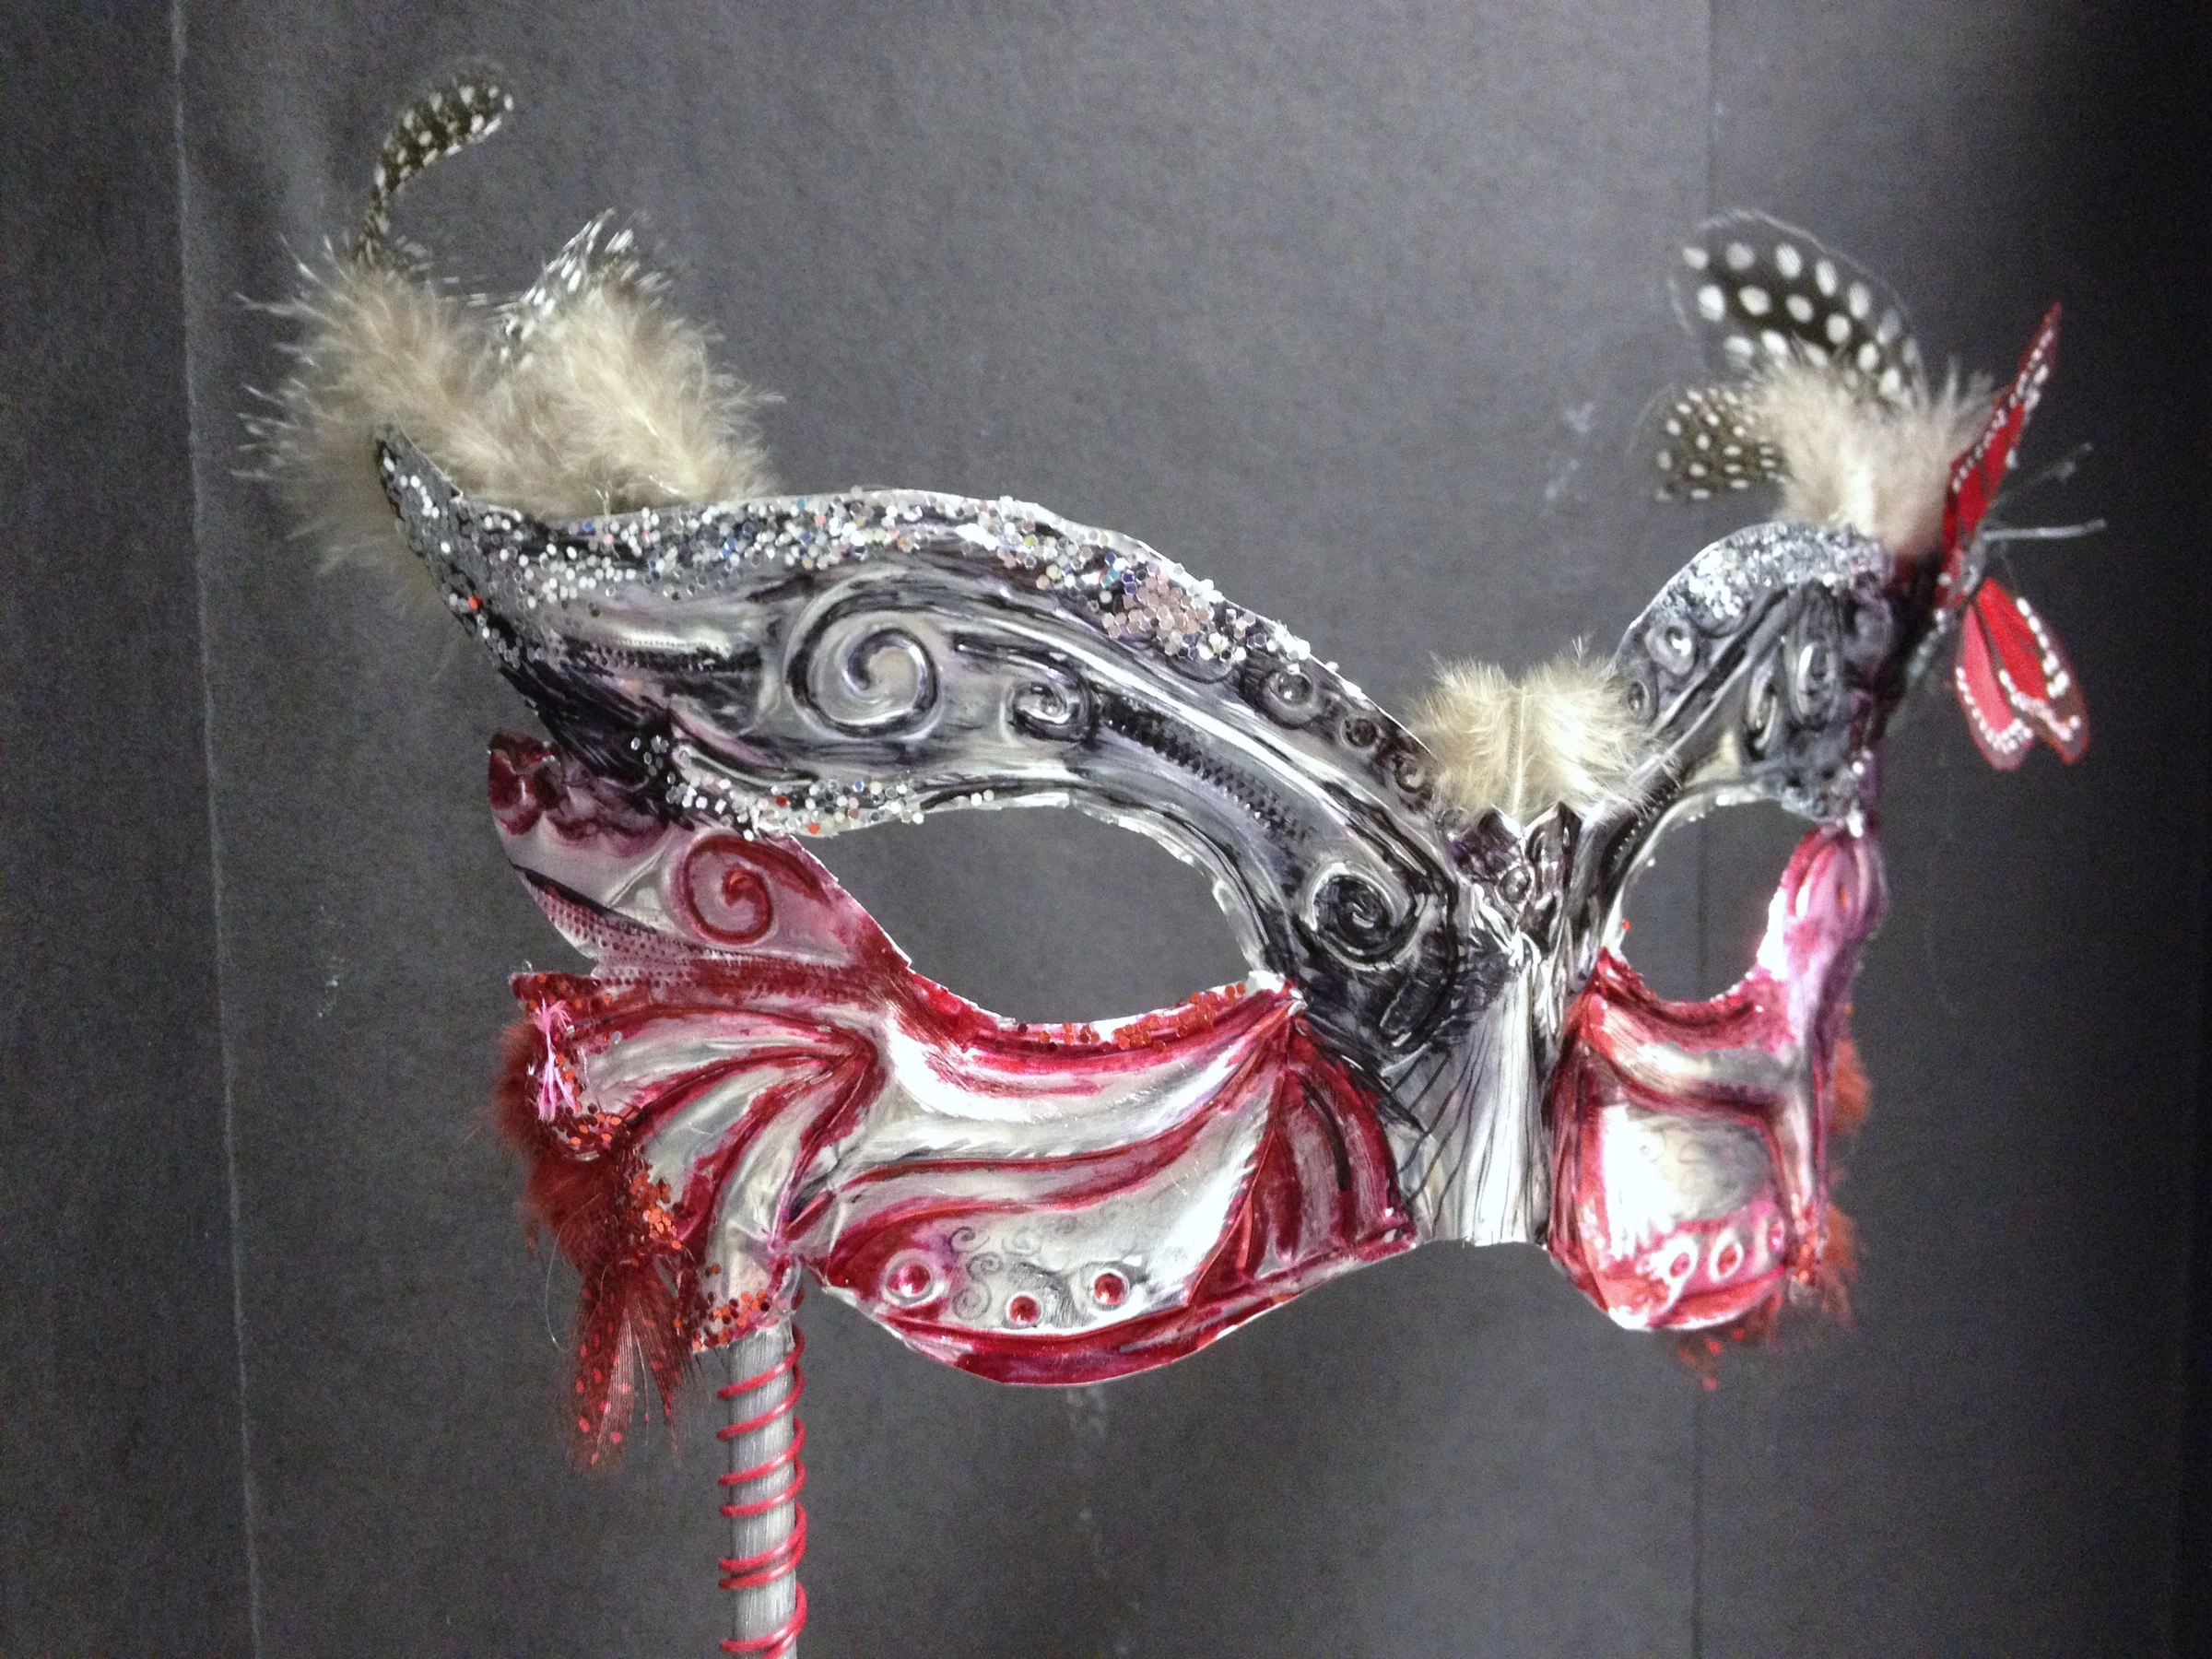
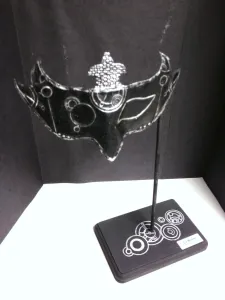
: EJ —《神秘博士》面具“伽里弗雷”
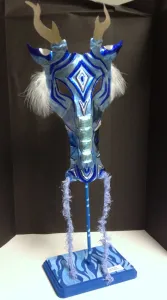
: 简
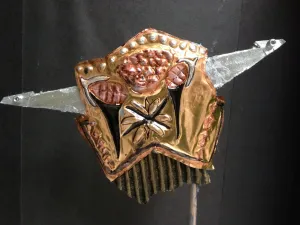
: 肯
金属压花面具——浮雕工艺课
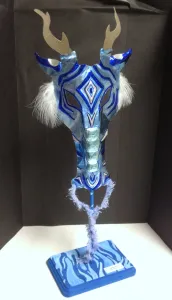
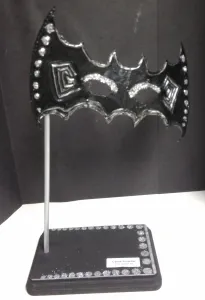
课程目标: 运用下列具体美术元素与原理,以铝箔浮雕(repousse)形式创作一幅非具象或抽象风格的面具。
• 五大美术元素:线条、形状、色彩、体块、肌理
• 五大美术原理:强调(视觉中心)、变化、节奏(图案)、统一、动感
所需材料: 36 号压花铝箔,裁为 9″×12″ 尺寸——圣路易斯手工艺公司 12″×5′ 36 号铝箔卷材,12″×60″ 规格,36 号,铝质 ;冰棒棍与陶艺塑形工具;带多种肌理的拓印板——菲斯卡斯肌理板 1
 ;胶带;圆珠笔;泡沫板(12×18 英寸);各色锐意记号笔及永久性记号笔;其他辅材:羽毛套装、宝石/亮钻、毛根、金属丝、毛线、椰壳纤维绳、丝带、剪刀、热熔胶枪或白乳胶
本课所用工具购自亚马逊:金属压花工具——锥形刻针


以下为我们使用的菲斯卡斯拓印板——由硬质塑料制成,耐磨损,适合在金属箔上反复拓印。


教学要点:
- 浮雕(Repousse): 一种通过锤击或按压金属背面来形成正面凸起纹样的浮雕工艺。法语原意为“向上推”。
- 相关技法:
- 追刻(Chasing) 是与浮雕相反的工艺,二者常配合使用以完成作品,亦称“压花”。
- 浮雕作用于金属背面,使正面呈现凸起纹样;而追刻则作用于作品正面,通过下压金属来精修纹样。
- 浮雕与追刻均利用金属的延展性,逐步塑形。整个过程不损耗金属,仅局部拉伸,表面保持连续完整。
制作步骤:
- 在素描本中绘制面具草图。
- 在一张 9×12 英寸纸上用铅笔绘制最终设计稿。
- 将纸张用胶带固定于 38 号压花铝箔上。
- 在铝箔下方垫一块泡沫板,再用圆珠笔或钝头铅笔将设计稿描摹到铝箔上。
- 取下纸稿。
- 运用多种铝箔压花技法及拓印板,在面具上制作纹样。结合浮雕与追刻技法,“推”与“拉”铝箔,将其塑造成你期望的造型。需从铝箔正反两面同时操作。务必轻柔操作,避免铝箔撕裂——每次只施加少量压力。
- 用锐意记号笔及永久性记号笔为面具上色。
- 沿轮廓剪下面具——注意锋利边缘可能割伤手指。
-
用羽毛及其他装饰物(如羽毛、毛线或黄麻纤维制的假发/胡须、宝石、亮片等)装点面具。
-
将涂色或彩绘过的木棒粘贴于面具背面作支撑杆。
-
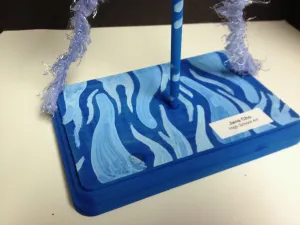
在木块底座上钻孔,再将底座涂色,使其与面具色调协调统一。
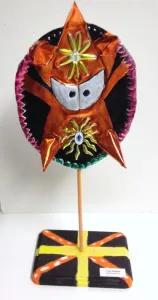
: 特洛伊
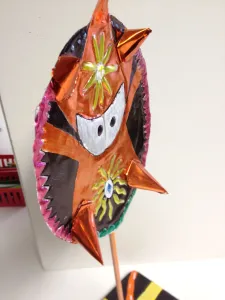
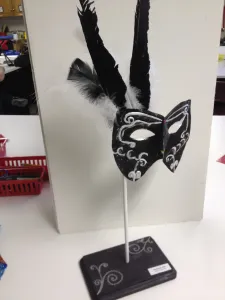
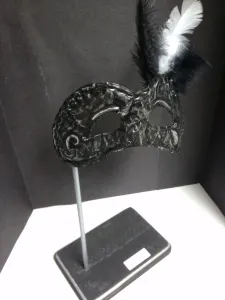
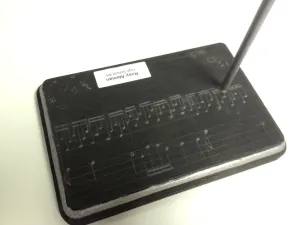
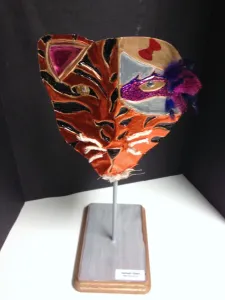
: 汉娜

: EJ —《神秘博士》面具“伽里弗雷”
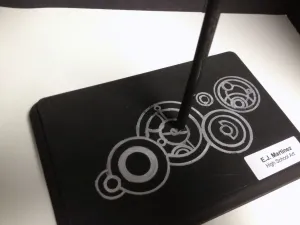
: “伽里弗雷”文字

: 肯
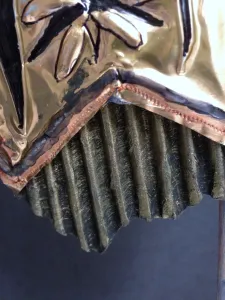
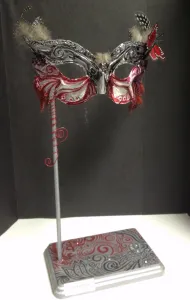
: 劳拉

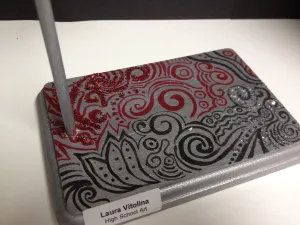

: 简
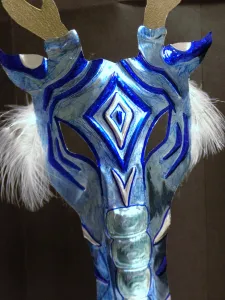
: 卡莉
另一项浮雕实践:铝箔——金属压花(浮雕)装饰球
若您选用本教案或转载相关内容,请务必回链至我的博客:Create Art with ME
Original: https://createartwithme.com/metal-embossing-masks-repousse-lesson/
Date: 2014-03-10
Author: Michelle East
Categories: 6th Grade, Art Lessons, Cultural Art Lessons, HS Art, Masks, Metal Embossing Repousse, Mixed Media Lessons, MS Art, Sculpture Lessons, Texture
Tags: 38 gauge foil, 6th grade Art, foil embossing, HS art, mask lesson, Metal embossing, Metal Embossing Masks, Metal Embossing Masks - Repousse Lesson, metal lesson, metal mask, metal working, MS Art, repouse, repousse, Repousse Lesson, techniques, tooling
: EJ -Dr Who Mask Galifrey
: Jane
: Ken
Project Objective: Use the specific elements & principles of art listed below to create a mask with non-objective or abstract design in foil relief (repousse).
• 5 Elements: Line, Shape, Color, Form & Texture
• 5 Principles: Emphasis (Focal Point), Variety, Rhythm (Pattern), Unity & Movement
Supplies: 36 gauge Tooling Foil cut into 9″x12″ sheets-St. Louis Crafts 12″”X5′ 36 GA ALM Foil Sheet Roll, 12″ x 60″ Size, 36 Gauge, Aluminum, Popsicle sticks and Clay Modeling Tools, Rubbing Plates with various textures-Fiskars Texture Plates 1, Tape, Ball point pens, Foam sheets (12×18), Various colored Sharpie Markers & Permanent Markers, Extras: Feather Assortment, gems/jewels, Pipe Cleaners, wire, Yarn, Raffia, ribbon, Scissors, Hot Glue Gun or Tacky Glue
The tools we use in class are from Amazon: Metal Embossing Tools Stylus
Here are the Fiskar Rubbing plates we use-they are hard plastic which hold up well while rubbing the metal against it.
Delivery:
- Repousse: A method of creating a relief design by hammering or pressing the reverse side of a metal surface. Literal meaning in French, “pushed up”.
- Techniques:
- Chasing is the opposite technique to repoussé, and the two are used in conjunction to create a finished piece. It is also known as embossing.
- While repoussé is used to work on the reverse of the metal to form a raised design on the front, chasing is used to refine the design on the front of the work by sinking the metal.
- The techniques of repoussé and chasing utilize the plasticity of metal, forming shapes by degrees. There is no loss of metal in the process, as it is stretched locally and the surface remains continuous.
Instructions:
- Draw sketches for a mask in sketchbook.
- Draw final design on 9 x 12 sheet of paper using pencil
- Tape paper to 38 gauge Tooling Foil
- Place a foam sheet under the foil & trace your design onto foil using ball point or dull pencil.
- Remove drawing from foil.
- Use various foil embossing techniques & rubbing plates to create designs in the mask. Use repousse and chasing techniques to “push and pull” foil, molding it into the designs you desire. Work from both sides of the foil. Be gentle so foil doesn’t tear – push a little at a time.
- Use Sharpies and permanent markers to color mask
- Cut out mask – Be careful – edges can cut.
-
Add adornment to the mask by incorporating feathers and other (Feathers, yarn or jute hair/beards, gems, sequin, etc)
-
Glue colored/painted dowels rod to mask.
-
Drill a hole in a piece of wood for the base. Paint the base to be harmonious with the mask.
: Troy
: Hannah
: EJ -Dr Who Mask Galifrey
: Galifrey Writing
: Ken
: Laura
: Jane
: Carrie
Another Repousse Project: Aluminum Foil-Metal Embossing (Repousse) Ornament
If you choose to use this lesson or to repost it, please link it back to my blog. Create Art with ME


