重叠彩虹树叶
原文链接:https://tabithaannthelostsock.blogspot.com/2013/12/overplapping-rainbow-leaves.html
日期: 2013-12-03
标签: 艺术、色彩、空间感、秋季、树叶、教案、丢掉的袜子、初中、米诺拉、重叠、彩虹、塔比莎·西顿、描摹、水彩
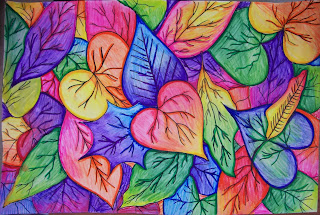
玛丽安娜,八年级
第八节课美术
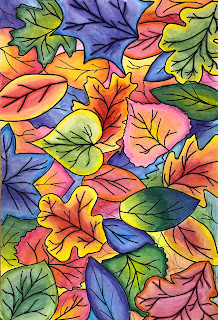
塔妮娅与布里安娜
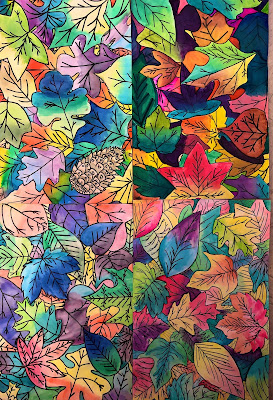
布瑞安娜、马可、谢韦尔与普蕾西奥萨
第九节课美术,2019年
林迪、卢克与盖奇
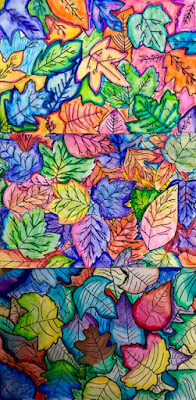
第一节课美术,2019年
安布里亚、凯蒂与悠香
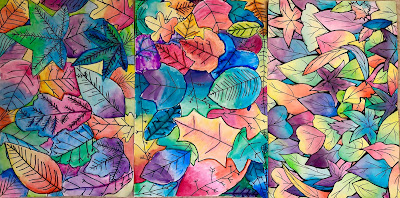
第二节课美术,2019年
克里斯、弗兰西、艾迪森、
摩西与露西
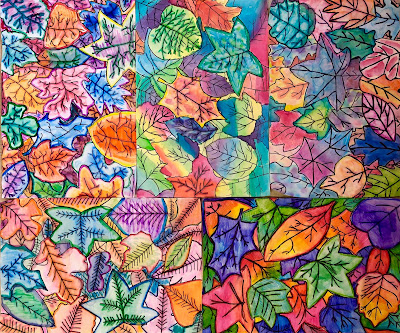
第三节课美术,2019年
凯莉、布鲁克林、
匿名学生与丹妮尔
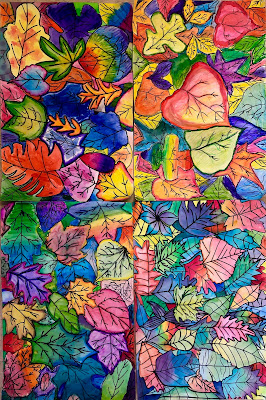
第四节课美术,2019年
雅典娜、玛迪、
阿丽萨与贝瑟尼
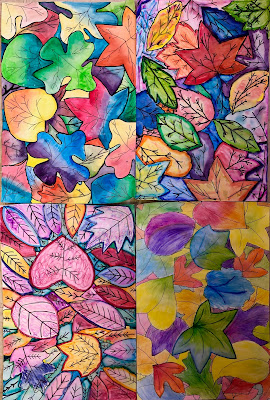
我们先到户外采集树叶。
寻找比手掌更大、完整无破损、且形状独特的树叶。
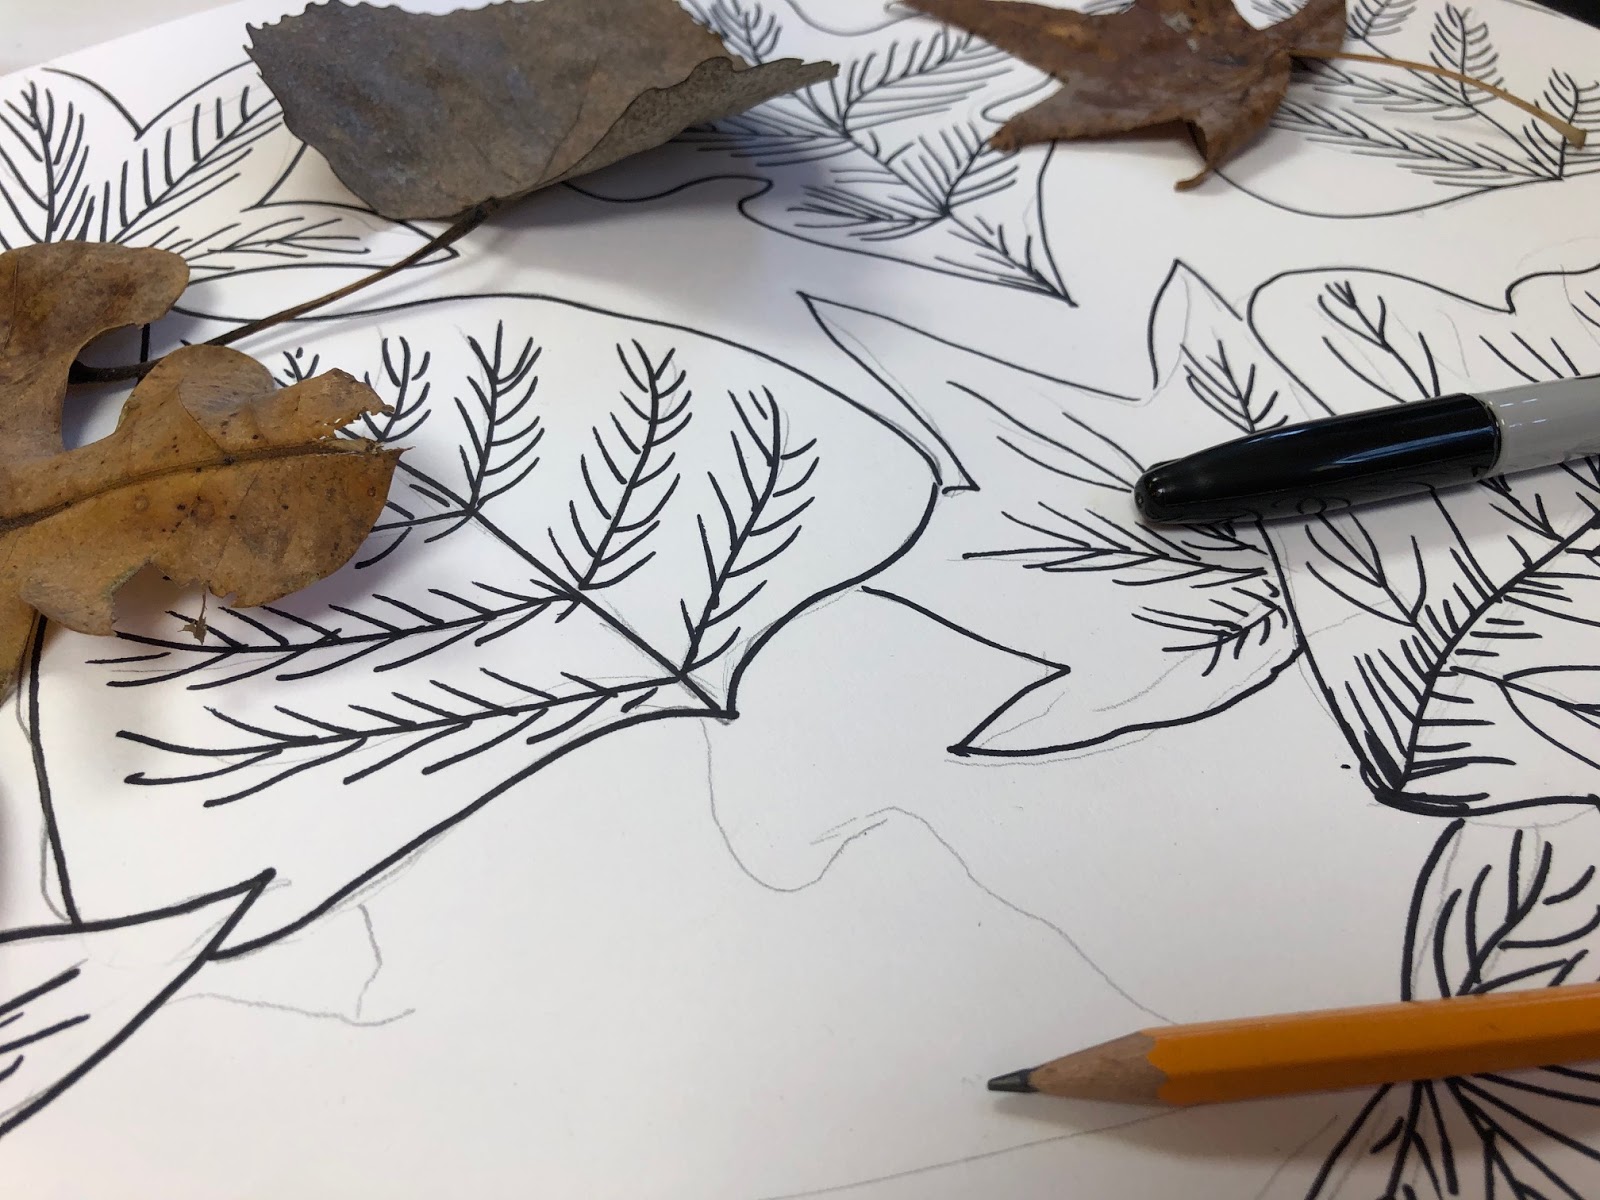
带回教室后,轻轻掸去灰尘,再将树叶放在纸上描摹。
尽可能多地描出树叶轮廓;接着开始安排层次——把部分树叶画在其他树叶下方,并让它们相互重叠。当某片树叶被另一片覆盖时,请记住:被遮挡的部分应不可见。因此,若某片树叶本应位于下方,则切勿将其全部轮廓描出。
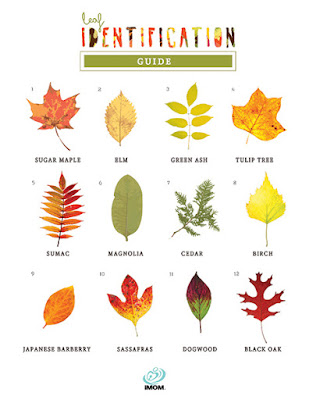
资料来源:
https://www.imom.com/printable/leaf-identification-game/#.XbnP0-tKii4
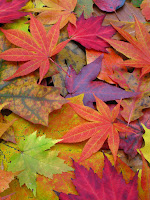
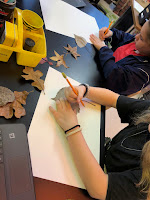
描摹时先用铅笔起稿,并画出叶脉。
完成后,再用永久性记号笔勾勒轮廓。
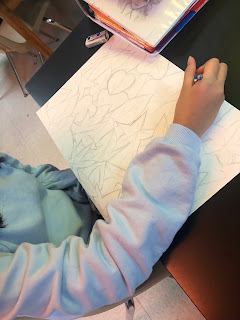
你不必非得描摹……
上方这位女生正借助电脑图像作参考,徒手绘制树叶。
你也可以这样做!
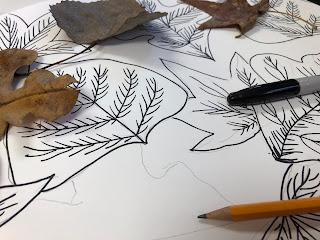
重叠是难点。
先完整画出最上层的所有树叶并勾线;
再在其下方添加新树叶,仅描出或画出实际可见的部分。
你绝不应透过一片树叶看到另一片。
待整张画面填满树叶后,用永久性记号笔勾边,然后上色……
开展本项目前,我们曾进行过一项水彩小练习。
参见此处……
https://tabithaannthelostsock.blogspot.com/search?q=watercolor+blobs
以下三种技法均源自前述练习。
树叶绘制的三种技法
- 湿画法水彩
或称水彩晕染法
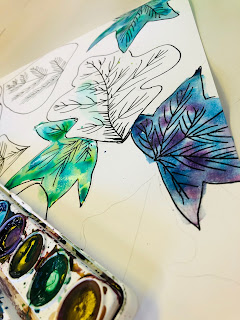
- 水彩铅笔
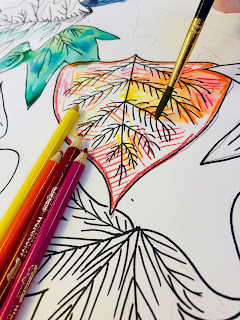
- 记号笔晕染法
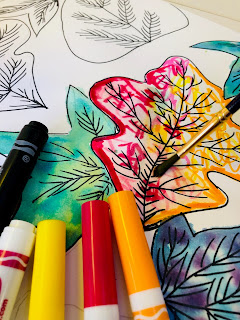
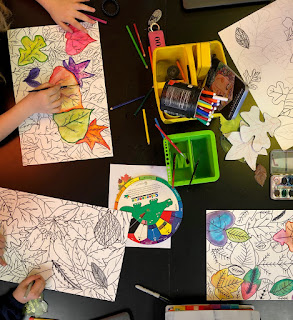
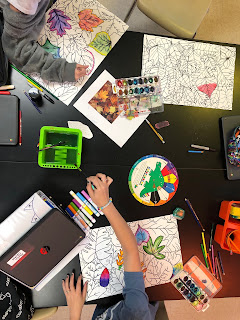
关于水彩铅笔的更多细节说明。
我设计本课程旨在教会学生:如何通过重叠营造空间感;如何在色轮上混合常见颜色;如何使用水彩铅笔;以及树叶的基本结构(解剖特征)。
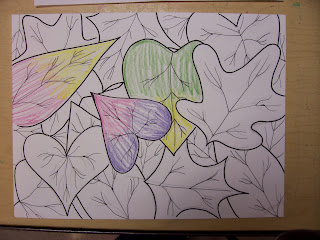
我准备了一套卡纸树叶模板,由真实树叶制作而成,供学生描摹使用。我们采用12×18英寸、中等至偏厚克重的纸张,以承受水分。学生先用铅笔描摹树叶,再画出叶脉,最后用黑色永久性记号笔勾勒轮廓。
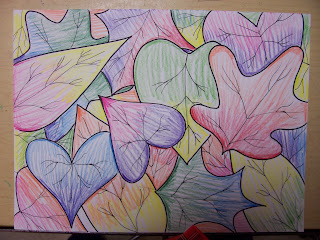
待学生准备进入着色阶段,我便带领全班到教室后方,现场示范水彩铅笔的正确用法。我借助色轮向学生说明:哪些颜色适合混合,哪些颜色宜相邻放置(如互补色),从而避免画面显得呆板扁平。学生需轻柔地在每片树叶上使用水彩铅笔,每片树叶至少包含两种颜色(以体现对色彩混合的理解)。请注意:这些铅笔并非普通彩铅(仅外观相似),故无需按彩铅方式使用。
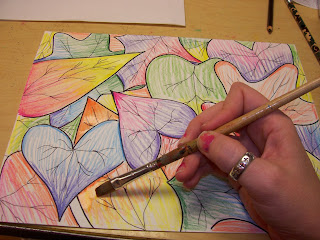
待所有树叶完成着色后,学生使用中号至小号画笔,将每片树叶上的两种颜色分别调和。每片树叶须单独调和,切忌用蘸水画笔在整张纸上连续扫过。若一次性将全页所有颜色同时调和,会导致色彩浑浊(呈中性灰)效果。
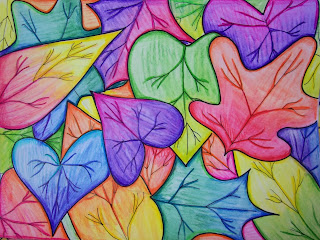
待每片树叶均用水调和完毕,
我请学生完成最后一步:
强调!
他们可用彩铅或记号笔强化树叶外轮廓与叶脉的视觉表现。此步骤看似多余,但你定会惊讶于其赋予作品的鲜活生命力。
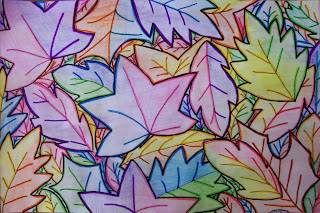
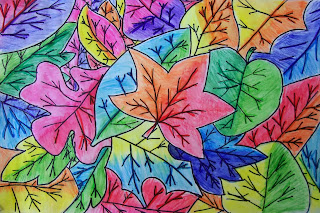
学生作品示例……
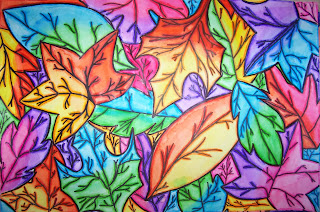
艾米莉
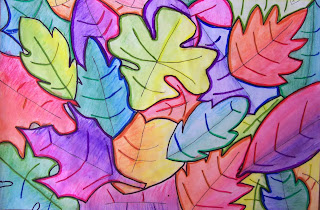
塞莱斯特
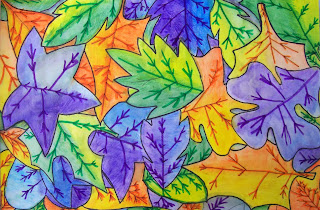
杰里迈亚
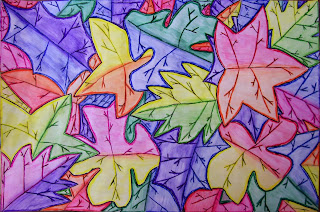
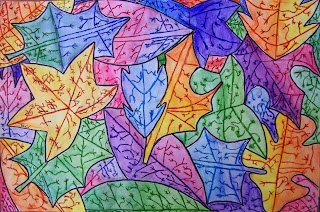
重叠彩虹树叶
Original: https://tabithaannthelostsock.blogspot.com/2013/12/overplapping-rainbow-leaves.html
Date: 2013-12-03
Tags: art, color, depth, fall, leaves, Lesson Plan, lost sock, middle school, mineola, overplap, rainbow, tabitha seaton, trace, water color
Mariana 8th grade
8th period art
Tania & Briana
Breanna, Marco, Chevelle & Preciosa
9th Period Art 2019
Lyndie, Luke & Gage
1st Period Art 2019
Ambria, Katie & Yuka
2nd period Art 2019
Chris, Francie, Addyson,
Moses & Lucy
3rd period Art 2019
Kaylee, Brooklyn,
Anonymous & Danielle
4th period Art 2019
Athena, Maddy,
Alisa & Bethany
We start by going outside to collect our leaves.
Hunt for leaves that are bigger than your palm, whole and untorn & unique in shape.
Bring them back to the classroom, dust them off and trace them on paper.
Fit as many as you can, then begin putting some underneath the others and overlapping them in your drawing. When something overlaps, remember that the leaf underneath is hidden in part. So, do not trace the entire leaf if it is supposed to look like it is underneath.
from
https://www.imom.com/printable/leaf-identification-game/#.XbnP0-tKii4
Start with a pencil when tracing. Draw the veins of the leaf.
Then trace with a permanent marker when done.
You don't have to trace...
This girl above is doing free handed leaves using her computer as a reference.
You can too!
Overlapping is the hard part.
After you make an entire top layer of leaves, outline them.
Then put new leaves under them , only tracing or drawing the area that would be showing.
You should not see through a leaf into another one.
Once entire page is filled with leaves, outline with permanent marker and paint...
Before we did this project, we did a sample project for watercolor..
See here...
https://tabithaannthelostsock.blogspot.com/search?q=watercolor+blobs
These three techniques below are from the previous project here.
Three Techniques for Leaves
- Wet on Wet watercolor
or watercolor wash
- Watercolor Pencil
- Marker Bleed
More detail on Watercolor Pencils.
I teach this project to teach kids how to overlap to create depth, to blend common colors on the wheel, how to use watercolor pencils, and the anatomy of a leaf.
I have a collection of card stock leaf stencils that I made from real leafs for the students to trace onto the paper. We use 12 by 18 inch paper that is medium to heavy weight to allow for water. Students trace leaves with pencil, draw in the veins of the leaf, then outline with permanent black marker.
I then take all students to the back when they are ready for coloring to demonstrate the proper use of watercolor pencils. I use the color wheel to show them what kind of colors should be blended as well as what kind of colors should be next to each other (opposites or complements) to avoid visual flatness. They use the pencils lightly on each leaf. Each leaf should contain at least 2 colors (to show blending of color knowledge). These pencils are NOT colored pencils (only look similar), so they do not need to be used as such.
After all leaves are colored, students use a medium to small size brush to blend the two colors on each leaf together. Each leaf should be blended individually. Do not use water and brush in one continual sweep over paper. Blending all colors on the page together at one time will result in a muddy color (neutral) appearance.
After water is used to blend each leaf,
I have the students do the last part.
EMPHASIS!
They can use colored pencils or markers to pop out the outside line and veins visually. This seems like an unnecessary step, but you would be surprised at how they come to life after this.
STUDENT EXAMPLES...
Emily
Celeste
Jeremiah