色彩搭配与锡箔浮雕纸板雕塑
原文链接:https://createartwithme.com/color-scheme-foil-relief-cardboard-sculpture/
日期: 2016-05-20
作者: 米歇尔·伊斯特(Michelle East)
分类: 四年级、五年级、六年级、美术课、色彩理论、小学美术、美术元素课程、金属压花浮雕(Repoussé)、美术原理课程、节奏与图案课程、雕塑课程
标签: 色彩搭配课、色彩搭配课程、简易浮雕雕塑、锡箔、锡箔浮雕纸板雕塑、锡箔雕塑、浮雕纸板雕塑、雕塑中的统一性、色彩中的统一性、色彩搭配中的统一性
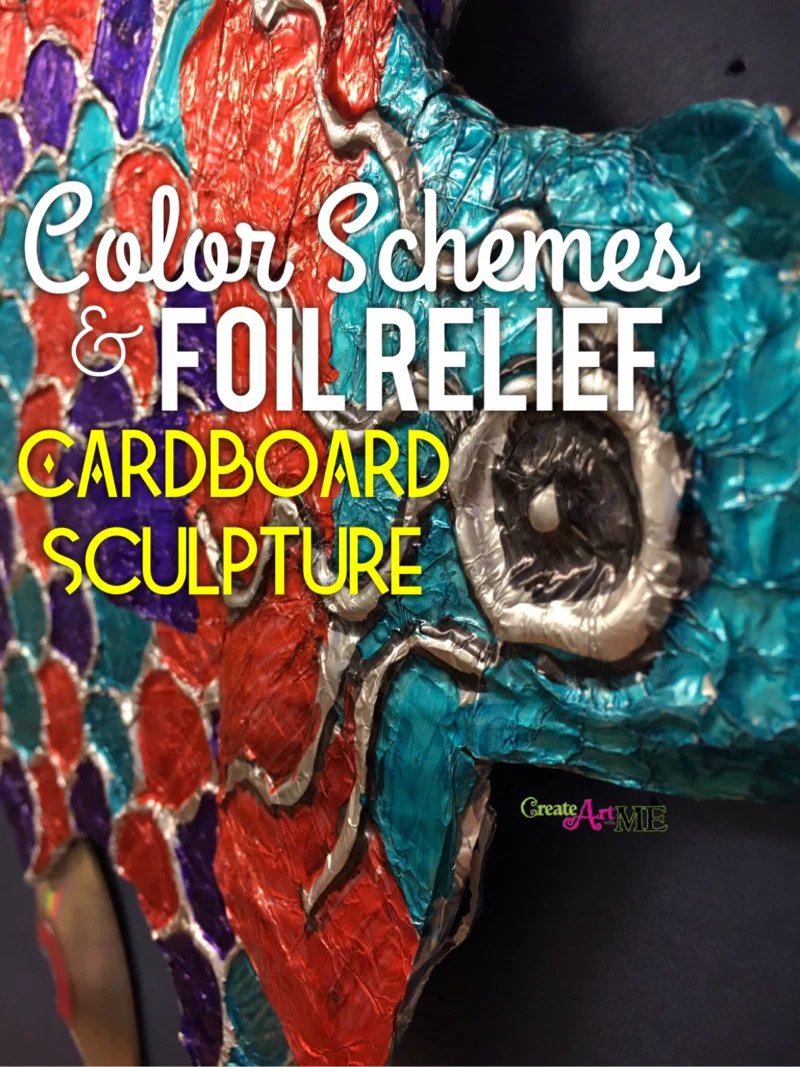
图片用特定色彩搭配创作雕塑,是为三维媒介赋予统一性的绝佳方式!
本项目灵感源自多年前我女儿在小学时完成的一个作业——她当时有一位非常出色的美术老师(胡托夫人,Mrs. Hutto)。她们的制作方式与我们略有不同:我们使用热熔胶来构建底层肌理(而非白乳胶),使用更多纸板部件,额外加入了一张CD,并运用色彩搭配实现色彩上的统一。原始创意归功于胡托夫人!
所需材料: 纸板(我保留了所有学校订单的包装盒)、热熔胶、迷你高温热熔胶枪 、普通铝箔、稀释胶水(胶水:水 = 3:1)、锐意细头永久性记号笔,24色混装套装


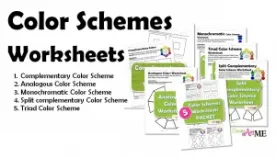
制作步骤:
-
绘制1–2个雕塑设计方案。请确保包含以下要素:
- 3–4个形状 + 1张CD(CD可裁切成二分之一或四分之一大小)
- 可用热熔胶制作的简洁图案,且至少露出一处纸板的瓦楞结构。
- 形状之间相互重叠。
-
使用一种色彩搭配为草图上色(参见 五种色彩搭配工作表合集)
-
将全部形状绘制在纸板上(单边尺寸不超过10英寸),并用剪刀或美工刀裁剪下来。(学生将裁好的形状放入写有自己姓名的密封袋中保存)暂勿组装!
-
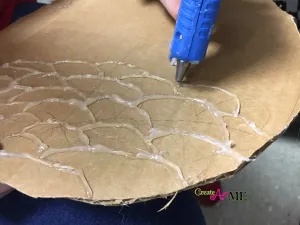
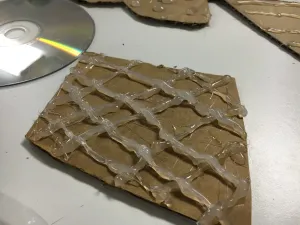
使用热熔胶枪在纸板形状表面“绘制”图案。
- 对每个独立形状分别操作:
- 裁剪一块略大于该形状的铝箔,并轻轻揉皱;
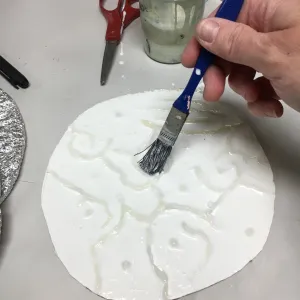
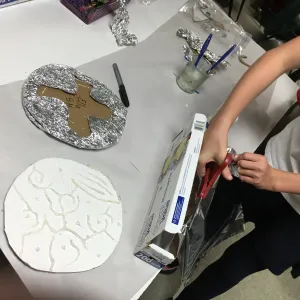
- 用廉价画笔将稀释胶水均匀涂满纸板整个表面,再将揉皱的铝箔铺于其上;
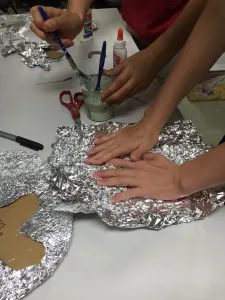
- 用力按压铝箔,使其完全贴合所有凹槽、图案及平整区域——此步骤耗时但极为关键! 请用手指反复揉擦表面;
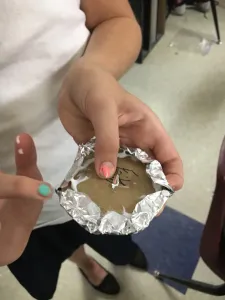
- 将铝箔边缘包裹至纸板背面,并沿背面边缘涂一列普通胶水以固定铝箔;
- 完全晾干。
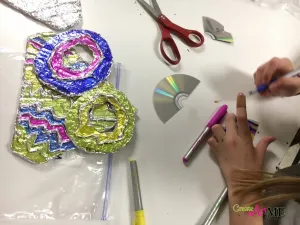
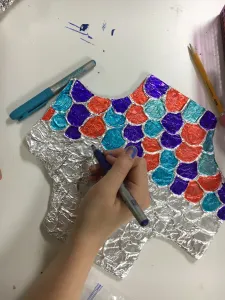
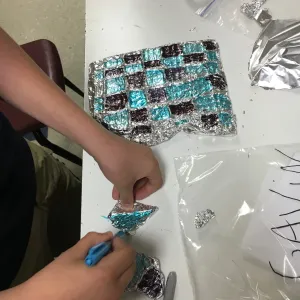
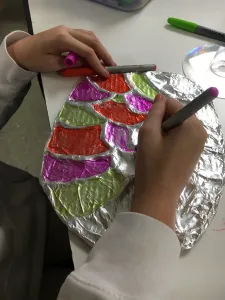
- 使用永久性记号笔为各形状及CD上色(切记采用统一的色彩搭配)。
-
用热熔胶组装雕塑。务必在作品上注明你的姓名!!
-
从雕塑背面系上一根细绳,用于悬挂作品。
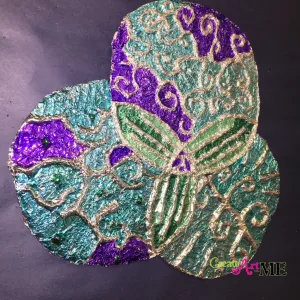
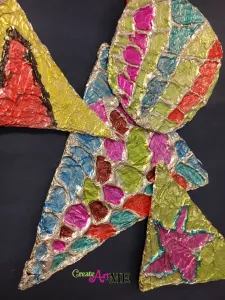
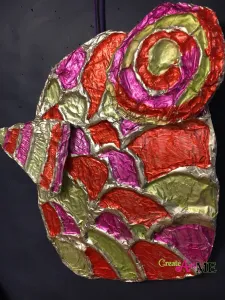
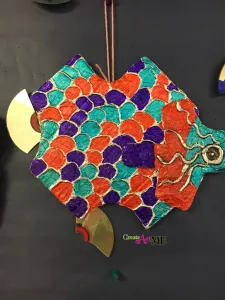
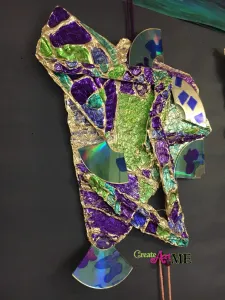
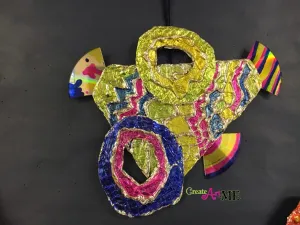
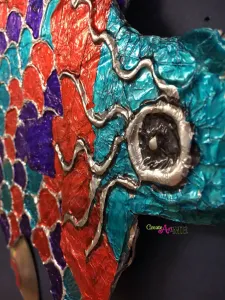
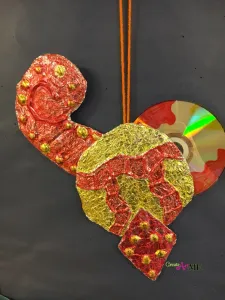
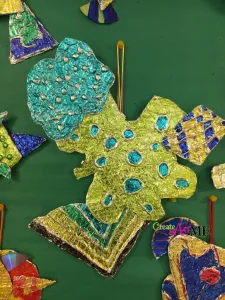
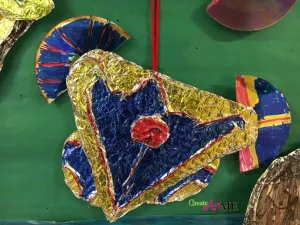
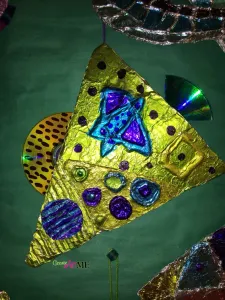
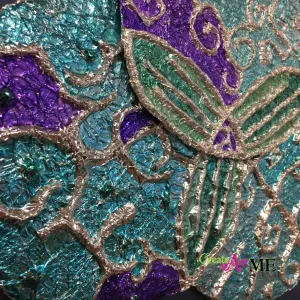
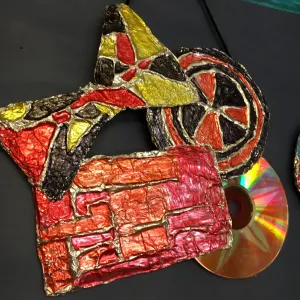
学生作品示例:
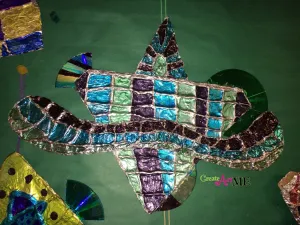
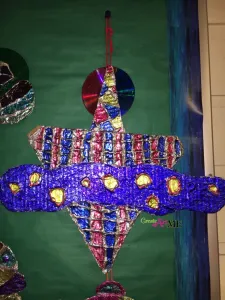
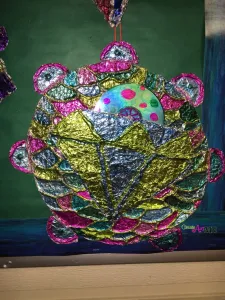
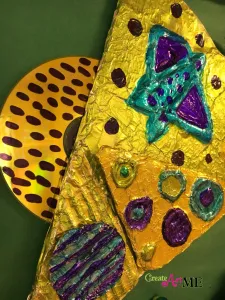
若您引用本文任何部分(文字、图片或图表),请务必回链至我的博客 Create Art with ME。
Color Schemes and Foil Relief Cardboard Sculpture
Original: https://createartwithme.com/color-scheme-foil-relief-cardboard-sculpture/
Date: 2016-05-20
Author: Michelle East
Categories: 4th Grade, 5th Grade, 6th Grade, Art Lessons, Color Theory, Elementary Art, Elements of Art Lessons, Metal Embossing Repousse, Principles of Art Lessons, Rhythm & Pattern Lessons, Sculpture Lessons
Tags: Color Scheme Lesson, Color Schemes Lessons, easy relief sculpture, Foil, Foil Relief Cardboard Sculpture, foil sculpture, Relief Cardboard Sculpture, unity in sculpture, unity with color, unity with color schemes
imageCreating a sculpture with a color scheme is a great way to bring unity to a 3D medium!
This project is inspired by a project that my daughter did long ago at her elementary school- she had an awesome art teacher (Mrs. Hutto). They did their projects a little differently than we did ours. We used hot glue to create the underlying texture (instead of tacky glue), used more cardboard pieces, added a CD & used color schemes to bring unity with color. Credit for the original goes to Mrs. Hutto!
Supplies: Cardboard (I keep all my boxes from my school orders), hot glue , Mini High Temperature Glue Guns, regular aluminum foil, diluted glue (25% water), Sharpie Fine-Tip Permanent Marker, 24-Pack Assorted Colors
Instructions:
1.Sketch 1-2 designs for your sculpture. Make sure to include:
- 3-4 Shapes + 1 CD (CD can be cut up into 1/2 & 1/4 pieces)
- Simple patterns that you can make with hot glue & at least one exposed corrugation of the cardboard.
- Overlapping shapes.
-
Color your sketch with a color scheme (5 Color Scheme Worksheet PACKET)
-
Draw ALL shapes on cardboard (no larger than 10”) and cut them out with **scissors or an Exacto knife. (Students keep their shapes in zip-lock bag with their name on it) DON”T ASSEMBLE IT YET!
-
Use hot glue gun to “draw” patterns onto the cardboard shapes.
- To each individual shape:
- Cut a slightly larger piece of foil than the shape & lightly crumple the foil.
- Apply diluted GLUE all over surface of cardboard with a cheap brush & then lay a crumpled piece of aluminum foil on top.
- PRESS foil down completely over all the grooves, patterns and smooth surfaces-this takes time, but it is extremely important! Use your fingers to rub the surface.
- Wrap foil around the back edge of the cardboard. Use a line of regular glue along the back to hold the foil in place.
- Let dry completely.
- Use PERMANENT markers to color your shapes & the CD (don’t forget to use a color scheme).
-
Assemble the sculpture using hot glue. Make sure your name is on it!!
-
Attach a piece of yarn from the back to hang your sculpture.
Student Examples:
If you choose to use ANY part of this post (written, photo or graphic), please link back to my blog Create Art with ME.
