轮廓线彩虹斑
原文链接:https://tabithaannthelostsock.blogspot.com/2019/09/contour-line-rainbow-blobs.html
日期: 2019-09-17
标签: 2art.chambers,轮廓线,圆点,水彩
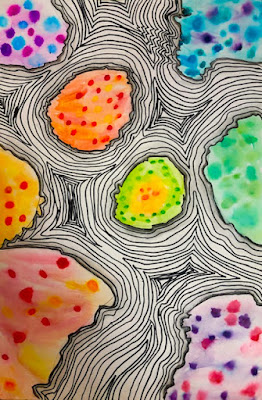
亚历山大,六年级
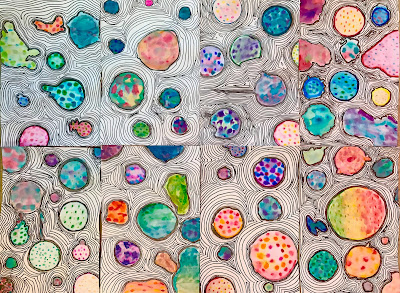
(上图)
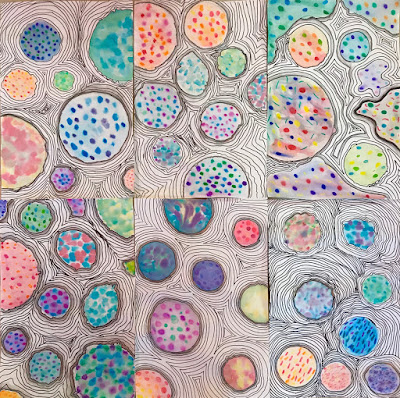
2019年第一节课美术
鲁本、安布里亚、杰森、
德西蕾、尤卡与凯蒂
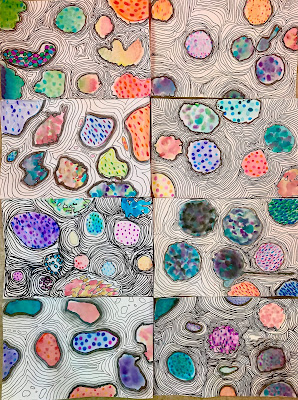
2019年第二节课美术
贾内特、萨菲拉、
克里斯、露西、
伊萨克、卡罗琳、
摩西与钱斯
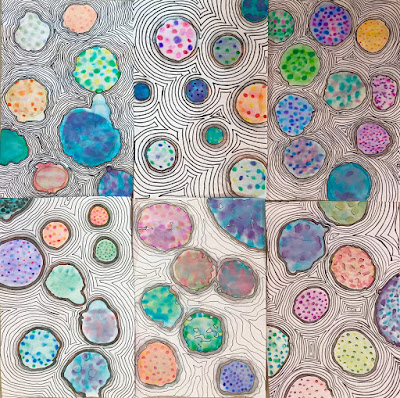
2019年第三节课美术
麦克斯、卡罗琳、
贝莉、乔西伦、
凯莉、布鲁克林、
丹妮尔与伊桑
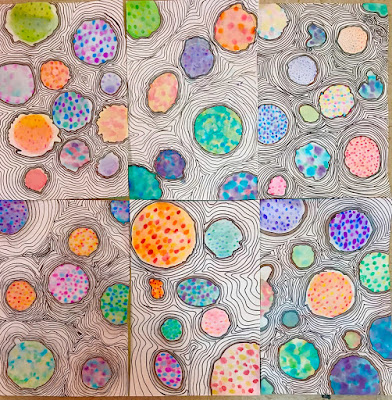
2019年第四节课美术
克里斯蒂、布莱恩、莱利、
杰姬、布鲁克与阿莉西娅
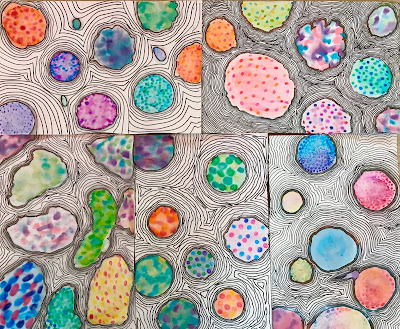
2019年第八节课美术
布里安娜、玛凯娜、普雷西奥萨、
塔尼娅、马可与谢维尔
2019年第九节课美术
纳塔莉、麦娅、
贾米娅、乔佳与卢克
我从Instagram上的美术教师
2art.chambers
那里获得了本项目的灵感。
她总为自己的课堂设计有趣又色彩丰富的活动。
她的网站如下……
https://www.asktheartteacher.com/home/2018/11/12/lauralee-chambers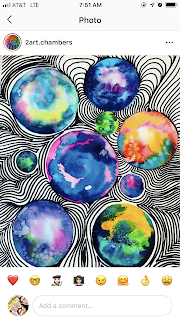
我对她的具体操作方法并不十分清楚,因此自己做了一些尝试。
我结合使用了水彩与水性马克笔(加水晕染),
最终得到了类似(但不如原作那般鲜明)的效果。
首先,用铅笔画出8个大小不一的圆形;
其中一些可部分延伸至纸张边缘。
我们将尝试两种水彩技法,每种各用于4个圆形。
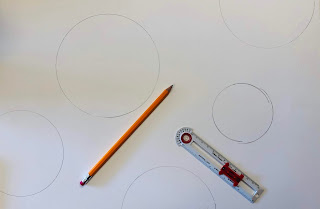
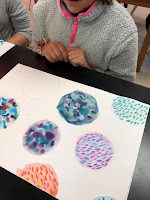
我绘制圆形的起始方式。
技法一
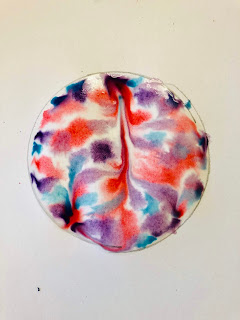
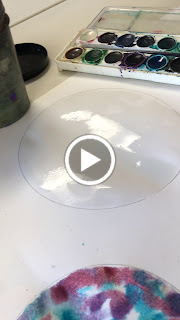
先用画笔蘸清水,将整个圆形区域涂湿。
再将水彩颜料蘸于画笔上,将颜色以“滴落”或“点状”方式滴入圆形内侧各处;
颜料会自然向外扩散。请选用邻近色——即色轮上彼此相邻、易于融合的颜色。
这种水彩技法称为湿画法(湿底着色)。
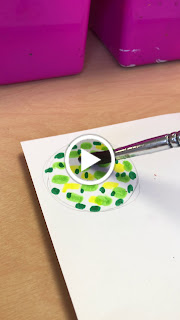
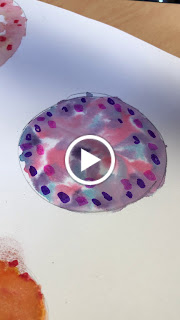
参见视频
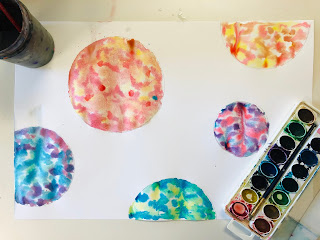
采用“湿画法”滴色后的效果……
技法二
现在进入第二种水彩技法……
马克笔水洗法。
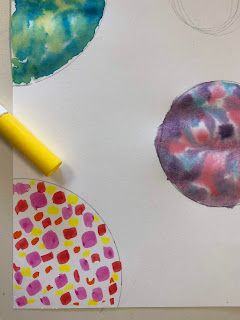
仅使用马克笔点绘的视频。
在剩余的圆形中,用马克笔点出较大的色点,各点之间留出少许空隙。
继续选用能良好融合的邻近色。
色点大小应约等于一颗M&M花生巧克力豆或水果糖。
随后用湿润的画笔轻柔旋转晕染,使各色点交融。
反复试验 · 分析评估 · 微调优化
由于我最初采用的湿画法效果不如原作鲜明,
于是我待画面干透后,在其上追加马克笔色点,
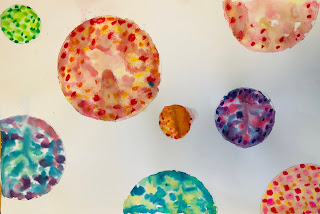
再以湿画笔覆盖晕染,促使颜料再次扩散。
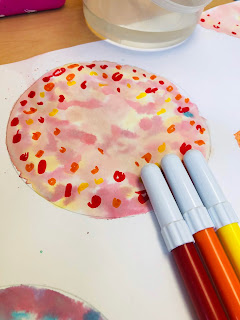
追加马克笔与水之后……
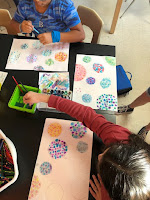
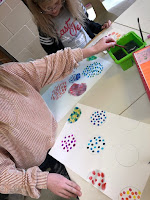
添加
轮廓线
待水分完全干燥后,开始沿圆形边缘描线。
即使边缘略有变形,也须忠实追随其实际形状。
这反而会使最终效果更富趣味性。
轮廓线广泛运用于生活多个领域,
例如地形图绘制与素描创作。
地形图
素描
我们的轮廓线将模仿地形图的表现方式。
https://www.houstonisd.org/cms/lib2/TX01001591/Centricity/Domain/33147/Cross%20Contour%20Drawing.pdf
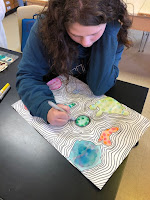
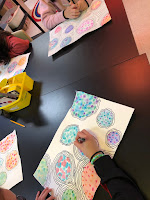
持续描线,直至黑色线条即将触碰到另一圆或另一条线。
若发生这种情况,请勿让两线相接,而应让同一条线绕过相邻圆形继续延展,
(形如一个中间不相交的“8”字)。
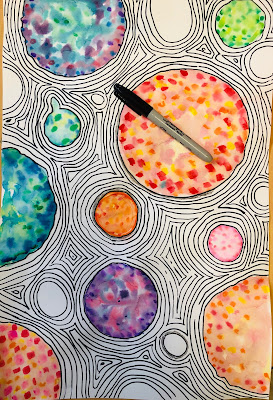
持续如此操作,直至所有圆形均被弯曲环绕的线条所填满。
此即所谓轮廓线。
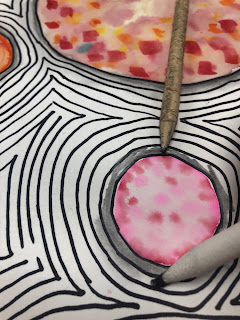
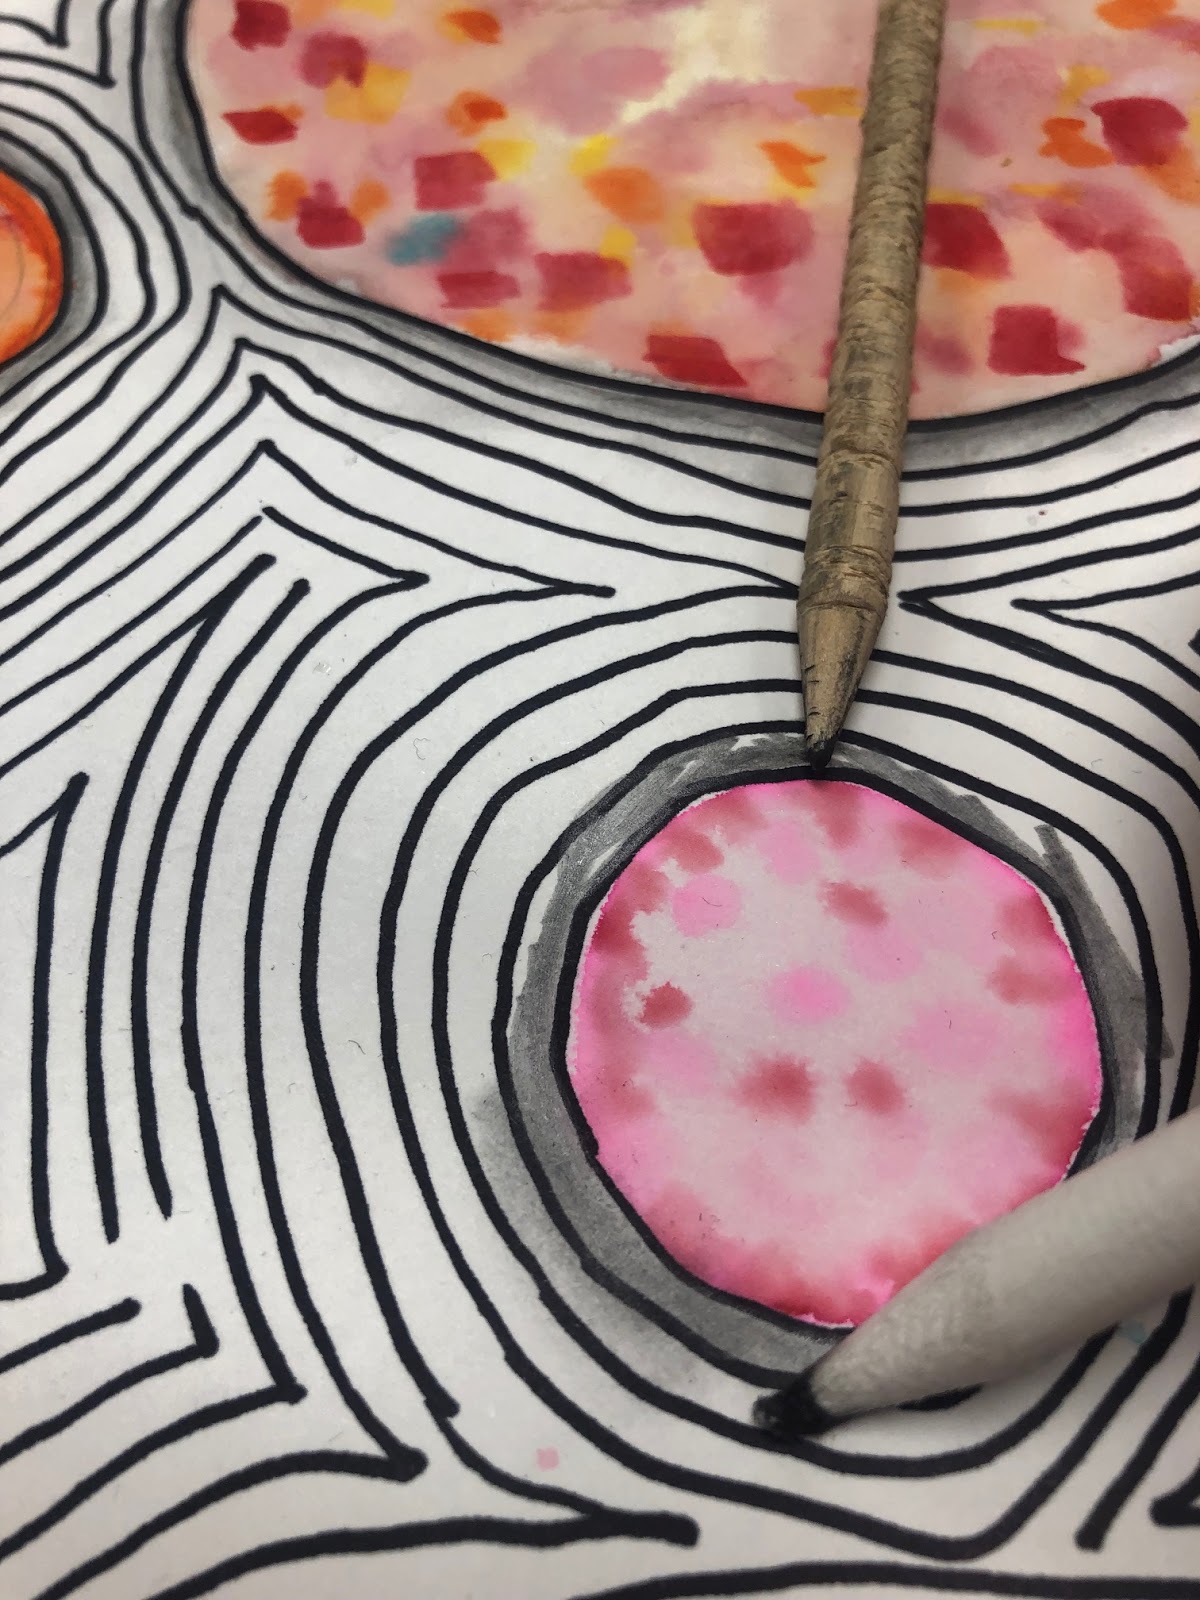
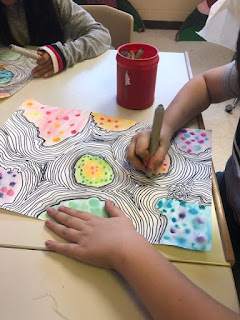
亚历克萨正用擦笔添加阴影。
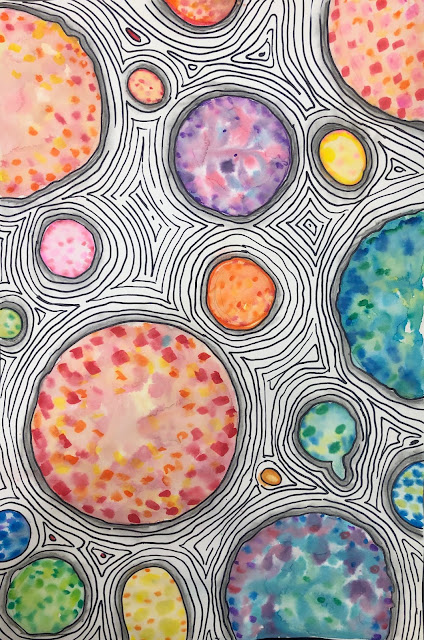
接着,使用铅笔与擦笔,在每个圆形周围添加阴影。
轮廓线彩虹斑
Original: https://tabithaannthelostsock.blogspot.com/2019/09/contour-line-rainbow-blobs.html
Date: 2019-09-17
Tags: 2art.chambers, conrour line, dots, watercolor
Alexander 6th grade
(above)
1st Period Art 2019
Ruben, Ambria, Jason,
Desiree, Yuka & Katie
2nd Period Art 2019
Janette, Saphyra,
Chris, Lucy,
Isac, Caroline,
Moses & Chance
3rd Period Art 2019
Maxx, Caroline,
Bailee, Josilen,
Kaylee, Brooklyn,
Danielle & Ethan
4th Period Art 2019
Krissie, Brian, Riley,
Jackie, Brooke & Alisia
8th Period Art 2019
Breanna, Makena, Preciosa,
Tania, Marco & Chevelle
9th period Art 2019
Nathalie, Maiyah,
Jamya, Jorja & Luke
I found inspiration for this project from the art teacher
2art.chambers
on Instagram.
She always has fun colorful things for her class to do.
Here is her website as well...
https://www.asktheartteacher.com/home/2018/11/12/lauralee-chambers
I wasn't really sure of her method of doing the project, so I did a little experimenting of my own.
Using a combination of watercolor and marker with water
I ended up having a similar
(but not so brilliant) result.
Begin with 8 circles drawn in pencil in varying sizes.
Some may go partially off the paper.
We will experiment with 2 methods of watercolor and use 4 for each type.
How I started the circles.
TECHNIQUE 1
Fill in the entire circle with water from a brush.
Get watercolor on the brush and drop/dot colors into the circle all around
and they will expand outwards. Use ANALOGOUS colors that will blend well and that are next to each-other on the color wheel
This watercolor technique is called wet on wet.
SEE VIDEO
results After the WET ON WET watercolor drop method. ..
TECHNIQUE 2
Now, time for the second type of watercolor technique...
MARKER WASH.
Video with marker dots only.
Apply large dots of marker to the remaining circles leaving a little wiggle room for them.
Continue to choose ANALOGOUS colors that blend well.
They should be about the size or a skittle or a peanut M&M.
Use a wet brush to swirl the colors together.
Trial and Error... Critiquing and Tweeking..
Because my original wet on wet watercolor was not as brilliant as hers,
I added marker dots when it was dry and went over the marker with a wet brush to make it expand.
After adding marker and water...
adding
CONTOUR LINE
After the water is dry, begin tracing the circles.
Stay with their shape, even if it got a little off the circle.
THis makes the outcome more interesting.
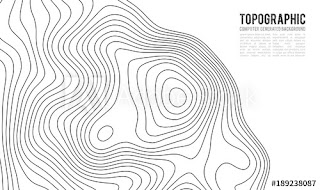
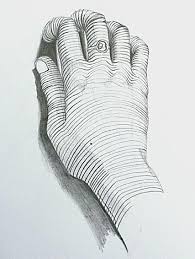
Contour line is used in different areas of life.
It is used for topography maps and in drawing.
Topography
Drawing
Our CONTOUR LINES will resemble that of the Typography Map.
https://www.houstonisd.org/cms/lib2/TX01001591/Centricity/Domain/33147/Cross%20Contour%20Drawing.pdf
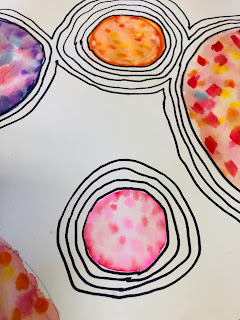
Continue outlining until the black circle is about to touch another circle or line.
If this happens, do not touch them, but use the same line to go around the other circle as well
(like an "8" that does not touch in the middle).
Continue doing this until it is filled up with lines that bend around each circle.
This is called CONTOUR LINE>
Alexa adding shadow with blendy stump.
Then, using a pencil and a shading stump, add a shadow around each circle.