搞笑面孔马克杯:泥板成型法马克杯——第一课
原文链接:https://createartwithme.com/funny-face-mugs-lesson-1-slab-construction-mug/
日期: 2015年5月18日
作者: 米歇尔·伊斯特(Michelle East)
分类: 五年级、六年级、美术课、陶艺课、文化美术课、民间美术课、高中美术、初中美术、雕塑课
标签: 陶艺课、初中陶艺课、陶艺词汇、表情丰富马克杯、表情丰富面孔、搞笑面孔陶罐、搞笑面孔马克杯:泥板成型法马克杯——第一课、搞笑面孔陶罐历史、泥板陶艺课、泥板黏土、泥板成型法
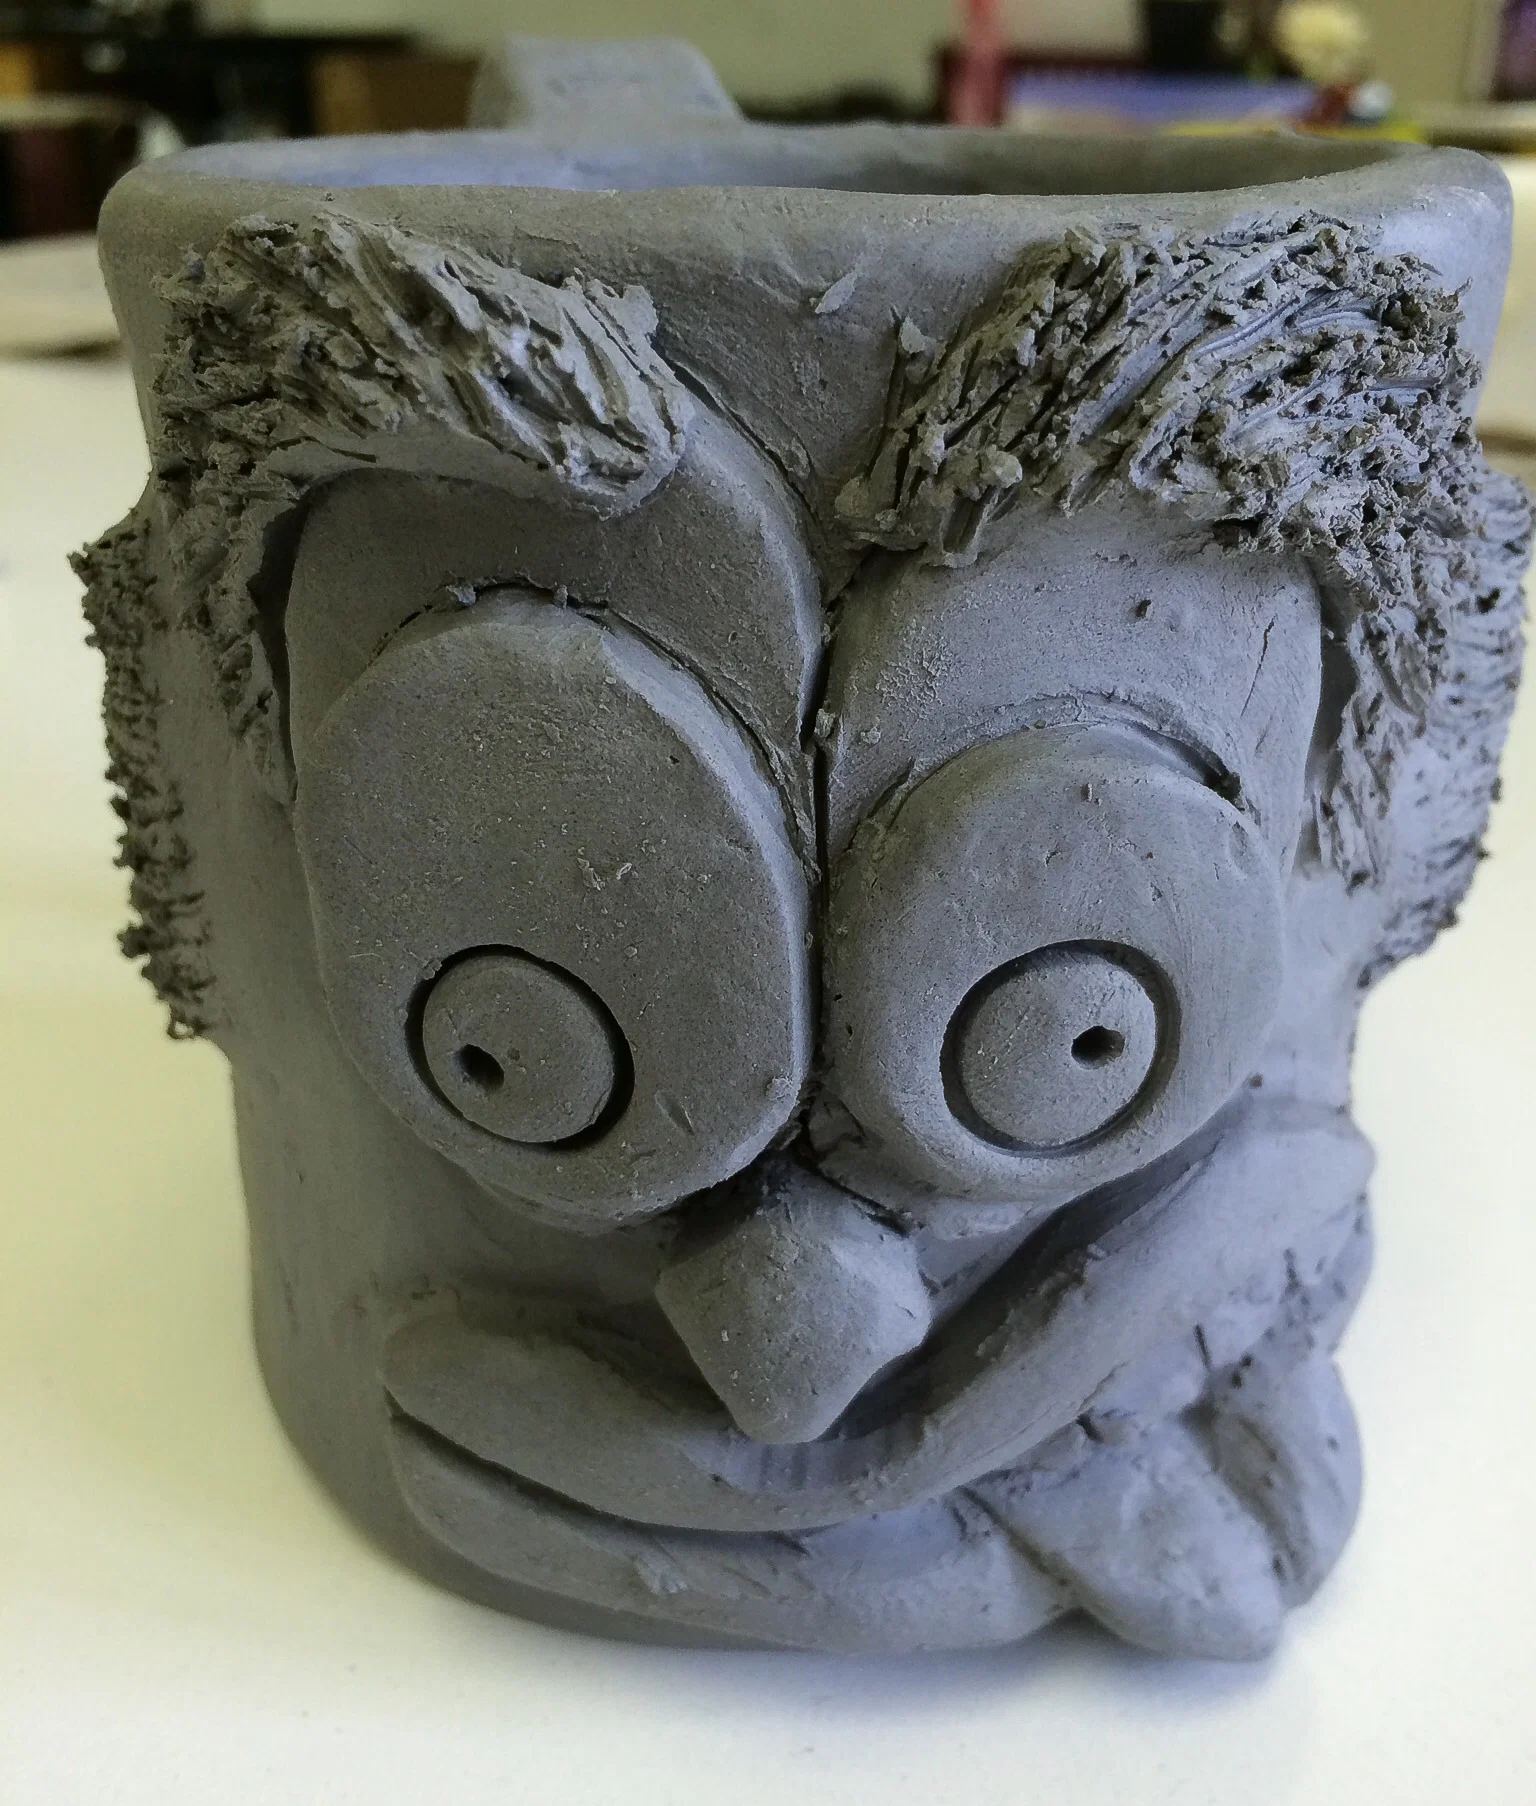
第一课:泥板成型法马克杯
为制作我们这款搞笑面孔马克杯的圆柱形杯身,我们沿用了我本人设计的 陶瓷仙子小屋课(详见链接中的完整教案)的基本教学流程;本课主要新增内容是为马克杯添加底座与把手。本项目由我的初中美术班(六年级美术课)完成,但亦可调整用于高中美术课,或高年级小学阶段(前提是学生已多次接触黏土并具备一定经验)。
今年夏天我将为此项目制作教学视频,请务必回访查看!
陶艺词汇:黏土干燥阶段
-
湿态(可塑态)——此时黏土湿润柔软,绝大多数手捏成型与雕塑工作在此阶段进行(极富延展性)
-
皮革硬态——黏土略干、稍显僵硬,绝大多数泥板成型工作在此阶段进行(仅轻微可弯)
-
素坯(骨干态)——黏土中水分完全蒸发,质地极为脆硬,完全无法弯曲
-
素烧坯——黏土经窑炉初次焙烧后所得坯体
-
釉烧坯——黏土施釉后再次入窑焙烧完成的成品
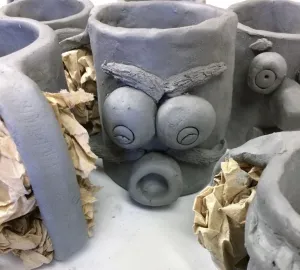
: 娜塔莉
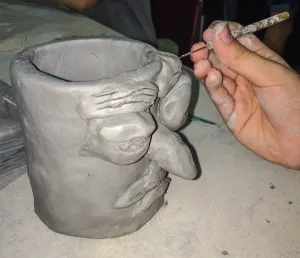
: 艾玛
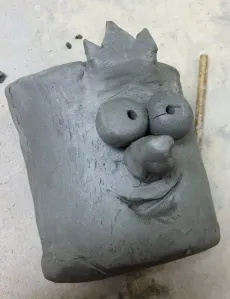
: 梅根
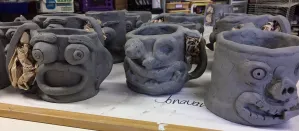
: 塔索斯
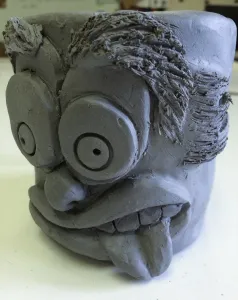
: 伊斯特老师
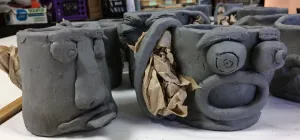
: 把手
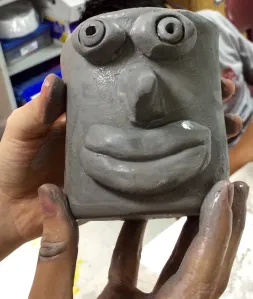
: 安珀
搞笑面孔马克杯制作流程
课题目标: 运用泥板成型法制作一只马克杯,并在其表面塑造出富有表现力的面部形象。需体现良好的陶艺技法,包括泥浆粘接与刻痕处理、黏土正确保存方式,以及规范的施釉操作。
操作步骤:
- 运用规范技法,制作一只基础泥板成型马克杯。务必将其装入塑料袋中保湿!!
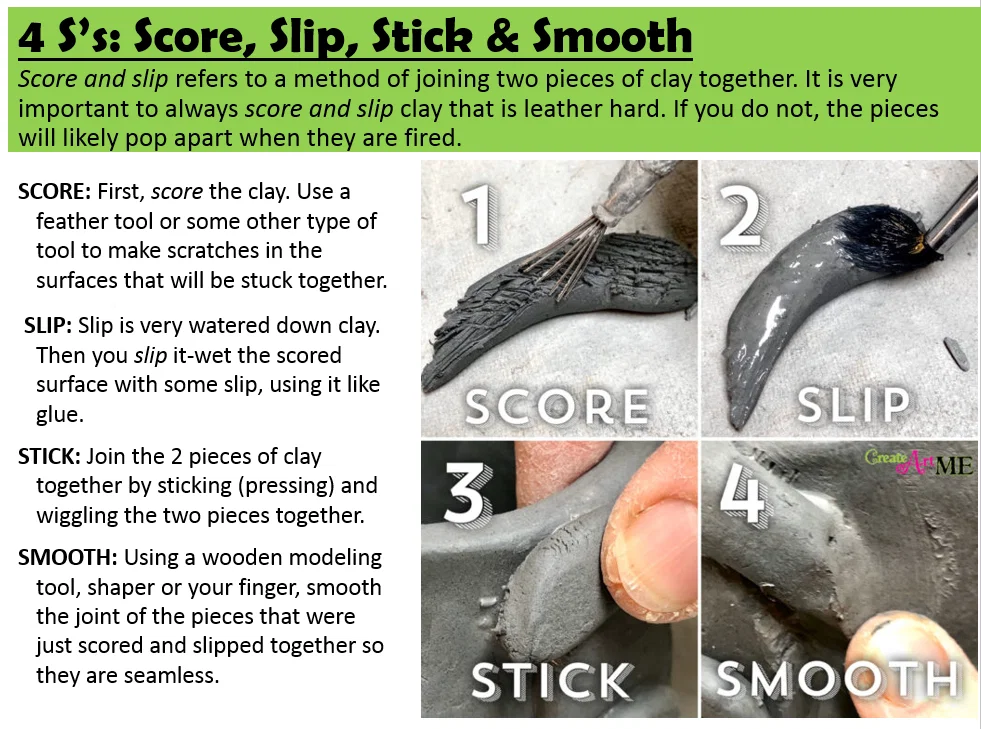](https://i0.wp.com/createartwithme.com/wp-content/uploads/2015/05/Slip-Score-Stick-Smooth.png)
- 观察各类富有表现力的面部范例,选定一种面部表情,在马克杯上进行塑造。
- 采用加法塑形法,在马克杯表面添加黏土以塑造面部。
- 面部塑造完成后,添加把手(请先观看教师示范)。把手需足够粗壮以保证强度,但不可过粗!
- 在马克杯底部刮刻自己的姓名与年份,并静置阴干5–7天。
- 取出自然晾干。
- 经素烧后,按个人喜好选择颜色施釉。
- 举办一场热巧克力派对,实际测试马克杯!
其他陶艺课程:
睡莲与荷花
玻璃珠装饰小鸟浴盆微缩模型
陶瓷蝴蝶碗(第一部分) 与 (第二部分:施釉完成)
带盖陶瓷盒
“角色扮演野兽”动物陶艺课
Funny Face Mugs Slab Construction Mug – Lesson 1
Original: https://createartwithme.com/funny-face-mugs-lesson-1-slab-construction-mug/
Date: 2015-05-18
Author: Michelle East
Categories: 5th Grade, 6th Grade, Art Lessons, Ceramics Lessons, Cultural Art Lessons, Folk Art Lessons, HS Art, MS Art, Sculpture Lessons
Tags: ceramic lesson, ceramics for middle school, Clay Vocabulary, expressive face mugs, expressive faces, Funny Face Jugs, Funny Face Mugs Slab Construction Mug - Lesson 1, History of Funny Face Jugs, slab ceramic lesson, slab clay, Slab Construction
Lesson 1: Slab Construction Mug
To create the cylinder for our funny face mugs, we followed the basic lesson plan from my Ceramic Fairy House Lesson (see FULL lesson at link), the main addition to the lesson was adding a base & handle to the mug. This project was created with my middle school art class (6th grade art), but could be adapted to high school art and upper elementary (if they have had experience with clay several times already).
I will be making a video this summer on how to do this project, so make sure to check back!
Clay Vocabulary: Stages of Dryness
1.Wet (Plastic)- this is wet moist clay, it is when most hand-building & sculpting happens (very bendable)
2.Leather hard- the clay is slightly dry and a little stiff, it is when most slab construction happens (it is only slightly bendable)
3.Greenware or Bone dry– the clay has no moisture left in it, it is very breakable & will NOT bend at all
4.Bisquesware- after the clay has been fired in the kiln
5.GlazeWare- after the clay has been glazed and fired in the kiln
: Natalie
: Emma
: Megan
: Tassos
: Mrs. East
: handles
: Amber
Funny Face Mug Construction
Project: Use the slab construction method to create a mug with an expressive face sculpted onto it. Demonstrate good ceramic techniques such as slip & scoring, storing clay correctly & proper glazing applications.
Instructions:
- Using proper techniques, build a basic slab constructed mug. Make sure to keep it in a plastic bag to keep it moist!!
- Look at examples of expressive faces. Choose a facial expression to sculpt on your mug.
- Use additive methods to ADD clay to the mug to create the face.
- When finished with face, add a handle (wait for demo). It needs to be thick enough to be sturdy-but not too thick!
- Scratch your name & year on the bottom of the mug & let dry for 5-7 days.
- Leave out to dry.
- After Bisque fired, glaze the mug in your choice of colors.
- Have a hot chocolate party to test out the mug!
If you choose to use any of this lesson (written or photos), please link back to this blog Create Art with ME!
Additional Ceramic Lessons:
Lily Pads with Lotus Flowers
Bird Bath Miniature with Glass Bead
Ceramic Butterfly Bowls Part 1 & Part 2 (Glazed)
Ceramic Box with Lid
Role-A-Beast Animal Ceramic Lesson
