设计原理:金属浮雕与绘画
原文链接:https://createartwithme.com/design-principles-metal-repousse-and-drawing/
日期: 2019-10-30
作者: Michelle East
分类: 美术课程、美术元素课程、精选内容、高中美术、金属浮雕(Repoussé)、初中美术、美术原理课程、肌理
标签: 设计原理、元素与原理综合项目、美术元素、高中美术、高中美术课程、高中美术原理、金属浮雕、金属压花、美术原理、设计原理、浮雕、浮雕课程
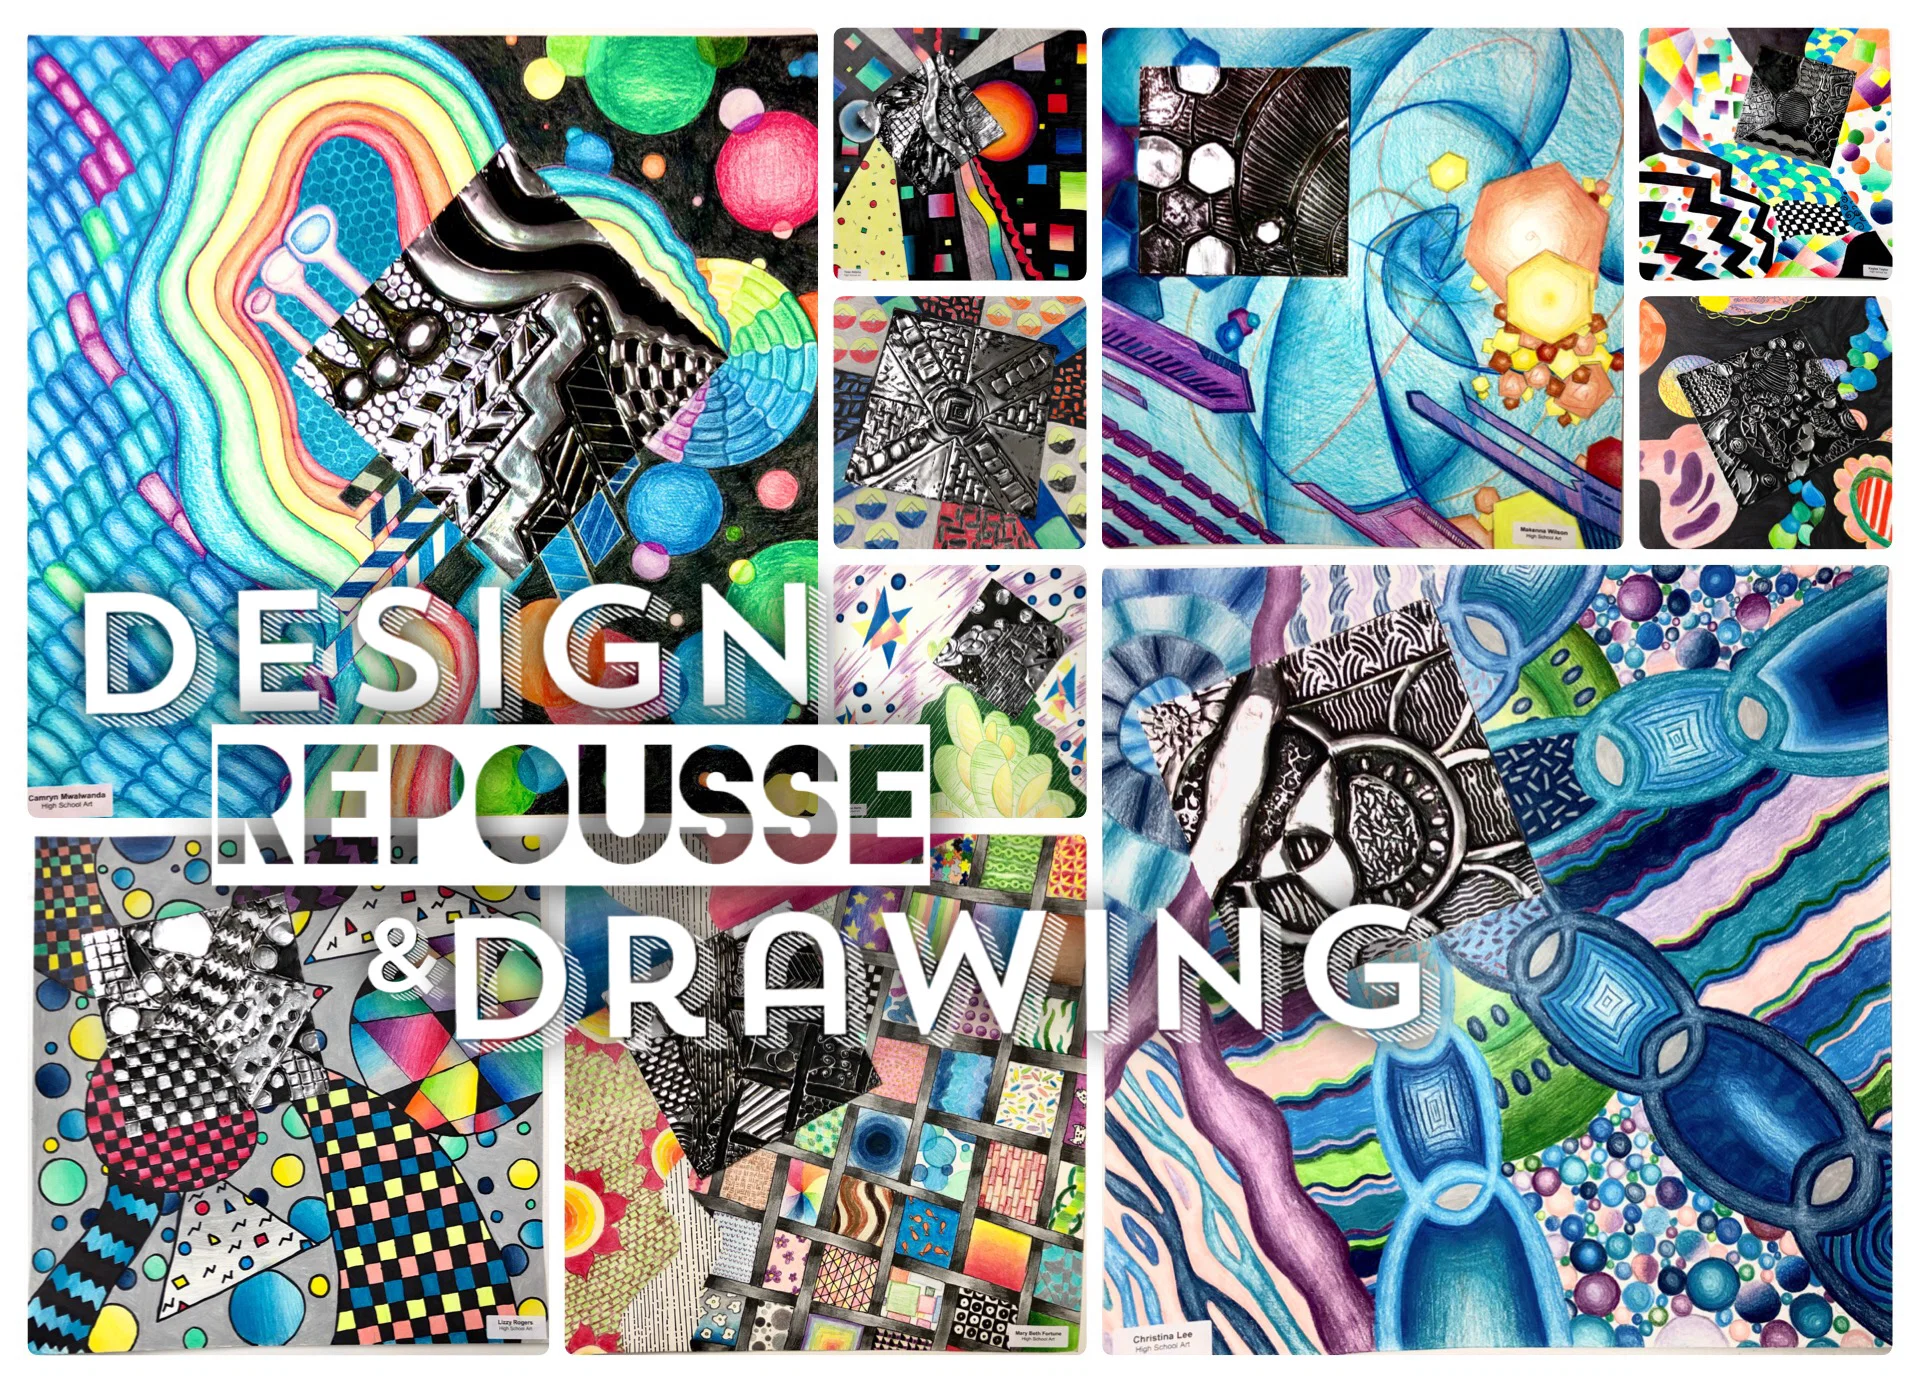
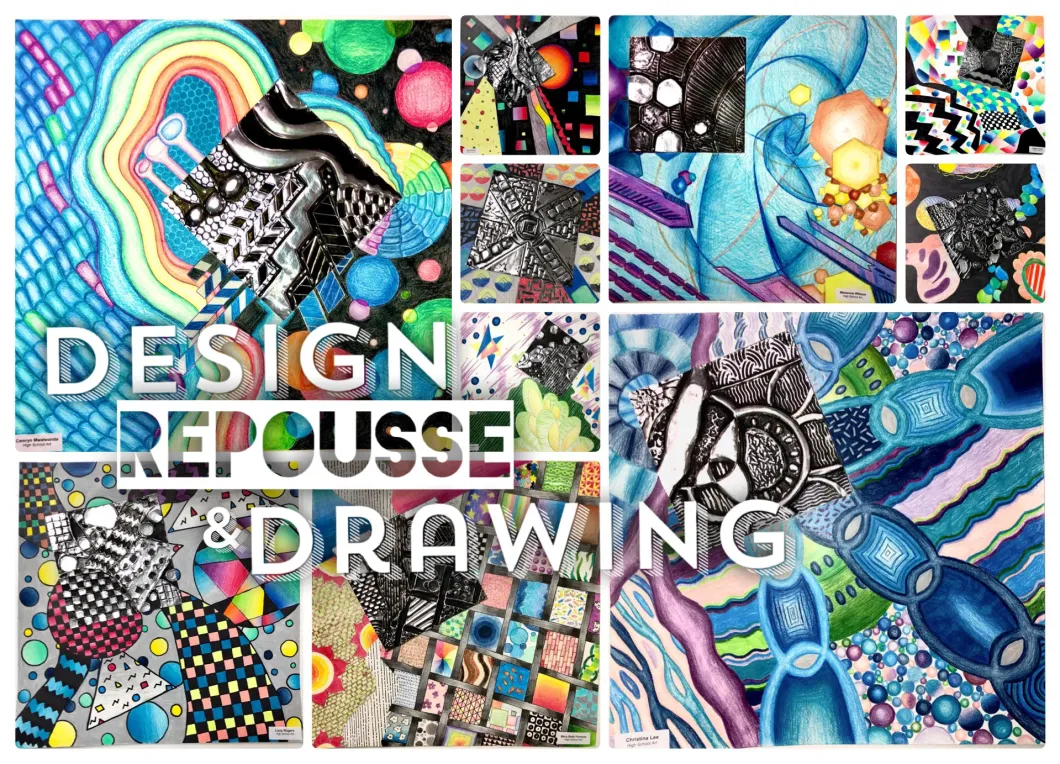
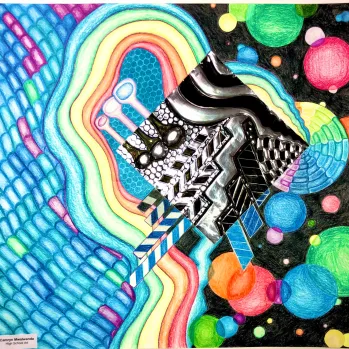
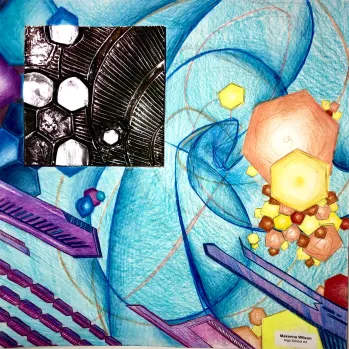
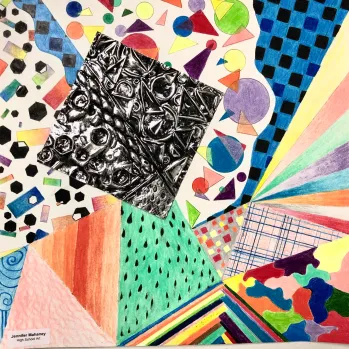
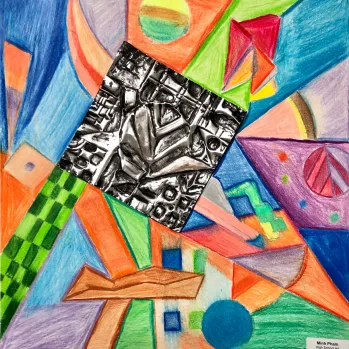
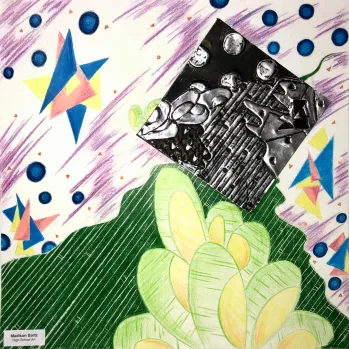
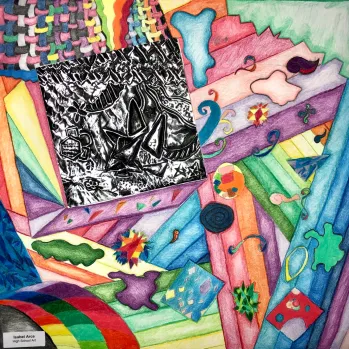
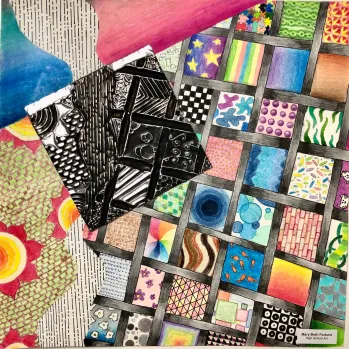
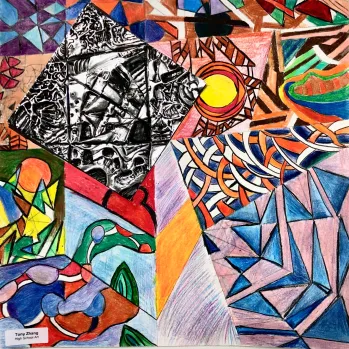
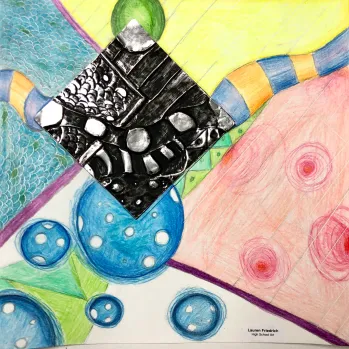
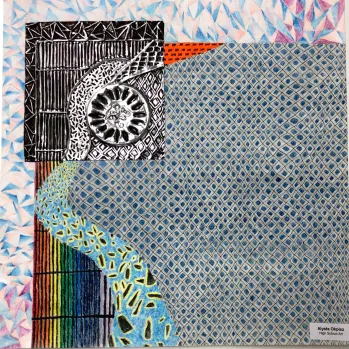
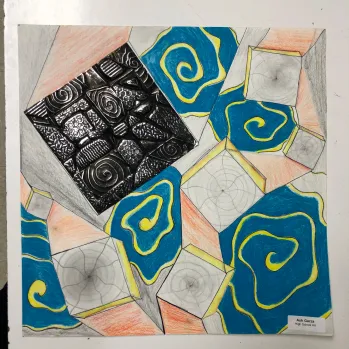
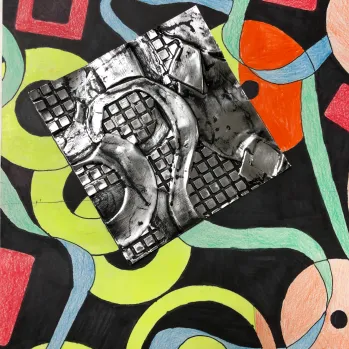
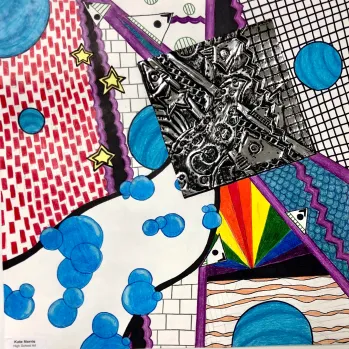
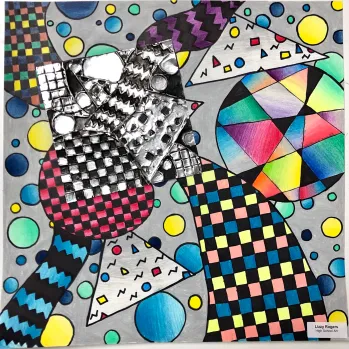
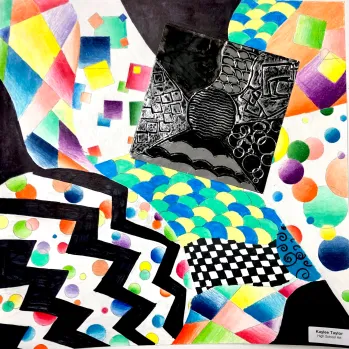
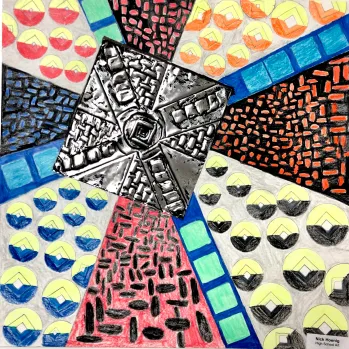
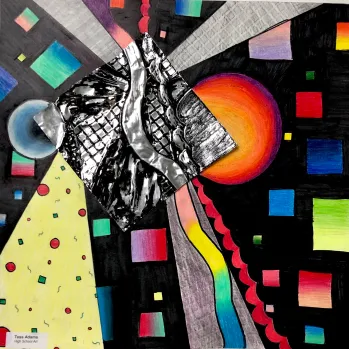
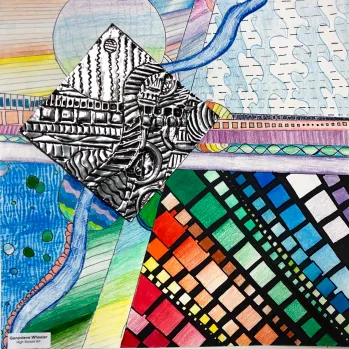
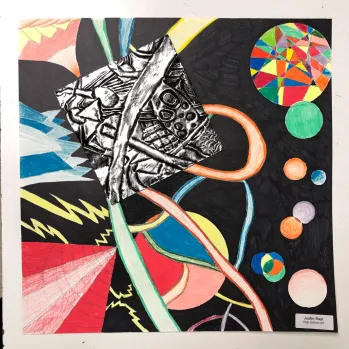
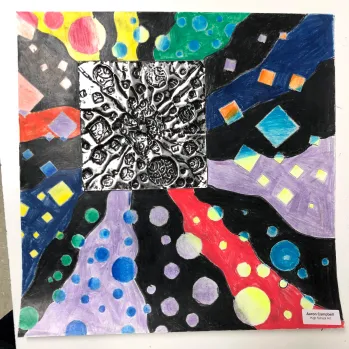
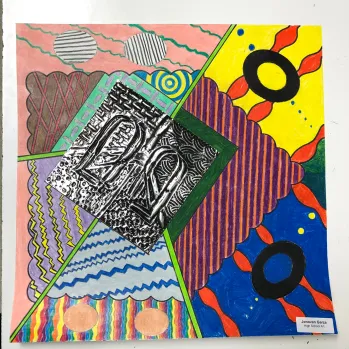
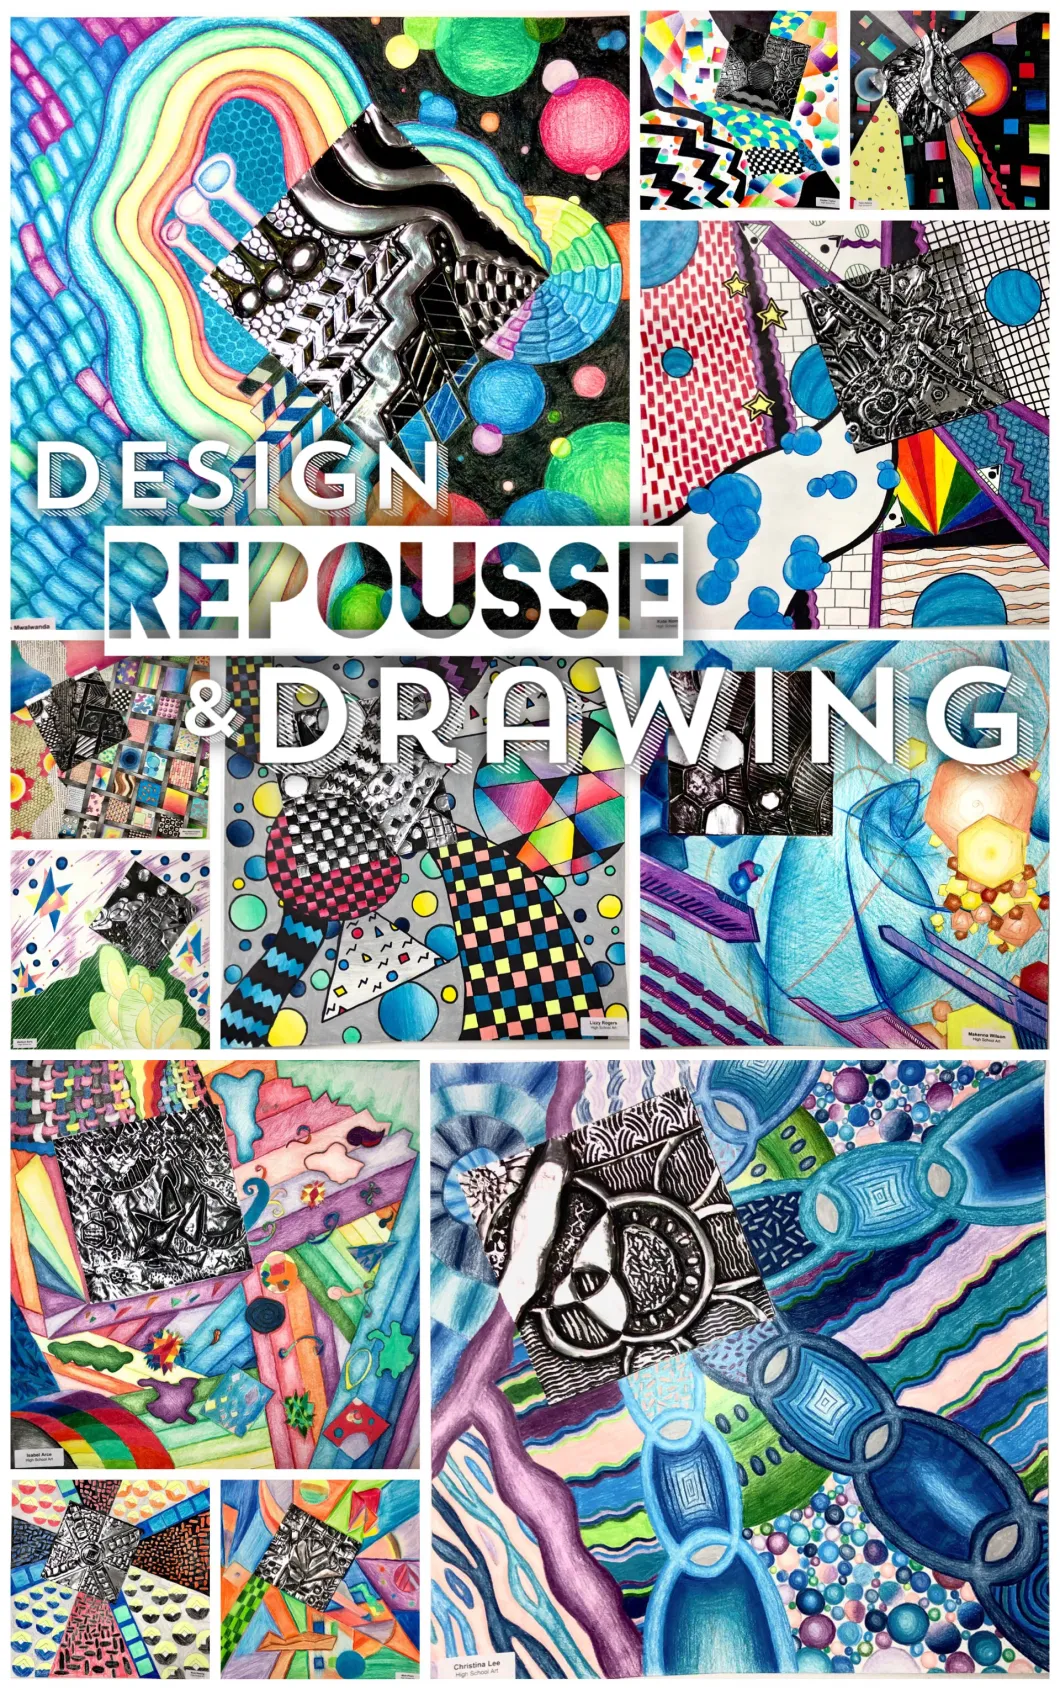
我的高中班级刚刚完成了这些精彩的金属浮雕与绘画项目,灵感源自“Ms Shepherds Art Room”的课程——《使用几何形与有机形进行浮雕创作》(http://msshepherdsartroom.weebly.com/copper-repousse.html)。请务必向她致谢,本课程创意源于她! 我对原方案略作调整,以下是我修订后的课程计划。我们围绕美术元素/原理及构图展开讨论;学生先完成金属浮雕部分,再将设计延伸至纸面。
所需材料: 金属浮雕工具——锥形刻针、圣路易斯工艺铝箔卷(36号厚度,12英寸×25英尺)、Speedball超级黑印度墨水(1品脱装)、Red Devil 0320钢丝绒(0000超细,8片装)、肌理拓印板、卡纸板(Mat Board)、海报板(Poster Board)、马克笔或彩铅、胶水


教学目标:
- 学生将学习金属压花(浮雕)所需的正确工具与技法。
- 学生理解强调(视觉焦点)、多样、节奏(图案)、统一与动感等美术原理如何协同作用,使整件作品形成有机整体。
- 学生将运用浮雕技法,在银色铝箔上创作一幅浅浮雕图像。
- 学生能区分有机形与几何形,并在设计中综合运用两类形态。
- 学生将创作一个既呈现于二维平面、又呈现于三维表面的设计。
教学流程:
- 复习美术元素与美术原理。
- 构图指有意识地运用美术元素与原理,将画面组织成视觉上悦目且引人入胜的形式。(参见构图方法课程与乐器构图项目)
- 浮雕(Repoussé): 一种通过锤击或按压金属背面来制作浮雕图案的技法。
- 其法语本义为“向上推起”。
- 浮雕与追刻(Chasing)技法均依赖金属的延展性,通过逐层塑形完成造型。此过程不损耗金属,仅局部拉伸,表面保持连续完整。*注意:切勿用力过猛,否则会刺穿金属。
- 技法说明:(教师示范指导)
- 追刻(Chasing) 是浮雕的反向操作,二者常配合使用以完成最终作品;亦称“压花(Embossing)”。
- 浮雕作用于金属背面,使正面凸起成形;而追刻则作用于金属正面,通过下压金属来精修图案细节。
活动:浮雕方片与延伸绘画
请运用下列具体美术元素与原理,创作一幅非具象的铝箔浮雕(Repoussé),并将其设计延伸至纸面。
• 5种美术元素: 线、形、色、体、肌理
• 5种美术原理: 强调(视觉焦点)、多样、节奏(图案)、统一、动感
先完成浮雕设计,再用铅笔将其轮廓延伸绘制于一张15×15英寸白纸上,并用彩铅或彩色记号笔上色。
*课前为每位学生预裁一块6英寸见方的铝箔
浮雕制作步骤:
- 在素描本中画出两个正方形,分别构思两套不同设计方案。浮雕正方形模板
- 方案获教师批准后,领取最终稿纸,用铅笔绘制选定设计。仅以轮廓线勾勒基本形态(仅画线条与形状,不加明暗)。
- 完成教师示范与练习后,使用浮雕工具,结合浮雕与追刻技法制作设计。确保包含凸面与凹面的线条及形态。
- 使用肌理拓印板制造肌理(图案)。
- 可选用永久性彩色马克笔为金属着色;或采用仿古工艺:以印度墨水涂染后,用钢丝绒抛光。
- 待绘画部分全部完成后,再将浮雕工整粘贴于卡纸板上。
绘画延伸步骤:
- 决定浮雕在纸面上的位置(切勿置于正中央!),用铅笔轻描其外轮廓;以双面胶暂时固定(后续将改用胶水粘牢)。此即你的视觉焦点。
- 将主要设计元素延伸绘制于纸面。可保持原样,亦可开始对其进行抽象化处理。
- 使用彩铅、彩色记号笔或马克笔为其上色。可选择平涂色块,亦可通过明暗/排线营造三维效果(建议用彩铅实现!)。
- 待绘画部分全部完成后,再将浮雕工整粘贴于纸面。
*亚马逊联盟链接——所有推荐产品均为本人实际使用并真心喜爱者!
若您选用本博客中任何内容(图片、图表或文字),请务必注明原始出处并链接回“Create Art with ME!”
Original: https://createartwithme.com/design-principles-metal-repousse-and-drawing/
Date: 2019-10-30
Author: Michelle East
Categories: Art Lessons, Elements of Art Lessons, Featured, HS Art, Metal Embossing Repousse, MS Art, Principles of Art Lessons, Texture
Tags: design principles, elements and principles project, elements of art, high school art, high school art lesson, high school art principles, Metal embossing, metal tooling, principles of art, principles of design, repousse, Repousse Lesson
My HS classes just finished these great metal repousse & drawing projects inspired by “Ms Shepherds Art Room-REPOUSSE WITH GEOMETRIC AND ORGANIC SHAPES“. Please give credit to her for the creation of this lesson! I changed ours up a bit and the altered project lesson plan I developed is below. We talked about elements/principles of art & composition. They started with the metal piece then extended their design onto paper.
Supplies: Metal Embossing Tools Stylus, St Louis Crafts Aluminum Metal Foil Sheet Roll – 36 Gauge – 12 inches x 25 feet, Speedball Super Black India Ink, 1 Pint, Red Devil 0320 Steel Wool, 0000 Super Fine, 8 Pads, texture rubbing plates, mat board, poster board, markers or colored pencils, glue
Objectives:
- Student will learn how to use the proper tools and techniques for metal tooling-Repousse.
- Students understand how the principles of Emphasis (Focal Point), Variety, Rhythm (Pattern), Unity & Movement apply to make the whole piece of art unified.
- Students will create a low relief image in metal (silver foil) using the process of repoussé.
- Student will be able to determine the difference between organic and geometric shapes and use a variety of both.
- Students will create a design that will be rendered on both a 2D surface and a 3D surface.
Delivery:
- Review Elements and principles of art.
- Composition is the intentional use of the elements and principles to arrange the artwork in a visually pleasing and intriguing way. (See Composition Methods lesson & Music Instrument Composition project)
- Repousse: A method of creating a relief design by hammering or pressing the reverse side of a metal surface.
- Literal meaning in French, “pushed up“.
- The techniques of repoussé and chasing utilize the plasticity of metal, forming shapes by degrees. There is no loss of metal in the process, as it is stretched locally and the surface remains continuous. *Be careful not to press too hard or you will puncture through the metal.
- Techniques: (Teacher Guided Demo)
- Chasing is the opposite technique to repoussé, and the two are used in conjunction to create a finished piece. It is also known as embossing.
- While repoussé is used to work on the reverse of the metal to form a raised design on the front, chasing is used to refine the design on the front of the work by sinking the metal.
Activity: Repousse’ Tile & Drawing
Use the specific elements & principles of art listed below to create a non-objective in foil relief (repousse) & extend design onto paper.
• 5 Elements: Line, Shape, Color, Form & Texture
• 5 Principles: Emphasis (Focal Point), Variety, Rhythm (Pattern), Unity & Movement
Create the repousse design first, then use a pencil to extend your design onto a sheet of 15×15” white paper & color with either colored pencils or colored sharpies/markers.
*Pre-cut a 6″ aluminum square for each student
Instructions for Repousse:
- In your sketchbook, draw two squares. Create 2 different sketches for your design. Square Template for Repousse
- Upon approval of design, get a final design paper and draw your design onto it in pencil. Use contour line to draw the drawing of your basic design (lines & shapes only-no shading).
- After the demo & practice session, use embossing tools and repousse/chasing techniques to create your design. Have some convex & concave lines & shapes.
- Use texture plates to create texture (pattern).
- Either use permanent colored markers to color the metal or use the antiquing method with India ink to paint & burnish it with steel wool.
- Wait till the drawing portion is finished. then NEATLY glue it onto your mat board.
Instructions for Drawing:
- Decide where you want to place the repousse on the paper (not in the middle!) & with a pencil trace the outline of it. Use double stick tape to hold it in place (we will glue it later). This is your focal point.
- Extend your major design elements onto the paper. You can either keep them in their original state or begin to abstract them.
- Use either colored pencils, colored sharpies or markers to color it. You can either have flat color or add a 3D look with shading (use colored pencil to do this)!
- Wait till the drawing portion is finished, then NEATLY glue it onto your paper.
*Amazon Affiliate Links- I only link products I use and love!
If you choose to use ANY part of this blog (graphic, pictures or written text), please link back to Create Art with ME!


