全球艺术家交换卡活动!
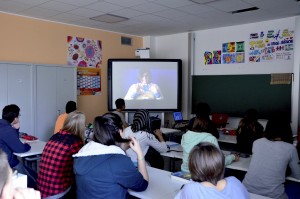
这一创意源自一位杰出的美国教师——尼克·汉恩(Nic Hahn,其个人网站为 MiniMatisse)。多年来,我与她持续交流教学技法与课程设计。在课堂上,我们一起观看了这段视频,尼克在其中详细讲解了什么是“艺术家交换卡”。
艺术家交换卡是一种小型艺术作品,尺寸与扑克牌相同(2.5 × 3.5 英寸,即 6.35 × 8.89 厘米),全球各地的艺术家通过邮寄方式相互交换。该项目发源于尼克·汉恩任教的美国明尼苏达州哈桑小学(Hassan Elementary School),该校将主办这场面向全球学生的国际交换活动。就连我的八年级学生也决定参与其中——我们共同创作了一百张“艺术家交换卡”,寄往美国,并与来自世界各地不同学校的同学交换一百张同规格卡片。这些卡片预计将于一月抵达,我满怀期待!
我们采用综合材料技法完成卡片制作,共分五个步骤:
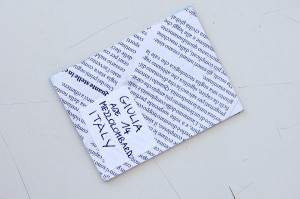
1. 拼贴:用印有文字的杂志页覆盖卡片正反两面;随后粘贴从杂志上剪下的小幅图片;在卡片背面贴上标签,注明姓名、年龄与籍贯。
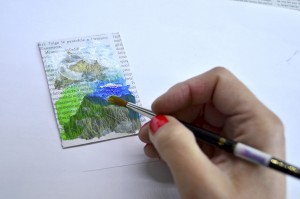
2. 绘画:在卡片正面的拼贴层上,自由运用水粉颜料作画,任由拼贴中的图像与色彩激发灵感。
3. 彩铅与记号笔:待水粉颜料干透后,用彩铅或记号笔在画面上绘制肌理、文字或自由图形。
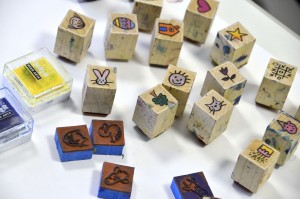
4. 盖章:可在着色后的表面添加小型图形印章。
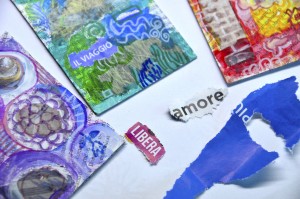
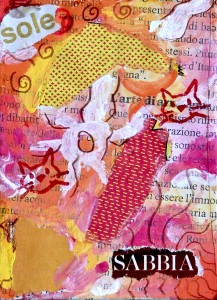
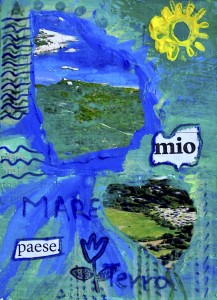
5. 文字拼贴:从杂志中剪下一至两个词语,粘贴于画面,赋予作品意义或标题。此阶段,我们任由色彩、感受、唤起的意象,或偶然翻阅杂志时撞见的词语所激发的联想来引导创作——只要它与我们的小画产生共鸣即可。
最后,为使卡片更坚固,可在表面薄涂一层PVA胶水,令画面呈现光泽效果。
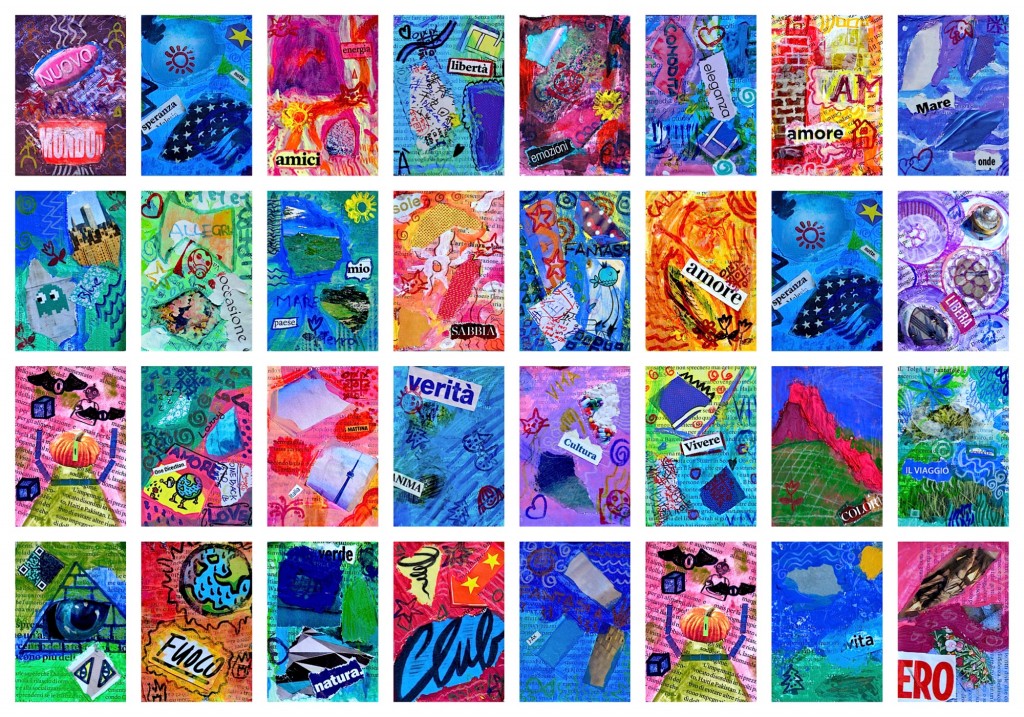
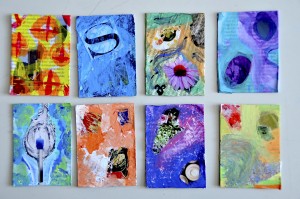
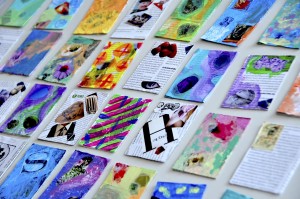
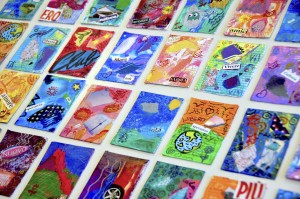
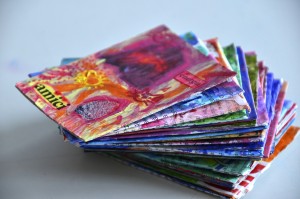
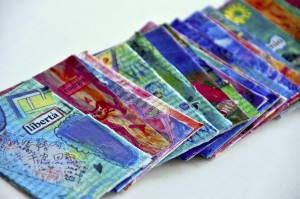
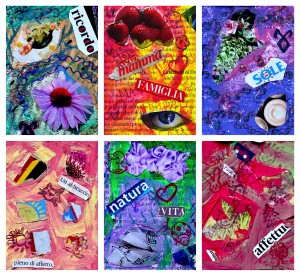
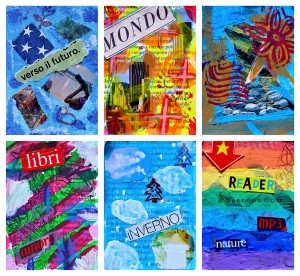
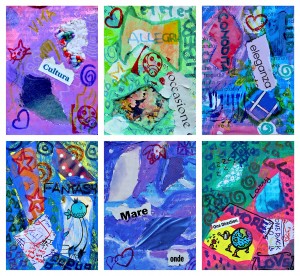
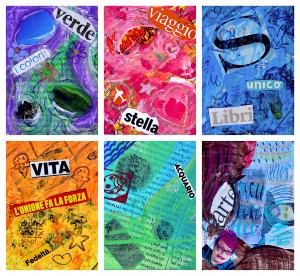
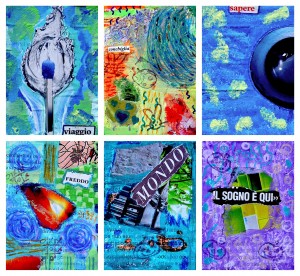
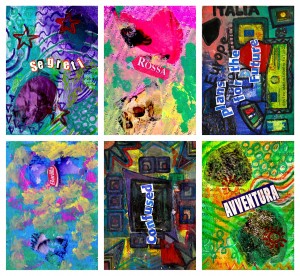
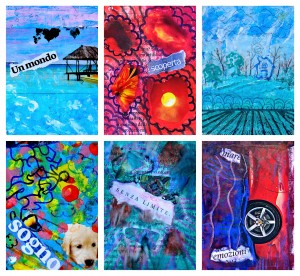
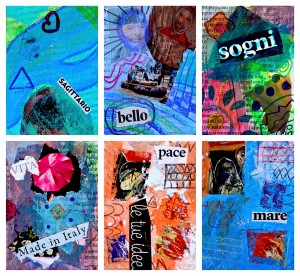
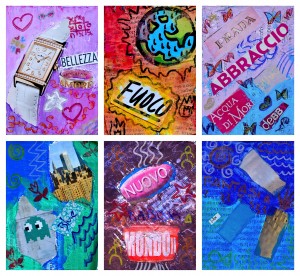
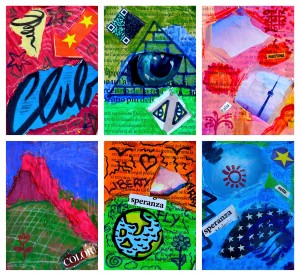
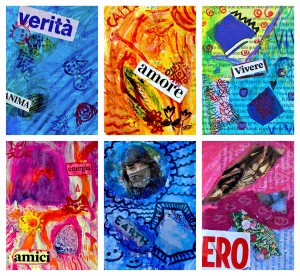
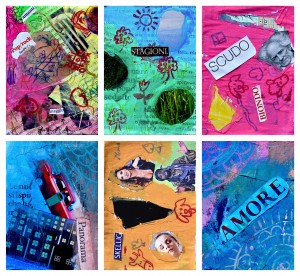
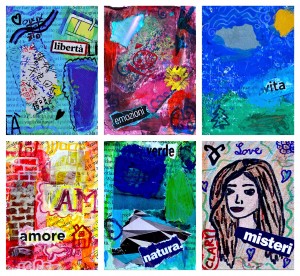
看,我们的卡片已全部完工,整装待发……美国,我们来啦!
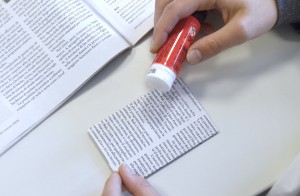
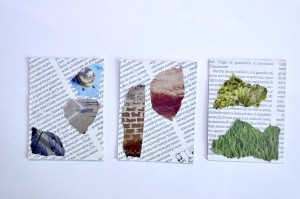
1. 拼贴:用印有文字的杂志页覆盖卡片正反两面;随后粘贴从杂志上剪下的小幅图片;在卡片背面贴上标签,注明姓名、年龄与籍贯。
2. 水粉:在卡片正面的拼贴层上,自由运用水粉颜料作画,任由拼贴中的图像与色彩激发灵感。
3. 彩铅与记号笔:待水粉颜料干透后,用彩铅或记号笔在画面上绘制肌理、文字或自由图形。
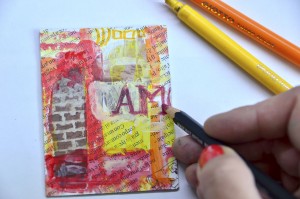
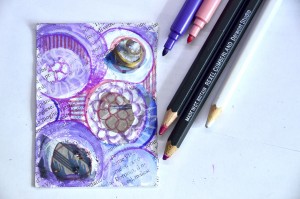
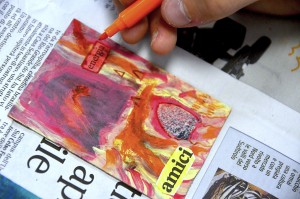
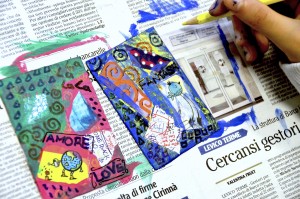
4. 盖章:可在着色后的表面添加小型图形印章。
5. 文字拼贴:从杂志中剪下一至两个词语,粘贴于画面,赋予作品意义或标题。此阶段,我们任由色彩、感受、唤起的意象,或偶然翻阅杂志时撞见的词语所激发的联想来引导创作——只要它与我们的小画产生共鸣即可。
Artist Trading Cards global swap!
The idea came from an outstanding American teacher, Nic Hahn (here her website MiniMatisse), with whom I share technical ideas and lessons from a few years. In this video, that we looked at together in class, Nic explains what are the “Artist Trading Cards”.
They are small works of art, the size of a playing card, (2.5 x 3.5 inches, or 6.35 x 8.89 cm) that artists from around the world exchange each other by mail. The project started from the school where Nic Hahn is working, the Hassan Elementary School in Minnesota, USA, which will host the international exchange of these special cards among students from around the world. Even my 8th grade students, have decided to participate in this exchange, and together we have created a hundred “Artist Trading Cards” to be sent to America and to exchange with other 100 cards made by students from different schools. They will arrive by mail in January, and I look forward for it.
We have created the cards with a mixed media technique to be implemented in five steps:
1. Collage: front and back of the card are covered with a magazine page with written. After, you add small pictures cut from magazines. On the back of the card you affix a label with name, age and origin.
2. Painting: on the collage, on the front of the card, you paint with various colors, in a free way, leaving you be inspired by the images and colors of collage
3. Colored pencils and markers: on the tempera paints, once dry, you draw some textures, written or freeform
4. Stamps: you can add small graphic stamps on the colored surface
5. Collage with words: you add one or two words cut from magazines, to make sense , or give a title to Your small work of art. At this stage we let ourselves be inspired by the colors, the sensations, the images evoked, or from the words that you can come across by chance through a magazine, and you recognize assonances with our card.
In the end, in order to make “solid” our card, you can add a thin layer of PVA glue on the surface, which will give a paint brilliant effect.
Here are our cards over, ready for shipment … United States, here we come!
1. Collage: front and back of the card are covered with a magazine page with written. After, you add small pictures cut from magazines. On the back of the card you affix a label with name, age and origin.
2. Tempera: above the collage on the front of the paper, you color with tempera of various colors, in a free way, leaving us be inspired by the images and colors of collage
3. Colored pencils and markers: on the tempera paints, once dry, you draw some textures, written or freeform
4. Stamps: we can add small graphic stamps on colored surface
5. Collage with words: you add one or two words cut from magazines, to make sense , or give a title to our small work of art. At this stage we let ourselves be inspired by the colors, the sensations, the images evoked, or from the words that you can come across by chance through a magazine, and you recognize assonances with our card.


