肥皂雕刻美术课
原文链接:https://thatartteacher.com/2021/11/19/soap-carving-art-lesson/
日期: 2021年11月19日
作者: Sierra Machado
标签: 三维美术课、三维设计创意、初中三维美术课、抽象肥皂雕刻、美术教育、分步美术课、美术教师、美术教程、美术课堂雕刻创意、简易三维课、精选内容、高中雕塑课、高中肥皂雕刻、如何雕刻肥皂、肥皂雕刻美术课、初学者肥皂雕刻、受芭芭拉·赫普沃斯启发的肥皂雕刻、肥皂雕刻教案、肥皂雕刻教程、那位美术教师
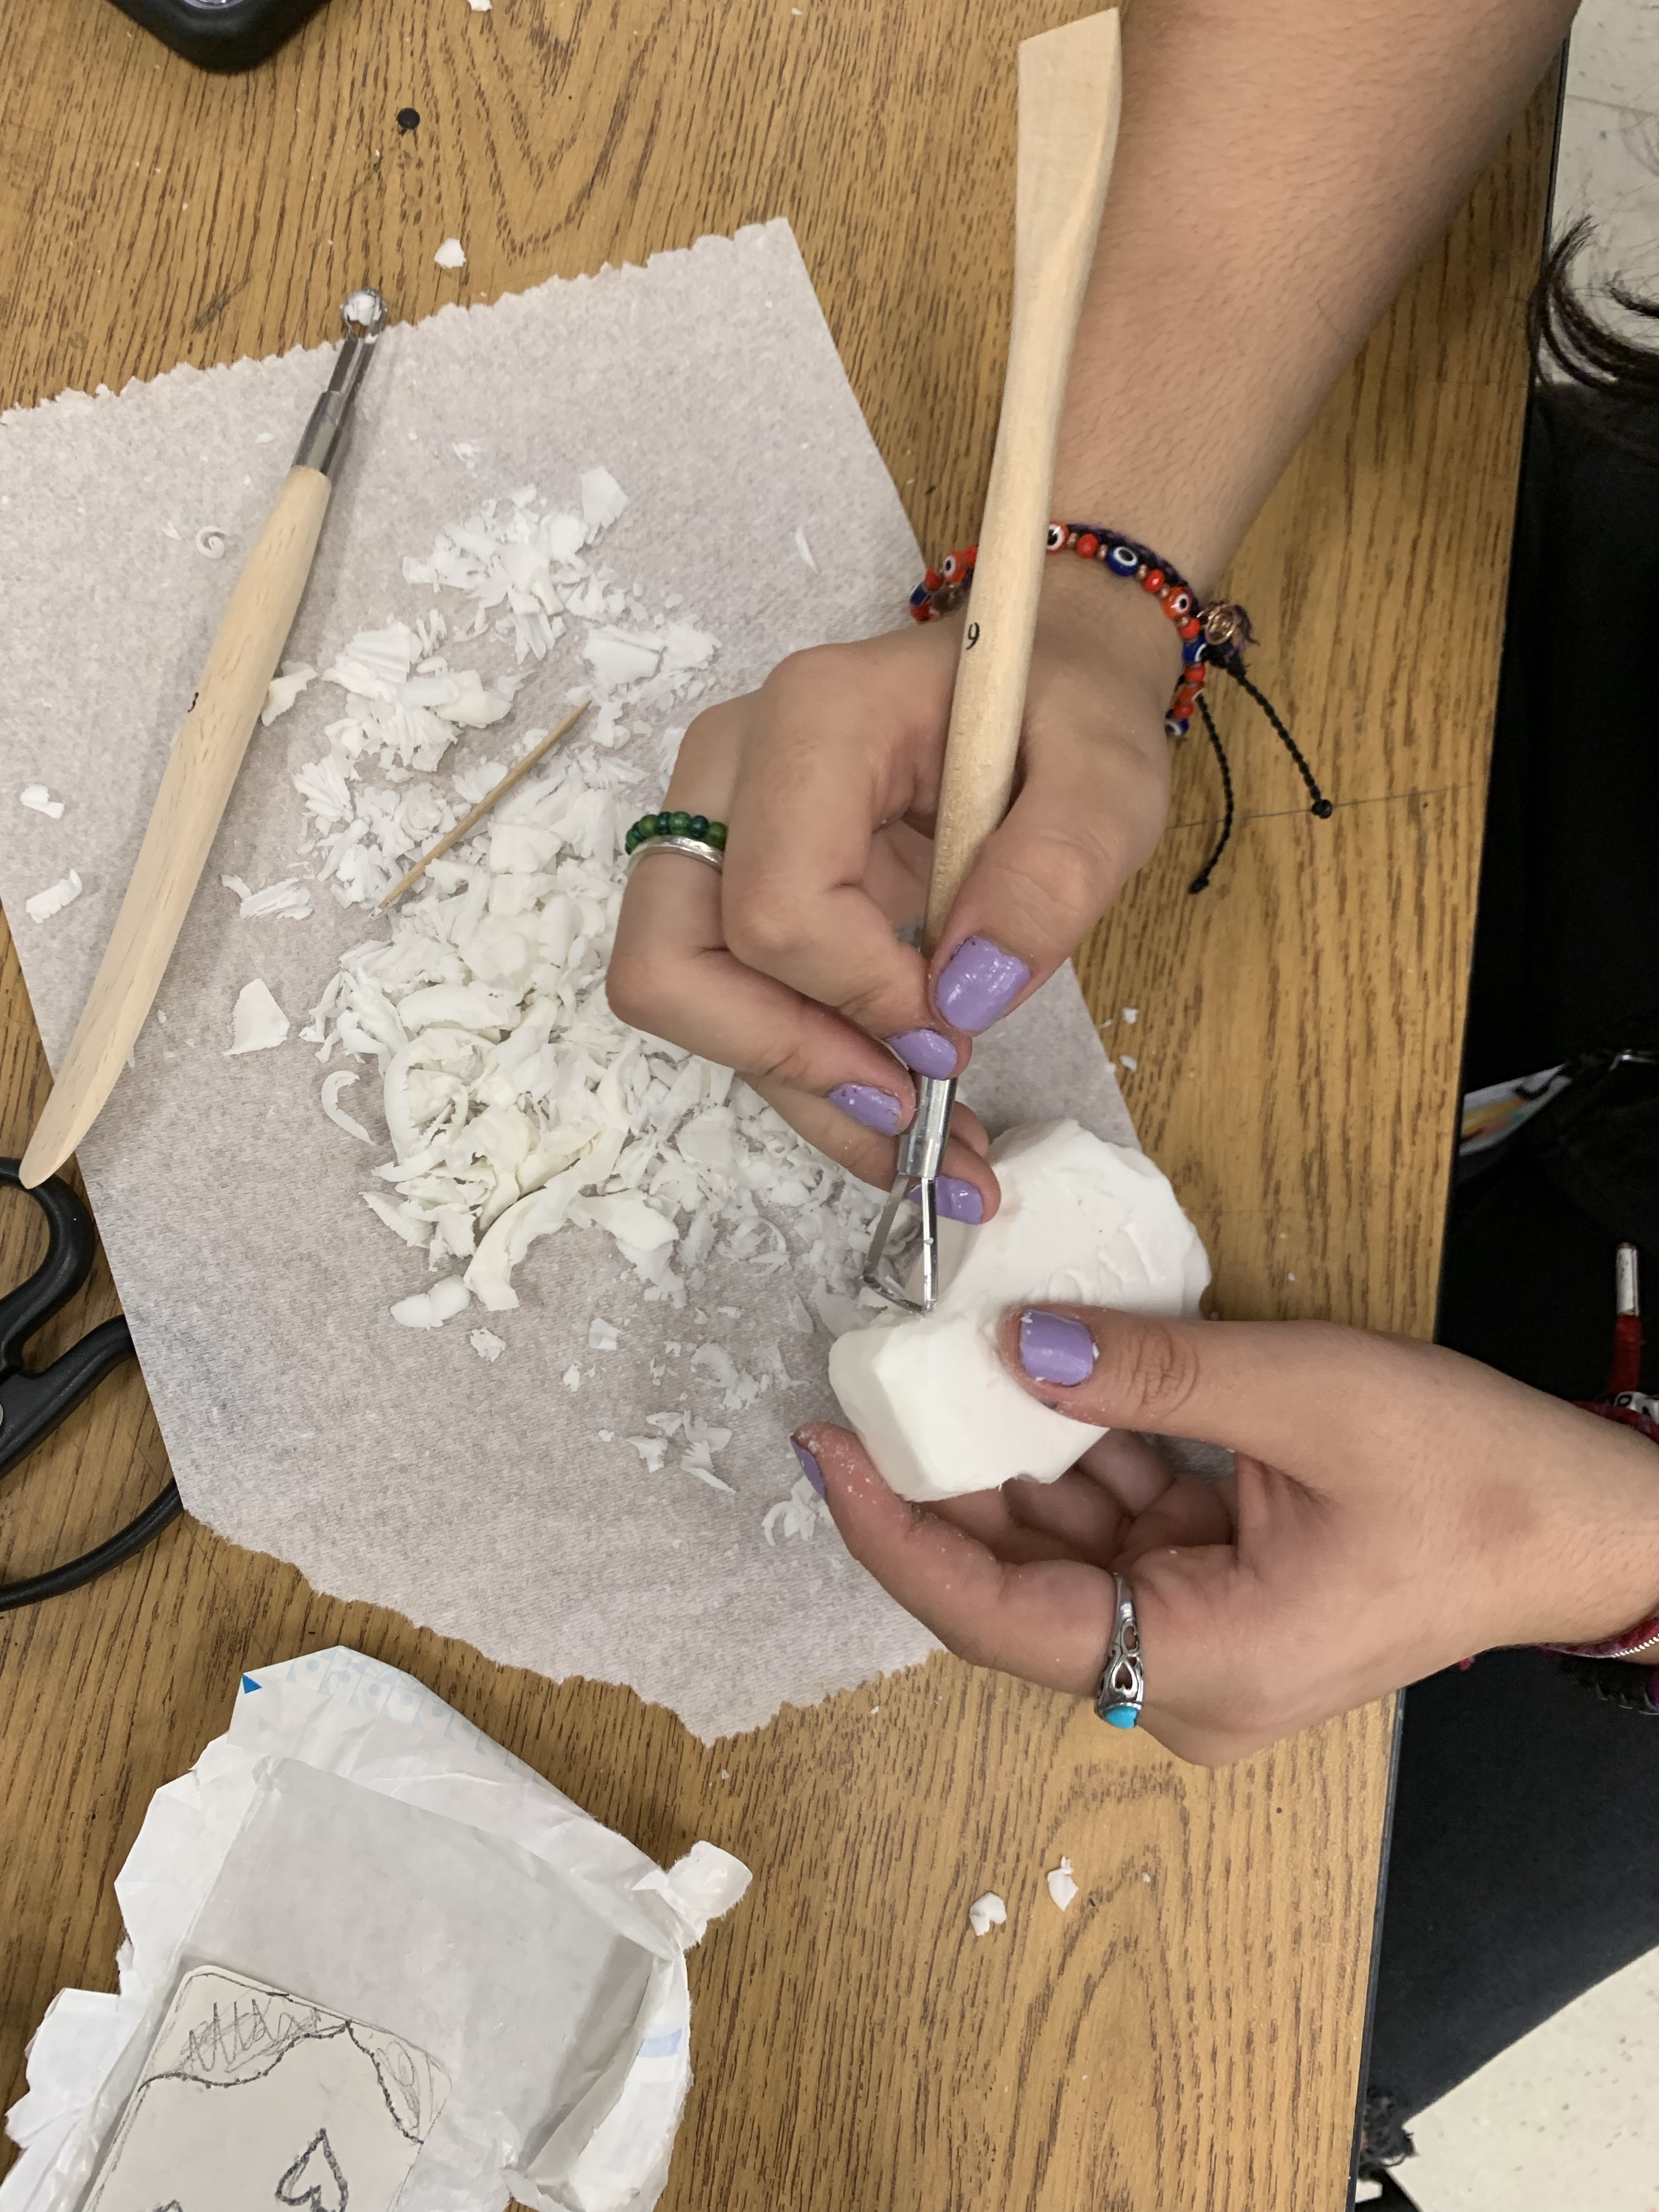
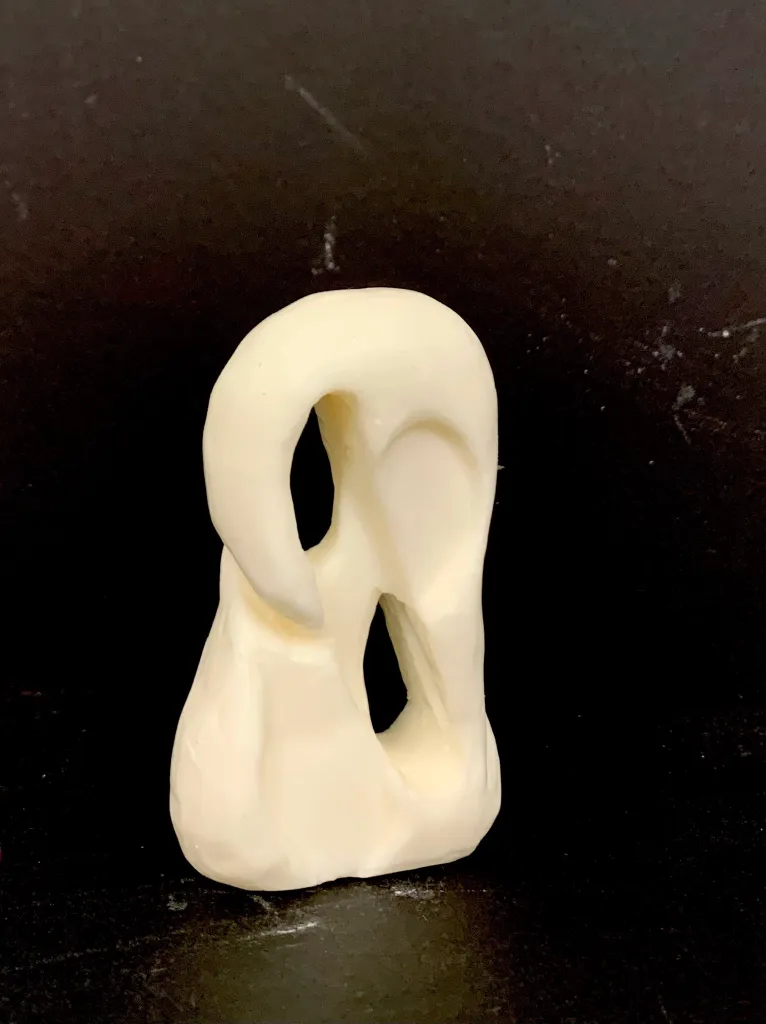
本节肥皂雕刻美术课将指导你如何用象牙牌肥皂(Ivory soap)雕刻一个抽象造型。我们重点学习有机抽象、负空间,以及如何创作一件“圆雕”作品(即从各个角度均可观赏的立体雕塑)。我在面向9至12年级混合编班的三维设计课程中采用本课。由于学生能力差异较大,我们先练习肥皂雕刻,再进入更具挑战性的石膏雕刻环节。学生们非常喜欢肥皂的手感(以及气味!),且不同水平的学生均顺利完成雕刻,收获满满。
本文将详述课堂全部教学流程;此外,这段视频专门演示雕刻步骤,非常适合上传至Canvas平台,供缺勤学生或需视觉回顾的学生观看。
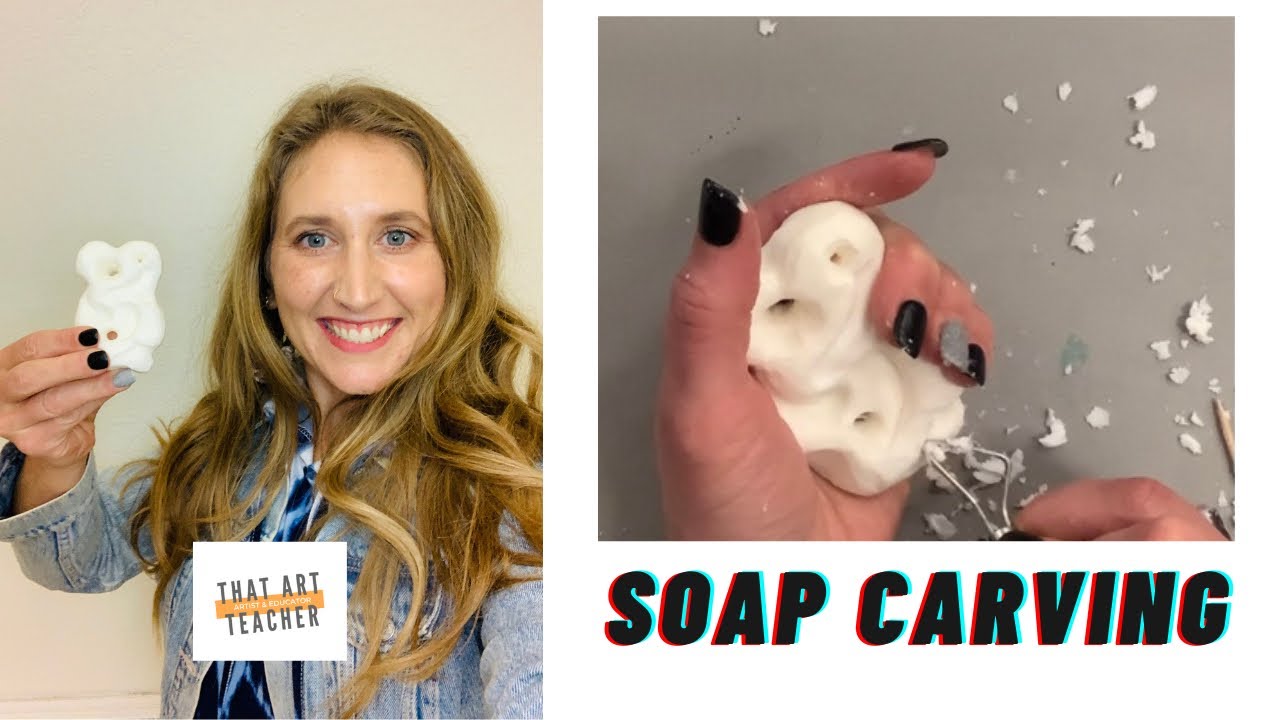
若想尝试些新意,不妨试试这款僵尸肥皂雕刻!
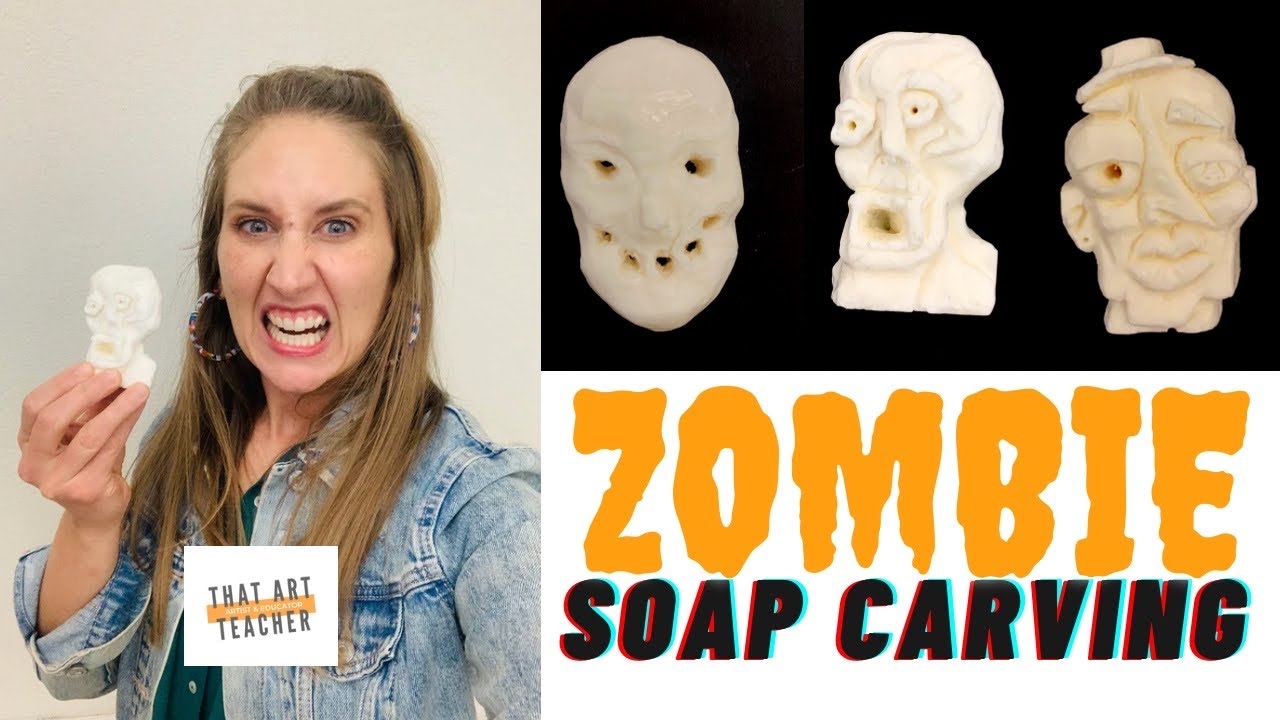
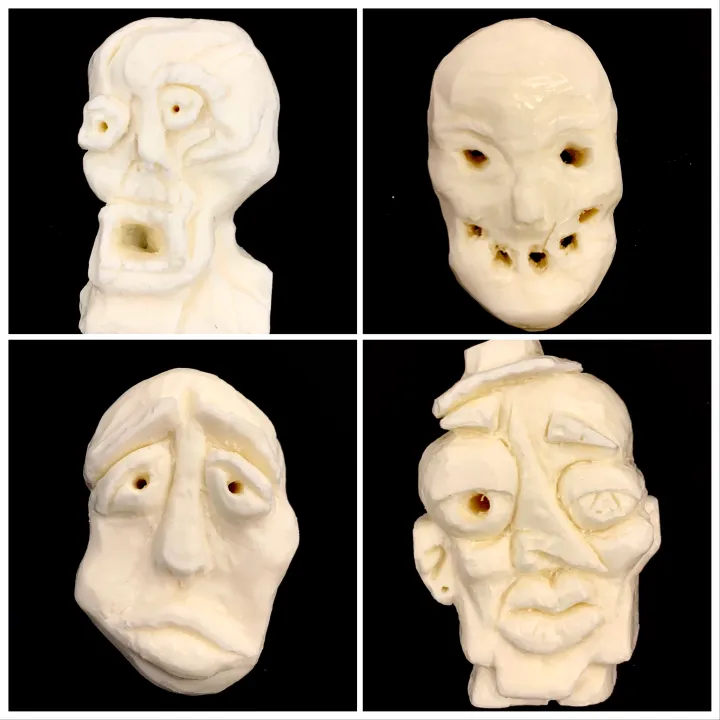
该活动使用完全相同的技法,但无需深入研究有机抽象,即可创作出富有恐怖氛围与表现力的面部造型——具体选择取决于你和你的学生希望达成的教学目标!
草图与调研
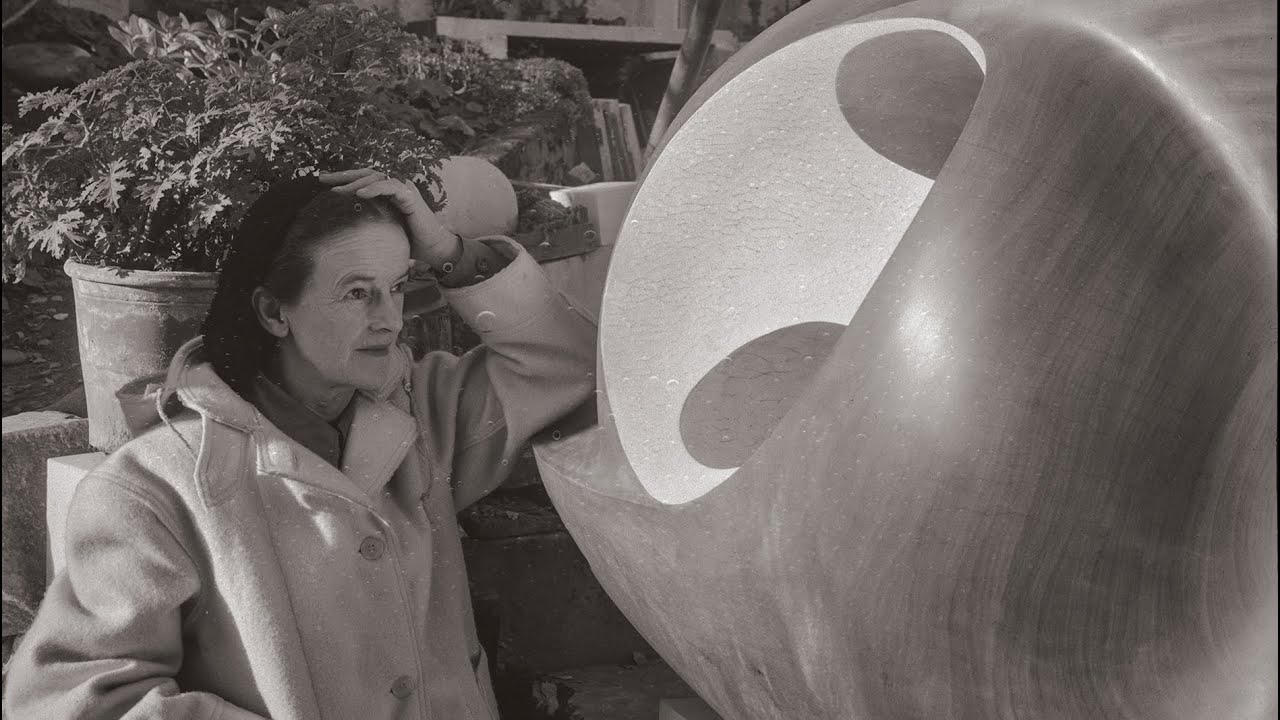
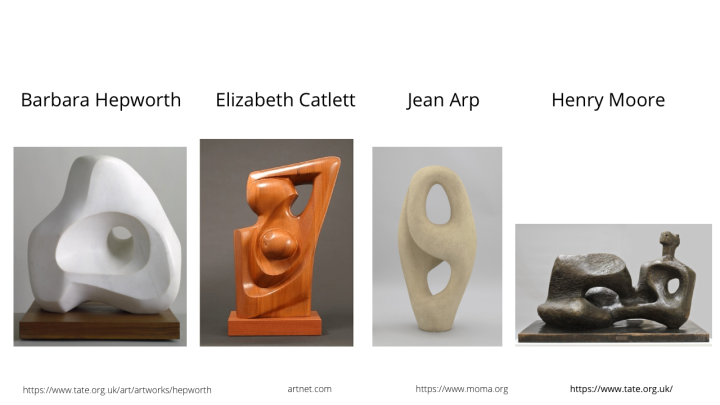
减法式雕塑与抽象艺术是学生较难理解的两个概念。本单元起始阶段,我们在每日艺术史热身环节中研习了芭芭拉·赫普沃斯。她以二战后创作的有机抽象雕塑而闻名。我借助这段视频向学生介绍她的艺术风格,并进一步阐释其作品为何如此抽象。
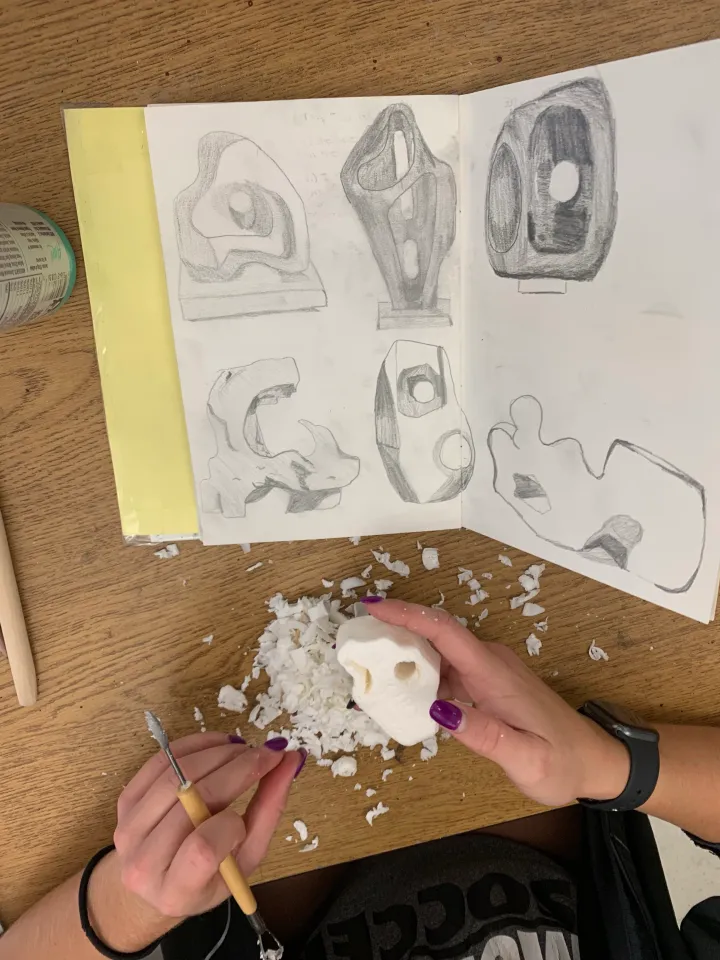
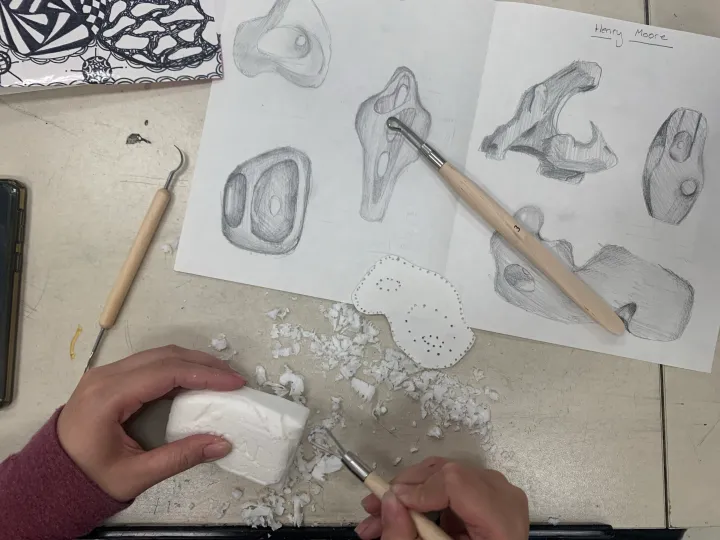
首先,学生临摹六件赫普沃斯与亨利·摩尔的雕塑作品,这些作品典型体现了有机抽象与负空间理念。我还要求学生在速写本中抄录以下定义:
肥皂雕刻术语定义表免费下载!
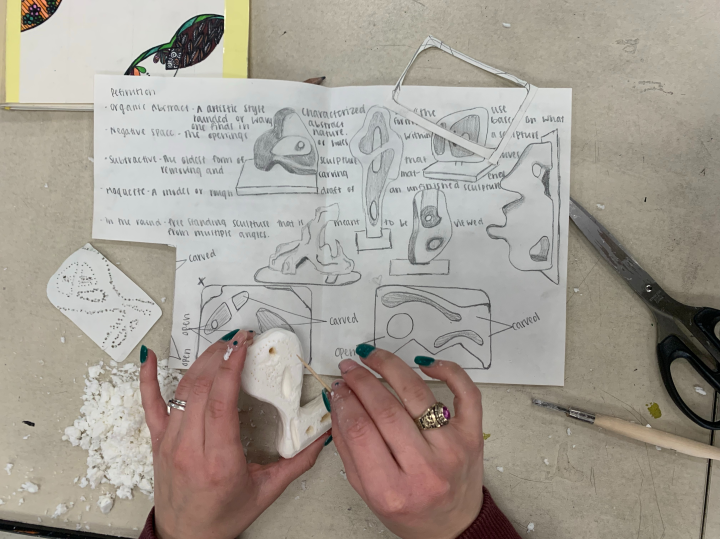
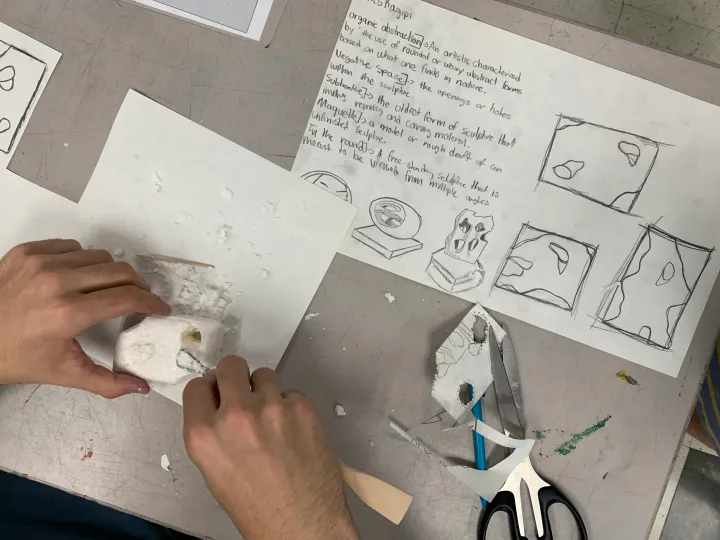
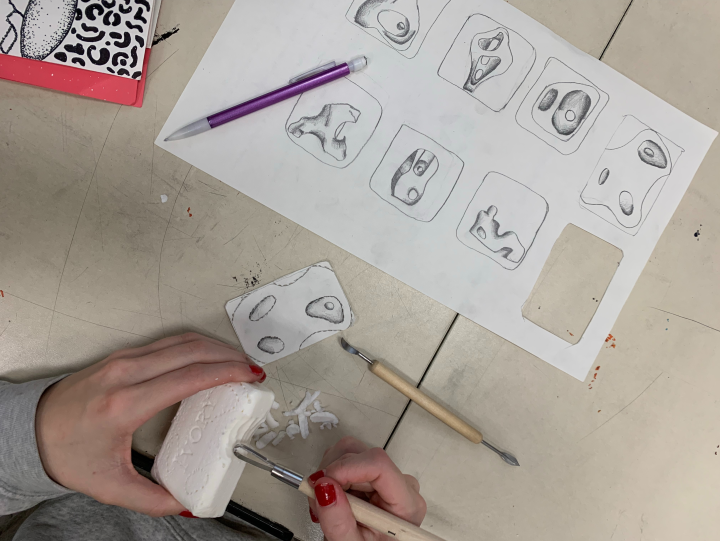
完成调研与草图绘制后,学生先描摹肥皂外形,再自主设计三款方案。学生可选择彻底非具象化,或选取某一具体物象进行抽象化处理。多数学生选择了非具象路线,以便更专注于雕刻技能训练。
转移图像
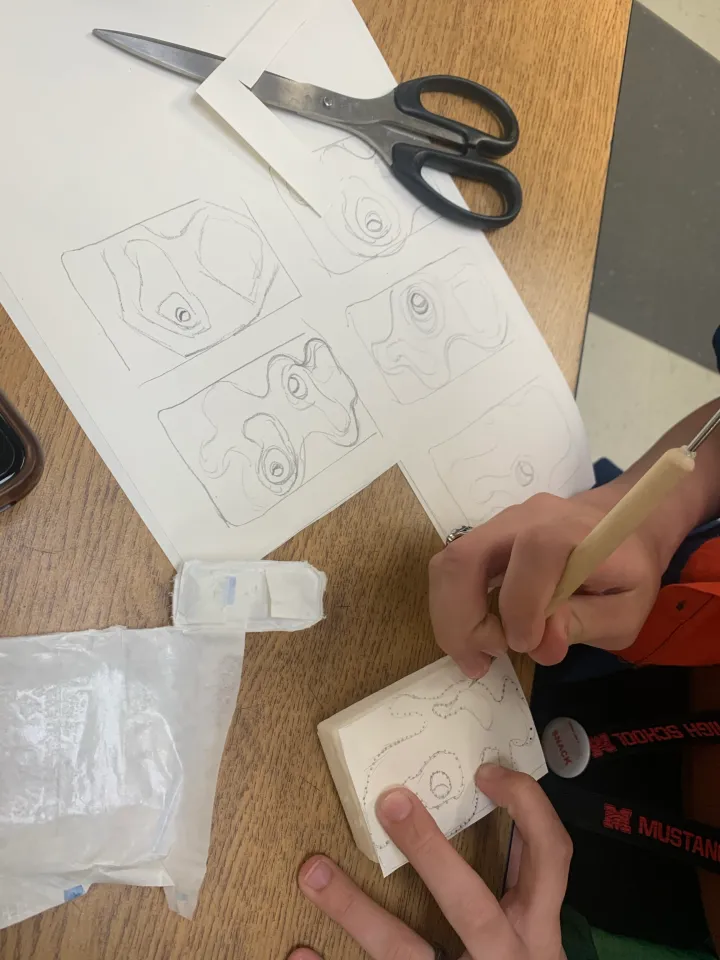
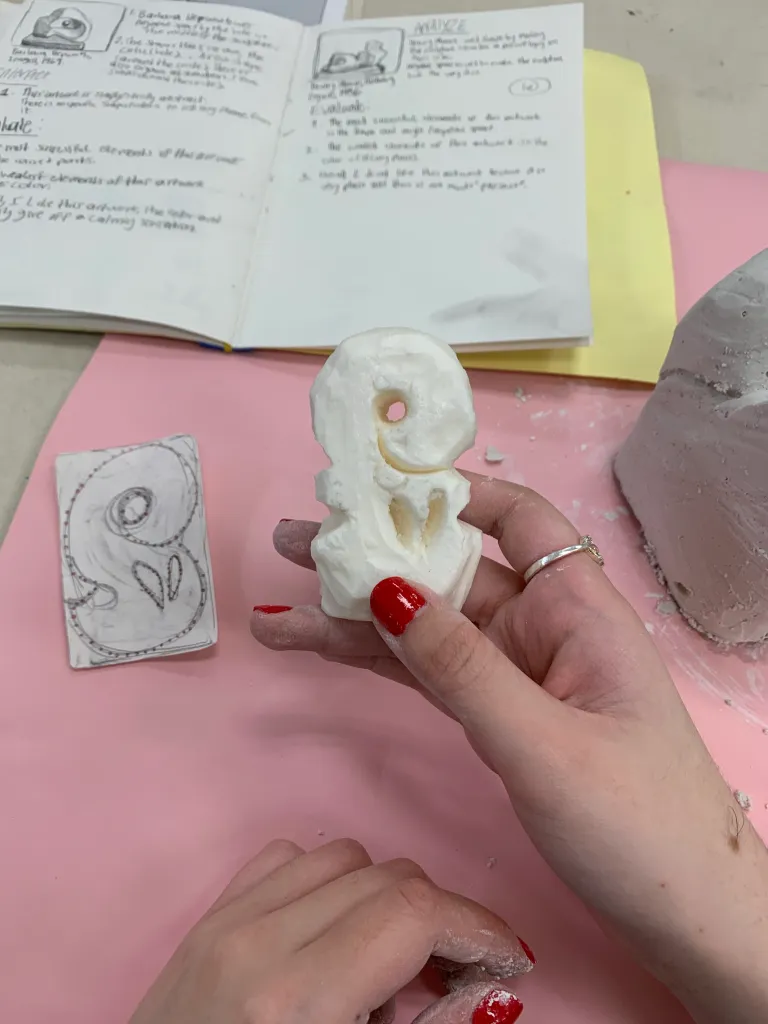
学生确定基本设计方案后,我们采用“点描转移法”将草图复制到肥皂正反两面。工具可用牙签,针形刻刀效果亦极佳。我们还利用陶艺课剩余的各种环形刻刀进行雕刻,效果非常出色。建议由浅入深,先刻出设计的基本轮廓,最后再处理负空间。
雕刻肥皂
经过前期热身讨论与大量草图练习,学生普遍对抽象减法式雕刻建立起更强的信心。肥皂材质不具压迫感,加之手持操作熟悉自然,更利于学生发挥。我鼓励学生优先雕刻最大外轮廓与弧线,并放慢节奏;许多学生急于钻刻负空间,但我建议他们留待最后一步。全班约五十名学生中,仅两名学生将肥皂刻断——这两位学生因长期缺课,遗漏了部分操作指导。
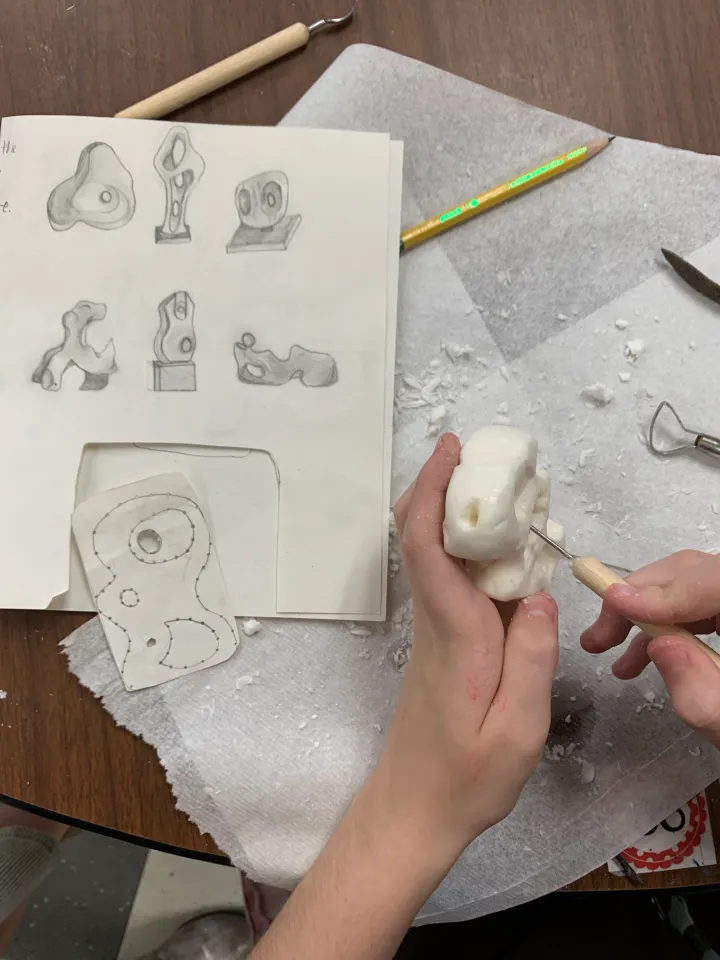
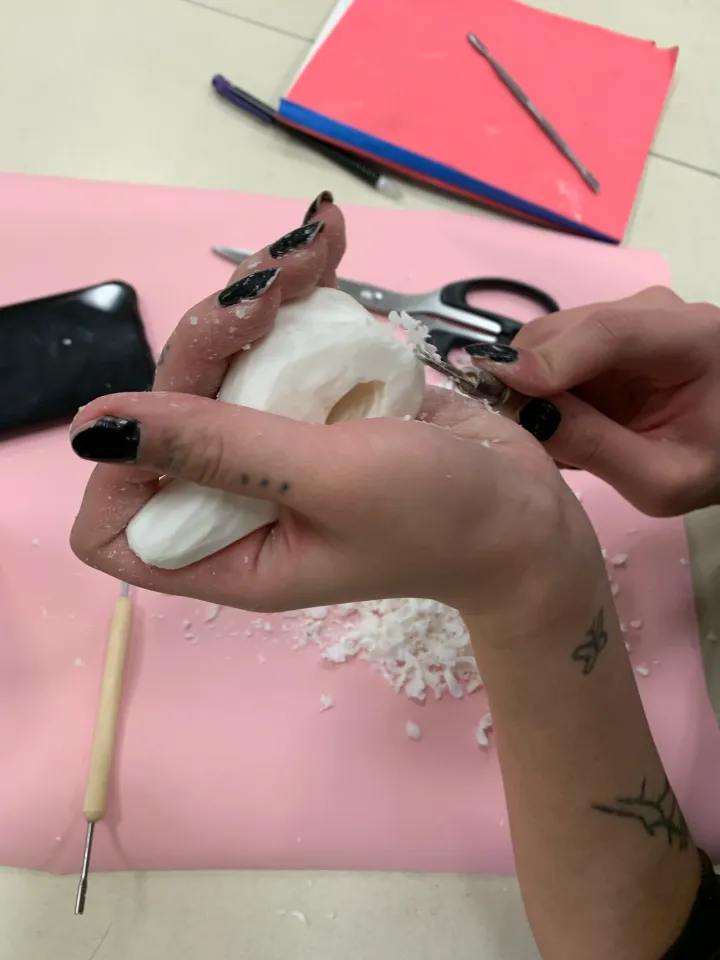
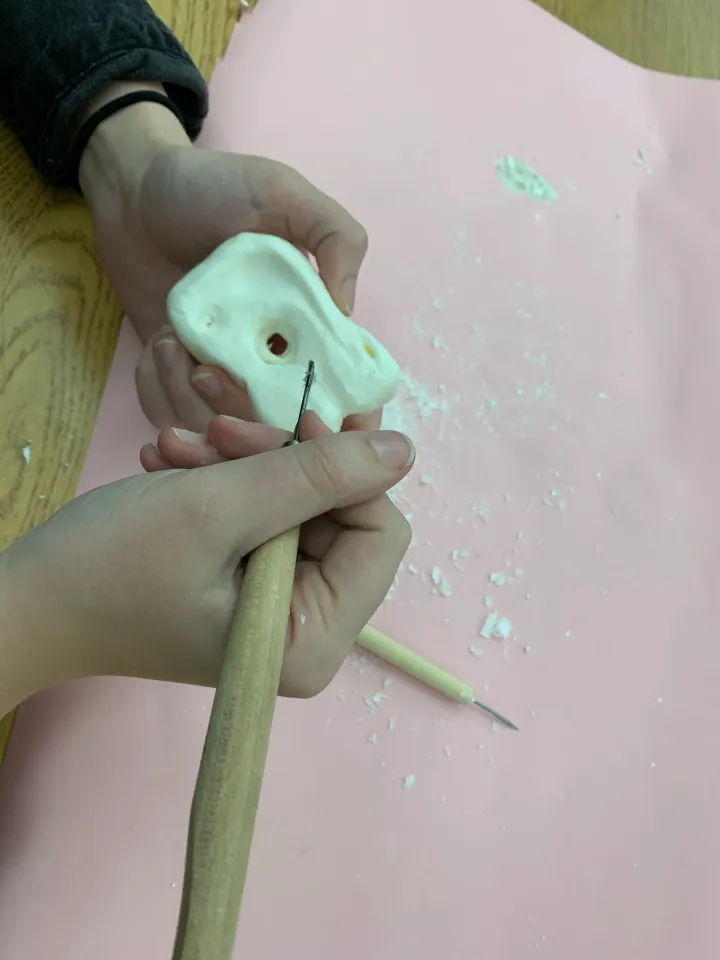
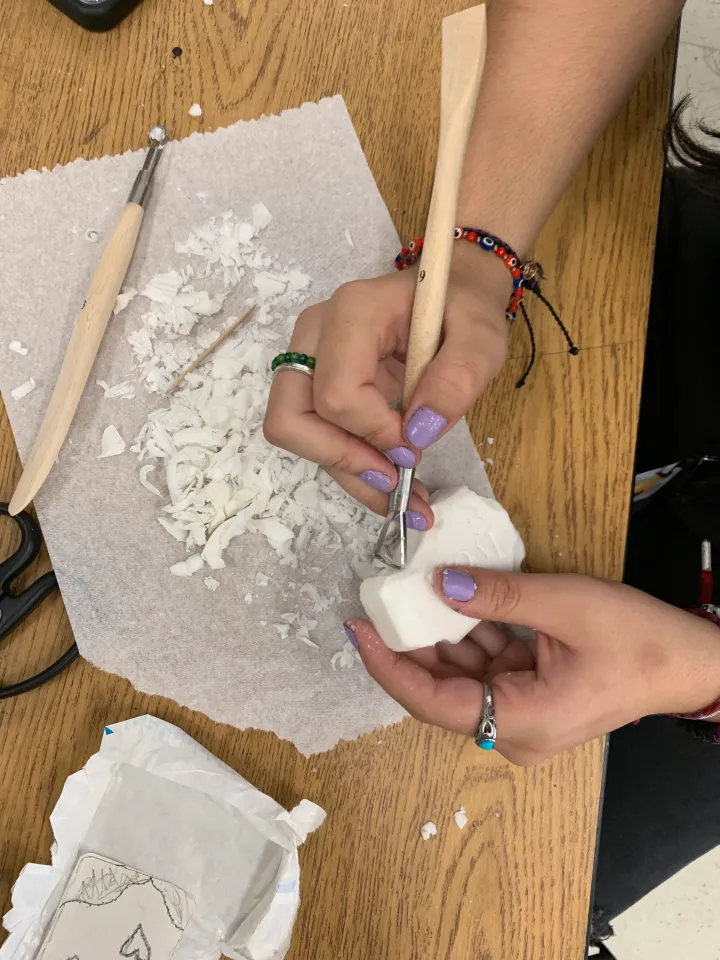

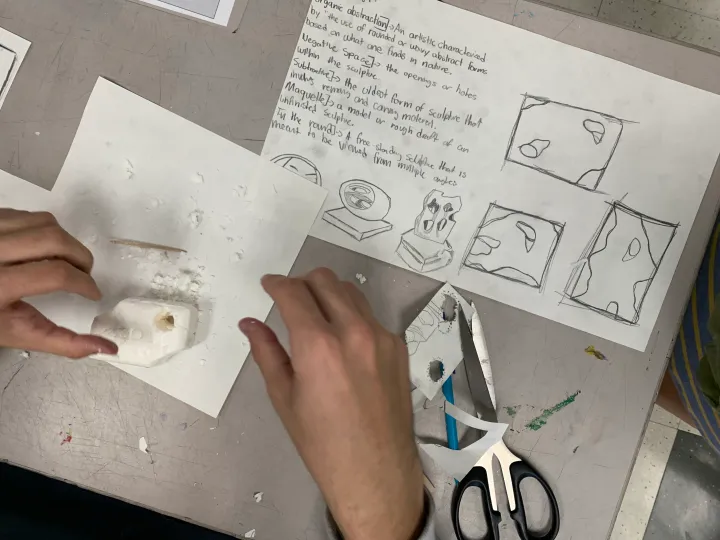

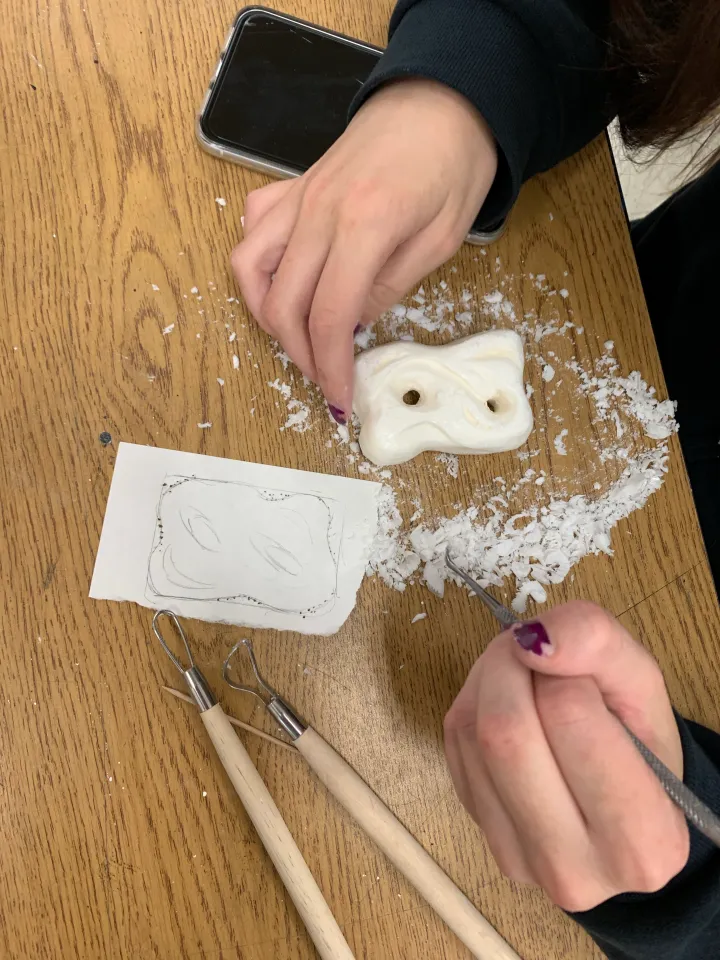
看到学生专注投入、兴致盎然地投入创作,我倍感欣喜。他们都表示过程令人满足,且切实深化了对雕塑本质的理解——尤其体会到如何创作一件从各个角度观赏皆富趣味的三维作品。教学中最大难点在于引导学生“打破矩形框架”,推动设计充分融入肥皂整体形态,而非仅局限于四个侧面分别处理。我常使用环形刻刀,在正面、背面及至少一个侧面之间刻出一处凹陷区域,以此强化整体性。
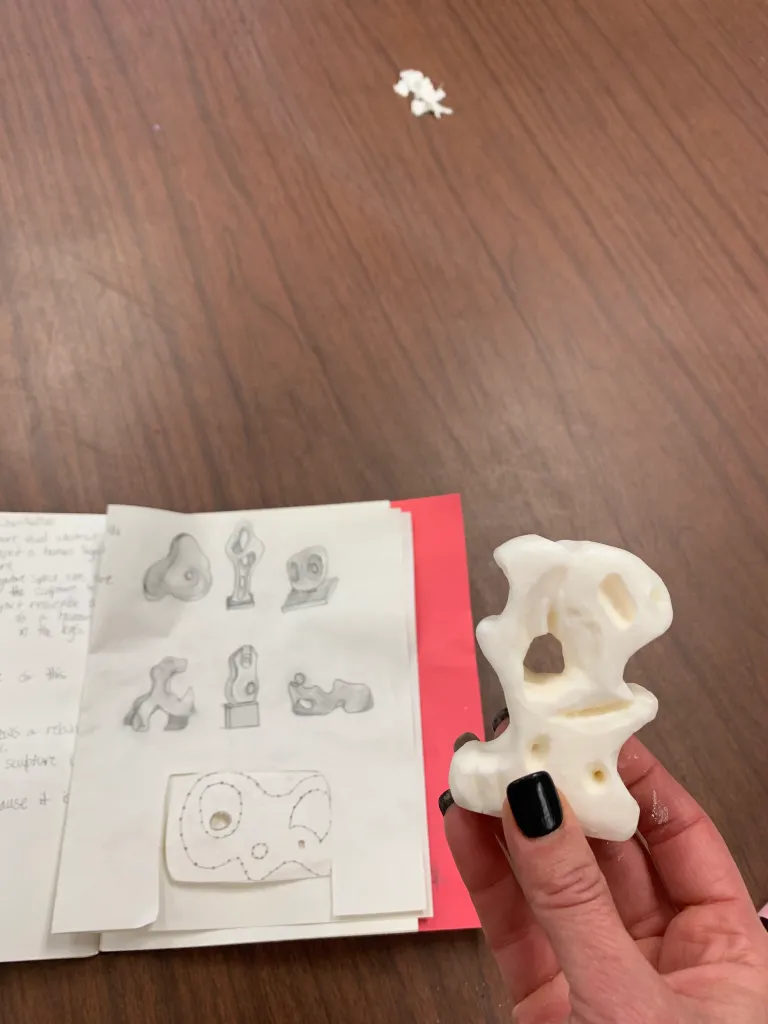
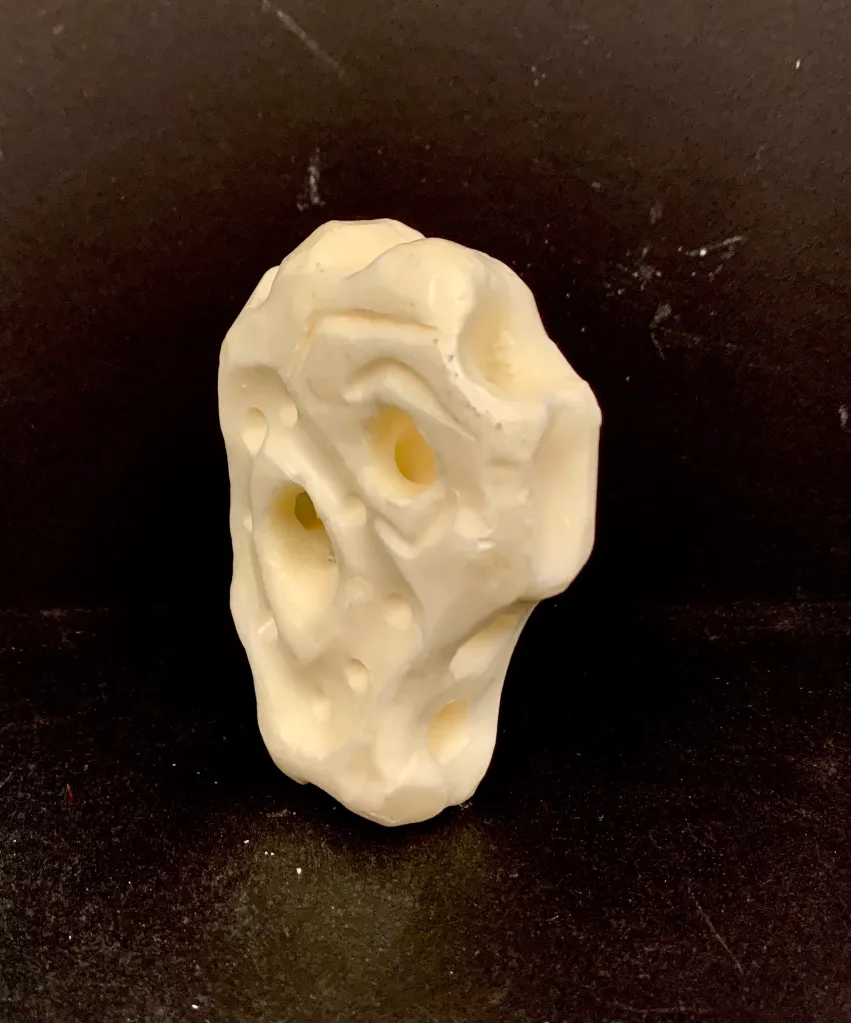
本单元共耗时五至六个课时。实际雕刻环节约占三个课时;由此,我首次对开启后续石膏雕刻创作充满十足信心!相关内容即将推出!
你最钟爱哪一节三维美术课?欢迎与我分享!
提交表单。
Soap Carving Art Lesson
Original: https://thatartteacher.com/2021/11/19/soap-carving-art-lesson/
Date: 2021-11-19
Author: Sierra Machado
Tags: 3D art lesson, 3D Design ideas, 3D middle school lesson, abstract soap carving, art education, art lessons step by step, art teacher, art tutorial, carving ideas for art clsas, easy 3D lesson, featured, high school sculpture lesson, high school soap carving, how to carve soap, soap carving art lesson, soap carving for beginners, soap carving inspired by barbara hepworth, soap carving lesson plan, soap carving tutorial, that art teacher
This soap carving art lesson will show you how to sculpt an abstract design using Ivory soap. We focused on organic abstraction, negative space and how to create a sculpture that is in the round. I use this lesson with my mixed 9th-12th 3D Design course. There are quite a variety of student abilities in mixed together, so we practiced carving soap before we moved on to the more challenging plaster carving. Students loved how the soap felt (and smelled!) and the carving was successful and satisfying for all levels.
This post will describe everything we did in the classroom, but this video describes the carving process and is great for posting in Canvas for absent students or students that need to review steps visually.
If you are looking to mix things up, try out this Zombie Soap Carving!
This uses the exact same technique, but allows for spooky and expressive faces without all of the organic abstraction research. It just depends on what you, your students, are looking for!
Sketches and Research
Subtractive sculpture and abstract art are two concepts students find difficult to understand. We started the unit by studying Barbara Hepworth in our daily art history warm-ups. She is known for her organic abstract sculptures in a post World War II world. I used this video to help introduce her style of art and to give more context to why her artworks are so abstract.
First, we sketched six sculptures by Hepworth and Henry Moore that exemplify organic abstraction and negative space. I also had students copy these definitions in their sketchbooks.
Soap-Carving-Definitionsfree Download!
After students complete their research and sketching, they traced their soap and created their own three designs. Students were given the option to go totally non-representational or pick on object to abstract. Most went non-representational just to focus more on their carving skills.
Transfer Image
Once students have a basic design, we used the dot-transfer method to transfer their sketches onto the both sides of the soap. We used toothpicks, but needle tools work super well too. We used a variety of loop tools leftover from the clay supplies and they carved beautifully. It’s best to start out slow and carve the basic edges of the design saving the negative space for last.
Carving the Soap
After all the warm-up discussions and practice sketches, students tend to feel way more comfortable tackling abstract subtractive carving. Soap is not intimidating and the hand held familiarity works in their favor. I encourage students to start with the largest outer shapes and curves first, and to start slow. Many students want to start drilling into the soap and create their negative space, but I encourage them to wait for that step. I only had two students out of about fifty break their soap in half. These two students had returned from extended absences and missed some instructions as well.
I was so happy with how focused and excited students were while working. They all expressed that it was satisfying and really pushed their understanding of sculpting and creating a 3D piece that is interesting from all sides. The biggest struggle was helping students “break the rectangle” and push their design to incorporate the whole form, and not just four sides at a time. I like to use the loop tool to carve a recessed area that touches the front, back and into at least one of the sides.
We spent about five to six class periods total on this unit. The actual carving takes about three class periods and I felt the most confident I ever had starting our plaster carving artwork. More on that soon!
What is your favorite 3D lesson to teach? I’d love to hear from you!
Submit a form.