制作你自己的肌理拓印版
原文链接:https://createartwithme.com/texture-rubbing-plates/
日期: 2016-02-22
作者: Michelle East
分类: 二年级、三年级、四年级、五年级、六年级、美术课、小学美术、美术元素课程、高中美术、幼儿园至一年级、初中美术、肌理
标签: 美术元素·肌理、制作你自己的、制作你自己的肌理拓印版、美术元素·肌理、自制肌理版、热熔胶肌理版、白乳胶肌理版、肌理版、肌理拓印版
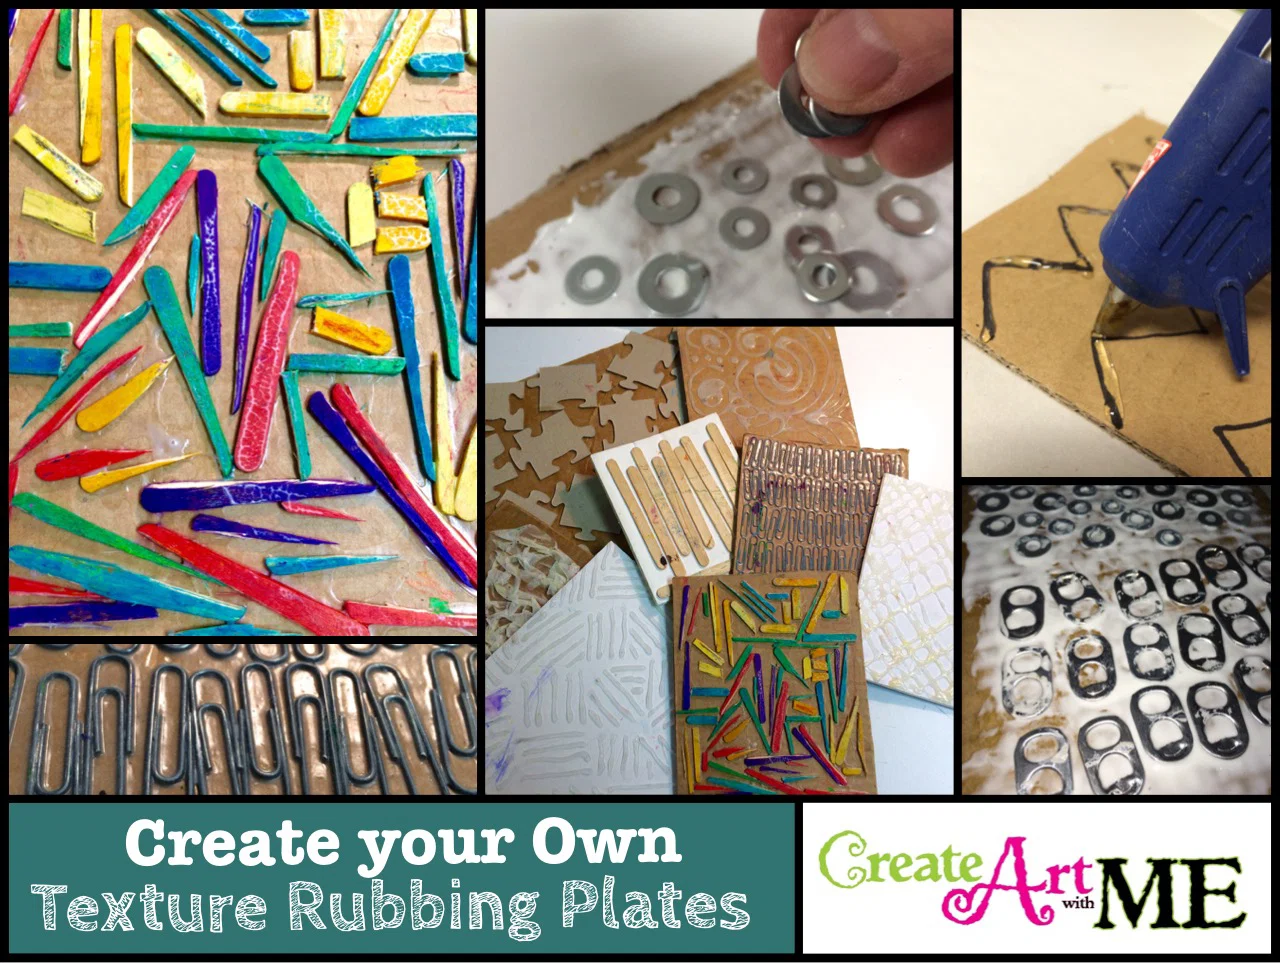
制作你自己的肌理拓印版
肌理拓印是我给各年级美术课安排的最喜爱活动之一——所有年龄段的学生都超爱这项活动!它充满动感、触感丰富,更有一种“魔法感”:当你在表面来回擦拭时,肌理图案逐渐显现!这是学习美术元素中“肌理”概念的趣味方式!
采购足量市售肌理版往往超出学校预算,那何不自己动手制作呢?——操作极其简单!
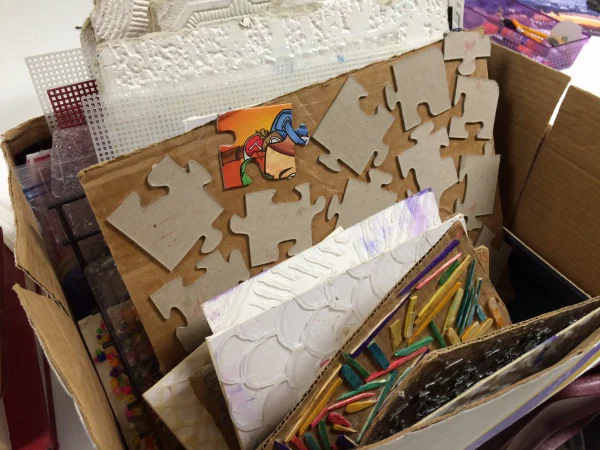
制作你自己的肌理拓印版所需基础材料如下:
- 硬纸板或卡纸板,裁成6×9英寸矩形(也可更大),这类板材比麦片盒纸板更坚固,更适合教室长期使用;
- 热熔胶及热熔胶枪(若用胶水“绘制”自创图案);
- 白乳胶(用于将物体粘贴到板面上);
- 塑型膏(用于按压嵌入物体);
- 各类随机硬质物体,确保其拓印时能呈现有趣肌理。务必选用高度一致的物体!以下是一些创意示例:
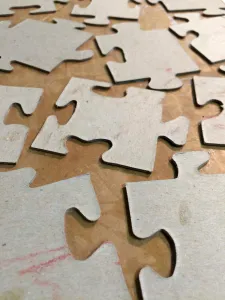
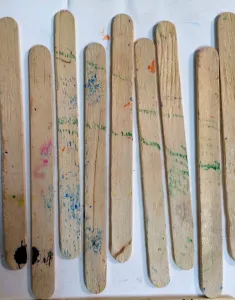
- 人造物品: 回形针、冰棒棍、硬币、拼图块、天花板扣板、牙签、“O”形密封圈、平垫圈、易拉罐拉环、陶瓷瓷砖背面常有独特纹样等;
- 自然材料: 树叶、贝壳、沙子等。
“绘制”肌理于板面的操作步骤:
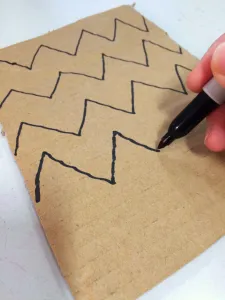
- 在硬纸板上画出图案或设计草图;
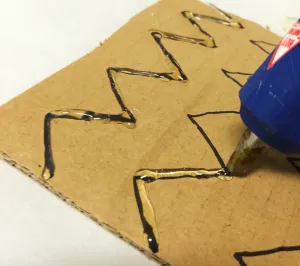
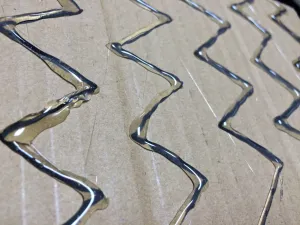
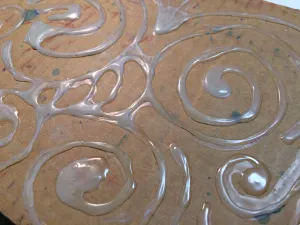
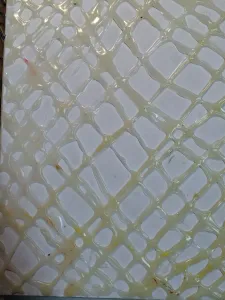
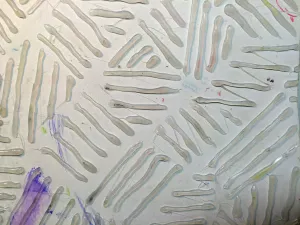
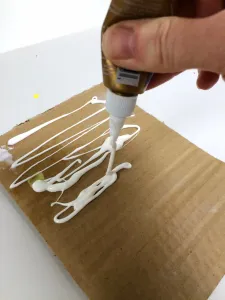
- 使用热熔胶枪沿草图“绘制”图案。尽量保持线条均匀。热熔胶是此步骤的最佳选择——与白胶或白乳胶不同,热熔胶不会下陷或扩散变形;而其他胶水干燥较慢,易使图案“融化”失真。热熔胶则能形成清晰边缘,干后基本保持你“绘制”时的原貌。
将物体粘贴至板面的操作步骤:
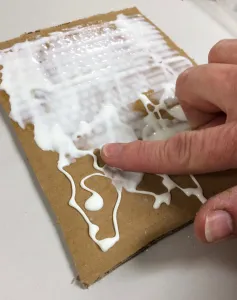
- 在板面均匀涂抹一层白乳胶;
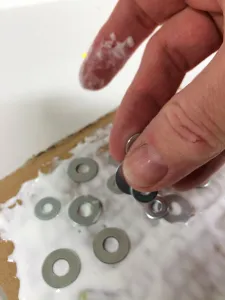
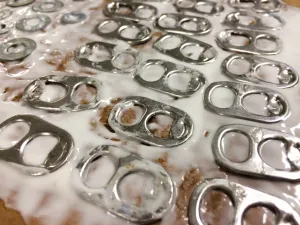
- 将物体平铺于胶层之上;
- 完全晾干;
- (可选)再涂一层胶、Mod Podge胶或喷涂透明丙烯酸封固剂加以保护。
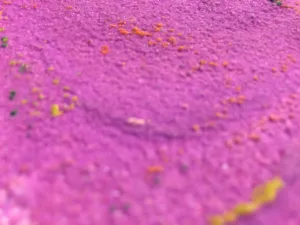
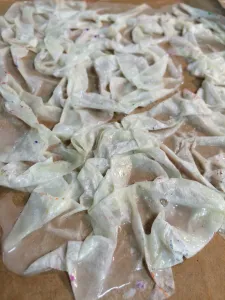
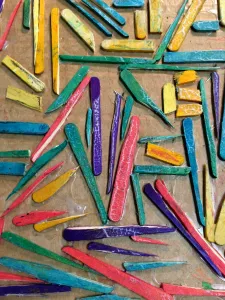
即将推出: 将物体按压进板面塑型膏的操作指南:
如何用天然材料制作拓印版
你曾用哪些不同物体制作过肌理版?欢迎在下方评论区分享!
肌理拓印主题创作项目:
结合肌理拓印的非具象水彩防染绘画
运用肌理拓印与色彩对比创作的鬣蜥水彩画
如需引用本文任何部分(文字、图表或图片),请务必回链至我的博客 Create Art with ME — Michelle East。
Create Your Own Texture Rubbing Plates
Original: https://createartwithme.com/texture-rubbing-plates/
Date: 2016-02-22
Author: Michelle East
Categories: 2nd Grade, 3rd Grade, 4th Grade, 5th Grade, 6th Grade, Art Lessons, Elementary Art, Elements of Art Lessons, HS Art, K-1st Grade, MS Art, Texture
Tags: art elements texture, Create your Own, Create your Own Texture Rubbing Plates, element of art texture, Home made texture plates, hot glue texture plates, tacky glue texture plates, Texture plates, Texture Rubbing Plates
Create Your Own Texture Rubbing Plates
Texture rubbings are one of my FAVORITE things to do with my art classes-all ages LOVE to do this! It’s active, tactile and MAGICAL to watch the texture reveal as you rub over the surface! Such a fun way to learn about the element of art called texture!
Purchasing enough pre-made texture plates can be cost prohibitive to a school’s budget, so why not make your own-it’s so easy!
Here are basic supplies you need to create your own texture rubbing plates:
- Cardboard or Mat board cut into 6×9″ rectangles (or larger if you want), these boards are stronger than cereal boxes and will last longer for the classroom environment
- Hot glue & hot glue gun if you are “drawing” your own designs with the glue
- Tacky glue to glue objects onto the boards
- Modeling paste (to press objects into)
- Various random HARD objects that will create an interesting texture when rubbed over. Make sure to use objects that have a consistent height! Here are a few idea:
- Man Made Objects: Paper clips, Popsicle sticks, coins, puzzle pieces, ceiling tiles, tooth picks, “O” rings, flat washers, soda can caps, the back of ceramic tiles often has an interesting pattern, etc.
- Natural items: leaves, sea shells, sand, etc.
Instructions for “Drawing” Texture onto a Board:
- Draw pattern or design onto cardboard.
- Use hot glue gun to draw design. Try to keep it as even as possible. Hot glue works best for doing this because unlike Elmer’s or tacky glue, the hot glue will not sink down or spread out the design. Because the other glues take longer to dry, those glues will look like they melt. The hot glue will have firmer edges and the design will dry mostly like you “drew” it.
Instructions for Gluing Objects onto a Board:
- Spread tacky glue all over the surface of the board.
- lay objects into the glue.
- Let DRY completely.
- Optional: seal with another coating of glue, mod podge, or spray, clear acrylic sealer
Coming SOON: Instructions for Pressing Objects into Modeling Paste onto a Board:
How to Make Rubbing Plates with Natural Materials
What are some different objects you have made texture plates using? Please share with us in the comments below!!
Texture Rubbing Projects:
Non-Objective Watercolor Resist Painting with Texture Rubbings
Color Contrast and Texture Rubbings Iguana Watercolor Painting
If you choose to use any part of this post (written, graphic or photo), please link back to my blog Create Art with ME-Michelle East.

