以肌理拓印创作的非具象水彩抗蚀绘画
原文链接:https://createartwithme.com/texture-rubbing-abstract-non-objective-watercolor-resist-painting/
日期: 2015-02-15
作者: 米歇尔·伊斯
分类: 二年级、三年级、四年级、五年级、六年级、课后美术与美术夏令营、美术课程、小学美术、美术元素课程、期末项目、综合材料课程、非具象、绘画课程、水彩课程、水彩抗蚀绘画
标签: 抽象艺术、美术项目、美术元素——肌理、艺术种类、非具象艺术课程、非具象绘画、非具象水彩抗蚀绘画、结合肌理拓印的非具象水彩抗蚀绘画、美术原理——强调、触觉肌理、教授肌理、肌理、肌理课程、面向儿童的肌理课程、肌理拓印、肌理类型、视觉肌理、水彩与蜡笔、水彩与蜡笔抗蚀绘画、面向儿童的水彩美术项目、水彩课程、面向儿童的水彩项目
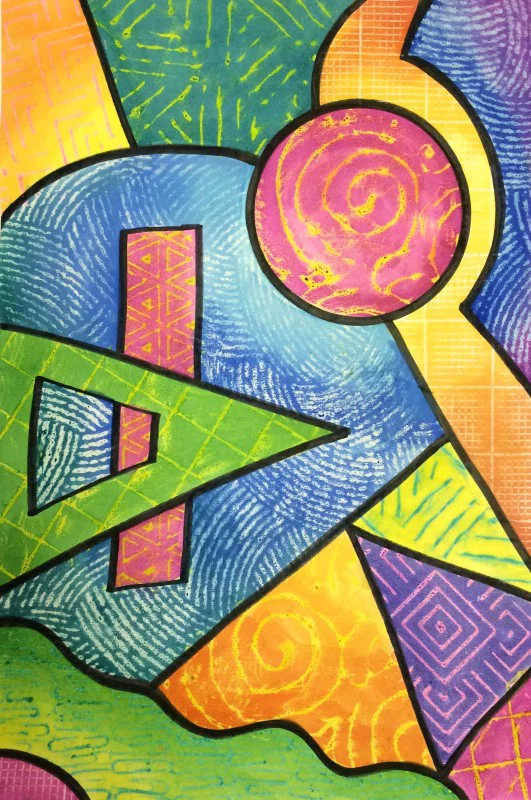
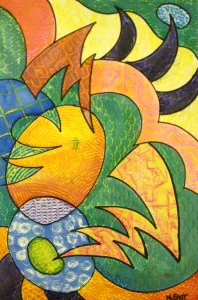
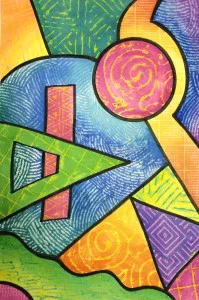 我超爱肌理拓印,也超爱水彩与蜡笔抗蚀绘画,因此本美术项目正是两者的完美结合!!我实际上已将此项目用于二年级至高中美术课堂(高中生们超爱这个!)。
教学目标: 学生将理解写实、抽象与非具象艺术作品之间的区别;学生将学习肌理如何通过感官被感知;比较并对照不同艺术作品中的各类肌理;创作探索视觉肌理的二维作品,运用肌理拓印实现。
第一课时授课内容:
艺术共有三类:写实、抽象与非具象。(展示每类的范例)
- 写实: 力求高度贴近真实生活的艺术
- 抽象: 以真实事物为原型,加以变形或提炼的艺术
- 非具象艺术: 不表现任何现实物象,仅由线条、形状、色彩与肌理构成的艺术
肌理 是美术元素之一,指物体表面的实际触感,或看似具有某种触感的视觉效果。
肌理主要有两类:
- 触觉肌理: 可通过实际触摸而感知的肌理
- 视觉肌理: 仅能用眼睛观察、无法实际触摸到的肌理。例如观看照片、素描或绘画时所见的肌理,但无法真正触摸感受——它是一种三维表面的视觉错觉。
- 展示触觉肌理与视觉肌理的范例。
第一至第二课时活动: 每次课时约40分钟,共2–3课时|非具象水彩抗蚀绘画
项目目标: 学生将使用蜡笔与肌理板,创作一幅非具象的蜡笔—水彩抗蚀绘画。(可选拓展:引入美术原理“强调”,使画面中某一部分比其余部分更突出,例如通过制作三维效果实现)
所需材料: 蜡笔、Crayola 16色半湿润椭圆形水彩盘套装(含画笔) 、12×18英寸卡纸(或60–90磅纸张)、肌理拓印板(自制、拾得或购买——Fiskars双面肌理板组合II,6片装,共12种图案,货号5659)
以下为我们使用的部分肌理板:


操作步骤:
- 先用CD光盘沿边缘画一个圆,使用粗头记号笔描线,并将圆置于画面偏心位置。
- 在整张纸上添加多种线条与形状(不宜过小,亦不宜过多)。
- 用粗头记号笔勾勒所有线条的轮廓。
- 在每个形状内,用蜡笔与肌理板进行拓印。每个形状使用不同颜色与不同肌理。务必让蜡笔侧锋着纸,同时保持纸张绝对静止。(教师须现场示范该技法)
- 用水彩颜料覆盖全部拓印区域作画。特别强调:所用水彩颜色须与对应区域所用蜡笔颜色不同。
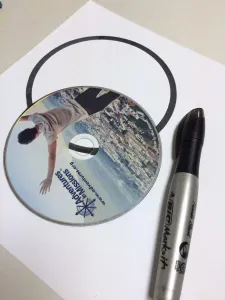
: 用CD光盘描画圆形
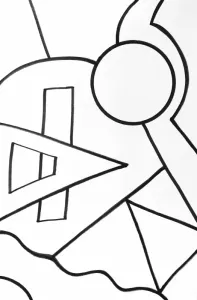
: 绘制线条与形状,并用记号笔勾边
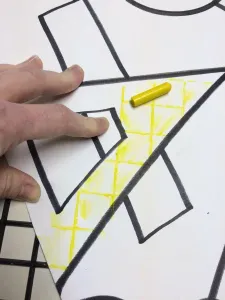
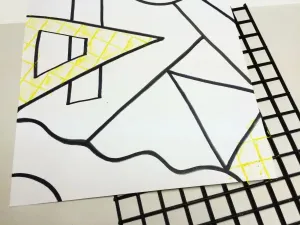
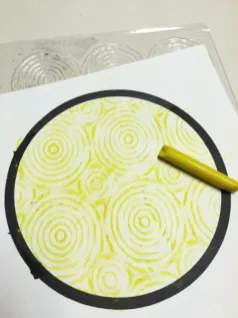
: 用蜡笔进行肌理拓印
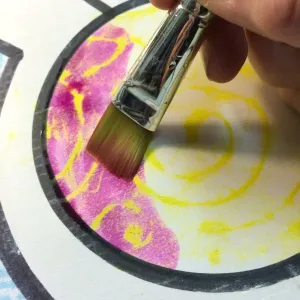
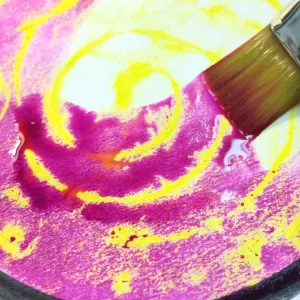
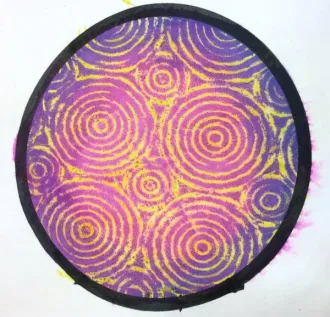
: 用水彩上色
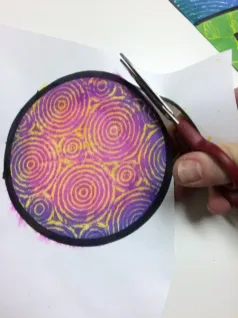
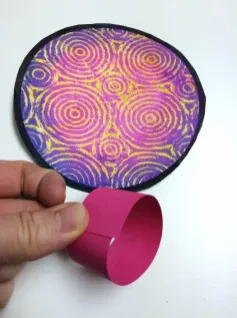
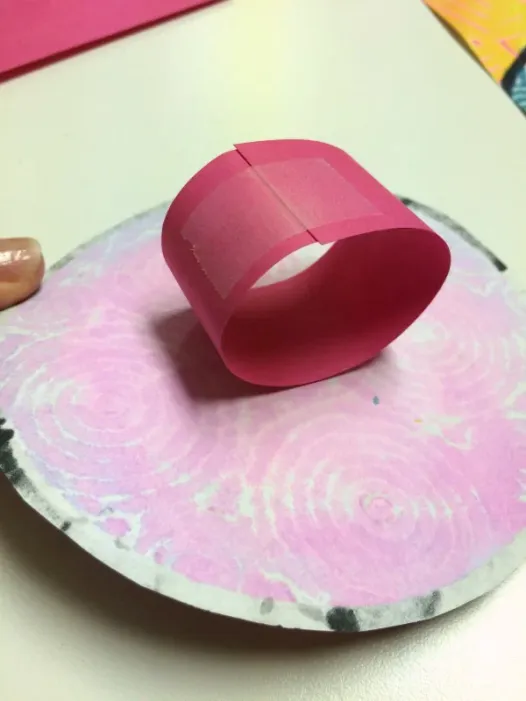
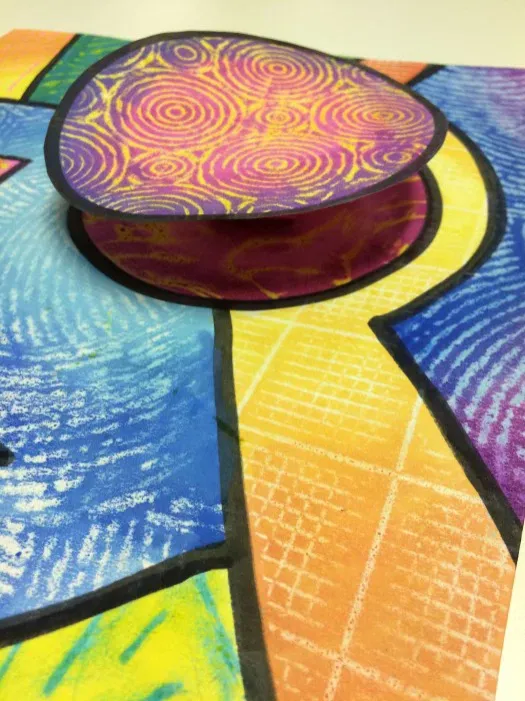
可选拓展:若加入“强调”原理,需另用CD光盘再描一个圆,同样进行肌理拓印与水彩上色;再取一环彩色手工纸,将其粘贴于该圆后方,并将圆所在纸面部分覆盖粘牢。
若您选用本博客中任一部分内容(图片或文字),请务必附上原文链接回溯至 Create Art with ME!
Non-Objective Watercolor Resist Painting with Texture Rubbings
Original: https://createartwithme.com/texture-rubbing-abstract-non-objective-watercolor-resist-painting/
Date: 2015-02-15
Author: Michelle East
Categories: 2nd Grade, 3rd Grade, 4th Grade, 5th Grade, 6th Grade, After School Art & Art Camp, Art Lessons, Elementary Art, Elements of Art Lessons, End of the Year Projects, Mixed Media Lessons, non-objective, Painting Lessons, Watercolor Lessons, Watercolor Resist
Tags: abstract art, art project, element of art texture, kinds of art, Non-objective Art Lesson, non-objective painting, Non-Objective Watercolor Resist Painting, Non-Objective Watercolor Resist Painting with Texture Rubbings, principle of art emphasis, tactile texture, teach texture, texture, texture lesson, texture lessons for kids, Texture Rubbings, types of texture, visual texure, Watercolor and crayon, Watercolor and crayon resist paintings, watercolor art projects for kids, watercolor lesson, watercolor projects for kids
I LOVE texture rubbings & I LOVE watercolor & crayon resist paintings, so this art project is the perfect combination of both!! I have actually done this with 2nd grade on up to High School Art (the HS students LOVE this!).
Objectives: Students will understand the difference between realistic, abstract & non-objective artwork. Students will learn how texture is perceived through the senses. Compare & contrast different textures in various artworks. Create 2D artwork that explores visual texture through texture rubbings.
Delivery Day 1:
There are three kinds of art: realistic, abstract & non-objective. (show examples of each)
- Realistic: art that is meant to resemble real life closely
- Abstract: art that takes something real & distorts it
- Non-objective Art: art that does not resemble anything real, it is only lines, shapes, colors and textures
Texture is the element of art that refers to how things feel, or look as if the might feel if touched.
There are 2 main types of texture:
- Tactile Texture: you can physically experience by touching it
- Visual Texture: only seen with the eyes, not physically felt. An example is when you look at a photo, drawing or painting and see a texture but can not actually feel it. It is the illusion of a 3D surface.
- Show examples of tactile & visual texture.
Day 1-2 Activity: 2 to 3-40 minute class periods Non-Objective Watercolor Resist Painting
Project Objective: Students will use crayons and texture plates to create a non-objective crayon & watercolor resist painting. (Optional: add instruction the principle of art called emphasis & have one part of the painting stand out more than the rest by making it 3D)
Supplies: Crayons, Crayola 16 Semi-Moist Oval Pans Watercolor Set with Brush, 12×18″ tagboard (or 60-90lb paper), Rubbing plates (homemade, found & purchased-Fiskars Texture Plate Double Sided Assortment II 6/Pkg 12 Designs 5659)
Here are some of the texture plates we used:
Instructions
- First use a CD to draw a circle with a thick sharpie. Place the circle off-center.
- Add a variety of lines & shapes over the entire paper (not too small & not too many).
- Outline all lines with a thick sharpie.
- In each shape use the crayon & texture plates to create rubbings. Put a different color & texture in each shape. Make sure the crayon is on its SIDE & you hold the paper very still. (Teacher should Demonstrate technique)
- Use watercolor paints to paint over the rubbings. Emphasize that they should use a different color than the crayon color they rubbed with.
: trace a circle with a CD
: Draw liines & shapes, outline in sharpie
: Texture Rubbings with crayons
: Paint with watercolors
Optional: If you add the emphasis element, you will trace an additional circle with the CD & apply a texture rubbing and watercolor to this as well. Add a loop of colored construction paper behind the circle & glue it on top of the circle on the paper.
If you choose to use ANY part of this blog (pictures or written information), please link back to Create Art with ME!

 我超爱肌理拓印,也超爱水彩与蜡笔抗蚀绘画,因此本美术项目正是两者的完美结合!!我实际上已将此项目用于二年级至高中美术课堂(高中生们超爱这个!)。
