美工刀创意剪纸
原文链接:https://tabithaannthelostsock.blogspot.com/2012/09/positive-negative-symmetrical-designs.html
日期: 2012-09-22
标签: 艺术、美工刀、彩色卡纸、教案、光、灯罩、剪纸艺术、正负空间、对称、窗
今年暑假我发现了这本书,被其中丰富的创意深深打动与启发。
我迫不及待想等新学期开始,好让八年级进阶美术班的学生们开始使用美工刀!
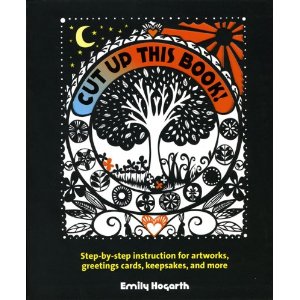
《剪开这本书》作者:Emily Hogwarth
正负空间对称设计
我的八年级进阶美术班学生正在学习如何正确使用美工刀。
我要求他们创作时,将正形与负形空间都纳入整体构图之中。
我认为最终效果非常出色。
这些作品只是他们即将完成的一系列精彩创作的开端。
从简单入手
“浓淡”(Notan)艺术
观察浓淡艺术图片
点击此处
选出3幅令你受启发的浓淡设计:
一幅简洁明了,一幅具挑战性但可达成,一幅则令人惊叹不已。
临摹它们,保存下来,并分享给我。
观看这段视频……
浓淡设计
你也将用一个黑色正方形创作自己的浓淡设计。
务必遵循视频中的操作步骤与技巧,确保画面整洁。
讲解浓淡艺术的极佳教学网站
点击此处
也请点这里!
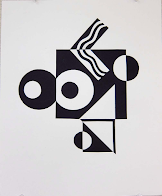
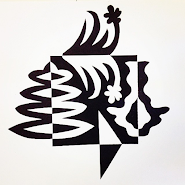
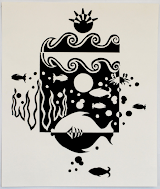
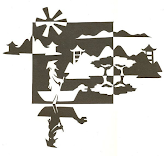
进阶美术 2022
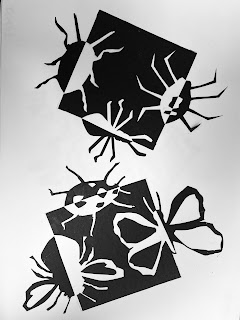
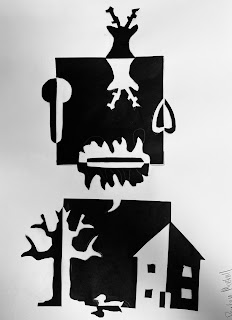
Carie Adair 和 Peyton Marshall
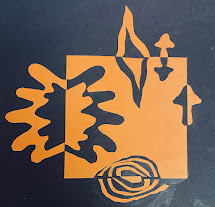
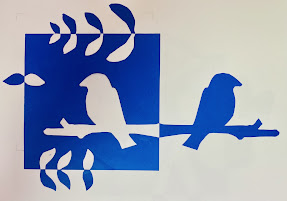
Braylee Beville 与 Lucy Goodson
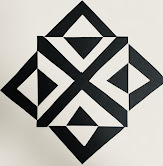
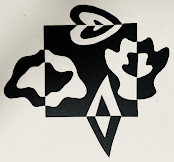
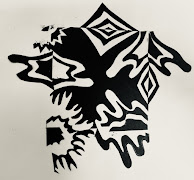
Jannette、Maleighna 与 Fransisco
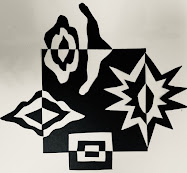
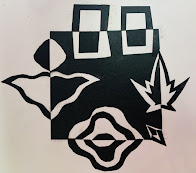
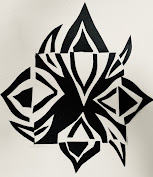
Josilen Martinez、Lydnie Key 与 Danielle Voyles
杂志图像再创作
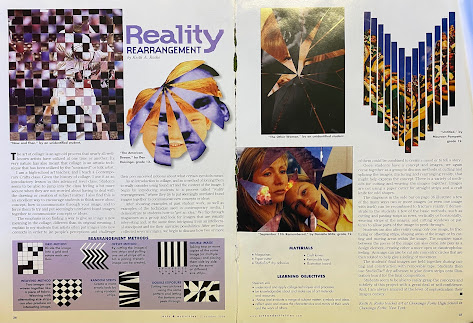
这是Photoshop诞生前的图像处理方式。
将一张或多张图片裁切成不同形状,再重新组合排列,从而引导观者以全新视角理解图像。
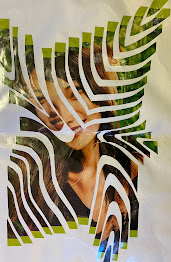
这可以是图像拼合、图像拉伸、图像编织、图像碎裂……
杂志浓淡创作
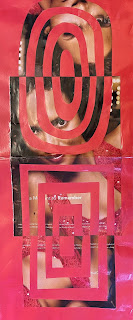
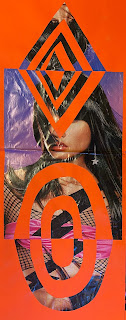
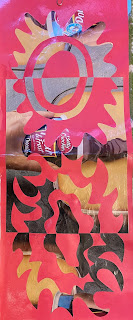
条带错位(Strip and Slip)
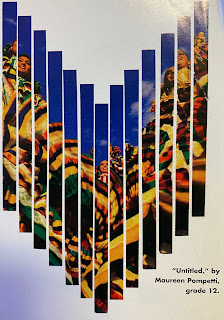
裁切两张图像并互换位置
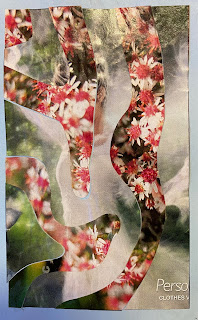
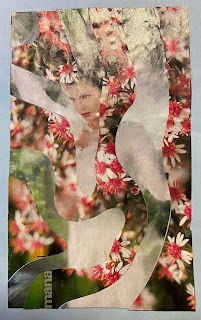
四边重复线条——裁切后拉伸
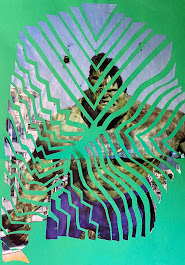
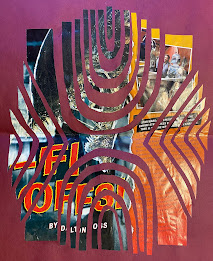
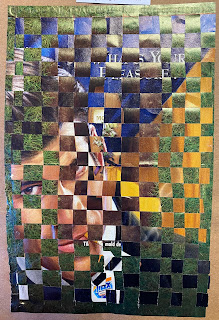
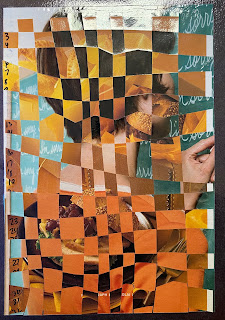
双图编织
正负空间艺术
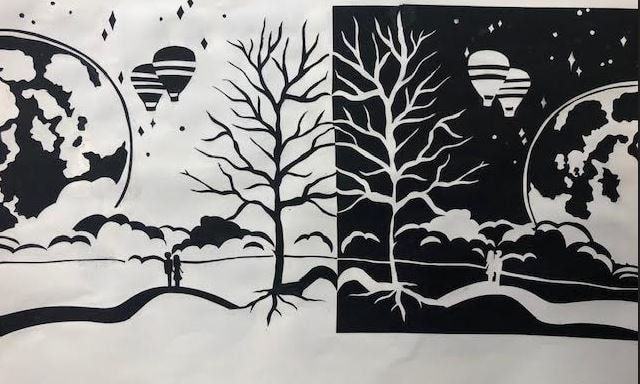
源自 Miss O’brein 的美术课
(点击图片查看更多)
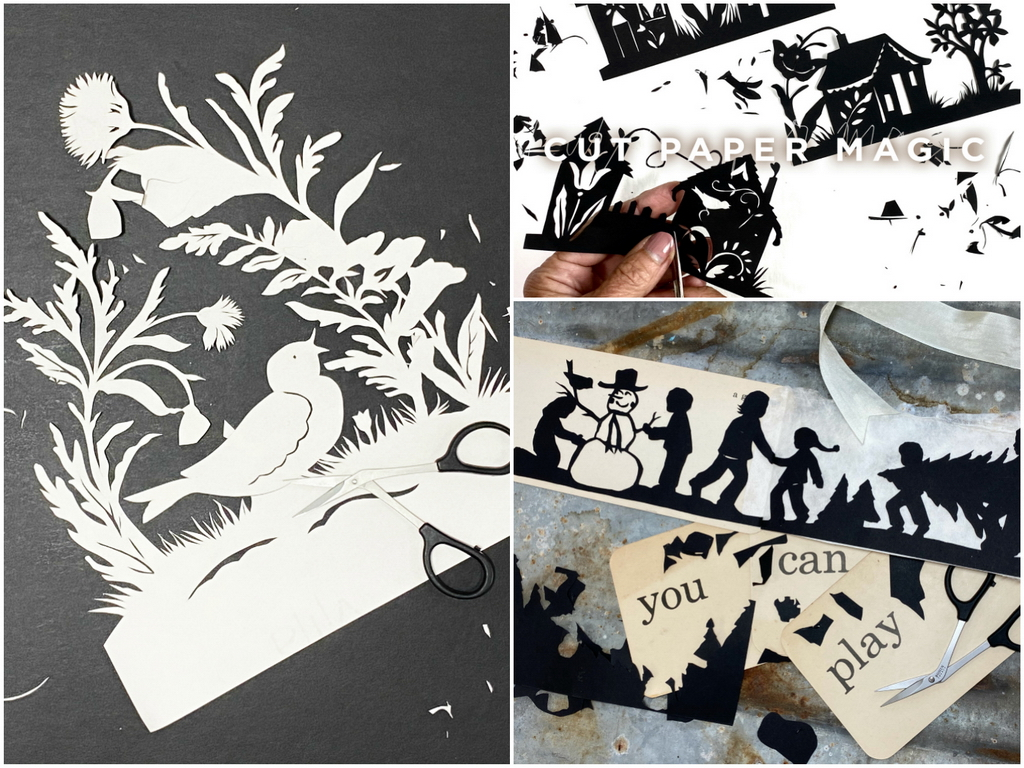
参看 Sharyn Sowell 的创意剪纸作品……
她是“创意剪纸鼻祖”!
点击图片查看更多……
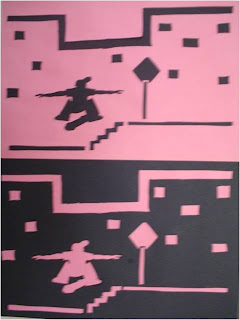
这种创作方式与浓淡艺术相似,均需利用所有被剪下的部分。
区别在于:浓淡艺术通常从边缘向内剪裁;而本练习则从中心出发,一路剪至纸张另一侧,最终在同一张纸上生成两幅图像。
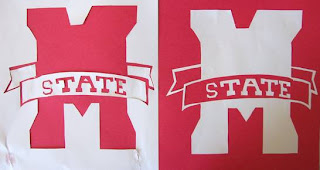
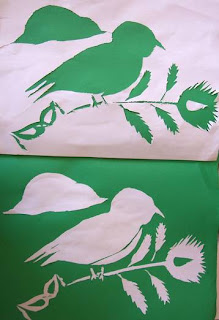
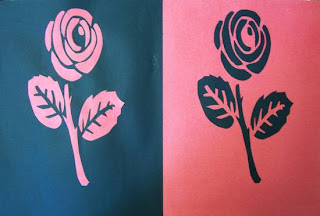
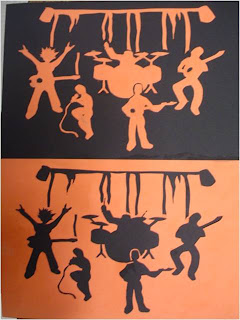
该图像可翻转后呈现对称效果(如 Miss O’Bren 的课堂作品),
也可仅平移后粘贴固定,如下图所示。
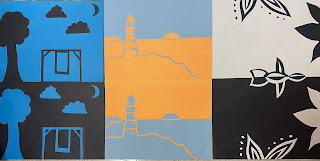
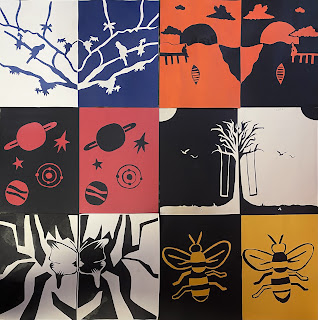
上图出自2022年进阶美术课
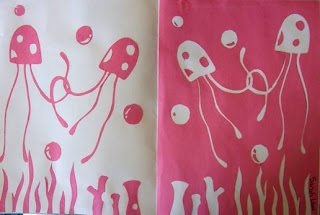
 df
借负形传递正向信息
完成对称设计后,我们进入更富挑战性的创作阶段。
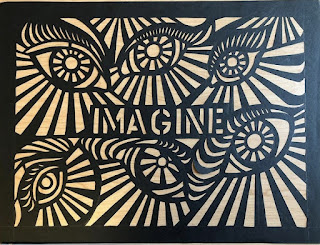
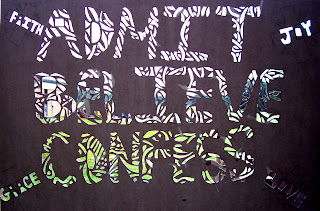
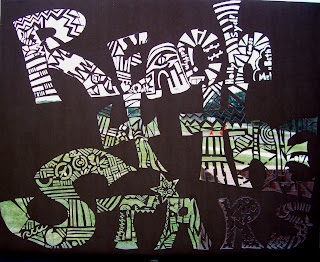
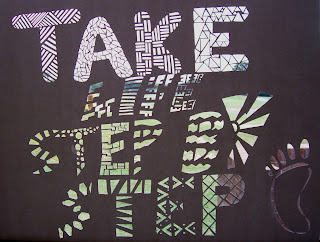
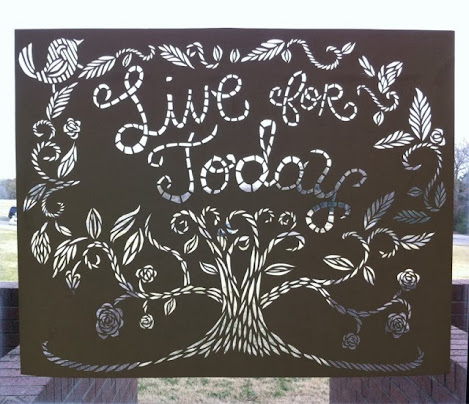
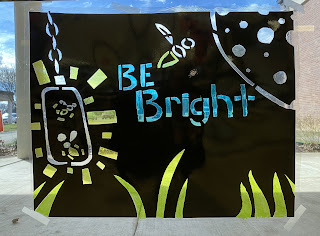
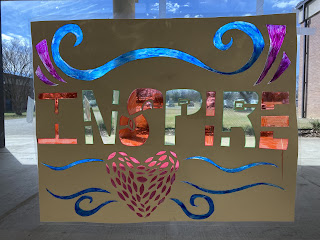
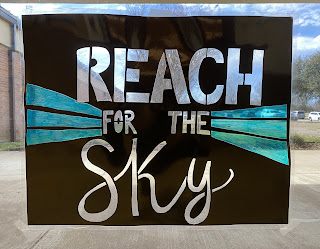
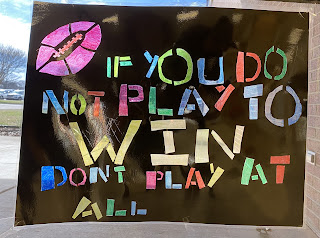
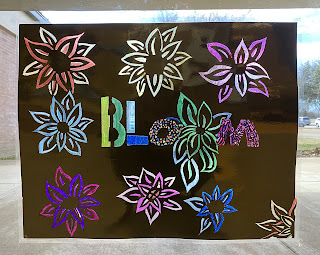
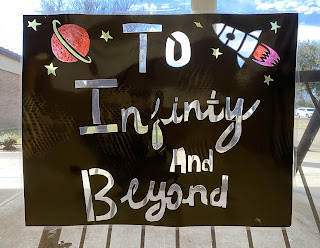
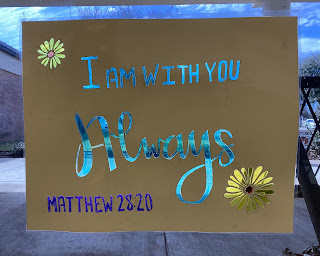
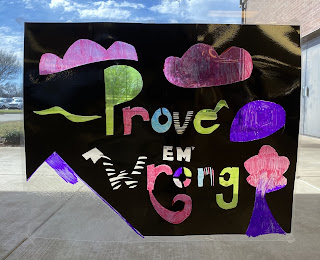
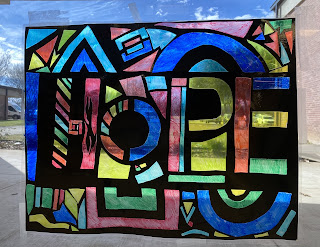
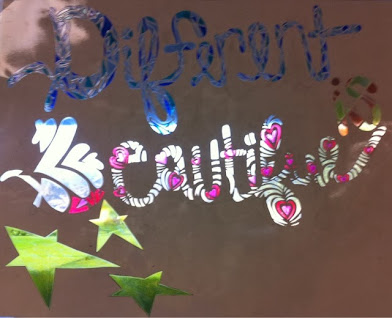
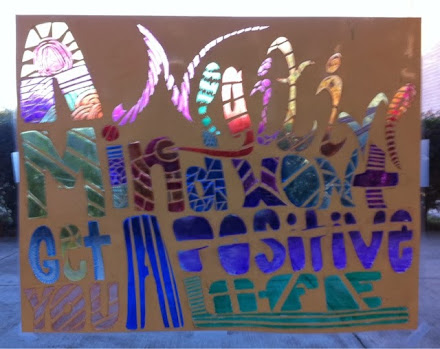
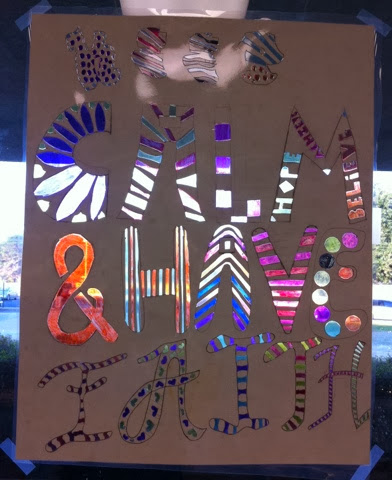
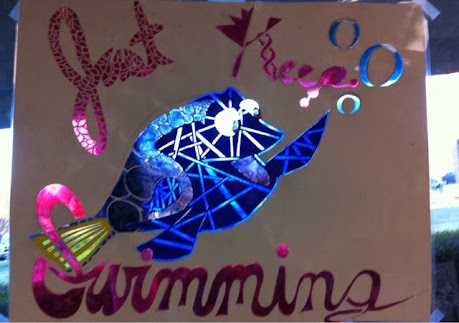
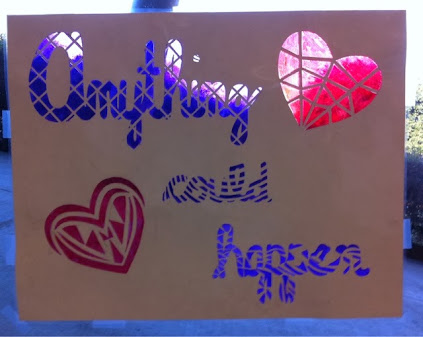
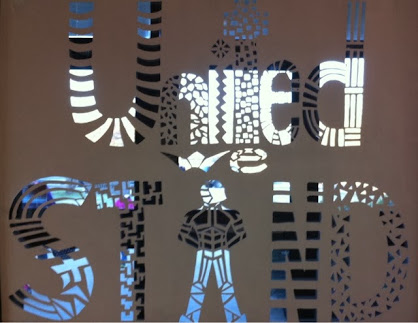
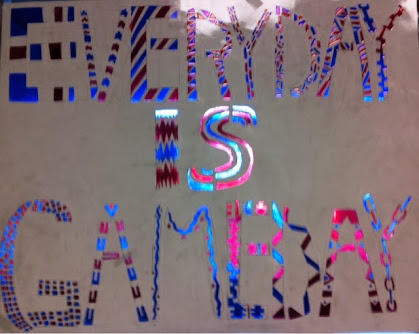
我决定开启一项新的剪裁课程:与上一作业不同,本次剪下的细小负形部分可直接丢弃。我为每位学生发放一张白色海报板,要求他们在上面设计一个永恒主题(风景、名言、励志理念等)。但在动笔之前,他们必须预先构思——每一处剪裁都将真实镂空。因此,我建议他们多采用小形状,而非大块面;若大面积镂空,作品结构易松垮变形,需在设计中保留必要的支撑结构,以提升成品质量。
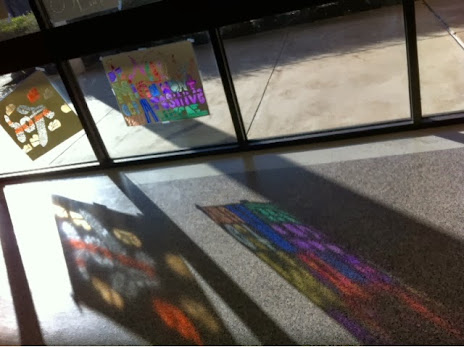
这些作品专为置于窗上而作,使光线透过负形空间投射于地面,形成光影图案。完成后,我们对其覆膜,既加固结构,又增强耐候性。
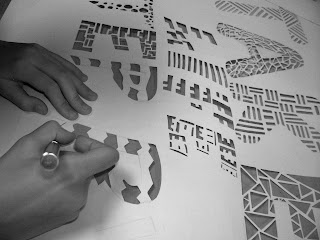
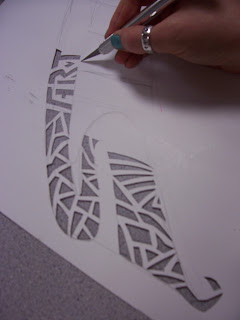
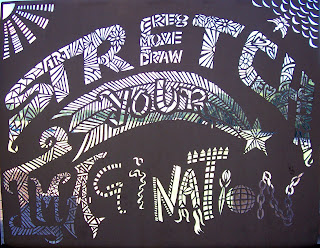
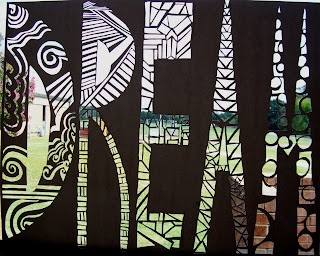
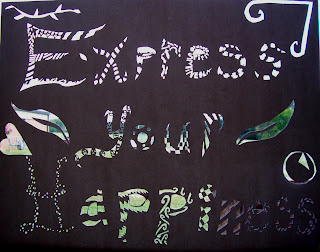
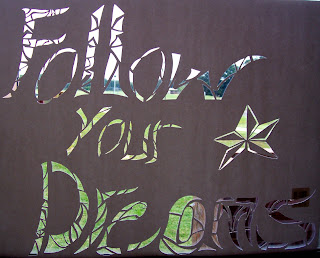
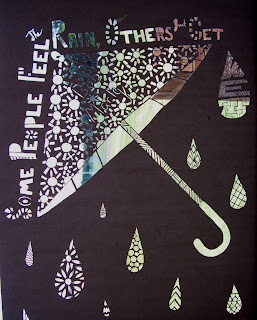
2013年创作
2022年八年级进阶美术课
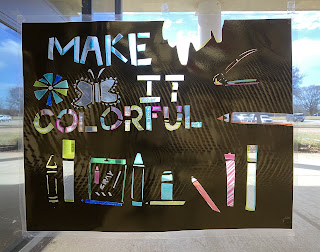
———-
2014年以前的进阶美术课
美工刀创意剪纸
Original: https://tabithaannthelostsock.blogspot.com/2012/09/positive-negative-symmetrical-designs.html
Date: 2012-09-22
Tags: art, art knife, construction paper, Lesson Plan, light, luminary, paper cut art, positive and negative space, symmetrical, window
I found this book over the Summer and was so excited and inspired by all of the ideas it held.
I could not wait for the school year to begin so I could start letting my advanced art 8th graders using the knifes!
Cut Up This Book by Emily Hogwarth
POSITIVE & NEGATIVE SYMMETRICAL DESIGNS
My 8th grade advanced art students are learning how to use an art knife properly.
I had them cut our designs using both the positive and negative spaces as part of their design.
I think they turned out great.
These are just the beginning of some amazing things they will be doing.
Start Simple
NOTAN ART
Look at images of Notan Art
CLICK HERE
Find 3 Notan designs that inspire you.
Find one that is simple, one that is an achievable challenge, and one that is crazy good.
Copy them, save them, and share them with me.
Watch this video...
Notan Designs.
You will create your own design with a black square as well.
make sure to follow instructions and tips from the video to keep it neat.
VERY GOOD SITE FOR TEACHING NOTAN
click here
Click Here TOO!
Advanced Art 2022
Carie Adair and Peyton Marshall
Braylee Beville and Lucy Goodson
Jannette, Maleighna & Fransisco.
Josilen Martinez ,Lydnie Key, and Danielle Voyles
MAGAZINE MANIPULATION
This is PrePhotoShop stuff here.
Cutting one or more images into shapes and rearranging them to make you see the image in a new way.
This can be combining images, stretching out an image, weaving images, shattering images....
Notan with Magazines
Strip and Slip
Cut 2 and Switch
repeated lines on 4 edges cut and stretched
Weaving 2 Images
POSITIVE AND NEGATIVE Art
From Miss O'brein's ArtClass
(click pic to see more)
See some of Sharyn Sowell's creative cuts here....
She is the O.G Creative Cutter!
click pic to see more...
This is similar to Notan, in the fact that you use all the pieces that you cut out.
Only, instead of cutting from the edges and going outward, you cut from the middle and move to another side completely, making 2 pictures from the same paper.
This image can be flipped and symmetrical (like Miss O'Brein's class),
or it can be simply slid over and glued down, like below.
Above from 2022 Advanced Art
df
POSITIVE MESSAGE from NEGATIVE SPACES
After they completed their symmetrical designs, we moved on to bigger and better ideas.
I decided to begin a lesson about cutting, but instead of keeping those little bitty negative pieces like the last assignment, we were able to toss those in the trash. I gave all the students a white poster-board. They were told to do a timeless design (landscape, quote, inspirational idea) on their poster. But, they had to think before they drew. They had to know that each cut would come out. So, I suggested them to use smaller shapes rather than large. When large shapes are cut out, the structure begins to be floppy. It needs supports left into the design to make a nicer quality piece.
These designs were mean to be put into a window to allow the light to gleam through the negative spaces creating a design on the ground below. After we were done, we laminated them to keep them staying together and for extra support and shield from weathering.
2013 creation
2022 Advanced Art 8th grade
———-
Pre-2014 Advanced Art


 df


