综合媒介轮廓肖像
原文链接:https://thatartteacher.com/2022/09/09/mixed-media-contour-portraits/
日期: 2022-09-09
作者: Sierra Machado
标签: 美术教育、美术教程、盲轮廓线素描、轮廓线素描、高中轮廓线素描、高中素描、精选、高中素描课、如何教授轮廓线、如何教授素描、综合媒介美术课、综合媒介轮廓肖像、那位美术老师
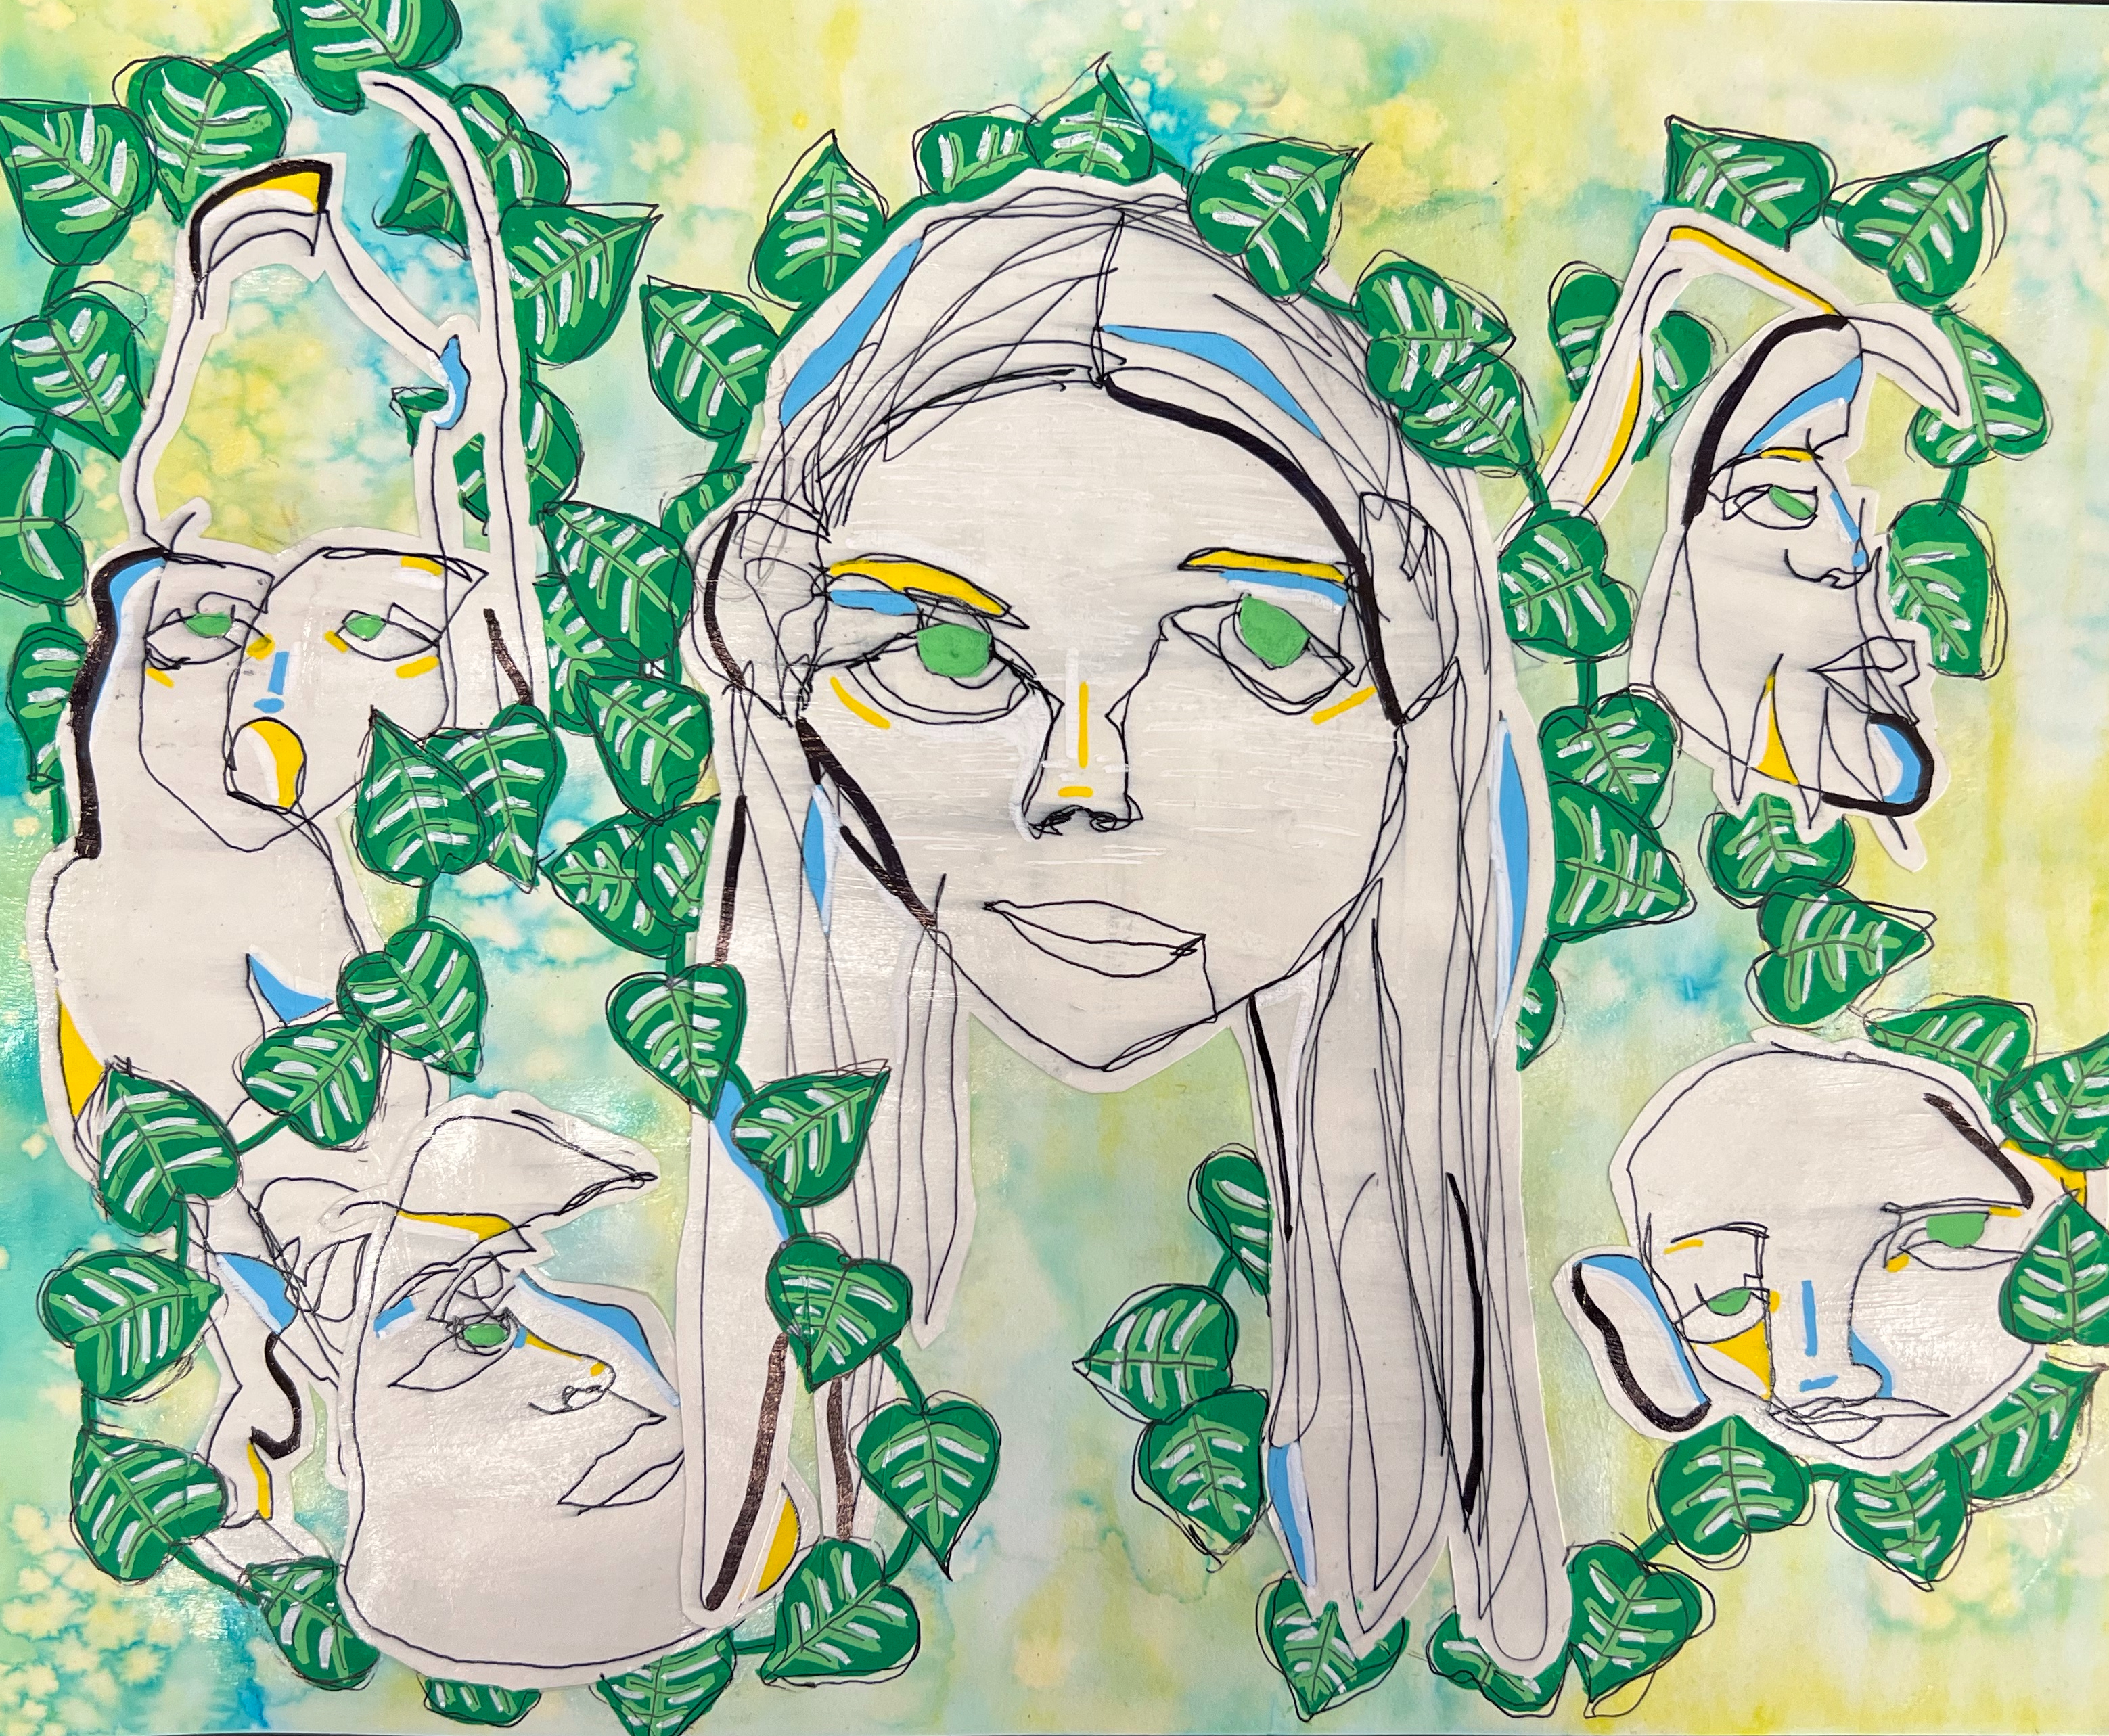
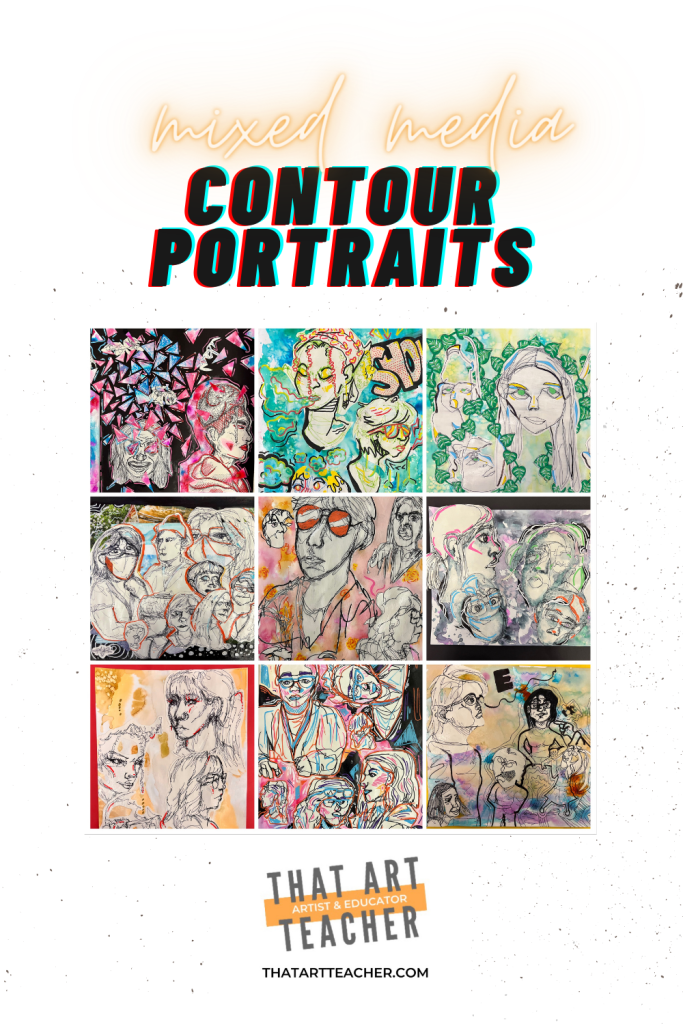
轮廓线素描是我最钟爱的素描方式,也是我教学生进行直接观察写生的首选方法。今年,我的学生们尝试创作综合媒介轮廓肖像。我们在夯实基础技能的同时,也鼓励学生大胆运用色彩、展现个人风格。
我曾将这一技法运用于能力水平差异极大的学生群体中——从六年级学生到AP艺术课程学生,只要愿意学习,任何学生都能掌握!
若您偏好视频形式,本视频将为您或您的学生完整演示我们所采用的分步操作流程。
盲轮廓线素描
我们以我个人最喜爱的盲轮廓线素描作为起点。我让学生分组或结对练习。有时性格腼腆的学生会表示抗拒,但通常外向些的学生会热情地将其拉入自己的小组。我们首先观看该教程的第一部分:
我在黑板上展示以下指导原则:
- 用一条连续不断的线条作画
- 笔尖始终不离纸面(当然,适度伸展手臂是允许的)🙂
- 专注描绘面部特征与服装的外缘轮廓(不加明暗)
- 只能注视你的描绘对象(完成前不得低头看自己的画)
我喜欢先设定一分钟或两分钟计时器来启动练习。随后我们轮换观察对象或互换描绘角色,共同完成约五幅后,再让学生独立练习。
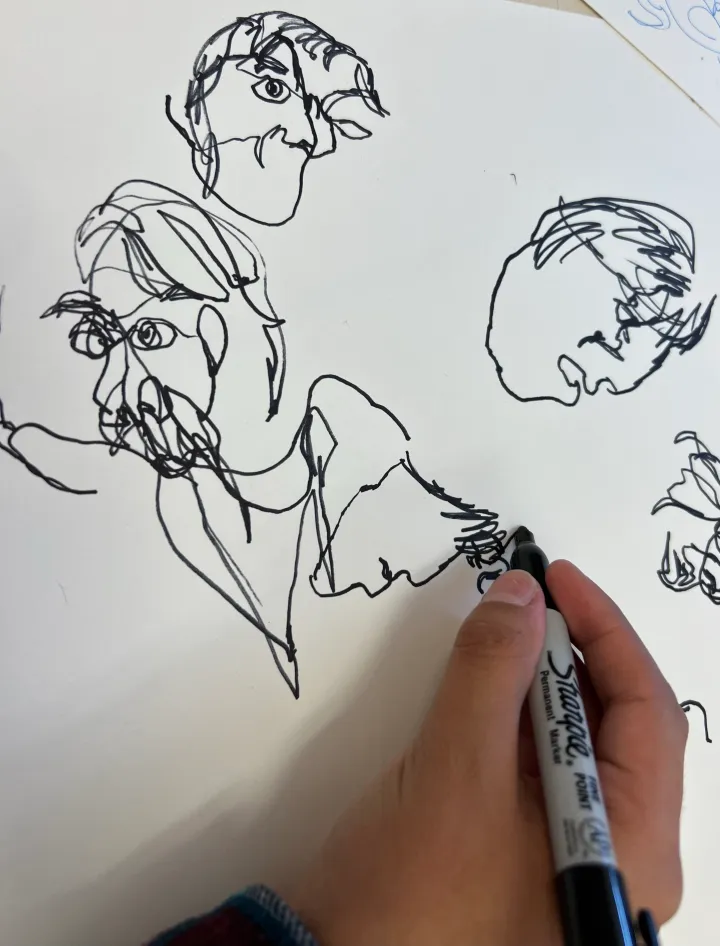
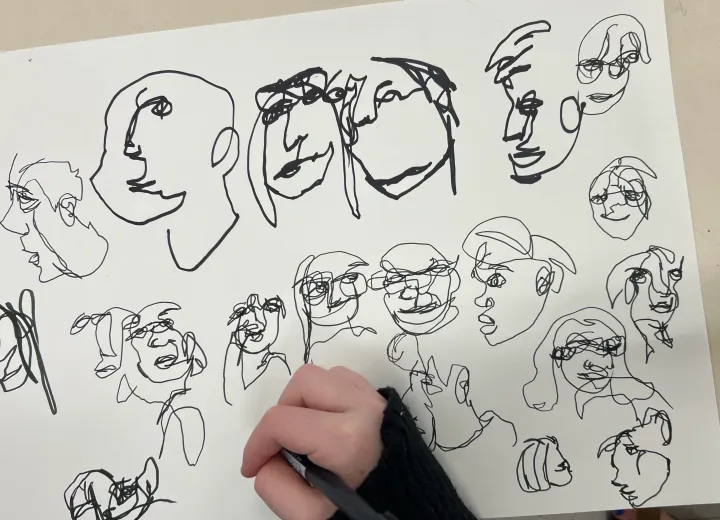
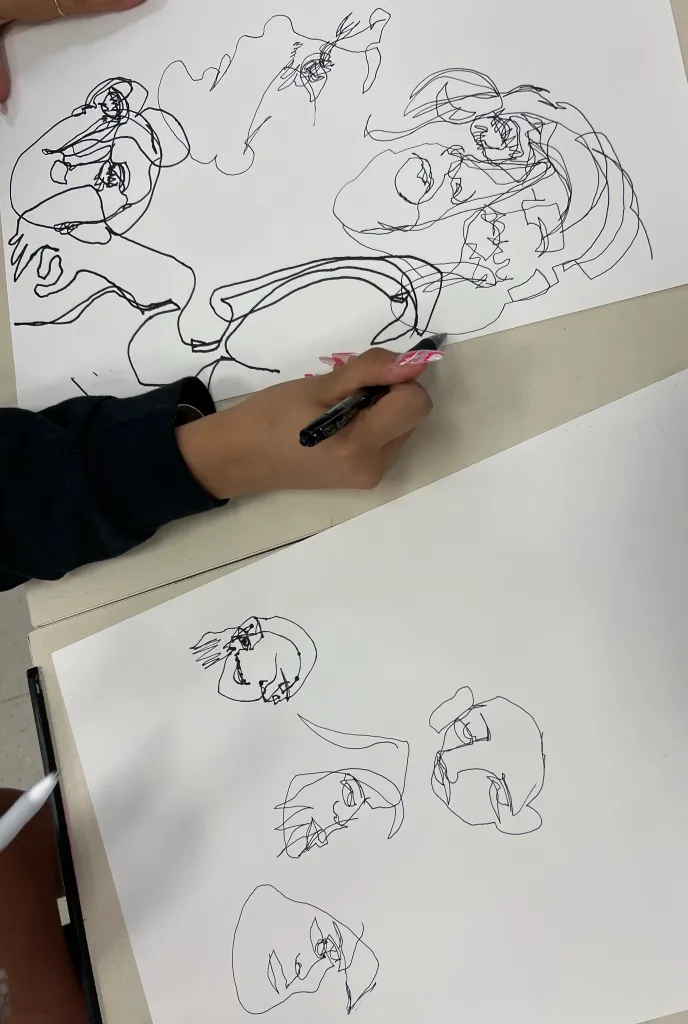
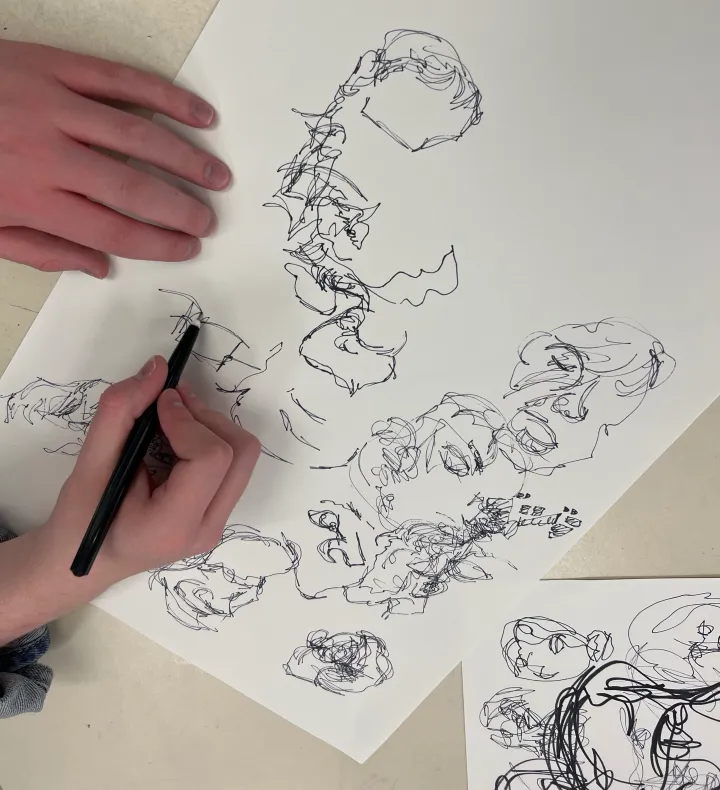
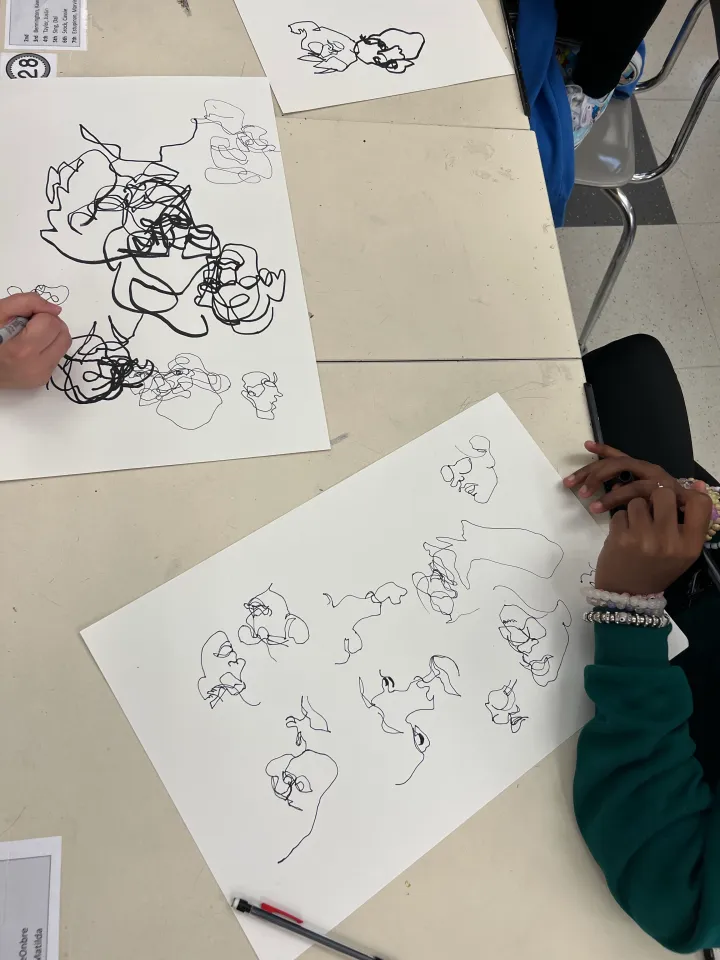
我发现学生在练习此技法时需要大量鼓励与反复提醒。许多学生担心作品看起来“难看”或“糟糕”,还有不少学生干脆不愿投入这项练习。我提醒他们:这纯粹是训练手眼协调能力的过程,画面凌乱恰恰是乐趣所在。
我常以音乐演奏前练习音阶、足球赛前做热身训练作类比——这些看似基础的练习,正是通向更精熟成果的重要基石。
依据课堂时长不同,我们或于下节课伊始即转入改良式轮廓线素描,或于连堂课进行至一半时开始。
改良式轮廓线素描
改良式轮廓线素描遵循与盲轮廓线素描相同的规则,唯一区别在于:你可偶尔瞥一眼自己的画纸。我向学生提出“90/10比例”原则:90%的绘画过程应仅注视描绘对象,让手跟随眼睛所见的线条自然移动。我特别强调:仅可在关键转换时刻(例如由头发过渡至面部特征)才短暂查看画纸。
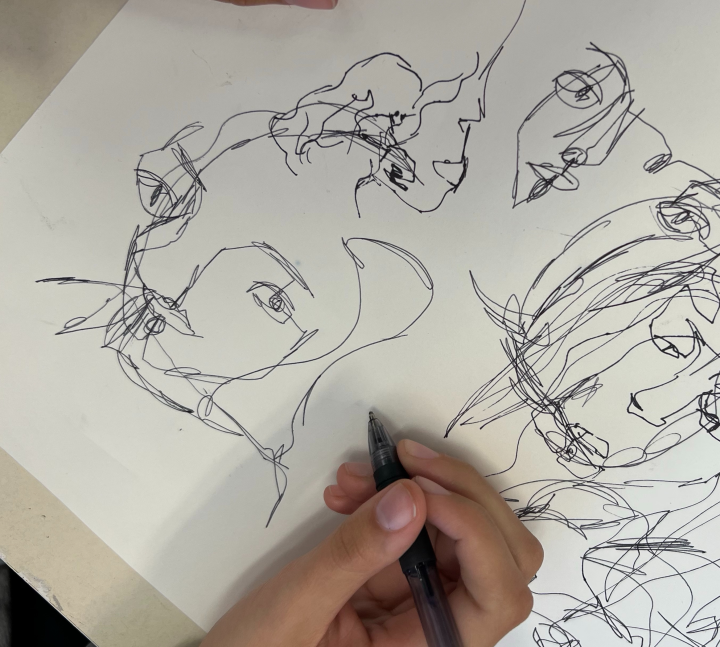
我发现,只要盲轮廓线素描练习足够充分,学生便已习惯不看画纸;此时他们对整个概念已感到自在得多。我们通常在小组内共同完成三幅此类素描。由于学生此时对准确性有更高追求,两至三分钟计时器效果更佳。我还鼓励他们画得比前一天更大些。
最终轮廓线素描
因已有前期练习打底,改良式轮廓线素描进展迅速;视起始时间而定,我们甚至可在同一节课内进入最终轮廓线素描阶段。
我为学生设定三分钟计时,并再次提示轮廓线素描要点(每次课均配以图示范例)。本次允许稍多查看画纸,但仍需确保70%以上时间聚焦于描绘对象。我强调:轮廓线素描中,可借此检查各面部特征的位置是否准确、彼此间的大小比例是否恰当。
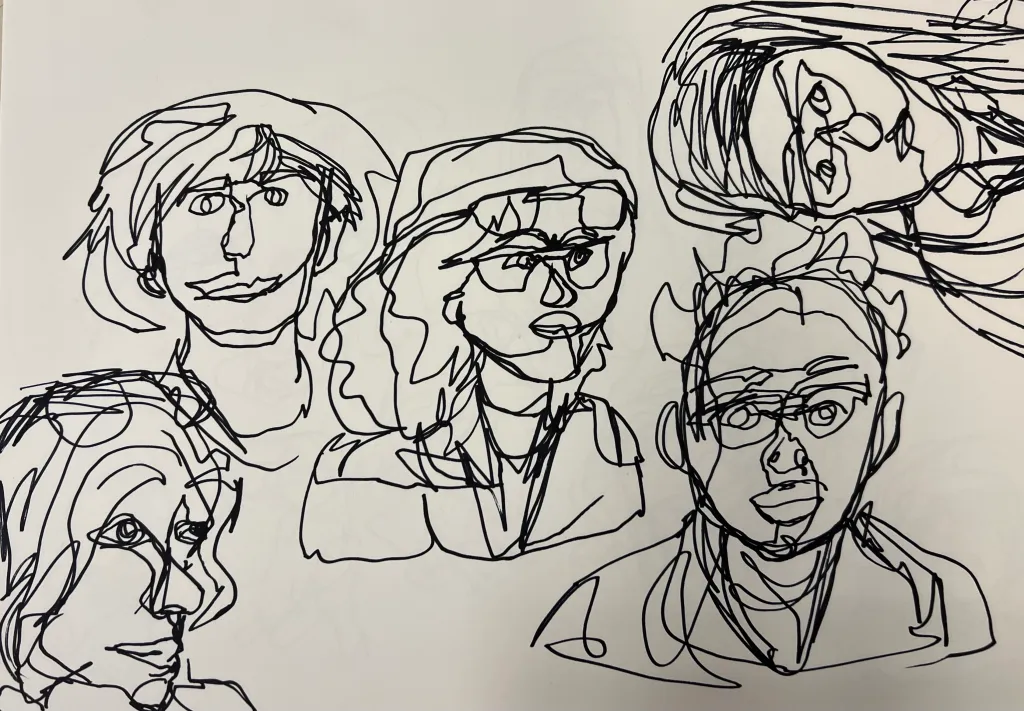
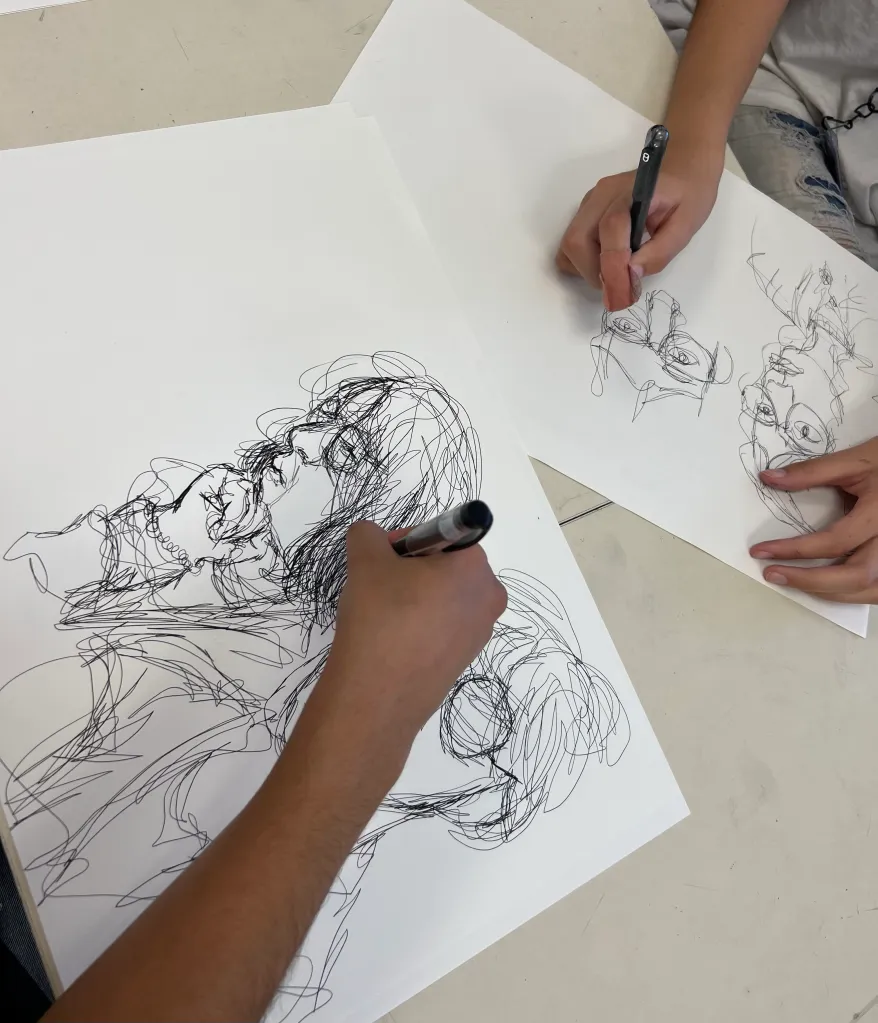
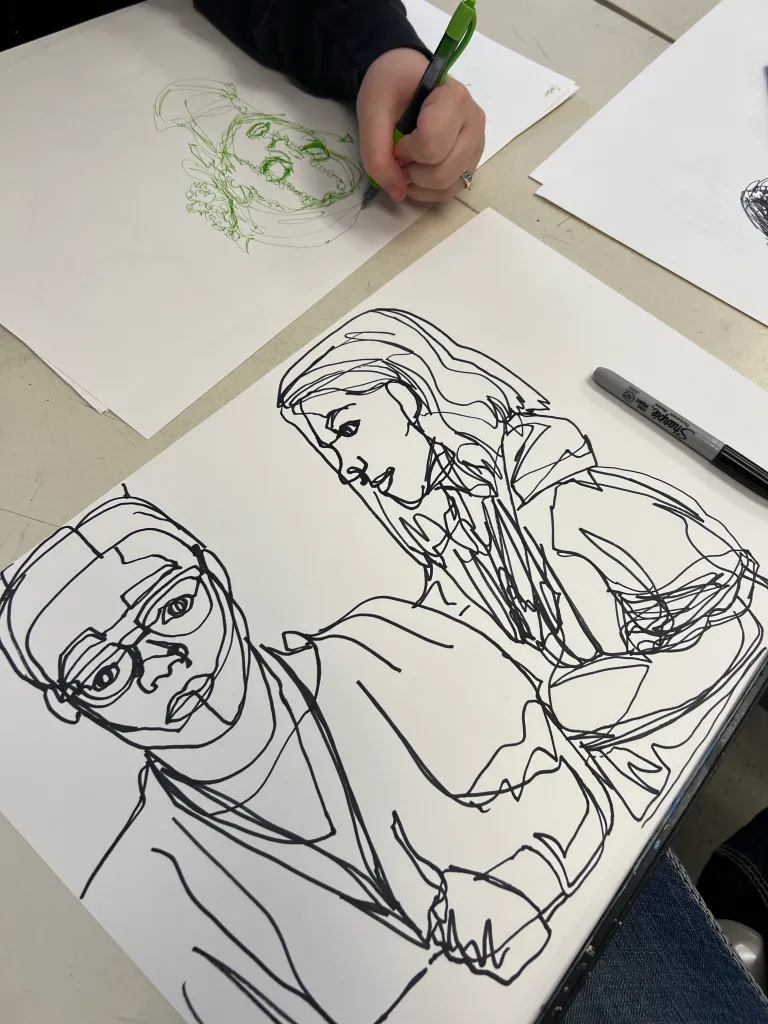
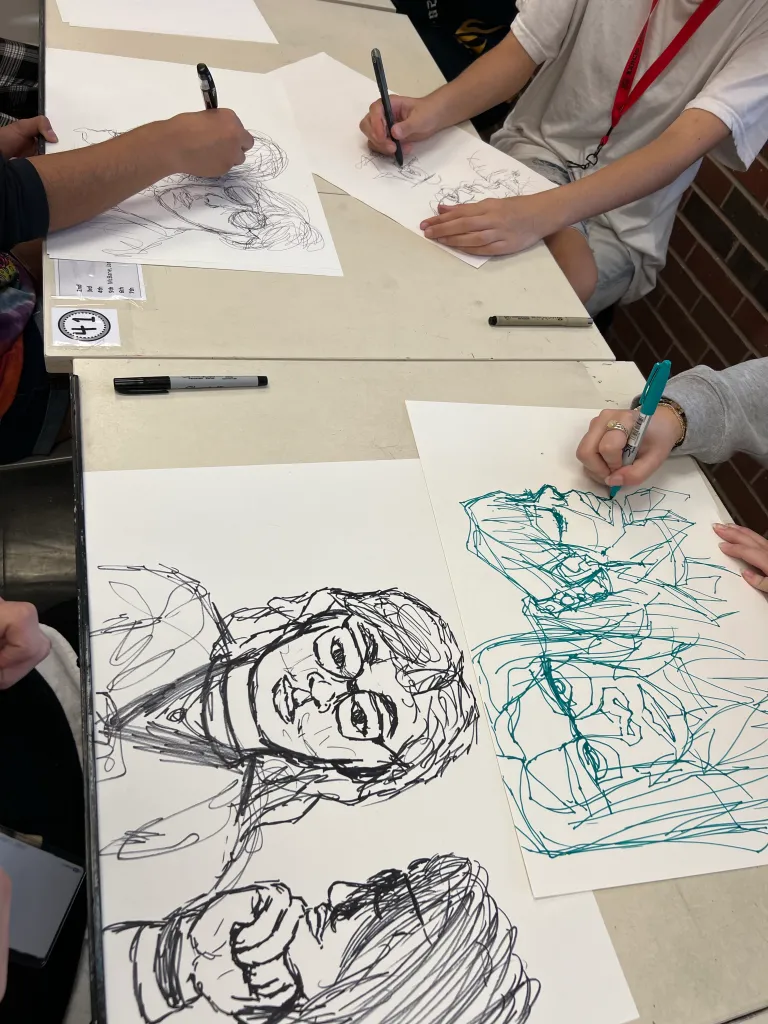
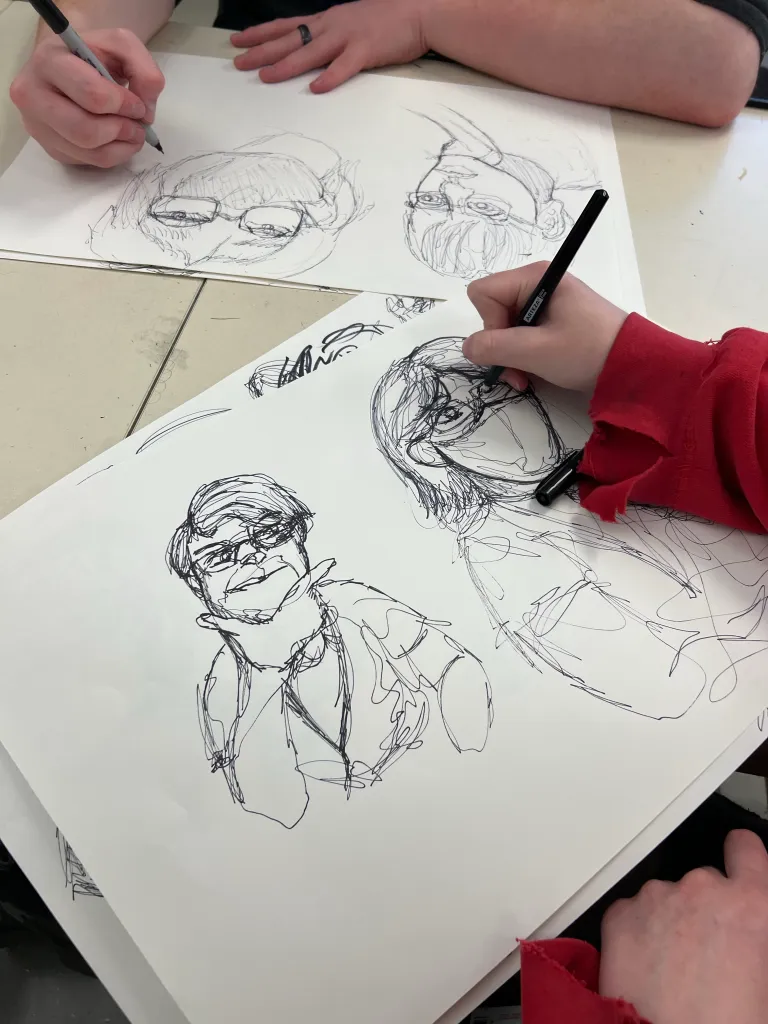
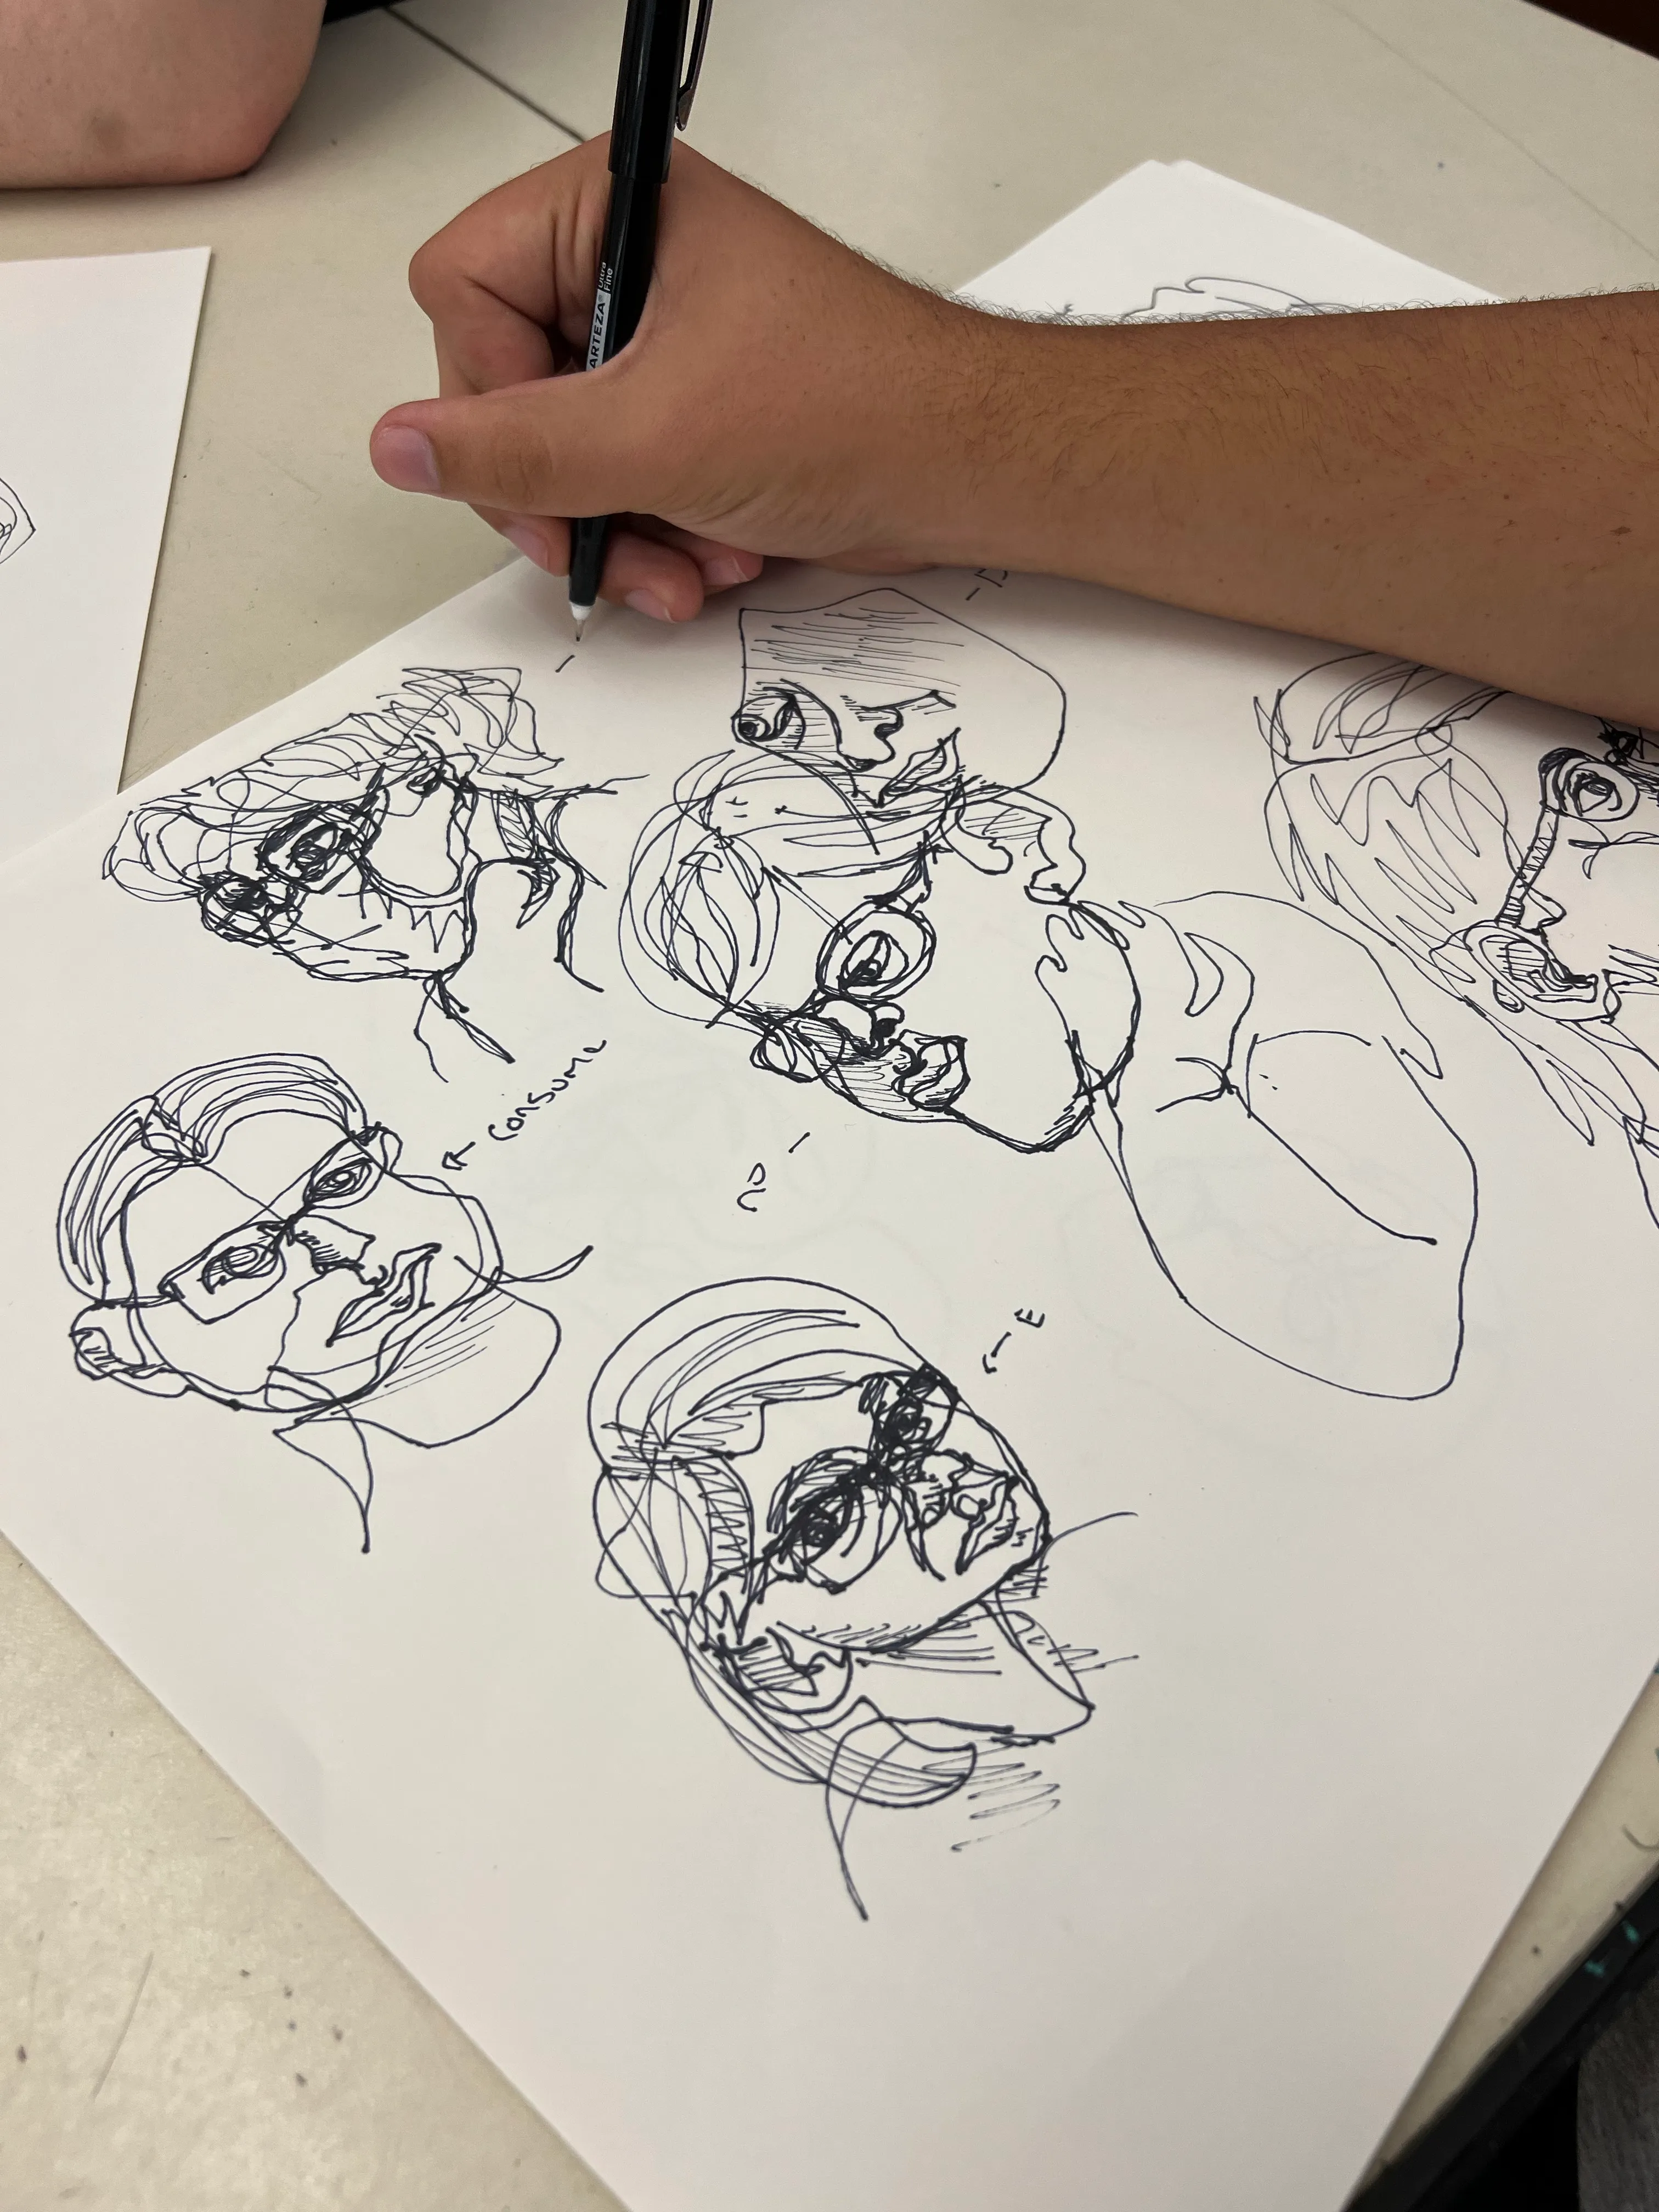
轮廓线素描依然充满个性、并不追求照相写实,而是借由线条捕捉当下的动态与神韵。我要求学生至少练习五幅;但完成一至两幅后,他们便基本无需我再指导了。此时我最常重复的提醒只有一句:画得再大些!
综合媒介背景
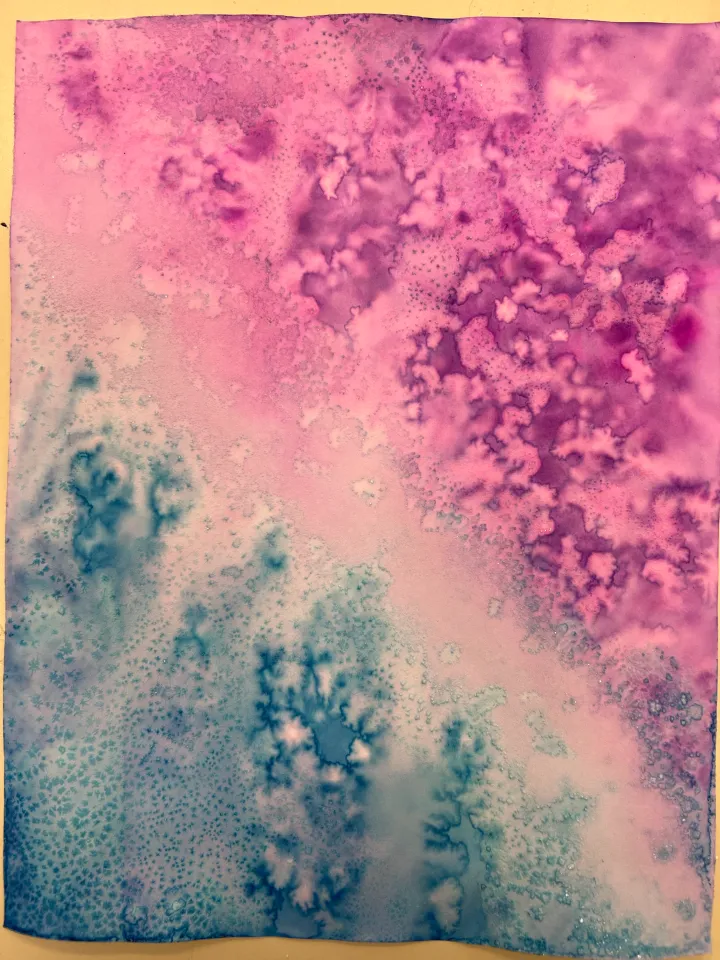
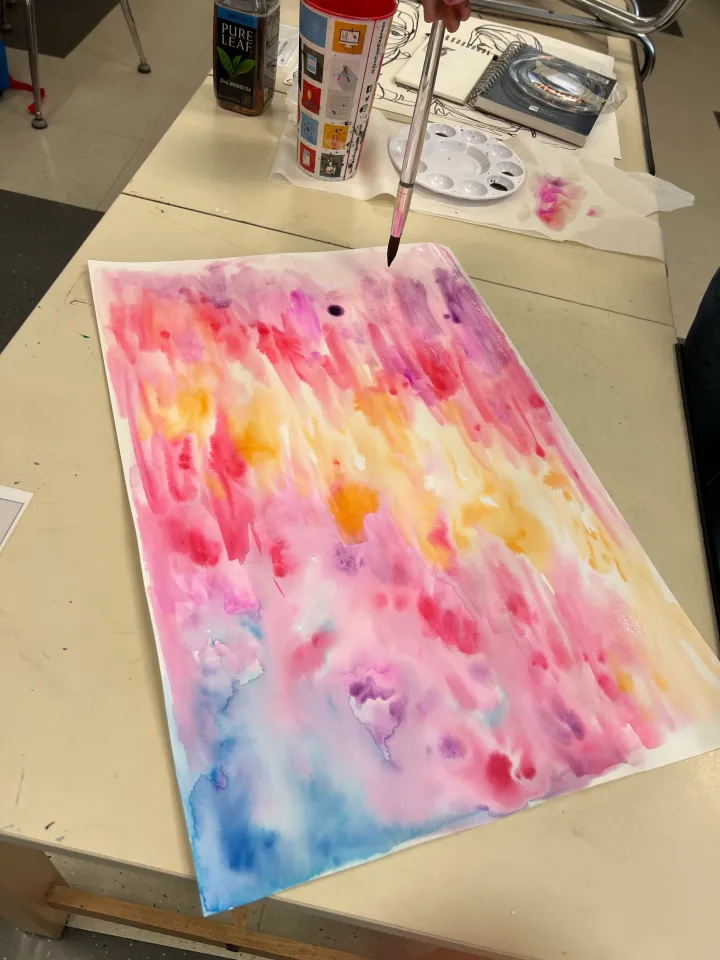
在素描过程中某个时段,我们会专设一节课来制作缤纷多彩的背景。本次我们在轮廓线练习进行至中途时,采用了水彩加盐技法。此举既让学生从长时间凝视同学中得到放松,也为背景晾干预留出充足时间,以便后续挑选最满意的轮廓线素描进行组合。
该技法详细教程如下:
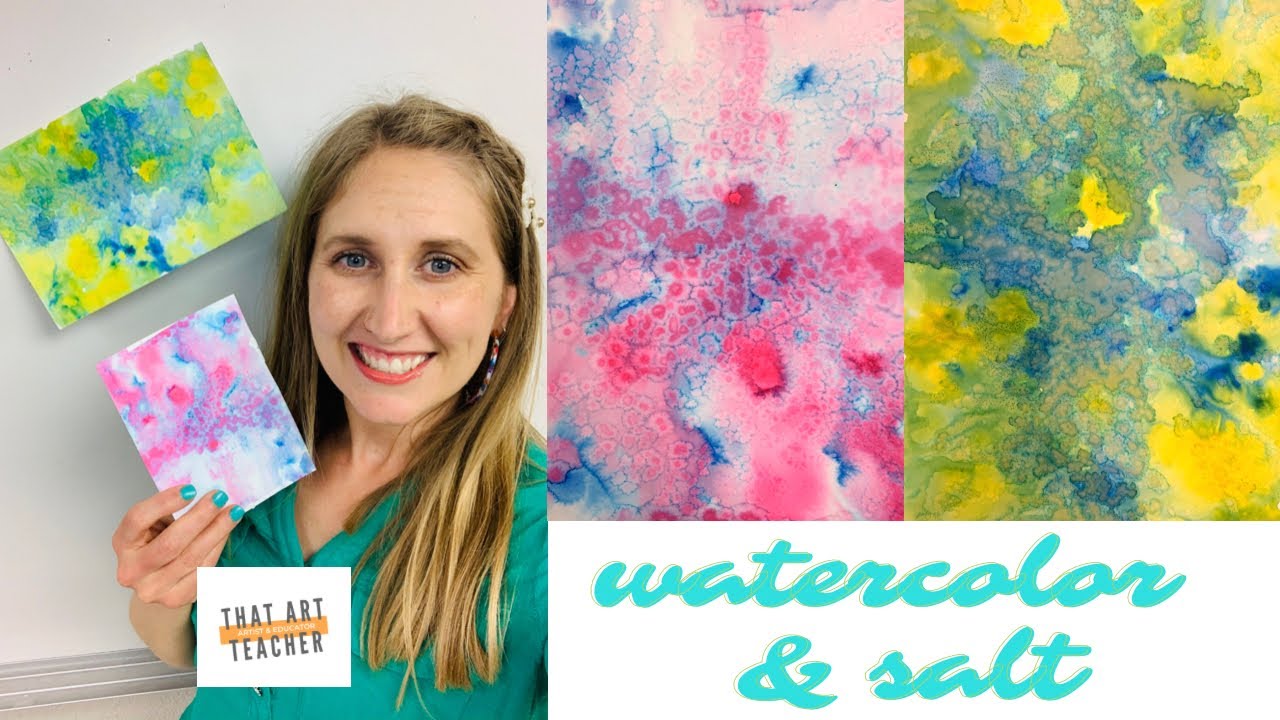
我尤其喜欢使用Blick液态水彩,因其色泽极为鲜亮且持久性强。但请注意:它极易染色——衣物、指甲缝乃至桌面都可能被沾染,倾倒时务必小心,少量即可满足需求。
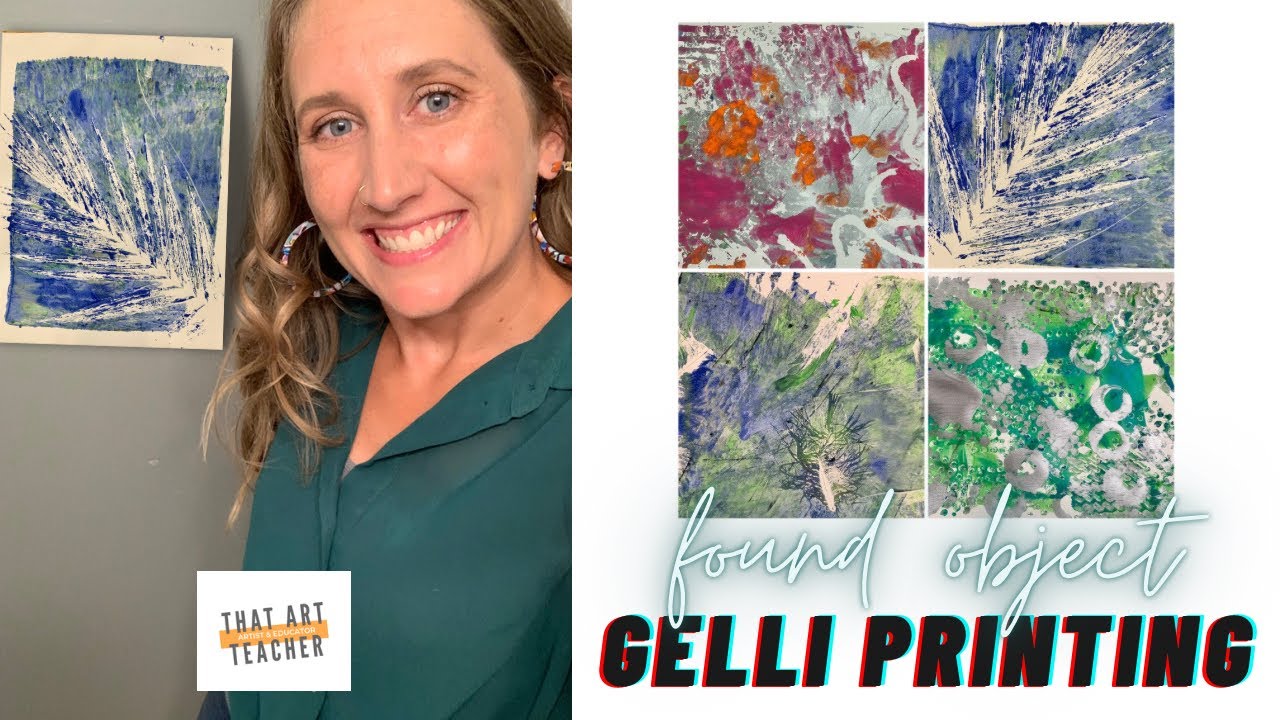
另一选择是借助吉莉版(Gelli Plate)制作肌理背景。这是一种极富趣味性的独特背景创作方式,可搭配水彩、版画油墨、丙烯、蛋彩或手边任意工艺颜料使用。受限于我所拥有的吉莉版尺寸较小(价格昂贵,故仅购入小号),我最终选择了液态水彩。
尝试吉莉版版画:
组装综合媒介轮廓肖像
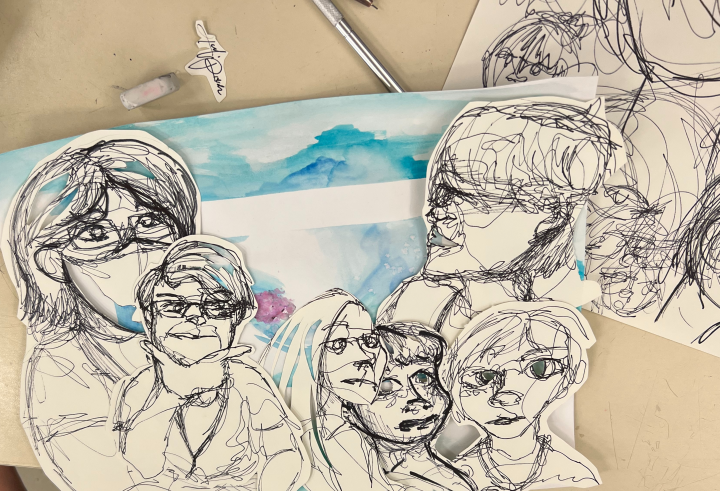
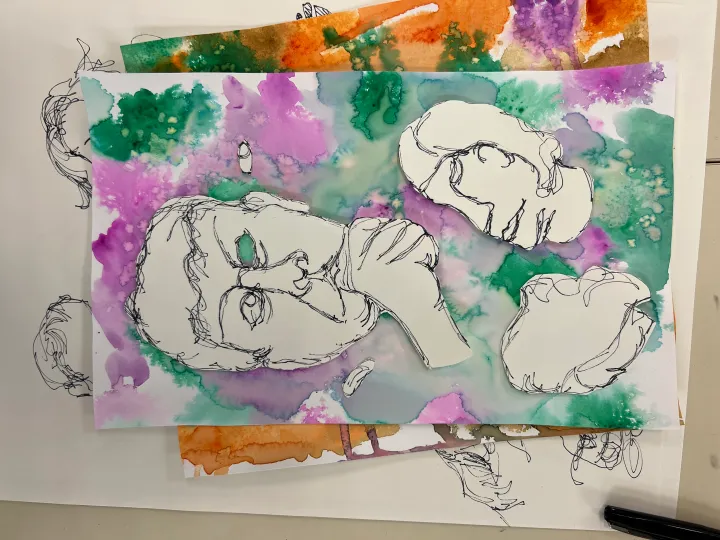
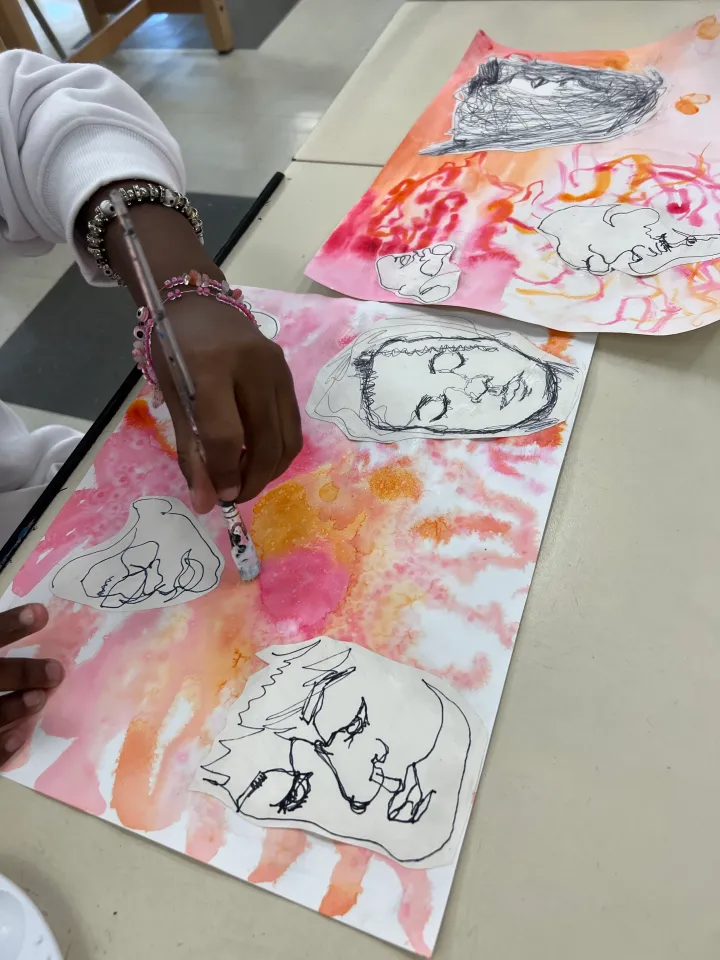
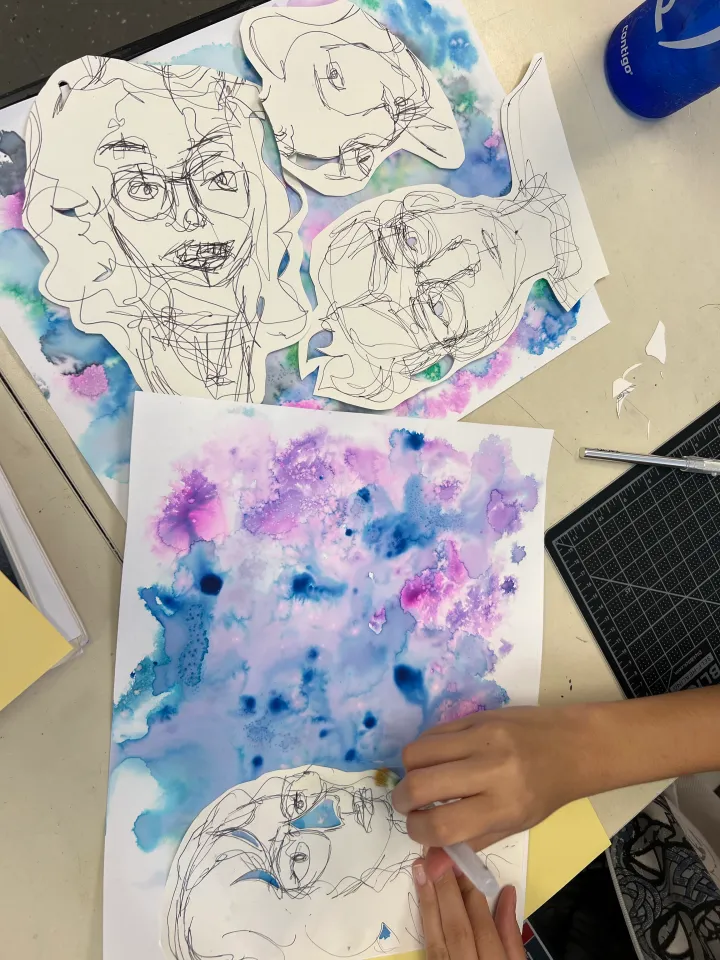
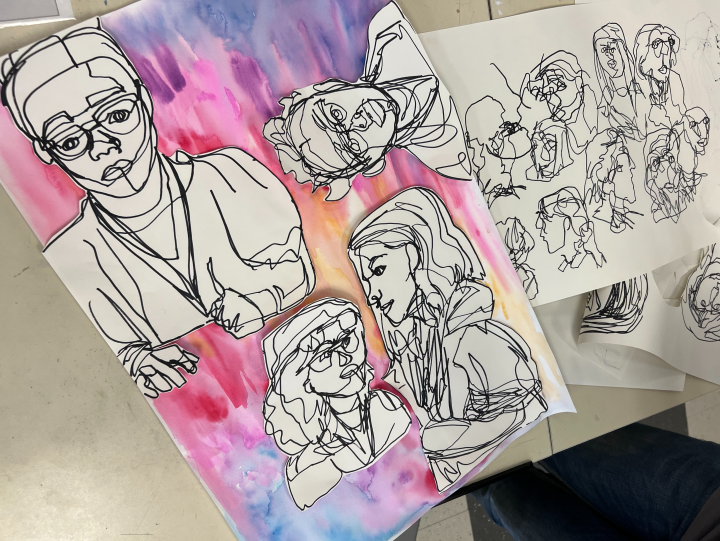
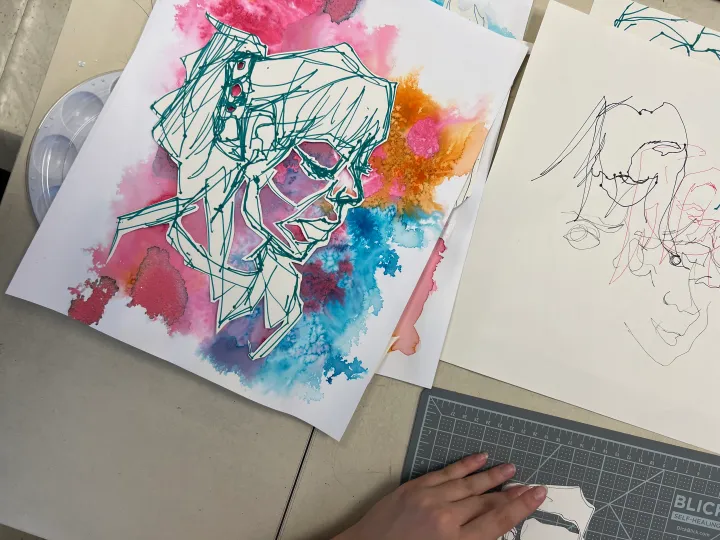
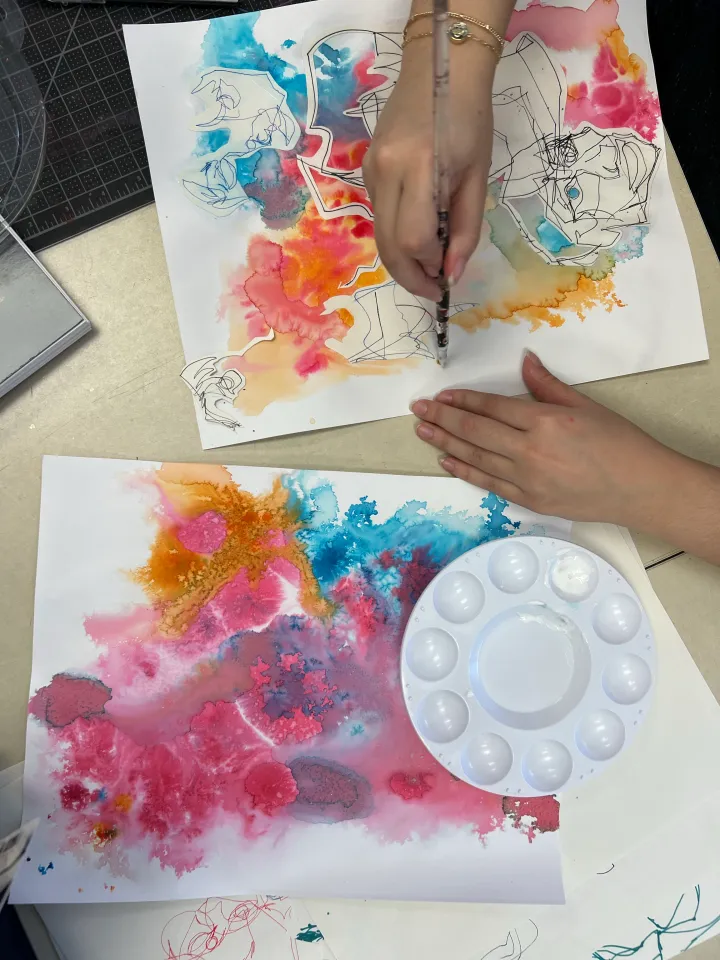
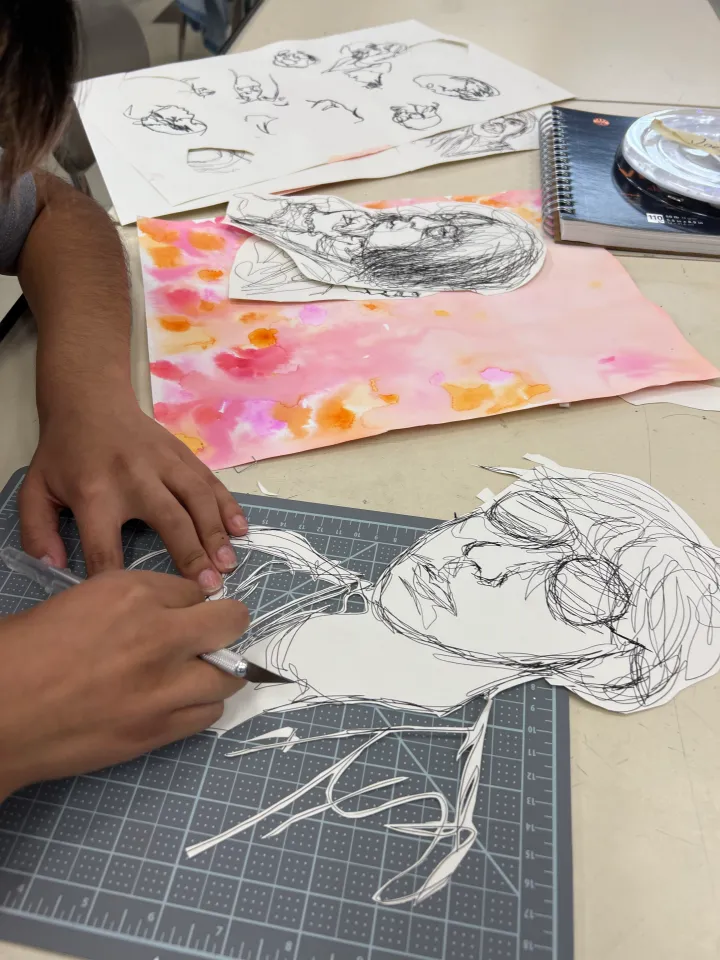
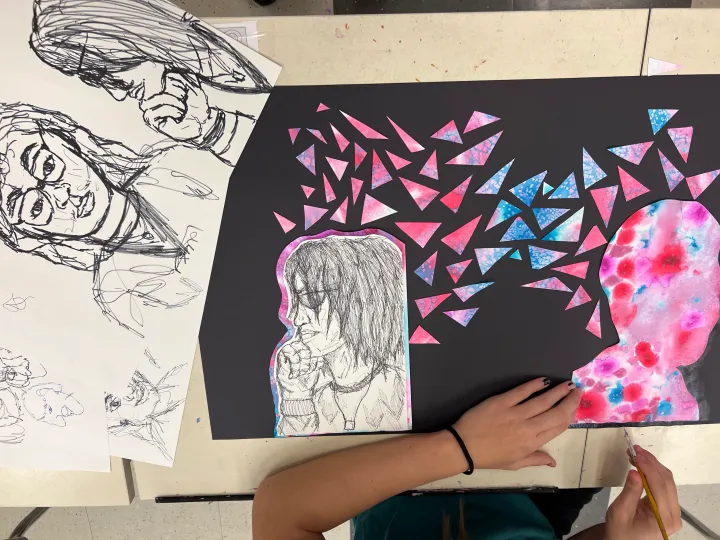
当学生已绘制出大量轮廓线素描并选定背景后,便可开始制作混合媒介轮廓肖像作品了!我让学生挑选自己最满意的素描,将其剪下,并尝试不同的构图方式。
学生可侧重表现情绪/神态、讲述故事、呈现从松动到精细的视觉演进过程,或单纯将最喜爱的作品拼贴成一幅综合构图。
完成构图后,我们用Mod Podge胶水将素描粘贴固定,并覆上一层透明涂层。这一步至关重要,因为后续还需对作品进行深入加工,以实现整体风格的统一与和谐。
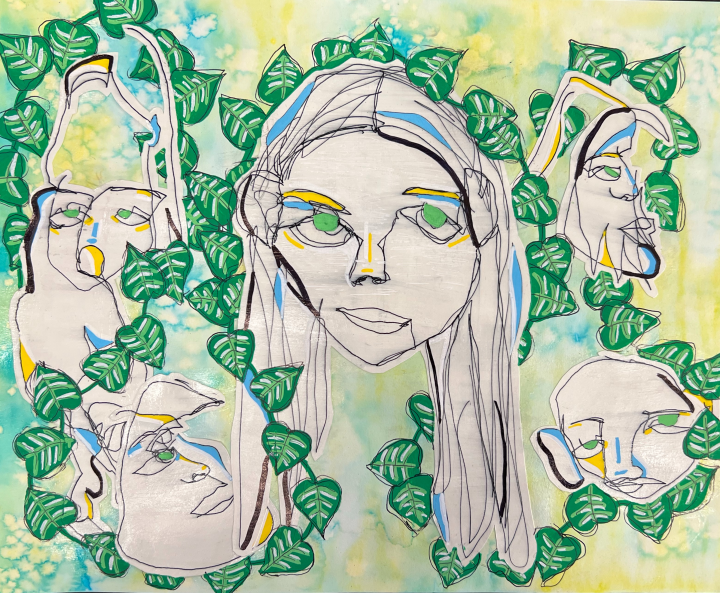
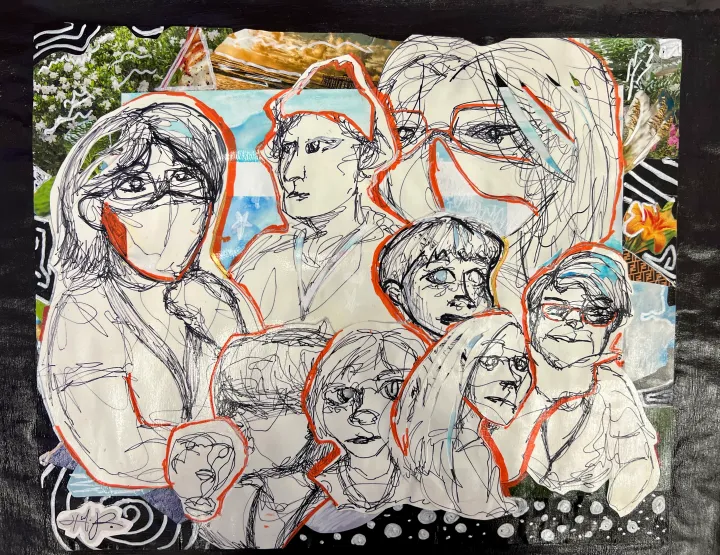
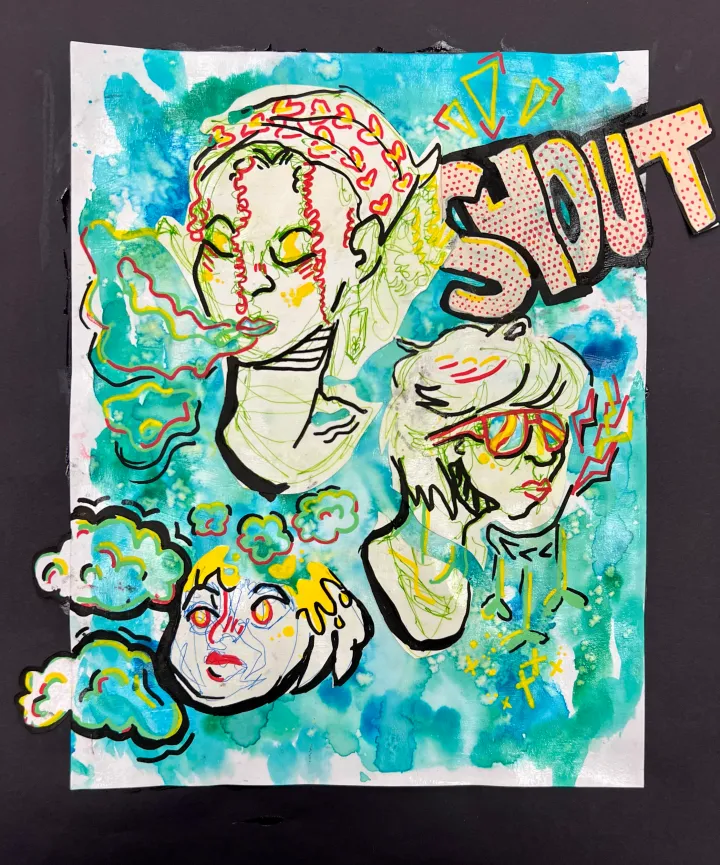
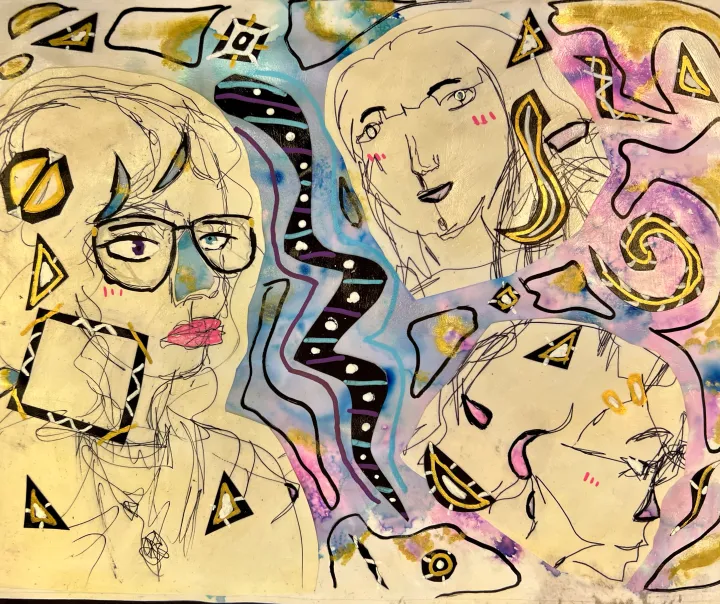
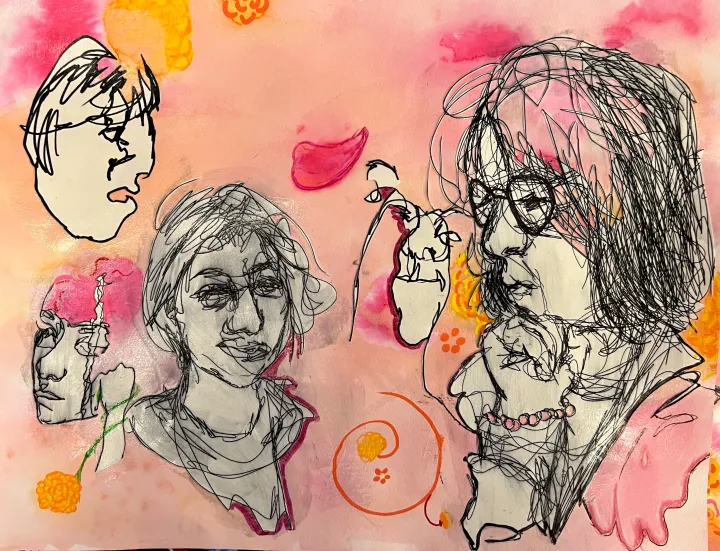
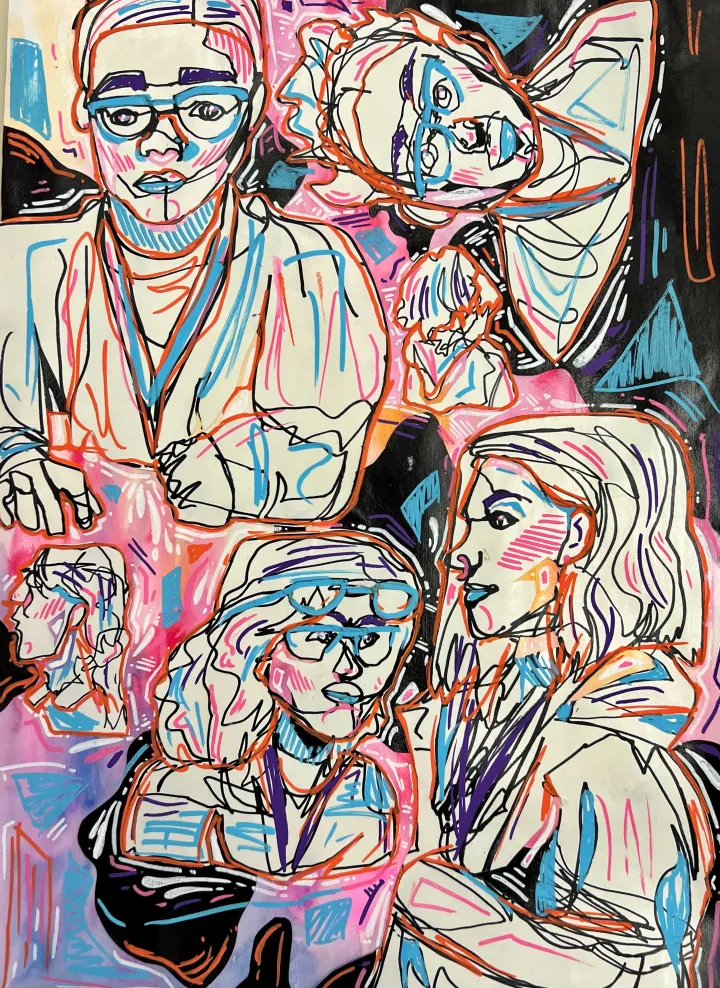
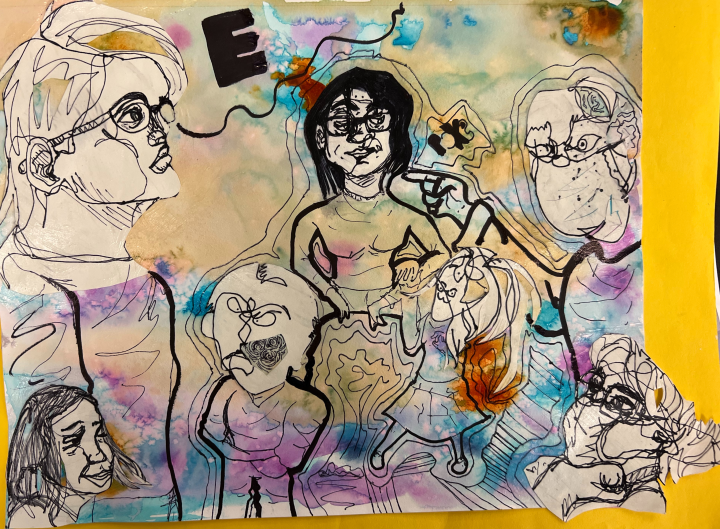
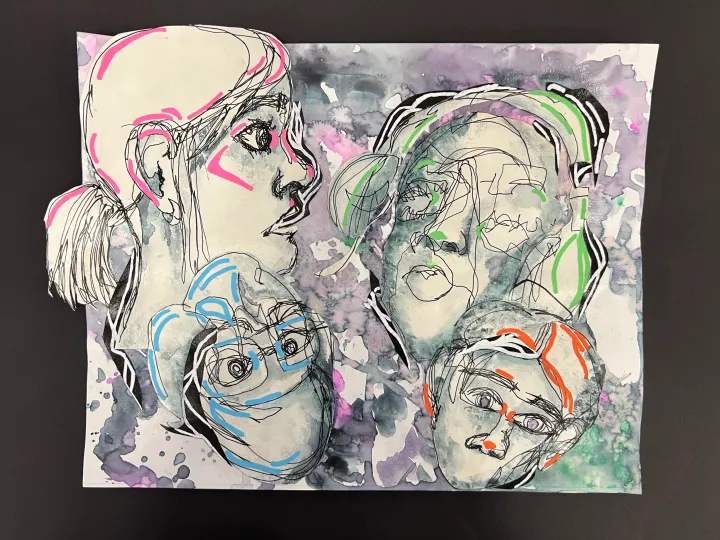
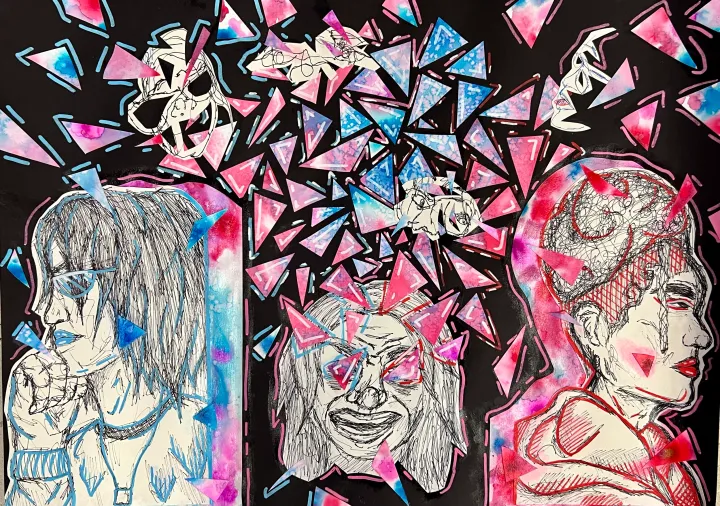
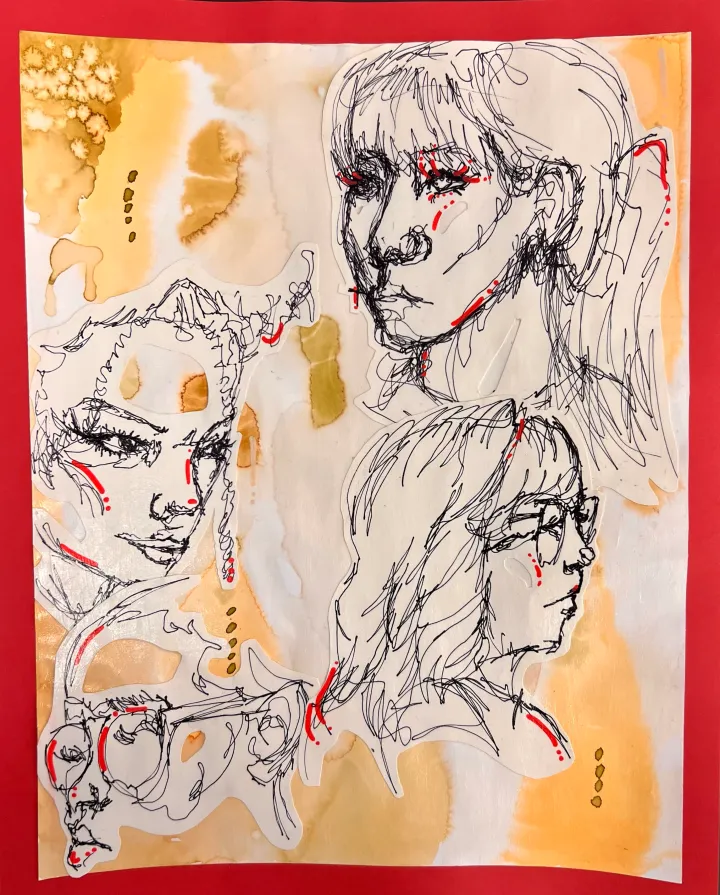
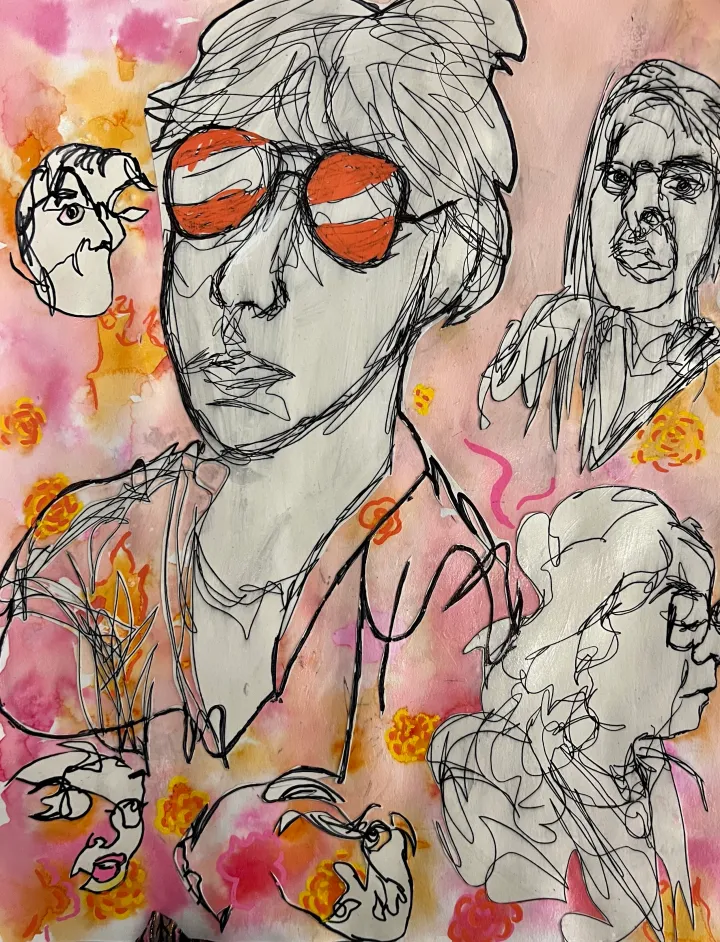
加工手段包括:记号笔勾线、丙烯颜料绘制、水彩薄涂罩染、金属色颜料稀释薄涂、拼贴纸张、刺绣线缝制……混合媒介的可能性可谓无穷无尽!以下是几位学生的完成作品:
提交表单。
订阅以确保不错过任何一篇推送
订阅
Original: https://thatartteacher.com/2022/09/09/mixed-media-contour-portraits/
Date: 2022-09-09
Author: Sierra Machado
Tags: art education, art tutorial, blind contour drawing, contour drawing, contour drawing for high school, drawing for high school, featured, high school drawing lessons, how to teach contours, how to teach drawing, mixed media art lesson, mixed media contour portraits, that art teacher
Contour drawing is my all time favorite way to draw and to teach students to draw from direct observation. This year my students are trying out mixed media contour portraits. We are building on developmental skills while allowing students to get crazy with color and their own personal style.
I have done this technique with a wide range of ability levels. From 6th graders to AP art students, this technique is adaptable for any artist willing to learn!
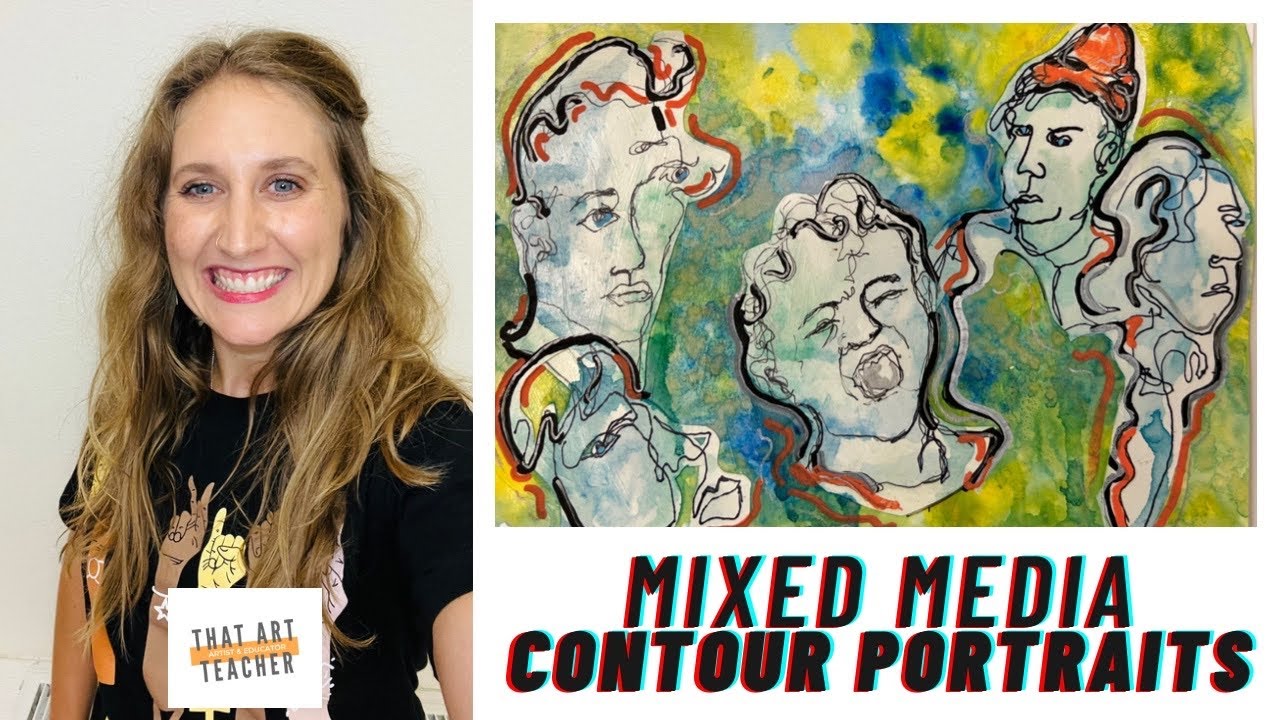
If video is your thing, this video will show you or your students exactly the step by step process we used.
Blind Contour Drawing
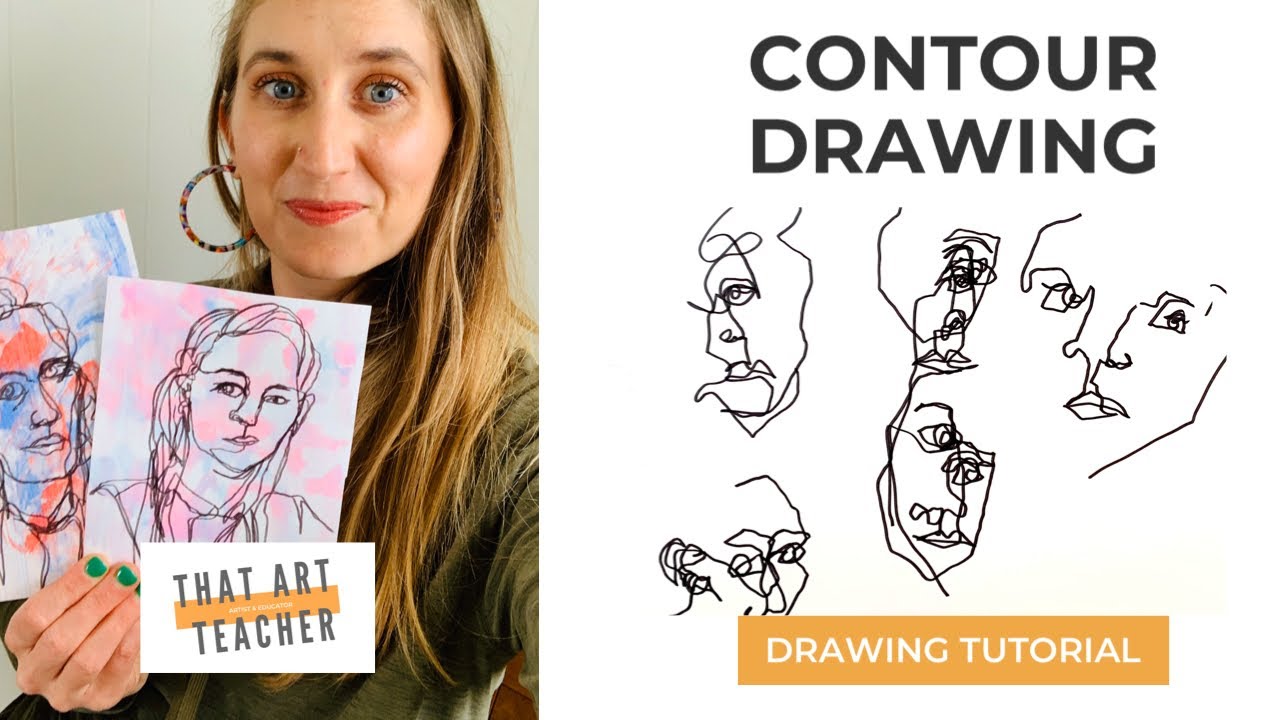
We start out with my personal favorite, blind contour drawing. I have students break into groups or work with a partner. Sometimes the shy student will protest, but usually a more outgoing student will absorb them into their group cheerfully. We start by watching the first part of this tutorial:
I display on the board these guidelines:
-One continuous line
-Keep your pen down (within reason of course, stretching is allowed) 🙂
-Focus on outer edges, or contours, of facial features and clothes (no shading)
-You can only look at your subject (don’t look at your drawing until it’s finished)
I like to set one minute or two minute timers to start off the process. We switch views or who we are drawing and do about five together before I set them free to practice more independently.
I have found that students needs LOTS of pep talks and reminders for this technique. Many are nervous about it looking “ugly” or “bad” and many just don’t want to commit to the exercise. I remind students that this is all about hand eye coordination and it looking like a mess is part of the fun.
I use the examples of playing scales before a musical performance or doing drills before a soccer game. They are important foundational skills that lead up to a more refined result.
Depending on how long the class is, we either move on to modified first thing next class period or about the halfway point of a block class.
Modified Contour Drawing
Modified contour drawing has the same guidelines as blind contours, except you can glance at your paper A LITTLE bit. I give my students the 90/10 ratio. 90% of your drawing should be done by only looking at your subject and letting your hand follow the lines your eye is seeing. I emphasize that you should only look at your paper at key moments, like when you are transitioning from drawing hair that leads into drawing a facial feature.
I have found if you practice blind contours enough, students are used to not looking and at this point are way more comfortable with the concept. We usually do three of these drawings together within their groups. I have found a two or three minute timer works better for these since they are committing a little bit more to accuracy. I also encourage them to draw larger than they did the day before.
Final Contour Drawings
The modified contours go much faster since students have some practice behind them and depending on when we start, we can move on to final contour drawings the same class period.
I have students draw with a three minute timer and remind them of the guidelines of contour drawing (which I display with a visual example for each session). This time I say you can look at your paper a little bit more, but still focusing on the subject 70% or more of the time. With contours, I emphasize that you can check that each facial feature is in the right location and has accurate size relationships.
Contour drawings are still quirky and not based on photorealism, but instead of capturing the energy of the moment with line. I have students practice at least five of these, but after the first one or two they really don’t need me anymore. The biggest reminder I find myself saying at this stage is to draw larger.
At some point during the drawing process, we take a class period to create our colorful backgrounds. This time we did a watercolor and salt technique around the midpoint of our contour practice. This gives students a break from staring at their classmates and also gives time for their backgrounds to dry before it’s time to assemble their favorite contours.
Here is a detailed tutorial of this technique:
I love using Blick’s liquid watercolor because it’s so vibrant and really lasts a long time. It does stain your clothes, underneath your fingernails and table tops, so be careful when pouring and a little bit goes a long way.
Another option is using textured backgrounds with Gelli Plates. This is a really fun way to create unique backgrounds and you can use watercolor, block printing ink, acrylic, tempera or whatever craft paing you have lying around. I felt limited by the size of my gelli plates (they are expensive so I only have the smaller plates) so I went with the liquid watercolor.
Try out Gelli Printmaking:
Once your students have many contour drawings to choose from and their background of choice, it is time to assemble their mixed media contour portraits! I have my students pick their favorite drawings and cut them out and play around with arrangements.
Students can focus on emotion/expression, story telling, showing a visual progression of loose to more refined portraits or simply create a collage of their favorite results.
Once they are arranged, we use modge podge to paste and cover the drawings with a clear coat. This is important because we will be going back into the artwork to create a more unified and harmonious look.
This can be done with sharpie, acrylic paint, glazes of watercolor, thin washes of metallic paint, collaged papers, sewing with embroidery thread…seriously the mixed media options are endless! Here are a few of my students’ finished pieces:
Submit a form.
Subscribe so you never miss a post
Subscribe