综合媒介仙人掌静物
原文链接:https://thatartteacher.com/2019/02/24/mixed-media-cactus-plant-still-life/
日期: 2019-02-24
作者: Sierra Machado
分类: 长课时教案
标签: 丙烯绘画、美术、美术教育、美术教案、美术教师、美术教程、艺术家、仙人掌主题创作、拼贴、精选内容、如何绘画、如何绘制、如何使用丙烯颜料、小学高年级美术、初中美术、写生绘画、静物绘画、教学、那位美术教师
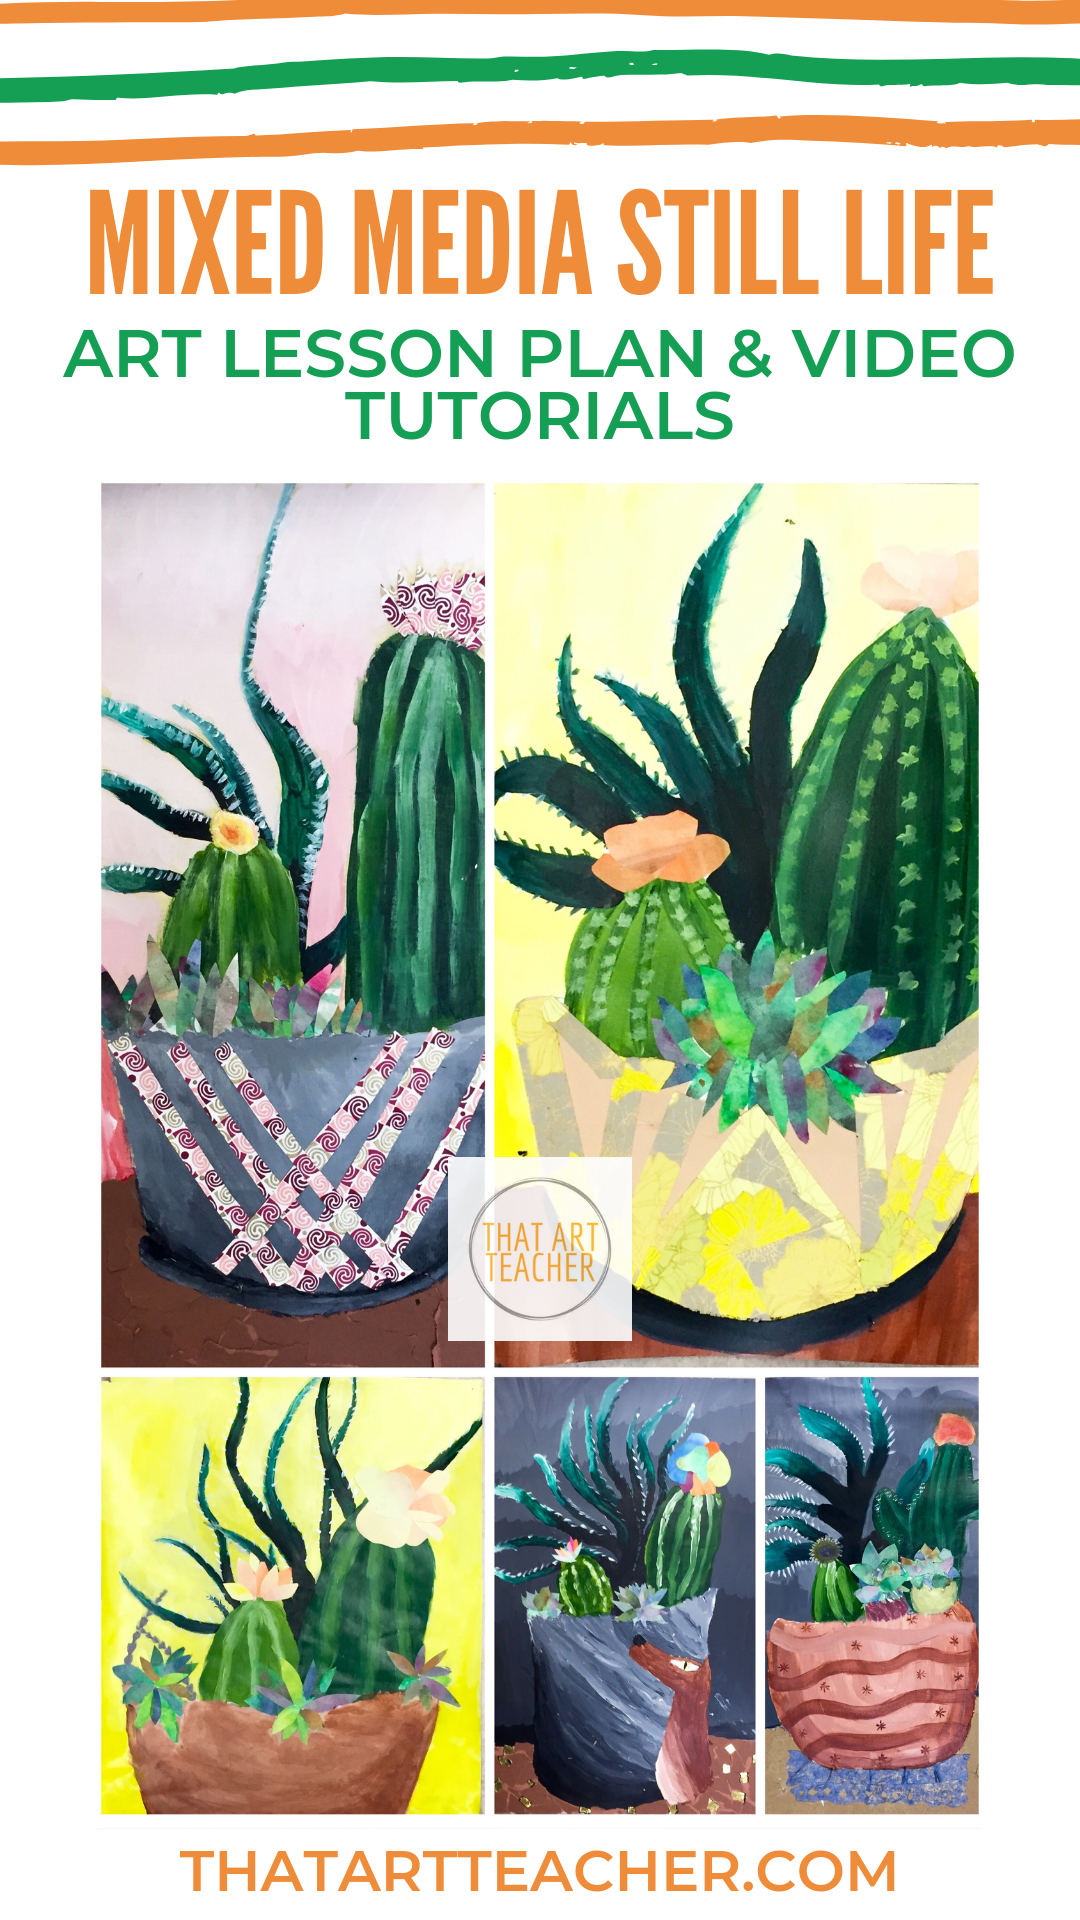
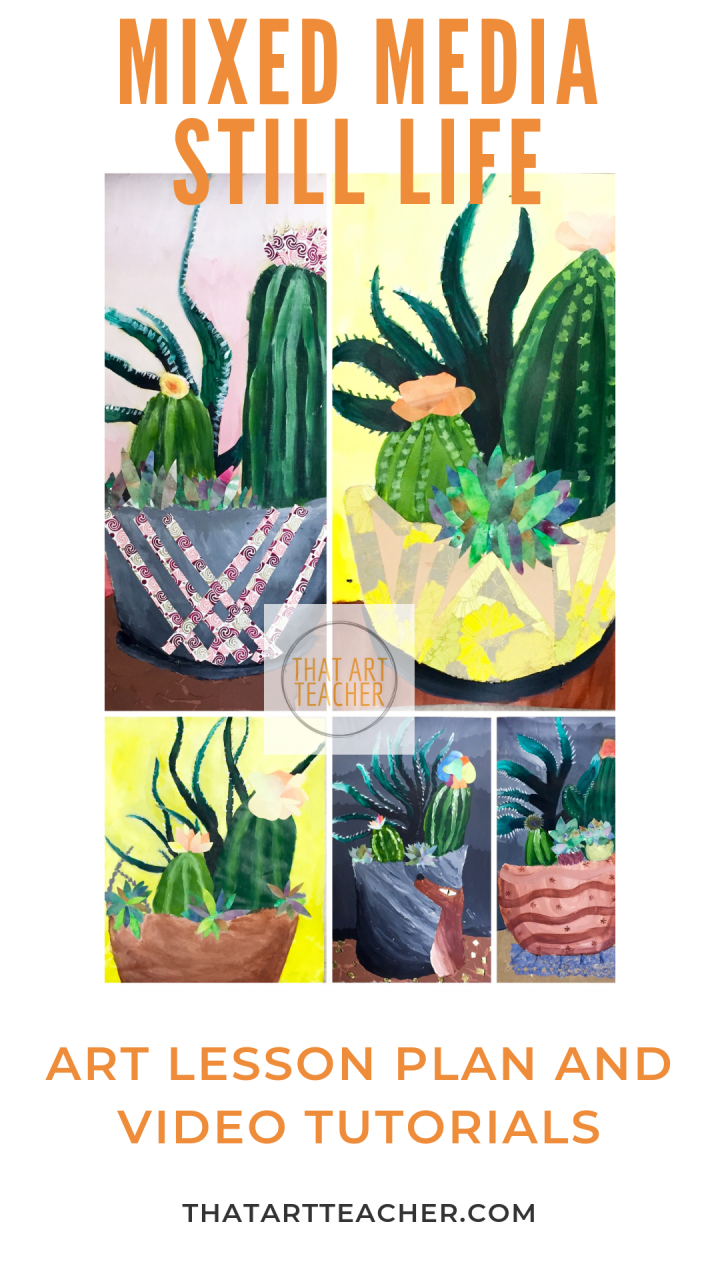
我今年的教学目标之一,是更多地引导学生进行直接观察下的绘画与素描。我向来喜爱以植物为对象进行绘画与素描;近来更沉迷于用水彩画仙人掌涂鸦。我早有计划让学生绘制仙人掌,却苦于手头没有可供观察的实物。一封快速发给同事的邮件,便收获了大量植物与灵感!我们西班牙语老师母亲拥有一批硕大的仙人掌,慷慨借出两株供我使用。
我当时真怕把它们养死了!养死一株仙人掌?对我而言并非不可能。
这件作品密集融合了众多技能!我为学生们在学习每一项技能与技法过程中所付出的努力深感自豪。
- 水彩平涂与湿画法混色
- 观察写生
- 运用渐变效果的丙烯绘画
- 拼贴
第一部分:构图与素描
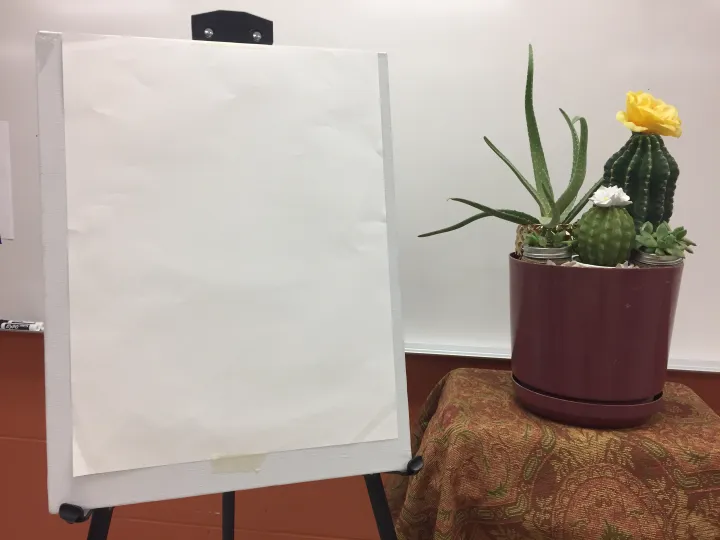
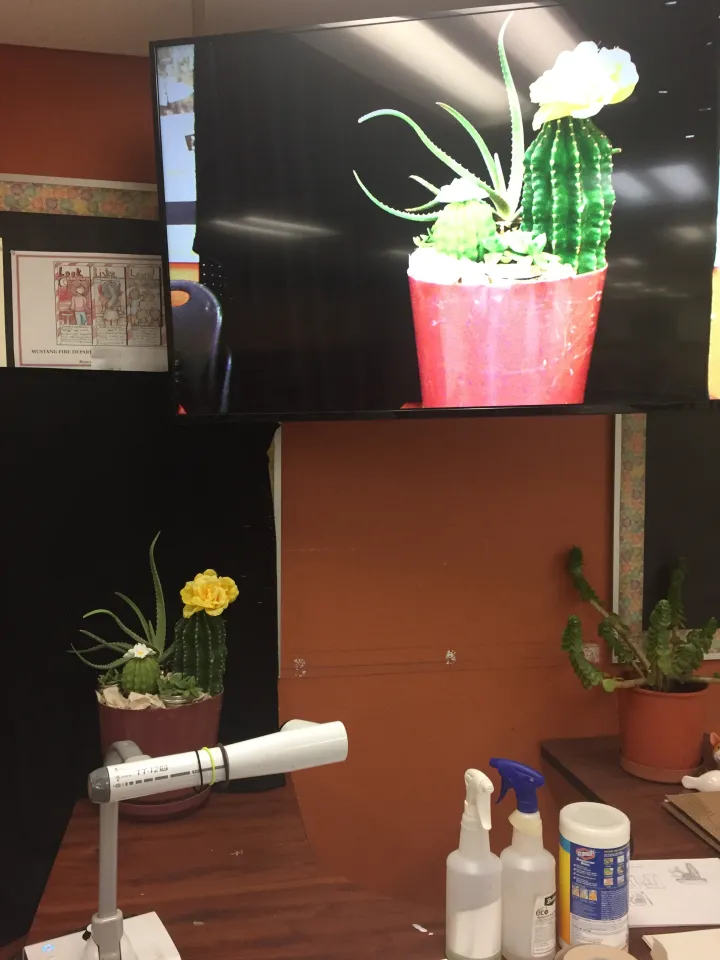
一节45分钟课时
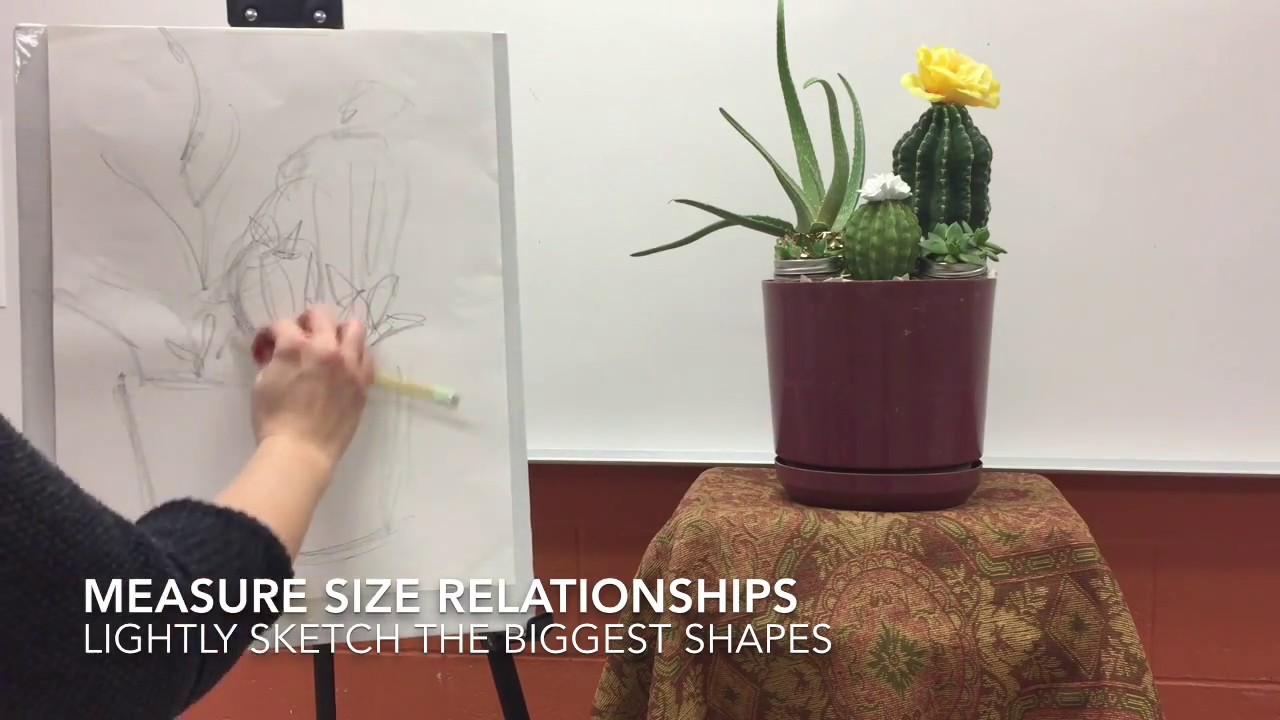
本作业首日任务,是勾勒出各物体的大形及其相互关系。我会提出如下问题:
- 最大的形体位于何处?
- 最高的形体位于何处?
- 最靠后的形体是什么形状?
- 最靠前的形体是什么?
- 两株最大的植物重叠程度如何?
- 最高一株仙人掌与较矮一株的高度比例如何?
- 容器所占画面空间与植物相比如何?
我们练习用铅笔测量并观察这些比例关系。我强调“试探性”的非决定性线条,以及轻而快的起稿方式。
学生起初略显紧张,但很快便掌握了要领——原来无需完成一幅完美精细的素描。
第二部分:背景绘制
一节45分钟课时
关于背景处理方式,我曾犹豫不决,最终决定允许学生自主选择颜色,不必拘泥于实际空间的真实色彩。我想借此引入渐变绘画技法,因为我知道他们后续(且需更高精度!)绘制芦荟植物时,必须熟练运用该技法。
学生先选定一种底色(我提供了蓝色、红色、黑色、橙色或黄色,但你也可自由拓展其他色系),再于调色盘上加入白色调和,自下而上作画,呈现由深至浅的渐变效果,最终以最浅色调收尾。这有助于营造画面光影感,并强化桌面承托感。
上次授课后我已意识到:先画背景至关重要! 它既帮助学生建立绘画信心,又能覆盖上节课所绘的铅笔线稿。许多学生反馈,这是整项作业中最喜欢的部分。成功!
第三部分:绿色调配与渐变绘制
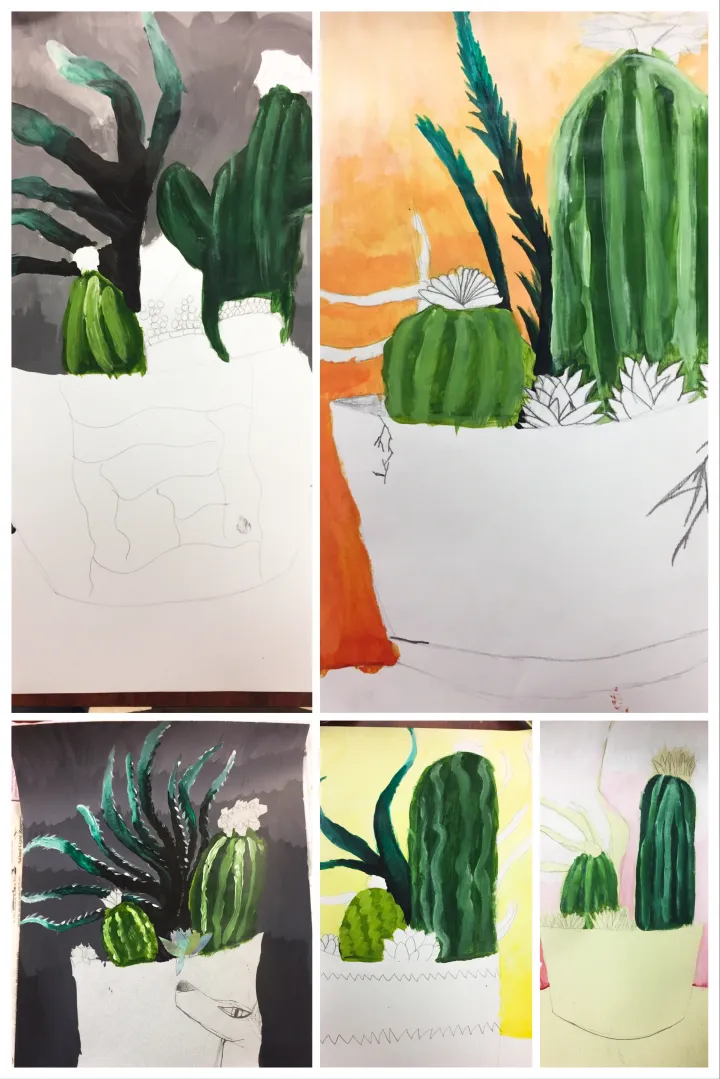
2–3节45分钟课时
学生非常享受自主调配绿色的过程!我鼓励他们为前景仙人掌分别调配两种绿色:一种偏蓝调,另一种偏黄调。此举可增强画面纵深感,并促进更多色彩混合实践!
白色线条是在绿色未干时趁湿添加的,以实现自然融合。我特别欣赏学生细致观察植物,并据此创造出各自独特的肌理效果!
该技法耗时整节课,因此我将“为每株芦荟调配绿色渐变”的教学延至次日。
学生一致表示:为每一株芦荟分别绘制渐变,是本作业中最具挑战性的环节。我们使用的材料包括黑色(我知道部分画家对使用黑色颇有看法!)、酞菁绿与钛白。我示范了如下步骤:先小面积涂黑,再向更大区域过渡为绿色;迅速洗净画笔并吸去多余水分;最后在颜料未干前,将绿色向上晕染至白色区域。我提醒学生:黑加白即成灰色,因此务必让黑色集中于底部、白色集中于顶部,以防绿色整体灰暗失色。此过程需使用小号画笔,高度专注,并在绘制中不断调整——但我清晰看到,当学生掌握这一概念时,其绘画能力显著提升!
当然,部分学生的叶片呈现均一灰色,缺乏明显渐变。但他们能在评分量规中明确指出自身难点及渐变失败原因。这在我眼中,已是成功!
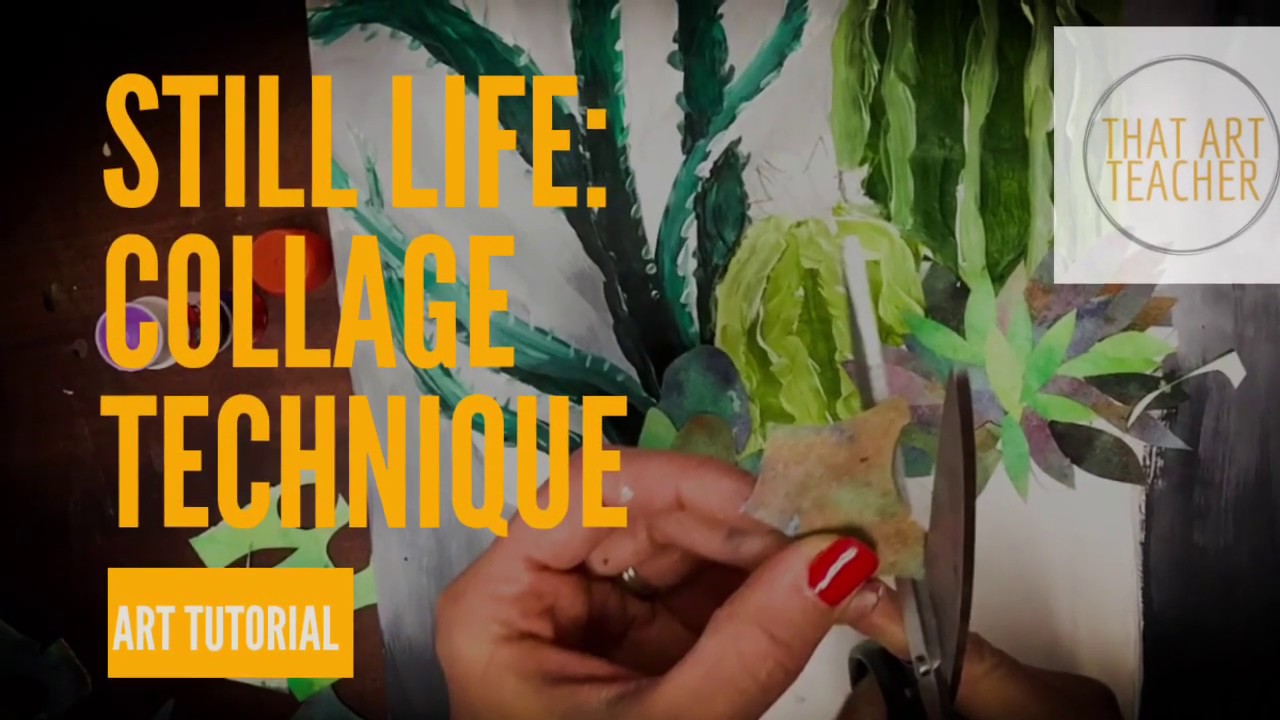
第四部分:拼贴!
2–3节45分钟课时
我们暂别绘画的细致劳作,转入拼贴环节。此前一天,在我讲授滴流画法后,学生已完成了这批绿色水彩平涂:
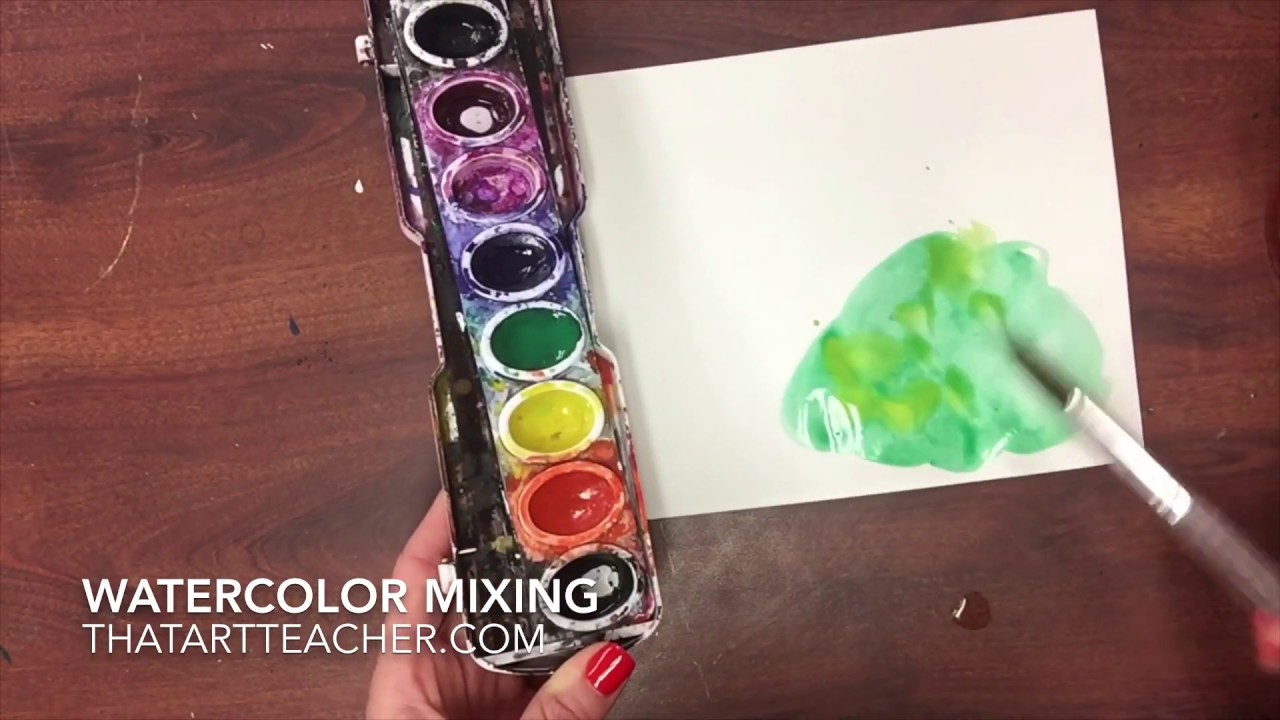
学生们很喜欢“湿画法”水彩的自由混色效果。我特意将这一环节安排在评分作业之间的休息时段,学生们则把自制的拼贴纸留作“雨天备用”。
我们一起观察了植物的外形,并在素描本上练习绘制基本形状。我特别注重引导他们从前到后依次叠放这些形状以营造空间感。起初有些学生画出了奇怪的三角形,于是我们重新回顾了操作步骤:先完整剪出整株植物的外形,再通过叠放来表现景深,而不是试图预先判断并直接剪出重叠后的形状。
我超爱这种技法所呈现的丰富色彩与创意!
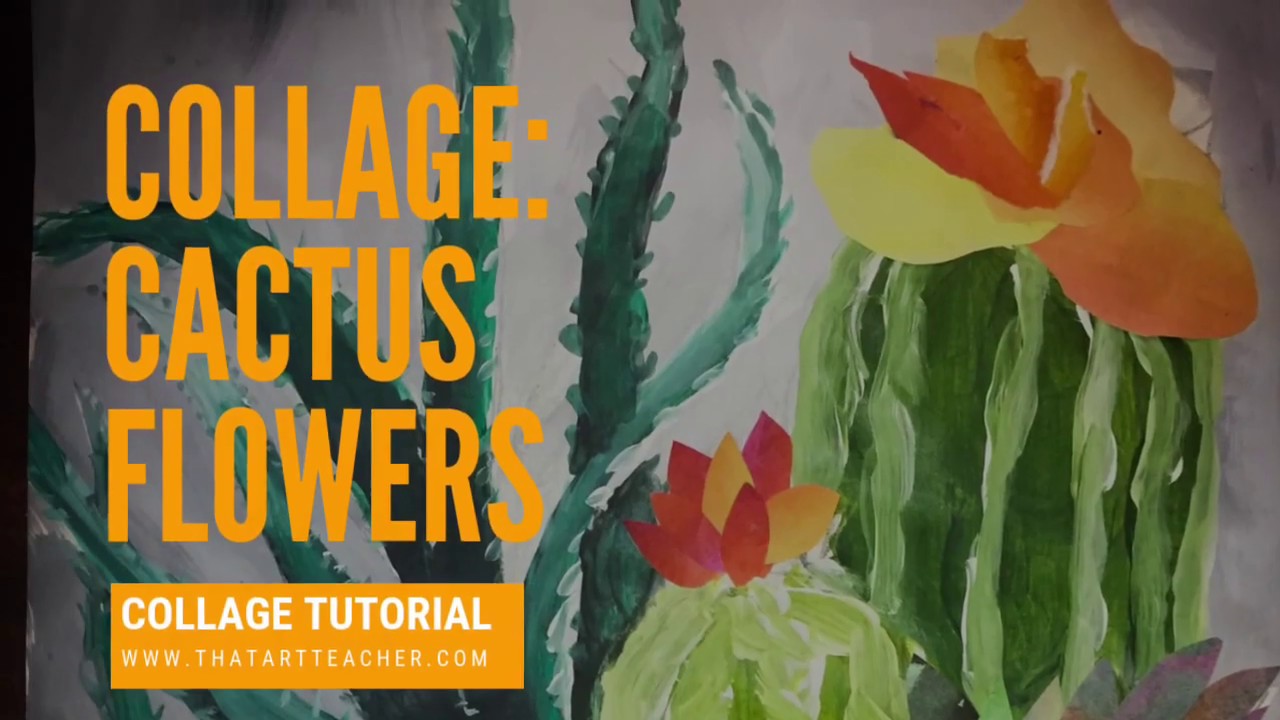
我们还练习了花卉造型,学生可选择临摹静物中的花卉(见[花卉](https://youtu.be/nCHJthBbNVk)),或凭想象添加额外的植物。我还提供了大量剩余的水彩颜料残片,供学生选用,为作品增添一抹亮色。
第五部分:“华丽”拼贴纸
(融入你的拼贴课时安排中)
我的教具柜里剩下一些精美的 scrapbooking(手工装帧)纸。这些纸张图案鲜明、印花有趣,甚至有些还带**天啊**闪粉!我让学生每人挑选一张(其实我已将每张纸裁成四等份……),并告诉他们可以按自己意愿任意使用——比如制作花朵、装饰容器或桌面等。此前我们共同赏析了若干马蒂斯与苏珊·简·沃尔普的静物画,帮助学生打破思维定式、拓展创作思路。
这真是一个充满乐趣的环节,极大激发了学生的创造力。虽然部分学生因未获明确指示而一时不知如何使用这张纸,但恰恰是这一步骤催生了我最钟爱的一些细节!
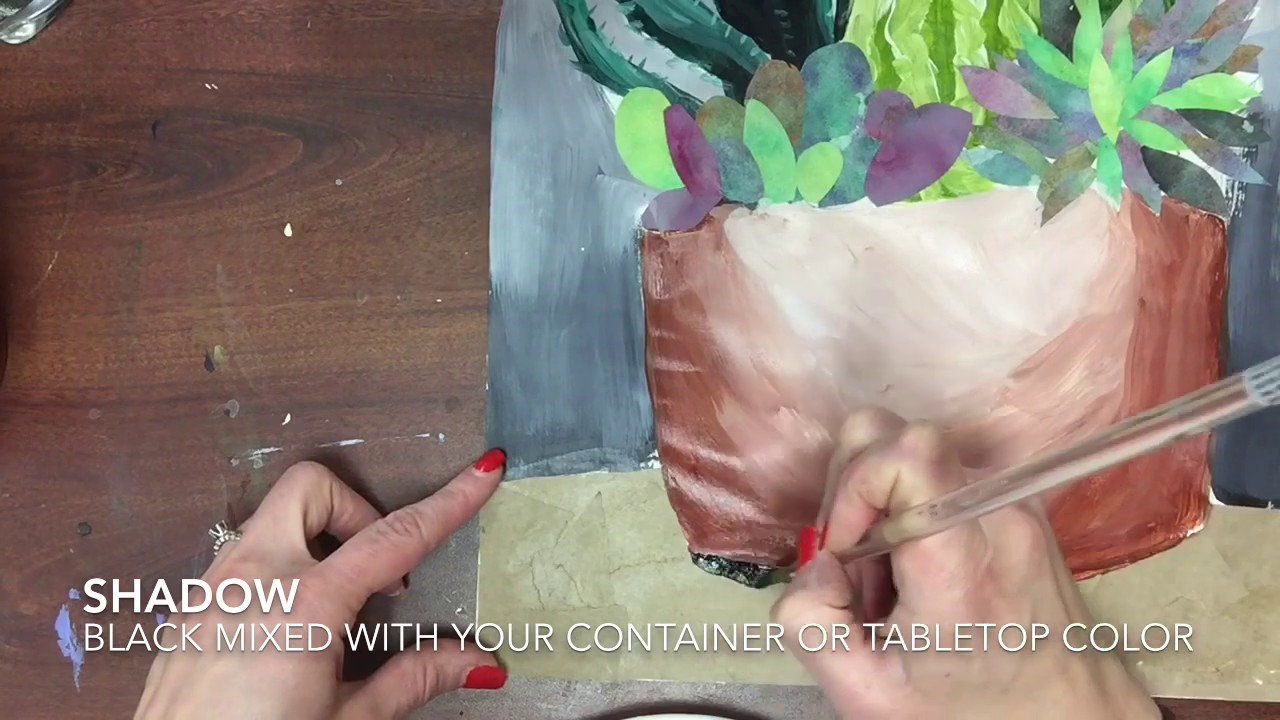
在这些课时中,我允许学生自主选择:先用水彩绘制容器或桌面(参见[润色视频](https://youtu.be/KGBp2TxvrCc)),再用拼贴方式完成另一部分。
第六部分:画廊漫步与评估
我发现这项作业需要安排多个“补漏日”。因涉及大量细节与技法,学生需充足时间才能完成。
我们照例开展了画廊漫步活动与学生自选奖项评选。我对本次作品的自我评估结果深感自豪——学生们在评分量规上既坦诚又具体;我认为这是本学年迄今最具真实性的技法掌握评估!
这是我最喜爱的部分作品:
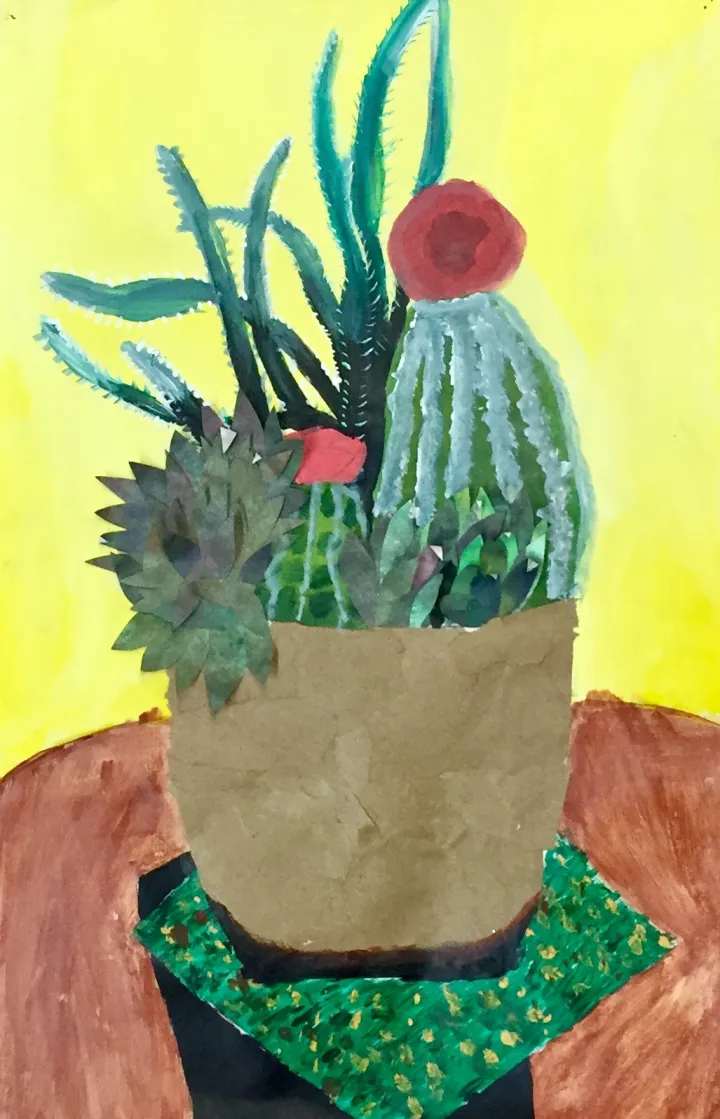
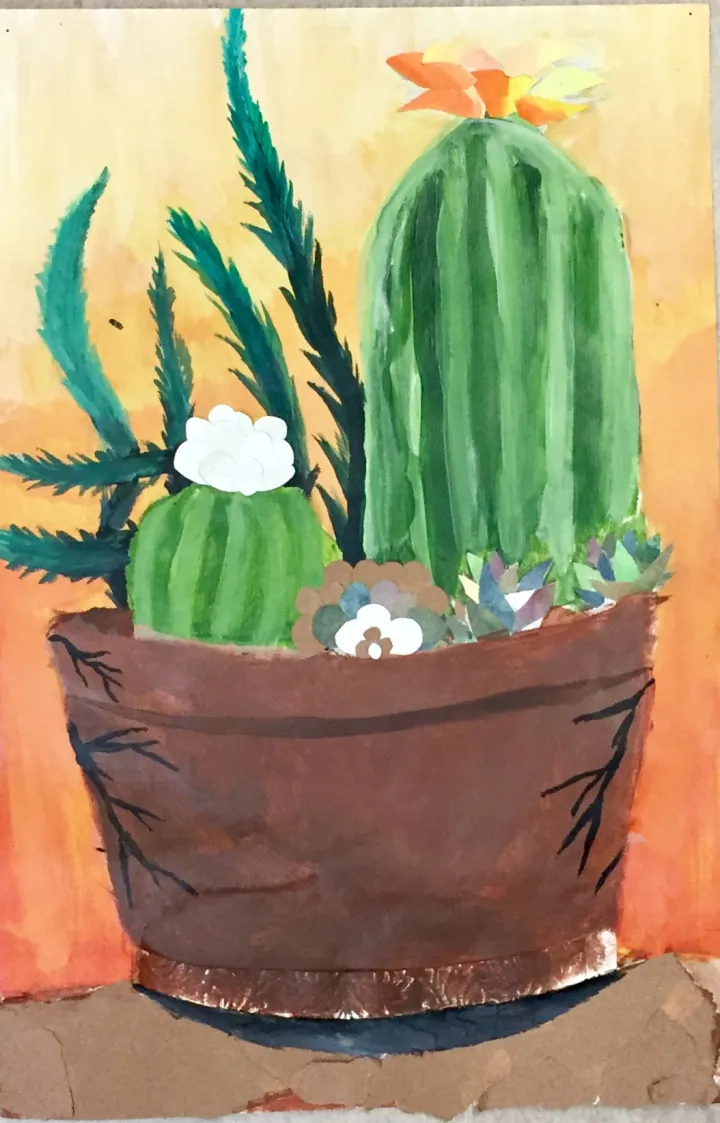
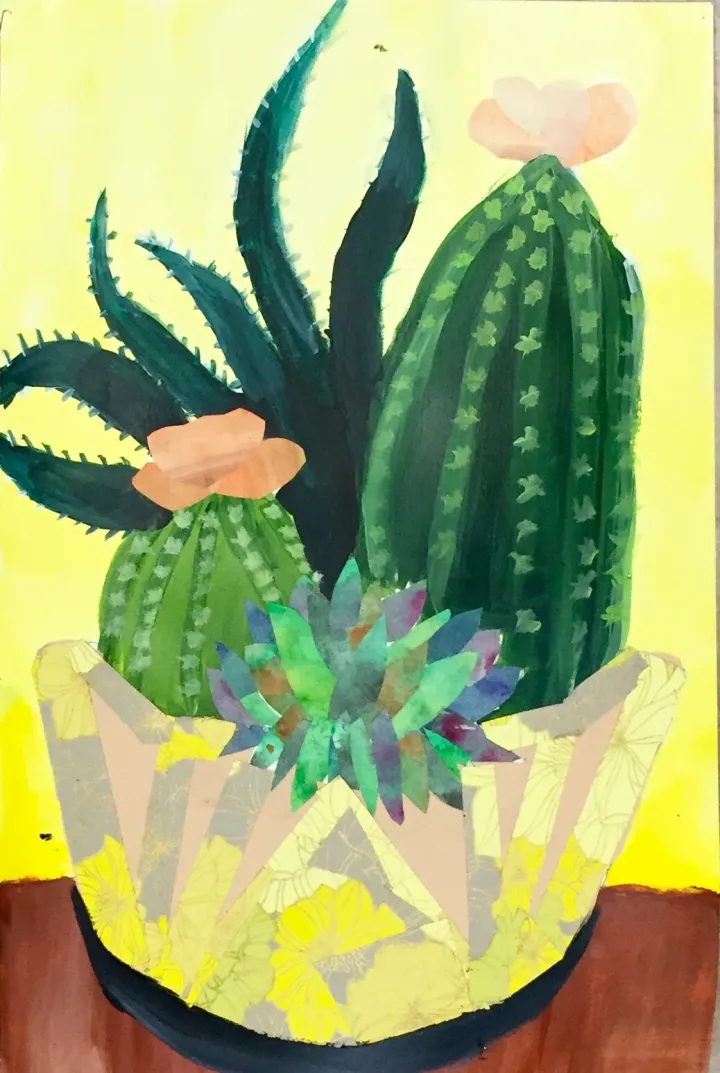
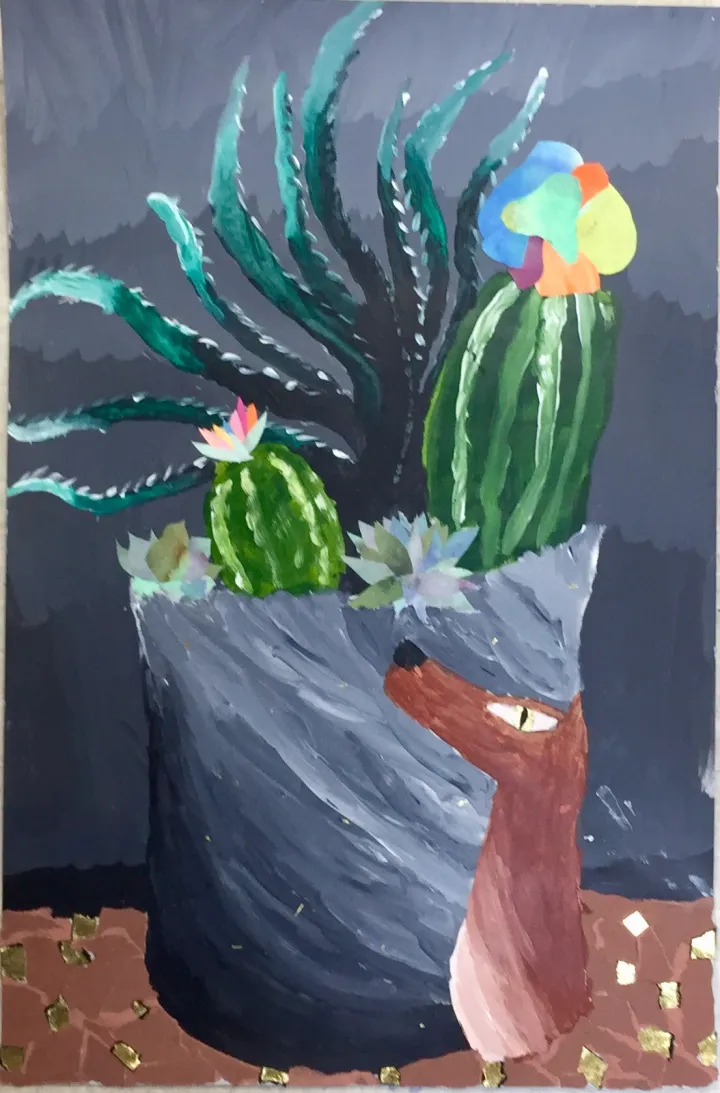
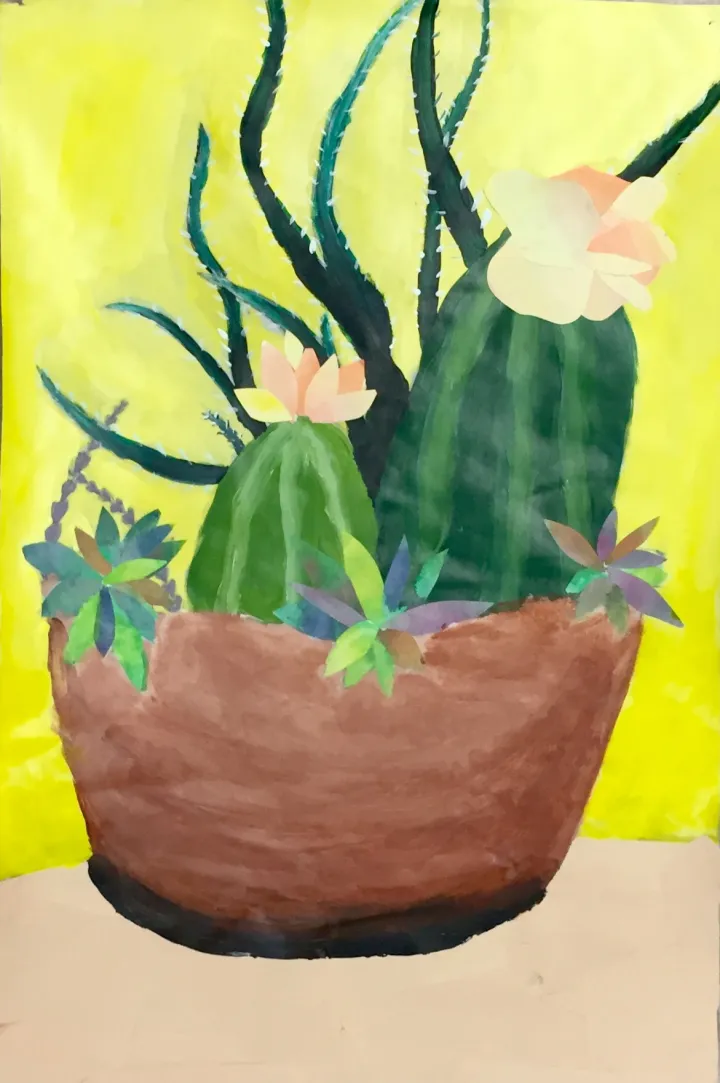
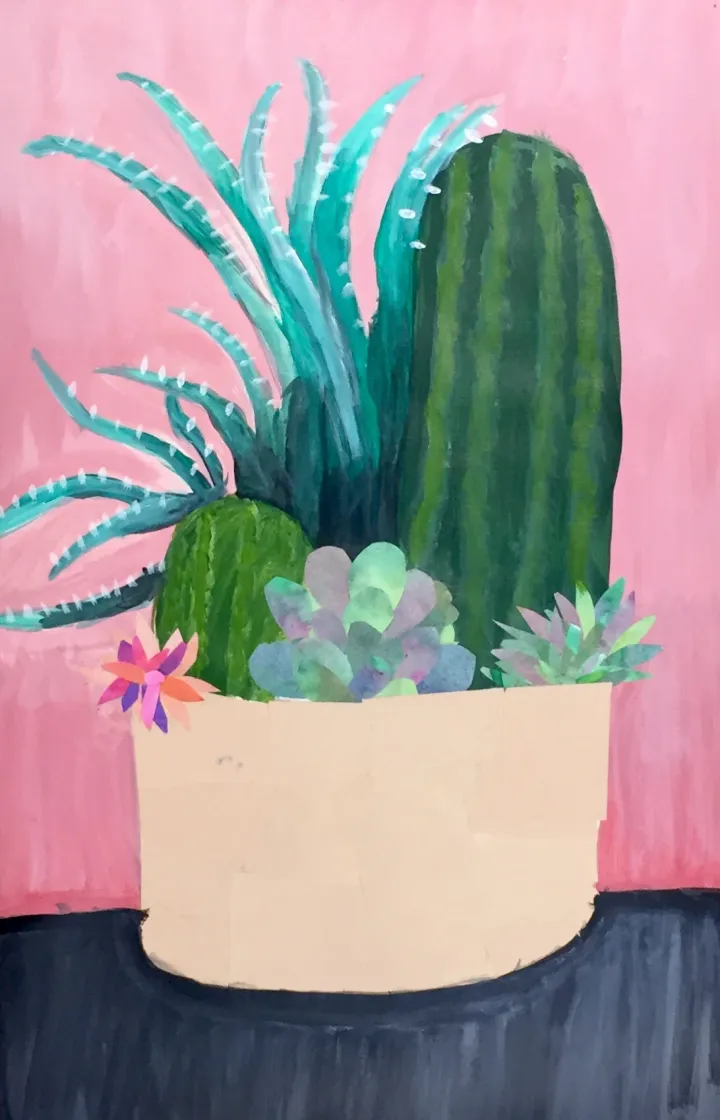
本次作业中,我遭遇了执教生涯中最糟糕的一次#教师翻车事件。那天我在批改作业,离开教室时竟把两名学生的画作放在垃圾桶旁的地上——现在想来,这简直是放置美术作品最愚蠢的位置!当时我正陷入批改狂热,出门前完全没意识到它们尚未挂到走廊。直到第二天午休我才猛然发觉画作失踪。它们已被当作垃圾清运,而校方每日清晨7点即清空垃圾。
我简直心碎!!!这两位学生付出的努力尤为突出:其中一位甚至把画带回家继续完善;另一位……就在上一节课的画廊漫步中荣获“全班最佳作品”!我深感自己彻底失败。这无疑是一次深刻的教育契机,更令我欣慰的是,当我告知她们实情时,两位女孩表现出极佳的涵养。我为每人购买了一本素描本和一套画笔,看得出来,这份心意对她们意义重大!
这件综合媒介静物作品,切实推动了我这批11–12岁的小小艺术家们将艺术技能提升至全新高度。有位老师走进我教室时惊叹道:“哇,这些画是你的吗?”我答:“不,是六年级学生画的!”当第二天我告诉学生们——他们的英语老师误以为这些画出自我的手笔时,我特别喜欢看他们脸上惊喜的表情。
任何深度作业都难免有学生因琐碎细节而感到不堪重负。这些教学视频有效帮我聚焦单项技法讲解、协助缺勤学生补课,并强化每种媒介的具体操作要点。
你是否也经历过类似惊心动魄的教师翻车时刻?
你最钟爱的综合媒介教学方式是什么?
你想看看我为此设计的评分量规,以及基于该作品的艺术史讨论式每日热身活动吗?
欢迎在下方留言,或发送邮件至 siemachado@gmail.com!
Original: https://thatartteacher.com/2019/02/24/mixed-media-cactus-plant-still-life/
Date: 2019-02-24
Author: Sierra Machado
Categories: long form lesson plan
Tags: acrylic painting, art, art education, art lesson plan, art teacher, art tutorial, artist, cactus art, collage, featured, how to draw, how to paint, how to use acrylic paint, intermediate school art, middle school art, observational painting, still life painting, teaching, that art teacher
One of my goals this year was to teach more drawing and painting from direct observation. I’ve always loved drawing and painting plants, and lately I’ve been obsessed with watercolor cactus doodles. I knew I wanted student’s to draw cactus plants but I didn’t have any for them to observe. A quick email sent to my coworkers provided plenty of plants and inspiration! Our Spanish teacher’s mother has an amazing collection of large cactus plants and let me borrow two of them.
I was so scared I was going to kill them! Kill a cactus? Not impossible if you’re me.
This artwork is jam packed with SO MANY SKILLS! I am so proud of the hard work the students put into learning each skill and technique.
- Watercolor washes and wet on wet color blending
- Drawing from observation
- Acrylic painting using gradients
- Collage
Part One: Composition & Sketching
One 45 minute class period
The first day of this assignment is sketching out the large shapes and how they interact with each other. I ask questions like:
- Where are the biggest shapes?
- Where are the tallest shapes?
- What shape is in the very back?
- What is in the very front?
- How much do the two largest plants overlap?
- How tall is the largest cactus compared to the smaller one?
- How much space does the container take up compared to the plants?
We practice holding our pencils to measure and observe these relationships. I talk about sketchy non-committal lines and drawing lightly and quick.
Students were nervous at first, but quickly picked up the concept when they realized they didn’t have to have a perfect detailed drawing.
Part Two: Painting Backgrounds
One 45 minute class period
I was on the fence about how to handle backgrounds, and I decided to let students pick a color even if it wasn’t the actual color of the actual space. I wanted to introduce painting with a gradient since I knew they would be required to do that later (and with much more detail!) in their aloe vera plant.
They started with a base color (I gave them blue, red, black, orange or yellow, but you could go any direction you wanted with this.) And they painted upwards by mixing white on their palette to show a gradient ending with the lightest color. This helped give the artwork a sense of lighting and some weight towards the tabletop.
I had learned from the last time I taught this that painting the background FIRST is important! It helps students feel comfortable with painting and helps block their drawing from the previous class period. Many students wrote that this was their favorite part of the assignment. Score!
Part Three: Mixing Greens and Painting Gradients
2-3 45 minute class periods
Student’s really enjoyed mixing their own greens! I pushed them to mix one using more blue and then secondly using more yellow with the front cactus plant. This gives a sense of depth and encourages more mixing!
The white lines were applied when the greens were still wet to encourage a natural blend. I loved watching students observe the plants and create their own unique textures!
This technique took the entire class period so I pushed teaching mixing a green gradient to the next day.
Students hands down told me mixing gradients for EACH aloe vera plant was the most challenging part of this assignment. We used black (I know some painters have an opinion about using black!) phthalo green, and titanium white. I showed them how to paint a small area of black, blend to a larger section of green, quickly wash the brush and blot extra water, and finally to blend the green up to the white before the paint dries. I reminded them black and white make gray, so keep the black at the bottom and white at the top so they green doesn’t just gray out. It takes a small brush, lot’s of focus and some adjusting as you paint, but I could see their painting skills flourish as they mastered the concept.
Of course, some students have gray leaves without much of a gradient. But they were able to specify on their rubric what challenged them and why they didn’t get the gradient right. That’s a win to me!
Part Four: COLLAGE!
2-3 45 minute class periods
We took a break from the tedious nature of painting and started the collage technique. We had previously made these green watercolor washes the day after I taught drip painting:
Students enjoyed the looseness of mixing wet on wet watercolor. I timed this to be a break in between graded assignments and students kept their homemade collage papers for a “rainy day”.
We looked at plant shapes and practiced drawing basic shapes in their sketchbooks. I had to really focus on helping them overlap the shapes from front to back. I had some weird triangular shapes at first, so we reviewed cutting out whole plant shapes and then overlapping to create depth, not trying to predict and cut out how they shapes would be when overlapped.
I love the variety color and creativity with this technique!
We also practiced flower shapes and students had the option to create flowers, either from the still life or extra plants from their imagination. I had a bunch of leftover watercolor remnants students could choose from for a pop of color.
Part Five: “Fancy” Collage Paper
(Integrate into your collage time frame)
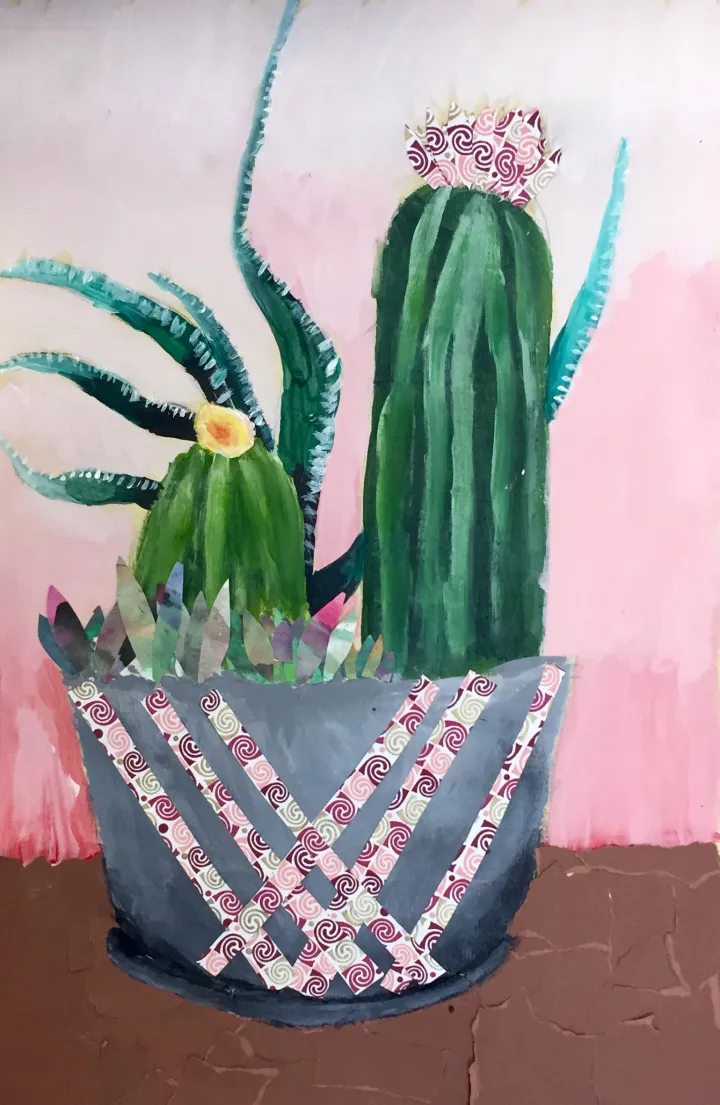
I had some fancy scrap booking paper leftover in my supply closet. It had bold patterns, fun prints and some even had **gasp** glitter. I let students choose one piece (well..I had cut each piece into quarters…) and I told them they could use it in any way they wanted. Flowers, decorations on their containers, table tops etc. We had looked at several Matisse and Susan Jane Walp still life paintings which helped them think outside of the box.
This was a really fun step that encouraged creativity. Some students struggled with what exactly to use the paper for since I didn’t specify, but some of my favorite details came to life with this step!
During these class periods I gave students the option of painting their container or tabletop (see touch-ups video) and then collaging the other one.
Part Six: Gallery Walk and Assessment
I found I needed multiple “catch-up” days for this assignment. There were tons of details and techniques and students needed ample time to complete them.
We did our usual Gallery Walk and Student Choice Awards. I was really proud of the self-assessment of this artwork. Students were really honest and specific on their rubrics and I think it was the most authentic assessment of mastering techniques this year so far!
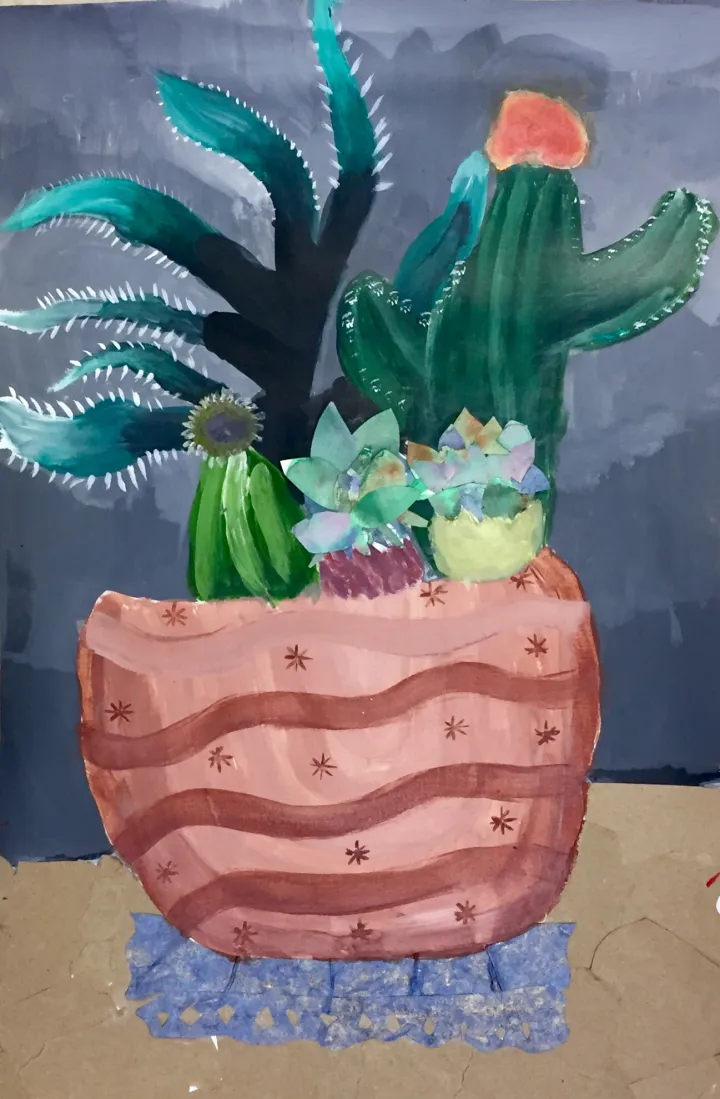
Here are some of my favorites:
I had one of the worst #teacherfails of my career during this assignment. I was grading and I left for the day with two of my students’ artwork sitting on the floor by the trashcan. Which I realize is the stupidest place ever to put art. I was in a grading frenzy and left before realizing I didn’t hang them in the hallway. It took me until lunchtime the next day to realize they were missing. They had been thrown away and the trash had been removed from school at 7 am.
I was so crushed!!!! These two particular students had worked SO HARD and one even took hers home to finish it. The other one….won BEST IN CLASS during our gallery walk the previous class period. I felt like such a failure. It was definitely a teachable moment and I am so glad the girls handled it so well when I broke the news. I bought them each a sketchbook and paintbrushes and I could tell that meant a lot to them!
This mixed media still life really pushed my 11-12 year old artists to take their artistic skills to the next level. One teacher came in my room and said “Wow, are those yours!” I said “Nope, 6th graders did that!” I loved watching their faces when I told them the next day that their English teacher thought their paintings were mine.
With any in depth assignment you will have students that feel overwhelmed with the nitty gritty. These videos really helped me focus on one technique at a time, help absent students catch up and reinforce the specifics of each medium.
Do you have any epic teacher fails like me?
What’s your favorite way to teach mixed media?
Want to see my rubric and Art History Discussion daily warm-ups based on this artwork?
Comment below or email me at siemachado@gmail.com!