纸艺图案编织
原文链接:https://tabithaannthelostsock.blogspot.com/2020/10/paper-patterned-weaving.html
日期: 2020-10-21
标签: 织机、纸、图案、经线、编织、纬线
制作纸制织机
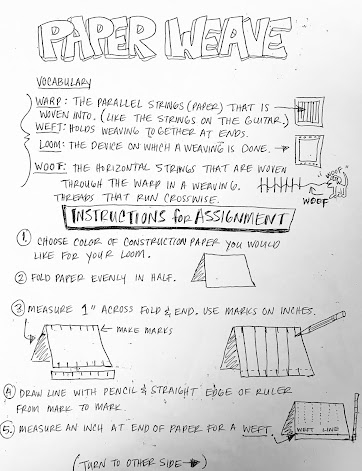
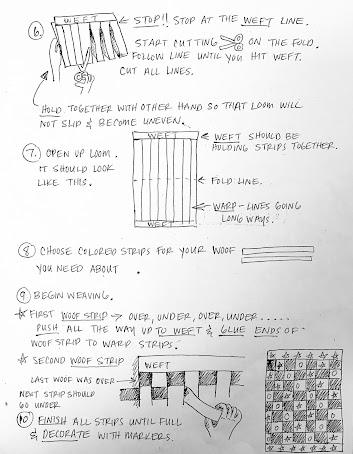
以下步骤与上方工作表略有不同,
工作表中的第5步在此为第3步。
-
取一张12英寸×18英寸的纸。
-
将纸沿中线对折(“汉堡式”折叠)。
将纸放在面前,折痕朝向自己(这一点非常重要)。
-
在纸张顶部画一条水平线,宽约1英寸。
-
在刚画出的这条线底部,每隔1英寸做一标记。
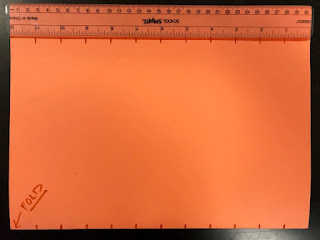
- 在纸张底边,每隔1英寸做一标记。
将每个1英寸标记用垂直线连接起来。
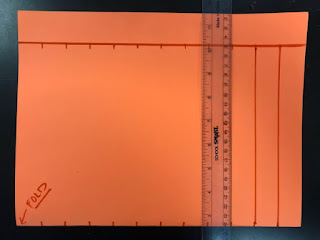
- 将剪刀尖置于折痕处,沿每条垂直线剪开,止于顶部那条水平线。
剪裁时,用手牢牢捏住纬线部分,防止纸张晃动。
-
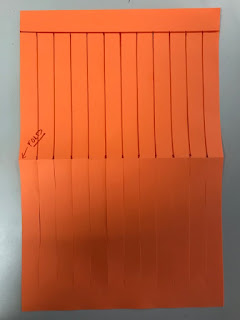
展开对折后的纸张,剪口应自上而下贯通,止于底部的纬线处。
这部分即为经线。
你的织机已制作完成。
-
接下来准备纬线——即横向穿入经线的纸条。
取9英寸×12英寸的彩色卡纸,任选两种颜色。
用直尺裁出1英寸宽的纸条(尺寸为9英寸×1英寸)。
开始编织时,按选定的颜色顺序交替穿入织机。
提示:在背面(较粗糙、有铅笔线的一侧),
你可在纬线上为各条经线编号,以便保持编织顺序清晰。
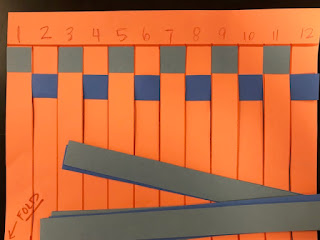
将第一条纬线纸条从偶数编号的经线下穿过;
完成后将其推至顶部边缘。
将第二条纬线纸条从奇数编号的经线下穿过。
重复此操作,直至抵达织机底部。
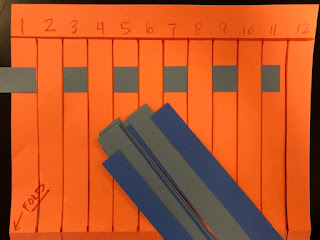
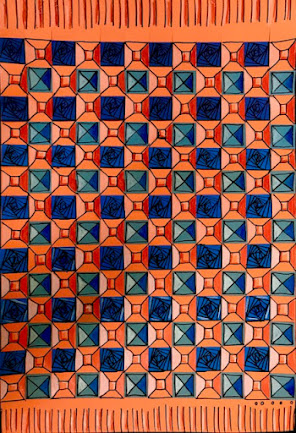
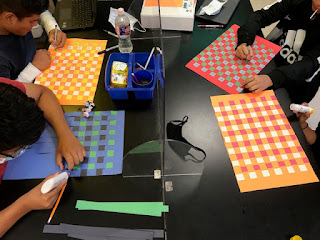
高阶美术班男生正在收尾最后几条纬线。
(萨米、胡安、阿德里安和GJ)
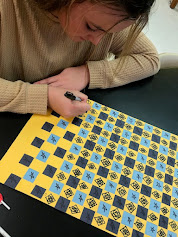
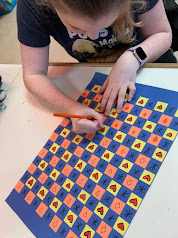
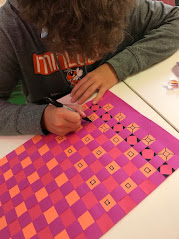
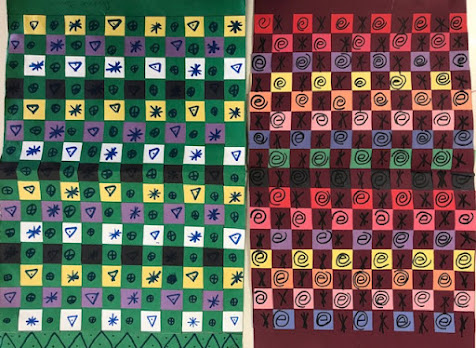
高阶美术班学生在完成编织后,开始设计图案。
(克里斯蒂、贝拉和伊桑)
未完待续……
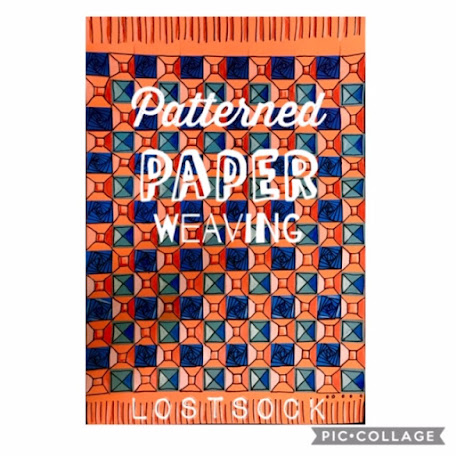
纸艺图案编织
Original: https://tabithaannthelostsock.blogspot.com/2020/10/paper-patterned-weaving.html
Date: 2020-10-21
Tags: loom, paper, pattern, warp, weave, woof
MAKING THE PAPER LOOM
Steps below are slightly different than worksheet above,
Number 5 on the worksheet is number 3 here.
-
Begin by taking a 12 by 18 piece of paper.
-
Fold it down the middle "hamburger style".
Put the paper in front of you with the fold towards you (very important).
-
Draw a line going horizontally at the top of the paper about 1 inch wide.
-
At the bottom of this line you traced, mark every 1 inch.
- At the bottom of the paper, mark every 1 inch.
Connect each 1 inch mark you made withe a vertical line.
- Put scissor on fold, cutting on each vertical line stopping at the top horizontal line.
Hold paper tightly at the weft to keep it from wiggling around while you cut.
- When you open it from the fold, the cuts should go all the way down stopping at the bottom weft.
This is your warp.
You have finished your loom.
- Now it is time to get your woof, the pieces that run across your warp.
Using 9 by12 inch construction paper, pick 2 color you like.
Using a ruler, Cut 1 inch strips (will be 9 inches by 1 inch).
Keep your colors in a pattern as you begin weaving them into the loom.
HINT: On the back (uglier side with pencil lines),
You can #NUMBER your WARP lines on the WEFT to keep you on track.
Insert your first WOOF strip under the even number strips of the WARP.
Push it up all the way to the top when done.
Insert your second WOOF strip under the odd number strips of the WARP.
Repeat this until you get to the bottom of the loom.
Advanced Art Boys finishing up the last woof strips.
(Sammy, Juan, Adrian and GJ)
Advanced Art Students beginning their designs after weaving.
(Krissie, Bella and Ethan)
To be continued...


