第四、第五届合作几何壁画
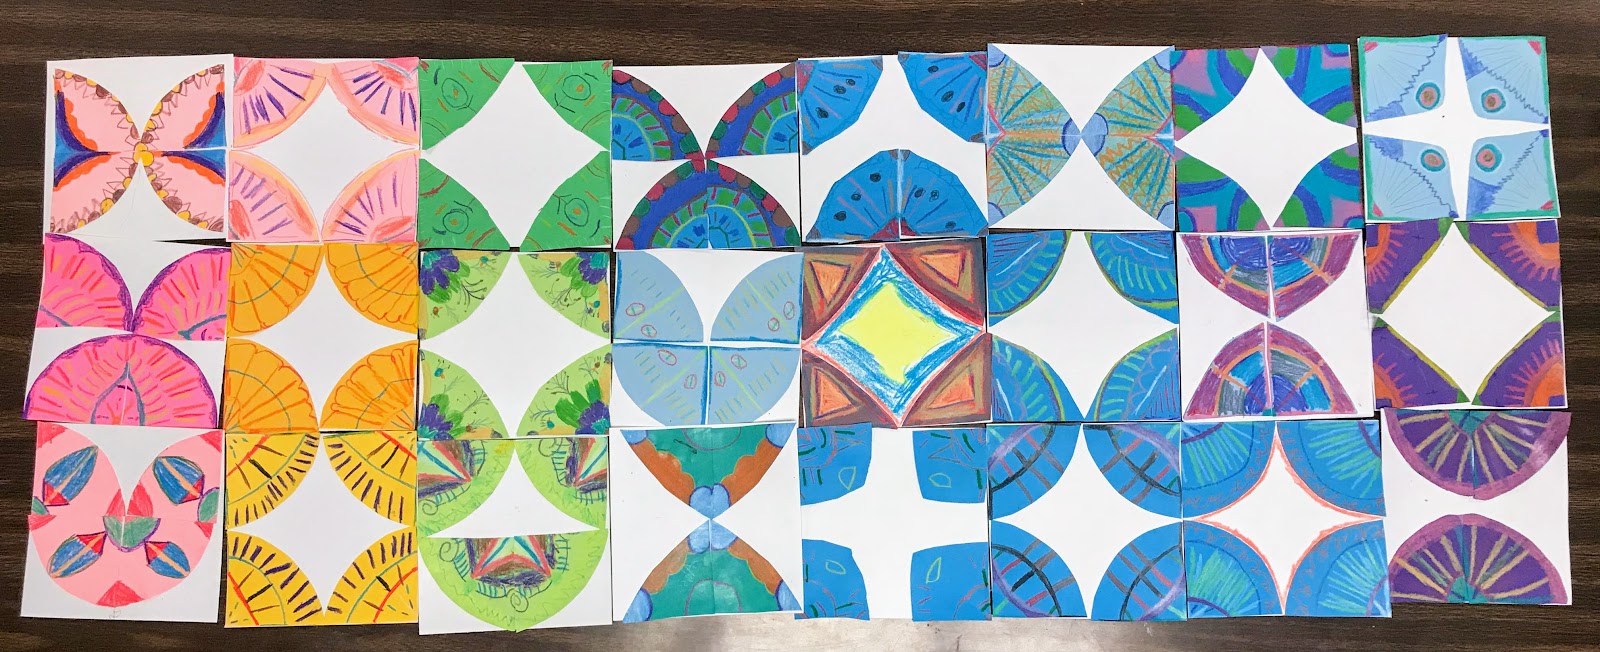
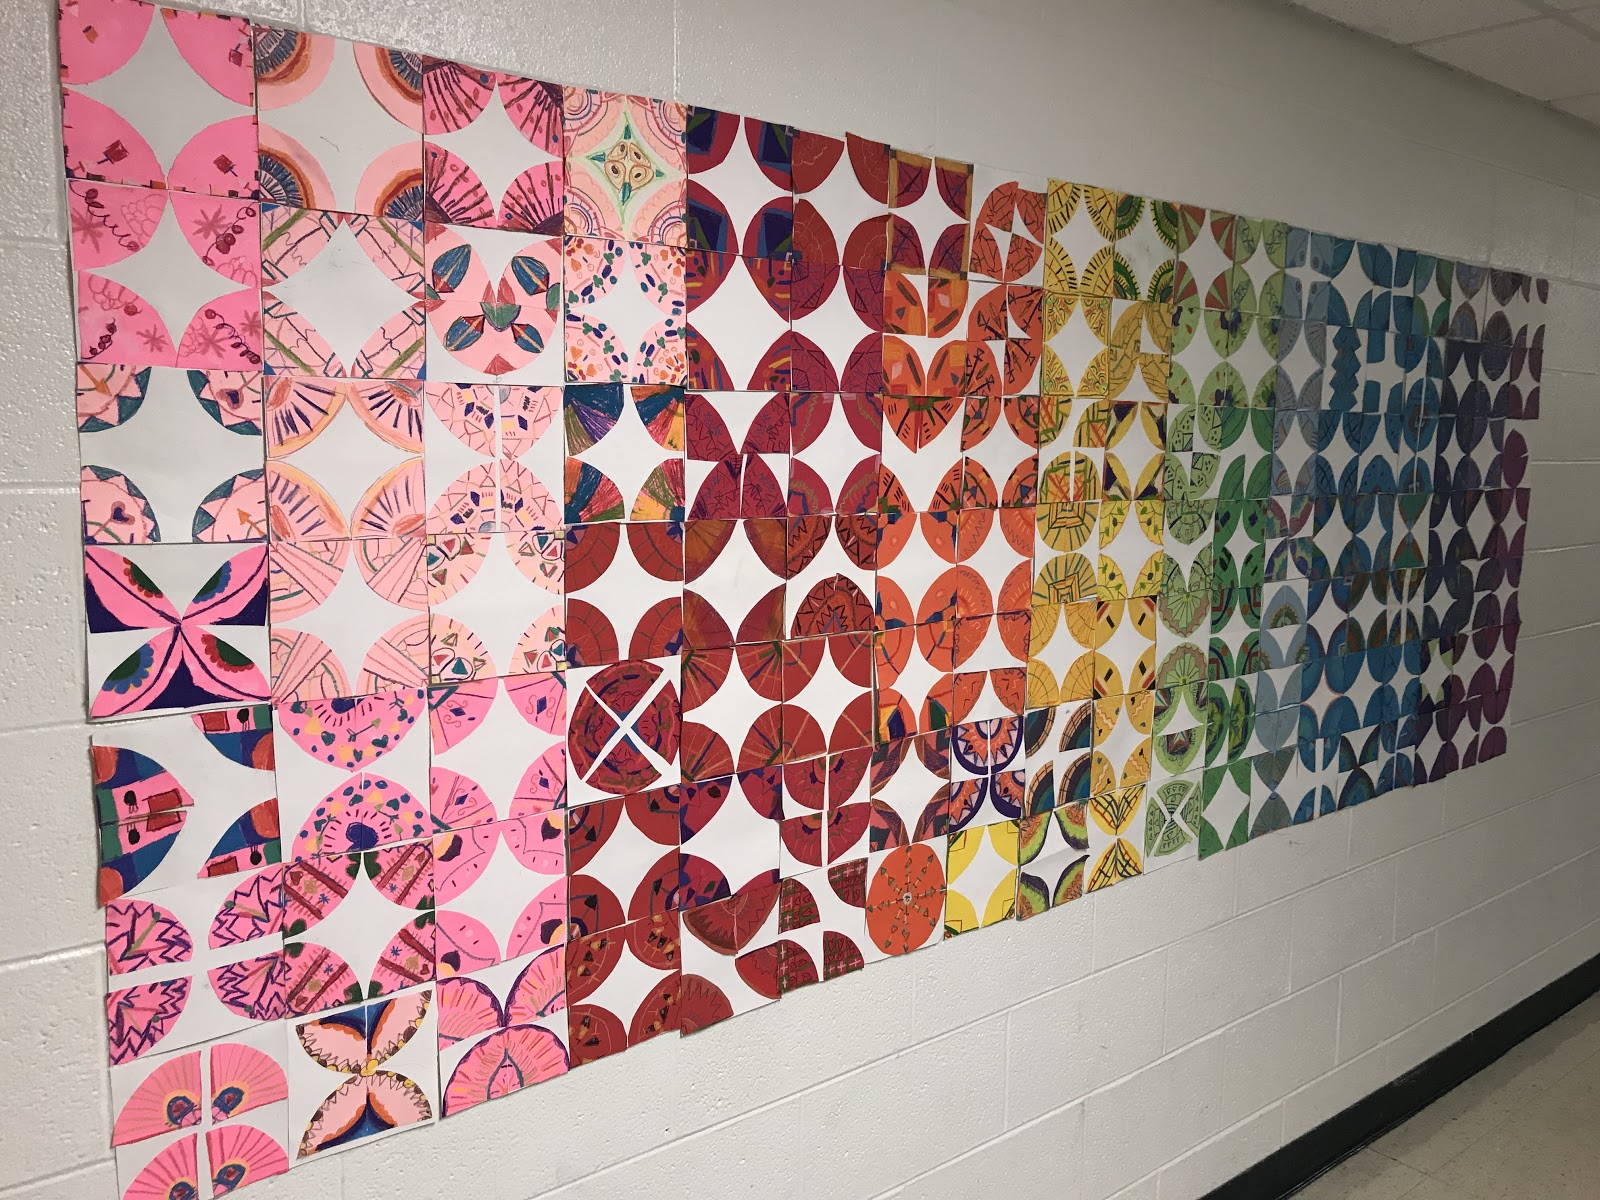
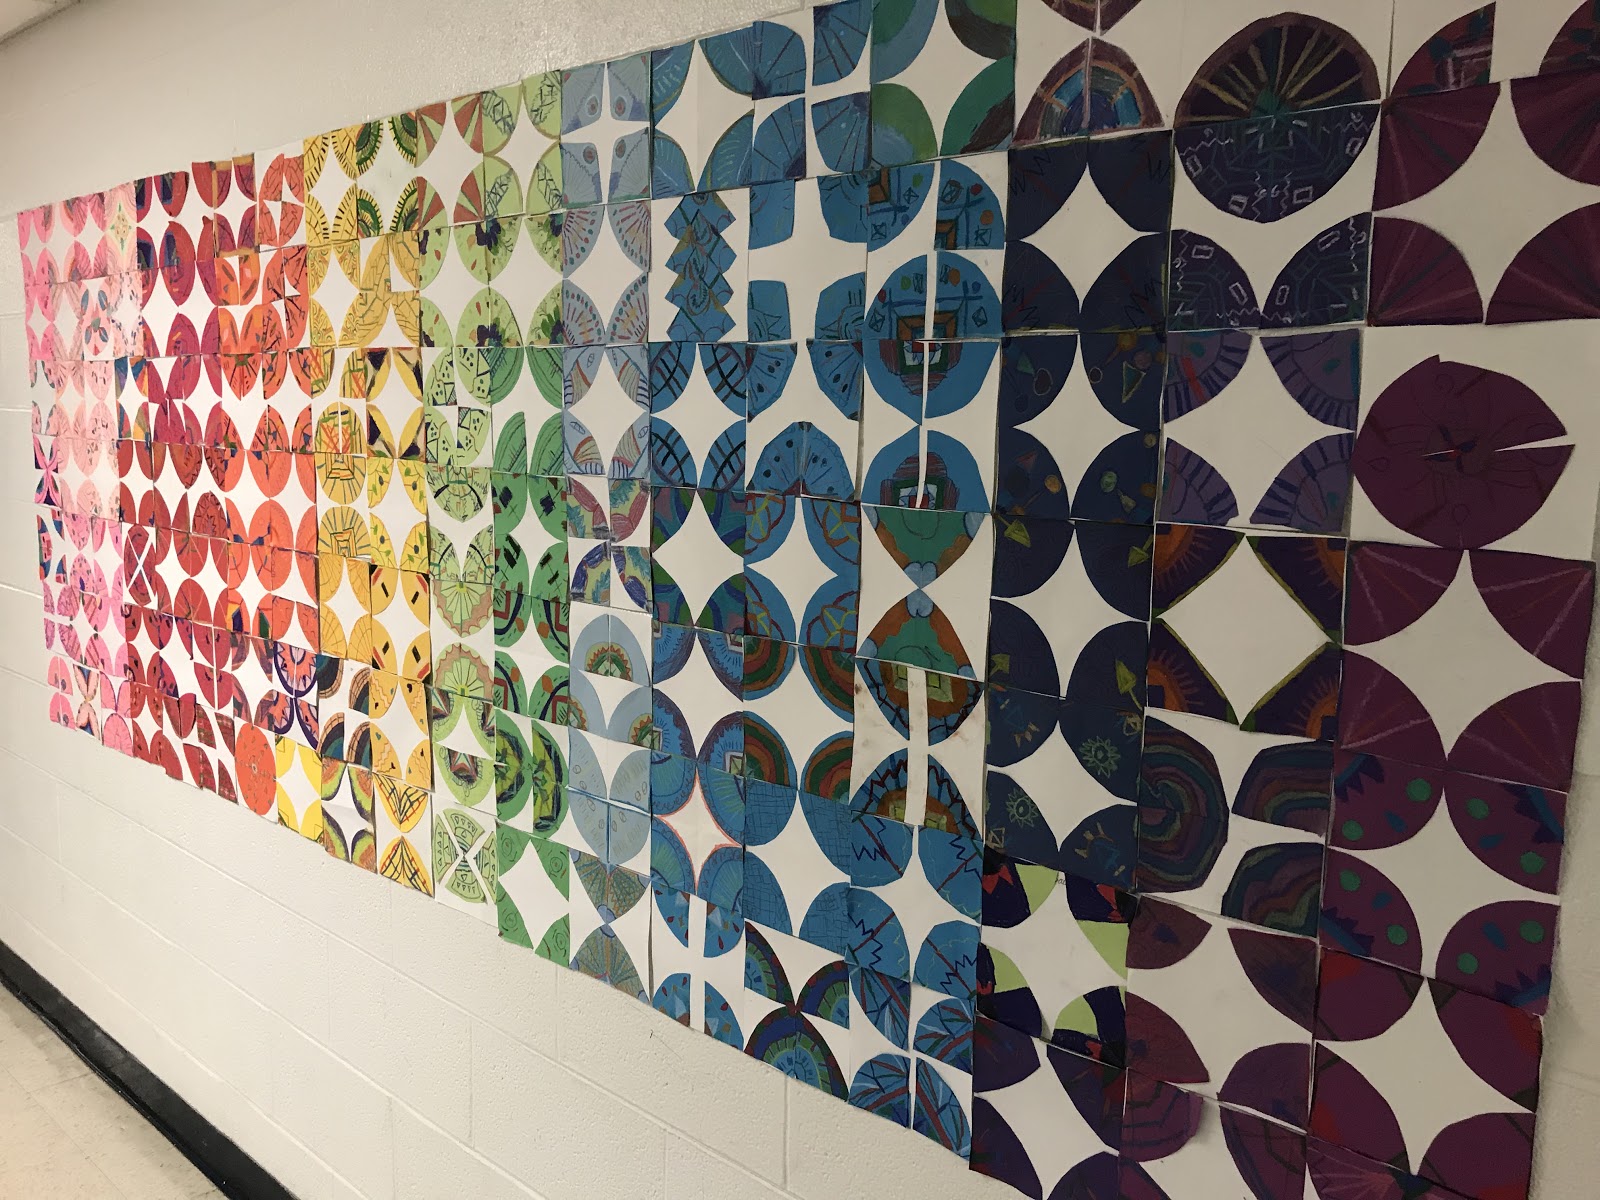
眼下,我们正为一年一度的校园艺术展“艺术之夜”(Night of the Arts)做准备!大家一边分发作品,一边赶工收尾,一边挑选将要展出的作品,同时还要启动新项目——所有这些任务正齐头并进!州级标准化测试也已拉开帷幕!哇哦!光是想想就让人疲惫不堪!!哈哈
以下是本周四年级与五年级学生即将启动的一个小项目示例:我们将共同创作一幅巨型壁画,用于“艺术之夜”展出。该项目灵感源自加州年度小学视觉艺术教育家得主——希恩·布莱特·萨莫拉诺(Shine Brite Zamorano)老师!他本人网站上展示了精美的范例图解、详细制作步骤,以及大量其他精彩艺术作品:Shine Brite Zamorano
以下是我们的制作流程:
材料清单:
Crayola 彩色蜡笔棒(Color Sticks)
Crayola 彩纸专用蜡笔(construction paper crayons)
6×6 英寸 Tru-Ray 彩纸方块
6×6 英寸 Sax 90 磅白纸 —— 这些是我从自由绘画区回收箱里翻出的边角余料!
剪刀
固体胶棒
铅笔
首先,我向学生们展示了唐纳德老师(Mr. Donald)在其博客 Shine Brite Zamorano 上发布的范例,并一起讨论了他照片中呈现的拼布图案与瓷砖构图。接着,我们探讨了设计原则(统一性、重复/模式、平衡、重复/模式)与美术元素(线条、形状、色彩),以及如何运用这些原理与元素,让我们的作品更加出色!
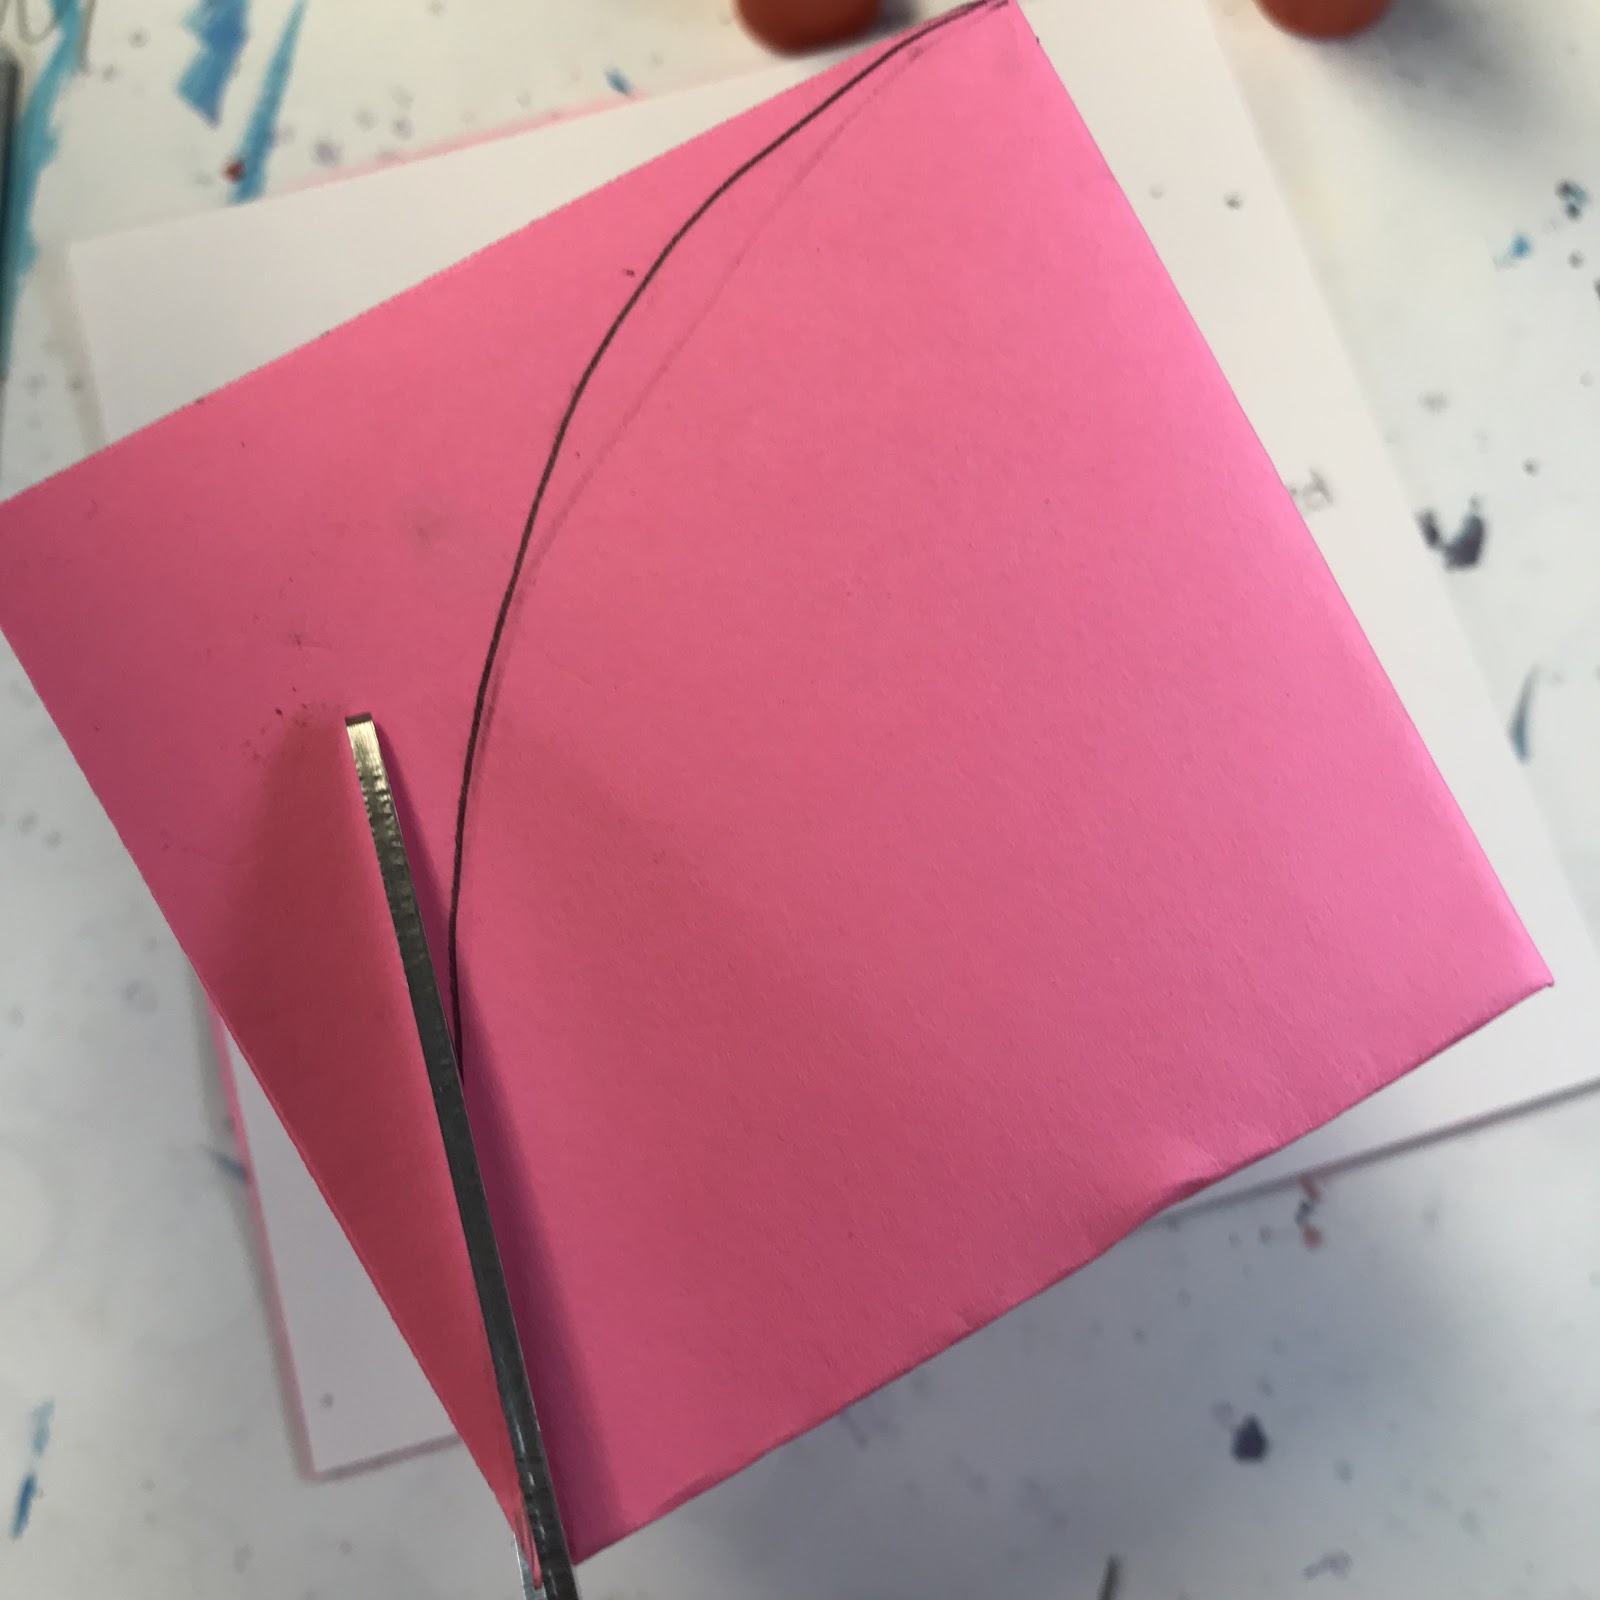
随后,我示范了如何绘制圆形、裁剪圆形,并按个人喜好自由安排其位置。
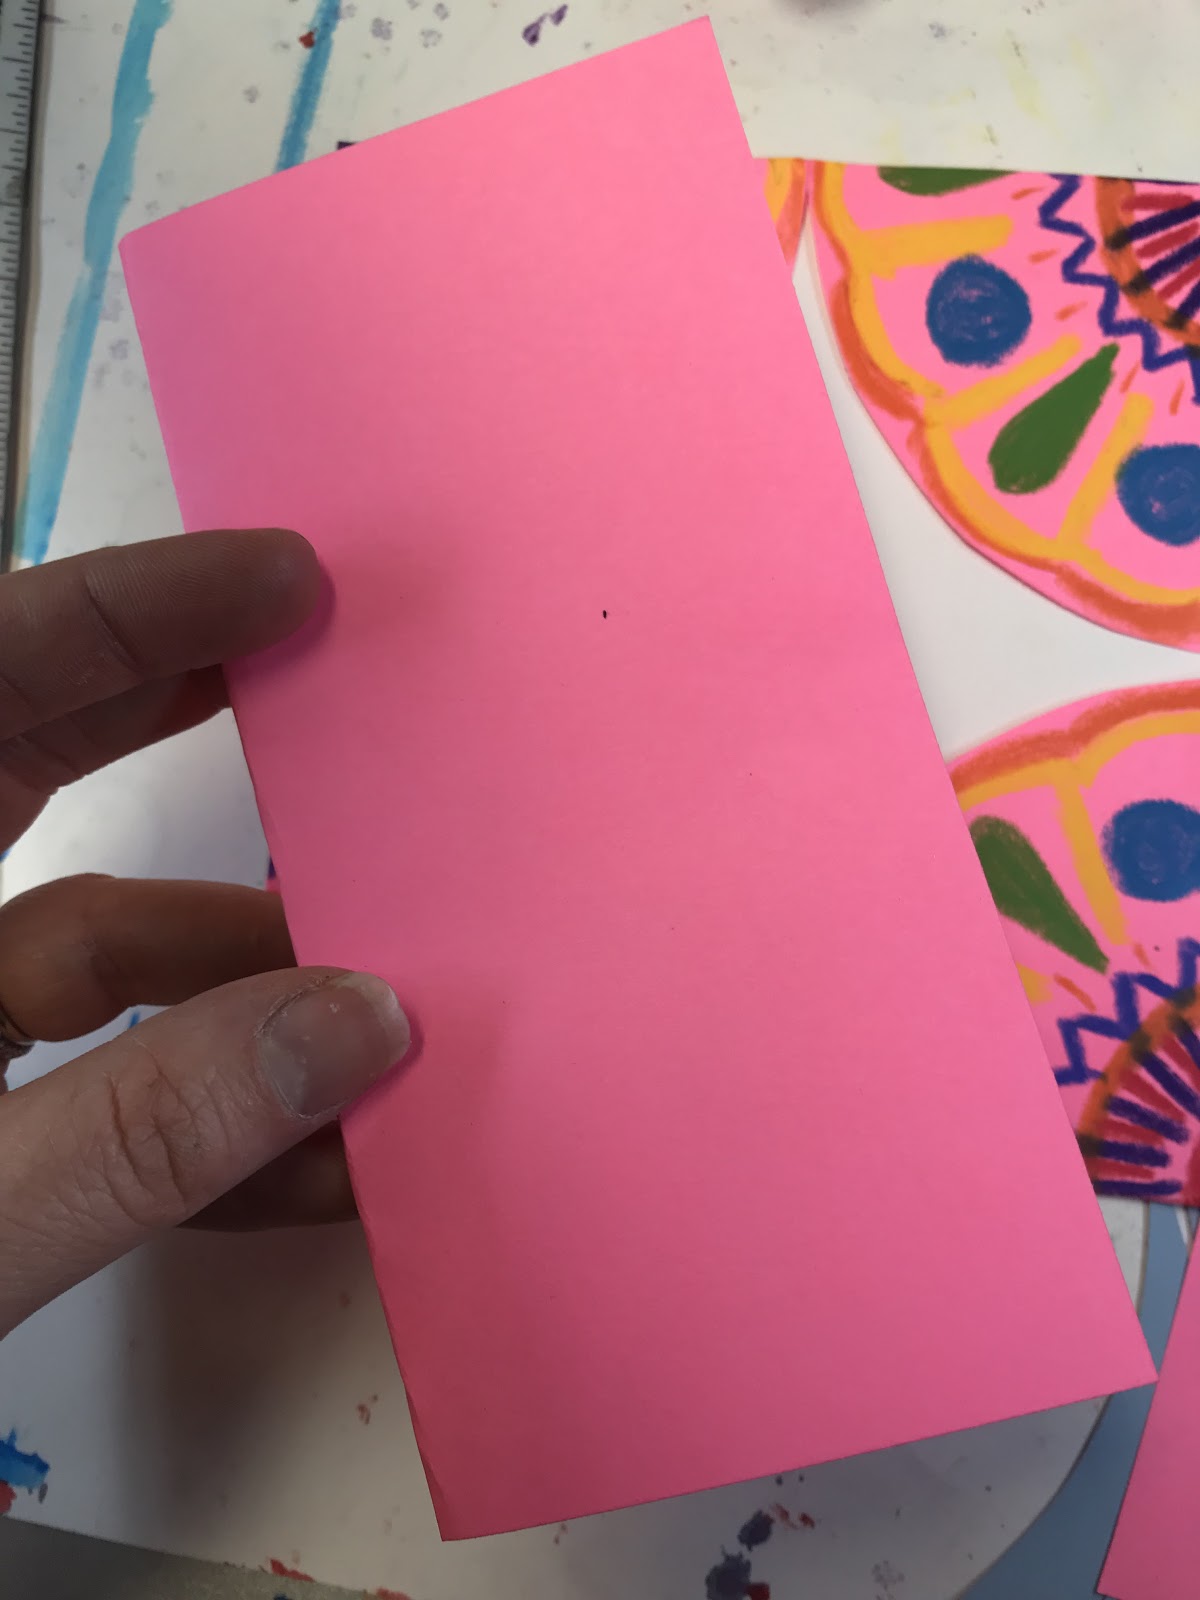
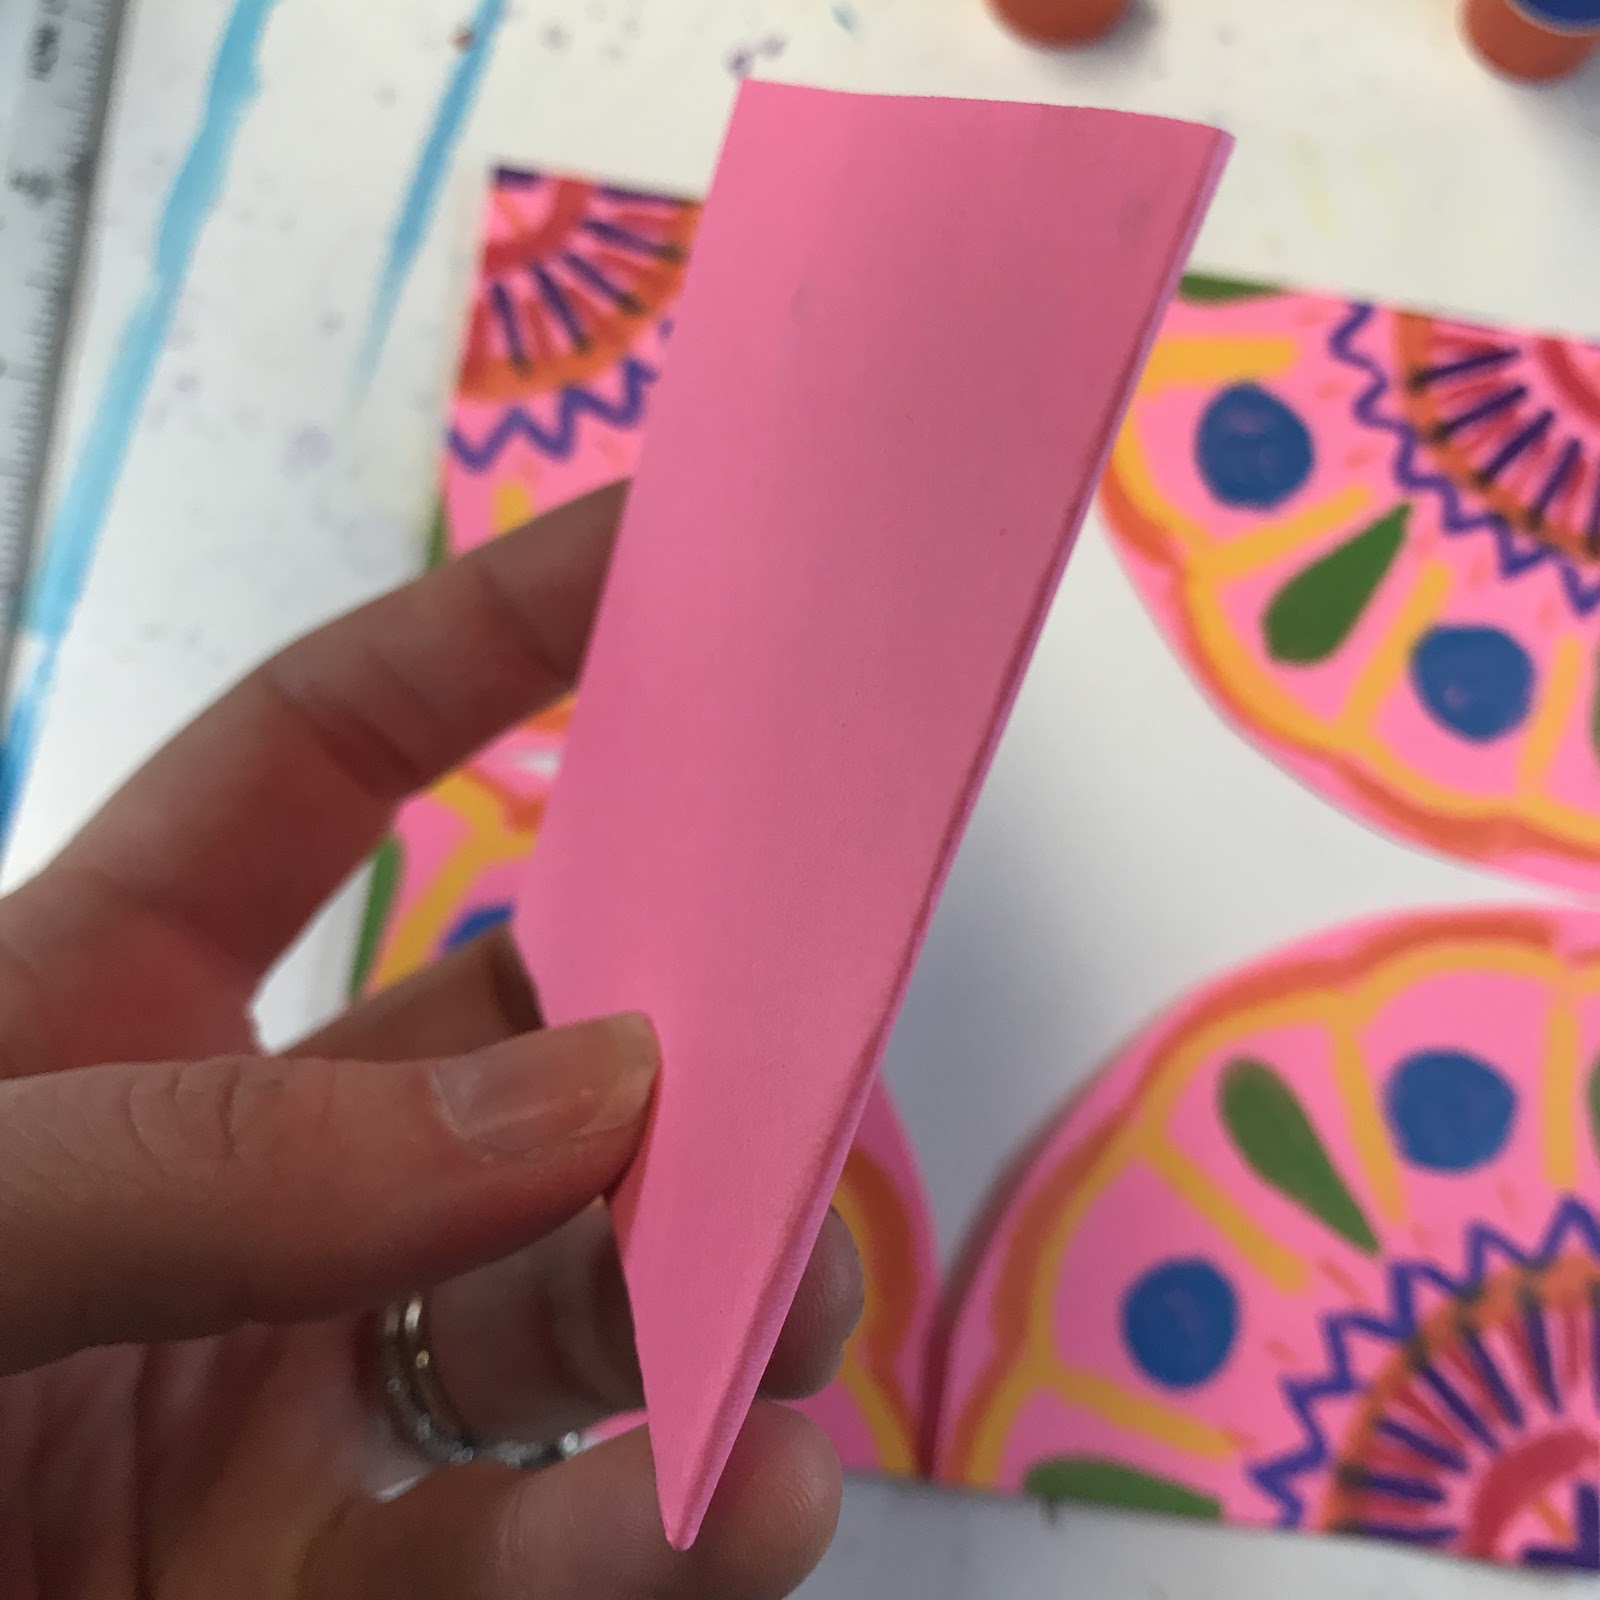
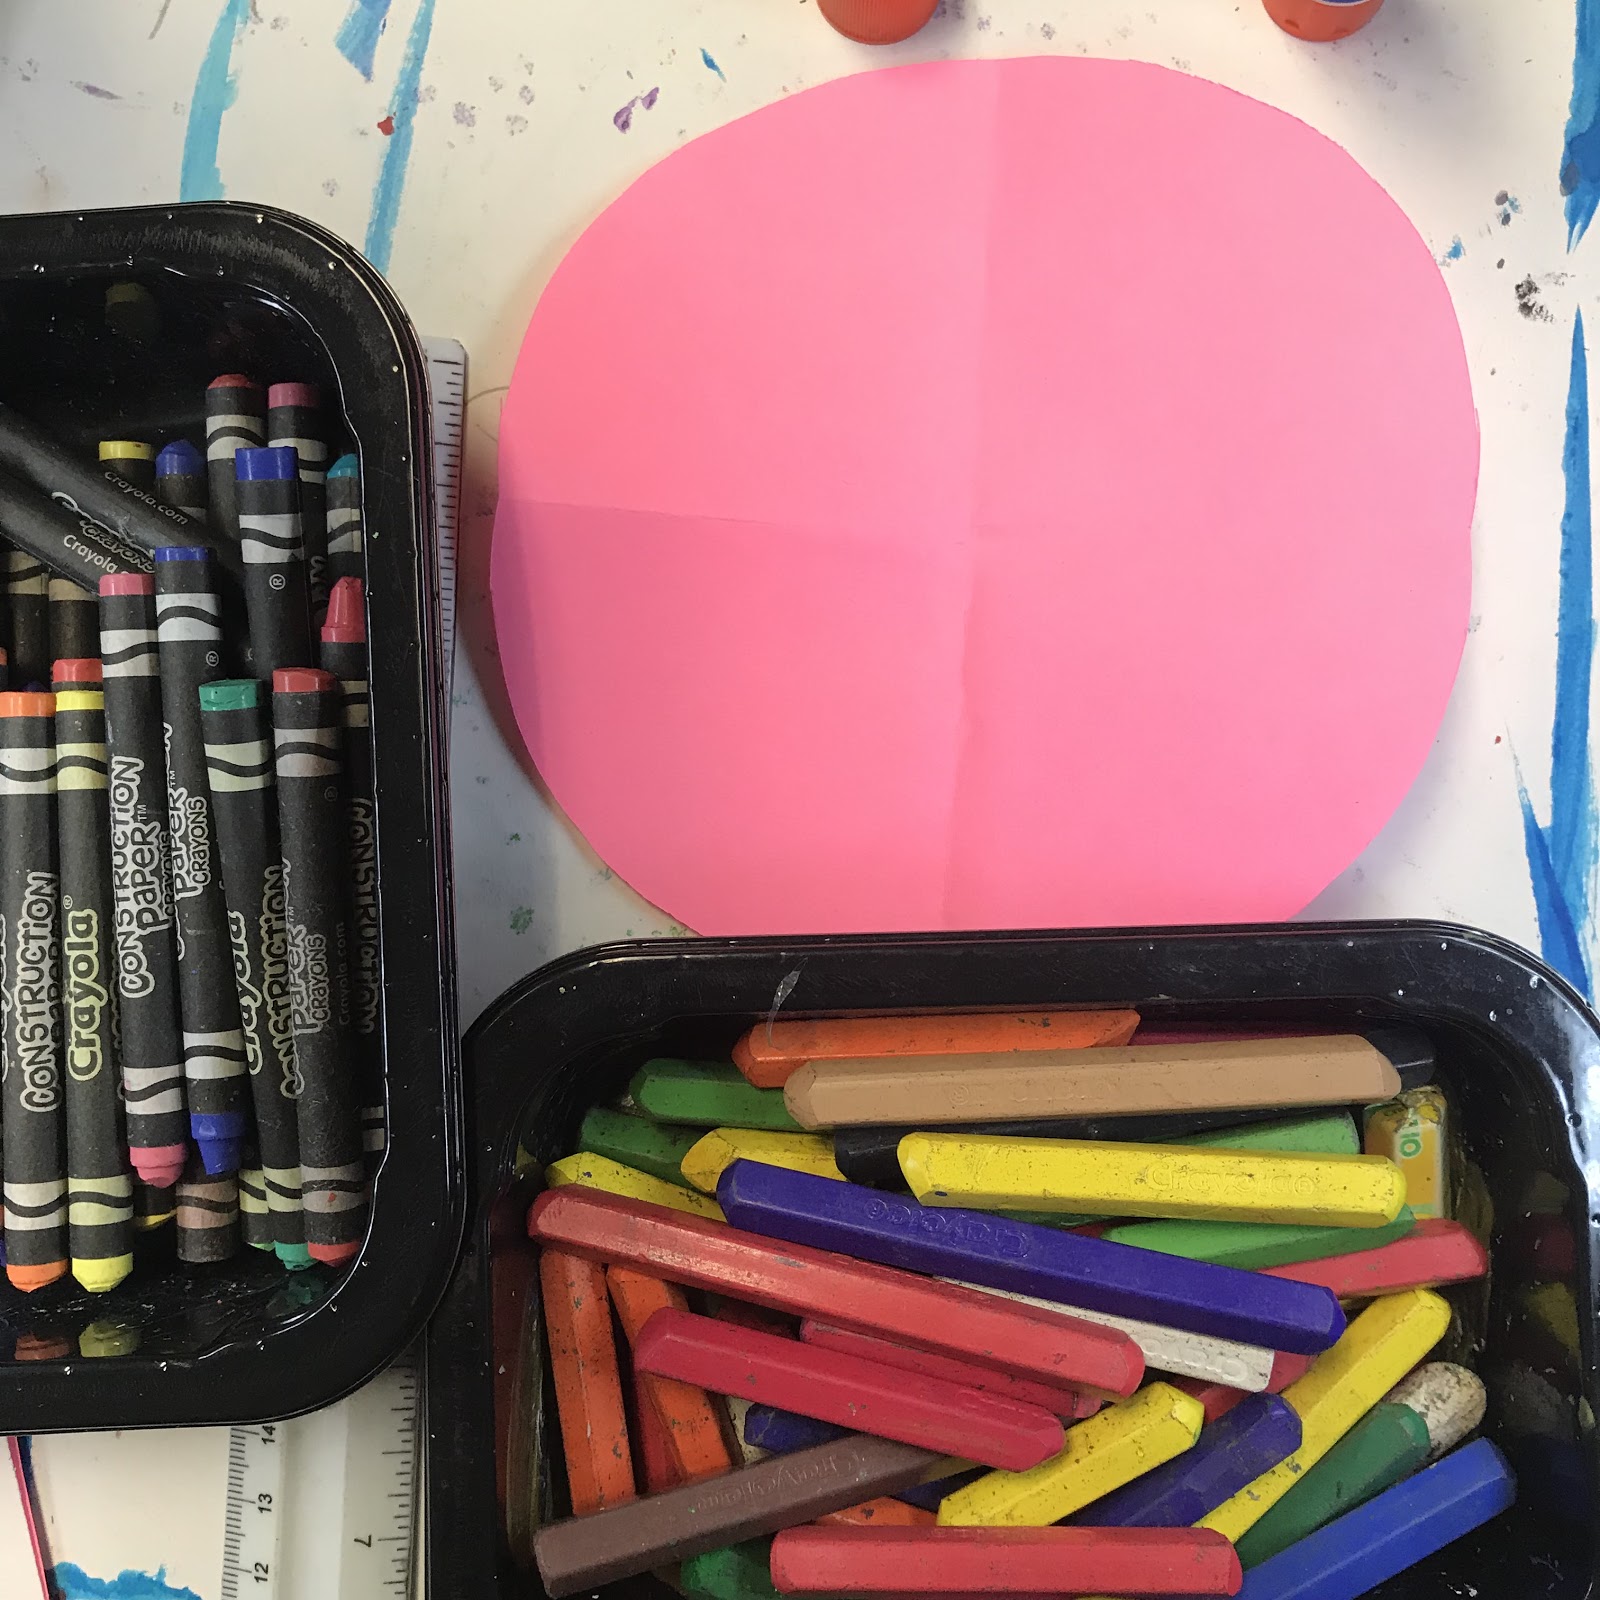
将正方形纸对折一次,再对折一次。
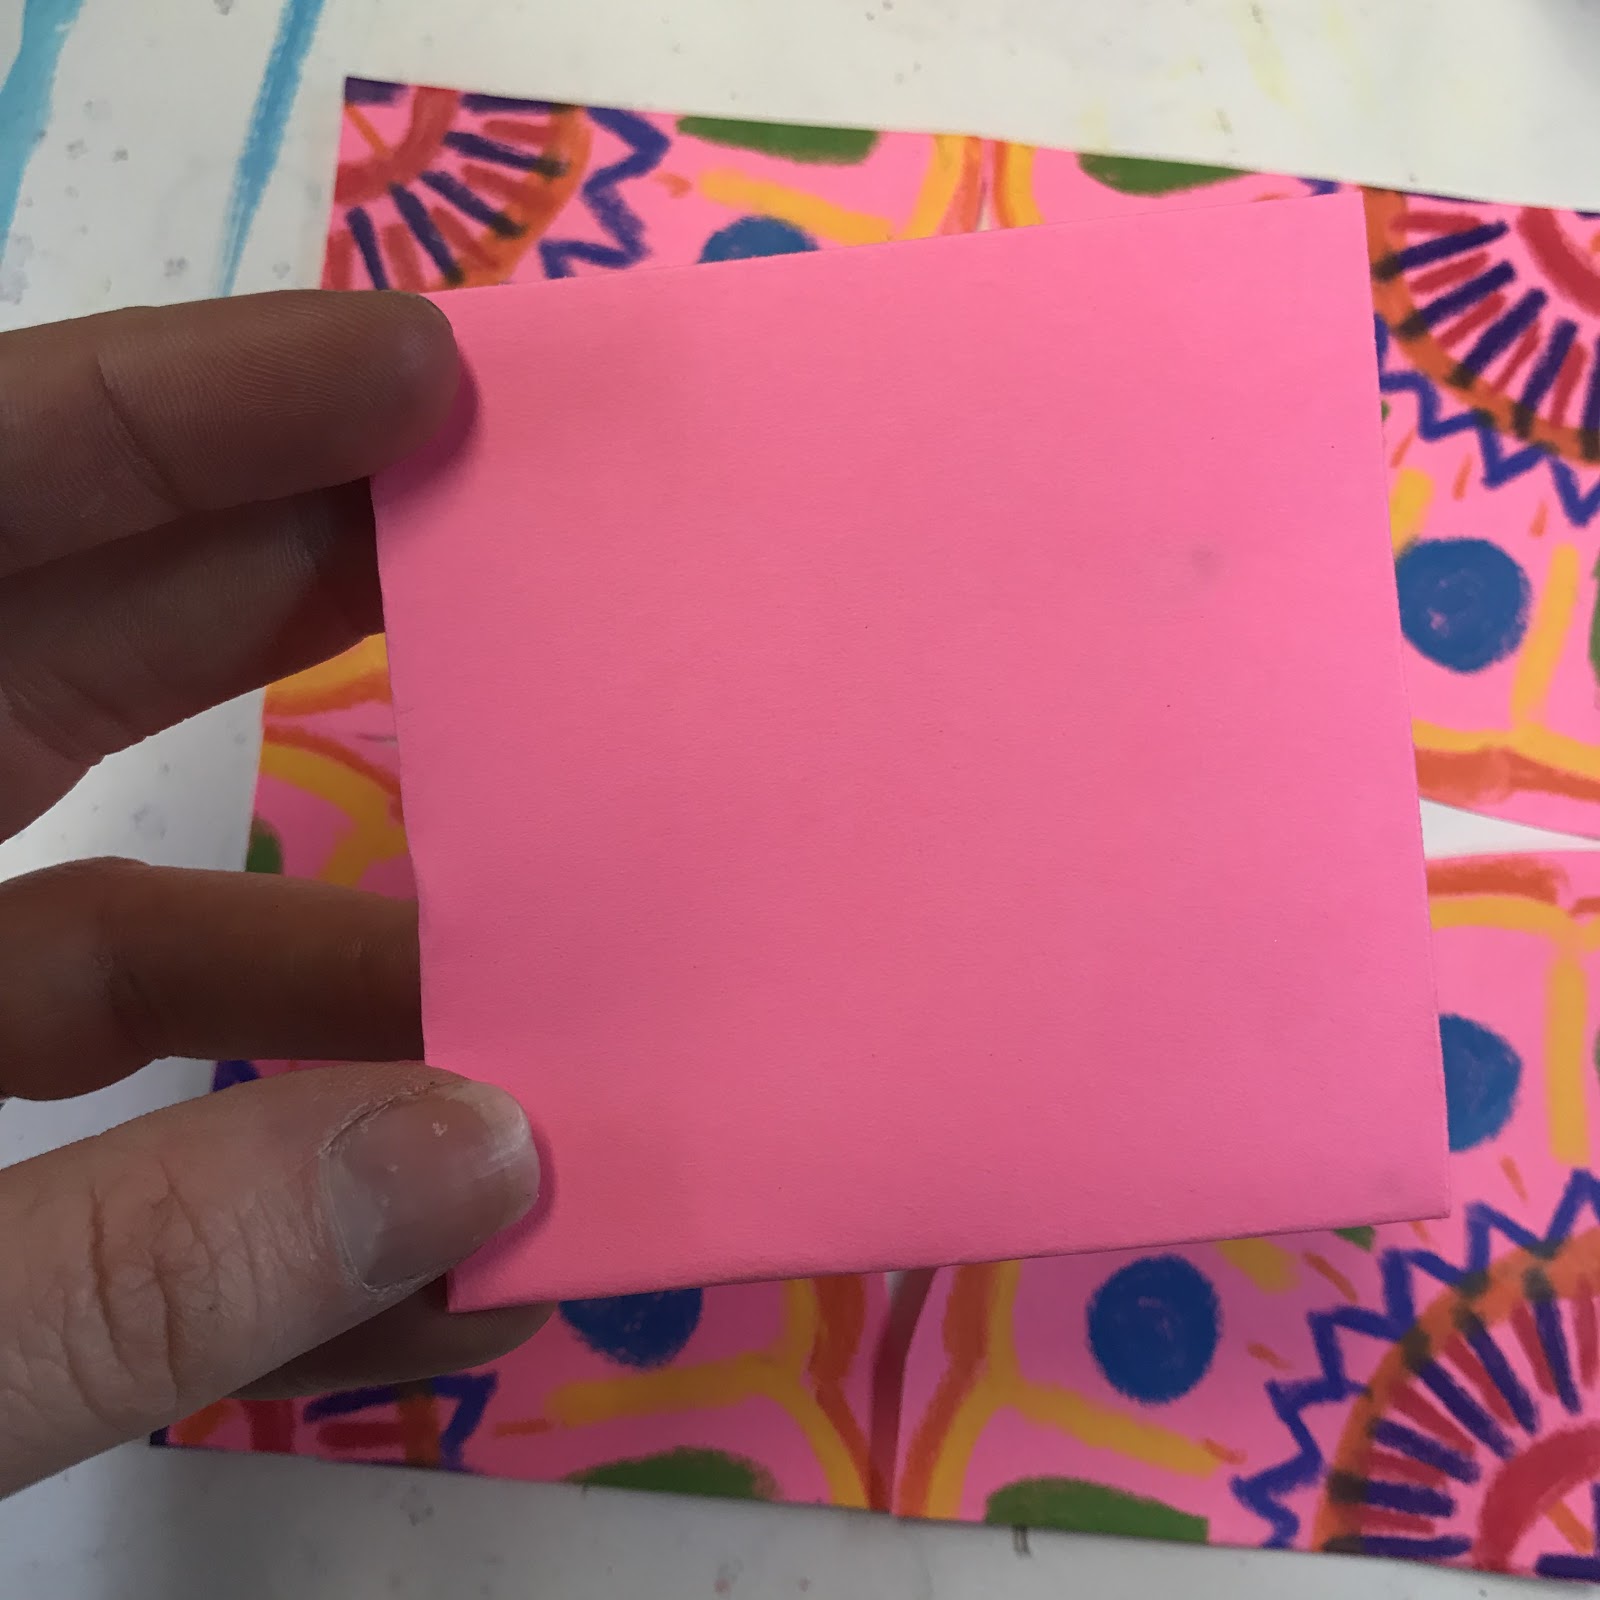
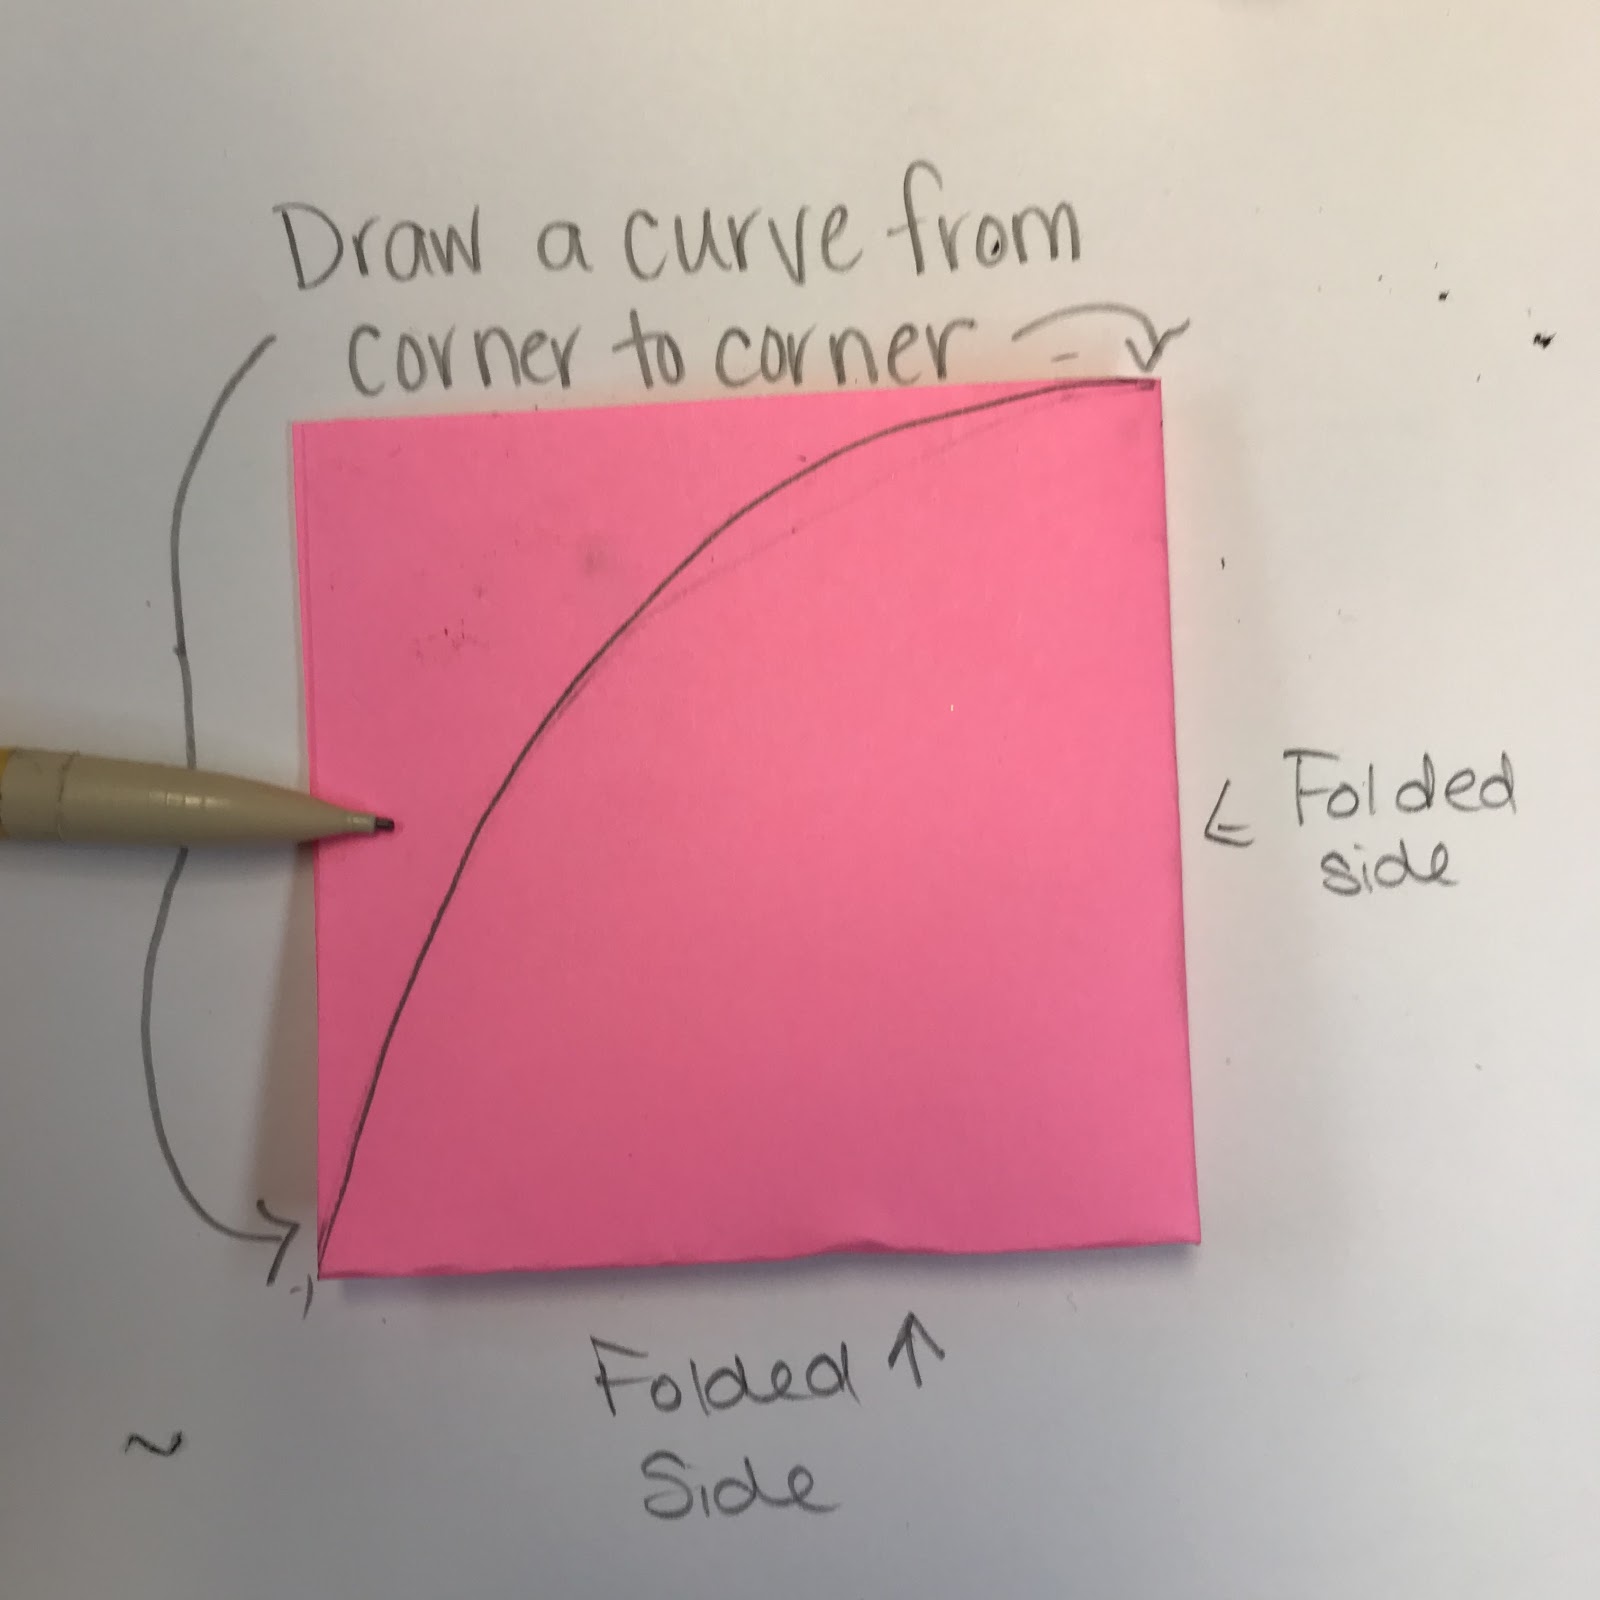
注意寻找折叠边缘
使用彩纸专用蜡笔或彩色蜡笔棒进行装饰
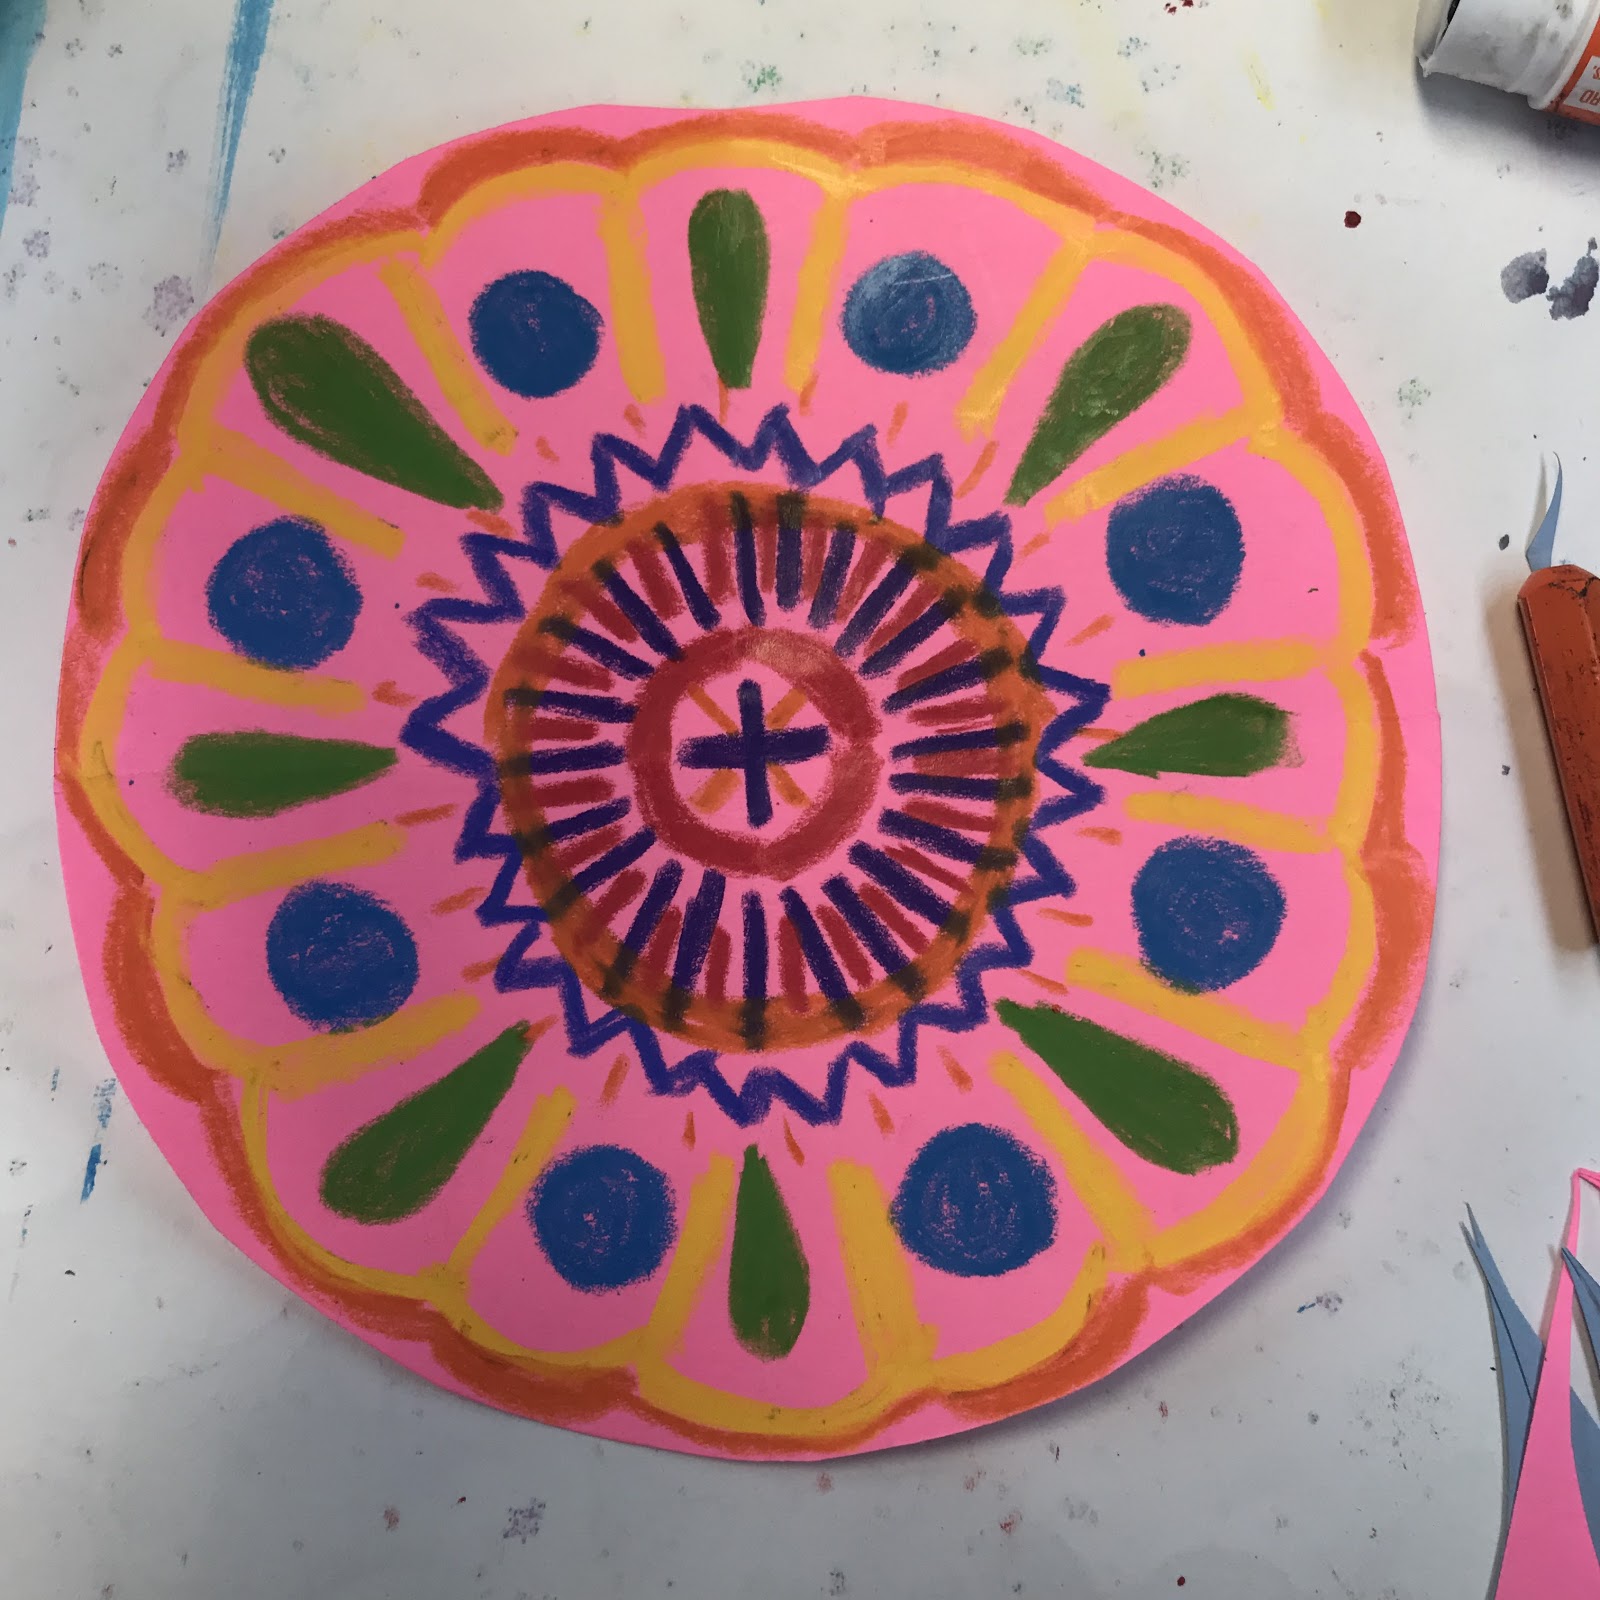
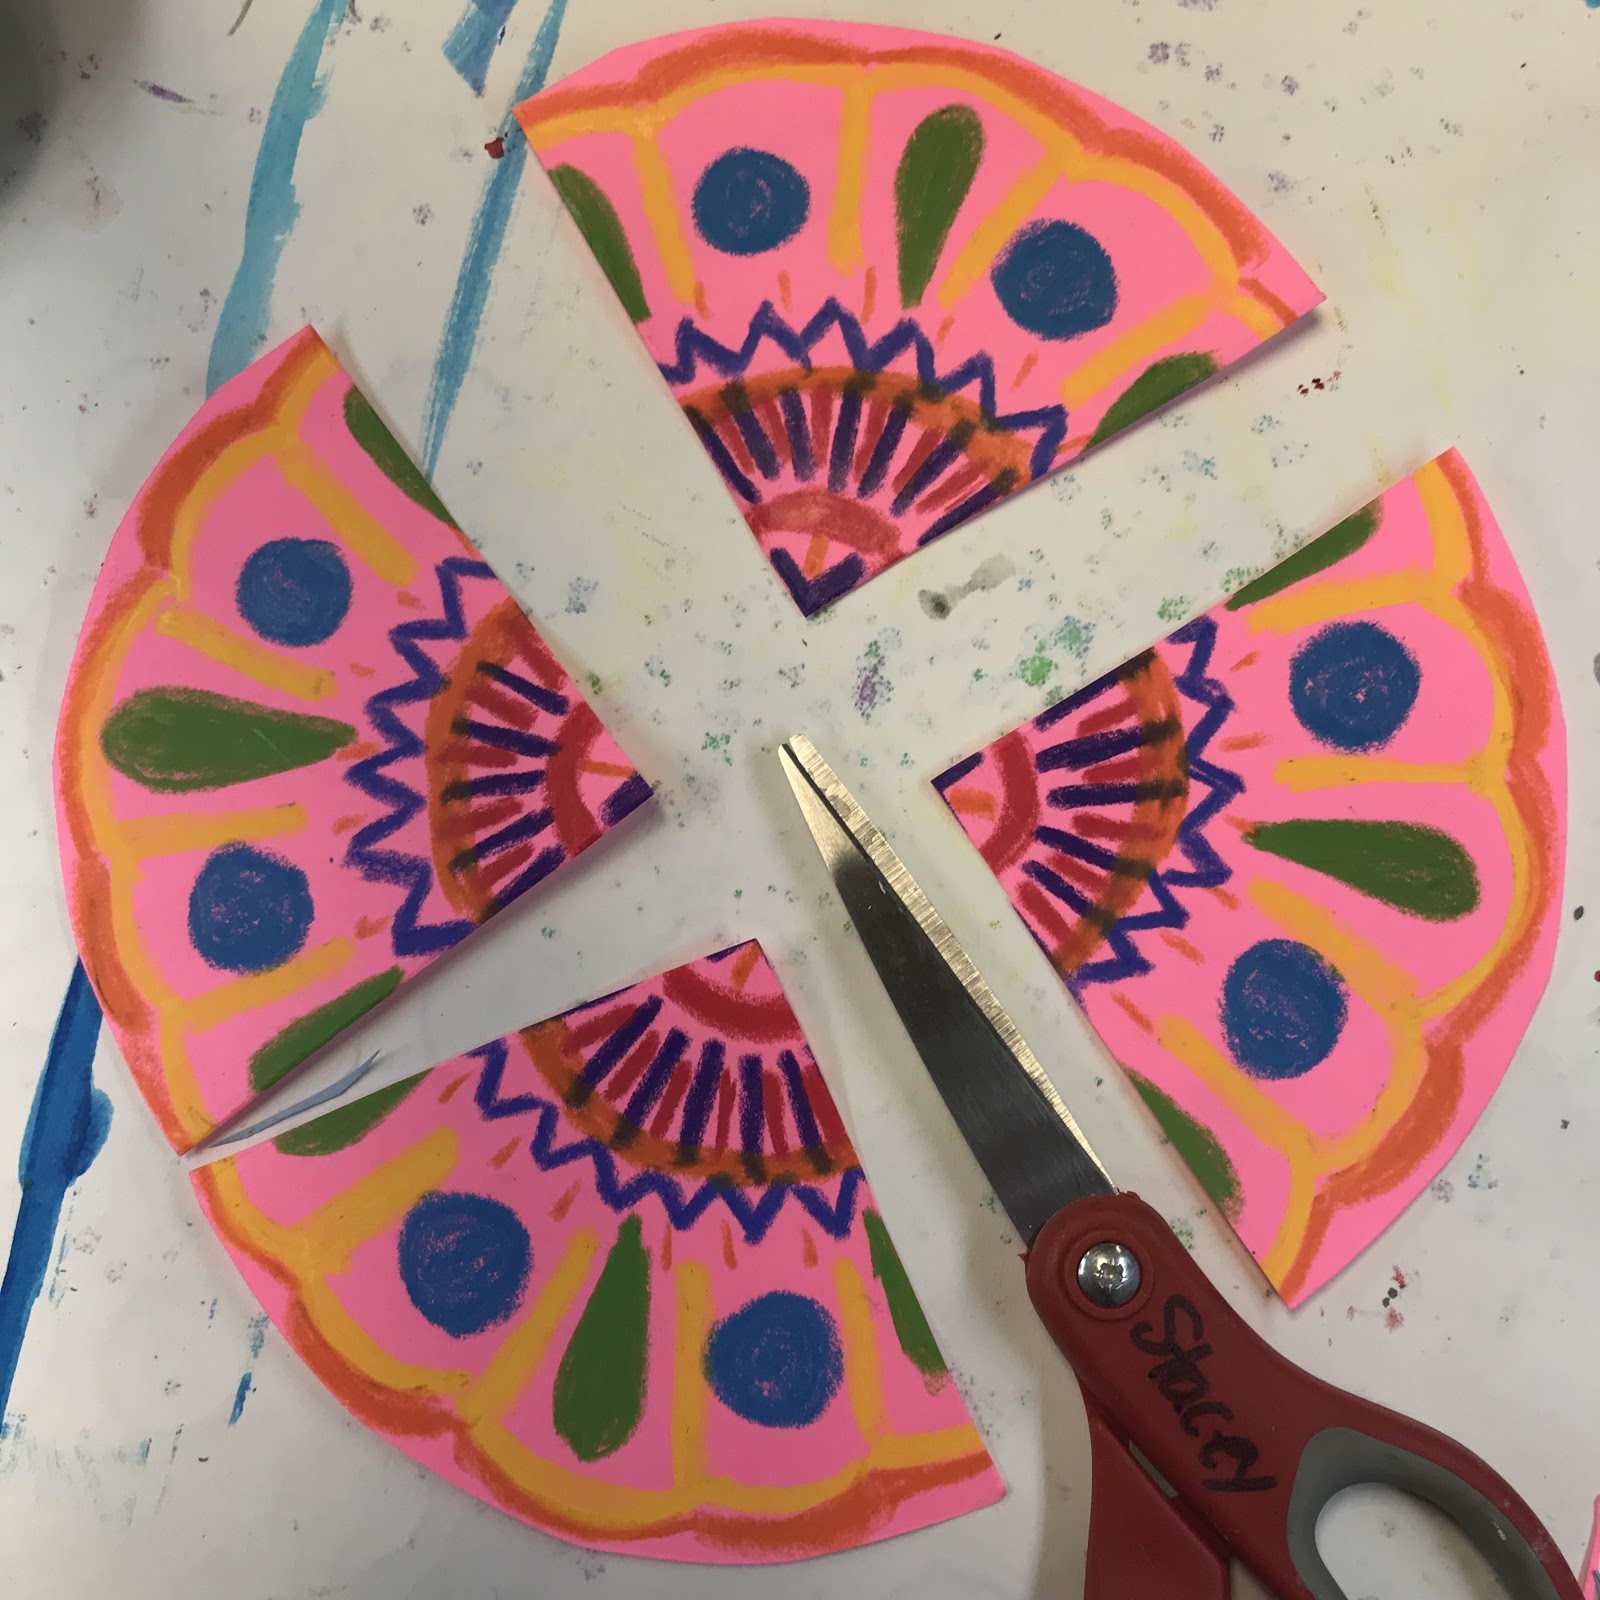
完成圆形装饰后,将其沿折痕剪成四等份,自由摆放这四个部分,并用胶棒粘贴到白色画纸上。
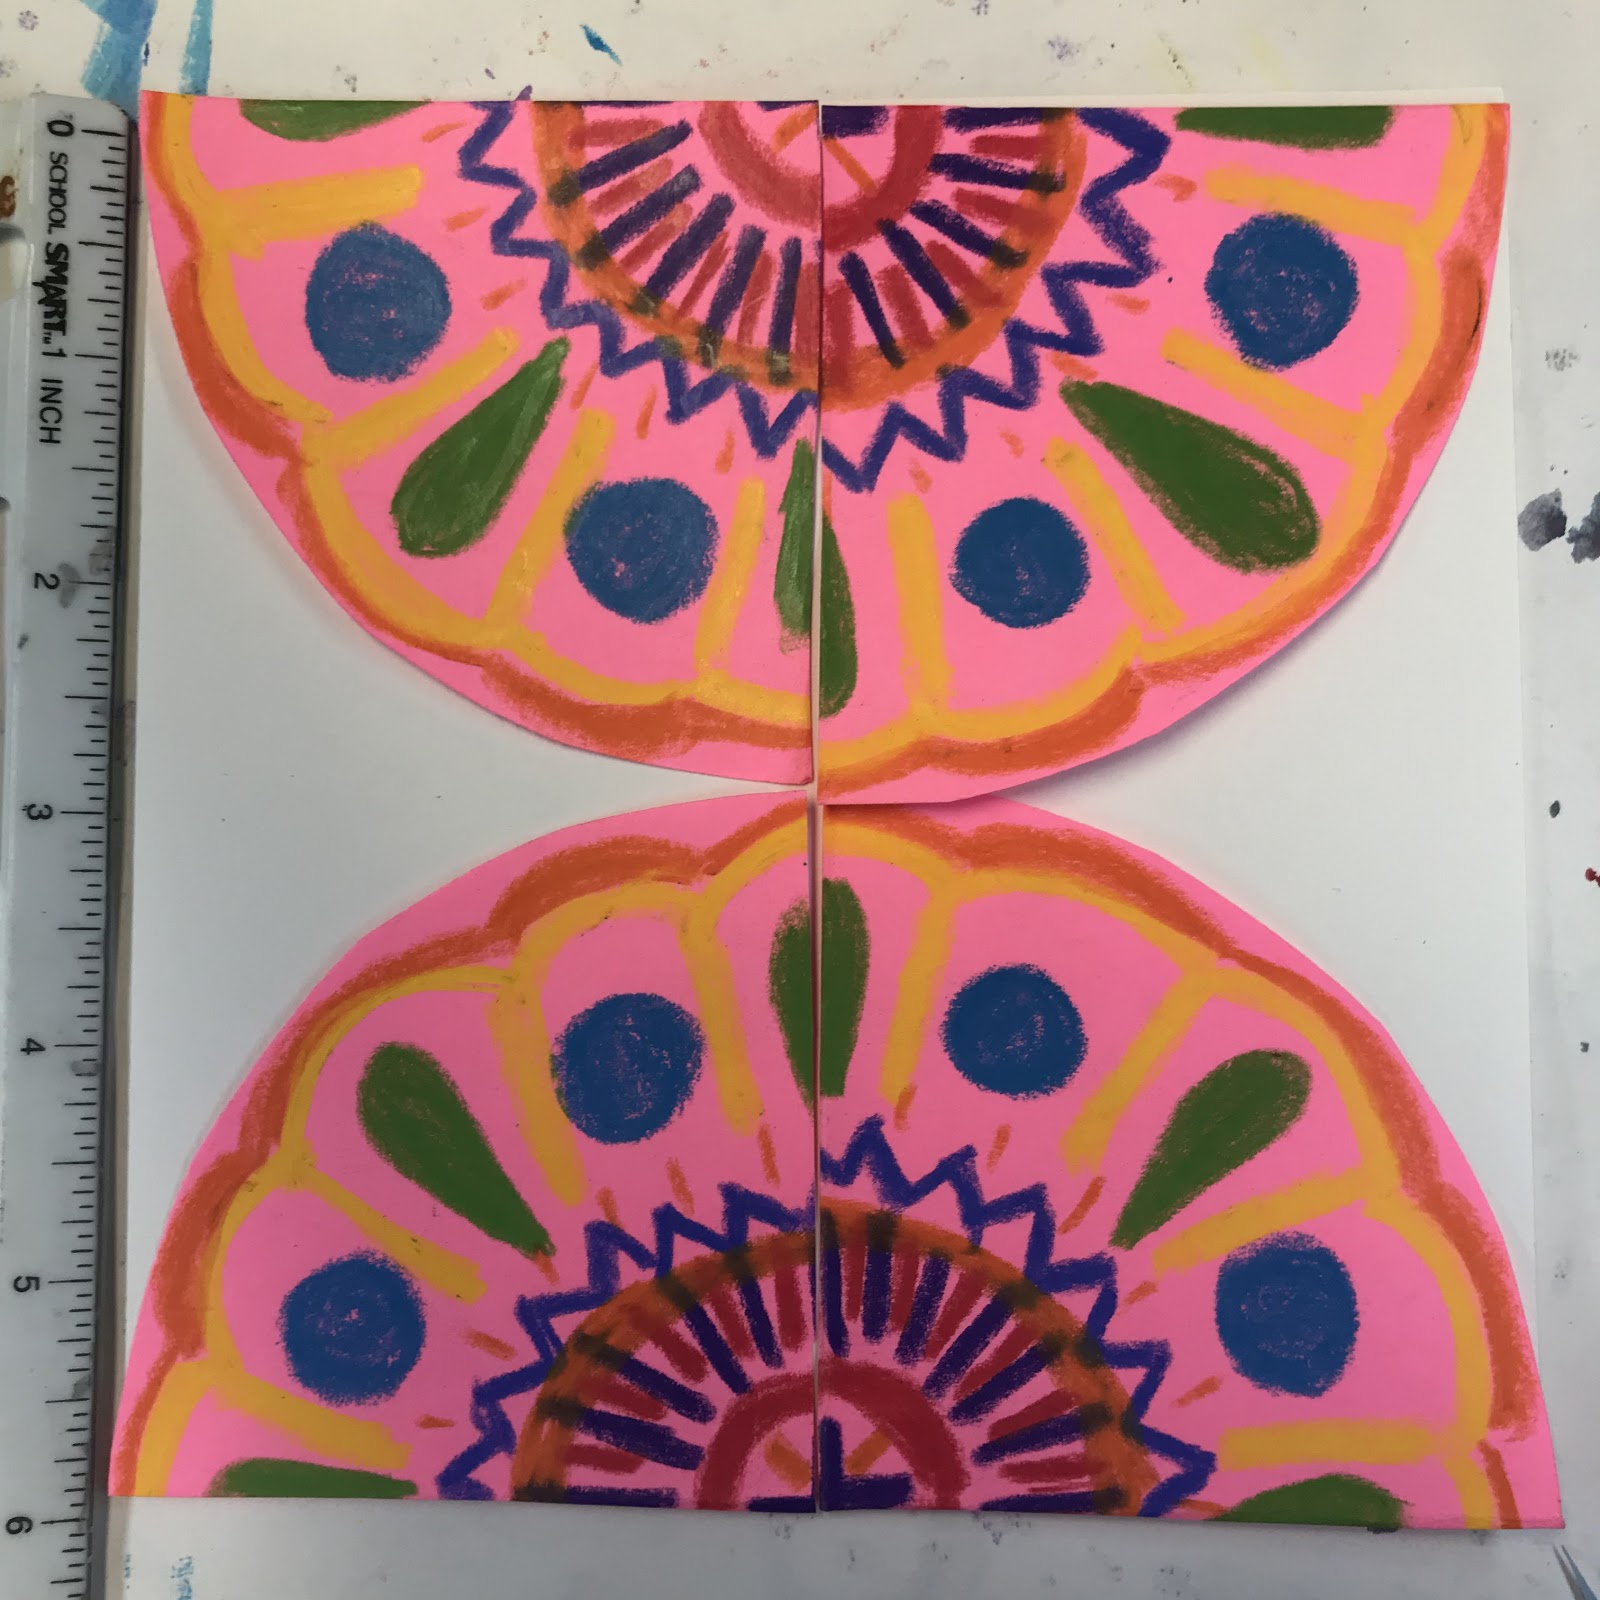
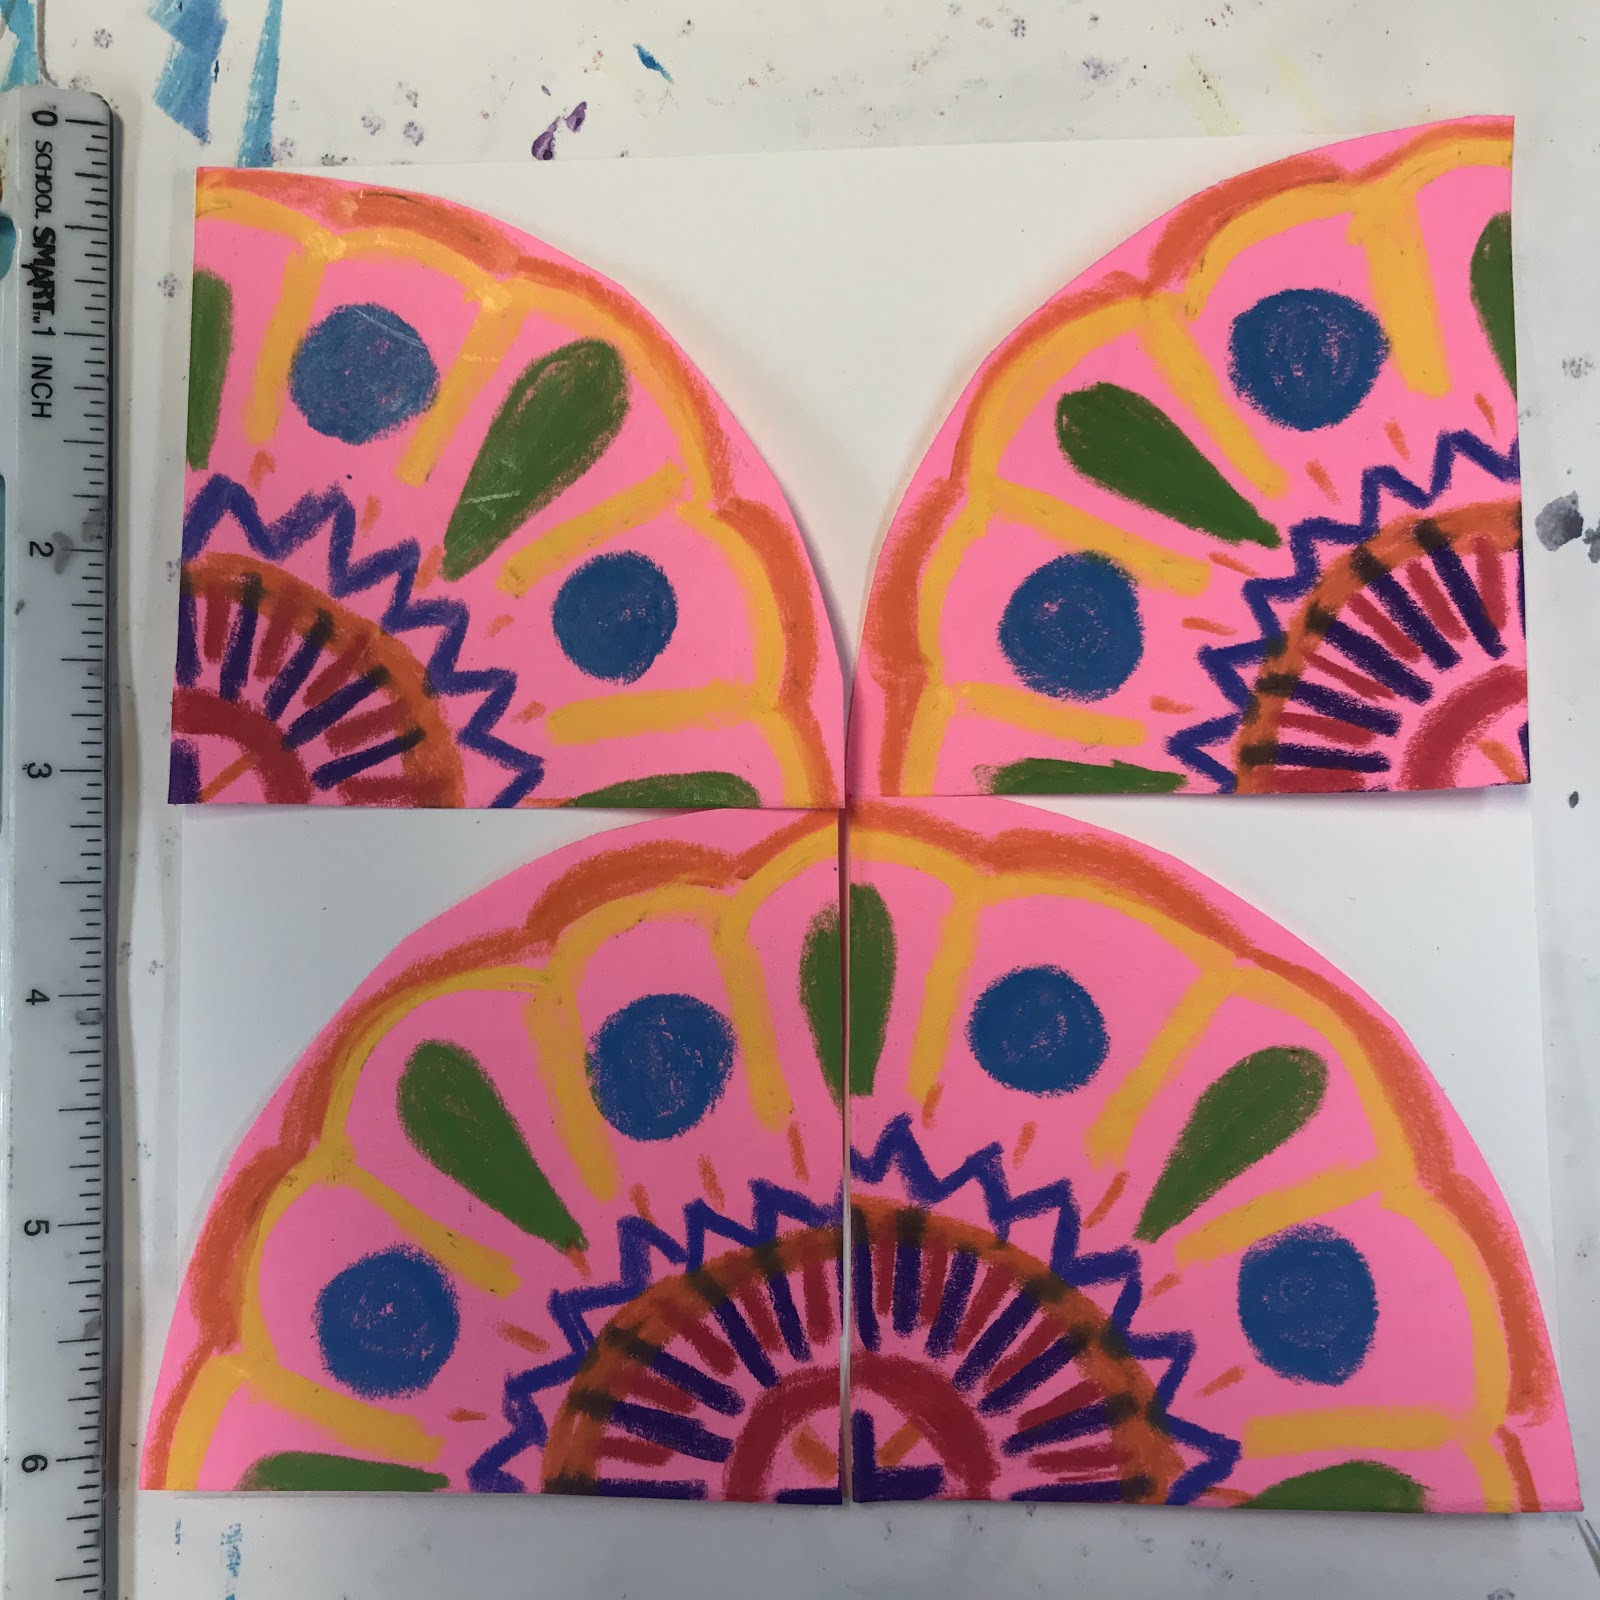
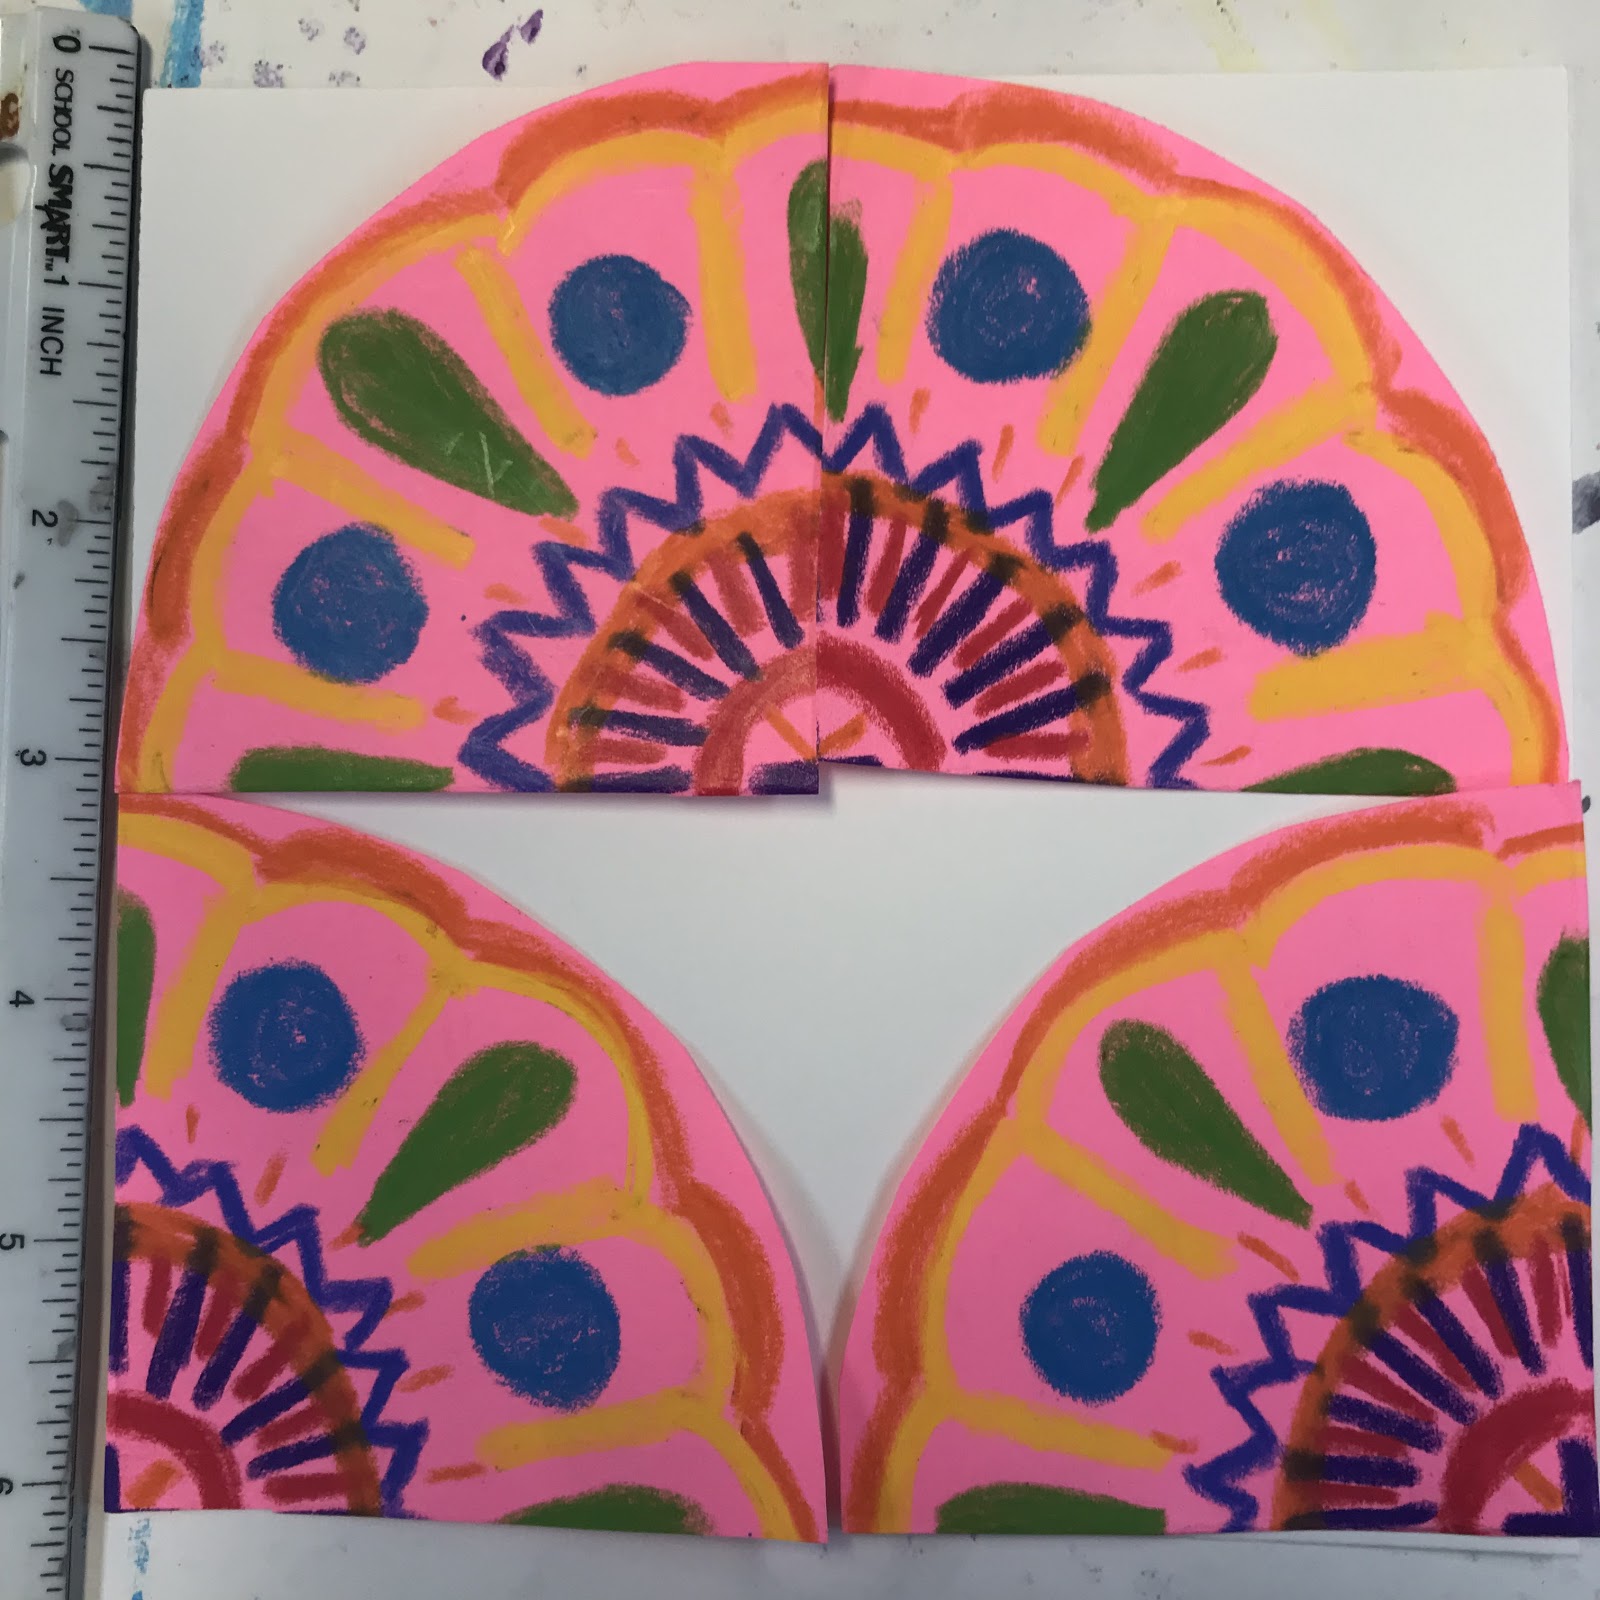
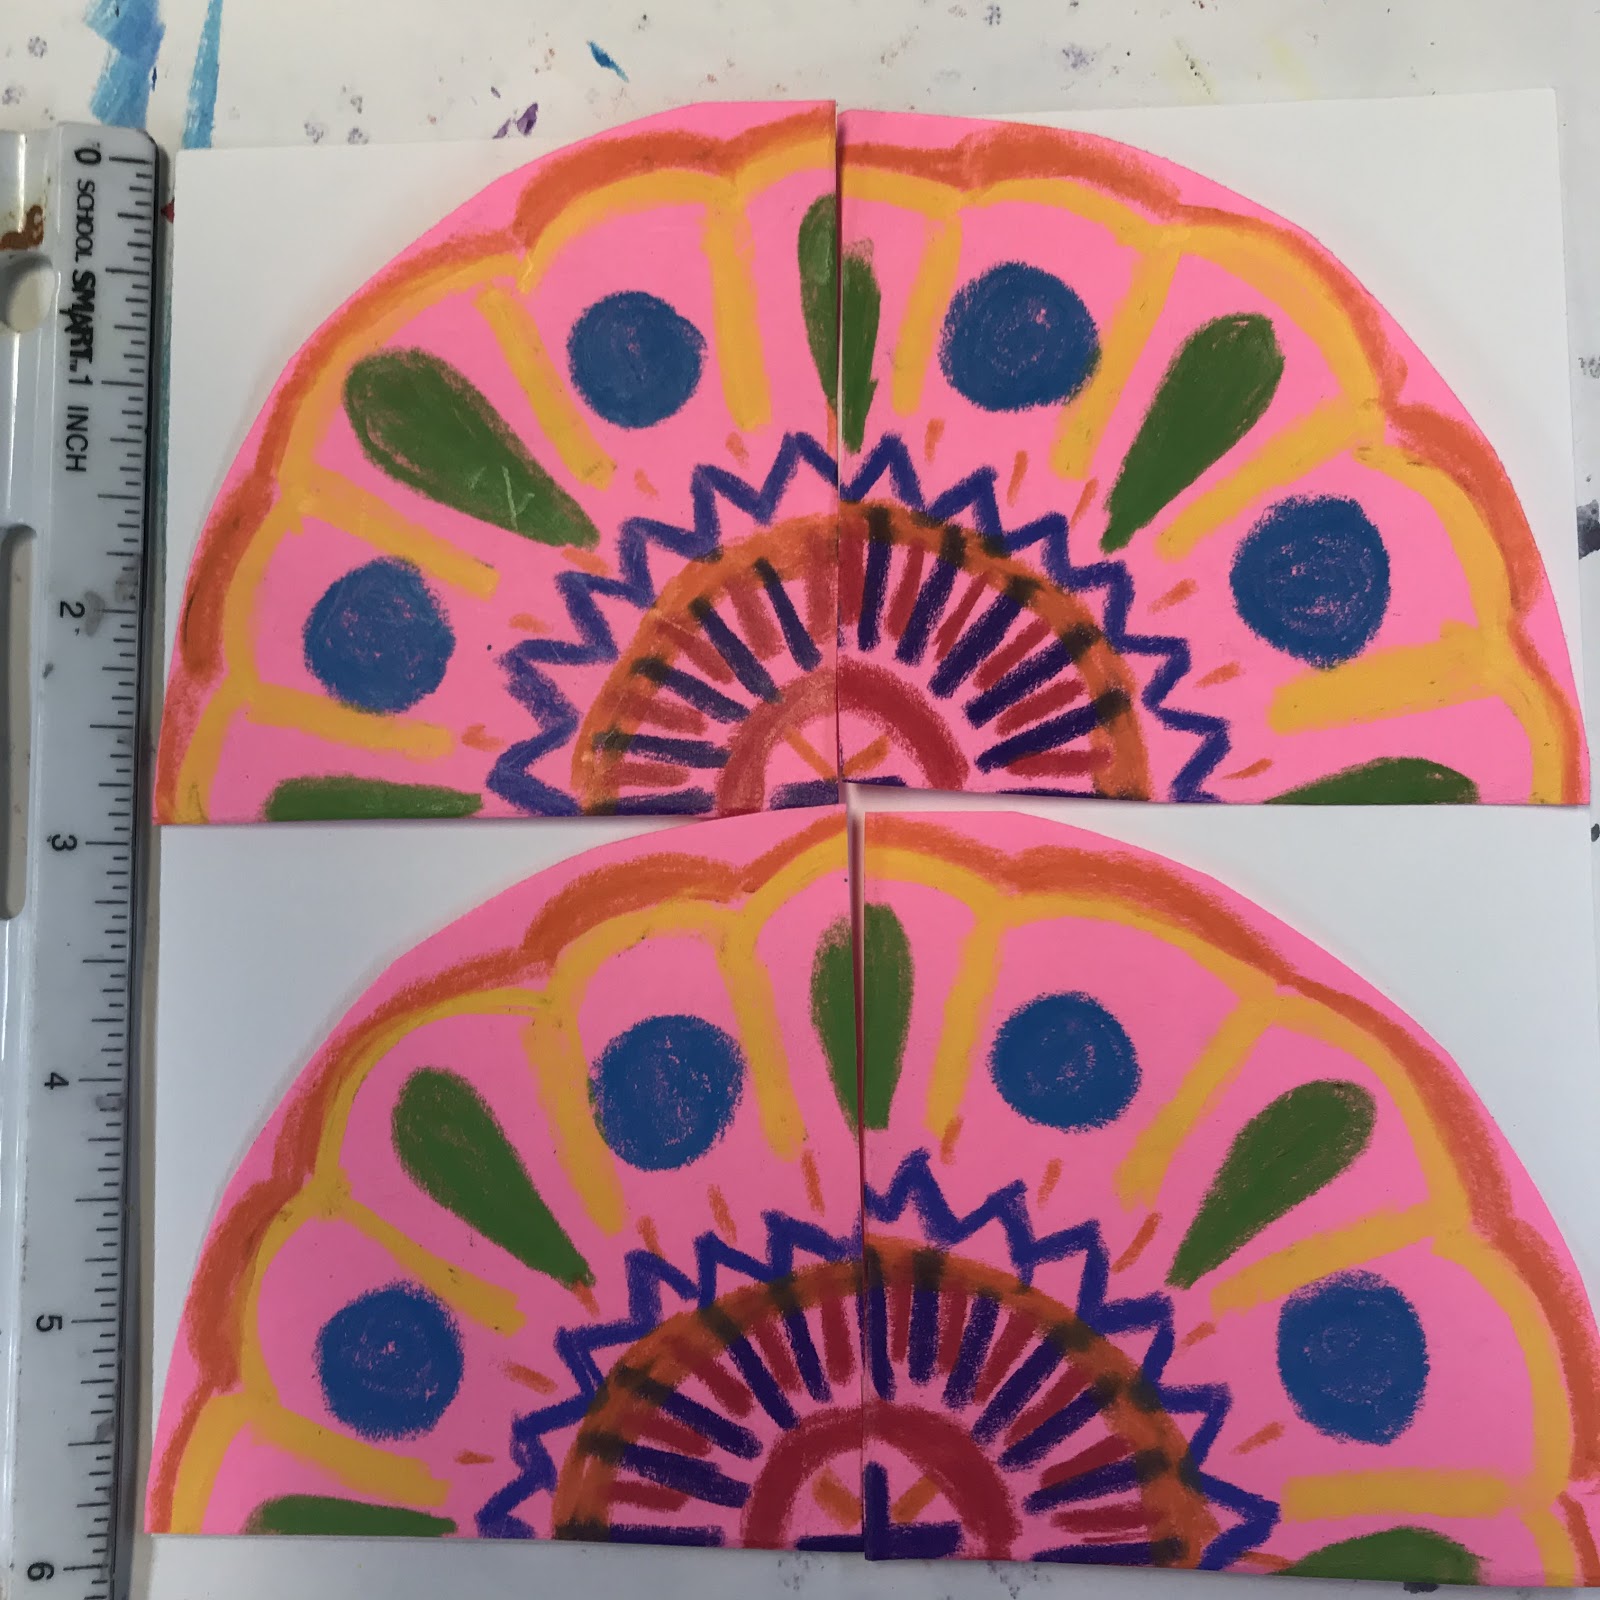
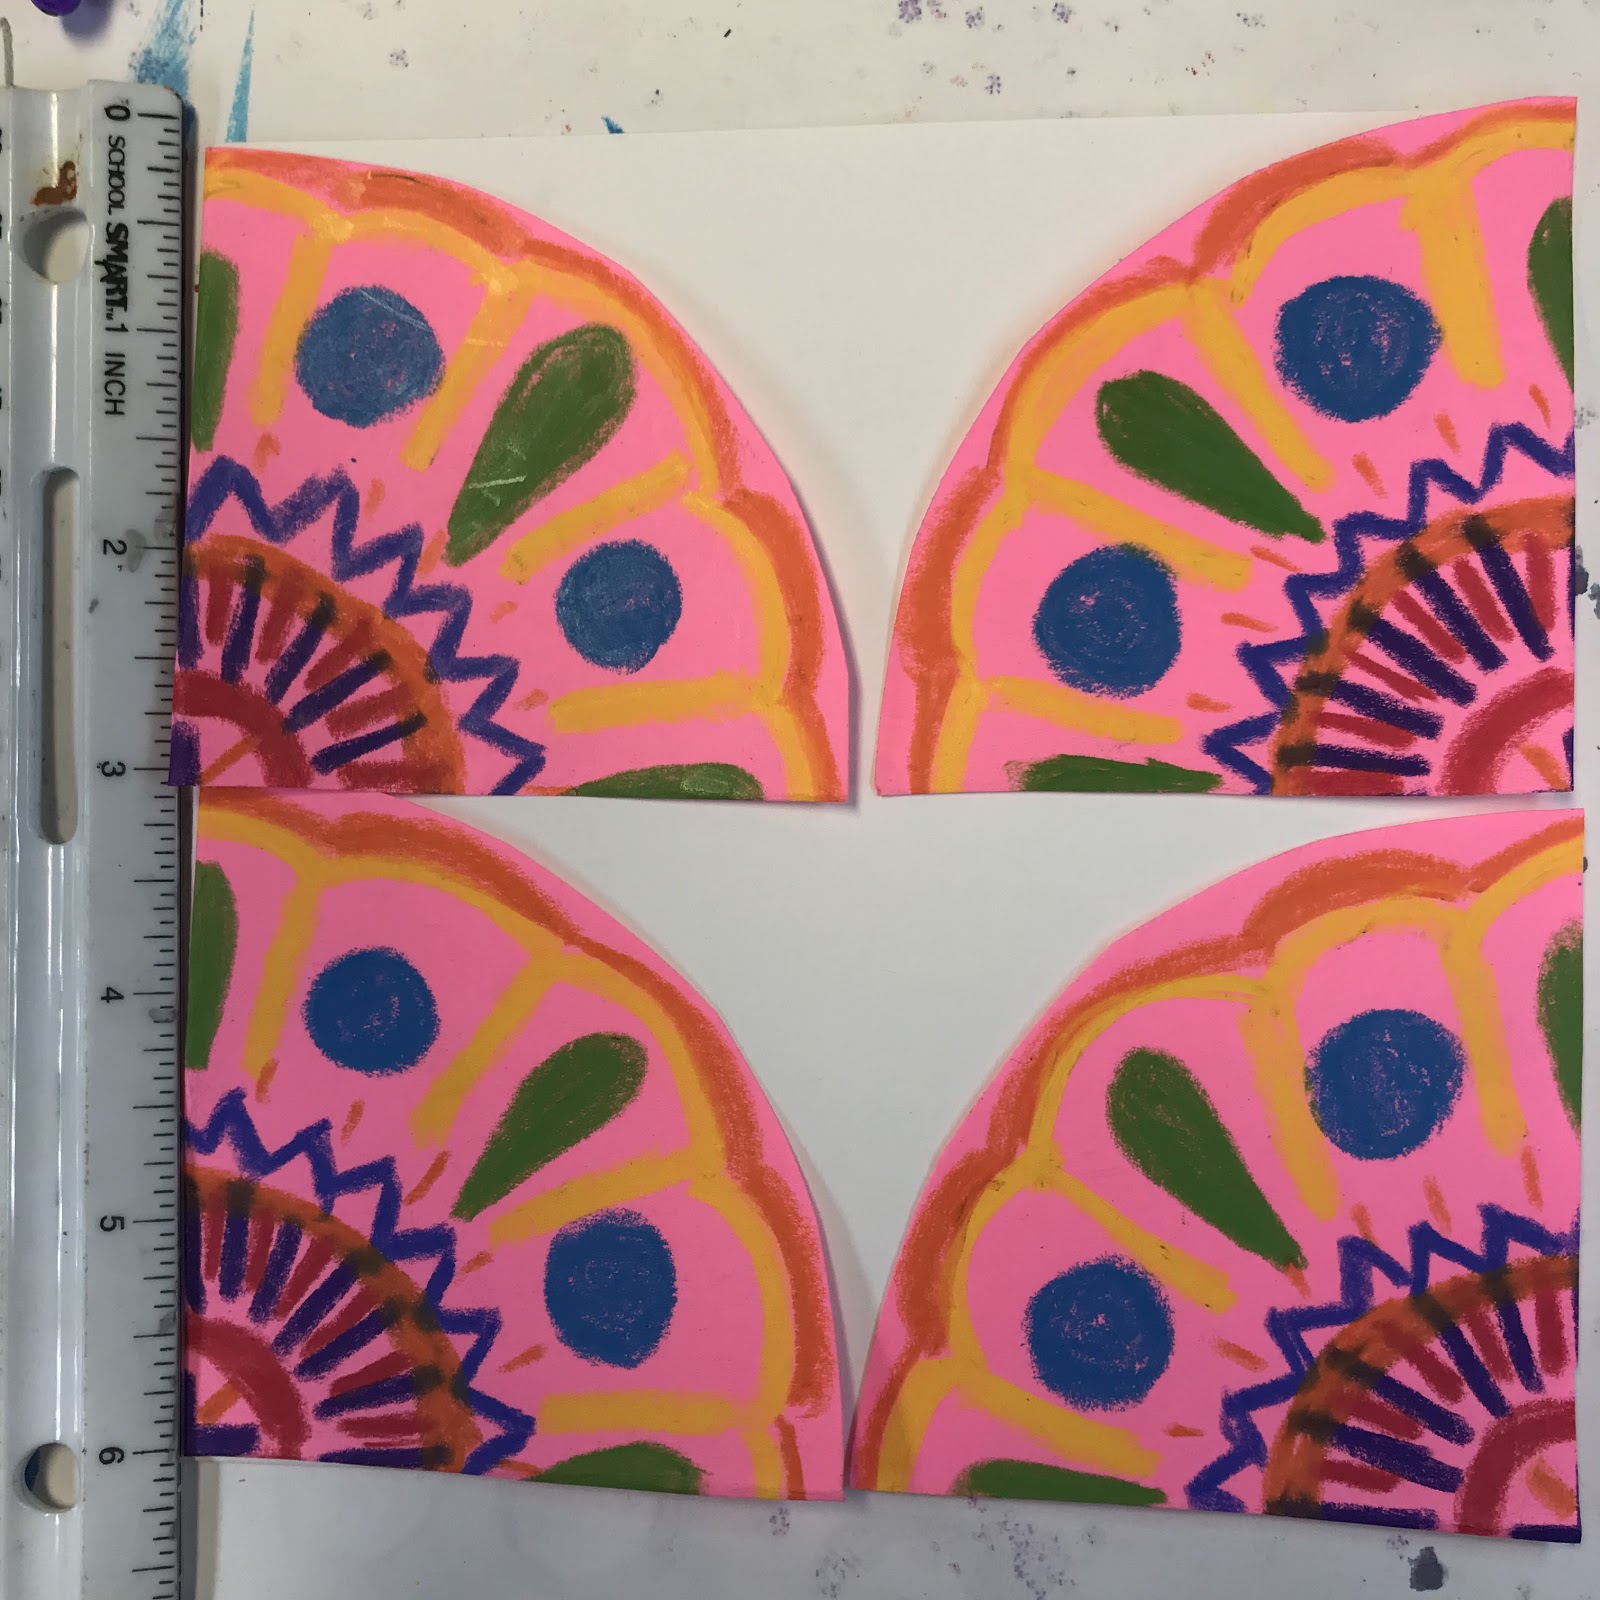
以下作品来自坎贝尔老师(Mrs. Campbell)和麦卡利斯特老师(Mrs. McAllister)的班级!
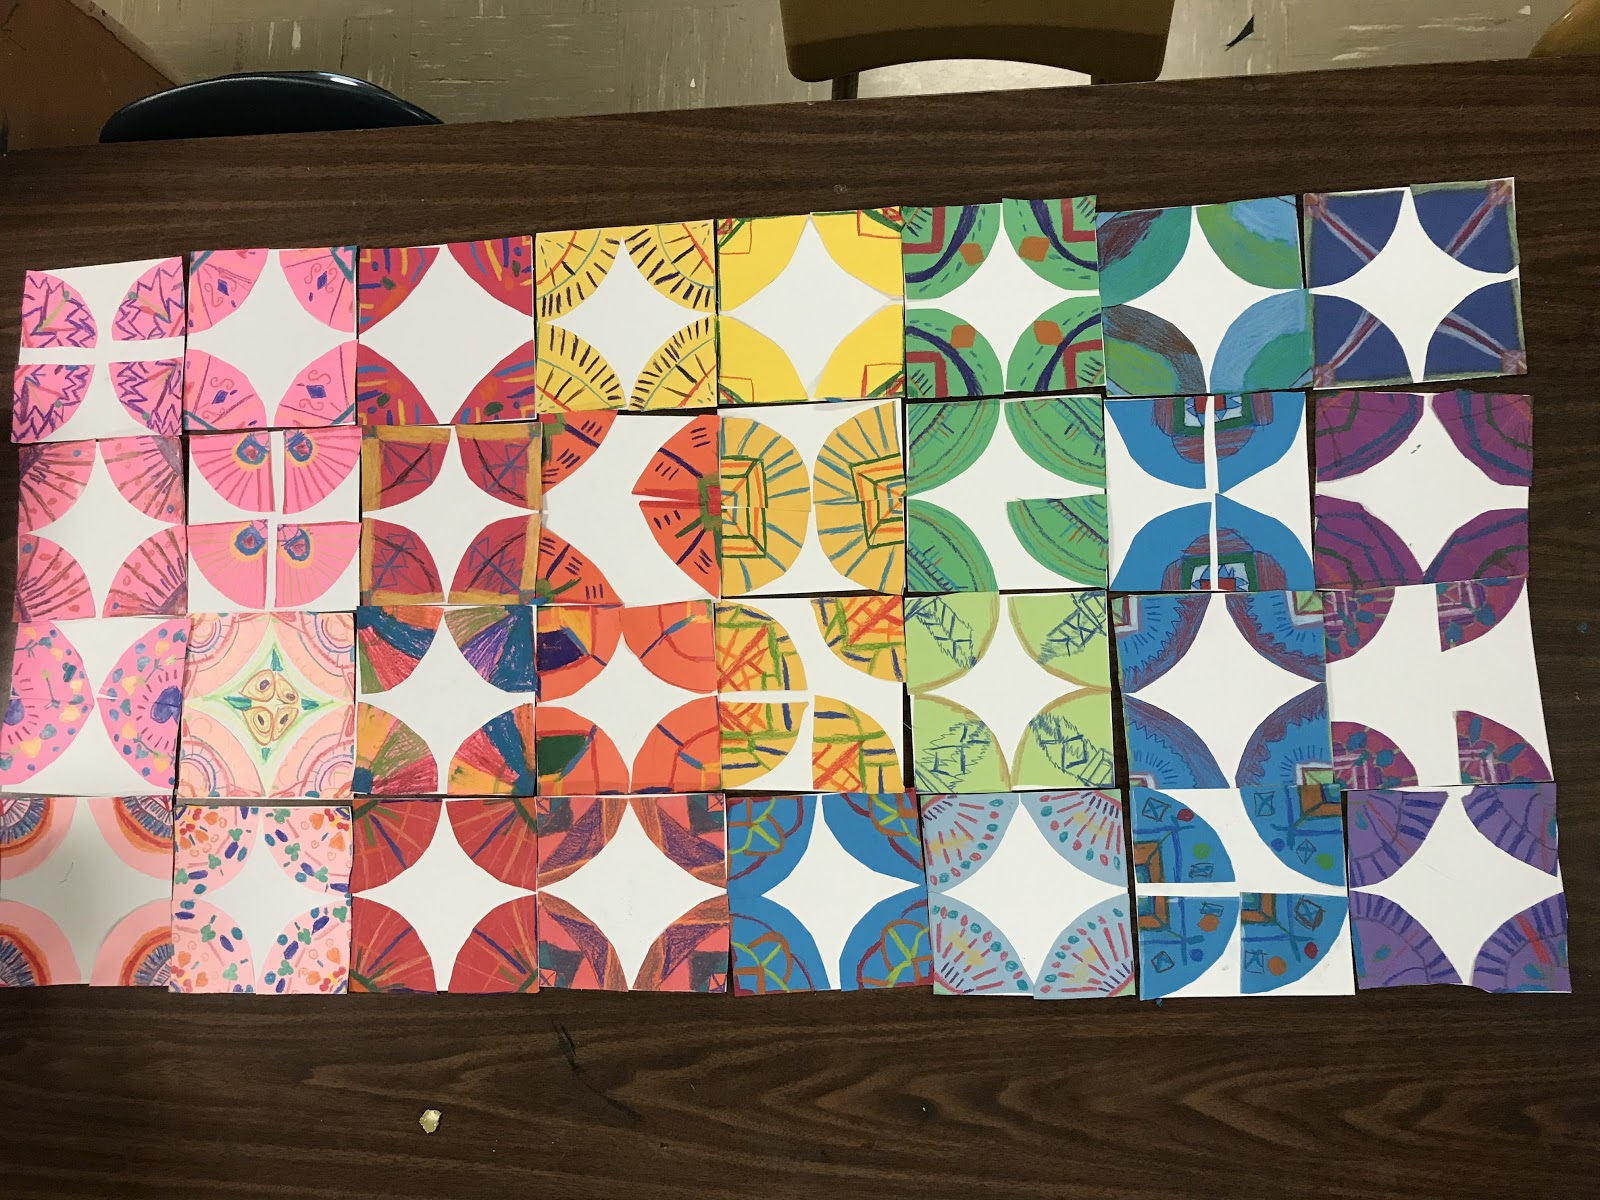
第四、第五届合作几何壁画
Around here, we are getting ready for our annual art show, Night of the Arts! We've been passing out art, trying to finish art, choosing our art that will be hung for the show, AND starting new projects all at the same time! State testing has started as well! WHEW! I get tired just thinking about it!! haha
Here's a small example of what 4th and 5th will be starting this week. We will be creating a giant mural to hang for NOTA, that is inspired by California's Elementary Visual Arts Educator of the Year! He has their beautiful example, full how to, and a lot of other amazing art on his website Shine Brite Zamorano
Here's how we created ours
Materials:
Crayola Color Sticks
Crayola construction paper crayons
6x6" Tru-Ray construction paper squares
6x6" Sax 90lb white paper Scraps I had lying in the free draw box!
scissors
glue sticks
pencils
First, I showed them Mr. Donald's example at his blog, Shine Brite Zamorano , and we discussed the quilt and tiles he had pictured. Then, we talked about the Principles of Design,( Unity, Pattern, Balance, Pattern) & the Elements of Art (Line, Shape, Color) and how we can use those to make our art amazing!
Then I demonstrated how to make their circle, cut it, and position it however they like.
Fold your square in half, and then in half again.
Look for the FOLDED edge
Decorate with Construction paper crayons or Color Sticks
After you finish decorating your circle, you cut it into fourths, position the fourths, and glue them onto your white piece of paper.
Here's some from Mrs. Campbell's class and Mrs. McAllister's class!