立方体:练习页与5个教学建议
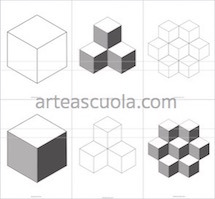
一个简单的立方体,便可成为伟大艺术作品的灵感来源,例如维克多·瓦萨雷利的“欧普艺术”(Op Art)。我以单个立方体或一组立方体为起点,在课堂中提出五种创意活动。这些活动实践性强、耗时短,但效果显著。学生可选用不同尺寸的立方体,其面可预先设为明暗面或纯白面。您可在下方购买的六份练习页中直接获取已排版好的立方体模板。
立即购买
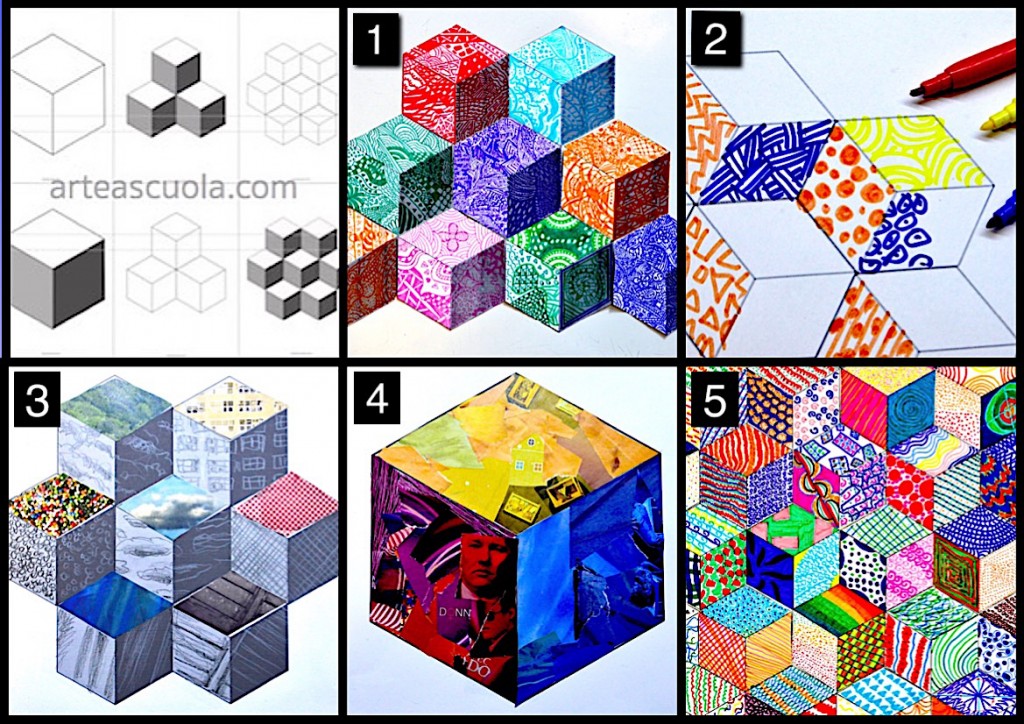
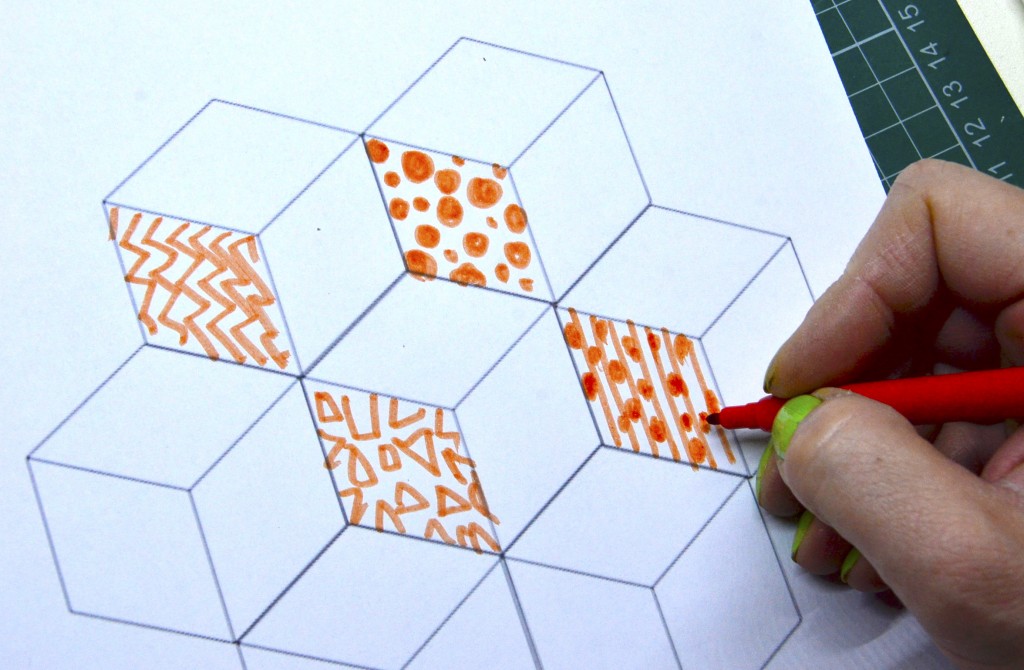
1. 错视画(Zentangle)立方体小组合作: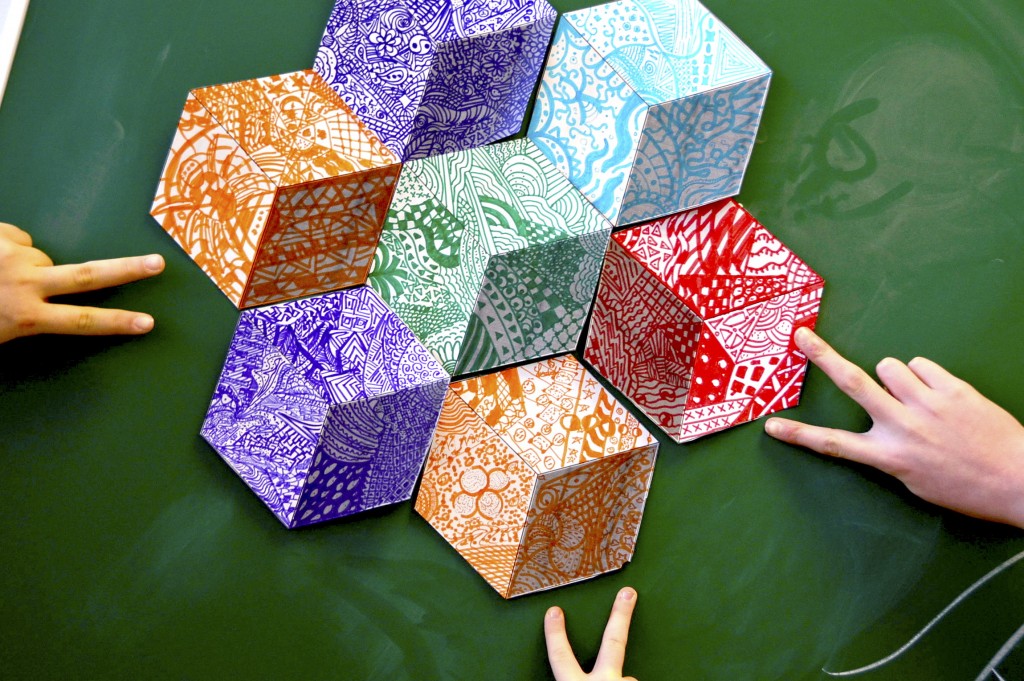
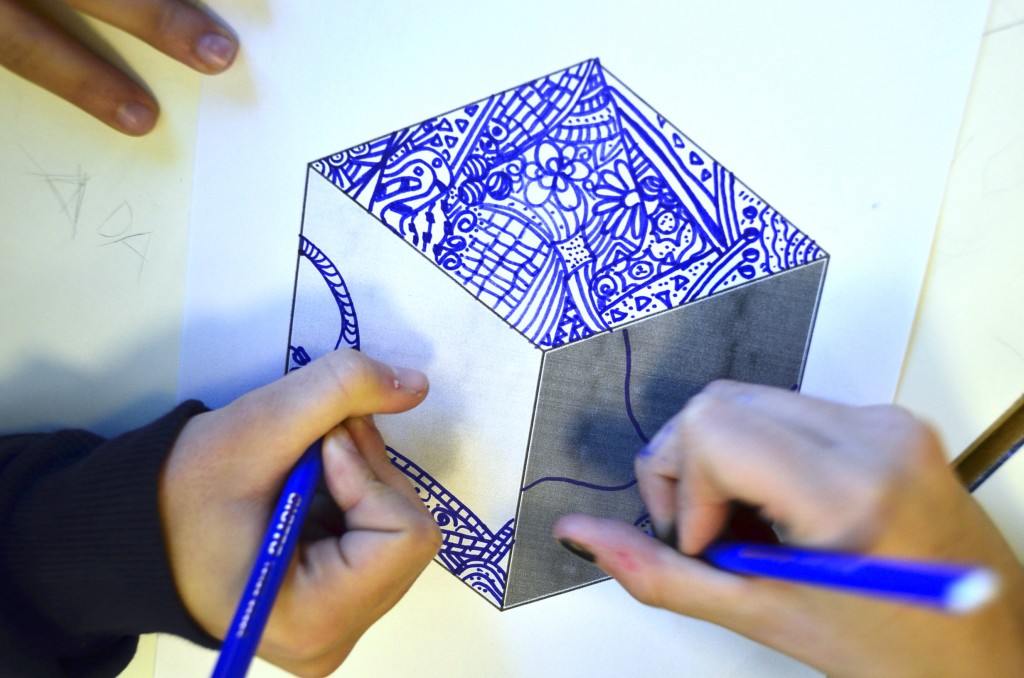
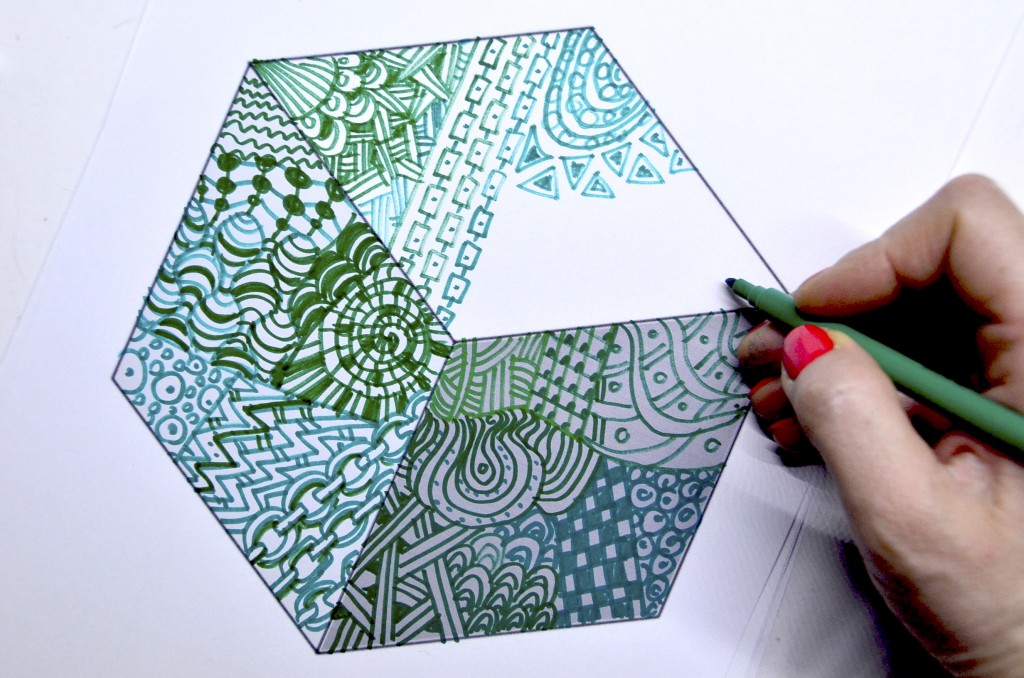
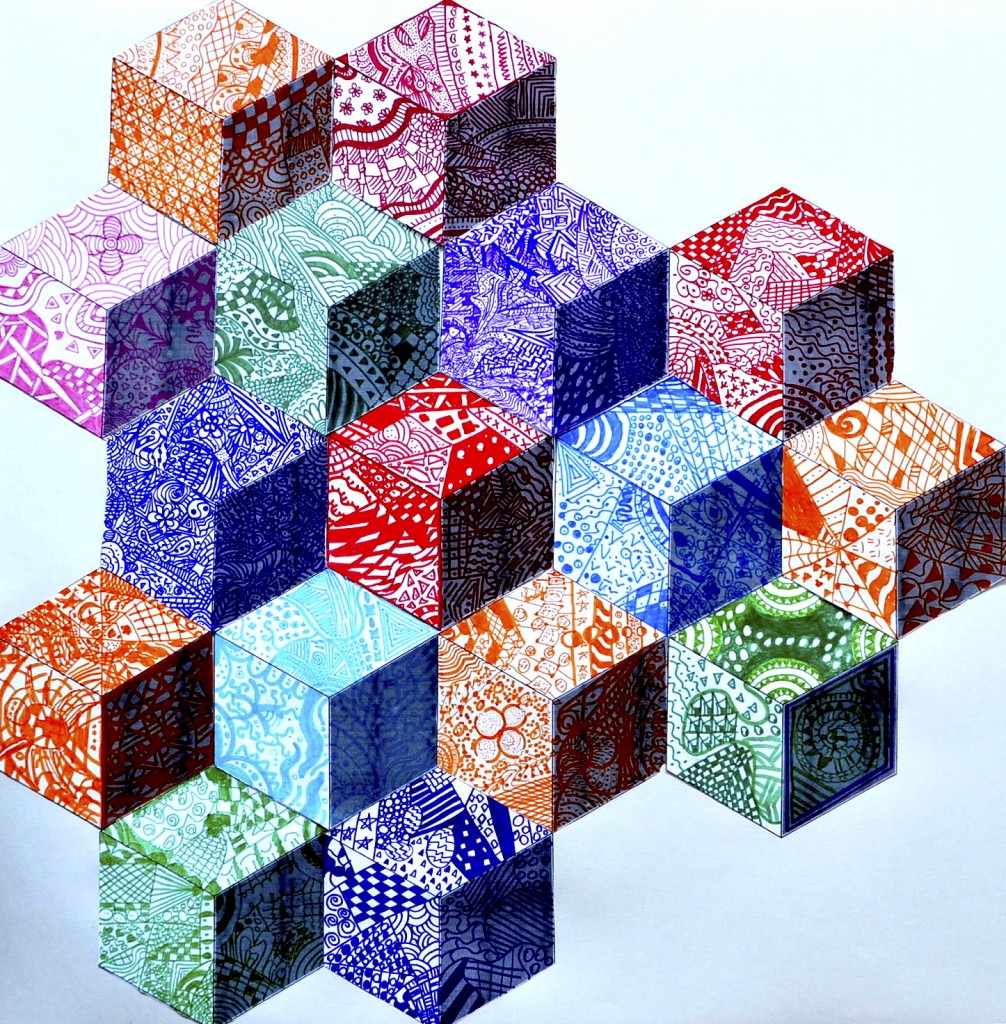
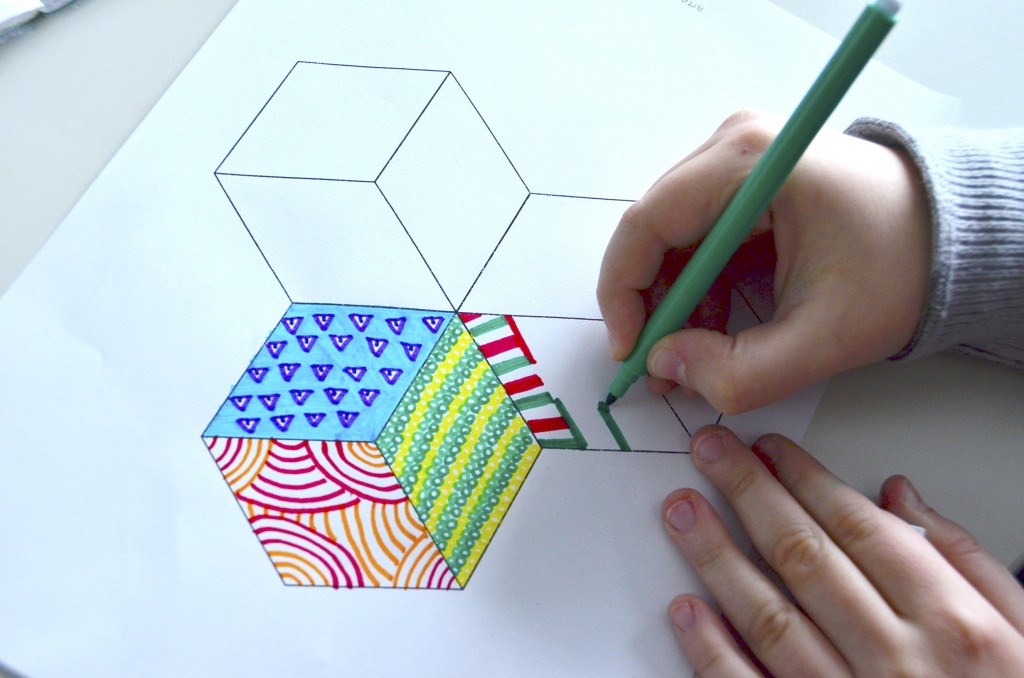
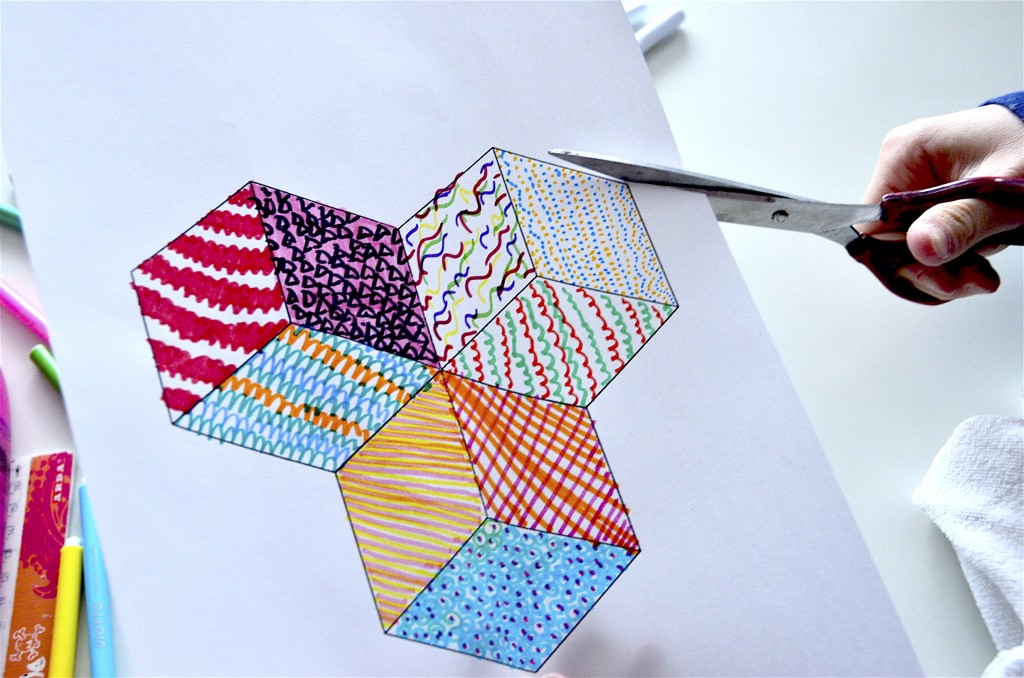
较大立方体的各面已作明暗处理,可作为自由绘制错视画的基底。所有面仅使用一支记号笔完成;亦可两人共用同一立方体协作绘制。装饰完成后,将立方体剪下并粘贴组装,形成富有视觉张力的构图。所需材料:
- 单个明暗立方体练习页
- 记号笔
- 大张硬纸板、剪刀与胶水
- 活动时长:一小时
2. 原色拼贴: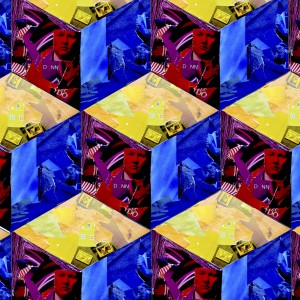
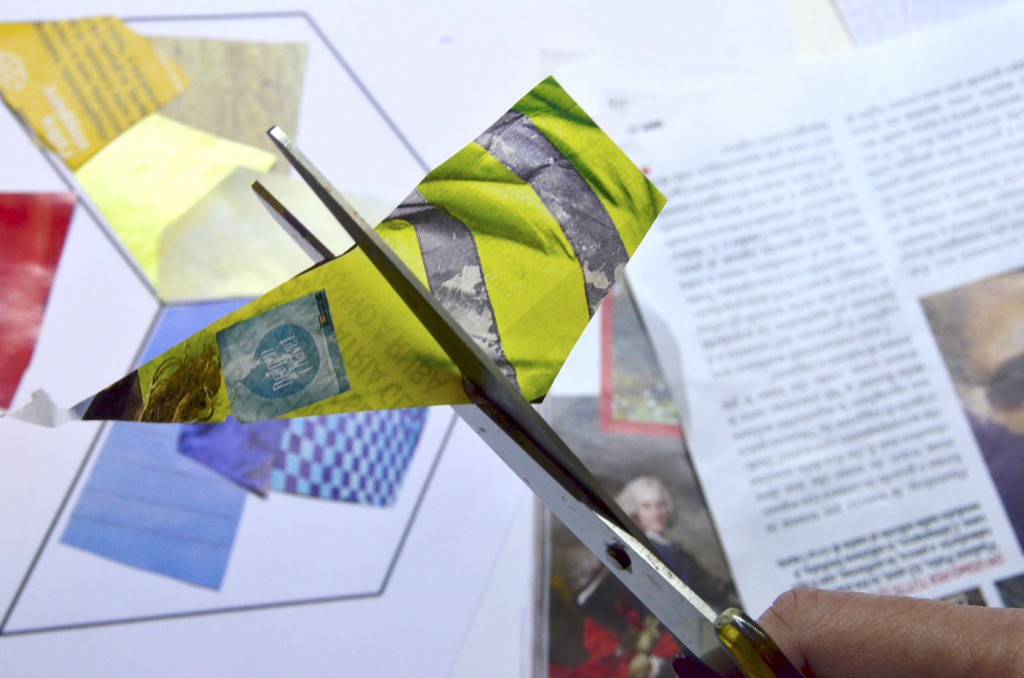
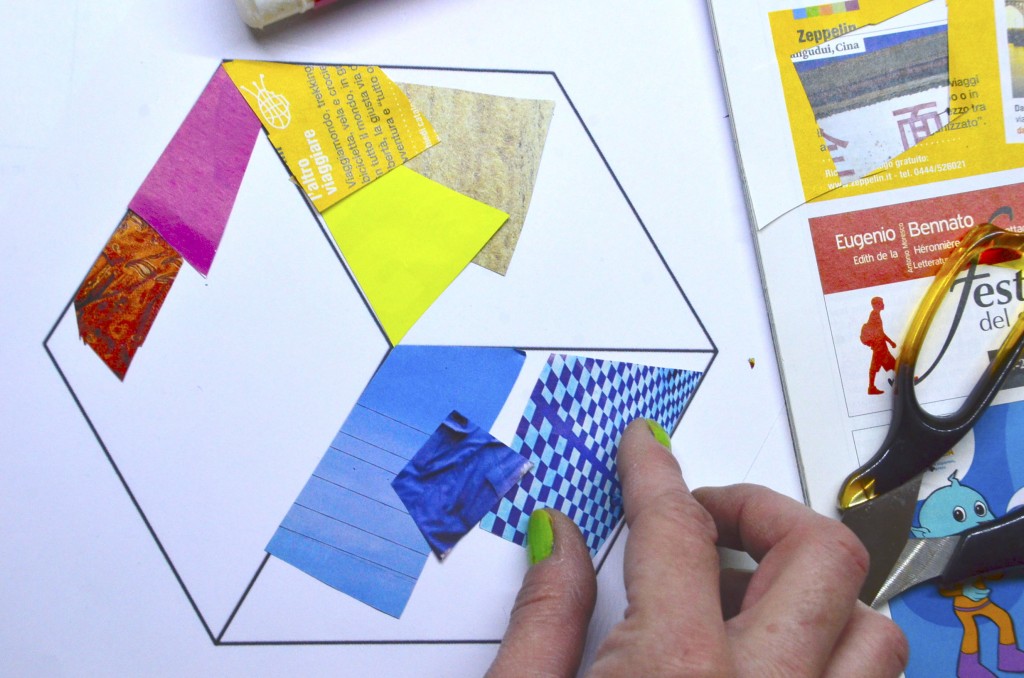
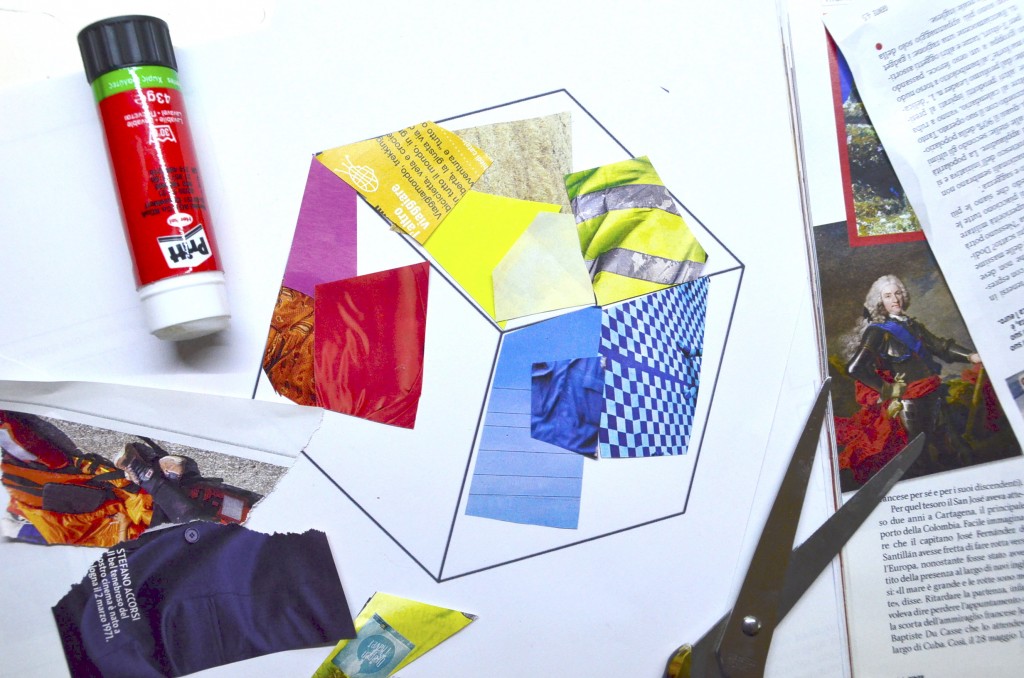
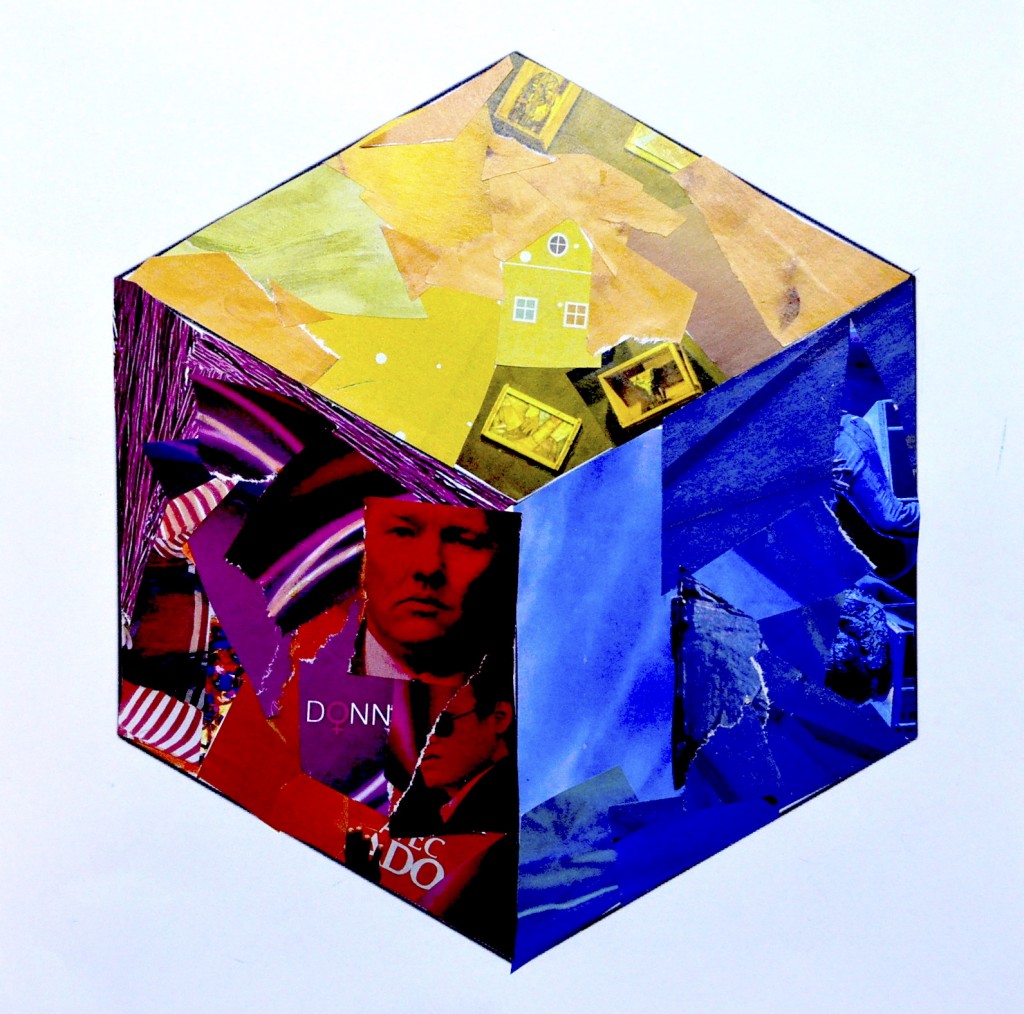
立方体每一面分别对应一种原色。学生从杂志中剪取彩色纸片进行拼贴,完成三原色表现。本活动可双人合作;完成后,可将所有立方体组合成一套模块化原色构成作品。所需材料:
- 单个纯白立方体练习页
- 杂志
- 剪刀与胶水
- 活动时长:约两小时
3. 创编图形肌理: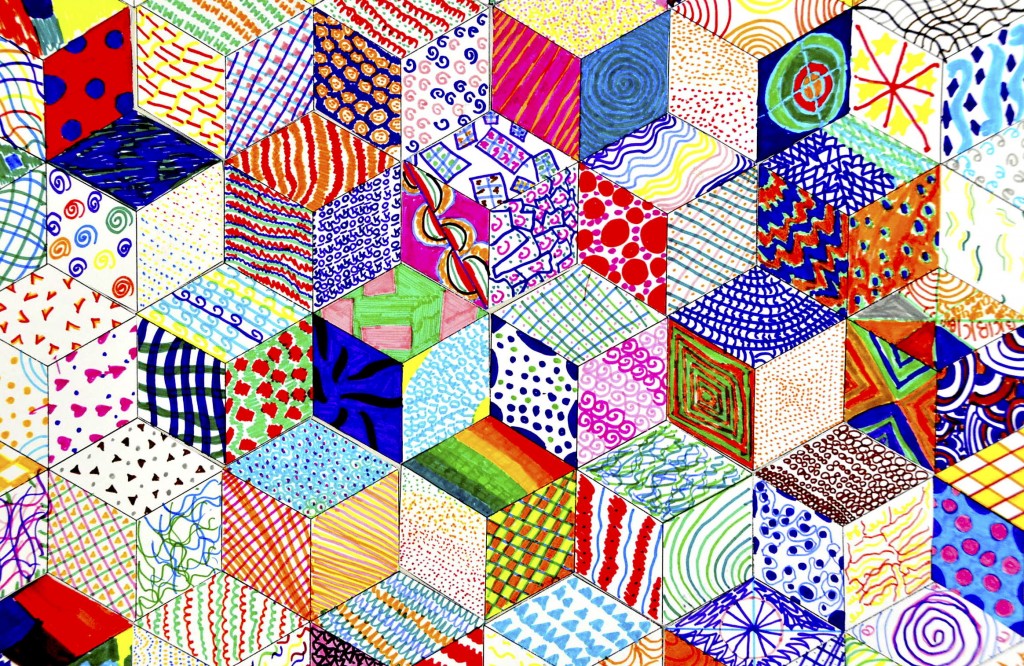
立方体各面为创编多样图形肌理提供载体。可使用彩色记号笔;挑战在于尽可能设计出彼此差异显著的肌理,最终全班共同汇编成一套丰富而富原创性的装饰纹样集。所需材料:
- 含3个纯白立方体的练习页
- 彩色记号笔
- 剪刀与胶水
- 活动时长:约一个半小时
4. 肌理拼贴与写生绘画: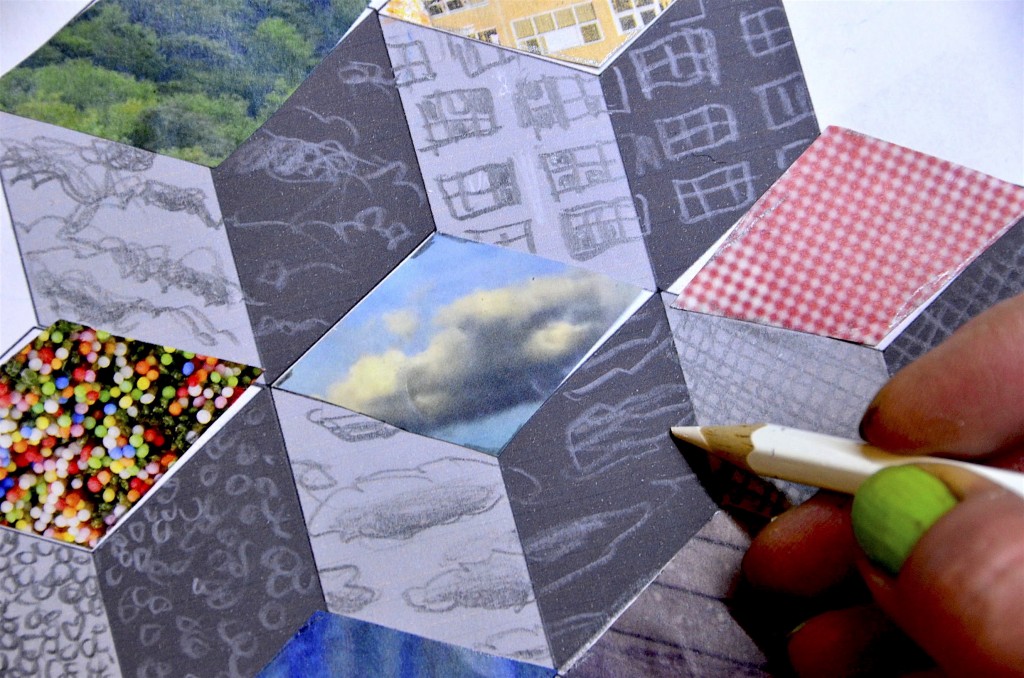
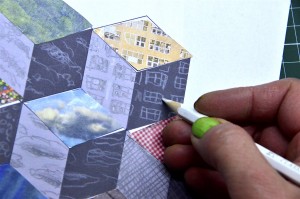
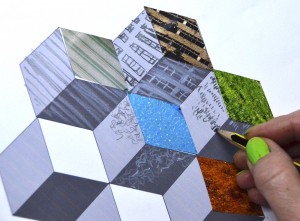
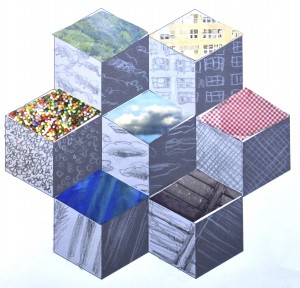
在立方体顶面粘贴一张从杂志剪下的肌理图片。较暗的侧面用白色彩铅模仿该肌理中较亮区域的形态进行描绘;较亮的侧面则用普通铅笔写生描绘。这是一项小幅写生训练。最终亦可将多种肌理立方体组合成一幅综合肌理海报。所需材料:
- 含7个明暗立方体的练习页
- 杂志、剪刀与胶水
- 白色彩铅
- 绘画铅笔
- 活动时长:约两小时
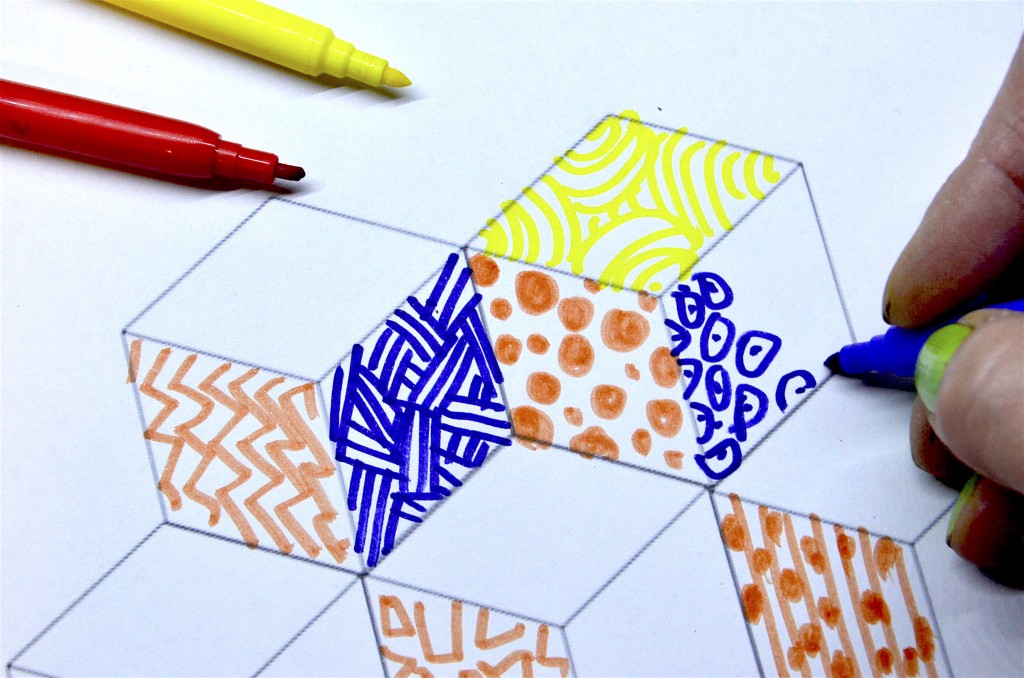
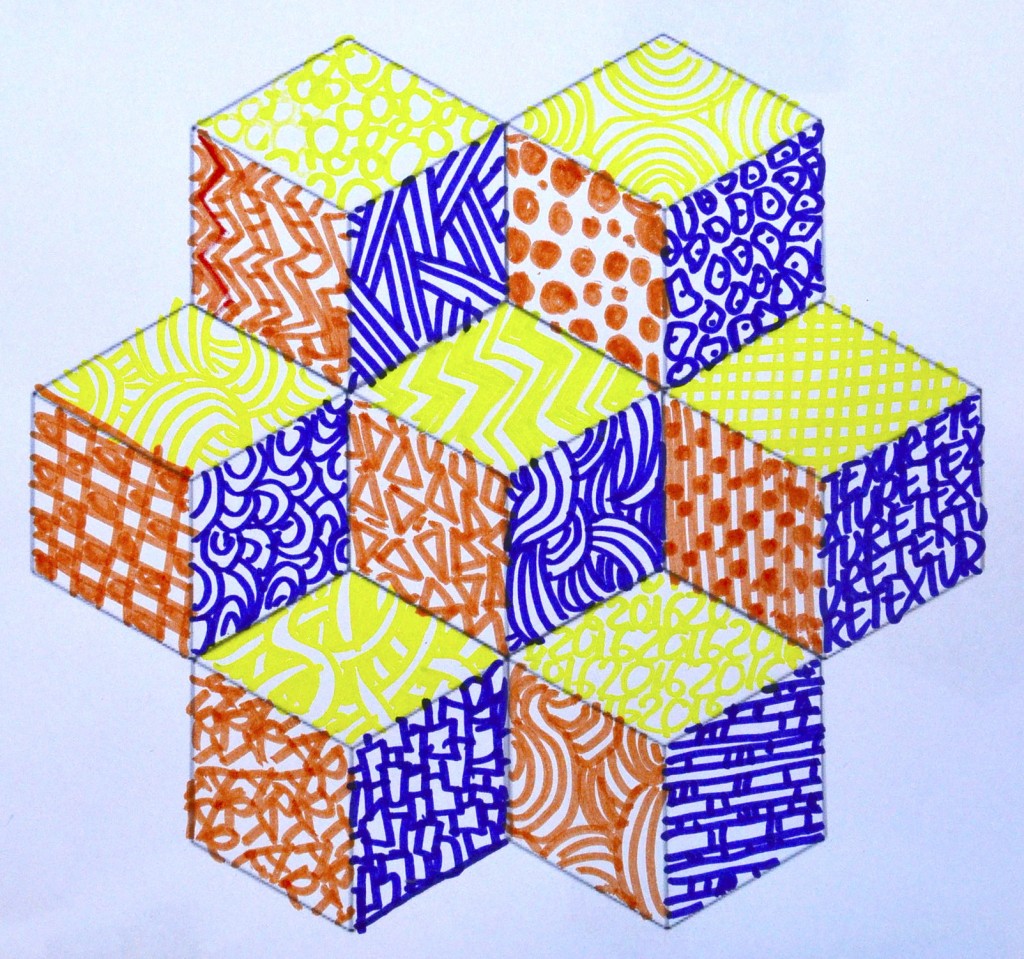
5. 原色错视画(Zentangle):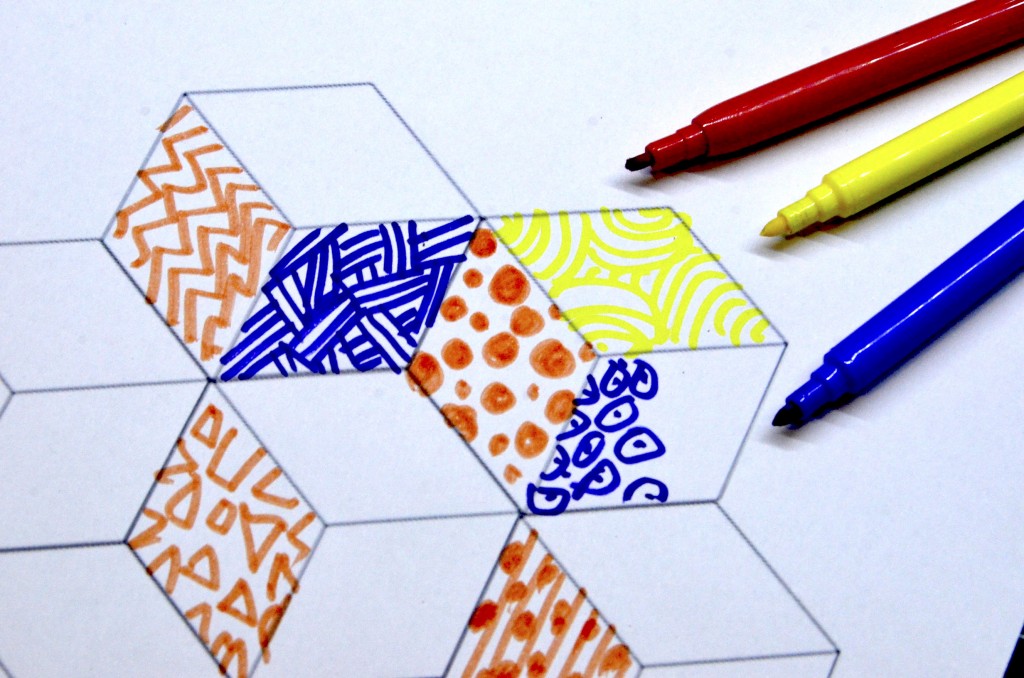
用三原色装饰立方体,并尝试契合阴影理论——即所有蓝色面在立方体上的空间朝向保持一致,黄色面与红色面亦同理。由此可为每面设计不同纹样,最终实现具有三维视觉效果的图案设计。此思路亦可拓展至其他色系,如间色、无彩色、暖色与冷色、互补色等。所需材料:
- 含7个纯白立方体的练习页
- 彩色记号笔
- 活动时长:约一小时
一如往常,我诚邀访问我网站的众多教师同仁,提出更多创意点子并分享交流,以持续扩充这份创意清单!
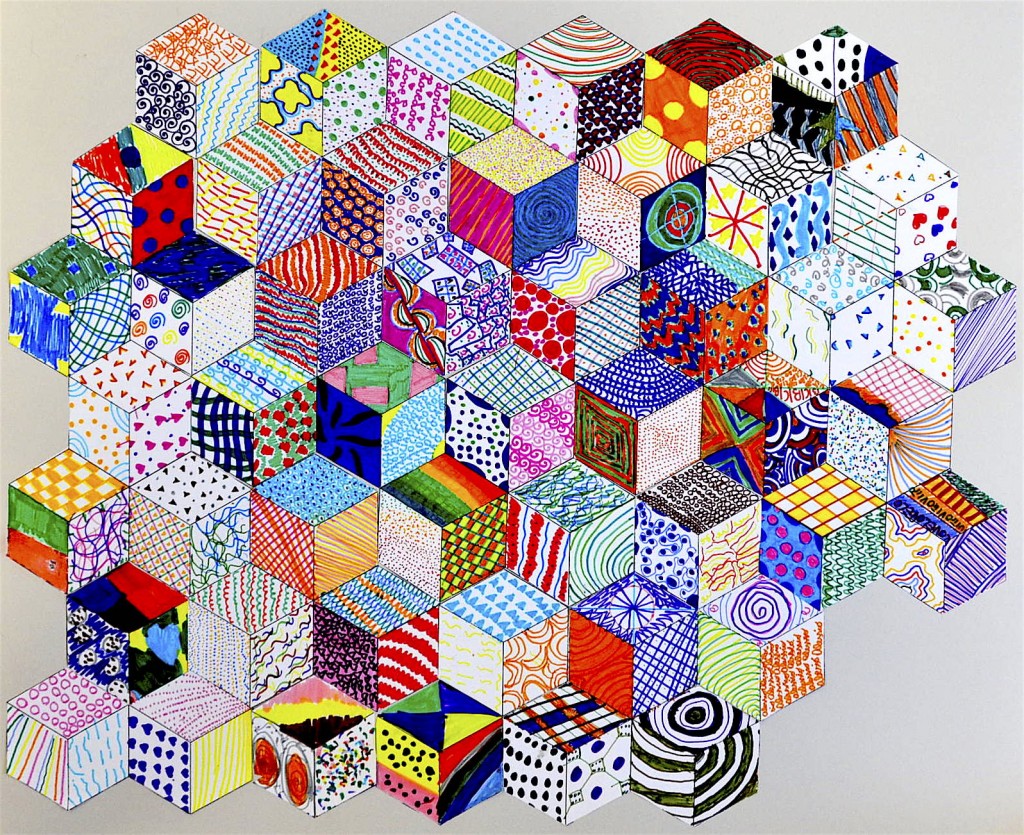
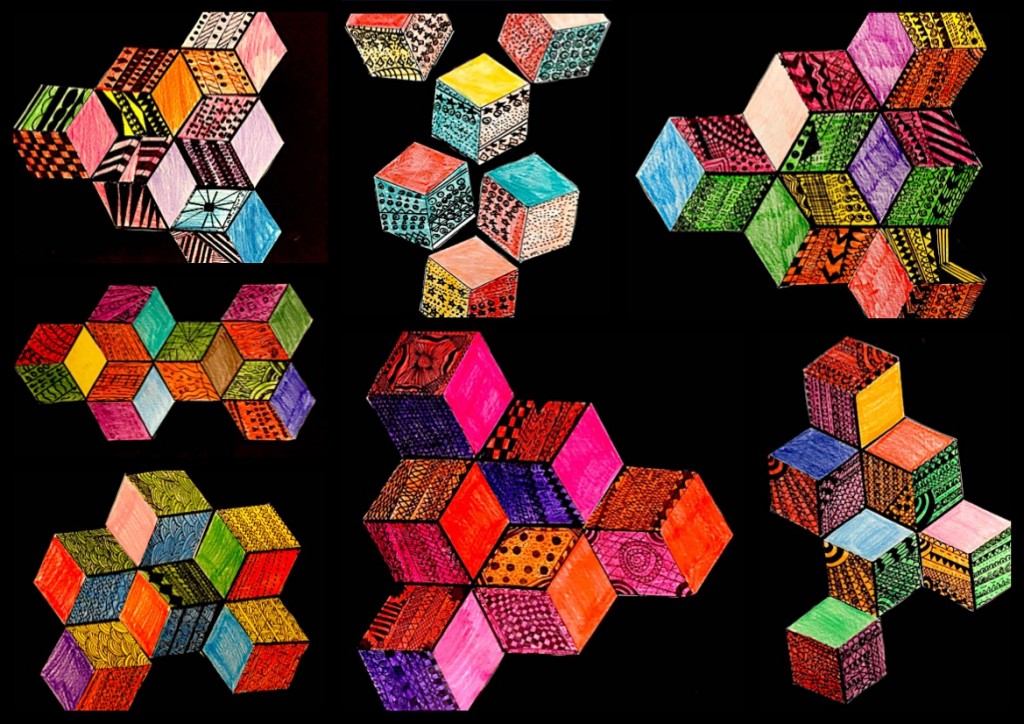
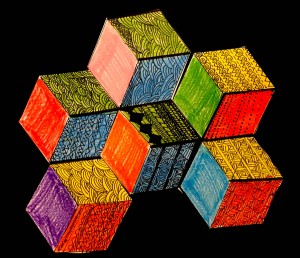
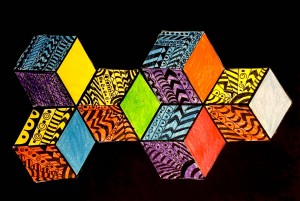
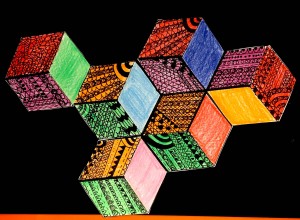
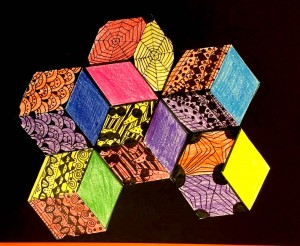
以下为意大利乌迪内省巴尼亚里亚阿尔萨市玛格丽塔·哈克小学五年级的新创意。学生们在教师葆琳娜·克里斯帕斯(Paolina Crispas)指导下,徒手用黑色记号笔在立方体各面上绘制错视画;随后为立方体上色,并最终将其组合粘贴于黑色卡纸上。
The cube: worksheets and 5 suggestions
A simple cube can be the inspiration for great works of art, such as those “Op Art” by Victor Vasarely. Starting from a cube, or by a series of cubes, I propose five ideas to be carried out in the classroom. The activities are practical and quick, but effective. There is the chance to work on cubes of different sizes, with shaded or white faces. You can find the cubes ready to use in these six worksheets purchasable below .
Buy now
1. Group work with zentangle cubes:
the faces of the larger cube, already shaded, become surfaces to be decorated with zentangle freely. Using only one felt tip pen on all the faces, you can also draw in pairs on the same cube. The cubes are decorated, then cut out and assembled to create an effective composition. We need:
- worksheet with single shaded cube
- felt pens
- large cardboard, scissors and glue
- duration of the task: one hour
2. Collage with primary colors:
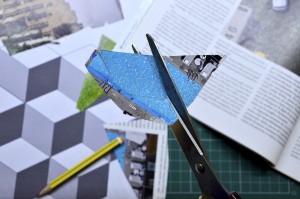
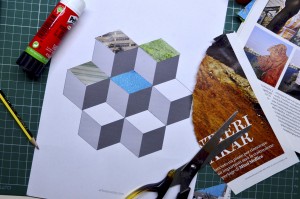
each face is dedicated to one of the primary colors. The colors are made with a collage of colored paper, cut out from magazines. This activity can be done in pairs and after finishing work, you can assemble all the cubes to create a modular composition of primary colors. We need:
- worksheet with the single white cube
- magazines
- scissors and glue
- duration of the task: about two hours
3. Inventing graphic textures:
the faces of the cubes are a pretext to create many different graphic texture. You can use colored felt tip pens: the challenge is to invent textures, as much as possible different, in order to create with all the students, a collection of decorative patterns, varied and original. We need:
- worksheet with 3 white cubes
- colored felt pens
- scissors and glue
- duration of the task: about an hour and a half
4. Collage of textures and drawing:
on the upper face of the cubes, we paste a texture, cut out of a magazine. The darker side is decorated with a white pencil in imitation of the lighter areas of the texture, while the lighter face is drawn with a pencil. This is a little exercise on drawing from life. Again, you can create a poster with many different textures. We need:
- worksheet with 7 shaded cubes
- magazines, scissors and glue
- white colored pencil
- Drawing pencil
- duration of the activity: about two hours
5. Zentangle in primary colors:
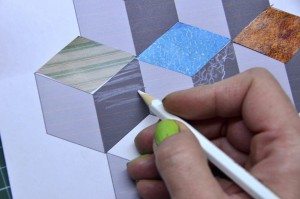
the cubes can be decorated with the three primary colors, trying to meet the theory of shadows whereby all the blue faces are in the same position in relation to the cube, and the same is for the yellow and red faces. This will make it possible to invent different decorations for each face and realize a design with three-dimensional effect. This idea can also be made with other series of colors such as the secondary colors, achromatic colors, warm and cool colors, complementary colors etc … We need:
- worksheet with 7 white cubes
- colored felt pens
- duration of the task about one hour
As always I propose to the many teachers I meet on my site, to suggest other cues and share them, so we can extend the list of ideas!
Here below we have a new idea from the 5th Grade of the Primary School Margherita Hack in Bagnaria Arsa (UD), in Italy. The students worked under the guidance of their teacher Paolina Crispas, drawing free-hand zentangle on the cubes with a black felt tip pen. After that they colored the cubes and eventually they have assembled them on a black cardboard. free-hand zentangle on the cubes’ faces with a black felt tip pen. After that they colored the cubes and composed them on a black cardboard.
.