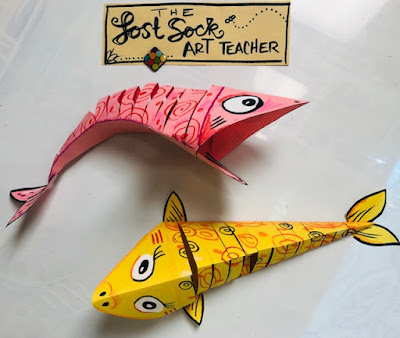
立体摇摆鱼
原文链接:https://tabithaannthelostsock.blogspot.com/2019/05/3d-wiggly-fish.html
日期: 2019-05-06
标签: 3D、可弯曲、鱼、趣味、Lost Sock 美术教师、纸雕、摇摆感
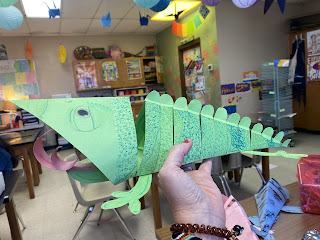
2023
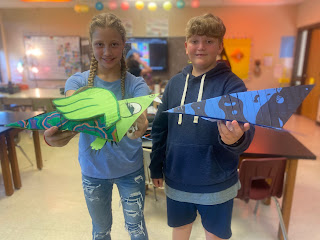
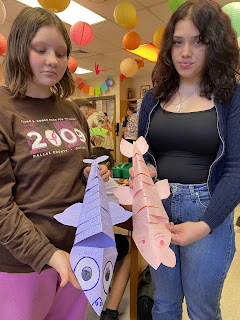
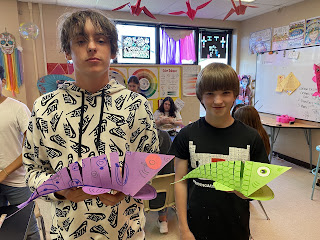
埃米莉亚 & 安登
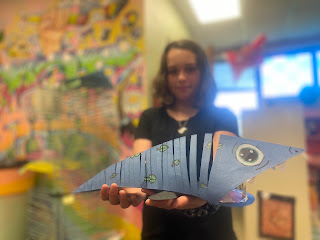
艾迪森
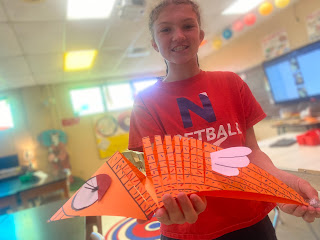
谢莉·T.
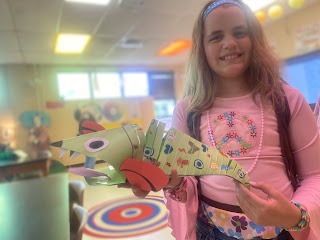
奥利维亚
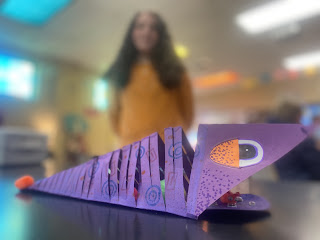
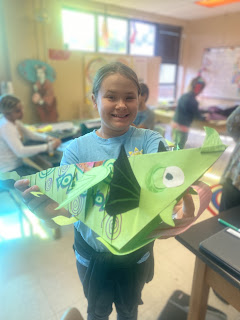
贝尔·G.
找一张纸。
对折成正方形。
使右侧边与上边缘完全对齐,然后压出折痕。
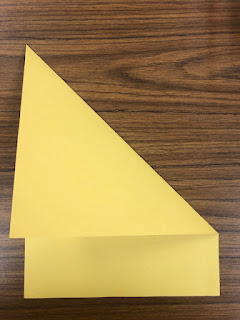
沿当前折痕位置(即原先的上边缘)描出底部轮廓线。
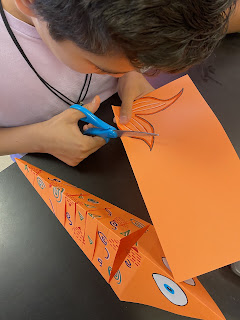
展开后,剪掉多余部分。切勿丢弃! 这部分将用于制作鱼鳍和鱼尾。
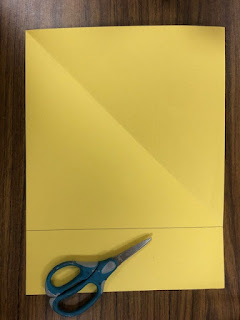
剪去多余部分后,将纸平铺于面前,呈菱形——一个角朝向自己,另一个角朝向远处。
将左右两侧的上边缘向中间折痕对折并压出折痕(类似折纸飞机)。
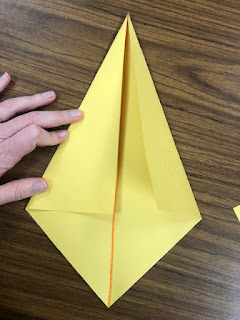
描出新形成的折痕线。此处中央区域即为鱼的顶部,也是你最终能看到的部分。
此时是装饰鱼身的最佳时机,切勿等到裁剪之后!
可绘制图案、圆点,也可跳过此步。
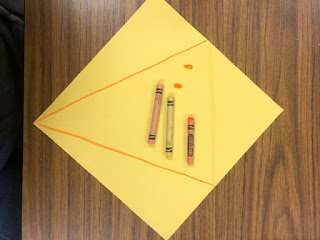
右侧部分将成为鱼头。我在其两侧画出了鳃。
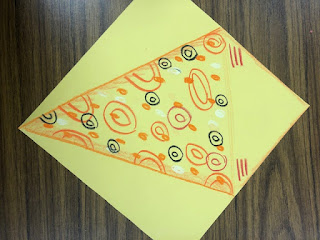
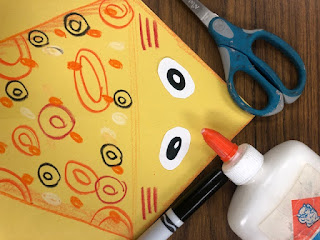
取一些白色废纸,剪出两个圆形作为鱼眼。
用黑色画出瞳孔,并留出高光;粘贴固定。
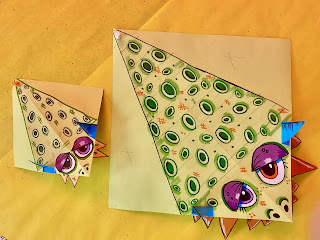
裁剪鱼脊
将鱼身对折后平放于桌面。这是最难的一步。
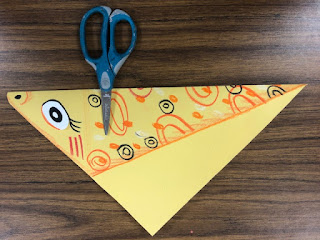
从鱼头与鱼身连接处稍后方开始,以约一根手指宽的间距,平行于头身交界线,划出若干条切割线。
切勿直接从头身交界处起始切割,否则鱼头会被剪断。
先画出这些线会更便于操作。
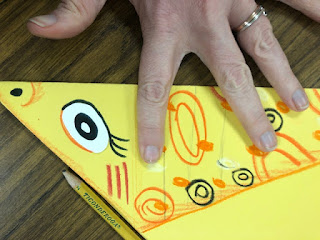
沿所画线条切割,止于我标出的橙色线处。不可越过此线。
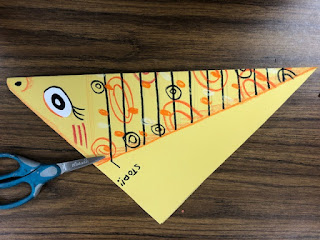
完成切割后,将鱼身展开。
仅在其中一侧三角形边缘涂胶。(见备注)
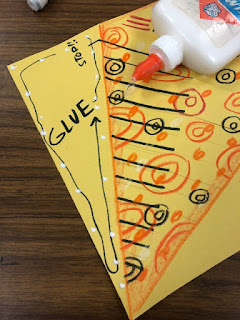
将另一侧三角形向内折叠,覆盖于胶水上,按压约30秒。
使用胶量宜少——仅需一小滴!
点击此处获取《控胶技巧海报》。
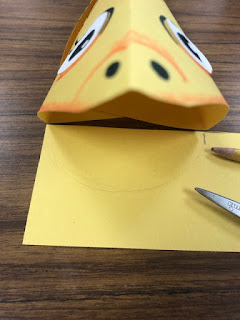
取出我先前提醒你保留的那块废纸。
将其置于鱼嘴下方,标记出鱼嘴宽度。
建议标记略窄于实际嘴宽。
按此宽度剪出一条弧形纸片。
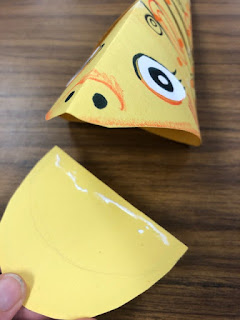
在该纸片的直边涂上一条细胶线。
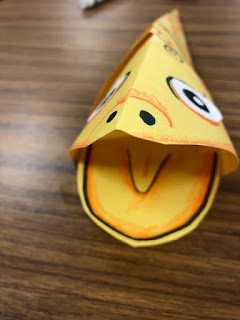
将其粘入鱼嘴内部。
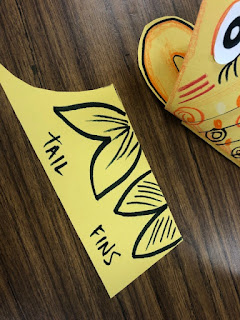
取剩余废纸,画出鱼尾及两片鱼鳍。
(长度应比预想稍长些——我当初就忽略了这点!)
将鱼鳍与鱼尾粘贴到位。
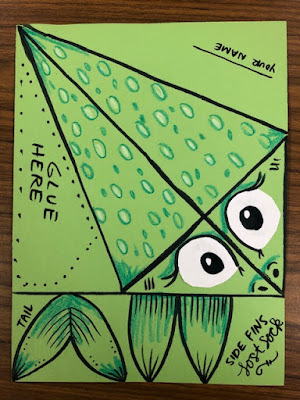
若你未严格遵循上述步骤,本指南将助你事半功倍!
立体摇摆鱼
Original: https://tabithaannthelostsock.blogspot.com/2019/05/3d-wiggly-fish.html
Date: 2019-05-06
Tags: 3D, bendy, fish, fun, Lost Sock art Teacher, paper sculpture, wiggly
2023
Emilia & Anden
Addison
Shaylee T.
Olivia
Bell G.
Find paper.
Fold into a square.
Make right side and top edge perfectly aligned.
Then crease down.
Trace the bottom of that fold (what was the top) along where it is now.
Open and cut off extra piece. Do NOT throw it away! It will be used for fin and tail.
After extra is cut off, lay in front of you like a diamond with point toward you and away from you.
FOld right and left top edges into meet the middle fold and crease (like a paper airplane).
Trance the new folds. The area here in the middle is the top of your fish that you will see.
T His it he best time to decorate it before you cut it up.
Draw designs or dots or you can even skip this step.
The part on the right will be your fish's head. I drew gills on the sides of it.
Use some scrap white paper to make 2 round pieces for your eyes.
Make a black pupil with a shine in it. glue down.
CUTTING SPINE
Fold fish in half and lay it down. This is the hard part.
You will be cutting finger width lines starting right after where the head meets the body.
Do not start directly where the head meets the body or else your head will get cut off.
make your lines go parallel to the line where the head meets the body.
Drawing these lines first may be helpful.
Cut on the lines stopping at where i drew the orange line. Do not go past this line.
After you cut the lines, open the fish body back up.
Apply glue to only one side of the triangular side.
(see note)
Fold other triangular piec inward an on top of glue. Hold for about 30 seconds.
Use a dot, not alot!
Get this GLUE CONTROL POSTER here.
Grab that extra piece I told you not to throw away.
Lay it under the mouth of the fish. Make a mark of how wide the mouth is.
It is better to make the mark slightly smaller.
Cut a curved piece out the same width as the mouth.
Apply a think line of glue to the straight edge of this paper.
Glue it inside the mouth of the fish.
Take the rest of that scrap paper and draw a tail and 2 fins
(a little longer than you think, I failed to do this.).
glue the fins and tail on.
IF you did not follow my steps, this will help you tons!


