空气透视法
原文链接:https://tabithaannthelostsock.blogspot.com/2013/02/atmospheric-perspective.html
日期: 2013-02-28
标签: 美术课、空气透视法、咖啡、空间感、单色、明度、视觉透视
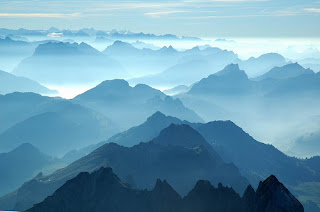
请观察上方照片。
告诉我你看到了什么。
当物体距离变远时,哪些方面发生了变化?
这种现象称为空气透视法。
更多图片
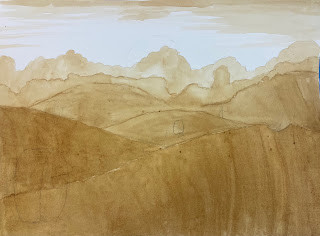
这张迷人的山景图完美展现了空气透视法的运作原理。
随着空间向远处延伸,明度通常降低,细节也逐渐减弱。
在雾天、雪天或雨天,这种效果会更加明显。
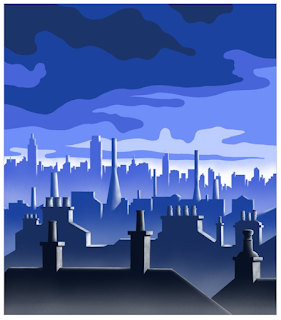
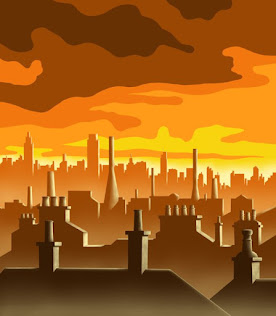
约翰·麦克塔格特(John MacTaggart)
课程详情见此…
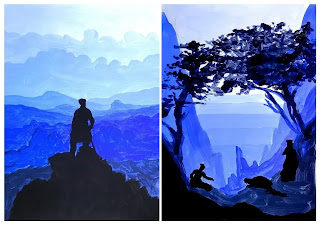
邹子靖(Tzu Ching Chen)
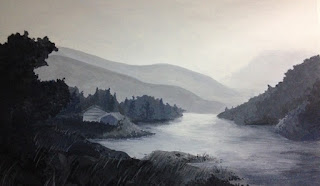
丹·德雷斯勒(Dan Dressler)艺术作品
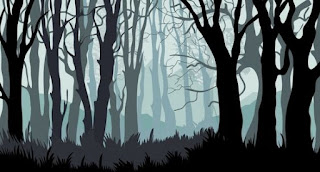
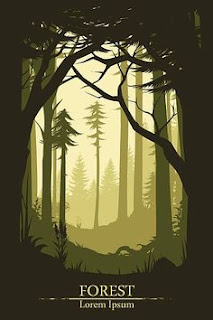

沙漠景观
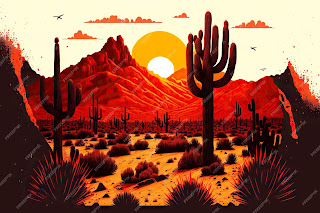
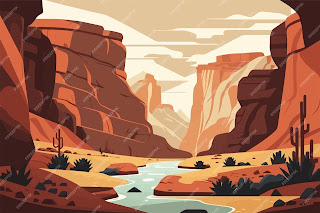

《怪诞小镇》(Gravity Falls)大量运用空气透视法技巧,使场景呈现出强烈的空间感……
请做笔记:
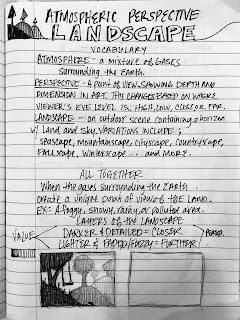
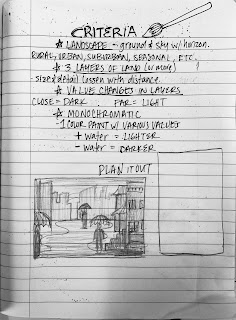
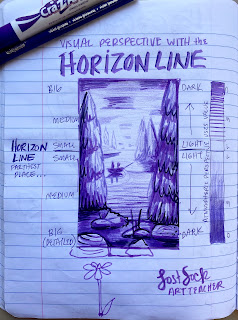
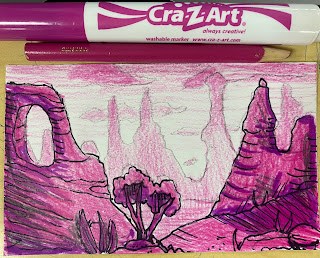
学生创作规划
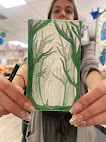
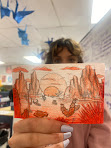
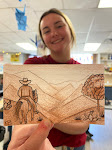
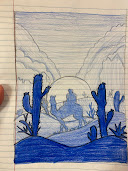
完成作品
美术2班
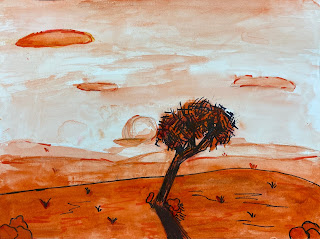
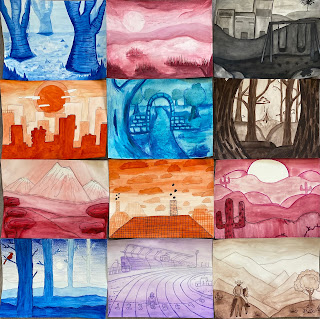
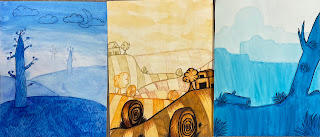
美术1班
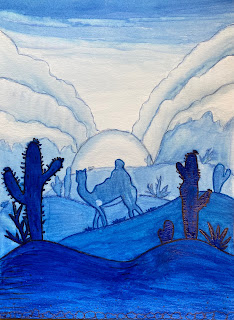
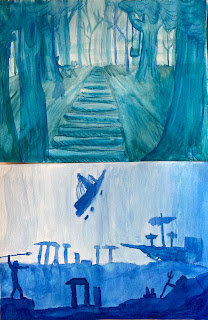
在索引卡上规划构图,或在速写本中绘制(画面需大于手掌尺寸)。
在正式绘画之前,
我们先进行规划。
- 确定你的风景画创意。你需最终确定选题,请慎重选择。
前往Google图片搜索,输入关键词“空气透视法 风景”;也可更具体些,例如:
“空气透视法 森林”
- 绘制一幅含天空与陆地的风景画,并明确划分三个纵深层次(前景、中景与背景)。
——确保前景层细节丰富、明度较暗、物体尺寸较大;
——背景层则应简洁、明度较亮、物体尺寸较小。
- 仅使用一种颜色的彩铅为各层次着色。
前景施加更大压力,背景则减小压力。
再用同色记号笔为前景层添加细节。
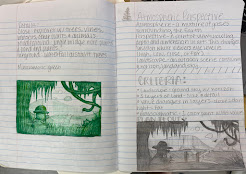
(参见上方速写本中的范例)
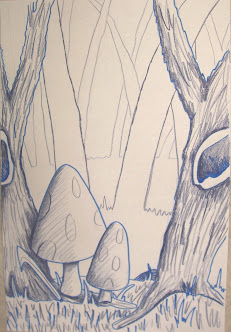
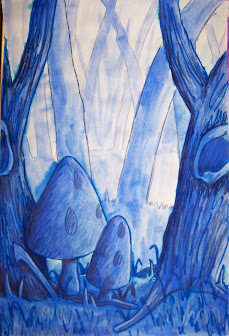
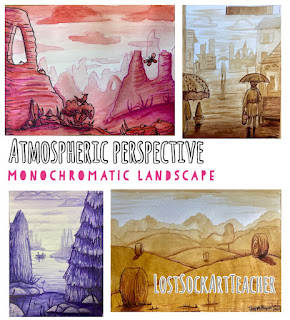
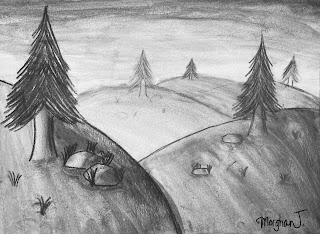
这是我用于教学空气透视法的一则示范作品。
-
先用铅笔绘制一幅具有三个不同纵深层次的风景画
(前景、中景、背景,以及天空)。
-
学生须仅选用一种颜色(即单色方案),应用于整幅画面。
用细头彩色马克笔,沿所选颜色描摹前景层,
并仅在前景层添加细节;
再用超细头彩色马克笔,以相同颜色描摹第二层(中景),但细节更少甚至不加;
背景层则保持铅笔原貌,不作描摹。
-
接着,学生使用水粉颜料块或水彩铅笔,表现明度变化:
用所选颜色轻轻晕染天空;
第三层(背景)稍深一些;
第二层(中景)再稍深一些;
第一层(前景)最深。
用水彩铅笔完成明度铺排后,再用湿润画笔逐一晕染各层。
最后一步:仅在前景层用普通彩铅追加部分明暗处理,以强化空间感、纵深感与细节表现力。
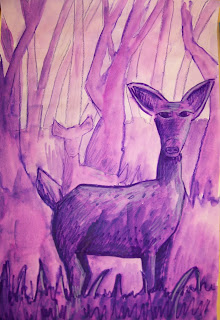
要完成这幅水彩画,你需要掌握两种不同的平涂技法。
如何绘制平涂(Flat Wash)
如何绘制渐变平涂(Graded Wash,即明度渐变)
可尝试用咖啡渣来练习!
高级美术课
2025/26学年
杰茜·M.(Jaycee M.)
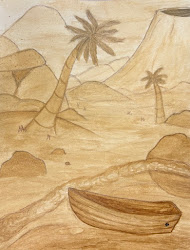
杰莉·N.(Jaylee N.) 凯瑟琳·P.(Katherine P.)
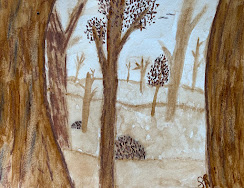
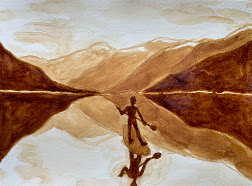
谢(Shae) 埃斯特雷拉(Estrella)
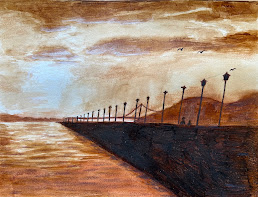
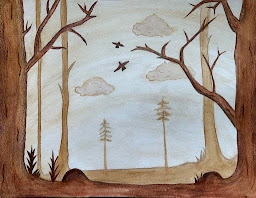
萨拉·C.(Sara C.) 塞莱娜(Selena)
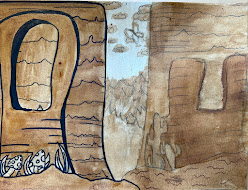
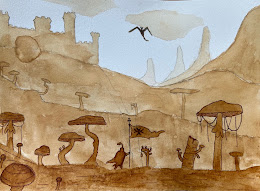
麦迪逊·M.(Madison M.) 特雷斯汀(Trestin)
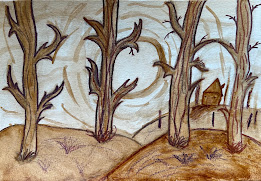
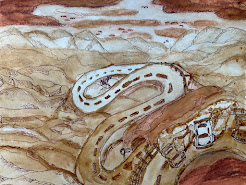
艾娃·S.(Ava S.) 弗朗西斯科·V.(Francisco V.)
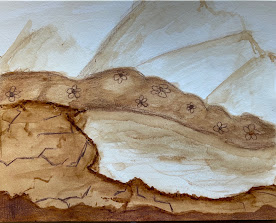
2024/25学年
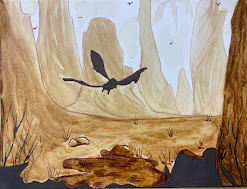
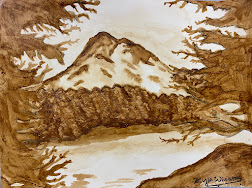
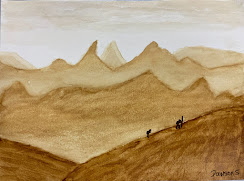
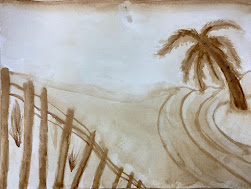
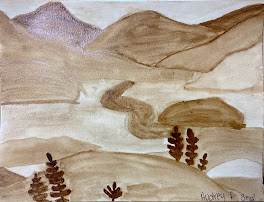
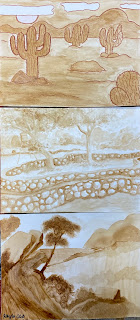
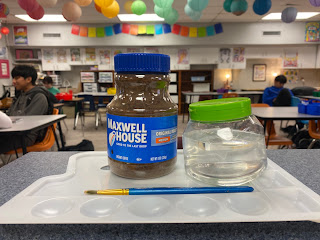
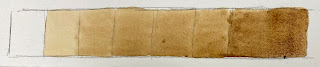
这需要反复练习。
制作一张明度标尺,以熟悉
咖啡渣与水的配比比例。
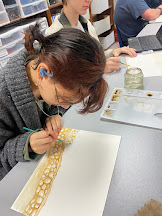
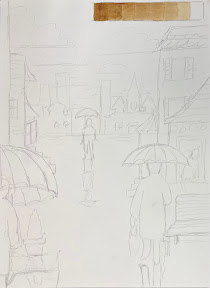
先用浅铅笔勾勒出你的场景草图。
切记采用风景的分层结构,并让远处物体尺寸逐渐缩小。
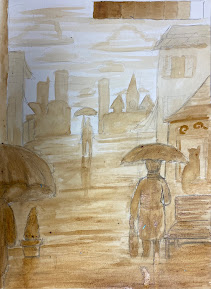
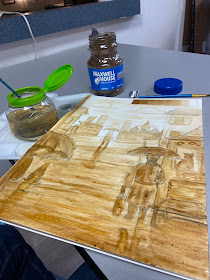
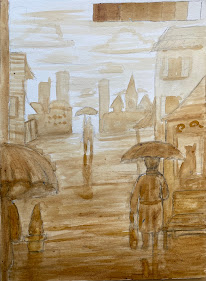
当你已将底部区域涂至最深程度后,
可用棕色记号笔或彩铅,在前景层添加更清晰的细节。
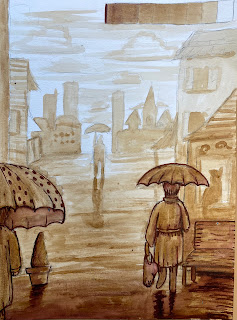
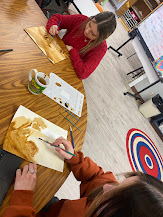
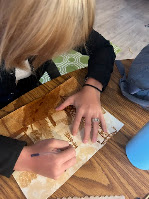
创作过程图示…
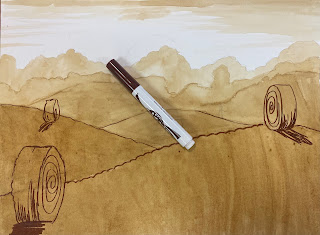
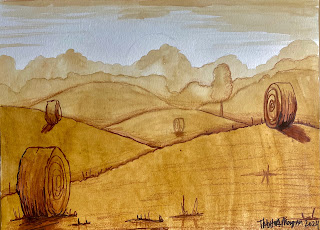
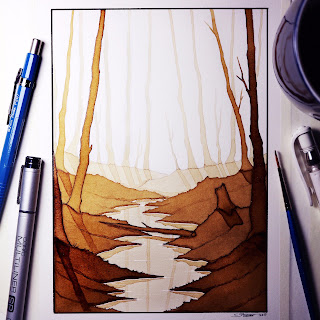
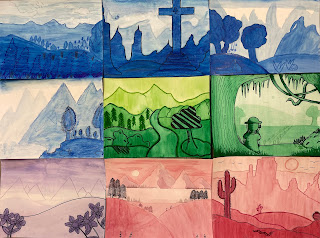
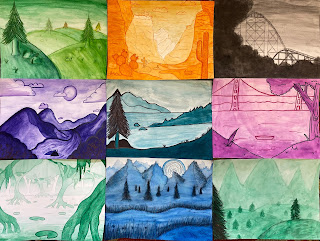
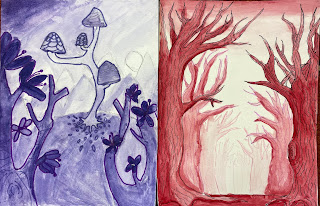
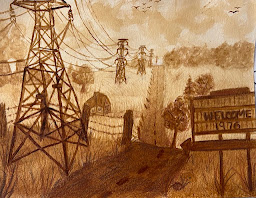
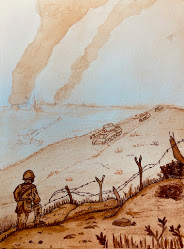
以下为学生作品范例
美国米尼奥拉中学(Mineola Middle School)七、八年级
使用水粉颜料(Tempera Paint)
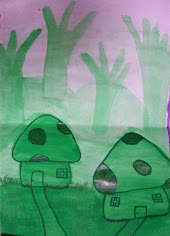
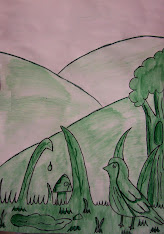
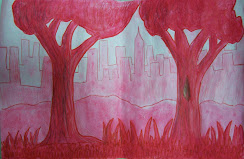
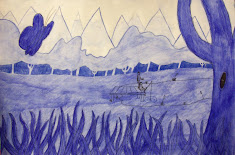
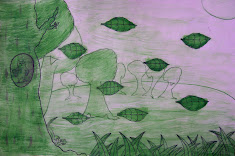
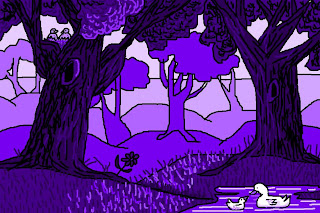
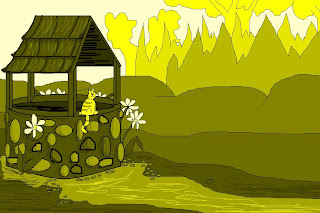
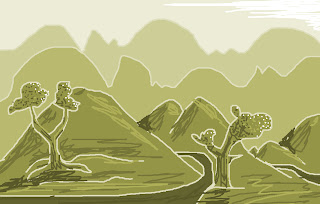
本作业亦可替代性地在Microsoft Paint软件中完成。
我曾将其作为美术实验室实践后的延伸活动。
更多范例在此
空气透视法
Original: https://tabithaannthelostsock.blogspot.com/2013/02/atmospheric-perspective.html
Date: 2013-02-28
Tags: art lesson, atmospheric perspective, coffee, depth, monochromatic, value, visual perspective
Look at the photo above..
Tell me what you see.
What changes when things get further?
This is called ATMOSPHERIC PERSPECTIVE.
MORE PHOTOS
This cool mountain-scape is perfect for showing how atmospheric perspective works.
As space recedes, value usually decreases and details diminish.
This can be more prominent in foggy, snowy, or rainy weather.
John MacTaggart
Lesson Here..
Tzu Ching Chen
Dan Dressler Art
Desertscapes
Gravity Falls uses a lot of atmospheric perspective tricks to make the scenery appear to be full of space...
Take Notes:
STUDENTS PLANNING
Finished pieces
Art 2
Art 1
Plan on Index Card or Draw in Journal (bigger than hand).
Before we PAINT,
we PLAN.
- Find your idea for your landscape. You will need to commit to your choice, so pick wisely.
Go to Google Images and type in "Atmospheric Perspective Landscape"or be more specific
"Atmospheric Perspective Forest"
2, Draw a Landscape (sky and land) with layers (foreground, middle-ground, and background).
-make sure front layer has details, is dark, and bigger.
-keep background layer simple, light, and small.
- Use ONE COLOR of colored pencil to color in your layers.
Use more pressure in foreground and less in background.
Add details to the front layer with a marker in the same color.
(see example above from journal)
This is one of my examples for teaching the lesson on how to achieve Atmospheric Perspective.
- pencil draw a landscape having the 3 different layers of depth
(front, middle, back, and also sky).
- They then have to choose 1 color only, monochromatic, to use on the entire picture.
Using a fine colored Sharpie, they trace the front layer in that chosen color
and adding details to the front layer only.
Using an ultra fine colored Sharpie, they then trace the second layer in the same color with less or no detail.
The back later will stay in pencil only.
- Then students use tempera cakes or watercolor pencils to add the value variety.
Shade the sky in lightly with the color chosen,
the 3rd layer slightly darker,
2nd later slightly darker,
and the front first later the darkest.
After shading with the watercolor pencil, they use a wet brush to go over each later individually. The final step is to use a regular colored pencil to add in some shading onto the front layer only to achieve depth, space, and detail in the front.
To do this watercolor painting, you need to know how to do 2 different WASHES.
HOW TO CREATE A FLAT WASH
HOW TO CREATE A GRADED WASH (value scale)
Try it with
Coffee Grounds!!
Advanced Art
2025/26
Jaycee M.
Jaylee N. Katherine P/
Shae Estrella
Sara C. Selena
Madison M. Trestin
Ava S. Francisco V.
2024/25
This takes practice.
Make a value scale to get the hang of how much
grounds and water.
Start with a light pencil drawing of your scene.
Remember to use layers of the landscape with objects getting smaller in distance.
ONce you have gotten to bottom, as dark as you can go,
you can use brown marker or colored pencil to get shaper details in the front layer.
Progression photos...
STUDENT EXAMPLES BELOW
7th and 8th grade Mineola Middle School
TEMPERA PAINT
This assignment can be done as well on the Microsoft Paint as an alternative.
I have done this as a follow up after they were done with the one in the art lab.
More Hers


