睡莲叶与莲花陶瓷课
原文链接:https://createartwithme.com/lilypad-lotus-flower-ceramics-lesson/
日期: 2014-11-03
作者: 米歇尔·伊斯(Michelle East)
分类: 二年级、三年级、四年级、五年级、美术课、陶艺课
标签: 儿童陶艺课、简易两日美术项目、小学陶艺课、睡莲叶、睡莲叶与莲花陶艺课、睡莲叶陶土、睡莲叶花朵、莲花、莫奈的睡莲、莫奈睡莲陶土、捏塑法、泥板法、同时教授泥板法与捏塑法
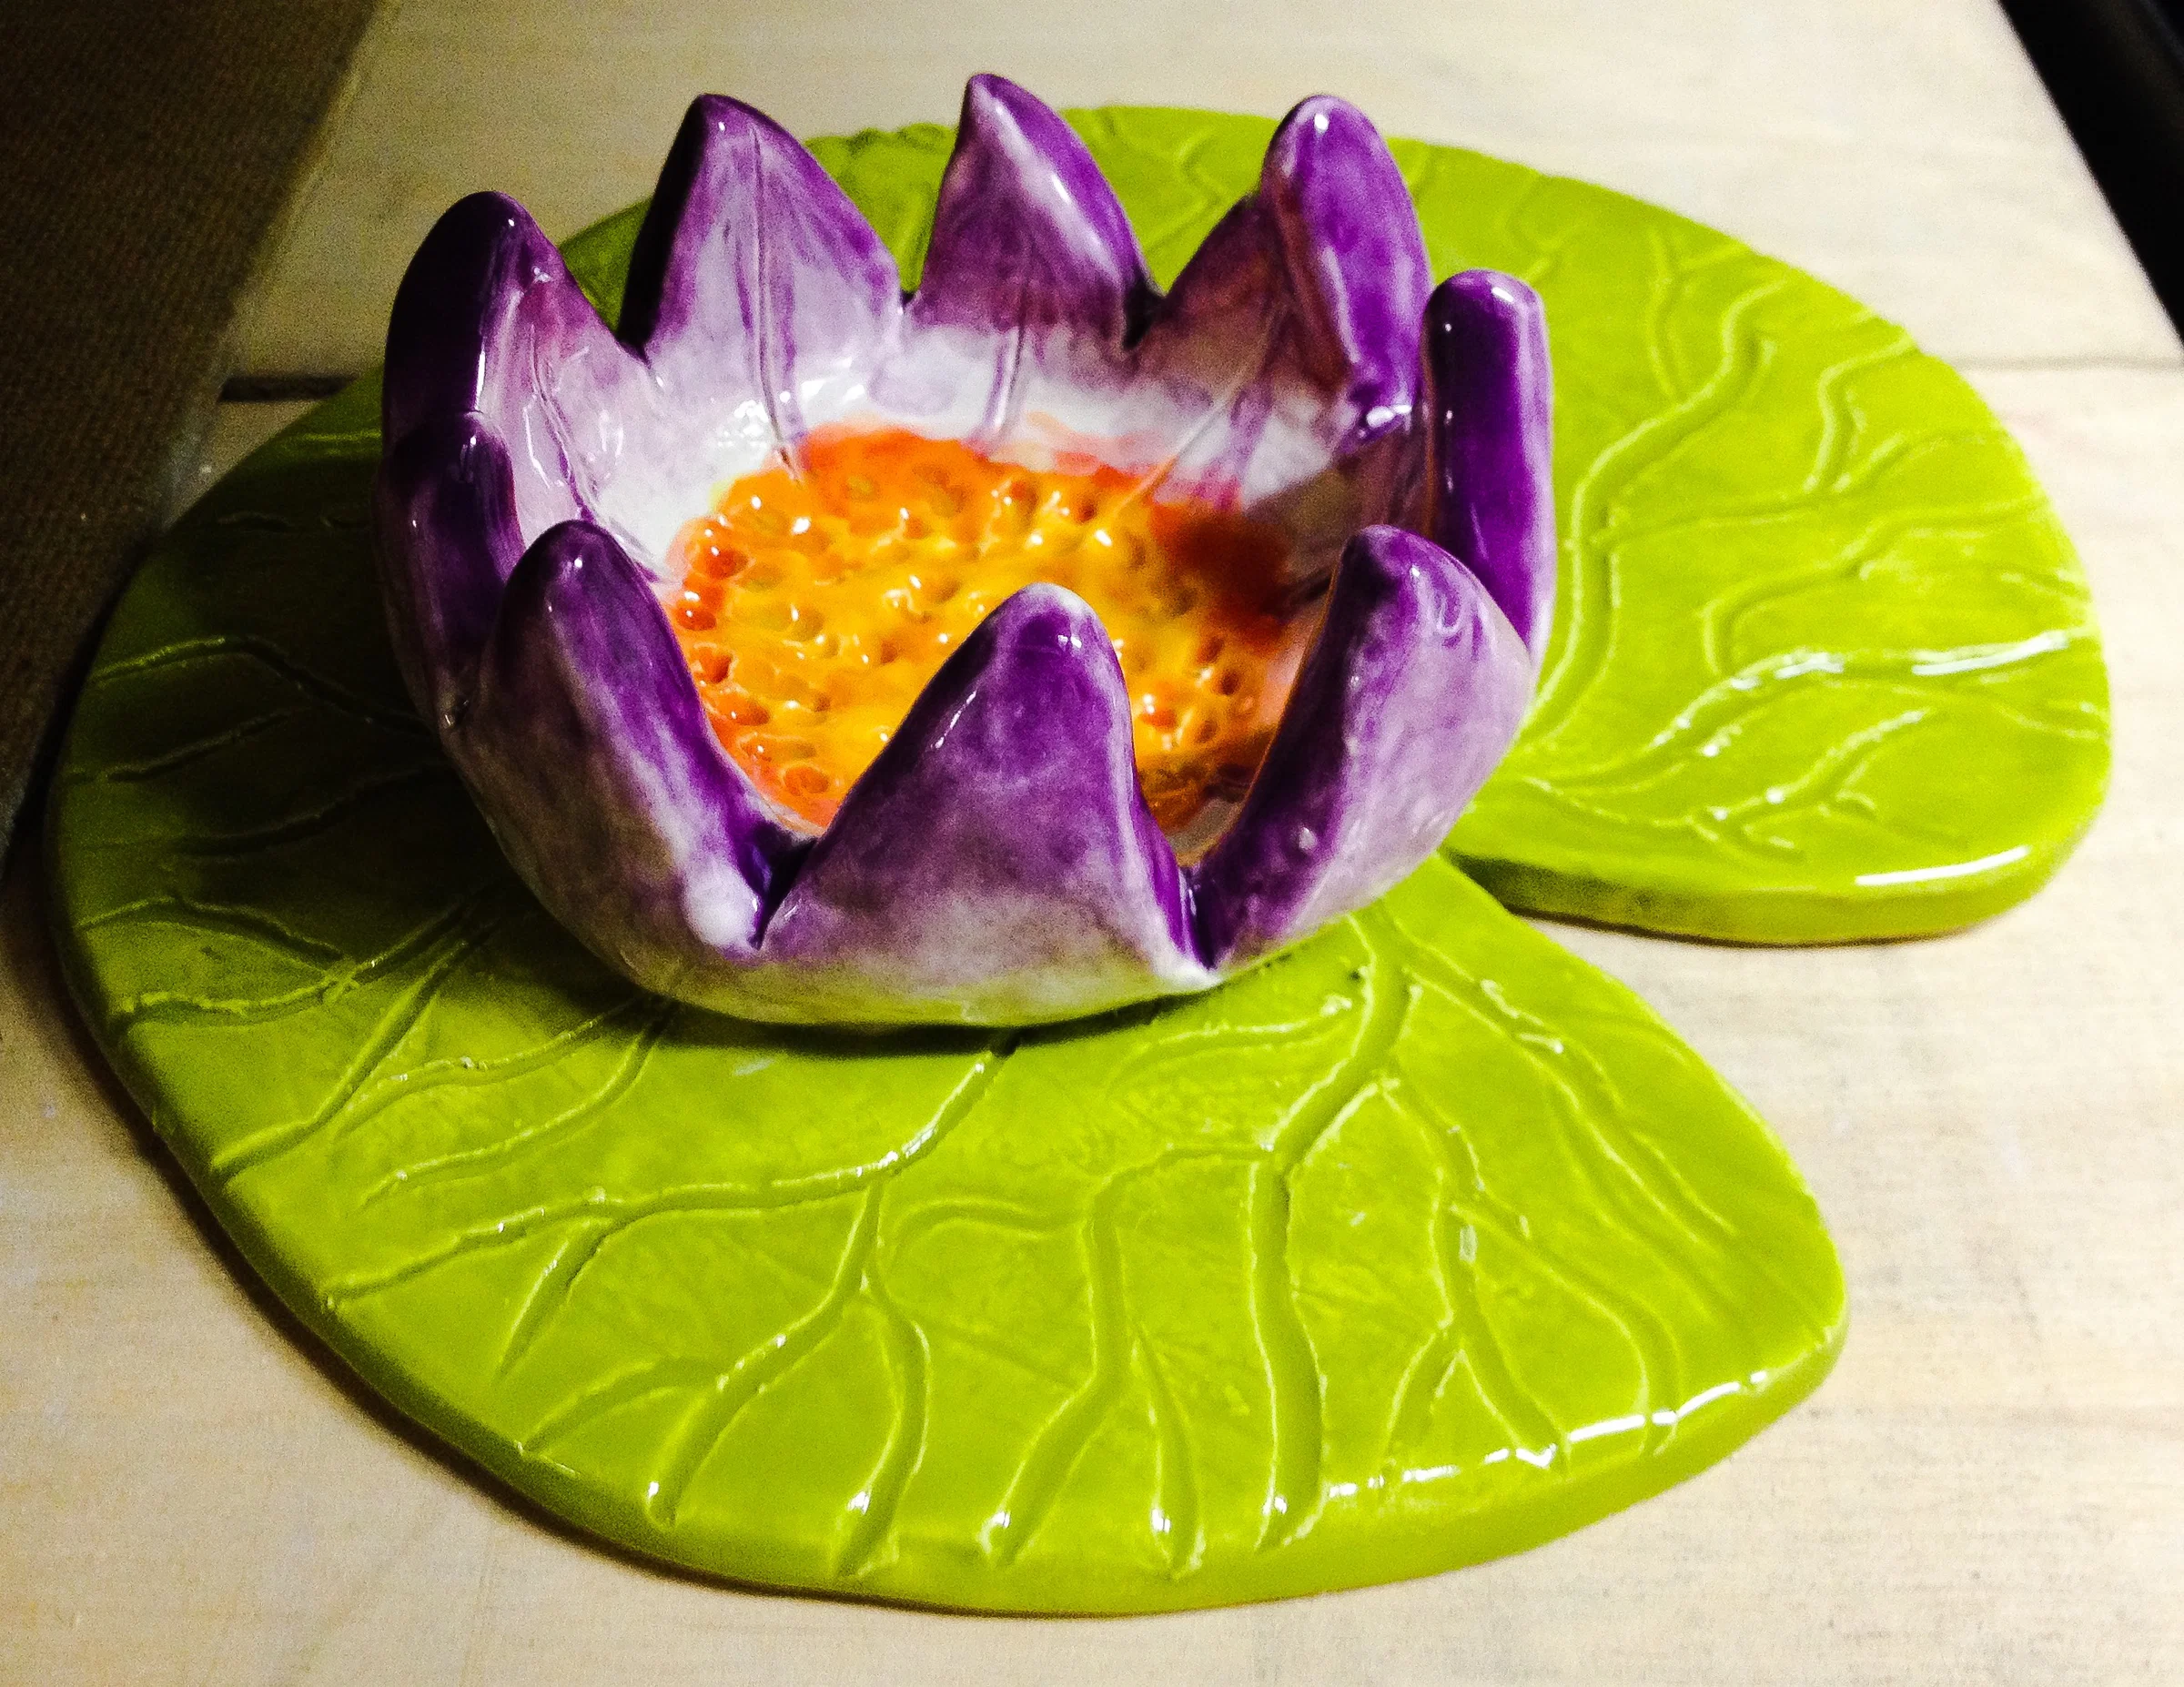
我超爱陶艺!这堂课实在太可爱了!本《睡莲叶与莲花陶瓷课》面向小学阶段(二至五年级),同时教授泥板法与捏塑法两种技法。
您可稍作调整,将此课延伸至稍高年级(四至六年级),例如增加花瓣数量与细节表现。
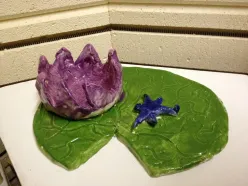
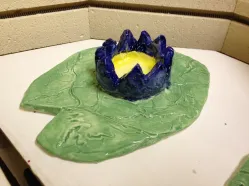
 全程致敬并致谢 Artventurous 的陶土睡莲叶课,欢迎访问 Artventurous——那里为小学课堂提供了大量优质美术创意!我所带的三年级班级也采用类似方式完成本课,仅有一处不同:我们将花朵直接粘接在睡莲叶上。此举使上釉略显困难,但能确保花朵牢固附着于睡莲叶。
以下是我为此项目设计的教学方案——若您使用本方案,请务必注明原始出处:Artventurous 的陶土睡莲叶课。
教学目标:
- 辨别浮雕与独立式雕塑的区别
- 圣经整合:上帝创造了所有植物生命
- 认识到植物形象在艺术中的呈现,曾被多种文化广泛采用
- 运用泥板法与添加法创作一件陶瓷雕塑
教学实施:
- 形状是二维的,而形体是三维的。
- 雕塑是三维形体,具有高度、宽度与深度。
- 浮雕雕塑仅能从正面及侧面观看。
- 独立式雕塑(又称“圆雕”)四周皆为空间,通常可环绕一周完整观赏。
- 展示三维陶瓷雕塑作品范例,并提供本次创作所需的参考图片。
- 陶瓷制作流程: 制作陶艺作品 → 完全阴干(5–7天,直至“素坯干”状态)→ 窑烧(素烧)→ 施釉 → 再次窑烧(釉烧)
- 陶艺词汇:
- 泥板(Slab): 通过手捏方式,将擀开的平整陶土片作为器壁来构建陶瓷形体。
- 泥浆(Slip): 呈泥浆状的液态陶土,用于粘接两块陶土。
- 刻痕(Score): 在陶土表面刻划纹路,以增强粘接强度。
- 刻痕—泥浆粘接法(Score and Slip Technique): 教师示范 “刻痕—泥浆”指将两块陶土粘合的一种方法。首先对需粘接的陶土表面进行刻痕,即在接触面上划出细小刻痕;接着施泥浆,即在刻痕处涂抹泥浆,起胶水作用;最后将两块陶土压合。务必始终采用“刻痕—泥浆”法,否则烧制时部件极易脱落。
活动: 三维睡莲叶配花朵碗雕塑
– 使用陶土创作一件睡莲叶与花朵碗组合雕塑。
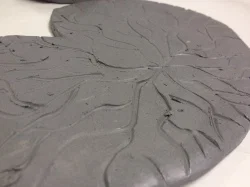
睡莲叶制作步骤:
- 取一团约棒球大小的陶土,擀成直径约6英寸的泥板;两侧放置¼英寸厚的木质漆棒,以确保擀出的泥板厚度适中(不偏薄也不过厚)。
- (可选)使用硬纸板制作的睡莲叶模板描边并裁剪出叶片外形。
- 用针具或拉直的回形针切出叶片边缘的“V”形缺口。
- 用木签或画笔末端刻画叶脉细节,注意下压力度,避免刺穿泥板。
教师引导示范: 教师将现场演示陶土擀制、模板描边、裁出“V”形缺口及添加肌理的全过程。
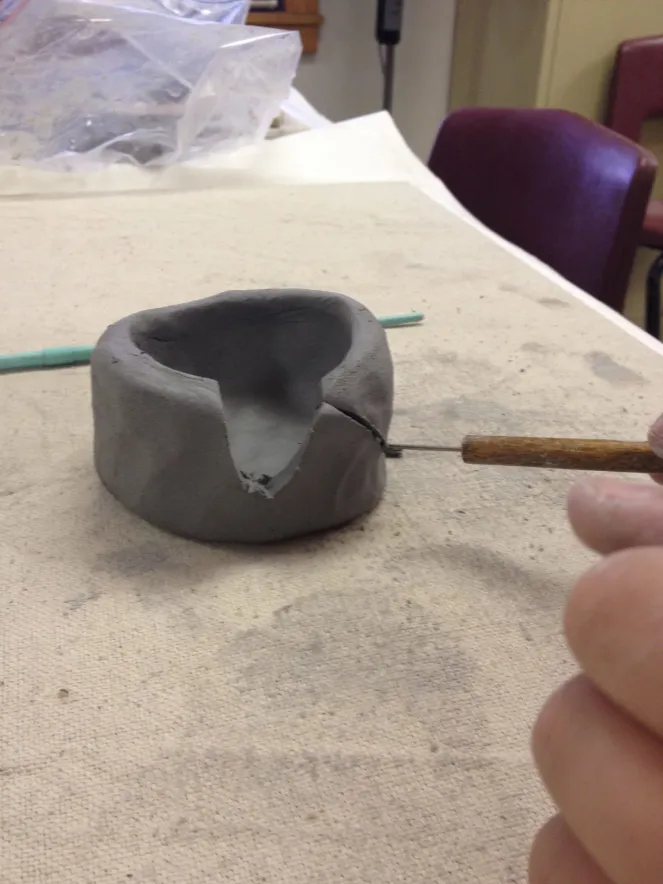
花朵碗制作步骤:共两种方法——捏塑法与泥板法
捏塑法
- 每位学生分发一枚直径约1.5英寸的陶土球。
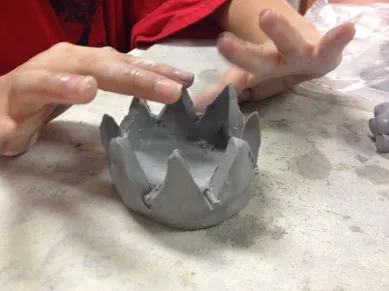
- 教师示范捏塑碗的制作过程:
- 将湿润陶土球在掌心揉成规整球体。
- 将拇指蘸水后,垂直插入球体中央,深入约一半。
- 若为右利手者,则用左手托住陶土球;左利手者则用右手托住。
- 将惯用手拇指插入孔洞,其余四指自然覆于陶土球顶部(教师可向低龄学生比喻为“木偶手——柯密特青蛙”)。四指并拢,再以拇指由内向外轻柔地朝手指方向挤压,同时缓慢旋转陶土球,使内壁逐渐变薄。(动作如柯密特开口说话)
- 若出现“象皮纹”(陶土表面细微裂纹或开裂),则将手指蘸水,在裂纹处来回轻抹,直至抚平。
- 持续边捏边转,直至陶土球初具碗形。
-
待碗壁厚度均匀(约等同小指厚度)后,将碗底轻叩桌面,使其底部平整。
-
将碗底进一步压平,以便茶蜡烛能平稳放置。
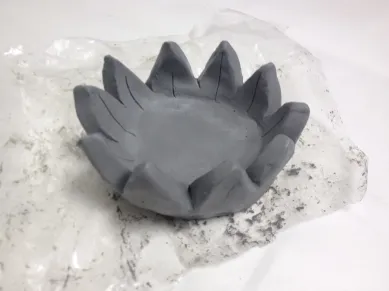
- 用针具裁出花瓣,呈“V”形。
泥板法
- 取一枚直径2英寸的陶土球,擀成泥板。
- 裁剪出花朵外形。
- 将泥板覆盖于极小的碗或泡沫球之上,形成弯曲的花朵造型。
- 利用教室中各类工具,在花朵中心添加细节。
令各部件阴干5–7天,直至完全“素坯干”。
素烧
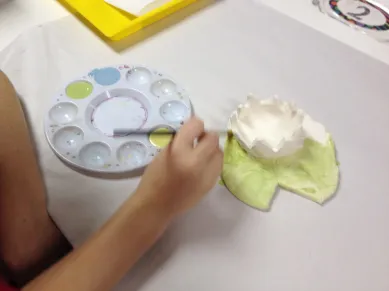
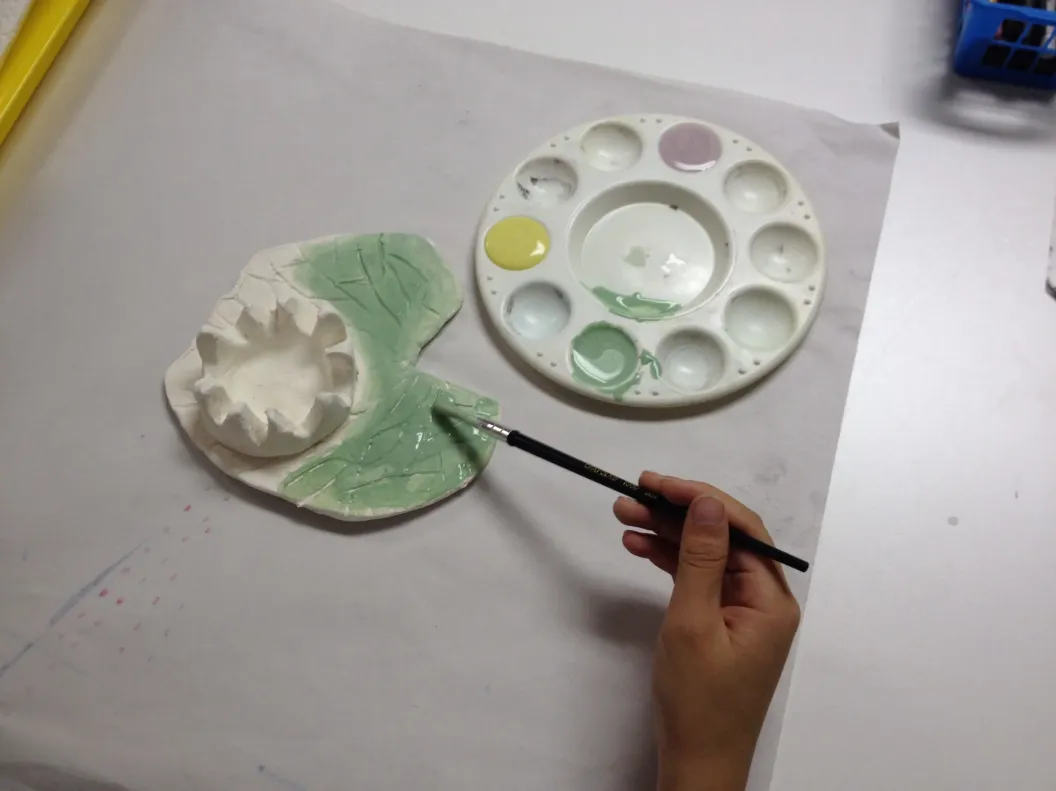
施釉
釉烧
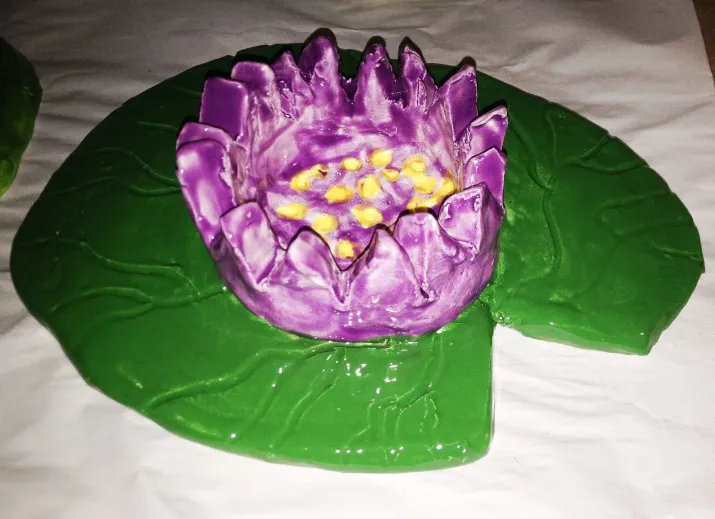
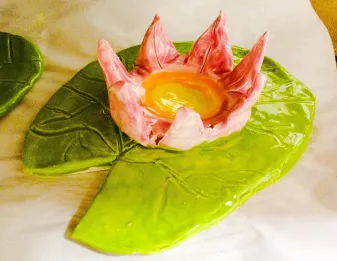
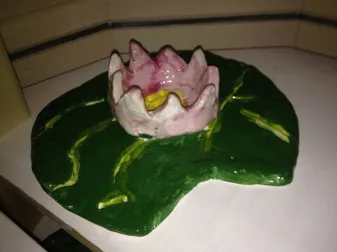
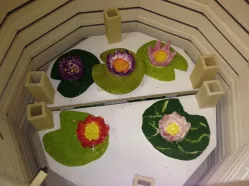
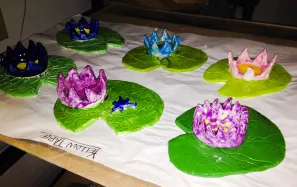
睡莲叶与花朵陶土入窑烧制
若您选用本课的任何部分(文字、图片或照片),请务必链接回Create Art with ME!
类似项目的其他范例:
莫奈的《睡莲》
睡莲陶土作品(仅图片)
美术教室:莫奈的《睡莲》
Lilypad & Lotus Flower Ceramics Lesson
Original: https://createartwithme.com/lilypad-lotus-flower-ceramics-lesson/
Date: 2014-11-03
Author: Michelle East
Categories: 2nd Grade, 3rd Grade, 4th Grade, 5th Grade, Art Lessons, Ceramics Lessons
Tags: ceramics lesson for kids, Easy 2 day art project., Elementary Ceramics Lesson, lily pad, lily pad and lotus flower ceramics lesson, lily pad clay, lily pad flower, lotus flower, monet lilies, monet lilies clay, pinch pot, Slab Method, teach both slab and pinch pot techniques
lily pad lotus flower ceramic slab pinch pot lessonI LOVE ceramics & this lesson is ADORABLE! Lily pad & Lotus Flower Ceramics Lesson is targeted for elementary (2nd-5th grade) and teaches both slab & pinch pot techniques.
You could adapted this to slightly older students by adding more detail & petals to the flower (4-6th).
FULL credit for this lesson goes to Artventurous’s Clay Lilypads, please check out Artventurous-there are LOTS of great art ideas for the elementary classroom!! My third grade class did it similarly with one exception-we attached our flower to the lily pad. This made glazing a little more difficult, but the flower stays on the lilypad.
Here is my lesson plan for this project- again if you use this please give credit to Artventurous’s Clay Lilypads.
Objectives:
- Identify the difference between relief and freestanding sculpture
- Biblical Integration: God made all plant life
- Recognize that plant life forms in art have been created by many cultures
- Create a ceramic sculpture using slab and additive methods
Delivery:
- Shapes are 2D & Forms are 3D.
- Sculptures are 3D forms. They have height, width and depth.
- Relief sculptures can only be viewed from the front &sides.
- Freestanding sculpture or Sculptures in the Round have empty space all around them. Freestanding sculptures can usually be seen all the way around them.
- View artwork examples of 3D ceramic sculptures & reference pictures for the sculpture we will create.
- Ceramic process: build ceramic artwork, let dry completely for 5-7 days (until Bone dry), fire in kiln (Bisqueware), glaze with ceramic glazes, fire again (Glaze Firing)
- Ceramics Vocabulary:
- Slab: Creating a ceramic form by hand-building walls using flat rolled-out pieces of clay.
- Slip: muddy, liquid clay used to attach two pieces
- Score: to make marks on the clay to attach two pieces
- Score and Slip Technique: Teacher DEMO Score and slip refers to a method of joining two pieces of clay together. First, score the clay; this means that you make scratches in the surfaces that will be sticking together. Then you slip it; that is you wet the surface with some slip, using it like glue. Next, you press the two pieces together. It is very important to always score and slip If you do not, the pieces will likely pop apart when they are fired.
Activity: 3D Lily Pad with Flower Bowl Sculpture
–Use clay to create a lily pad & flower bowl sculpture.
Lily Pad Instructions:
- Create the lily pad by rolling out a ball of clay (size of a baseball) into a slab about 6” in diameter. Used ¼” wooden paint sticks on either side of the clay to ensure the clay when rolled out is not too thin or too thick.
- Optional: Use a cardboard lily pad template to trace and trim out their leaf shaped piece.
- Use a needle tool or a paperclip that has be straightened to cut out the “V”
- Use wooden skewers or the end of a paintbrush to carve in the details of the veins, be careful not to press too deep into the slab.
Teacher Guided Demo: The teacher will demonstrate the process of rolling out the clay, tracing the circle template, cutting out the “V”, then adding the texture.
Flower Bowl Instructions: There are 2 methods of creating the flower bowl-pinch pot & slab-
Pinch Pot Method
- Give each student a ball of clay about 1.5” in diameter.
- Demonstrate how to create a pinch pot:
- Roll the moist clay ball in your hands to form a ball.
- Dip you thumb in water and stick it into the middle of the ball about 1/2 way down.
- Hold the clay ball with your left hand if you are right-handed or with your right hand if you are left-handed.
- Insert your dominant hand’s thumb into the hole and wrap your four remaining fingers over the top of the clay ball (The teacher may refer to this step as “puppet hand-Kermit the frog” for young students.). Keep these fingers together and GENTLY pinch with your thumb on the inside of the hole towards your fingers. This will make the interior wall of the clay ball thinner as you gently turn the ball while pinching slowly. (like Kermit is talking)
- If you start to get elephant skin (small crack or splits in the clay), the dip your finger in water then rub your finger back & forth over the crack until it is smoothed out.
- Continue to pinch and turn until your ball looks more like a pot.
-
Once the walls of the pot are an even thickness, (approx. the thickness of your pinky finger) shape the bottom of your pot by gently tapping it on your desktop to form a flat surface.
-
Flatten out the bottom of the bowl so a tea candle would sit on it properly.
-
Use the needle tool to cut the petals- use a “V” shape.
Slab Method
- Roll out a slab from a 2” ball of clay
- Cut out the flower shape.
- Drape the slab over a very small bowl or Styrofoam ball to create a curved flower form.
- Using different tools around the classroom they added details to the center of the flower.
Let the pieces dry 5-7 days until bone dry.
Bisqueware Fire
Glaze
Glaze fire
lilypad & flower clay in the kiln
If you choose to use any part of this lesson (written, graphic or photo), please link back to Create Art with ME!
Additional Examples of Similar Projects:
Monet’s Water Lilies
Waterlily Clay (picture only)
In the Artroom: Monet’s Waterlilies

 全程致敬并致谢 Artventurous 的陶土睡莲叶课,欢迎访问 Artventurous——那里为小学课堂提供了大量优质美术创意!我所带的三年级班级也采用类似方式完成本课,仅有一处不同:我们将花朵直接粘接在睡莲叶上。此举使上釉略显困难,但能确保花朵牢固附着于睡莲叶。

