生命之树丙烯绘画教案
原文链接:https://thatartteacher.com/2019/04/26/tree-of-life-acrylic-painting-lesson-plan/
日期: 2019-04-26
作者: Sierra Machado
分类: 长篇教案
标签: 丙烯绘画、美术、美术教育、美术教案、美术教师、美术教程、艺术家、艺术家社群、精选、精选、高中美术、如何绘画、初中美术、教案、初中美术、绘画、绘画教程、教我如何绘画、教学、美术教学、那位美术教师
考试季——教师词汇表中最令人畏惧的词之一。考试完全打乱了我们一整年辛苦建立起来的所有常规与课表!在我校,课表彻底颠倒,所有过渡环节和午餐时间都必须保持“安静”。而“安静”这个词,压根儿不在10至12岁孩子的词汇库里。
考试季期间,我力求设计一堂足够有趣、引人入胜的课,让学生们忘掉自己整个上午都在参加标准化考试!我希望这堂课是动手实践型的,但又不必过于烧脑;难度适中,且包含大量重复练习,以便他们掌握一项基础技法……
我决定以[重复调制浅色调](tints)与[重复调制深色调](shades)为切入点,教授基础丙烯绘画技法(https://youtu.be/pEb329hrvOA)。我知道五年级学生既喜爱又敬重丙烯绘画,因此我对原本常教的教案——[单色夜景风景画](https://youtu.be/vzIdF7MXkYA)——做了调整,使其更契合考试季学生的认知状态。
第一天:美术史讨论与树木素描
在艺术作品中融入树木形象的艺术家俯拾皆是,数以百计。我始终努力选用[多元背景的艺术家作品](https://thatartteacher.com/2019/01/21/9-inspiring-artists-to-make-your-teaching-more-diverse/),以下即是我为美术史讨论环节所选的几件作品。在整个单元教学中,我们会共同赏析一件作品:先描述所见内容,再提出一个关于艺术家的问题,接着做出评价性陈述,继而解读其含义,并最终对两件作品进行比较与对照。未来某天,我会专门发文汇总全部讨论提示语——它们切实有助于激发真实的美术批评思维,并自然融入各项美术史与美术批评课程标准。
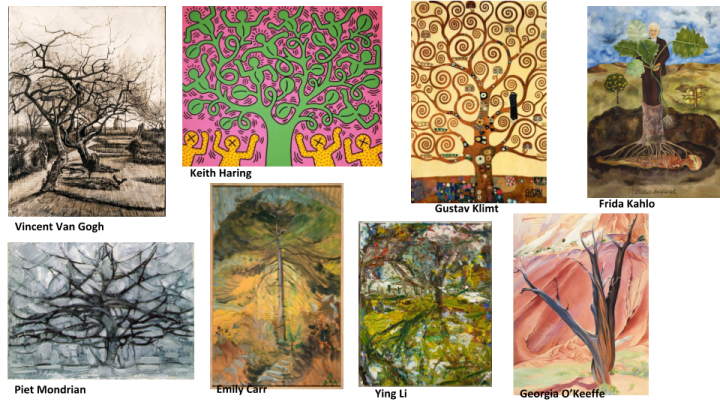
我通常首先介绍古斯塔夫·克里姆特(Gustav Klimt)的作品,随后学生按步骤完成[第一部分:树木素描](https://youtu.be/6zlYLSPKLKw)。我每每惊讶于学生觉得这一步竟如此困难。我会提醒他们:不必过分担忧铅笔线条,丙烯颜料完全可以将其完全覆盖!关键在于每条枝干必须完全延伸出画面边缘,或与其他枝干相连。这是一幅更具抽象意味的作品,我们需要清晰、封闭的区域,以便扎实掌握丙烯绘画技法。多数学生无法一天内完成全部素描,但足以填满若干区块,从而在下一节课进入绘画阶段。
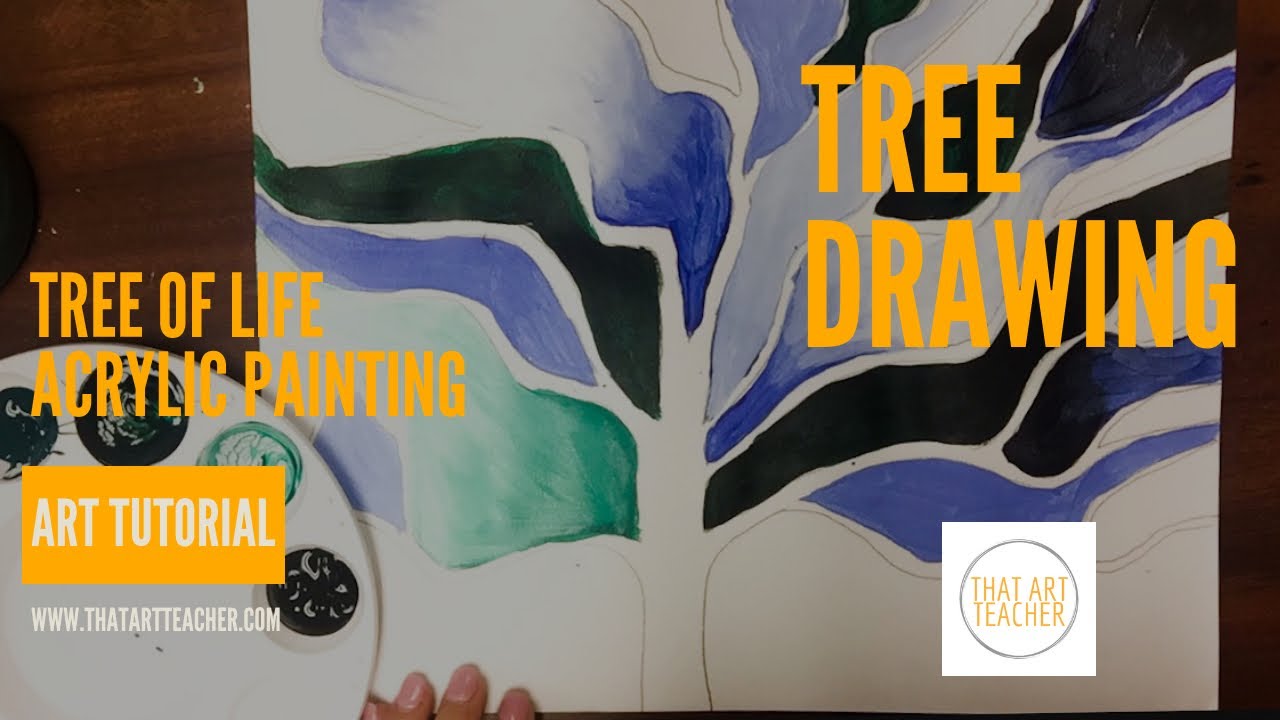
第二至三天:调制浅色调
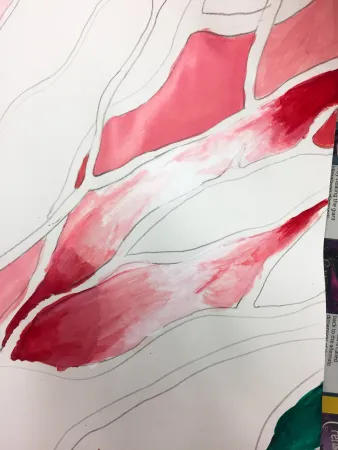
首次作画日总是异常忙乱。无论我事先计划得多么井然有序,实际操作总耗时极长,材料分发与收尾清洁也难免出现些许混乱。“如何在不制造巨大混乱的前提下,高效地将材料分发给学生并回收”,堪称美术教师每日施展的魔法绝技之一。
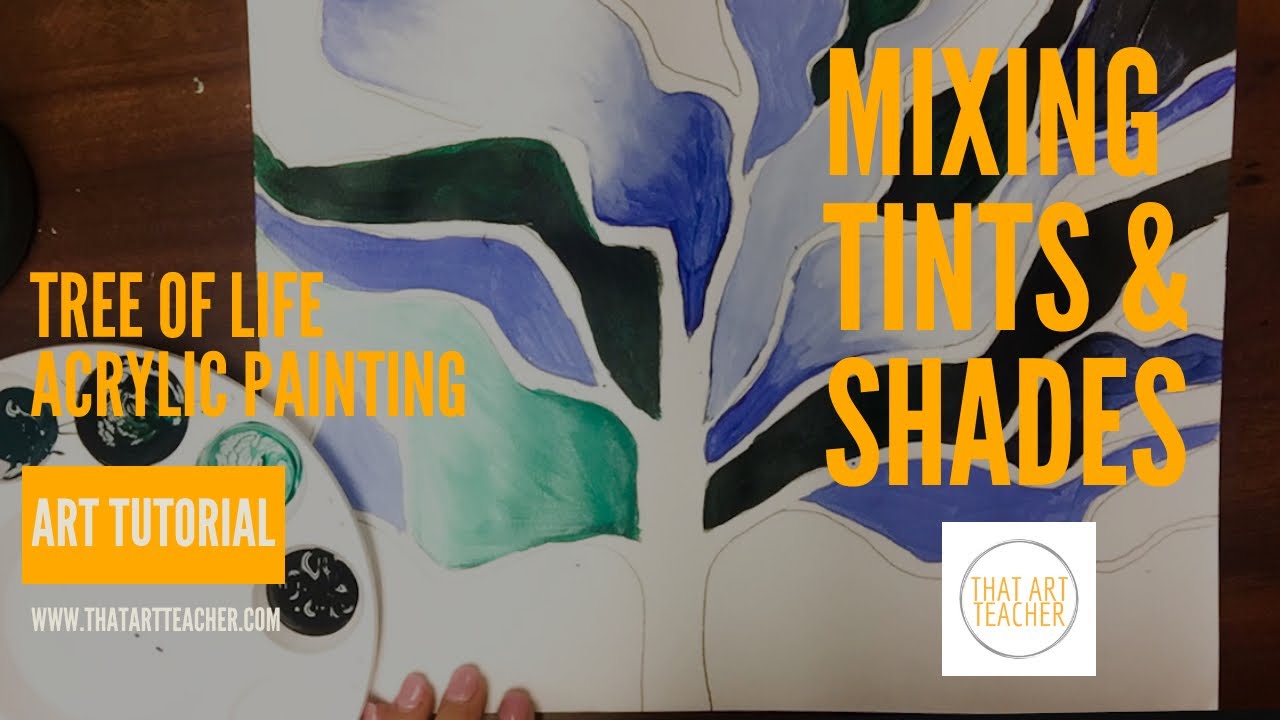
我在学生领取材料前,先播放这段[浅色调与深色调教程](https://youtu.be/pEb329hrvOA),以此确保他们的注意力聚焦于讲解本身,而非眼前杂乱的绘画材料。我总会记得,在学生起身行动前主动提问、确认理解,避免他们因分心而错过我的指导!
待材料分发完毕,我坐到实物投影仪(Elmo)前,带领全班逐步调制首个浅色调。我的规则是:未完成颜料调制并填满一个区块者,不得举手提问。当我完成自己的浅色调后,学生便同步作画;我随即起身巡视,逐一检查作业。“太棒了!”“噢,这个浅色调真漂亮!”——配合一个热情洋溢的大拇指,对初涉绘画、信心不足的学生而言,效果非凡。同样,一句真诚的反馈如“请把画笔上的水擦得更干些”或“效果不错,下次注意别让颜料涂到枝干轮廓线内”,也广受学生欢迎。当他们及时收到具体、中肯的点评时,往往惊喜不已。多数学生以为美术老师只会敷衍地说“都很好看”;看来,我还没收到那条“潜规则”备忘录……
首日绘画主要围绕颜料取用与清洁流程展开讨论。我将此环节拆分为两个45分钟课时:第二课时则专用于复习操作规程与绘画技法。
第四天:渐变色
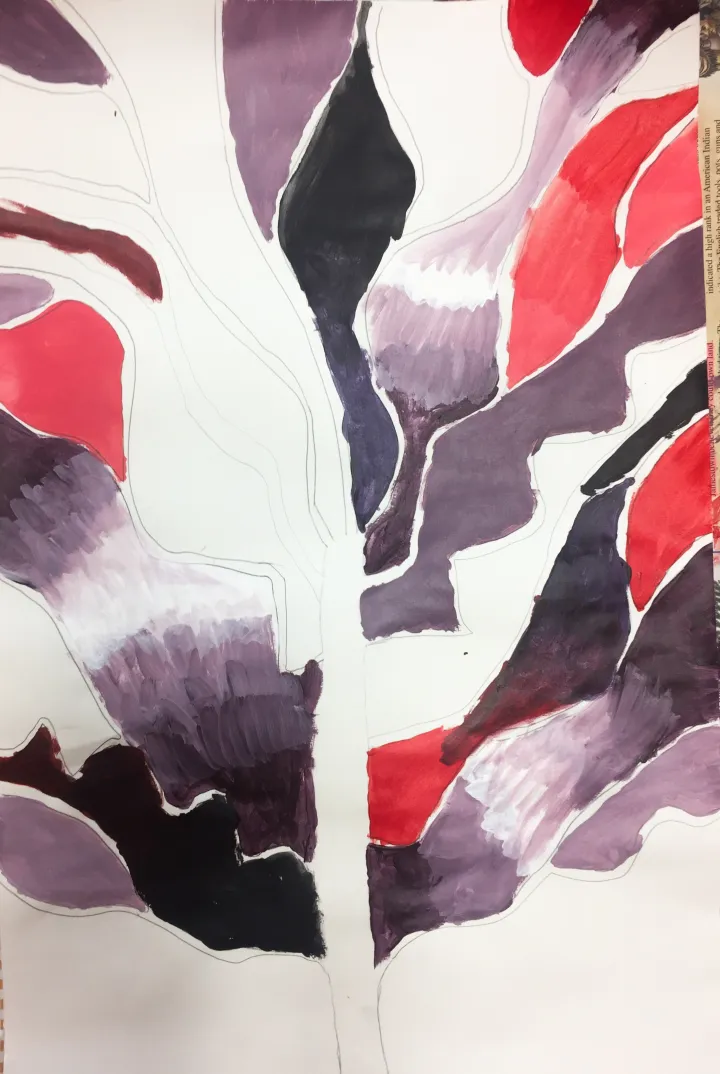
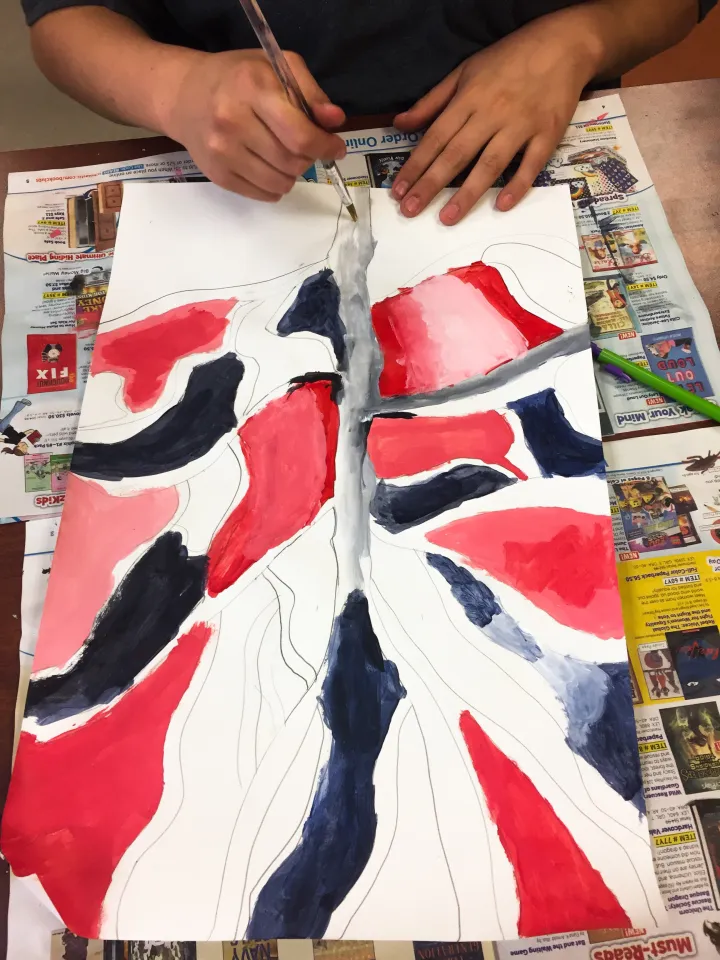
当学生已充分练习后,我们便“进阶”——用已调好的浅色调绘制渐变效果。我示范如何先在画面四角铺陈基础色,再于中央加入白色并朝四周基础色方向晕染,从而形成自然过渡的渐变。这对五年级学生而言挑战不小,我开诚布公地提前告知他们这一点。我强调:该技法需反复练习,亦是运用画笔塑造三维立体感的基础。我每每惊叹于五年级小艺术家所能达到的高超水准,同时亦对学习吃力的学生给予充分包容与体谅。
第5天:深色调
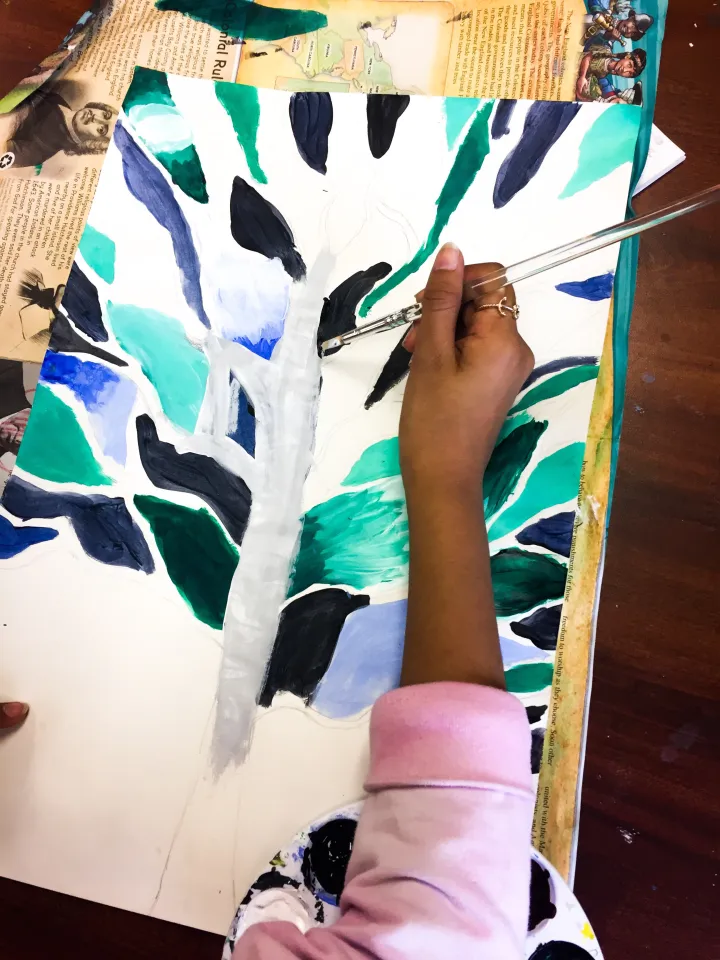
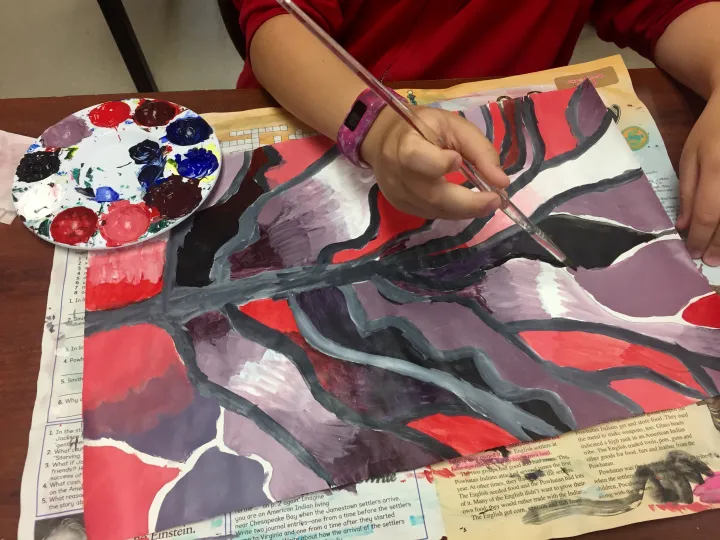
在学生已尝试过浅色调与渐变后,我开始讲解如何绘制深色调。我仍要求学生仅使用基础色与白色作画,以保持调色板整洁有序。待我确认学生已掌握该技法后,再引入第二种基础色与黑色用于调配深色调。我向学生说明:黑色与白色混合可得到灰色;虽然用黑色调和浅色调并不算错,但会使颜色变得极为中性灰暗。我强调调色板须干净整洁,每种颜色都应保持纯净,并且只在指定区域进行调色。
我还指出:某些深色调(主观判断,我清楚这点)不如其他色调“悦目”。例如黄色调出的绿色显得怪异,橙色则极易变成深褐色等。学生可自由选择任一基础色,但本课亦可灵活调整为单色系、互补色、分裂互补色等方案;学生还可自行调配间色与复色!具体实施方式取决于您的课时安排与教学魄力,以及所教年级。我本人绝对会在高中《美术1》课程中布置此项作业(并配以稍严格些的评分标准😉)。
第5–7天:树木绘画
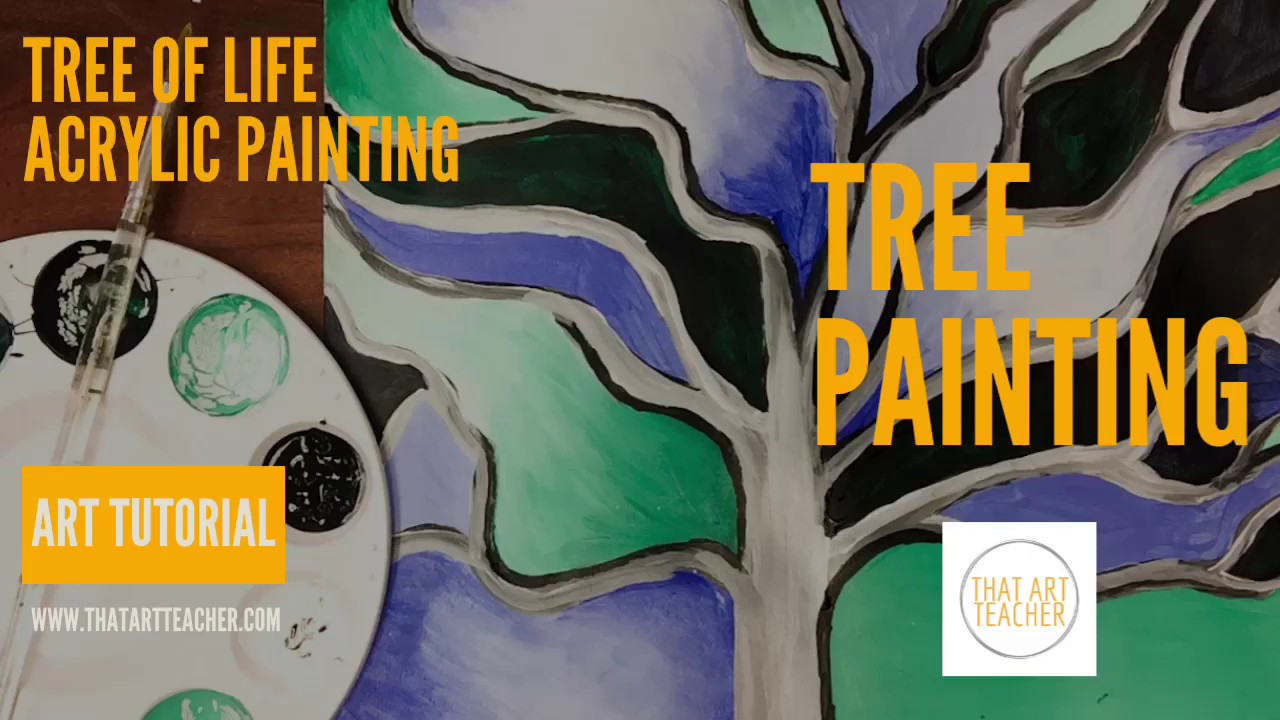
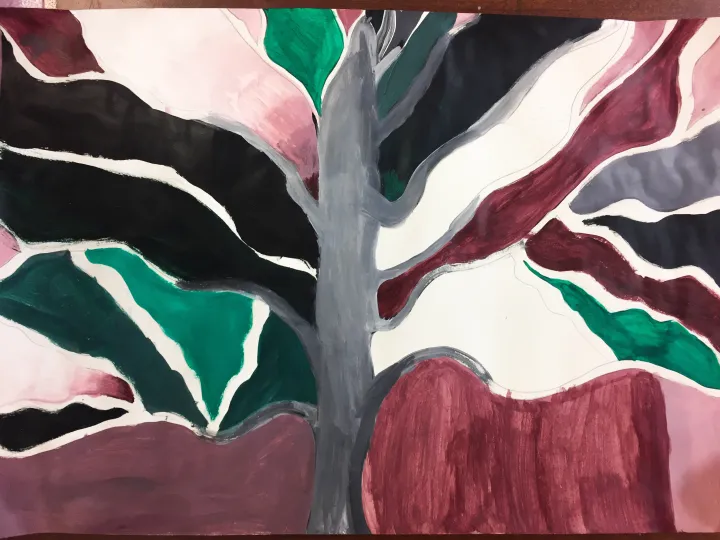
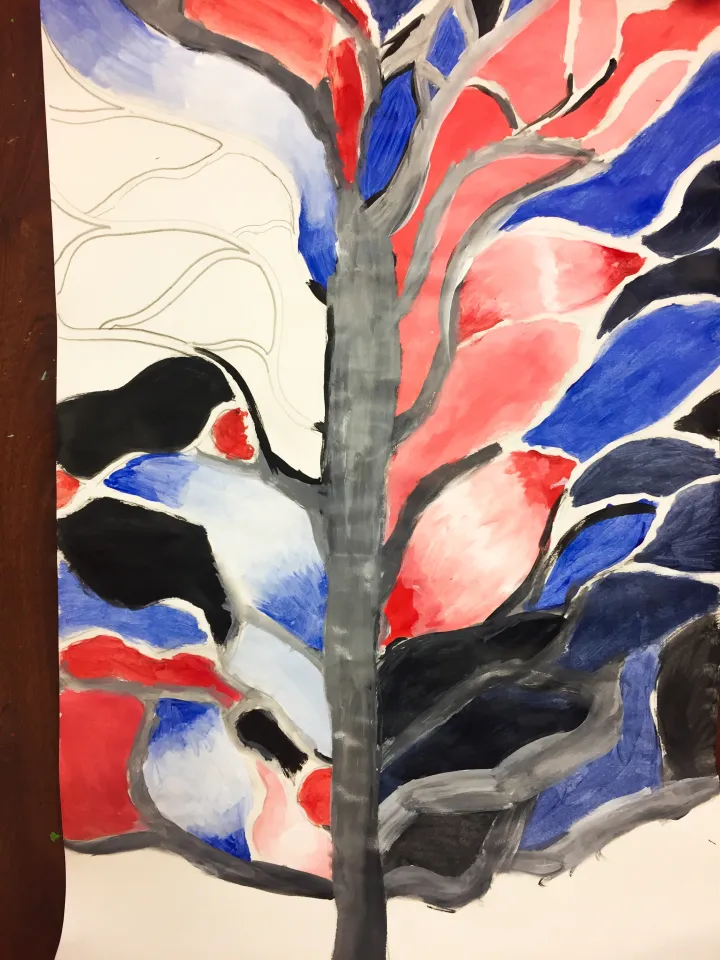
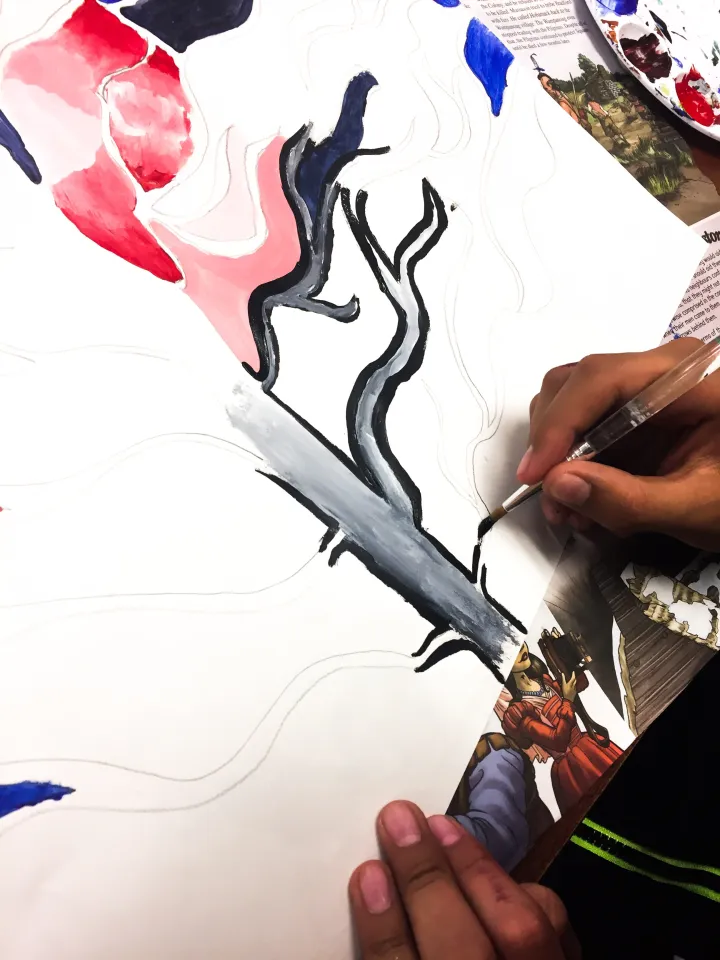
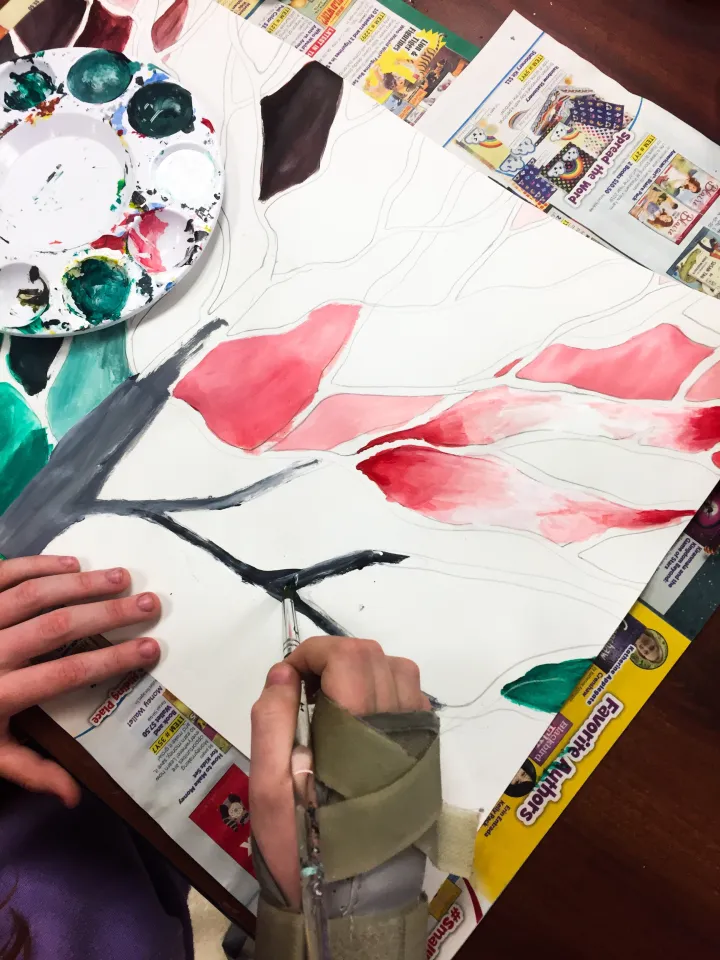
关于树木的表现,我曾颇费思量。我一度考虑将其涂成纯白或纯黑,但希望增加一点挑战性。此次我决定采用灰色树木,以便学生持续练习渐变技法,并探索明暗关系。学生需至少两个课时才能完成整幅作品。第三天,我通常重点提醒学生注重工艺品质,并示范如何运笔拉出平滑线条。我不强制要求学生勾勒每一根枝条,但会演示此技法——用以遮盖调色过程中出现的失误。
每种技法回顾完毕后,我让学生自主选择当日专注练习的内容。部分学生倾向逐项完成,另一些则喜欢在不同技法间灵活切换。
第8天:评估
待补做时间结束后,便进入提交环节!我总会组织学生开展画廊式观展,彼此欣赏同龄人的作品。有时我们投票评选“学生最爱奖”,有时每人给另一位同学写一条赞美之词,有时则进行同伴互评(通常采用“两颗星与一个愿望”的格式)。
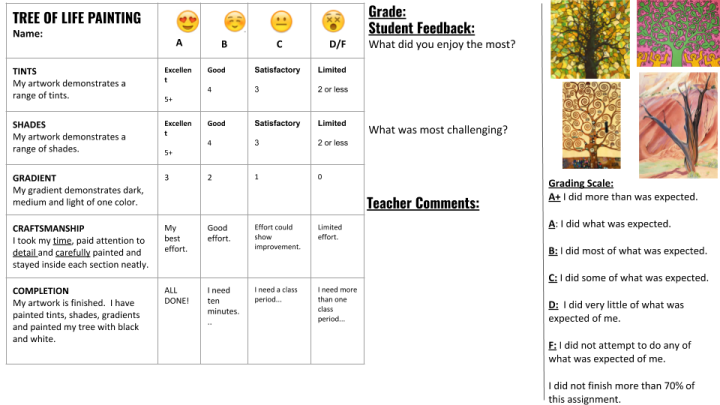
待趣味环节结束,我们最后共同梳理一遍评分标准,学生据此填写自评成绩与评语。我始终坚持先由学生自我评分——这能增强其主体意识与责任意识;既便于我后续评分,也使学生全面了解自身优势与不足。
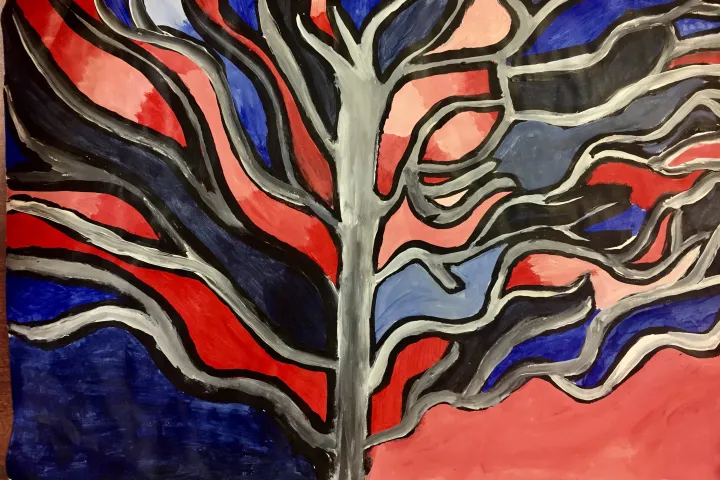
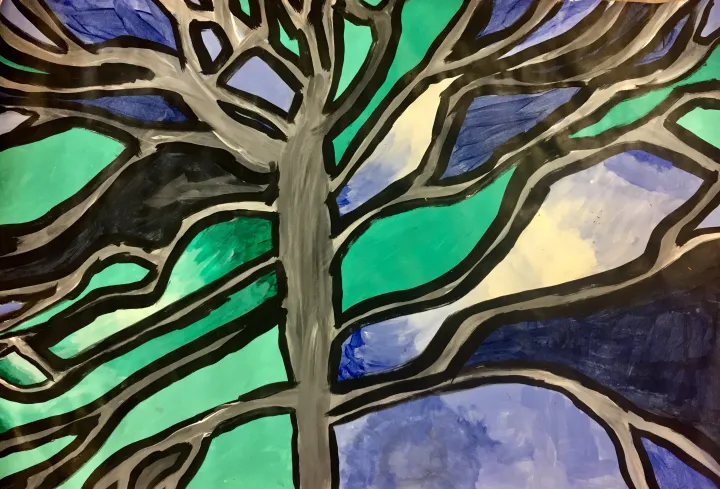
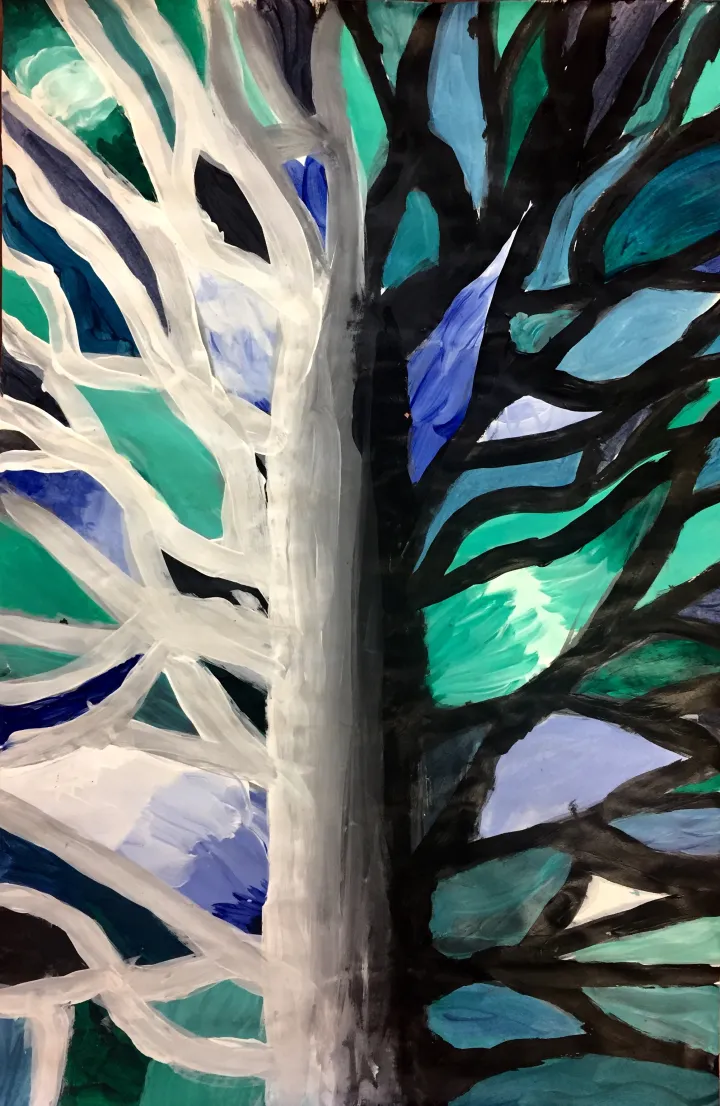
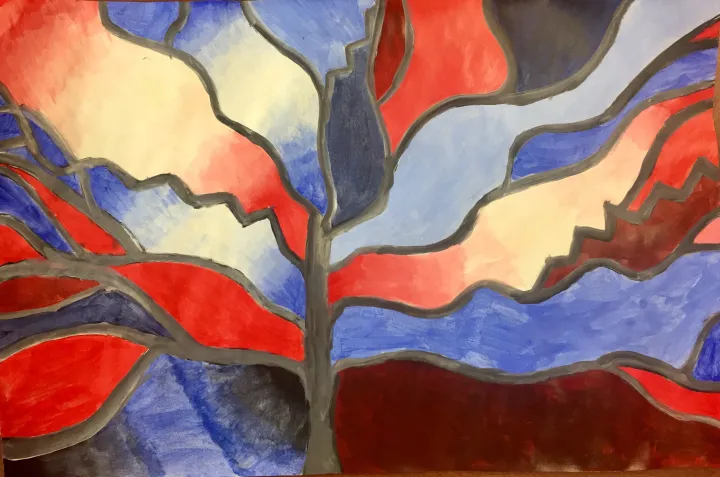
这件作品成为我们应对令人畏惧的考试日时,一种既轻松又耗时的理想活动。学生步入教室后,能自信投入创作,在经历一上午的考试后,依然被这件富有趣味性的艺术实践所吸引。学生们告诉我,这件作品让他们联想到彩色玻璃、羽毛、迷彩图案与孔雀尾羽。他们尤其喜爱了解如此广泛多样的艺术家。
您最常用的丙烯绘画教案是什么?您如何度过考试季?您最钟爱的风景画家是谁?
立即订阅,不错过任何一则美术教案或教程!
订阅
Tree of Life Acrylic Painting Lesson Plan
Original: https://thatartteacher.com/2019/04/26/tree-of-life-acrylic-painting-lesson-plan/
Date: 2019-04-26
Author: Sierra Machado
Categories: long form lesson plan
Tags: acrylic painting, art, art education, art lesson plan, art teacher, art tutorial, artist, artist community, featured, feautured, high school art, how to paint, intermediate school art, lesson plan, middle school art, painting, painting tutorial, teach me how to paint, teaching, teaching art, that art teacher
TESTING SEASON. One of the most dreaded words in a teacher’s vocabulary. Testing completely throws off any routine or schedule we’ve worked hard all year to maintain! For my school, we completely flip-flop schedules and have SILENT transitions and SILENT lunches. Silent is not in a 10-12 year old’s vocabulary.
During test seasons, I try to teach a lesson that is so interesting and engaging students forget they spent all morning taking a standardized test. I want it to be hands on but not something that has to be really mind bending. Something that is hard enough but has a lot of repetition so they can master a basic technique…
I decided to teach basic acrylic painting techniques using repeated tints and repeated shades. I knew that 5th graders loved (and respected!) acrylic painting, so I revised the lesson I usually teach, Monochromatic Night Landscape, to something a little more testing brain friendly.
Day One: Art History Discussion & Tree Drawing
Finding an artist that incorporates trees in their artwork is easy. There are hundreds of artists to look at. I try to always include a diverse mix of artists and the following artworks are what I select from for my art history discussion prompts. Throughout the unit, we look at an artwork and describe what we see, ask an artist question, make an evaluation statement, interpret the meaning and compare and contrast two works of art. One day I will make a post with all of my prompts. They really help encourage real art criticism and tie in all of those art history and criticism standards.
I usually introduce Gustav Klimt’s artwork first and then students follow the steps for Part One: Tree Drawing. I’m always surprised at how tricky students find this step. I remind them to not worry too much about their pencil lines, acrylic paint will cover that right up! It’s important that each branch goes completely off the page or connects to another branch. This is a more abstract work of art and we need nice contained areas to master our acrylic painting technique. Most kids won’t finish this in one day, but will have enough sections filled to move on to painting the next class period.
Day 2-3: Mixing Tints
The first day we paint is ALWAYS hectic. It doesn’t matter how organized I plan to be, it always takes forever and there is always a little confusion with getting materials and clean-up. Finding a routine for getting materials to and from students without making a giant mess is one of an art teacher’s daily magic tricks.
I show this tints & shades tutorial before students get materials and that keeps their focus on instruction and NOT on the messy materials in front of them. I try to remember to ask for clarifying questions before students get up and start moving so they don’t tune me out!
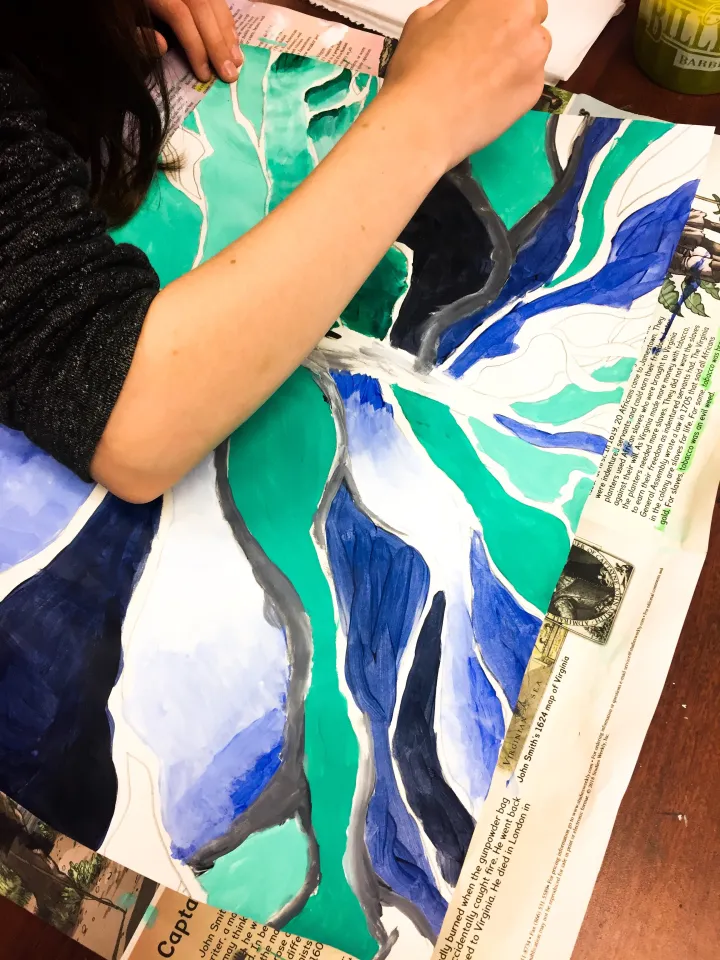
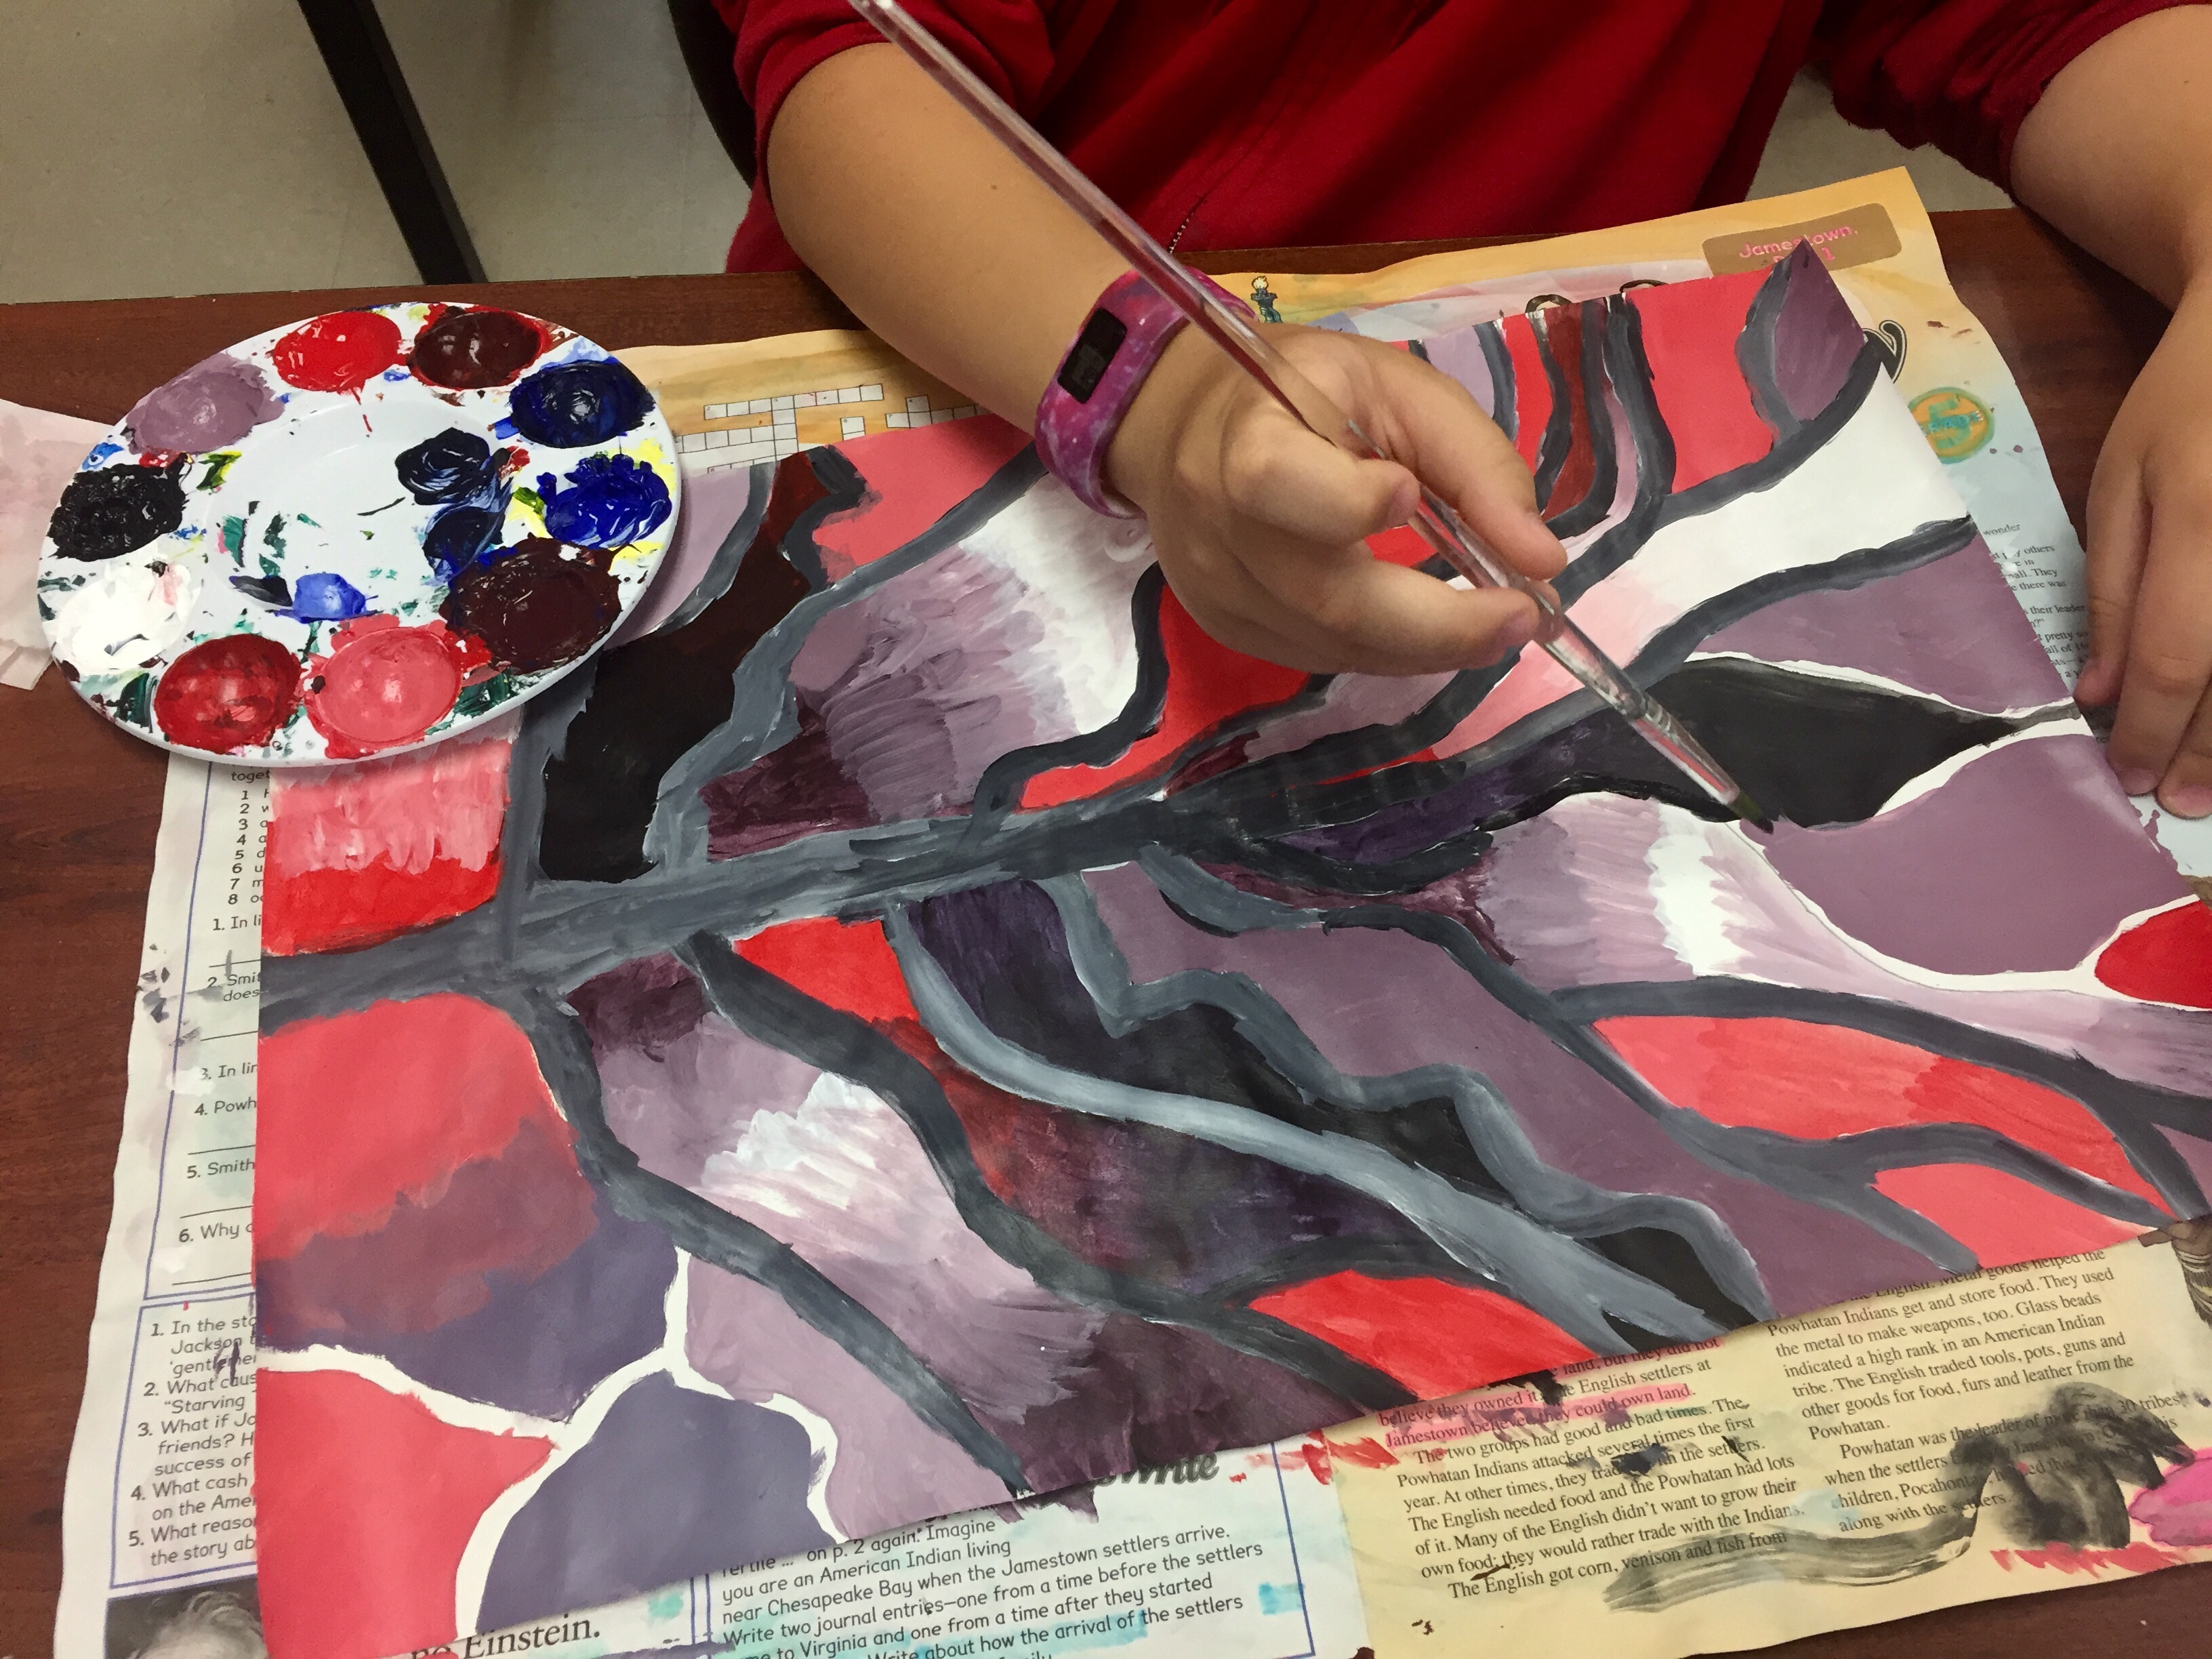
Once materials have been gathered, I sit down with my Elmo document camera and we each step-by-step mix our first tint. My rule is no one can raise their hand until they have mixed paint and filled a section. Once I’m finished with my tint, they paint along with me, I get up and visually check their work. “Great job!” “Ohhhh, that’s a pretty tint!” and a cheerful thumbs up goes a long way with hesitant newbie painters. An honest “try to wipe more of the water off your brush” and “looks good, next one try to not get paint inside you branch” is appreciated too. Students are always pleasantly surprised when I offer timely and specific feedback. Most students think their art teachers lie to them and just tells them everything looks good. I guess I didn’t get that memo…
The first day of painting tints is mostly discussion of how to get paint supplies and how to clean them up. I break this into two 45 minute class periods and the second day is just a review of the procedures and painting technique.
Day 4: Gradients
Once students have plenty of practice we “level up” by painting a gradient with our tint. I model how to put the base color in the corners and blend the white in the middle and out to the base color again to make a gradient. This is asking a lot from 5th grade students and I tell them this up front. I make sure they know this technique takes practice, and it’s the baseline for making anything look three dimensional with a paintbrush. I am always SO impressed with how advanced a 5th grade artist can be, and I give grace to students who struggle.
Day 5: Shades
I introduce how to paint a shade after students have had time to experiment with tints and gradients. I want to still limit their colors to just their base color and white so their palettes stay organized. Once I know students have the hang of it, we introduce a second base color and black for mixing shades. I explain how black and white make gray, and although it’s not wrong, mixing a tint with black will gray it out to a very neutral color. I emphasis a clean and organized palette and keeping each color clean and only mixing in one space.
I also explain that some colors aren’t as “pretty” (subjective, I know) as other shades. Yellow makse a funky green, orange turns really brown etc. Students can pick whatever base color they want, but this lesson could totally be revised to include a monochromatic color scheme, complimentary colors, split compliments etc. Students could also mix their own secondary and tertiary colors too! It’s whatever you have the time and gumption for, depending on your grade level. I would totally do this assignment in a high school Art 1 class (with a little bit of a stricter rubric 😉 ).
Day 5-7: Tree Painting
I really struggled with what to do with the tree. I thought about painting it solid white or black, but I wanted a little bit more of a challenge. I decided this time to do gray trees so they could continue their practice of making gradients and playing around with darks and lights. This takes a least two class periods for students to completely finish. I usually spend the third day reminding students about craftsmanship and how to pull a paint brush to create a smooth line. I don’t require that students outline each branch, but I show that as a technique to cover up any “oopsies” from their paint mixing.
After each technique has been reviewed, I give students the choice about which one to focus on for the day. Some students want to do one at a time and others want to bounce all over the place.
Day 8: Assessment
After some time for make up work, it’s time to turn these bad boys in! I always do a gallery walk with my students so they can look at their classmates art. Sometimes we vote for student choice awards, sometimes we write a compliment for another student, sometimes we do a peer critique (two stars and a wish, typically).
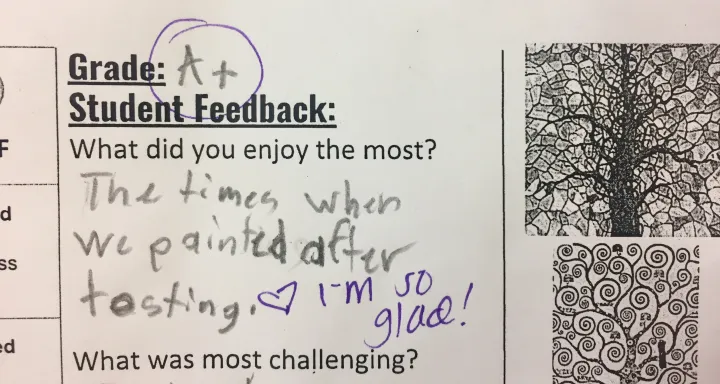
Once the fun stuff has been done, then we go over the rubric one last time and they fill in their grades and comments. I ALWAYS have students grade themselves first. It gives them ownership and accountability. It makes it much easier for me to grade and it makes students completely aware of their strengths and weaknesses.
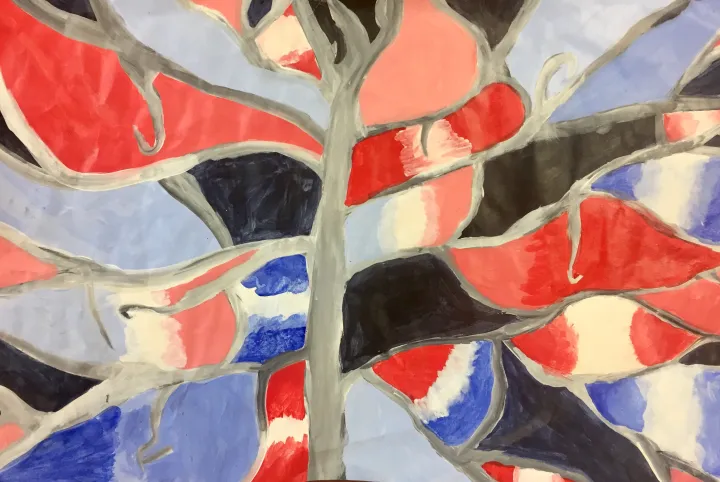
This artwork was such a relaxing and time consuming way to spend our dreaded testing days. Students could come in to class and confidently get to work on an artwork that was engaging after spending all morning taking a test. Students told me this reminded them of stained glass, feathers, camouflage and peacocks. And they loved learning about such a broad range of artists.
What are your go to acrylic painting lessons? What do you do to survive testing seasons? Who is your favorite landscape artist?
Subscribe here to never miss an art lesson plan or tutorial again!
Subscribe