甜蜜的款待和大胆的色彩:韦恩·蒂博启发的冰淇淋艺术
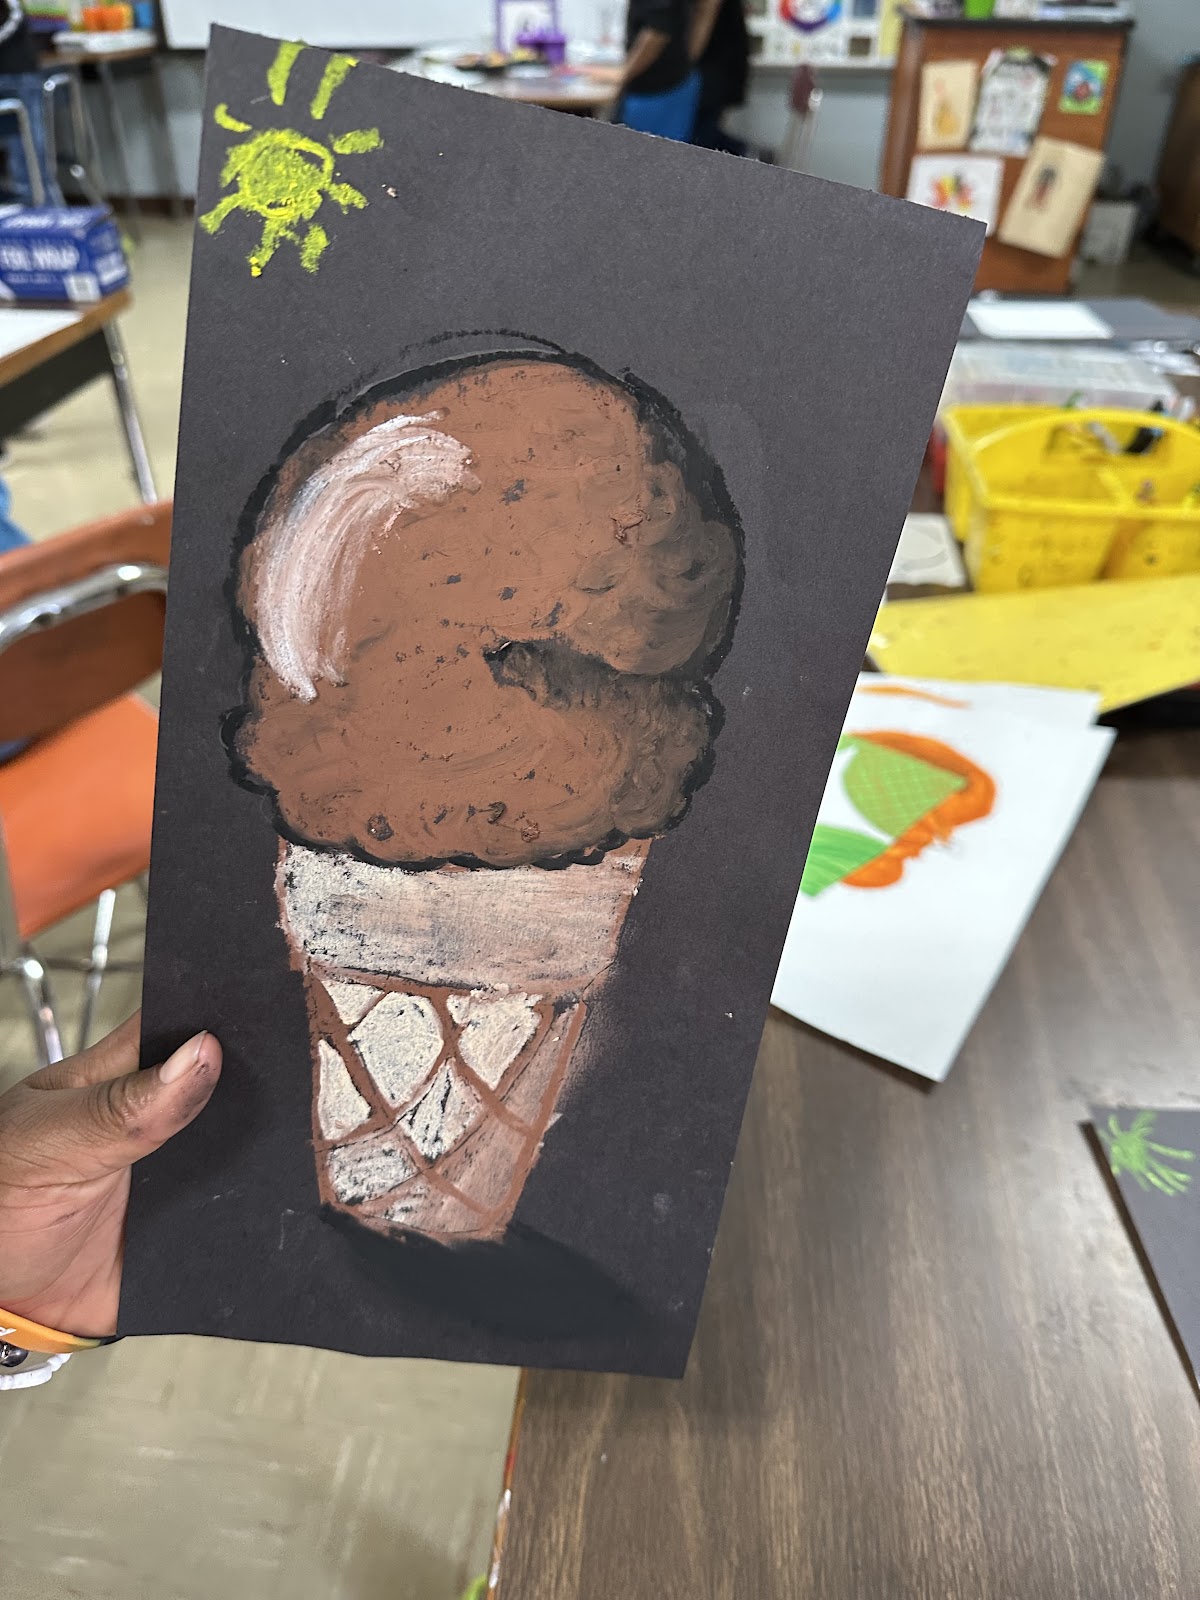
本周,在我们的小学美术课堂上,我们深入探索了美国艺术家韦恩·蒂博那五彩缤纷的艺术世界。他以充满奇趣、以甜点为主题的绘画而闻名,作品中饱含浓郁的色彩、强烈的阴影与诱人的细节。我们的小艺术家们用油画棒在黑色卡纸上创作出属于自己的鲜活冰淇淋蛋筒画作,成果之甜美,丝毫不逊于灵感来源!
本课源自杰出美术教师乔尔·肖尔滕!您可在此下载他的冰淇淋模板:点击此处!
韦恩·蒂博是谁?
韦恩·蒂博(发音为“提-博”)以描绘日常物品著称——尤其是蛋糕、派和冰淇淋蛋筒等甜点。他运用厚重、明艳的颜料与强烈的阴影,使食物看起来既美味可口又富有个性。我们共同欣赏了他的作品,并探讨他是如何凭借色彩、造型与趣味,将简单的甜点升华为严肃的艺术。
所需材料:
- 黑色卡纸 点击查看我最钟爱的卡纸品牌
- 油画棒
- 铅笔(用于起稿。链接中是我最喜爱的品牌)
- 冰淇淋蛋筒的参考图片(或真实样品!)
- 可选:纸巾或手指(用于晕染)
🎨 创建艺术品的步骤:
- 勾勒蛋筒轮廓
学生先用铅笔轻轻画出冰淇淋蛋筒的外形——从底部的蛋筒开始,再在其上方叠加一个或两个球状冰淇淋。
- 用油画棒上色
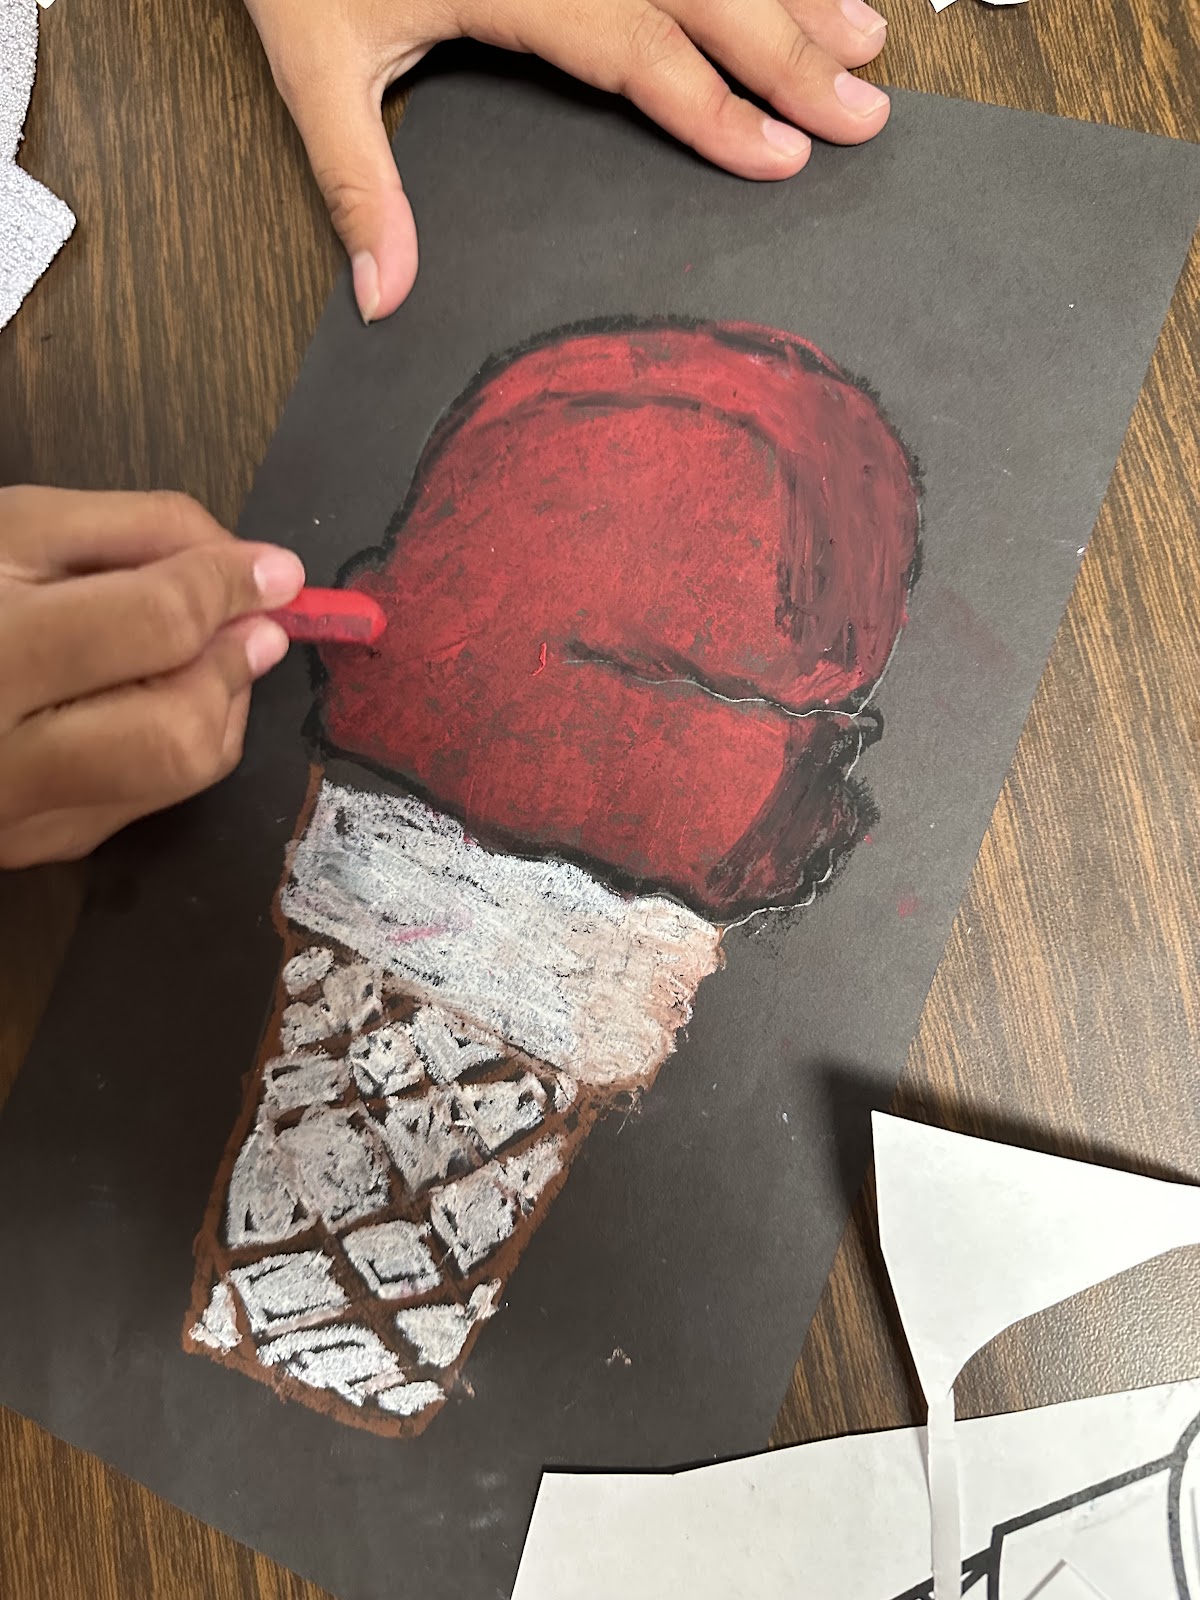
学生挑选自己最爱的口味(可以是真实的,也可以是想象的!),用油画棒为画面填色。他们通过叠色营造层次感与高光效果——正如同蒂博的风格。
- 晕染与明暗处理
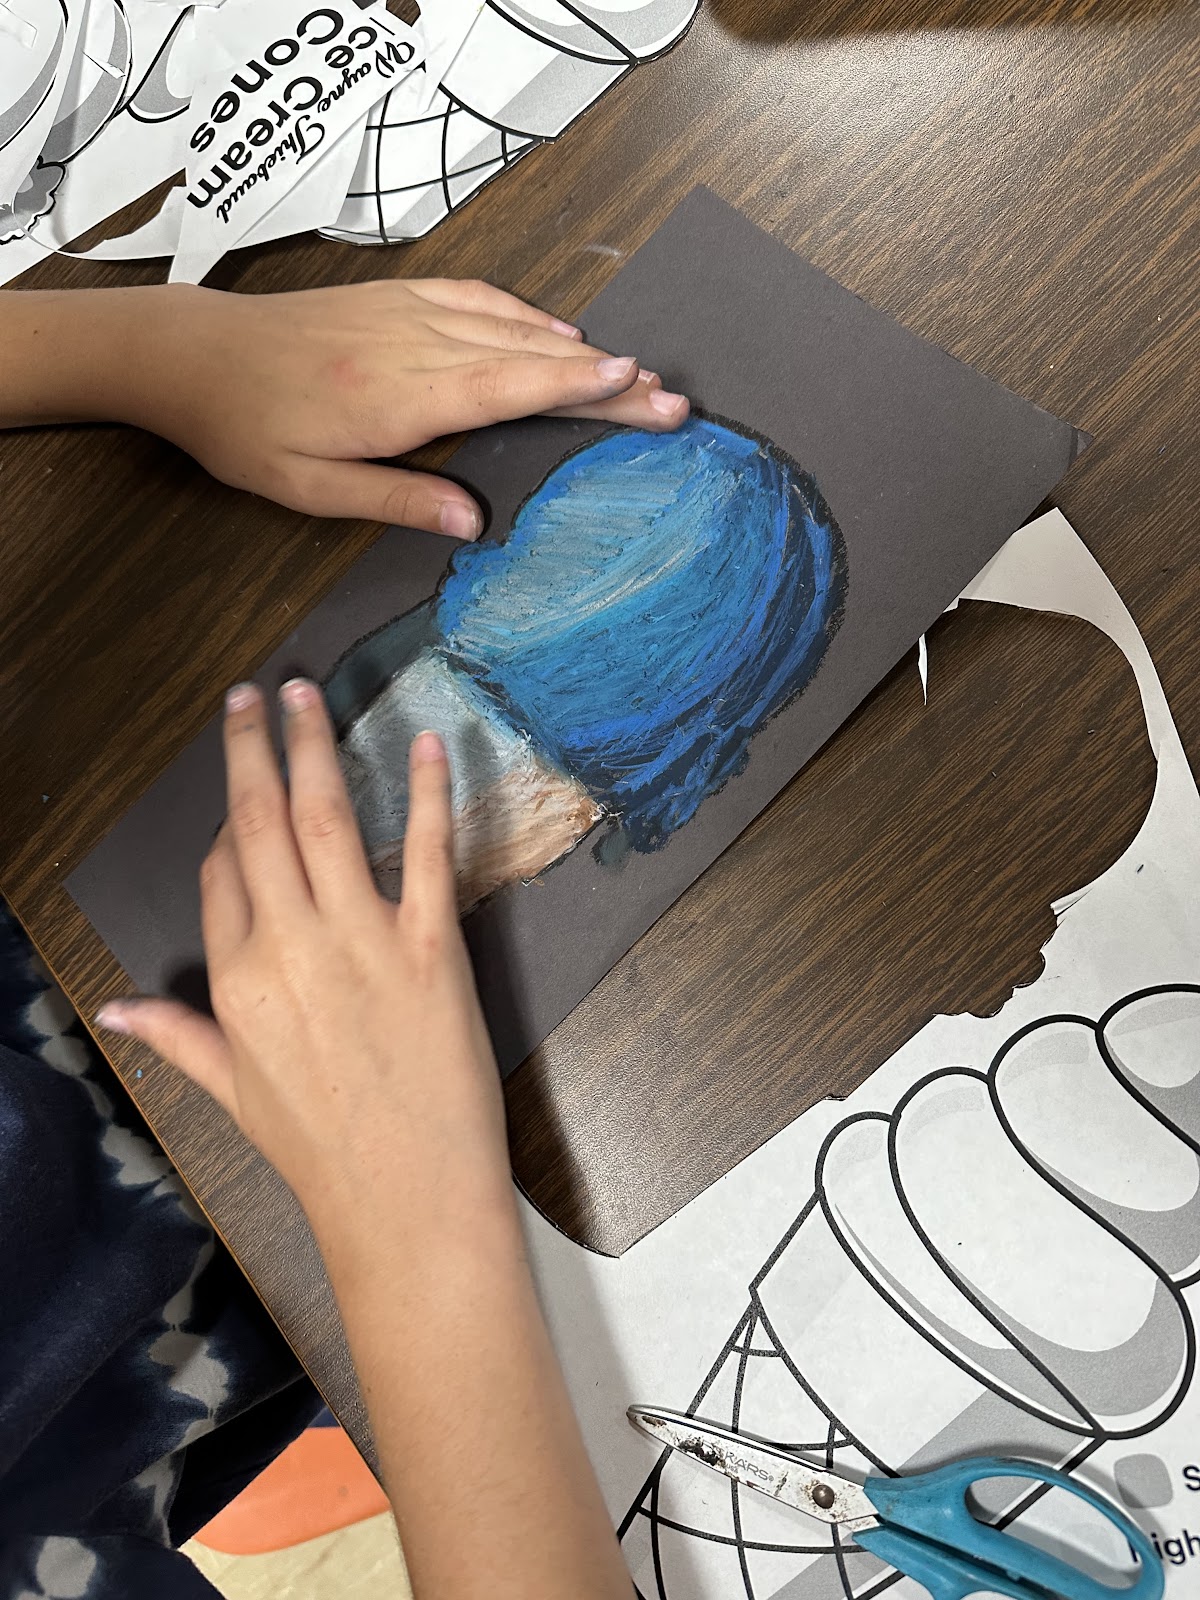
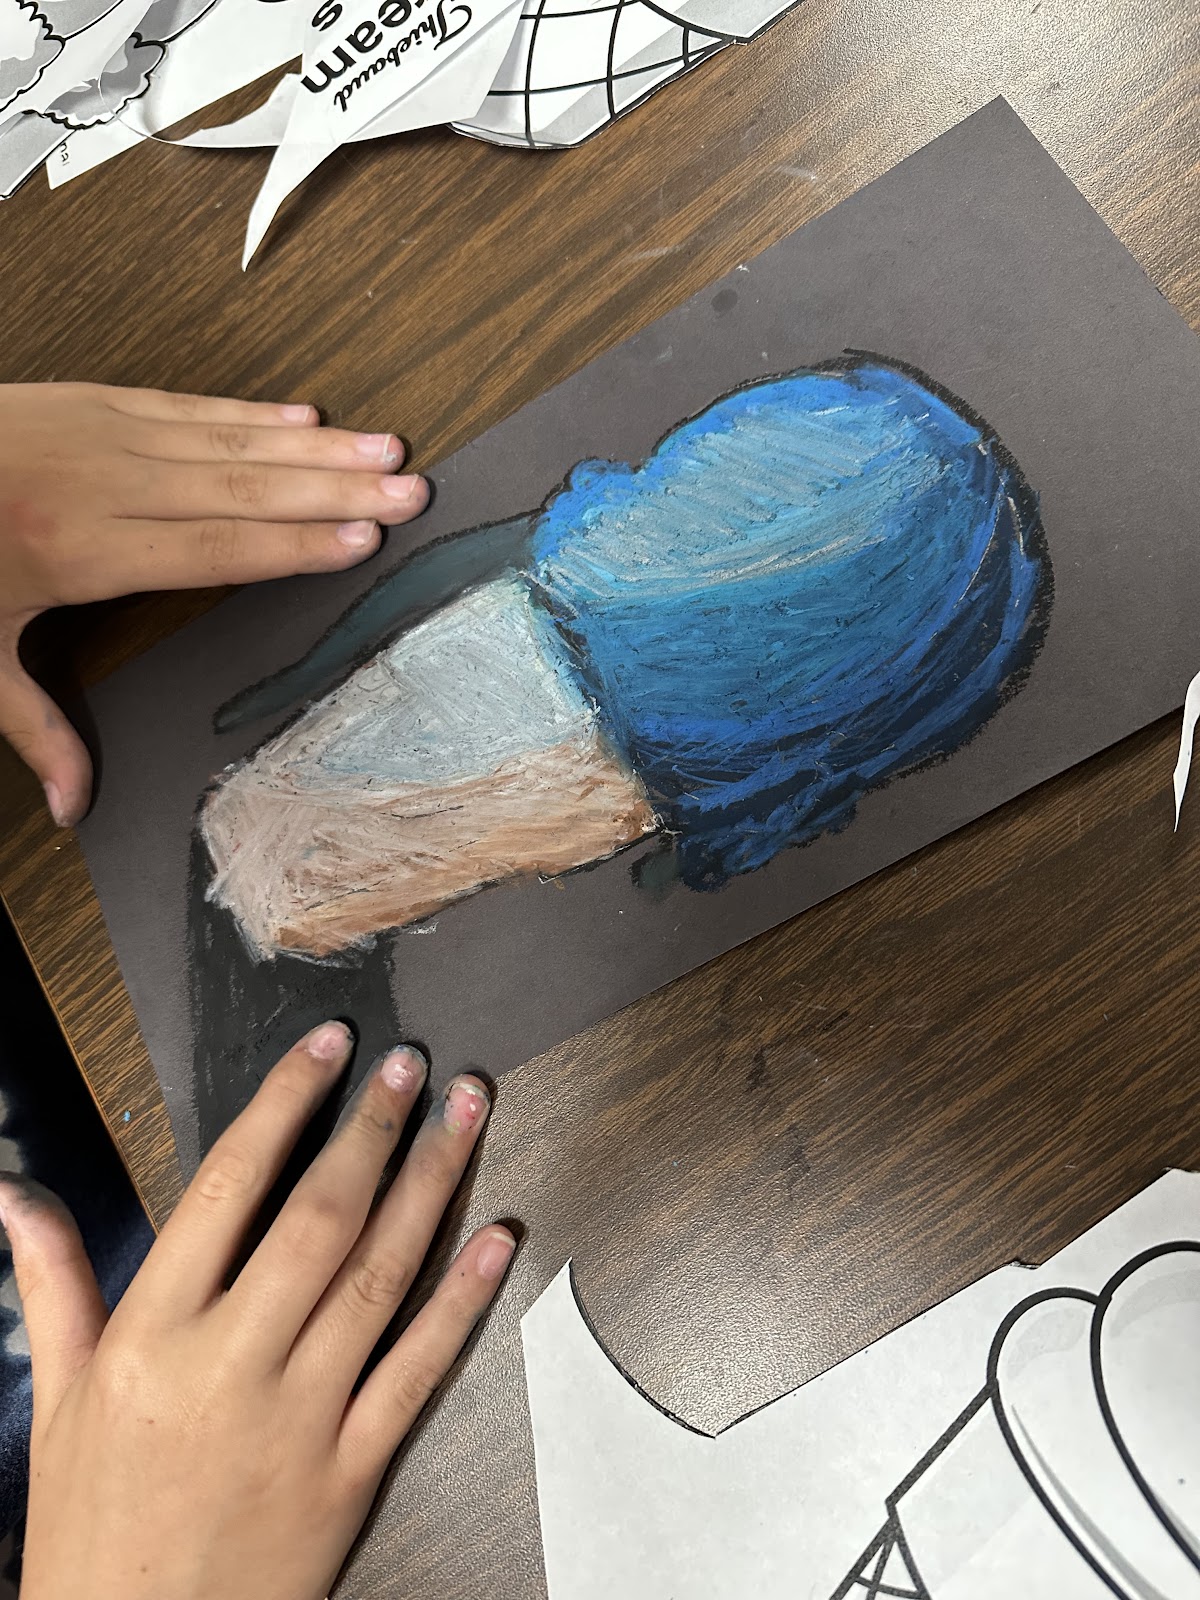
我们用手指或纸巾轻柔晕染油画棒色彩,使冰淇淋球体呈现平滑质感。学生还添加了更深的轮廓线与阴影,让蛋筒“跃然纸上”,模仿蒂博标志性的强烈明暗对比。
- 刻画蛋筒肌理
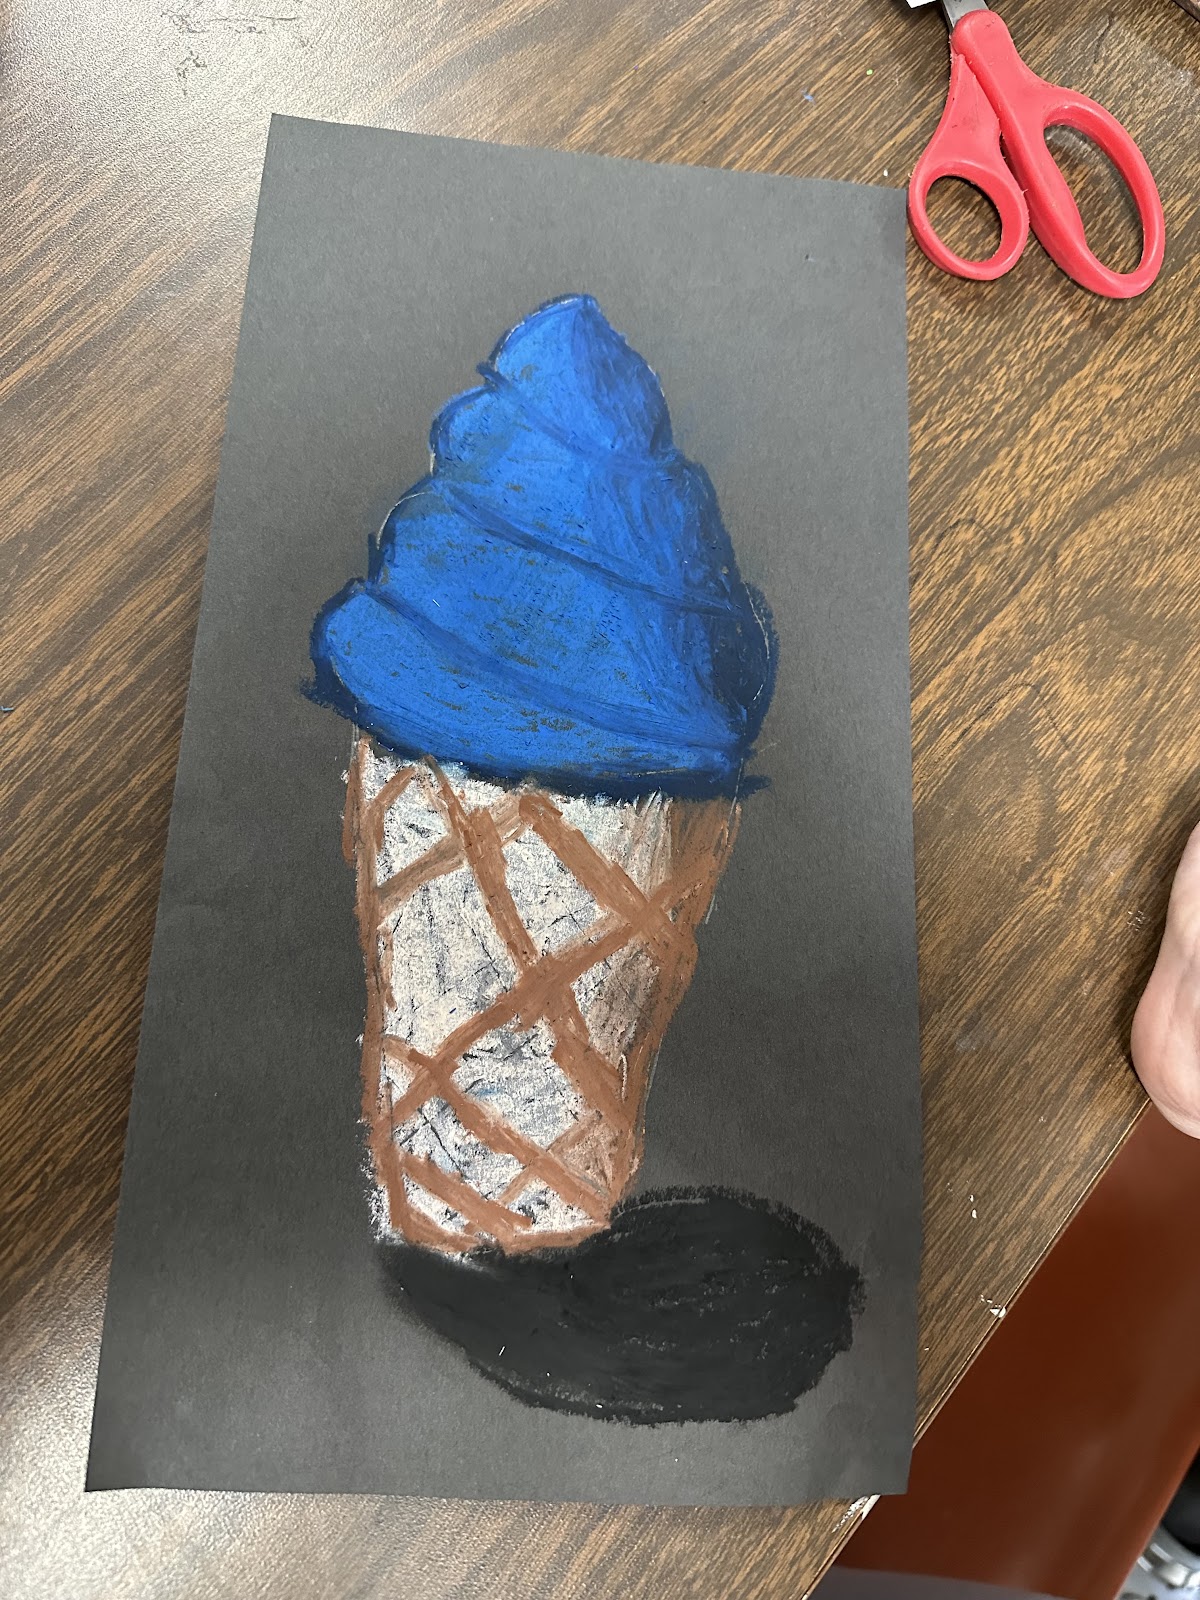
蛋筒表面添加网格状纹理,使其更显真实;许多学生也在此处叠加了棕色、橙色与米白色等多层色彩。
- 最终润饰
快速检查是否遗漏高光、轮廓线或个性 flair!有些学生甚至添上了融化的滴痕与额外的冰淇淋球。
🍨 学生焦点:
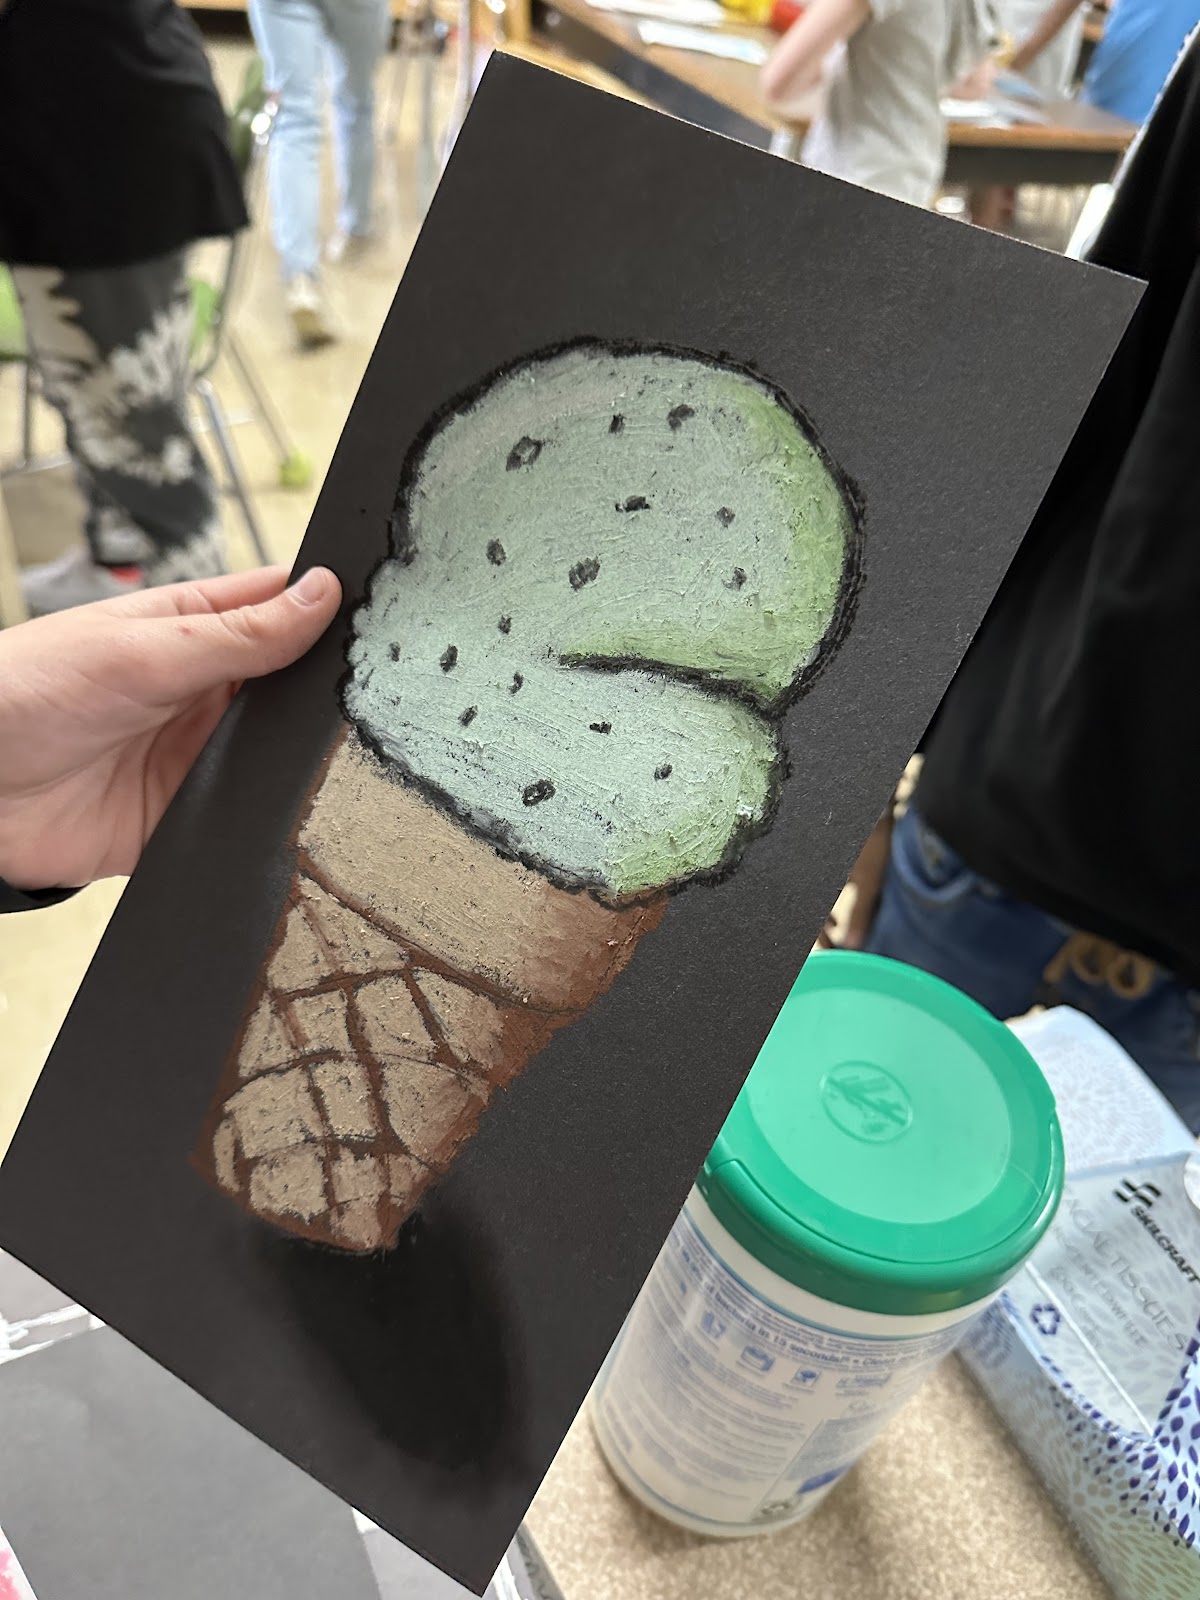
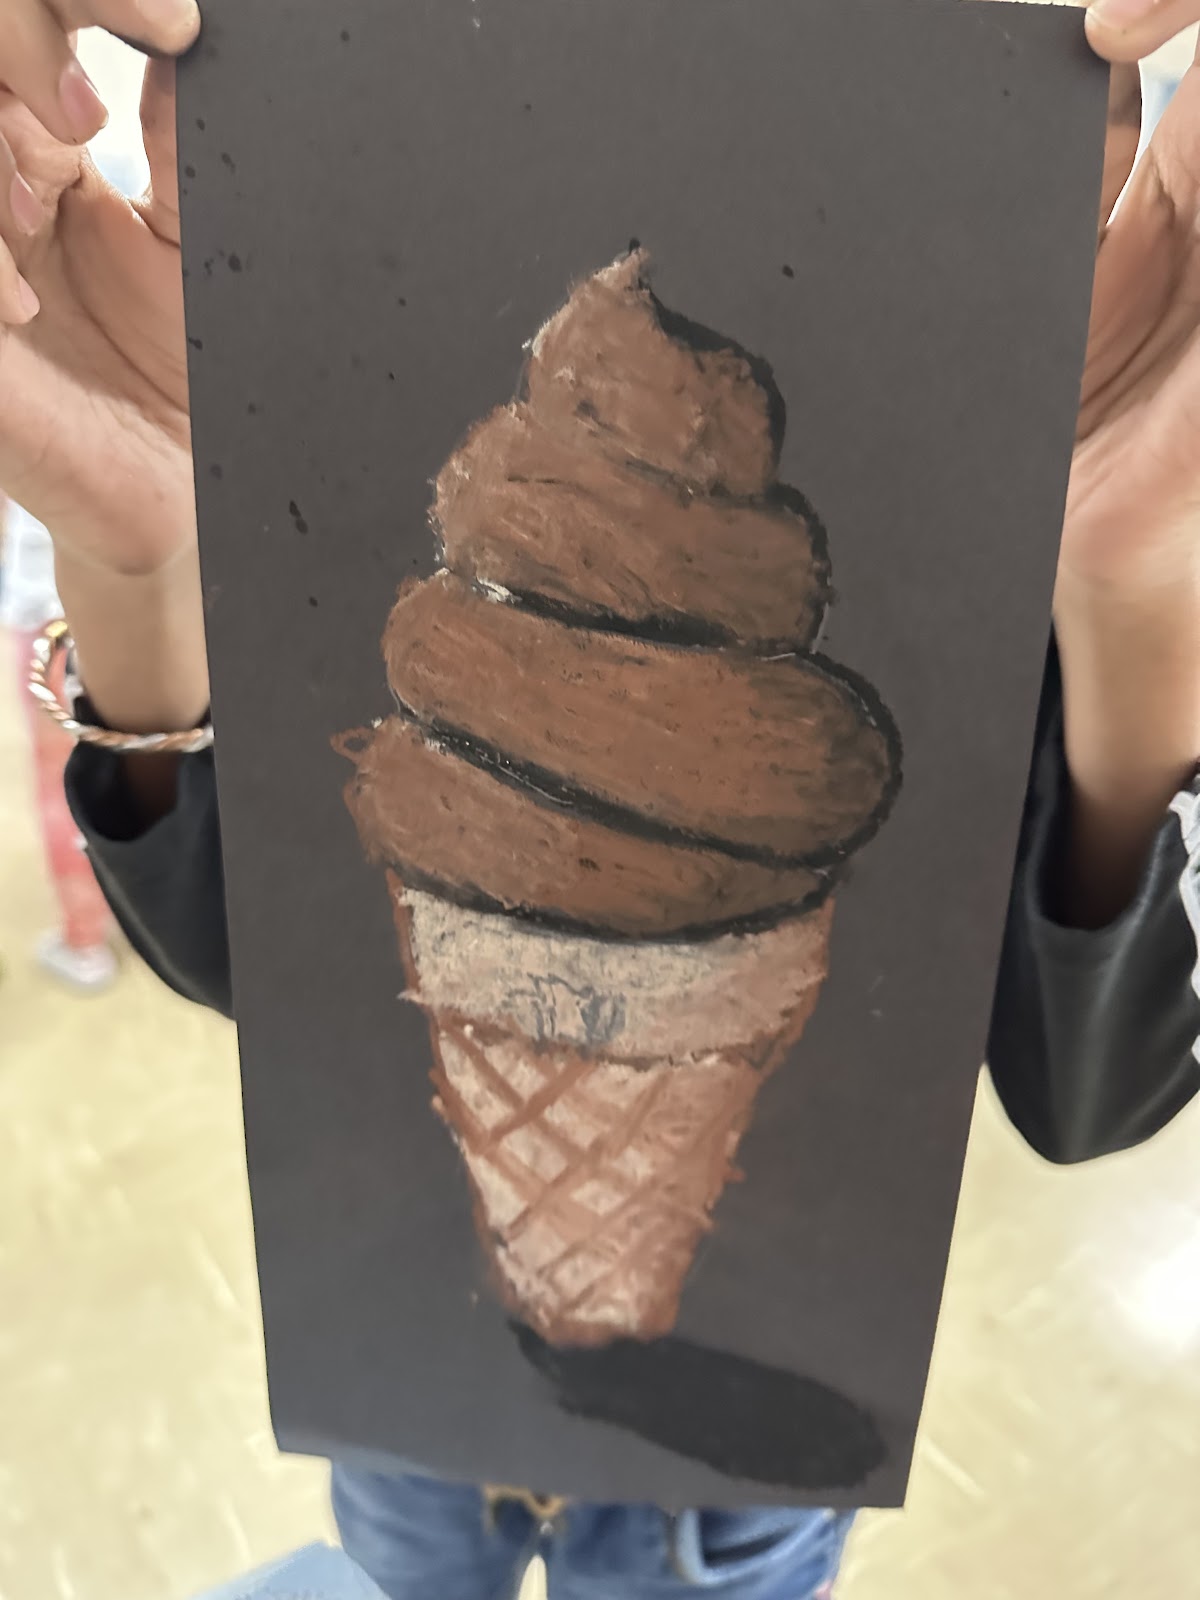
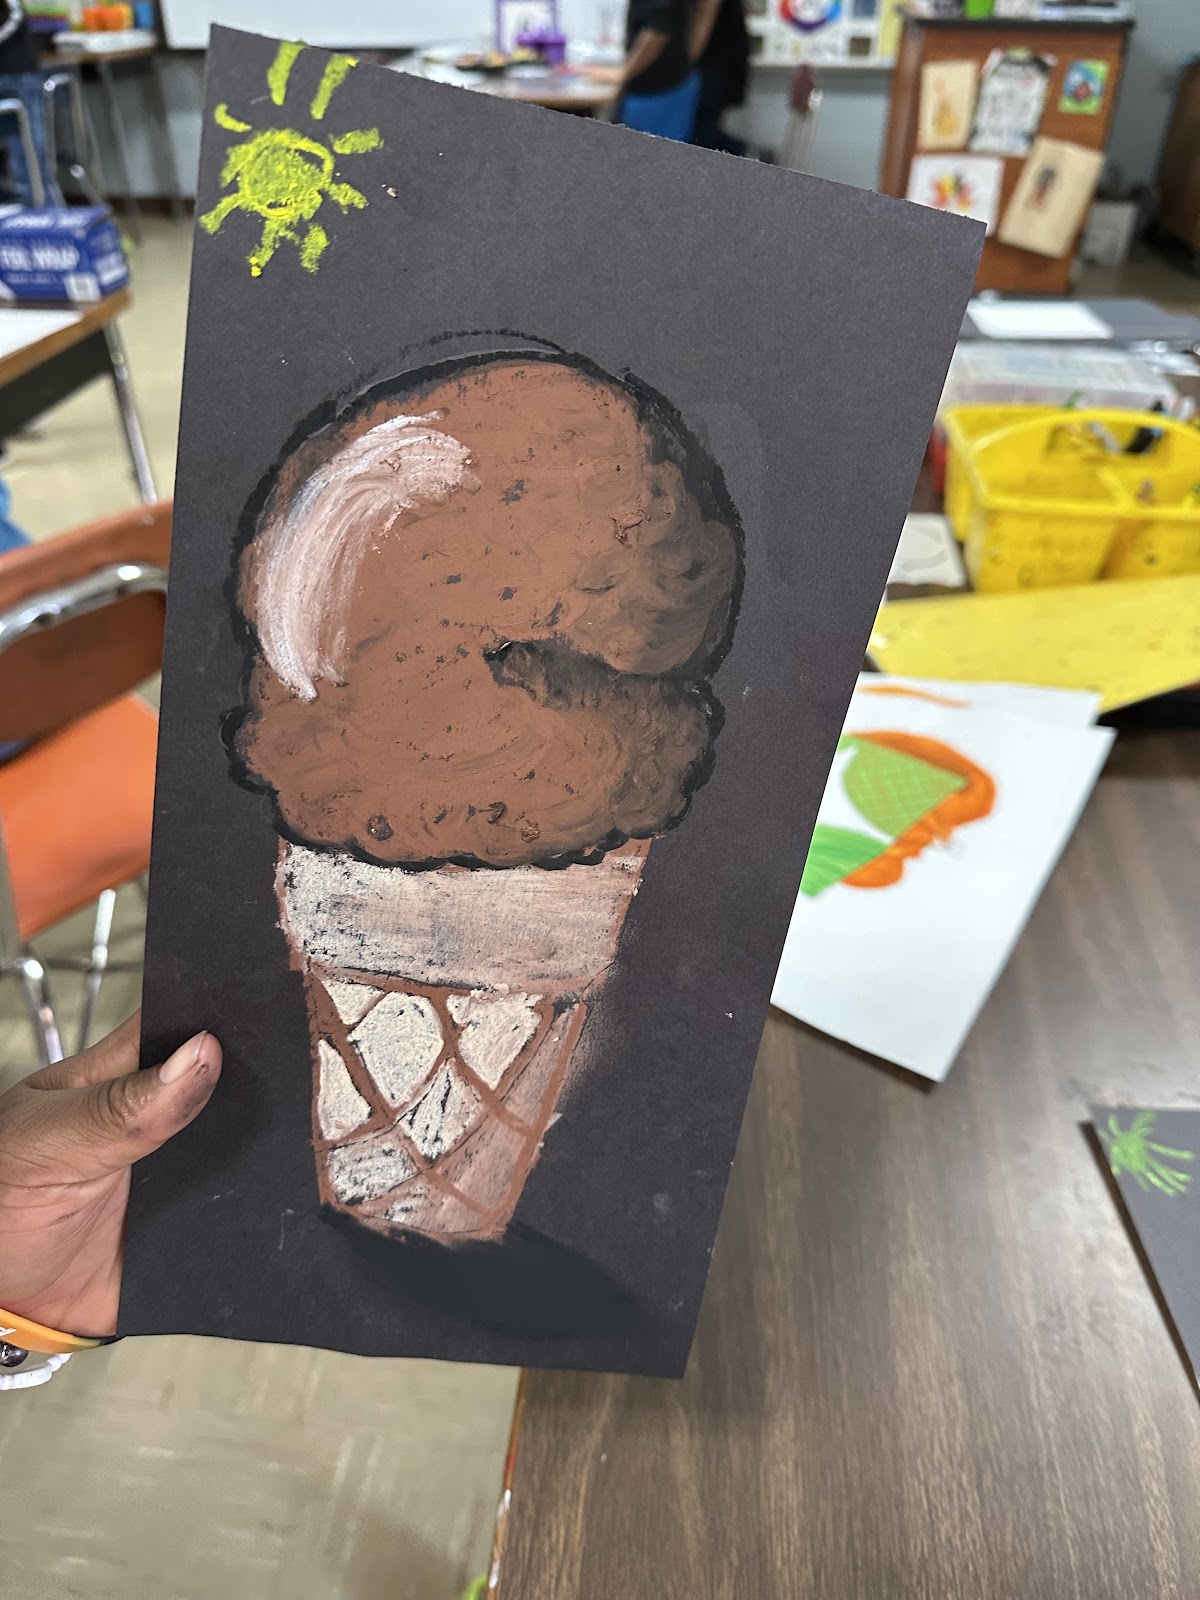
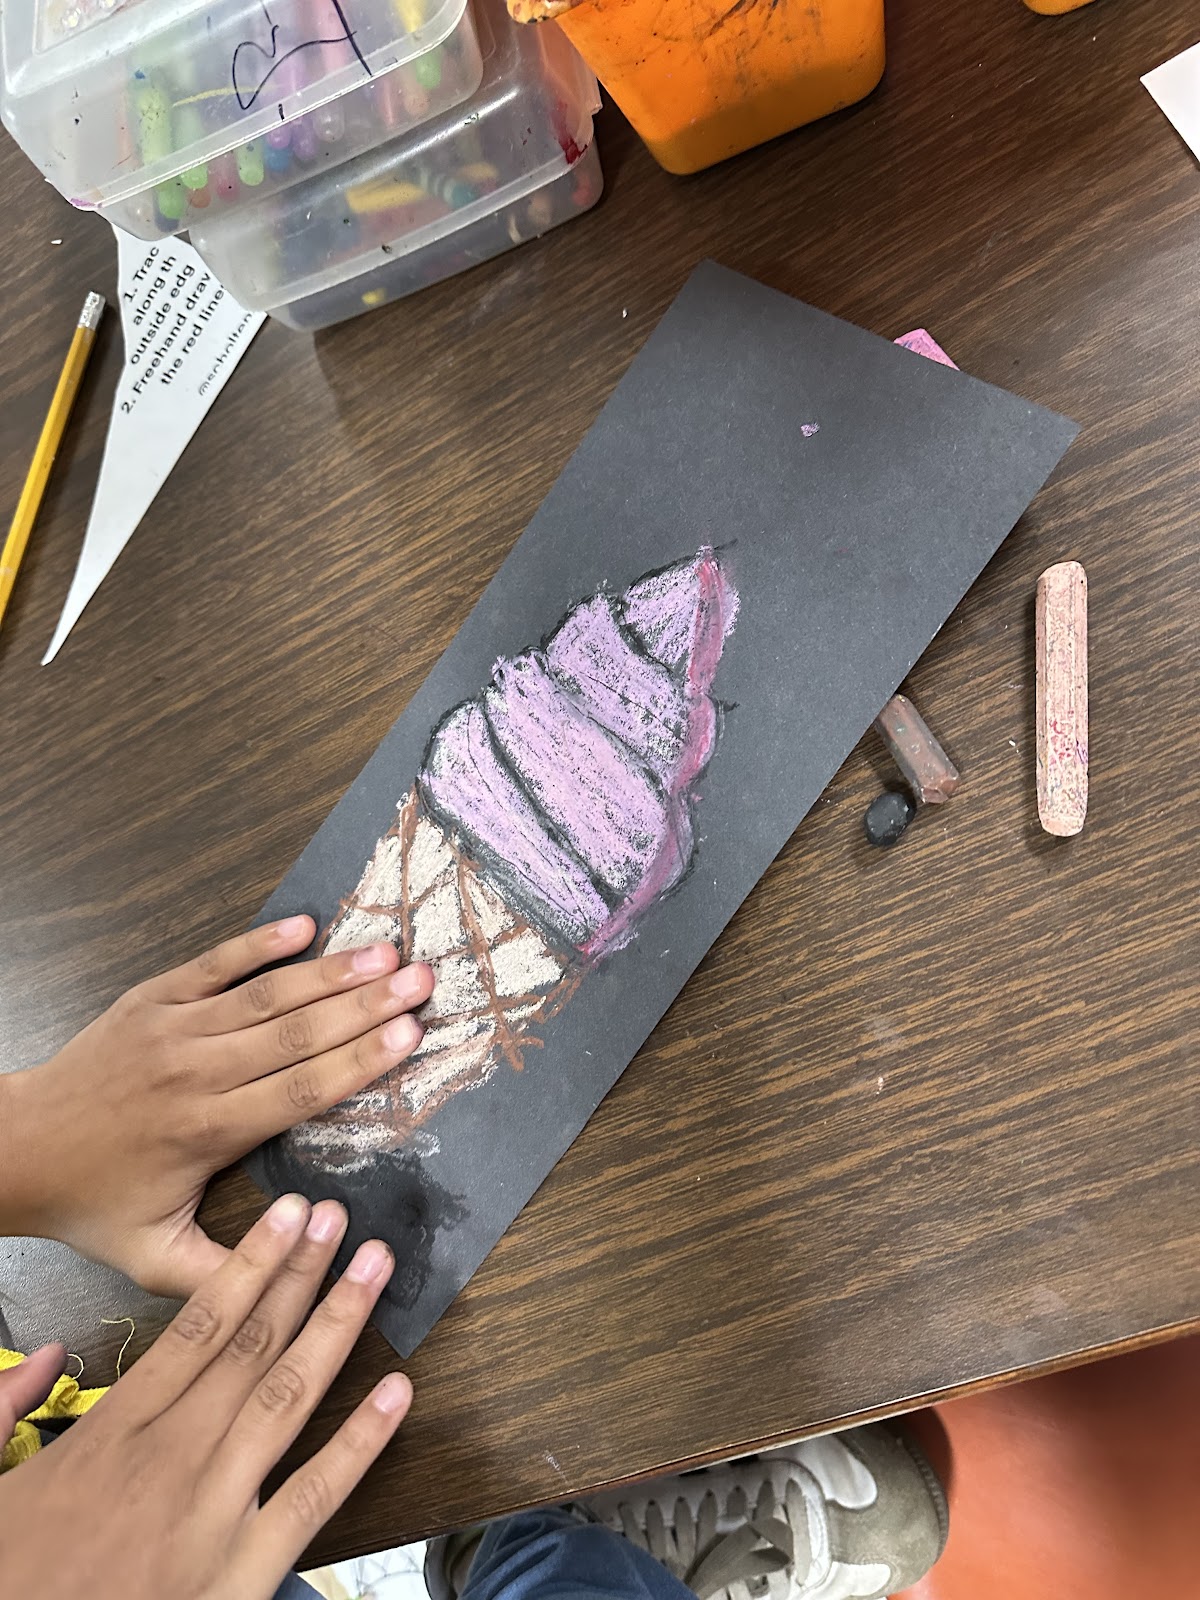
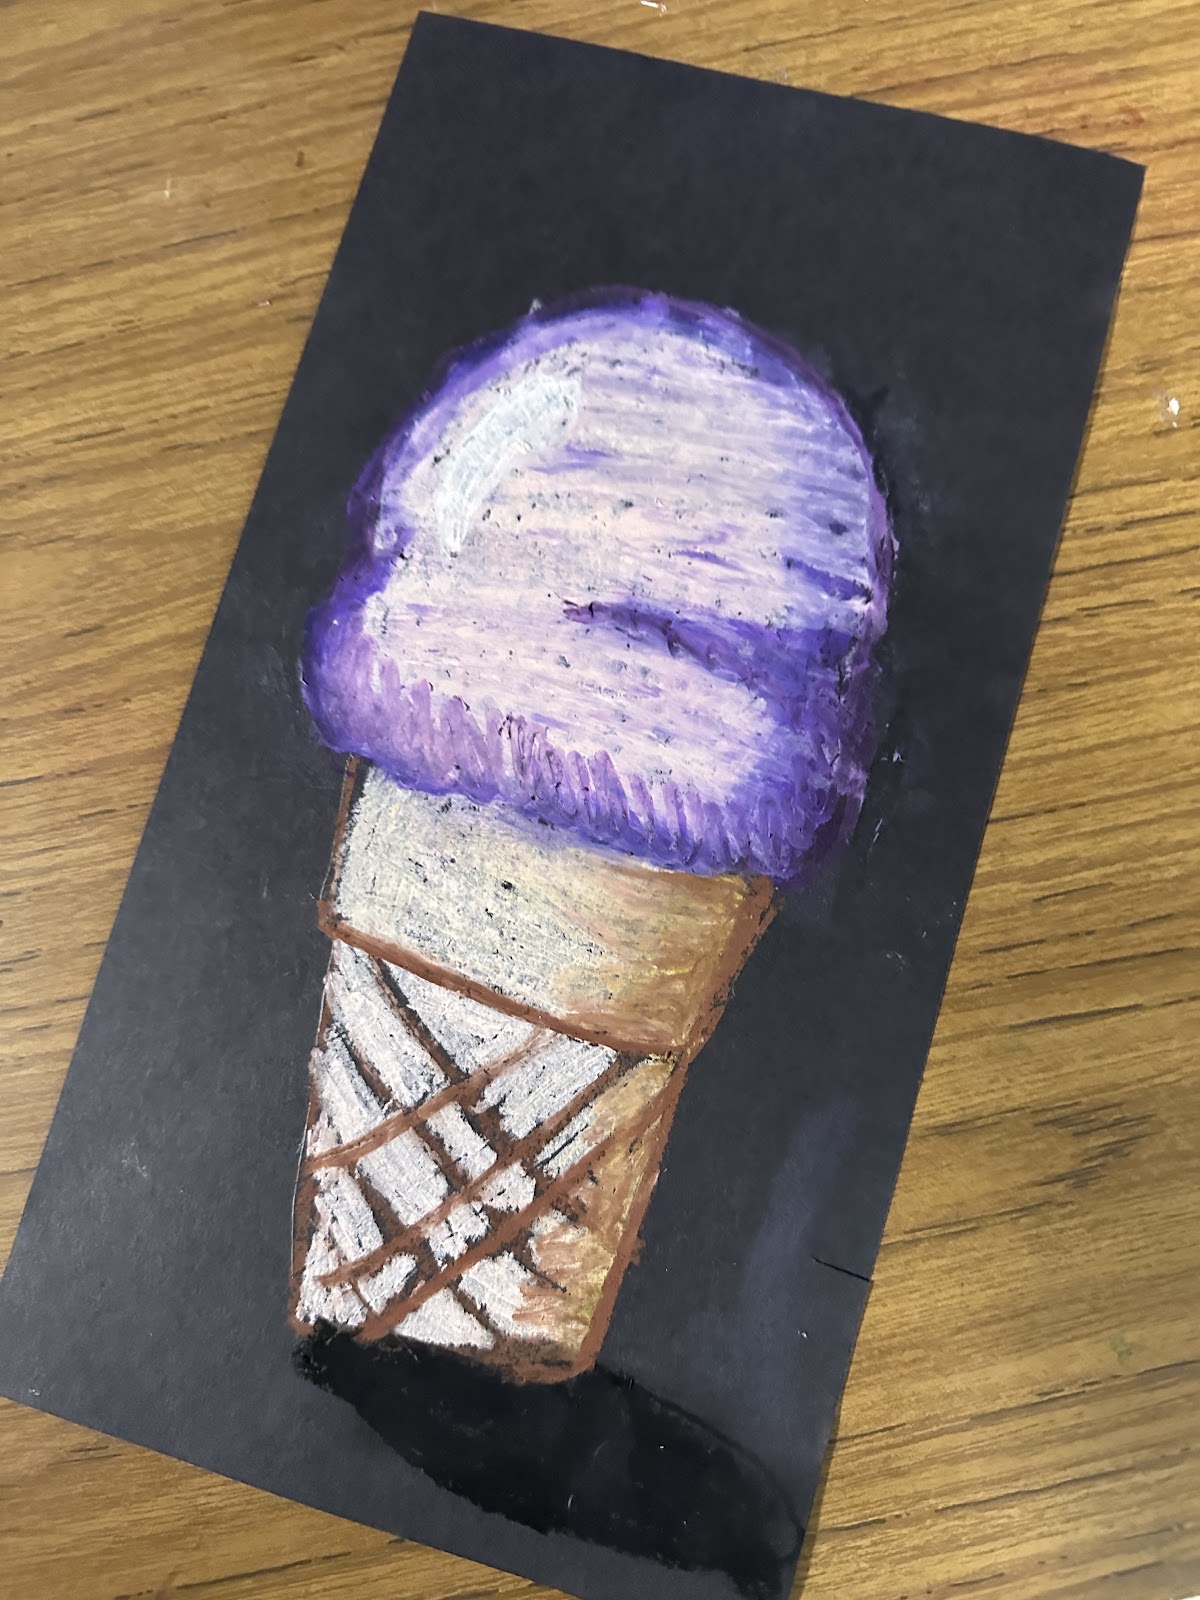
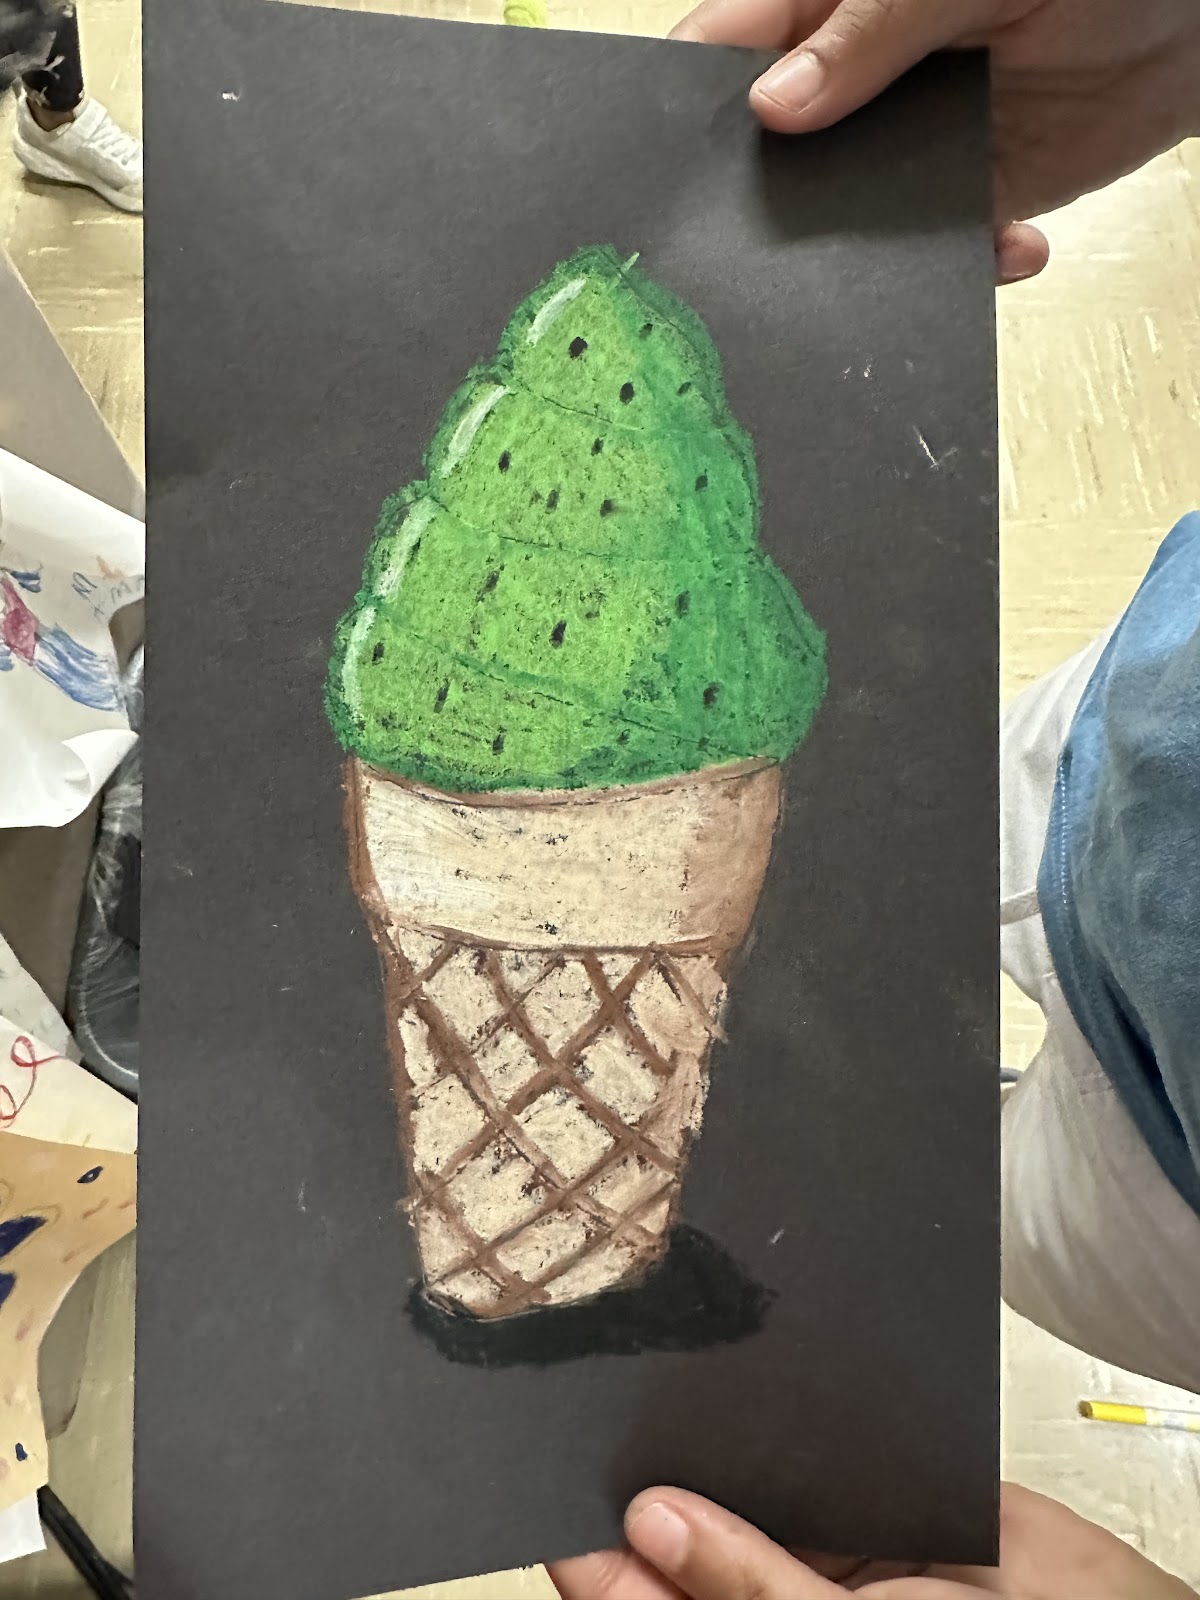
请欣赏下方迸发的创意!从漩涡状巧克力蛋筒,到堆叠如塔的樱桃与草莓冰淇淋球,我们的学生汲取蒂博的灵感,赋予其独一无二的个人表达。每一支蛋筒都洋溢着个性与色彩——恰如这些小艺术家本身。这些作品出自我的三年级学生之手,仅用一节45分钟课便全部完成!堪称学年末的完美课程!
甜蜜的款待和大胆的色彩:韦恩·蒂博启发的冰淇淋艺术
This week in our elementary art room, we dove into the colorful world of Wayne Thiebaud, an American artist known for his whimsical, dessert-themed paintings full of rich color, bold shadows, and delicious detail. Our young artists created their own vibrant ice cream cone drawings using oil pastels on black construction paper, and the results are as sweet as the inspiration!
This lesson came from the fabulous art teacher Joel Scholten ! You can download his ice cream templates here!
韦恩·蒂博是谁?
Wayne Thiebaud (pronounced "TEE-bo") is famous for painting everyday objects—especially desserts like cakes, pies, and ice cream cones. He used thick, colorful paint and strong shadows to make his food look tasty and full of personality. We looked at his artwork and discussed how he turned simple treats into serious art with color, form, and fun.
所需材料:
- Black construction paper Click to see my favorite construction paper
- Oil pastels
- Pencil (for sketching. My favorite brand is in the link)
- Reference images of ice cream cones (or real ones!)
- Optional: Tissue or fingers for blending
🎨 创建艺术品的步骤:
- Sketch the Cone
Using a pencil, students lightly drew the outline of their ice cream cone—starting with the cone at the bottom and stacking one or two scoops on top.
- Add Color with Oil Pastels
Students chose their favorite flavors (real or imagined!) and filled in the drawing with oil pastels. They layered colors for depth and highlights—just like Thiebaud’s style.
- Blend & Shade
We used fingers or tissue paper to gently blend the pastels, adding smooth texture to the scoops. Students added darker outlines and shadows to make their cones "pop" off the paper, mimicking Thiebaud’s bold contrasts.
- Define the Cone Texture
The cone got a grid texture to make it look more realistic, and many students layered colors here too—browns, oranges, and creams.
- Final Touches
A quick review for missing highlights, outlines, or flair! Some even added drips and extra scoops.
🍨 学生焦点:
Check out the creativity below! From swirled chocolate cones to towering scoops of cherry and strawberry, our students took Thiebaud’s inspiration and made it their own. Each cone is full of personality and color—just like the artists themselves. These are from my 3rd graders, and they took one 45 min class to complete! Perfect for the end of the school year!