甜甜圈油画棒课程教案
原文链接:https://thatartteacher.com/2019/02/10/donut-oil-pastel-lesson-plan/
日期: 2019-02-10
作者: Sierra Machado
分类: 长篇教案
标签: 艺术、艺术教育、美术教案、美术教师、艺术教程、艺术家、甜甜圈、甜甜圈绘画、绘画、简易绘画、小学美术、高中美术、如何绘画、初中美术、油画棒、明暗/排线、素描本、教学、教师、授课、那位美术教师、thatartteacher、延时艺术、延时摄影、教程、YouTube
甜甜圈绘画教程
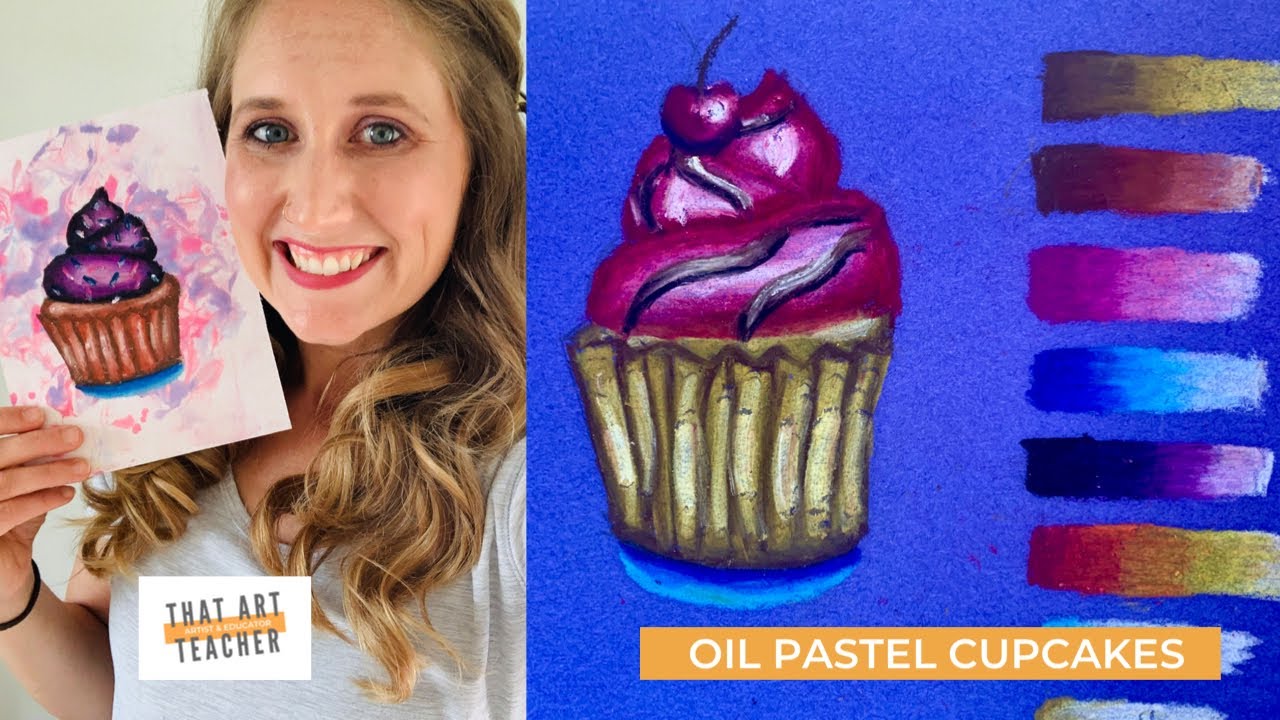
试试油画棒绘制纸杯蛋糕吧!适合作为课堂收尾活动或拓展练习。
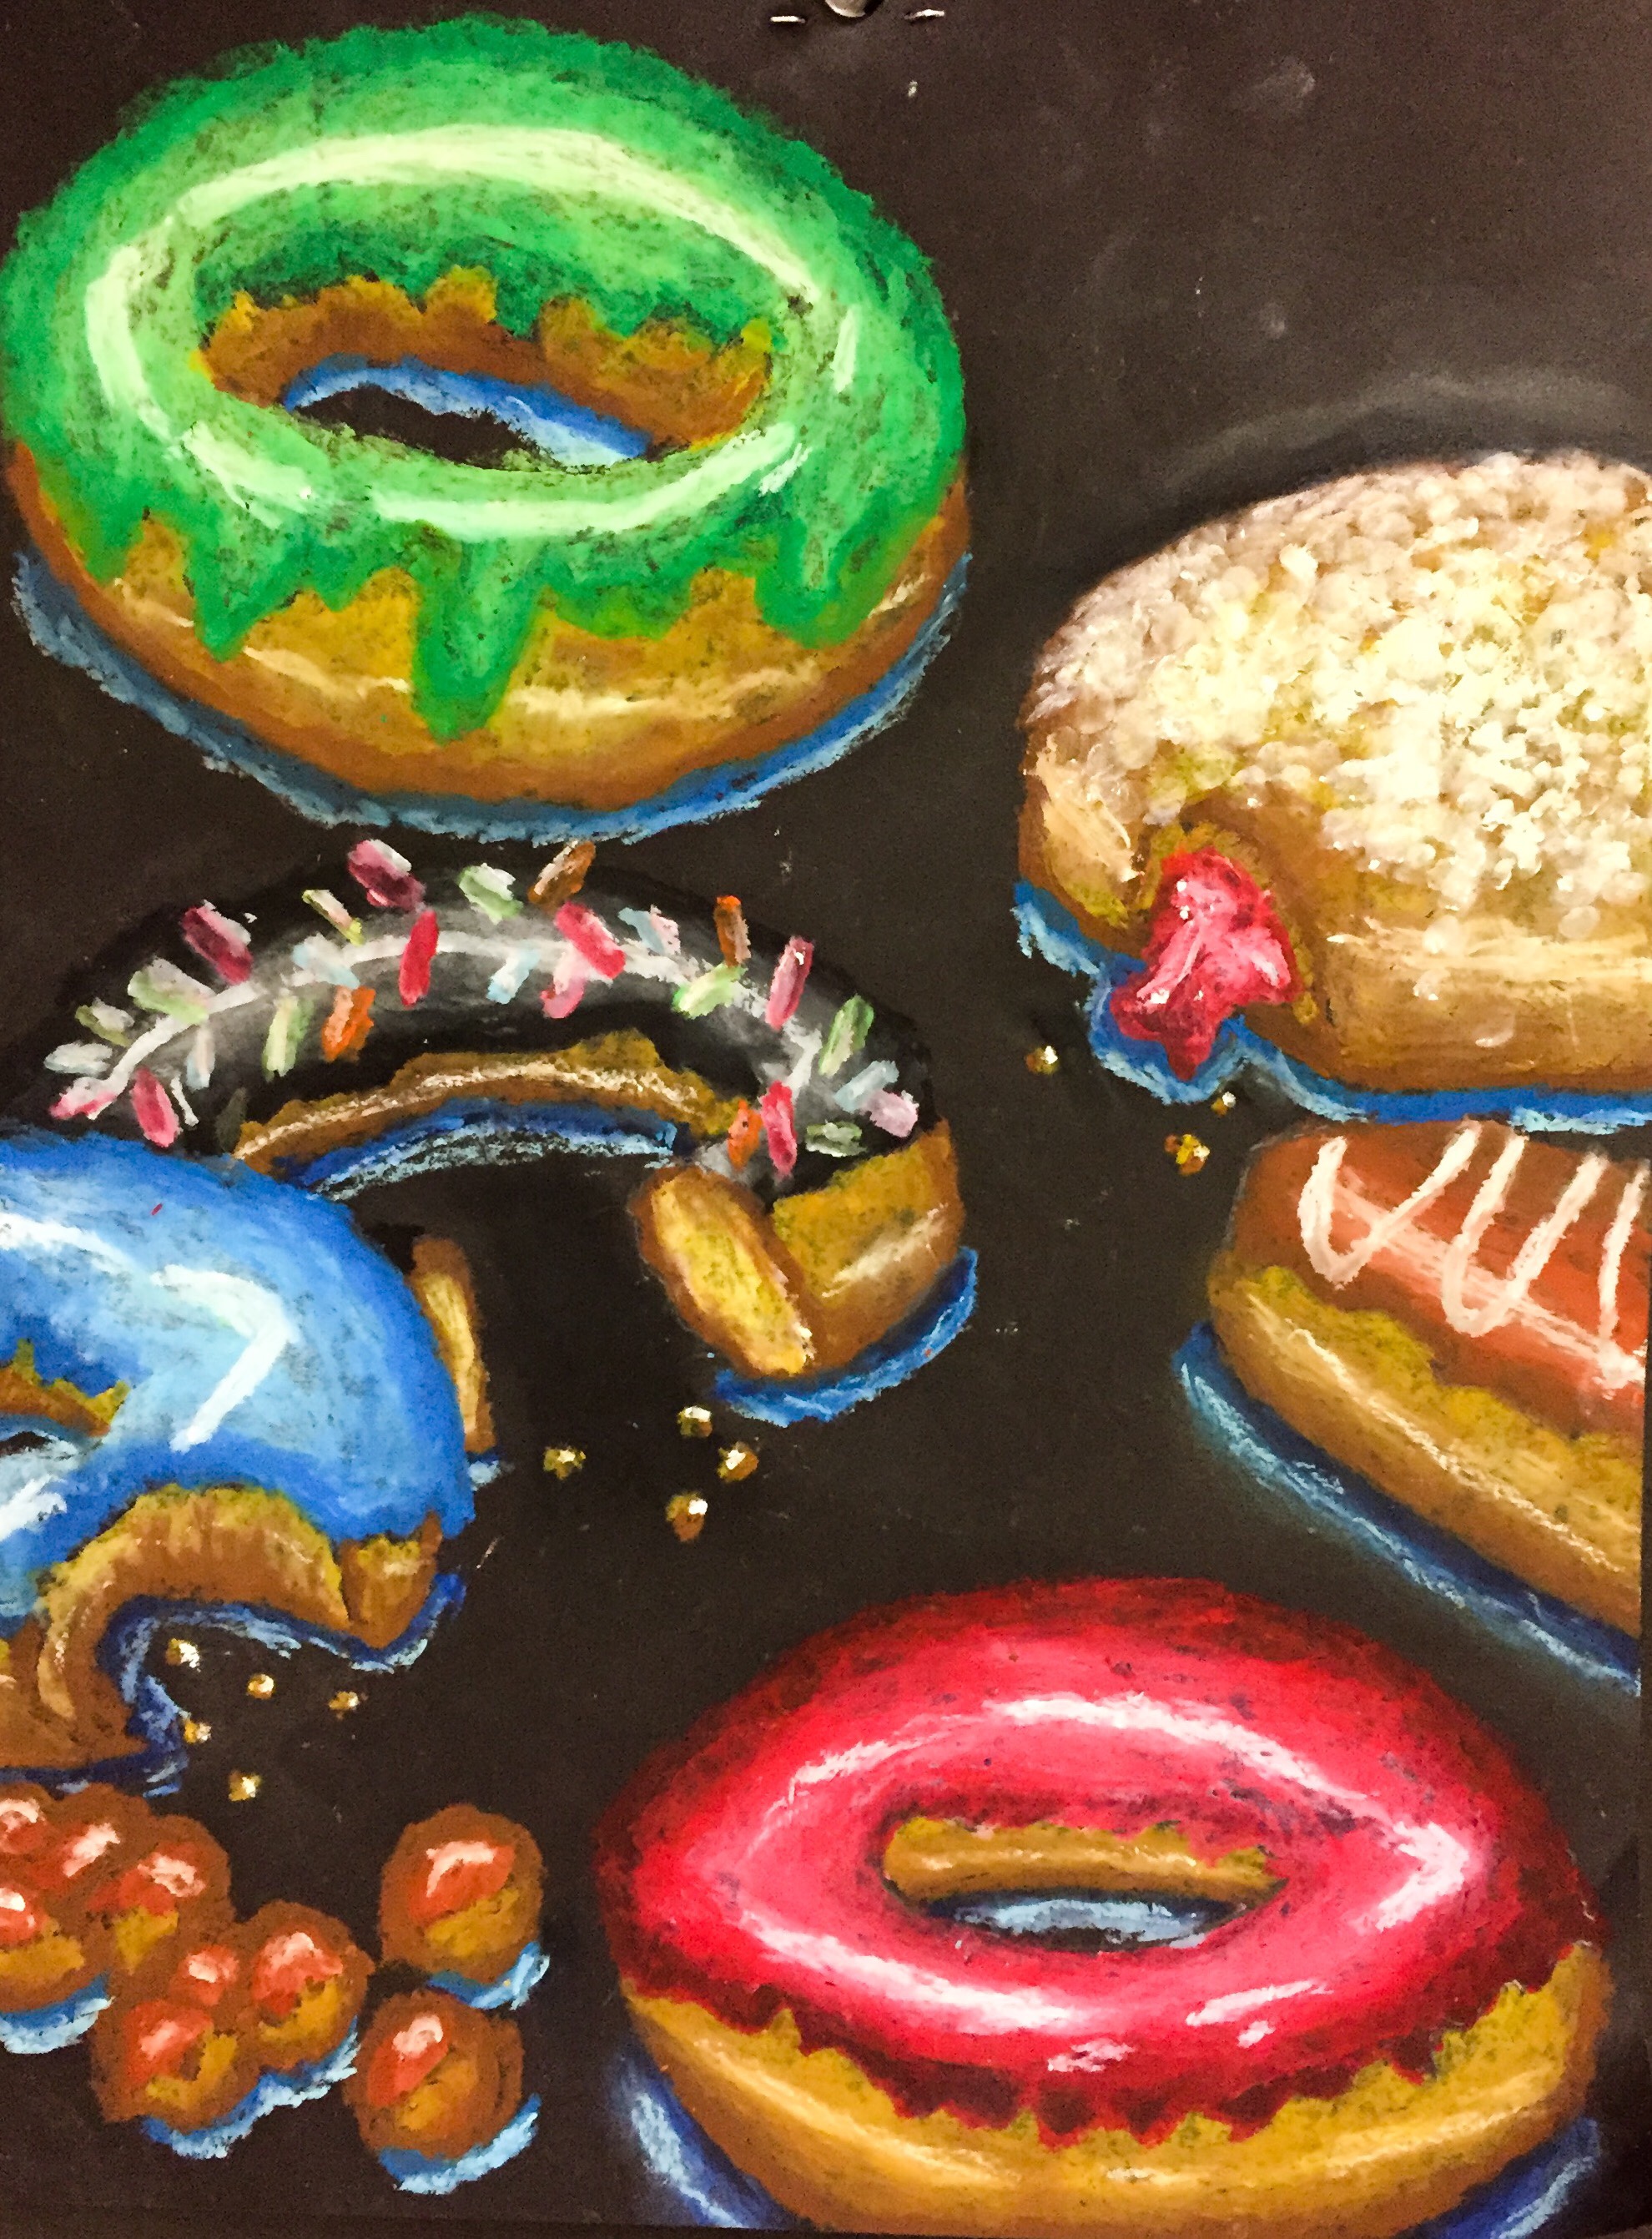
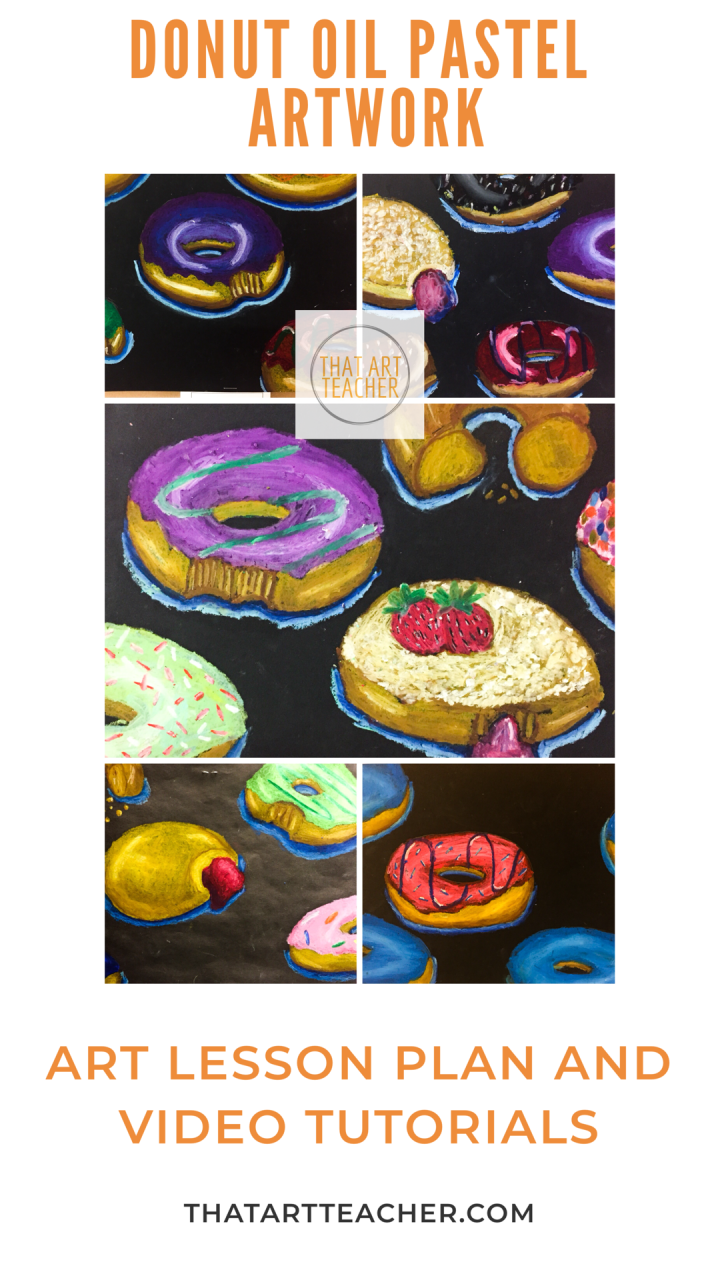
我的学生超爱画甜甜圈。每年看到往届班级挂在墙上的甜甜圈作品,他们就满怀期待。本单元内容极为丰富,涵盖大量美术概念、技法、专业词汇,以及无数激发创造力的机会。
毫无疑问,我深受韦恩·第伯(Wayne Thiebaud)的启发。高中时期,我最好的朋友(她本人也是一位艺术家,快去欣赏她精彩的作品吧:http://wordlessnews.com)向我介绍了这位艺术家,我当时简直不敢相信——他的画作竟如此诱人又美丽!事实上,我高三那年的AP艺术作品集,主题正是“食物”及其与我们日常生活的互动关系。我为吃而活,也热爱绘画——而关于食物的创作,我永远画不够。
当我搬到俄克拉荷马州后,惊讶地发现每个小镇周边都遍布着手工甜甜圈店。我所在的城镇非常偏远,餐馆和咖啡馆寥寥无几,但你绝对想不到——这里至少有三家甜甜圈店!每周好几天,甜甜圈都会出现在我们学校办公室的工作间里。这份对食物主题艺术的原有热爱,加上眼前真实的甜甜圈文化,促使我将它纳入六年级美术课程。
第一部分:甜甜圈绘画
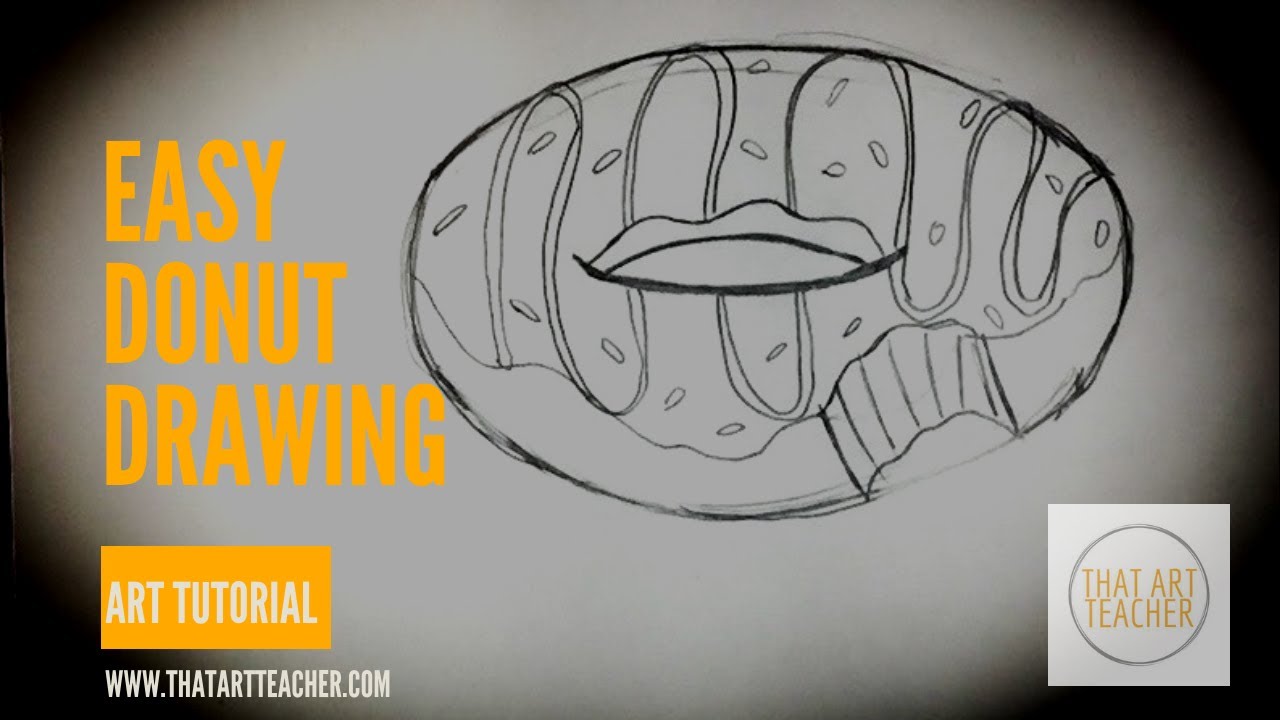
第一天: 我先向学生展示一幅韦恩·第伯的绘画,并通常请每位学生写下三条观察、反应或疑问。随后我们以小组形式分享(有时我会要求每位学生至少分享一条!),接着进入甜甜圈绘画环节。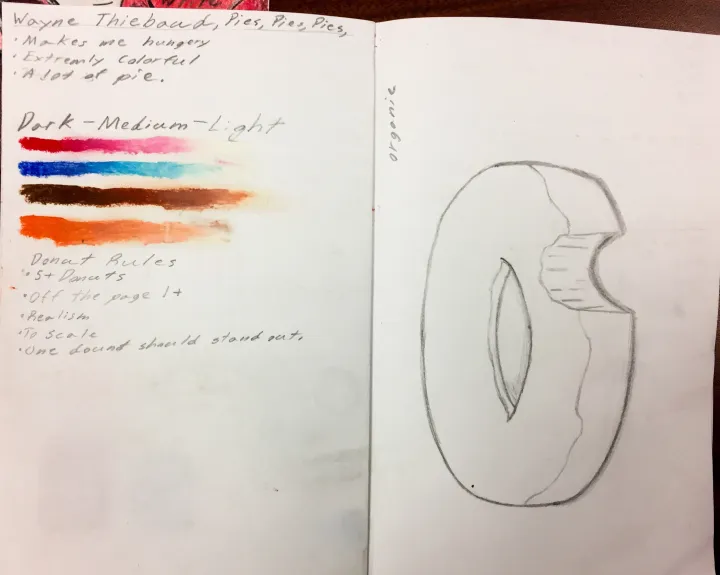
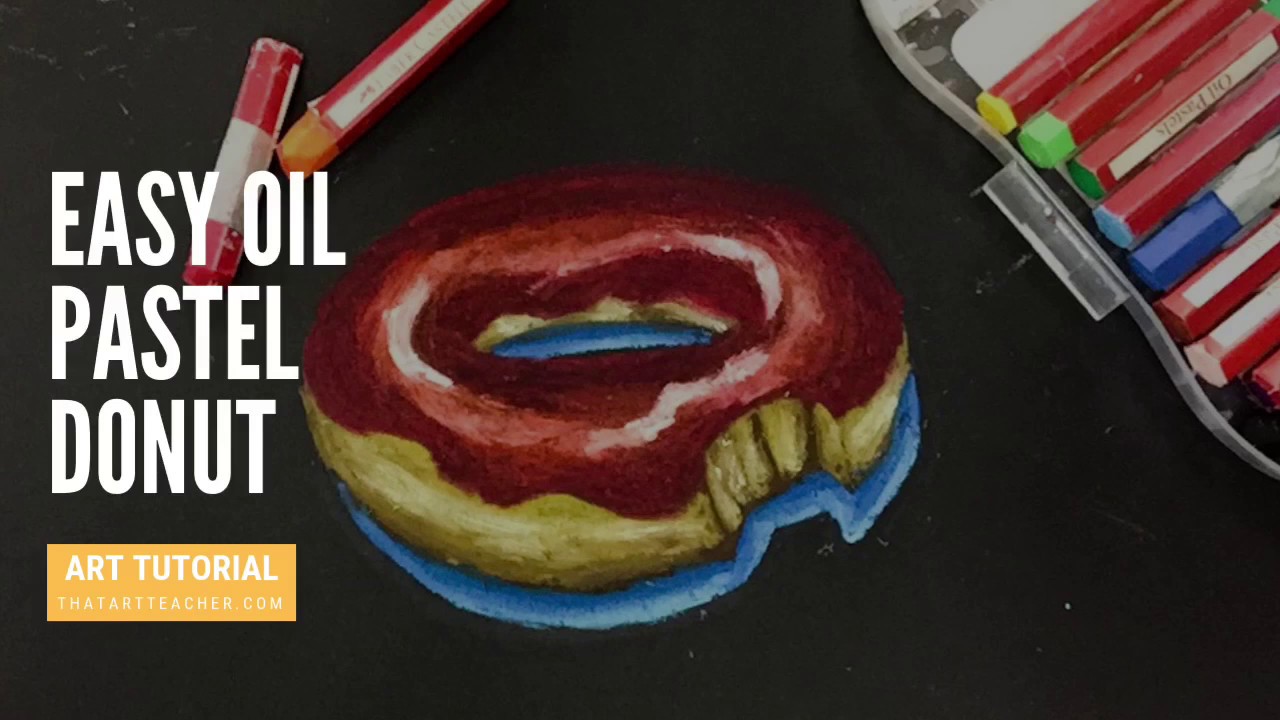
我播放本视频中的延时绘画片段,再询问学生今天将学习哪些内容,并鼓励他们提出问题。然后,我们共同绘制一个甜甜圈,步骤完全参照视频说明;不过,我是在实物展台(document camera)上现场示范(正如我所学的“真实场景演示”,即IRL)。整个过程通常耗时15–20分钟。
我每完成几个步骤便暂停一次,检查学生的进度,给予竖起大拇指的肯定或简短建议。此时通常是本学期第二或第三个单元,学生已较适应我简明的指令。开始前,我会提醒他们:今天是“指令密集型教师日”,步骤多、节奏快,我会频繁检查。我通常还会告诉他们:“今天不许举手提问,只管画!别怕画出‘奇怪’的甜甜圈。”
当学生成功画出带咬痕的甜甜圈后,我会由衷夸赞他们画得真棒,还说他们把我画饿了——这可不是客套话!每次看到六年级学生笔下的甜甜圈,我都既惊叹又馋得慌。接着,我会告诉他们:还得再画一个,且必须和刚才画的一模一样,不能依赖我的分步指导。我允许他们选择:用铅笔(轻轻!)在油画棒专用纸上起稿(这时总能听到一片惊呼),或在素描本另一页上完成。
第二部分:构图
第二天: 用于绘制并规划构图。我给出以下要求:
- 重复: 至少5个甜甜圈(总会引发一两声惊呼)
- 强调: 其中一个需比其余更突出
- 比例: 所有甜甜圈必须为真实尺寸且大小一致(我要求每人测量并画出5英寸直径,这个数字纯属随机)
- 构图: 至少有一个(或多个!)需延伸出画面边缘(我为此专门做了示范!)
课始,我们先观摩学生作品范例,并讨论上述构图要求。有时,我会展示一组学生作业,请他们猜测这些作品遵循了哪些规则。待学生明确任务目标后,我便在实物展台上现场演示“延伸出画面”的画法。等示范结束,他们已画完三个甜甜圈,“延伸出画面”的要求也已达成——搞定!
随后,我放手让学生按要求自主创作,并将YouTube教程循环播放,作为视觉提示。
第三部分:油画棒

我超爱油画棒!它完美融合了绘画与涂绘的特性。我告诉学生:这就像一支“高级蜡笔”,但一旦用过,你就再也不想碰普通蜡笔了。多年来我一直使用Pentel品牌,但最近改用Faber-Castell,不得不说,它的耐用性真的强太多。我依然钟爱Pentel出色的可混色性(这个词存在吗?)与浓烈色彩,但学生们消耗得太快了。
下方附上两款产品的亚马逊联盟链接。点击链接并完成购买,您无需额外付费,我将获得佣金。 我仅推荐自己真心喜爱、并在课堂中实际使用的美术材料。 #公立学校教师副业
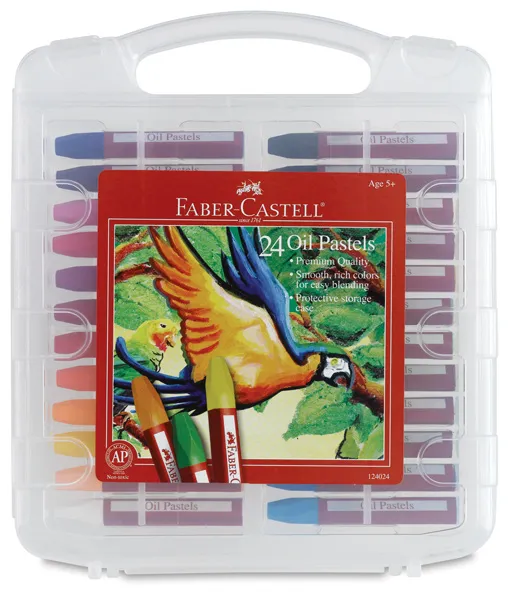


我喜欢让学生先在素描本上练习混色,但由于我教授的是每节40分钟、为期九周的课程,有时我们便直接在油画棒专用纸上动手操作。
第三天: 我发现从画甜甜圈的“面团”部分入手效果最佳。我们统一使用相同颜色,这样示范与分步指导会更清晰高效。我让学生摆出棕色、黄赭石色和白色,然后合上颜料盒,以免他们忍不住拿出柠檬黄或其他干扰色。
我们先完成面团部分;若时间充裕,我还会示范阴影处理。我提供蓝色(致敬韦恩·第伯!)或灰色两种选择。总会有学生坚持用红/橙色画阴影,这时我会解释:阴影由冷色构成,且每个甜甜圈的阴影色必须保持一致。
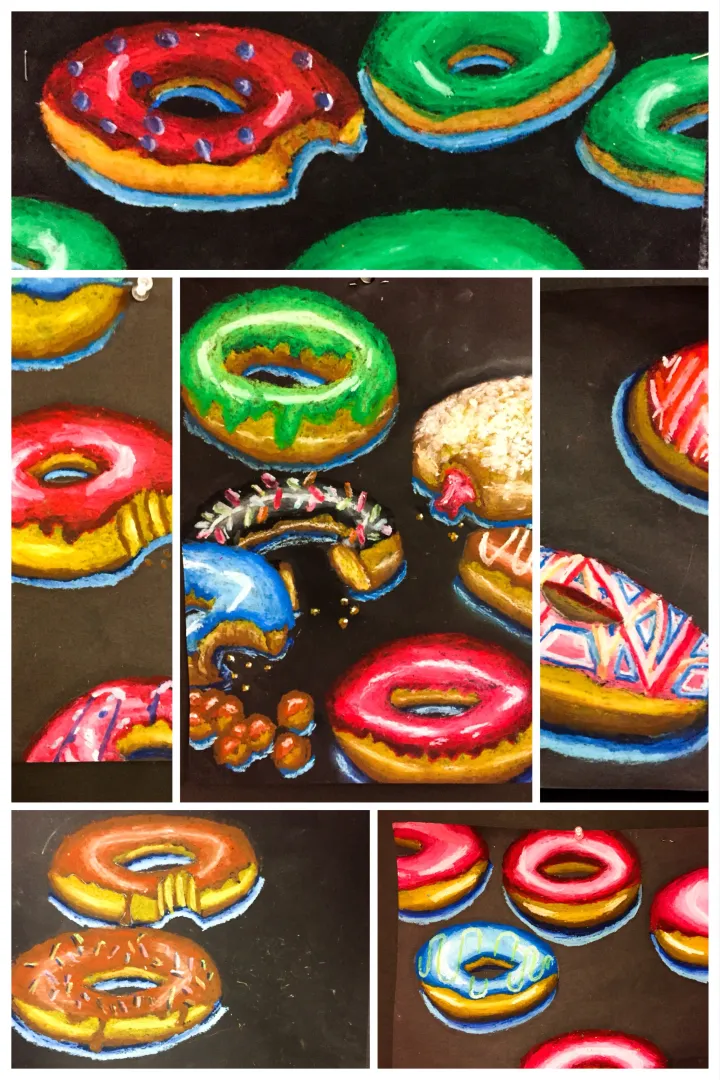
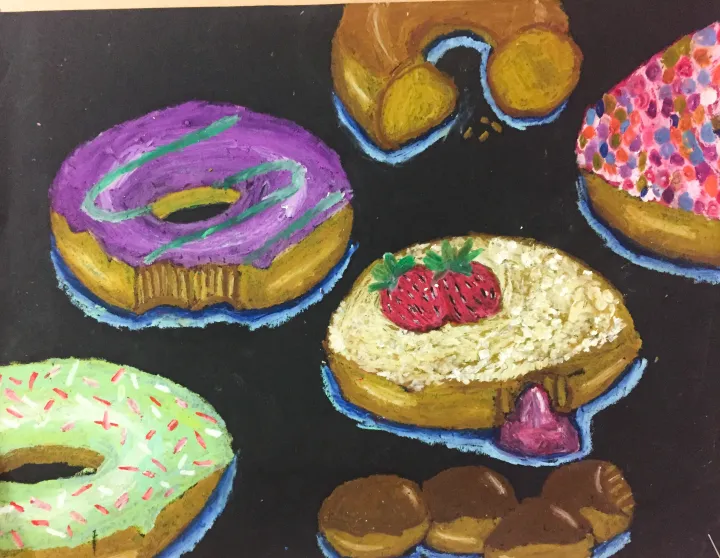
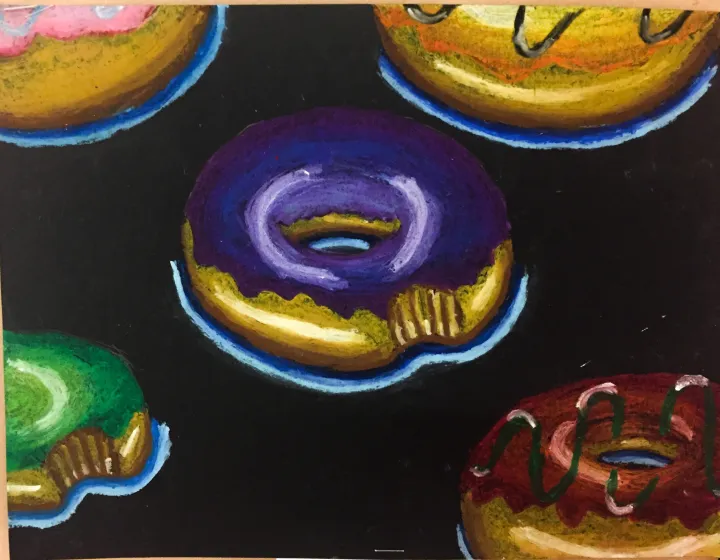
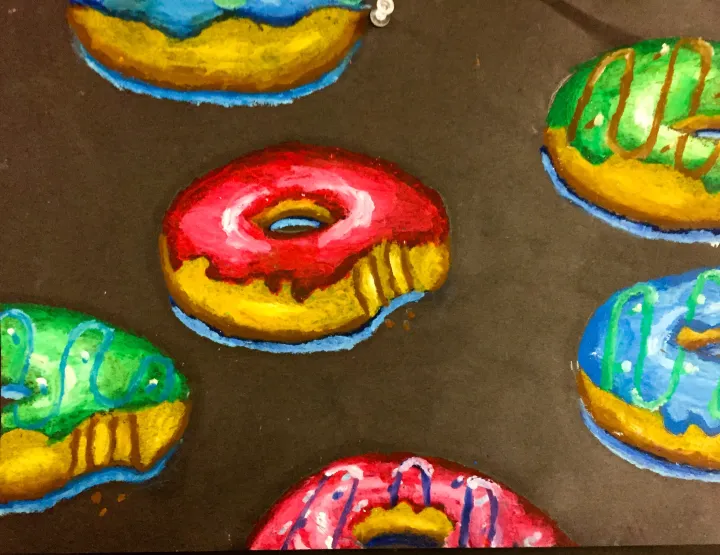
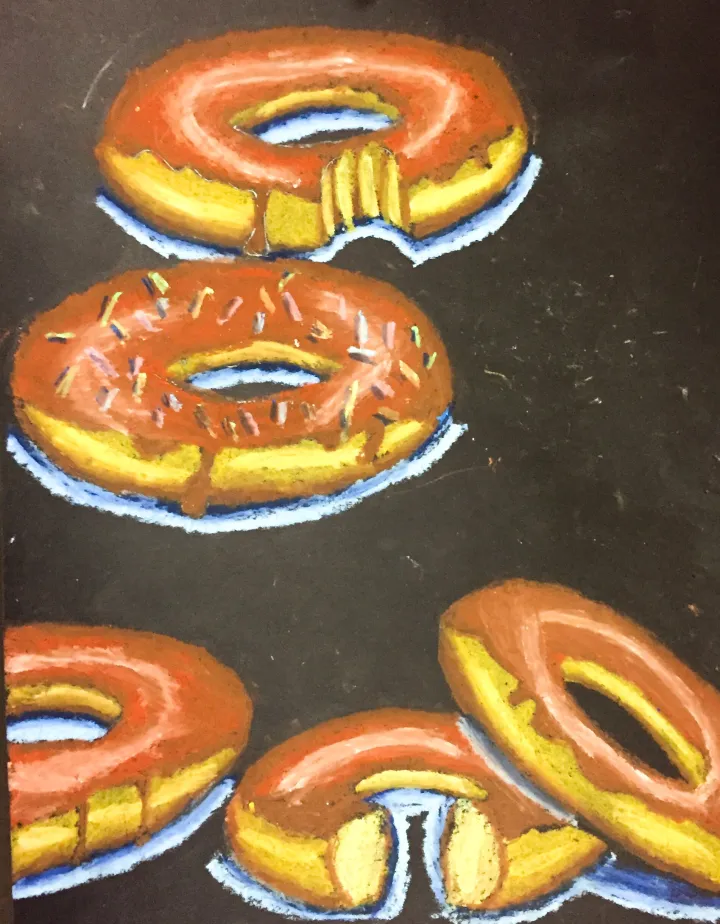
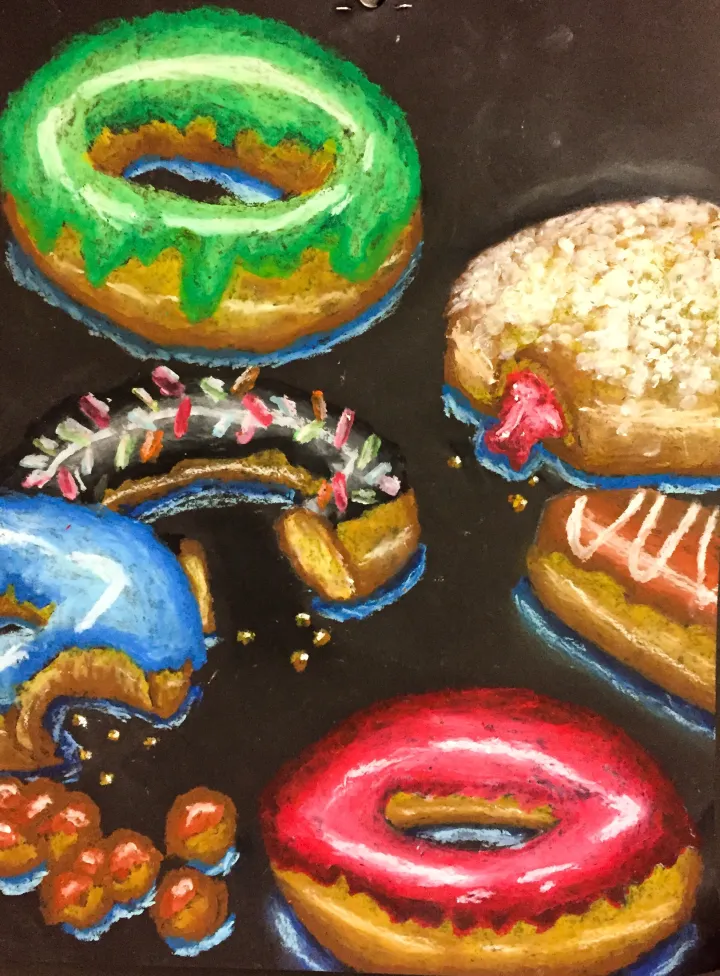
第四天与第五天: 接下来的两节课用于绘制糖霜。我告诉学生,在他们能表现出明度层次(深、中、浅,以及一个“闪亮闪亮”的高光)之前,严格禁止使用糖粒装饰。我提醒他们:绘制糖霜不是像涂色书那样用纯色填满,而是要让甜甜圈看起来如此逼真,以至于你忍不住想伸手从纸上把它拿起来。
这一步耗时最长,当我要求学生融合明度并画出那些闪亮的白色高光时,他们常会感到挫败。
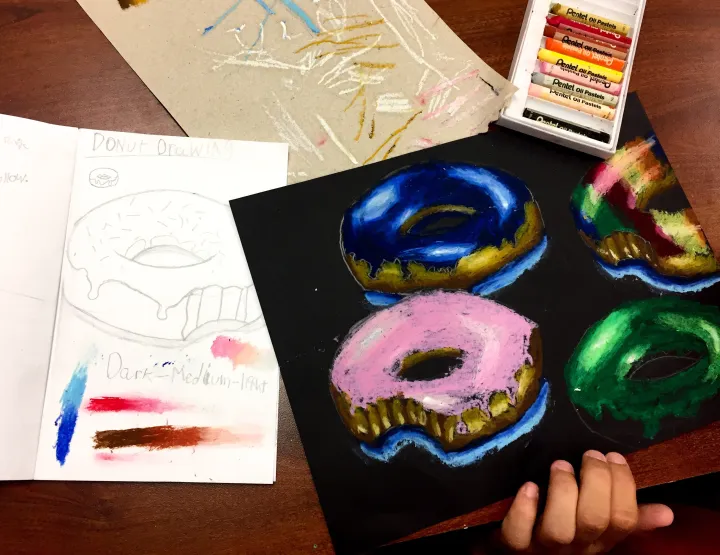
第四部分:糖粒与强调
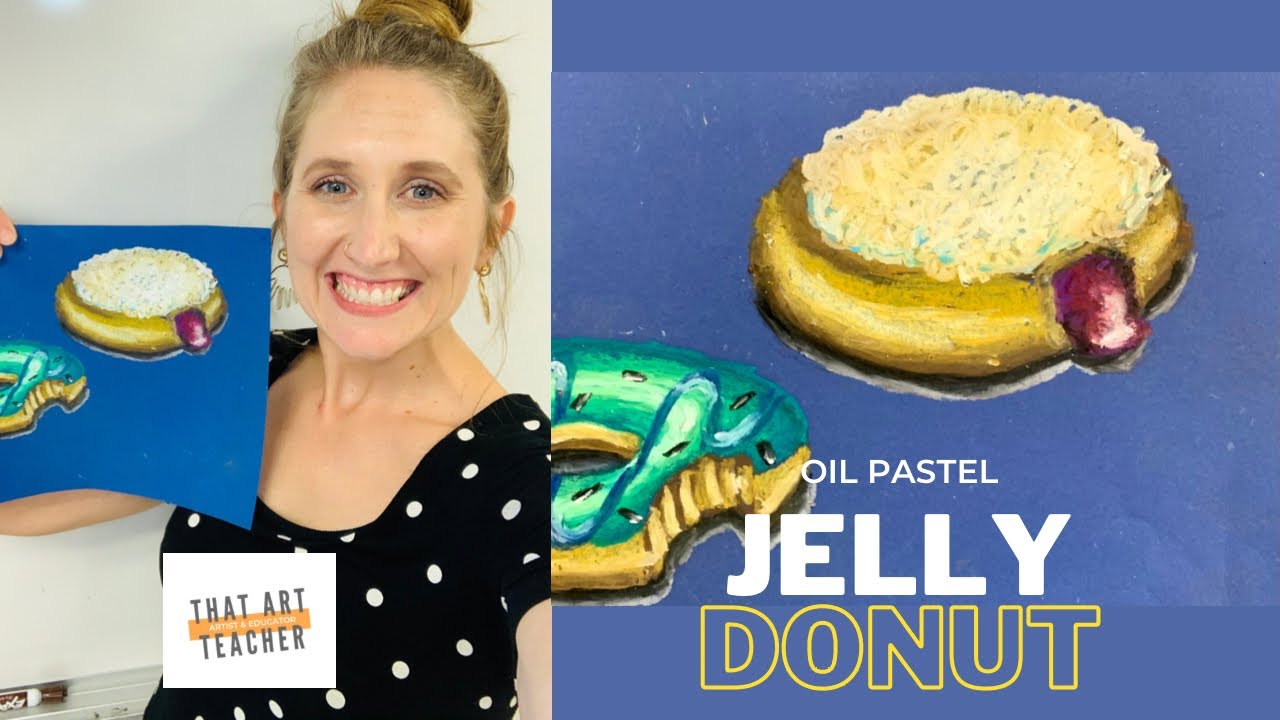
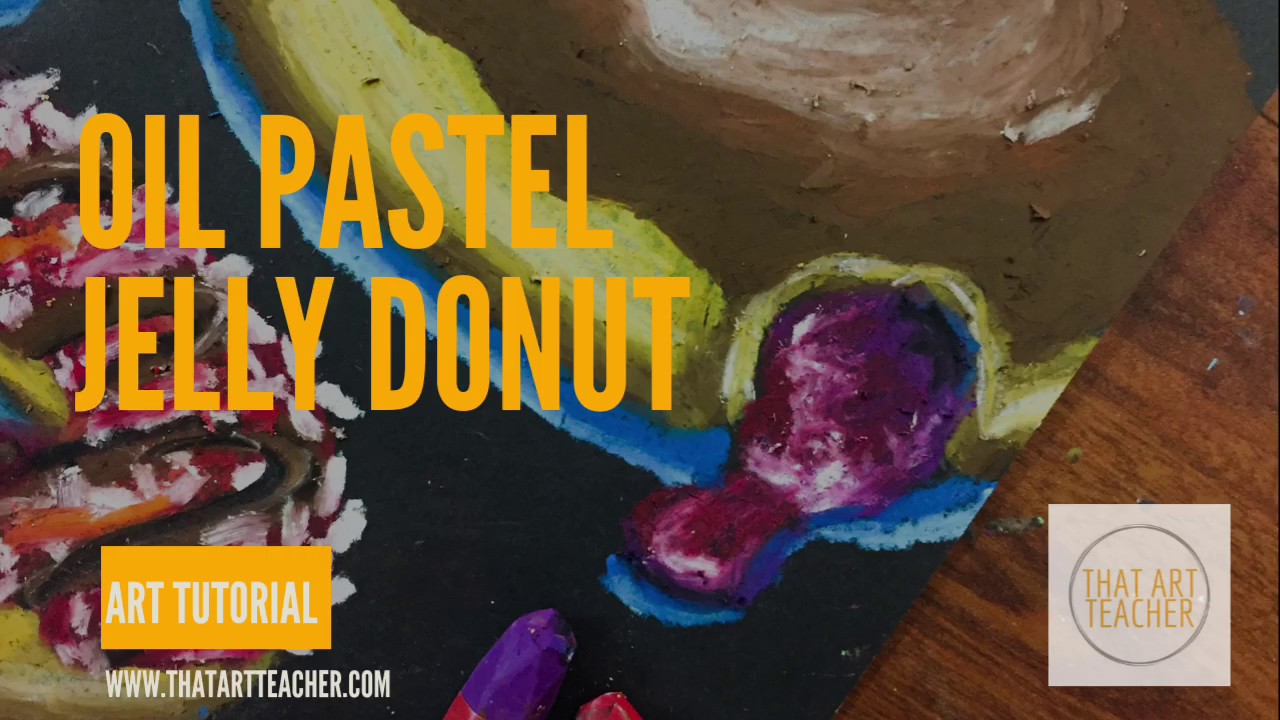
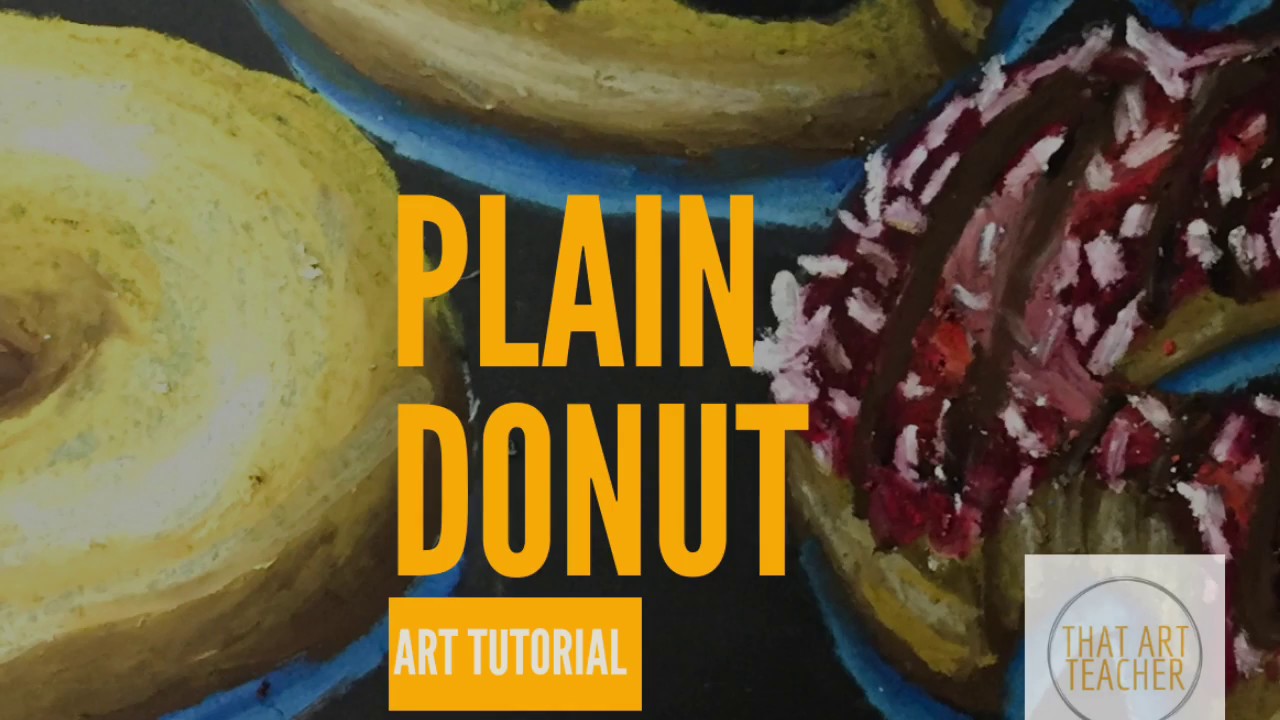
第六天: 最后,添加糖粒与装饰。我提醒学生:其中一枚甜甜圈必须作为画面的强调区域/视觉焦点,其突出程度须毫无争议地超越其余所有甜甜圈。这是本单元最富趣味性的环节,我始终为学生们在创作中展现的创意而欣喜。不过我也得反复提醒他们:每一粒糖粒(哎呀!)以及所有额外添加的糖霜,都必须配有高光。
此阶段我最爱做的活动之一是“强调检验”。我会举起某位学生的作业,面向另一位学生提问:“哪一枚甜甜圈最突出?”有时我还会让他们结对互评,彻底将我本人排除在讨论之外。当同伴准确指认出焦点时,学生们格外兴奋;而一旦判断失误,他们的挫败感也相当强烈。此举将评判权交还学生之手,而非由我掌控。重点并非“我”认定哪枚甜甜圈应为焦点,而是“观者”实际感知到的焦点——你主观希望某枚甜甜圈成为最强焦点,并不等于它客观上就真的具备了这种效果。此类讨论所激发的问题解决能力,是我所见六年级学生中最出色的表现之一。
有学生提前完成?或需要拓展活动?试试我的油画棒纸杯蛋糕!

第五部分:作品展评与自我评估
经过一至两天的查漏补缺后,便进入“作品展评”环节!如我此前博文所述,我通常组织学生按特定类别进行投票。获选作品将悬挂于走廊或陈列于展示柜中,并附上学生姓名及所获奖项(例如“全班最佳”)。我始终坚持让学生先自行评定自己的作品。我要求每位学生明确写出自己选定的视觉焦点是哪一枚甜甜圈。我告诉他们:“可别指望我来猜!”
以下是我为此课设计的评分量规,欢迎根据您所在班级的具体需求进行调整!
donut-rubric下载
以下是一份艺术史热身练习的PowerPoint课件(我在课堂中使用Google幻灯片)。每次授课时我都会略作调整,但确保每节课均包含一项热身练习。
donut-warm-ups下载
我认为学生的自我评述极为重要。因此,我在每份量规中增设了两个问题栏:你在此件作品创作过程中最享受的是什么?你认为最具挑战性的是什么?
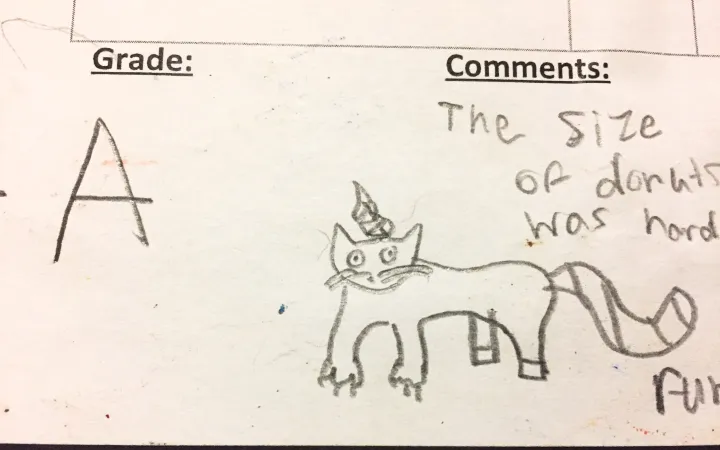
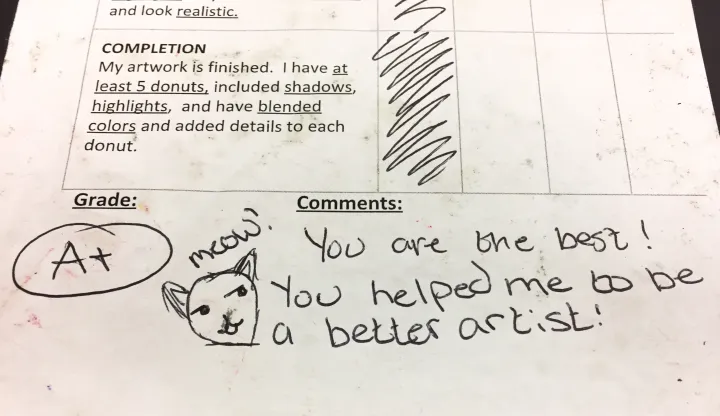
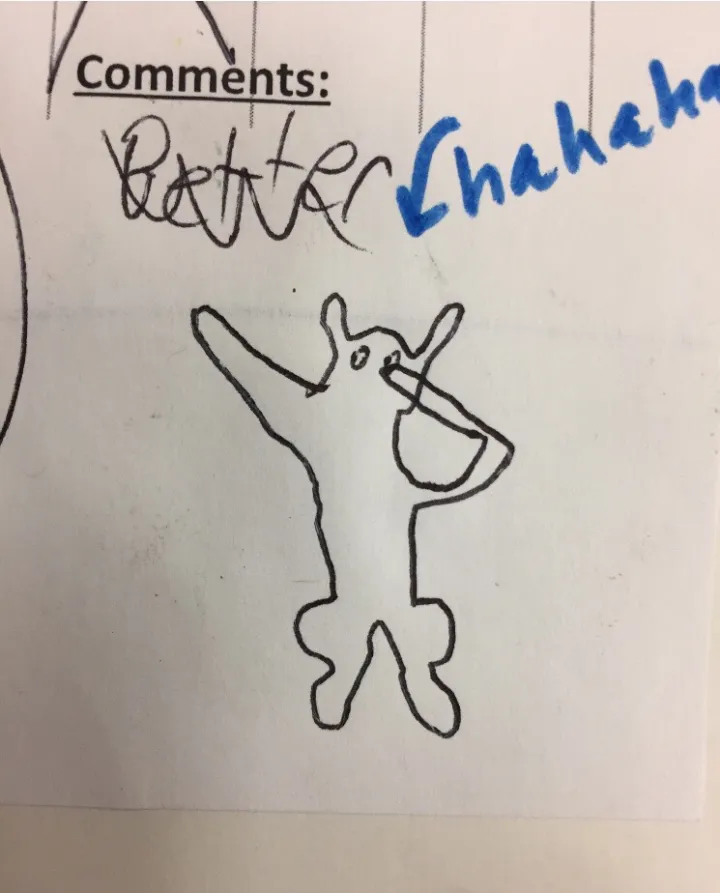
我鼓励学生详尽、诚实地作答,并向他们保证:这绝不会伤及我的感情。我坦言自己已多年未当学生,无法读心——你们的声音至关重要!我还建议他们在评述旁为我画一幅趣味小图,比如一只跳舞的猫。
这样批阅作业可就有趣多啦!
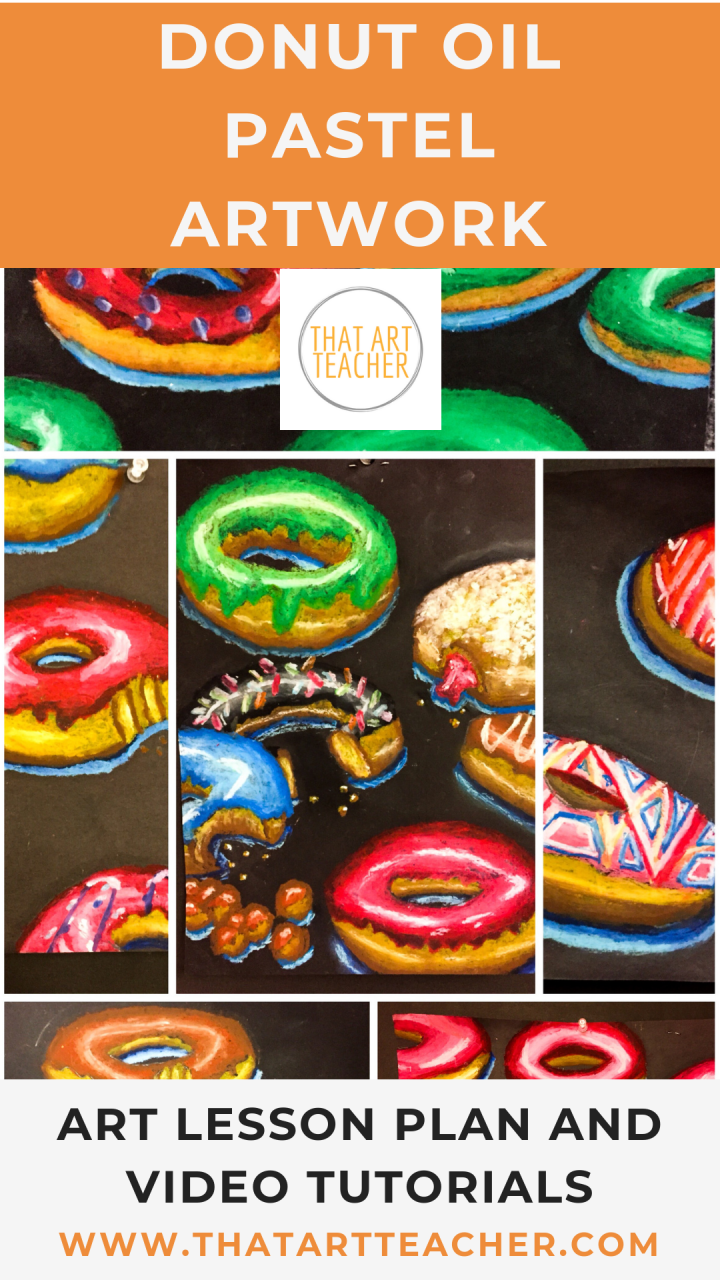
Donut Oil Pastel Lesson Plan
Original: https://thatartteacher.com/2019/02/10/donut-oil-pastel-lesson-plan/
Date: 2019-02-10
Author: Sierra Machado
Categories: long form lesson plan
Tags: art, art education, art lesson plan, art teacher, art tutorial, artist, donut, donut drawing, drawing, easy drawing, elementary art, high school art, how to draw, intermediate school art, lesson plan, middle school art, oil pastels, shading, sketchbook, teach, teacher, teaching, that art teacher, thatartteacher, time lapse art, time lapse], tutorial, youtube
Donut Drawing Tutorial
Try out oil pastel cupcake drawing! Great for early finishers or as an extension activity.
My students LOVE drawing donuts. They look forward to it all year when they see the donut artwork hanging from previous classes. This unit is jam packed with art concepts, techniques, vocabulary and so many opportunities to spark creativity.
Obviously, I am majorly inspired by Wayne Thiebaud. He was introduced to me by my best friend (who is also an artist, check her amazing work out here: http://wordlessnews.com) at some point in high school, and I could not BELIEVE how delicious and beautiful his paintings were. In fact, my AP art portfolio my senior year was based around food and the interaction it plays with our daily lives. I live to eat. I love to paint. I cannot stop painting food.
When I moved to Oklahoma I was baffled by the amount of homemade donuts shops around each town. My town is very rural and doesn’t offer much in the way of restaurants and coffee shops, but you better believe there are at least three donut shops. Multiple days a week donuts appear in my school office work room. This and my prior love for any food related art inspired me to work it into my 6th grade curriculum.
Part One: Donut Drawing
DAY ONE: I show students a Wayne Thiebaud painting and usually have each student write down three observations, reactions or questions. We share as a group (sometimes I make each student share one!) and then we move on to the donut drawing.
I show the time-lapse portion of this video and then ask for any questions about what they will be learning today. Then we draw one donut together following the steps outlines in the video, but I do it IRL (in real life as I’ve learned) on my document camera. This usually takes 15-20 minutes.
I stop every few steps to check their work giving a thumbs up or a quick piece of advice. This is usually the second or third unit so students are more comfortable with short directions from me. I warn them before we start that this is a “bossy teacher” day with lot’s of steps that I will be quickly checking. I usually tell them they aren’t allowed to raise their hand, just to draw and not be scared to draw a weird donut.
After they have successfully drawn their donut with a bite, I tell them how awesome they did and how hungry they made me. And that’s not fluff! Every single time I’m impressed (and hungry) with the donuts my 6th graders draw. Then I tell them they have to draw another one. Exactly like the one they just did. Without my step-by-step help. I give them the option of drawing (lightly!) on their pastel paper (so many gasps) or to fill another page in their sketchbook.
Part Two: Composition
DAY TWO: Is spent drawing and mapping out their composition. Here are the guidelines I give them:
- REPETITION: 5 or more donuts (always gets a gasp or two)
- EMPHASIS: One needs to stand out more than the rest.
- TO SCALE: All donuts must be life size and consistent (I have them measure 5″ for each one, which is a completely random number)
- COMPOSITION: One (or more!) needs to go off the page (I have a demo for that!)
We start class by looking at student work examples and discussing their composition guidelines. Sometimes I show them a group of student examples and have them guess what the guidelines are. After students are aware of their expectations, I do an off the page demo IRL on the document camera. By the time the demo is over, they have drawn three donuts and have the requirement of off the page already met. CHECK!
I set them loose with their guidelines and play my YouTube tutorial on a loop for visual reminders.
Part Three: Oil Pastels
I LOVE oil pastels. Its a great combination of drawing and painting and I tell students it’s like a fancy crayon, except once you use it you will never want to use a crayon again. I have used Pentel brand for years, but recently switched over to Faber-Castell and I have to admit they last SO much longer. I still love the blendability (is this a word) and intense color of Pentel, but my students go through them reallllly quick.
I have added my Amazon affiliate links for both products below. Affiliate link mean at no additional cost to you, I will earn commission if you click through and make a purchase. I only recommend art supplies I personally love and use myself on in the classroom. #publicschoolteachersidehustle
I like to have students practice blending in their sketchbook first, but I only teach a 40 minute 9 weeks course so sometimes we just get right after it on their pastel paper.
DAY THREE: I have learned that starting with the dough is best. We all use the same colors so it makes the demo and step by step work much easier. I have them lay out their brown, yellow ochre and white and then close their boxes so they aren’t tempted to get out the lemon yellow or whatever other distraction they may have.
We do the dough and then if we have time I also show them shadows. I give them the option of blue (hello, Wayne Thieubaud!) or gray. There’s always the red/orange shadow kid so I explain that shadows are made up of cool colors and it needs to be consistent for each donut.
DAY FOUR & FIVE: The next class two periods are spent on icing. I tell them I have a strict NO SPRINKLES rule until they can show a range of values (dark, medium, light and a “bling bling” highlight”.) I remind them they are not filling in their icing with a solid color like a coloring book, but trying to make their donut look so real you want to pick it up off of the paper.
This step takes the most time and students do get frustrated when I push them to blend their values and get those shiny white highlights.
Part Four: Sprinkles & Emphasis
DAY SIX:Finally, sprinkles and decorations. I remind students that one donut has to be their area of emphasis/ focal point and stand out unquestionably more than the others. This is such a fun part of the unit and I always love the creativity students put into their work. I do have to remind them that every sprinkle (gasp) and all added icing needs a highlight.
One of my favorite things to do at this stage is the “emphasis check”. I will hold up a student’s work to another student and say “Which donut stands out the most?”. Sometimes I will pair them with a partner to take me completely out of the discussion. Students love when students get it right, and boy do they get frustrated when they don’t. This puts the power in the students hands and not mine. It’s not just me picking a donut I say, its the viewer.Just because you want one of the donuts to have the most emphasis doesn’t mean that it actually does. The problem solving that comes with these discussion is some of the best I see out of my 6th graders.
Have early finishers or need an extension activity? Try my oil pastel cupcakes!
Part Five: Gallery Walk & Self-Assessment
After time for a catch-up day or two, it’s time for the Gallery Walk! As I’ve mentioned in previous posts I usually have students vote for certain categories. Typically these are the artworks I hang in the hallway or display case with the student name and their award, such as “Best in Class”. I always always always have students grade their art first. I make sure students write down which donut was their focal point. I tell them you don’t want me to just guess!
Here is a copy of the rubric I created for this lesson. Feel free to adjust it for your personal classroom needs!
donut-rubricDownload
Here is a Power Point (I use Google Slides in the classroom) of some of my art history warm-ups. I change it slightly every time I teach it but I always include one warm-up each class period.
donut-warm-upsDownload
I think student comments are super important. I have started adding a section on each rubric for these two questions: What did you enjoy the most about this artwork? What did you find most challenging?
I encourage students to be detailed and honest and let them know they aren’t going to hurt my feelings. I tell them I haven’t been a student in a long time and I can’t read their minds, your voices are important! I also recommend they draw me a fun picture, like a dancing cat.
That makes it wayyyyy more fun to grade!

