热气球单元
原文链接:https://tabithaannthelostsock.blogspot.com/2014/11/hot-air-balloon-unit.html
日期: 2014-11-11
标签: 3D、轮廓线、深度、热气球、空间
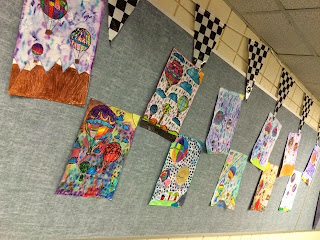
KIC 美术作品展,2014年12月
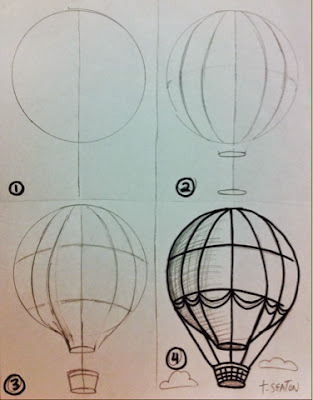
进阶版分步教程
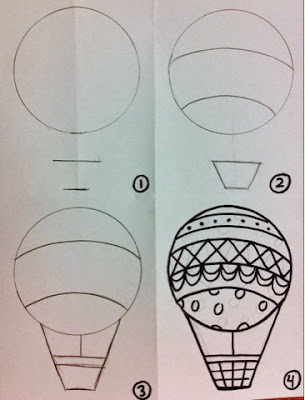
简易版分步教程
使用分步教程进行练习……
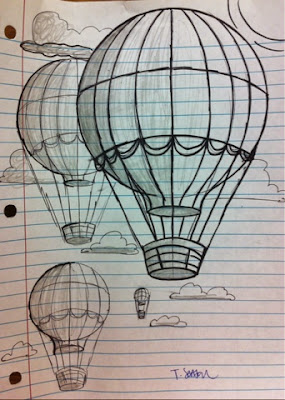
通过物体大小变化来表现深度、空间与透视关系:大的物体显得近,小的物体显得远。
这是一段非常优美宁静的影像视频,可在学生创作时播放……
https://www.youtube.com/watch?v=l8YaMK4-MYg&index=22&list=PL4AE49DD6487CE892
内容为阿尔伯克基热气球飞行延时摄影。
K–1年级
Kolon老师班,2016届幼儿园
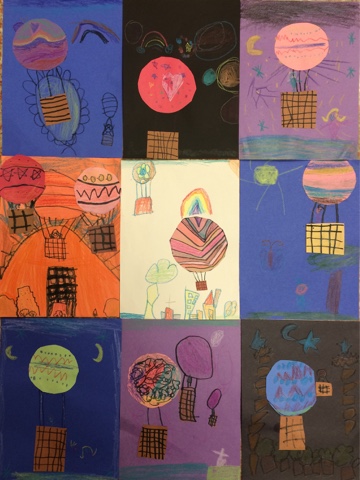
奥利维亚、莉莉安娜、扎伊娜、
麦茜、阿丽西亚、安吉、
匿名、莉莉与阿舍
Kolon老师班,2016届幼儿园
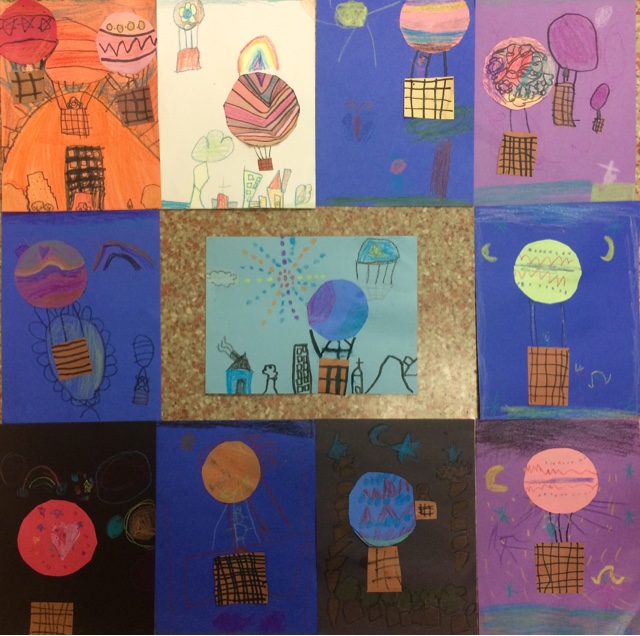
麦茜、阿丽西亚、安吉、莉莉、
奥利维亚、艾登、匿名、
莉莉安娜、托马斯、阿舍与扎伊娜
贝勒老师班,2016届幼儿园
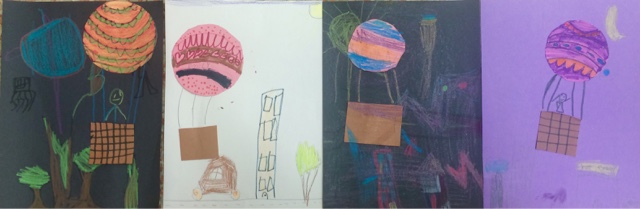
托比亚斯、艾米丽、?与卡娜
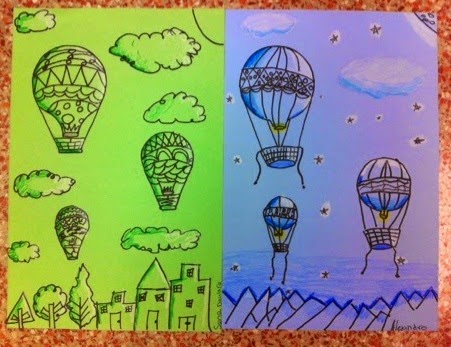
夜航
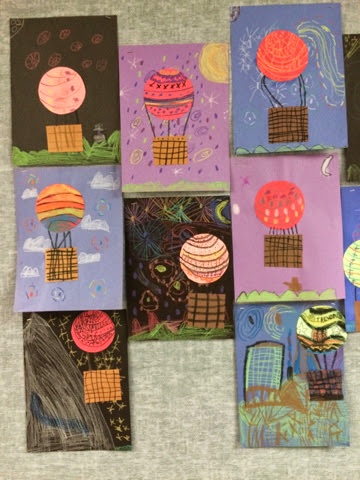
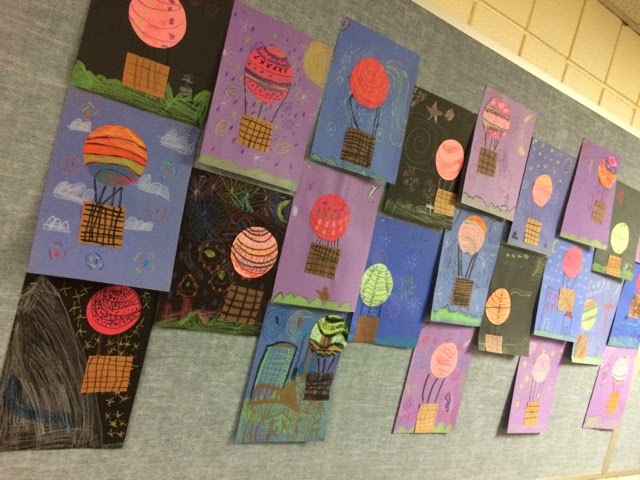
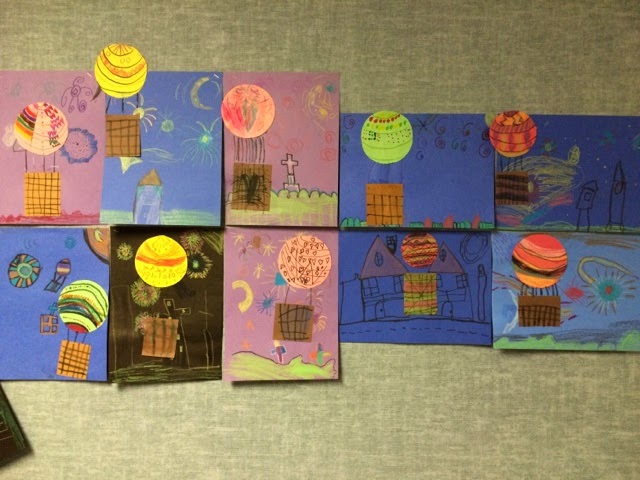
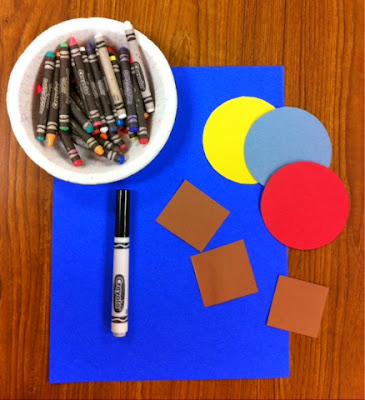
需准备大幅深色纸(蓝色、黑色或紫色)、棕色小正方形纸、原色圆形纸、彩色手工纸蜡笔、黑色记号笔、剪刀与胶水。
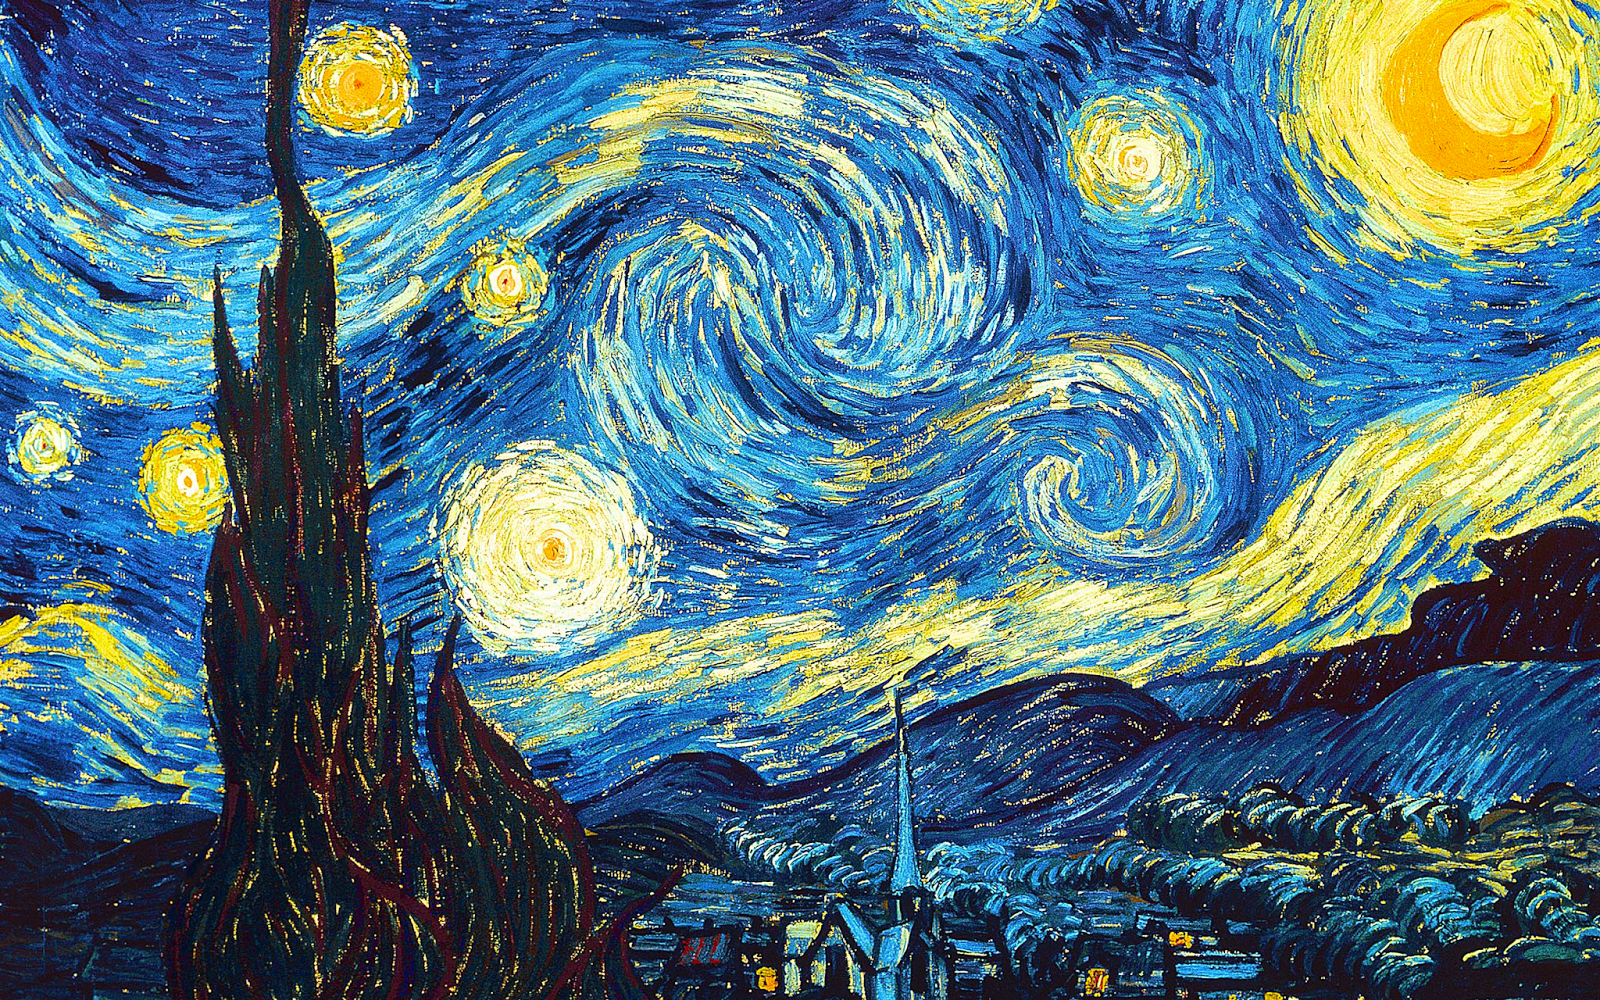
天空灵感参考……
梵高《星月夜》。
不必追求写实的星星,而要富有想象力!
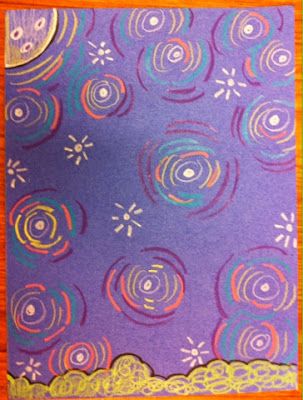
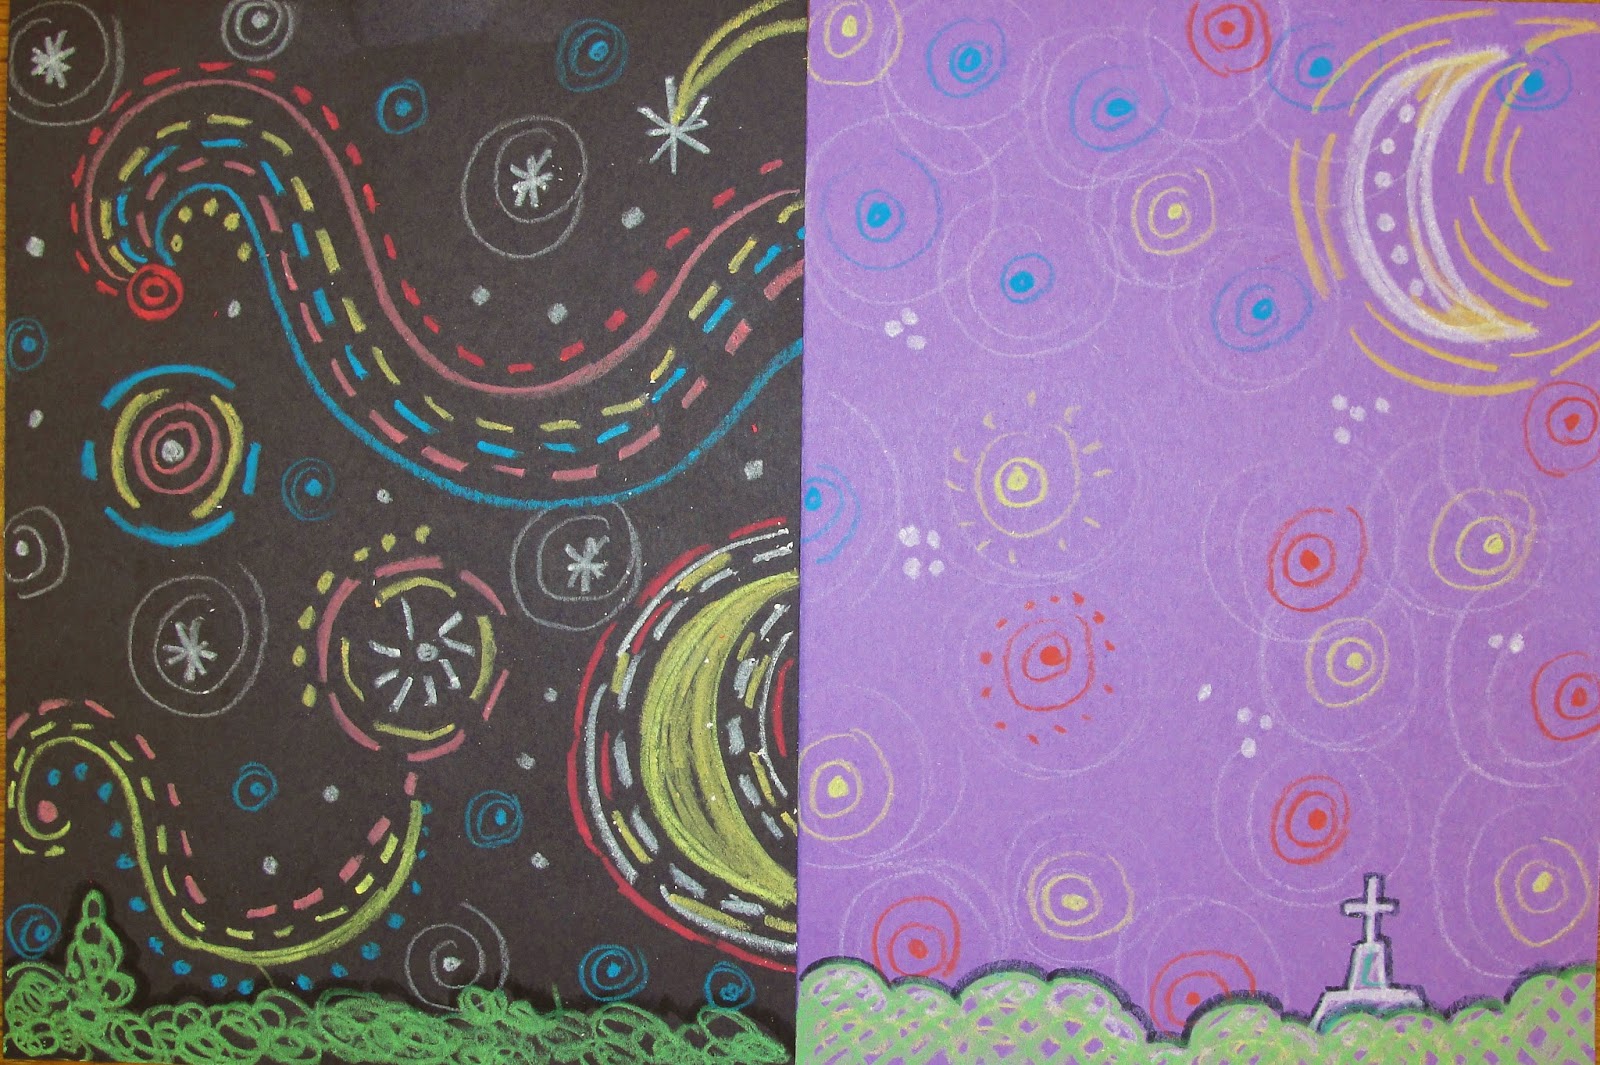
将纸张转为横构图。用彩色手工纸蜡笔绘制夜空,仅在画面底部边缘表现树梢轮廓。
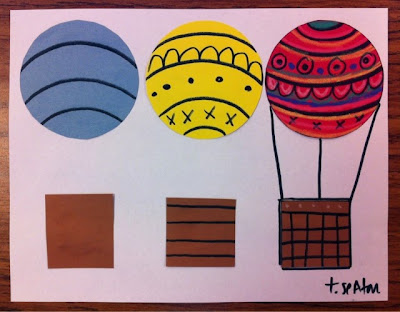
在气球上画出横向弯曲的轮廓线;添加图案并着色;在吊篮上画出线条,使其呈现编织质感。
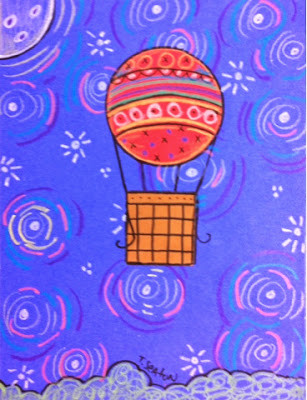
将气球与吊篮粘贴到夜空背景纸上,并在纸上画出连接二者的线条。
_____________________________________________________
Penn老师班,2016届幼儿园
莉亚、安妮、凯拉、兰登、
克洛伊、梅利克、哈莫尼与格蕾丝
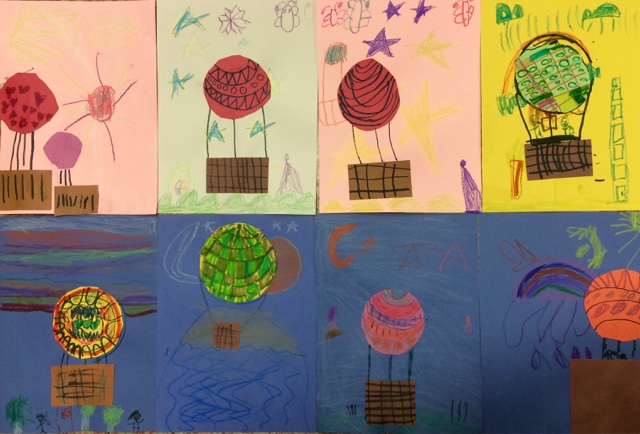
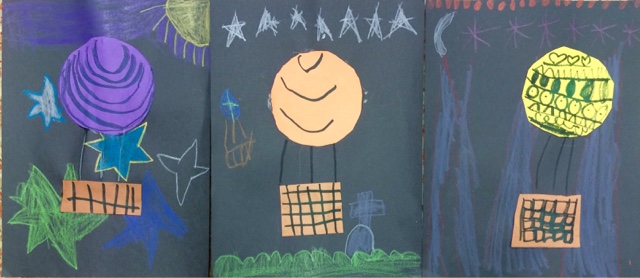
亚历克斯、兰登与阿里埃拉
布鲁姆老师班
一年级
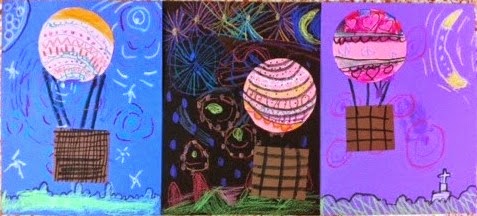
杰克、凯蒂与莎拉(上方)
_________________________________________________
周一幼儿园美术课——扎雷拉老师班
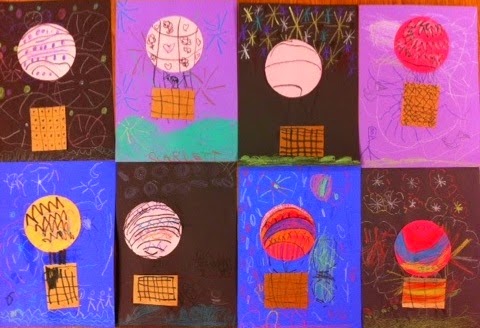
麦迪逊、斯嘉丽、维多利亚、詹姆斯、巴克斯顿、阿尔薇西斯、凯登与安德烈娅
_____________________________________________________________
周一一年级美术课——辛布尔斯老师班
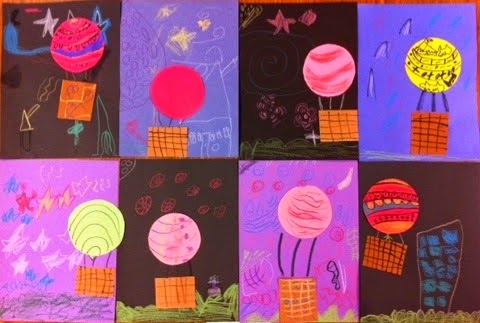
摩西、迪伦、纳塔莉亚、杰特、阿什顿、海登、拉赫曼与艾登
________________________________________________________________
周一一年级美术课——麦金利老师班
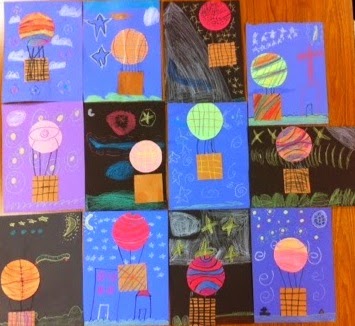
卡斯、阿德里安、萨姆、乔尔、?、伊莉扎、马雷克、艾莉森、特伦特、万希卡、玛迪与乔西琳
_________________________________________________________________
周二幼儿园美术课——夏普顿老师班
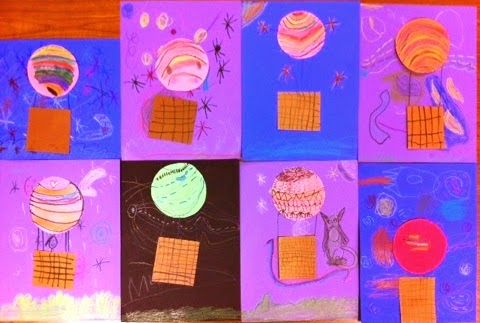
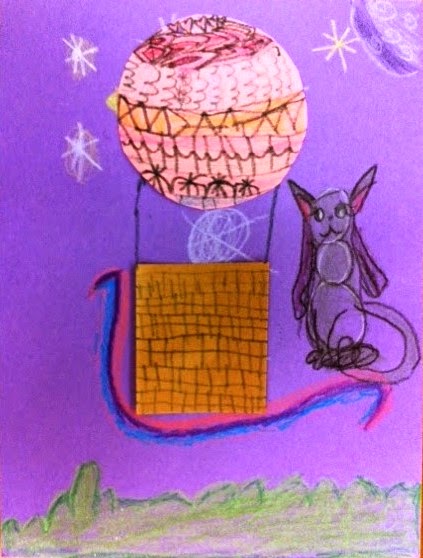
米娅、梅雷迪思、西娅拉、托林、佩顿、布莱恩、周(Chau)与蕾妮
周(Chau)的细节图(上方)
_________________________________________________________________________________
周二一年级美术课——帕克老师班
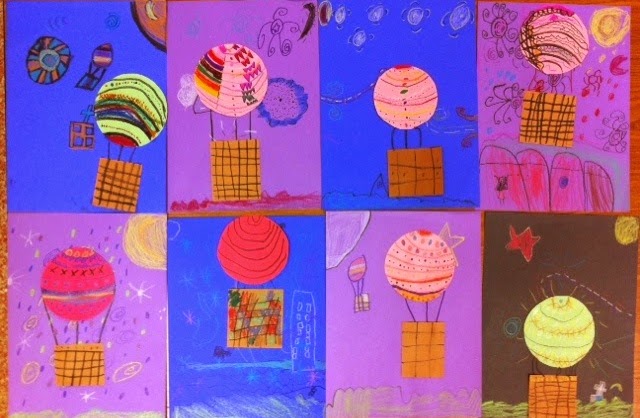
帕特里克、米娅、里亚、劳伦、艾玛、安德鲁、亚历克西斯、泽维尔(上方)
与贾森(下方)
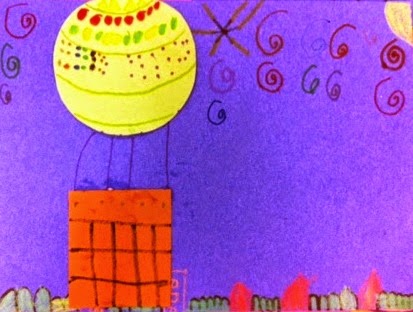
教师示范图(下方)
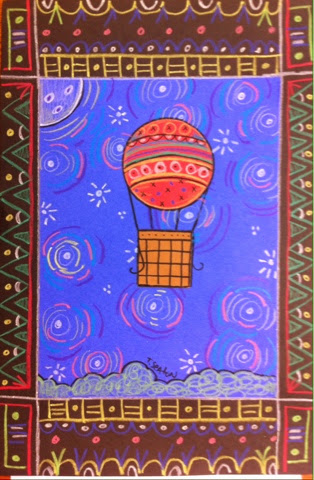
可选步骤:将作品粘贴至更大尺寸的深色纸上,并装饰成画框效果。
二至三年级
秋日飘浮——
蜡笔防染法结合可水洗式水彩马克笔技法
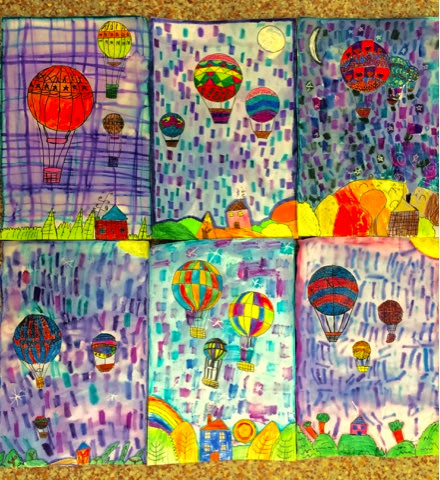
梅莱斯基老师班,三年级
保罗、阿鲁巴、杰德、玛丽德鲁、优素福、萨默
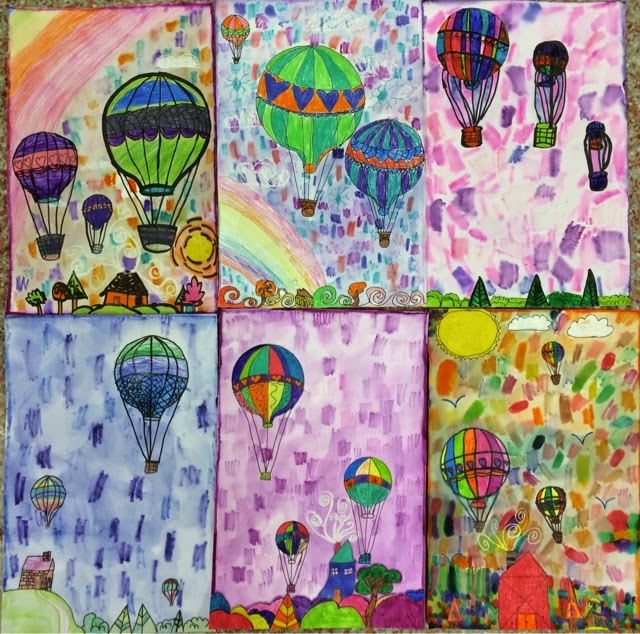
麦迪逊、伊薇、吉赛尔、格雷戈里、德文、莫拉
梅老师班,三年级
玛凯拉、西德尼、阿比、凯莉、格蕾丝、阿德里安娜
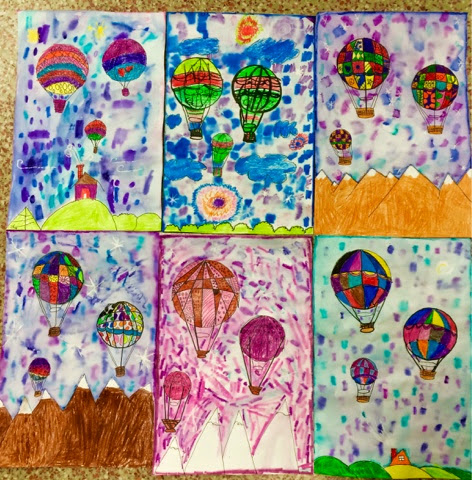
布朗夏尔老师班
康纳与以赛亚(下方)
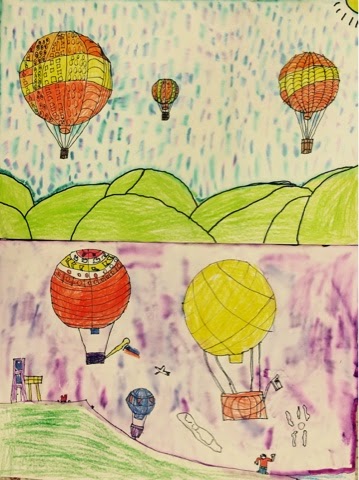
戴维斯老师班,三年级
乔佳、艾登、赖利与凯蒂
画出三个不同大小的气球,其中最小的一个最靠近地平线。
(以此增强画面深度与空间感)
为气球添加细节,并在画面底部展现景观顶部
(仅画出山峰、房屋、树冠等,以体现高度)
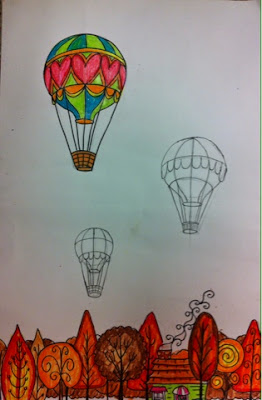
用蜡笔为最大的气球及景观部分上色
(勿使用可水洗蜡笔)。
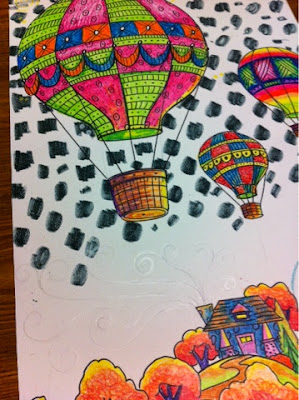
在背景区域均匀分布地涂抹可水洗马克笔色点/色块/涂鸦线条。
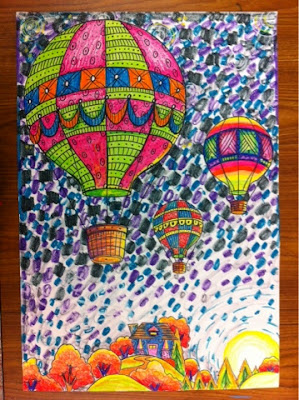
色点间距越宽,背景颜色越浅。
个人认为,色点排列越紧密,色彩饱和度越高,视觉效果更佳。
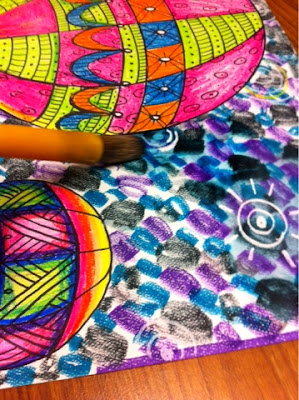
待背景用马克笔着色完成后,再沿纸张外缘用粗笔触描一圈马克笔线条(常被忽略的边缘处理)。
随后用含水画笔晕染融合各色。
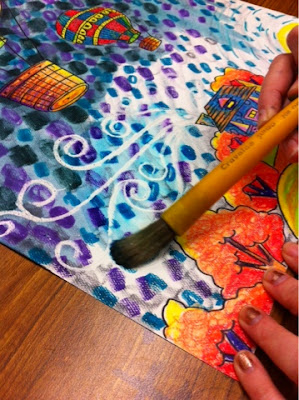
若蜡笔涂得足够厚实,水彩会自然避开该区域。
若用白色蜡笔预先绘制特殊细节,此防染效果尤为出色。
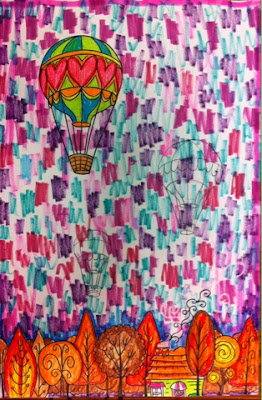
提示:
为营造融合协调的天空,可先选定一种配色方案(暖色系、冷色系或同色系),再选用对应色系的可水洗马克笔,在整个背景上以斑驳、点状、涂鸦式手法着色。蜡笔涂层将有效抵抗水性马克笔颜料!
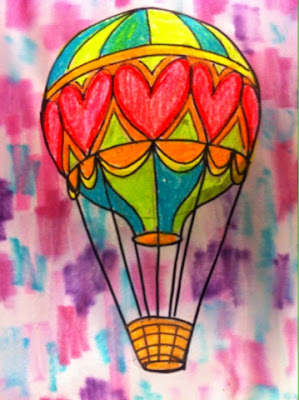
待整片天空覆盖完毕后,用湿润的水彩画笔整体轻扫天空区域,使色彩自然交融“迸发”。静置晾干……
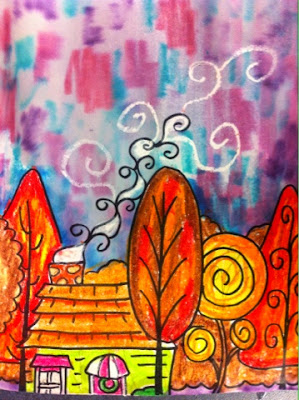
我先用白色蜡笔画出烟雾,再覆盖马克笔……看到防染效果了吗?
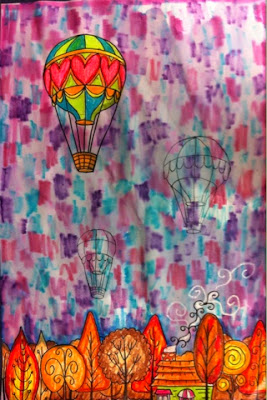
用彩铅为背景中剩余两个气球着色。它们将与天空色调适度融合,从而呈现“空气透视”效果。
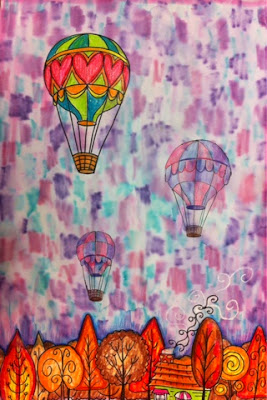
完成的日间教师示范图
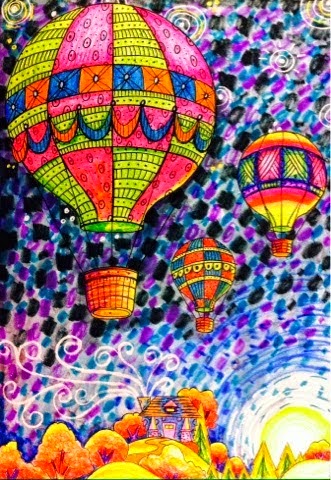
___________完成的夜间教师示范图________
_________
四至五年级项目
2019年,阿尔巴·金恩小学周五四、五年级课程
莉莉、肯达尔与马蒂
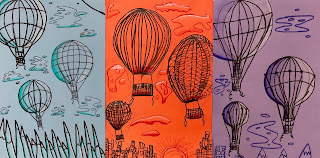
娜奥米、艾瑞琳、
达尼克与凯登
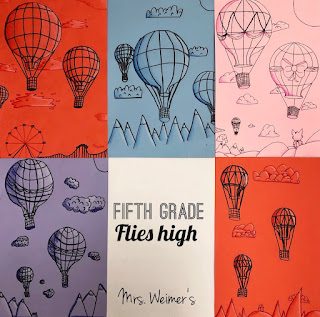
单色画
萨沃伊老师班,五年级
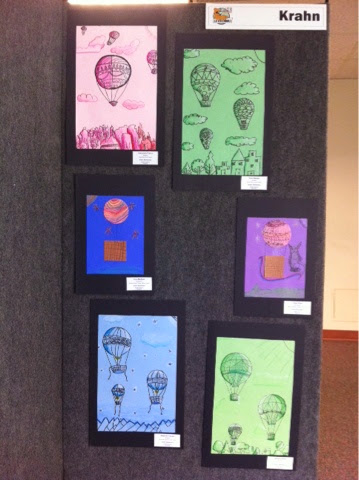
克朗小学
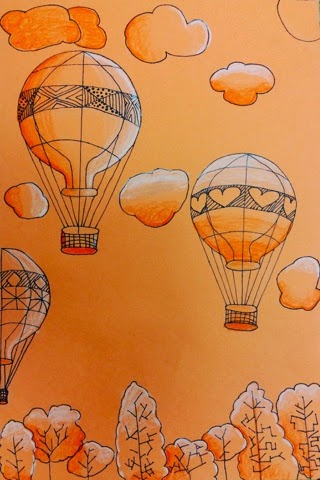
亚历克西斯
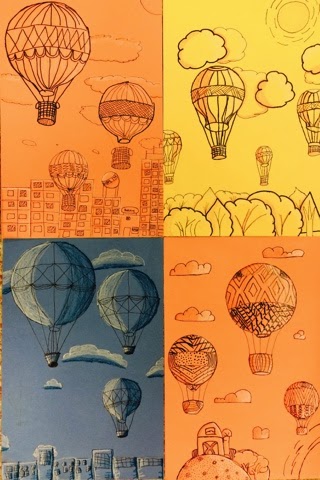
阿什温、乔尔、匿名(黄色)与海登
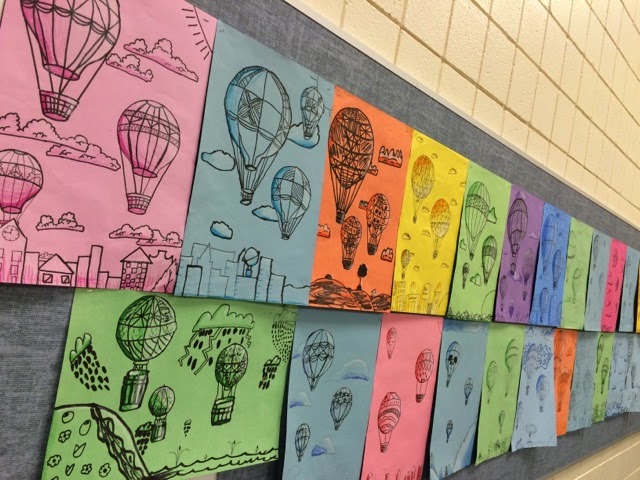
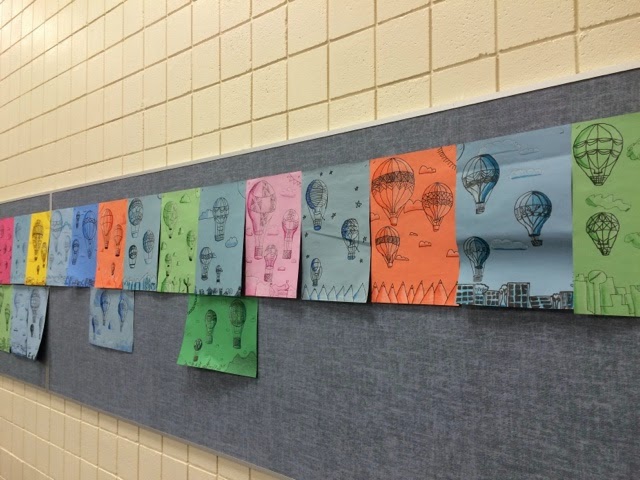
克莱默老师班,四年级
梅森、迪伦、斯宾塞、詹姆斯、诺亚、艾米与莉萨(单幅)
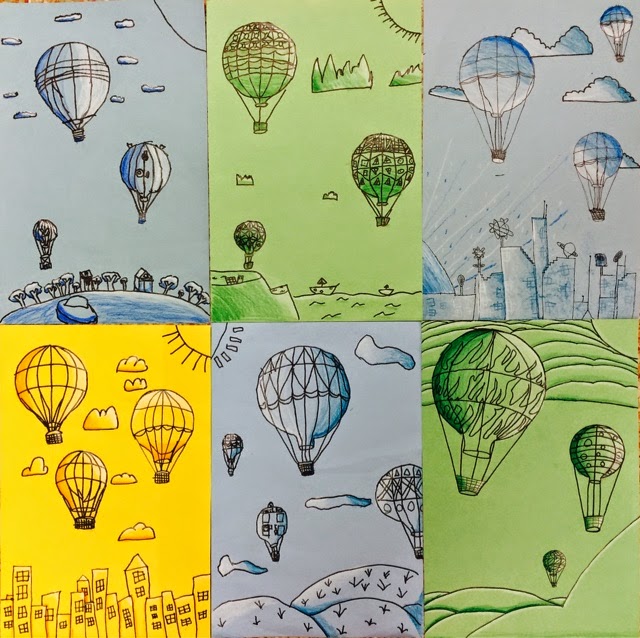
--------_
布兰肯希普老师班,五年级
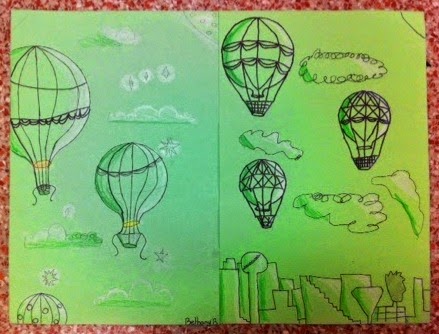
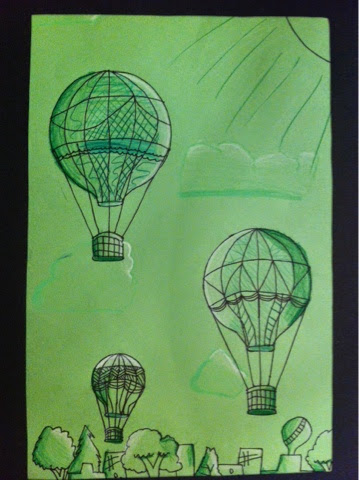
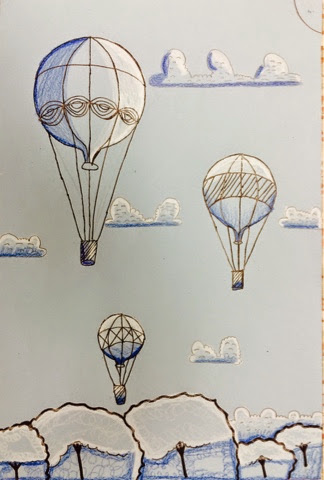
麦迪逊·韦德,四年级
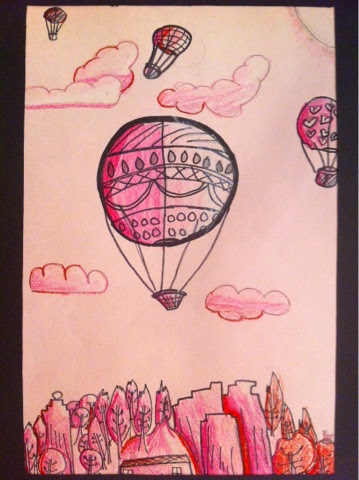
卡桑德拉·弗朗哥,四年级
麦克米利安老师班
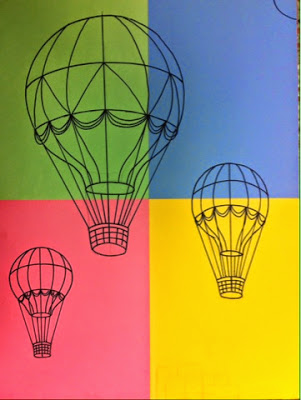
四种油画棒的组合,仅用于展示每种颜色的实际效果。学生将任选一种油画棒专用纸,绘制三个大小不一的热气球(一大、一中、一小)。
在纸张底边,仅露出景观的顶部尖端,以增强画面的高度感。
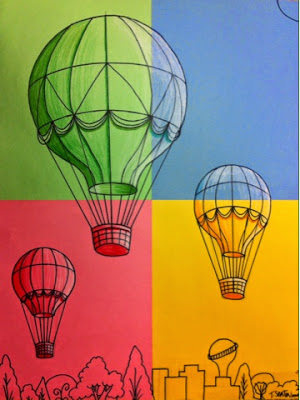
依据所选纸张颜色,学生将使用白色及比纸色更深的同色系颜色(绿色、蓝色、红色或金色/浅橙色)来为热气球、云朵和景观进行明暗/排线与提亮处理。
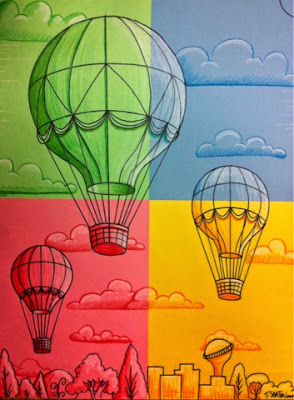
完成啦!准备起飞吧;)
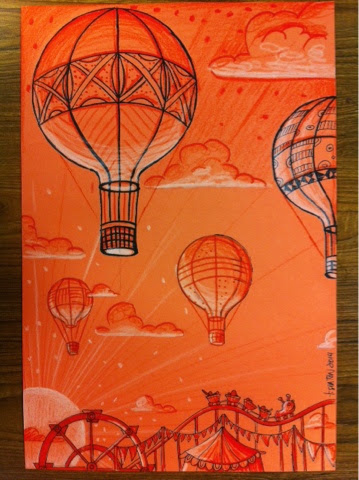
另一个创意……
选用有图案的纸张(剪贴簿纸效果最佳),剪出奇数个不同尺寸的圆形。
将它们粘贴在一张横向摆放的风景画纸上。
沿热气球上下左右画出弧线(如上文说明所示),将圆形转化为立体造型。在圆形下方添加吊篮,并用黑色记号笔勾勒全部轮廓线。
再添上树梢与云朵顶端,使画面呈现高耸入云的效果。
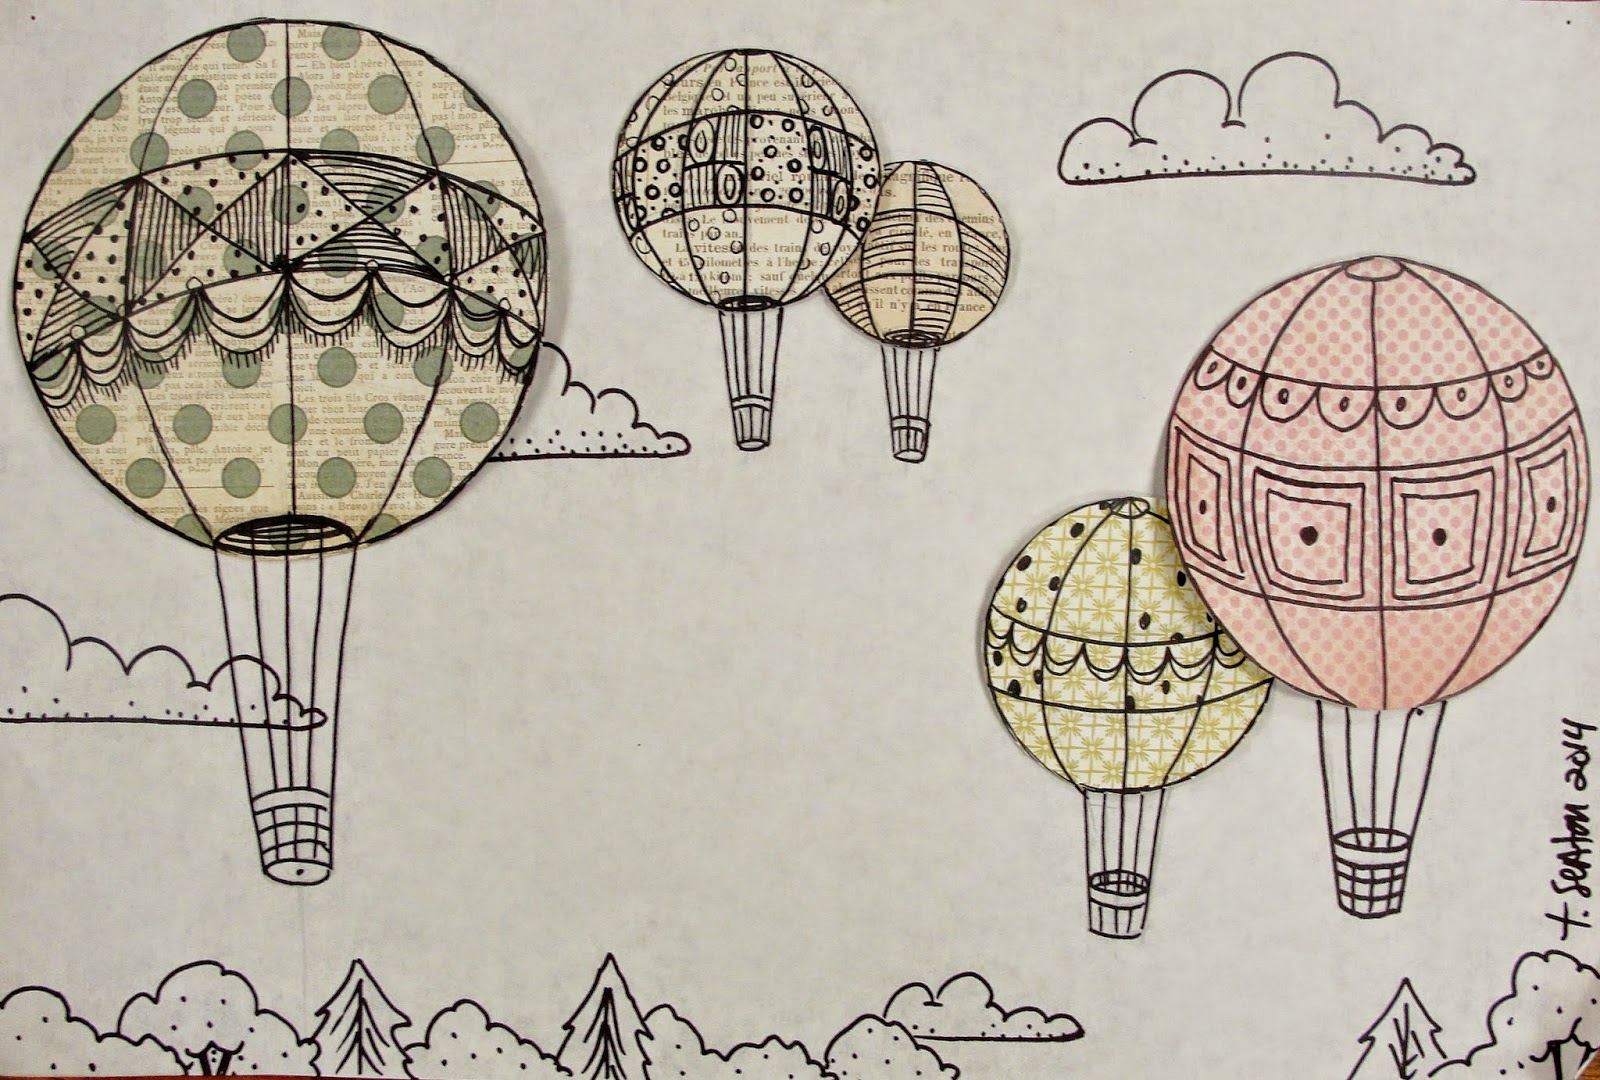
通过手工模型理解透视……
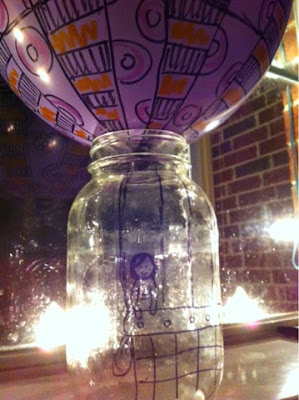
源自我的梦境;)
(吊篮里写着“用Sharpie笔给我画个像”)
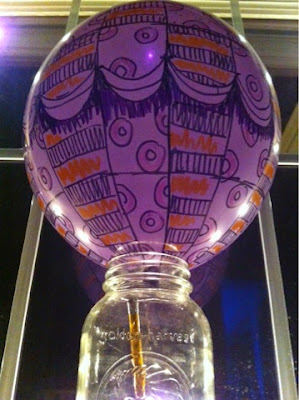
从下方仰视热气球……
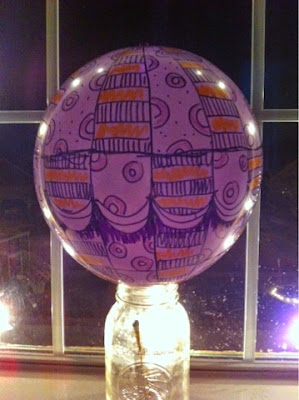
从平视角度观察热气球……
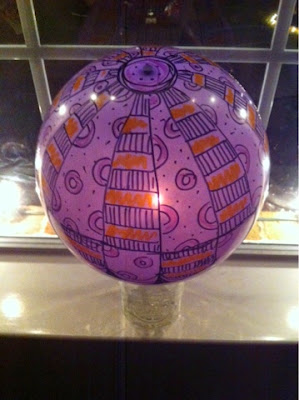
从高处俯视热气球……
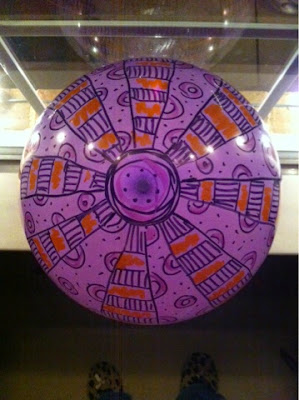
从正上方俯瞰热气球……
热气球单元
Original: https://tabithaannthelostsock.blogspot.com/2014/11/hot-air-balloon-unit.html
Date: 2014-11-11
Tags: 3D, contour line, depth, Hot air balloon, space
KIC Art Display, December 2014
Advanced step by step
Easy step by step
Use Step by step to practice...
Practice with size to show depth, space & perspective. Big is close while small is far.
This is a very beautiful and peaceful imagery video to show while students are working...
https://www.youtube.com/watch?v=l8YaMK4-MYg&index=22&list=PL4AE49DD6487CE892
It is of a Time-lapse Balloon flight in Albuquerque.
K-1
Mrs. Kolon's kinder 2016
Olivia, Lilyana, Zaina,
Maci, Alicia , Angie,
Anonymous, lily & Asher
Mrs. Kolon's kinder 2016
Maci, Alicia, Angie, lily,
Olivia, Aiden, Anonymous,
Lilyana, Thomas, Asher & Zaina
Mrs. Baylor's kinder 2016
Tobias, Emily, ? & Kana
Night Flight
Need large night colored paper
(blue, black, or purple), brown small square paper, primary colored circle papers, construction paper crayons, black marker, scissor & glue.
Inspiration for sky...
Van Gogh's Starry Night.
Not realistic starts, but IMAGINATIVE!
Turn paper landscape direction. Use CP crayons to create a night sky just showing the tip tops of trees on land.
Draw curved contour lines on balloon going across. Draw designs and color. Draw lines on basket to make it look woven.
Glue balloon and basket onto night sky background and draw lines connecting them on paper.
_____________________________________________________
Mrs. Penn's kinder 2016
Leah, Annie, Kyra, Landon,
Chloe, Melik, Harmony & Grace
Alex, Landon & Ariella
Mrs. Bluhm's class
1st grade class
Jack, Kattie & Sarah (above
_________________________________________________
Monday's KinderArt- Mrs. Zarellla's class
Maddison, Scarlett, Victoria, James, Baxton, Alwxis, Kaden & Andrea
_____________________________________________________________
Monday's First Grade Art- Mrs. Simbles
Moses, Dylan, Nathalia, Jett, Ashton, Hayden, Rahman & Aiden
________________________________________________________________
Monday's 1st grade Art- mrs. McGinley
Cas, Adrian, Sam, Joel, ?,Eliza, Marek, Allison, Trent, Vanshikha, Madi & Jocelyn
_________________________________________________________________
Tuesday's kinderArt- Mrs. Sharpton
Mia, Meredith, Ciara, Torrin, Peyton, Bryan, Chau & Rene
Chau detail (Above)
_________________________________________________________________________________
Tuesday's 1st grade Art- Mrs. Parker
Patrick, Miya, Ria, Lauren, Emma, Andrew, Alexis, Xavier (above)
& Jason (below)
Teacher example (below)
Optional; glue onto larger dark colored paper and decorate like a frame.
2nd-3rd grade
Floating through Fall-
crayon resists with washable watercolor marker technique
Mrs. Meleski's 3rd grade
Paul, Arooba, Jade, MaryDrew, Yusuf, summer
Madison, Evy, Gisselle, Gregory, devyn, Maura
Mrs. May's 3rd grade class
Makayla, Sydnie, abbey, Kaylee, grace, Adrianne
Mrs. Blanchard's
Connor & Isaiah (below)
Mrs. Davis' 3rd grade class
Jorja, Aiden, Ryley & Katie.
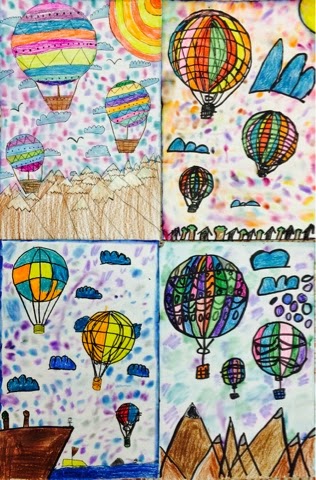
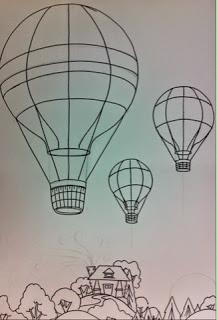
Draw 3 balloons various sizes with the smallest closest to horizon.
(adds depth and space)
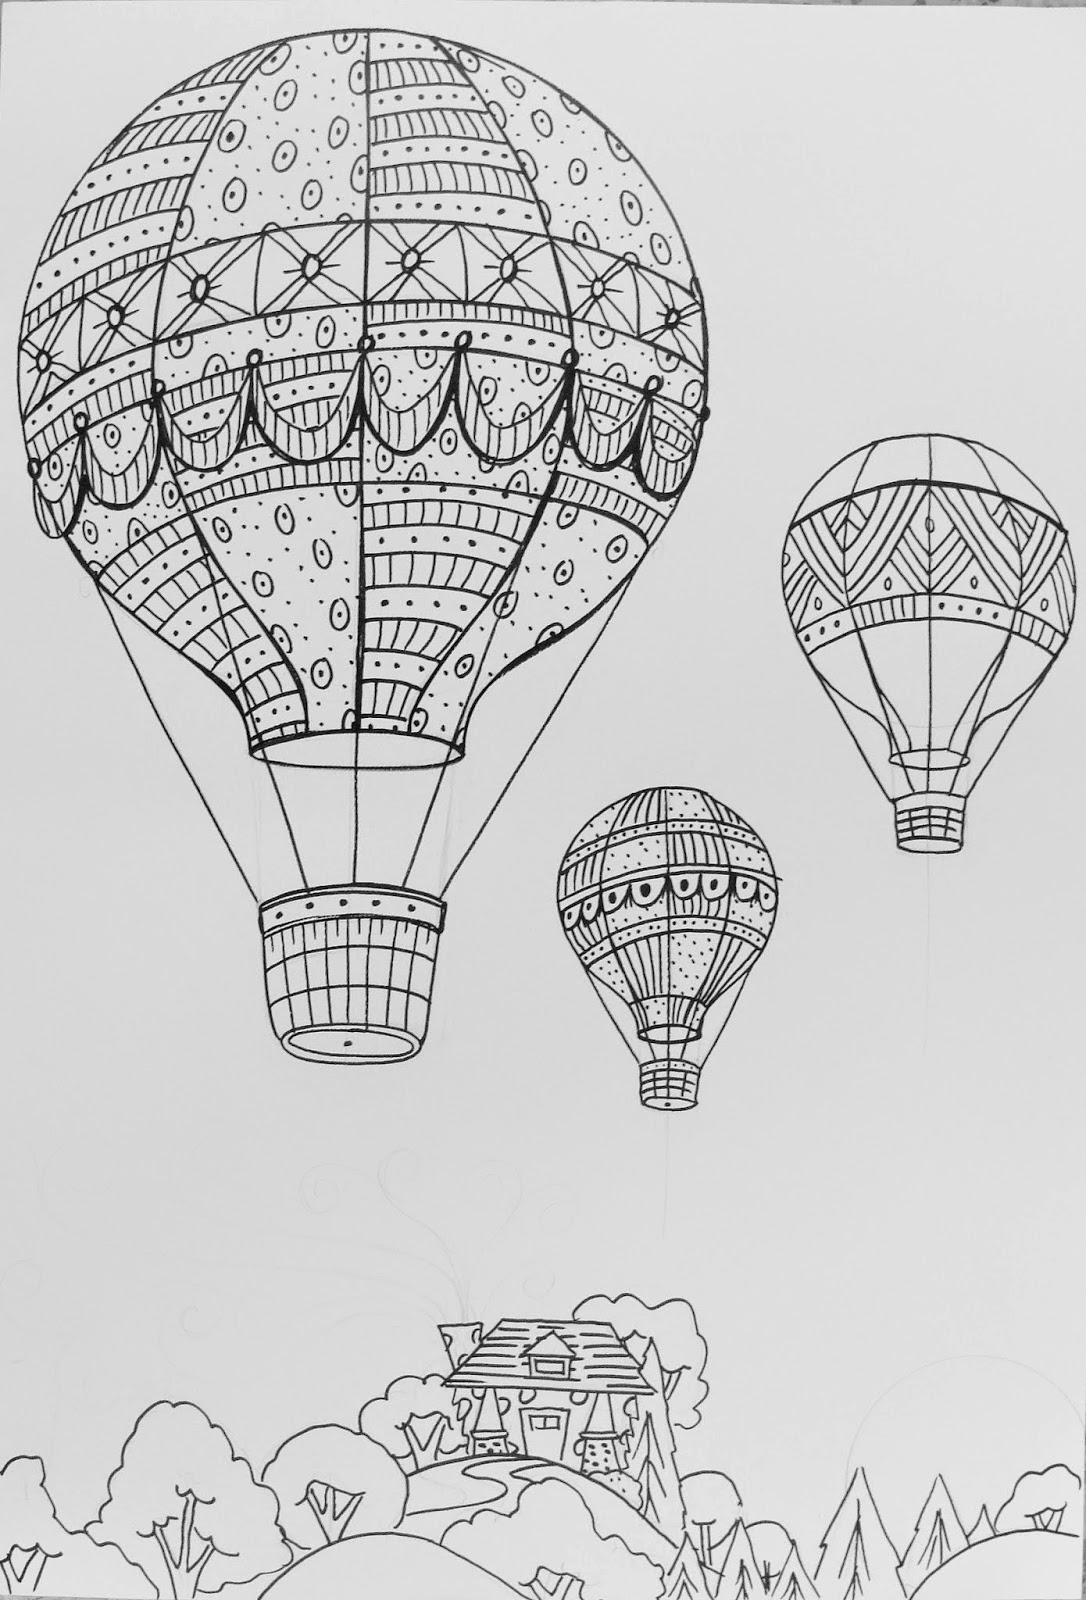
Add details to balloons and show the top of the landscape
(just the peaks of mountains, houses, trees to add height)
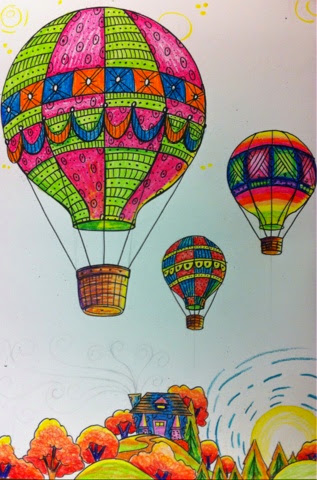
Color the biggest balloon and landscape with crayons
(do not use washable crayons).
Washable Marker Spots/Patches/Scribbled evenly spaced out in background.
The further they are spaced out. the lighter the background will be.
Personally, I think it looks better the tighter the spots are together because it is more saturated with intense color.
After the back ground is colored with the markers, I go around the outside of paper with a thick line of marker too. Sometimes the edges of the paper get forgotten.
Use a water brush to blend the colors together.
Areas of crayon (if done hard enough) will push away the water color.
This can look really nice if you used white crayon for special details.
HINT:
Choose a color scheme for a blended sky (warm, cool, or family related). Use washable markers in that scheme for the sky. Color in a patchy spotty scribble pattern all over background. Wax Crayon will resist the water based markers!
When entire sky is covered, use a wet watered pAintbrush to go over sky and end the colors. They will "burst" together.
Let dry...
I drew smoke with the white crayon before the mArker... See the resist effect?
Use colored pencils to color the last 2 balloons in background. They will be blended in with the sky somewhat to give it an "atmospheric perspective" appearance.
Competed DayTime Teacher Example
___________Competed NightTime Teacher Example________
_________
4th & 5th grade project
My Friday 4th and 5th grade at Alba Golden Elementary 2019
Lilly, Kendal & Matty.
Naomi, Irelyn,
Danic & Kaden
Monochromatic
Mrs. Savoie 's 5th grade
From Krahn Elementary
Alexis
Ashwin, Joel, anonymous (yellow) & Haden
Mr. Cramer's 4th grade
Mason, Dylan, Spencer, James, Noah, Aimie & Lisa (single)
--------_
Mrs. Blankenship's 5th grade
Madison Wade, 4th grade
Cassandra Franco, 4th grade
Mrs. McMillian's class
The combo of all 4 pastels is just a way for me to display how each color looks. Students will choose 1 pastel corvpaper to draw 3 hot air balloons of varying sizes (1large, 1 medium & 1 small).
At the bottom edge of paper, just the tips of the landscape will show to add a sense of height to the picture.
Depending on chosen paper color, students will use a white and darker version of paper color ( green, blue, red, or golden/light orange) to shade and highlight parts of balloons, clouds, and landscape).
We are done! Ready for take off ;)
Another idea...
Use patterned paper (scrapbook paper is the best) to cut out an odd number of different sized circles.
Glue them onto a landscape turned page.
Draw curved lined up and down and across the balloons (as instruction show above) to turn circles into forms. Add baskets beneath outlining all lines with a black marker.
Add the tip tops of the trees and clouds to give a sky high appearance to the picture.
Understanding perspective from a handmade model...
From my dreams ;)
(That a "shArpie me" in the basket)
Balloon From below...
Balloon From eye level...
Balloon From high...
Balloon From above...


