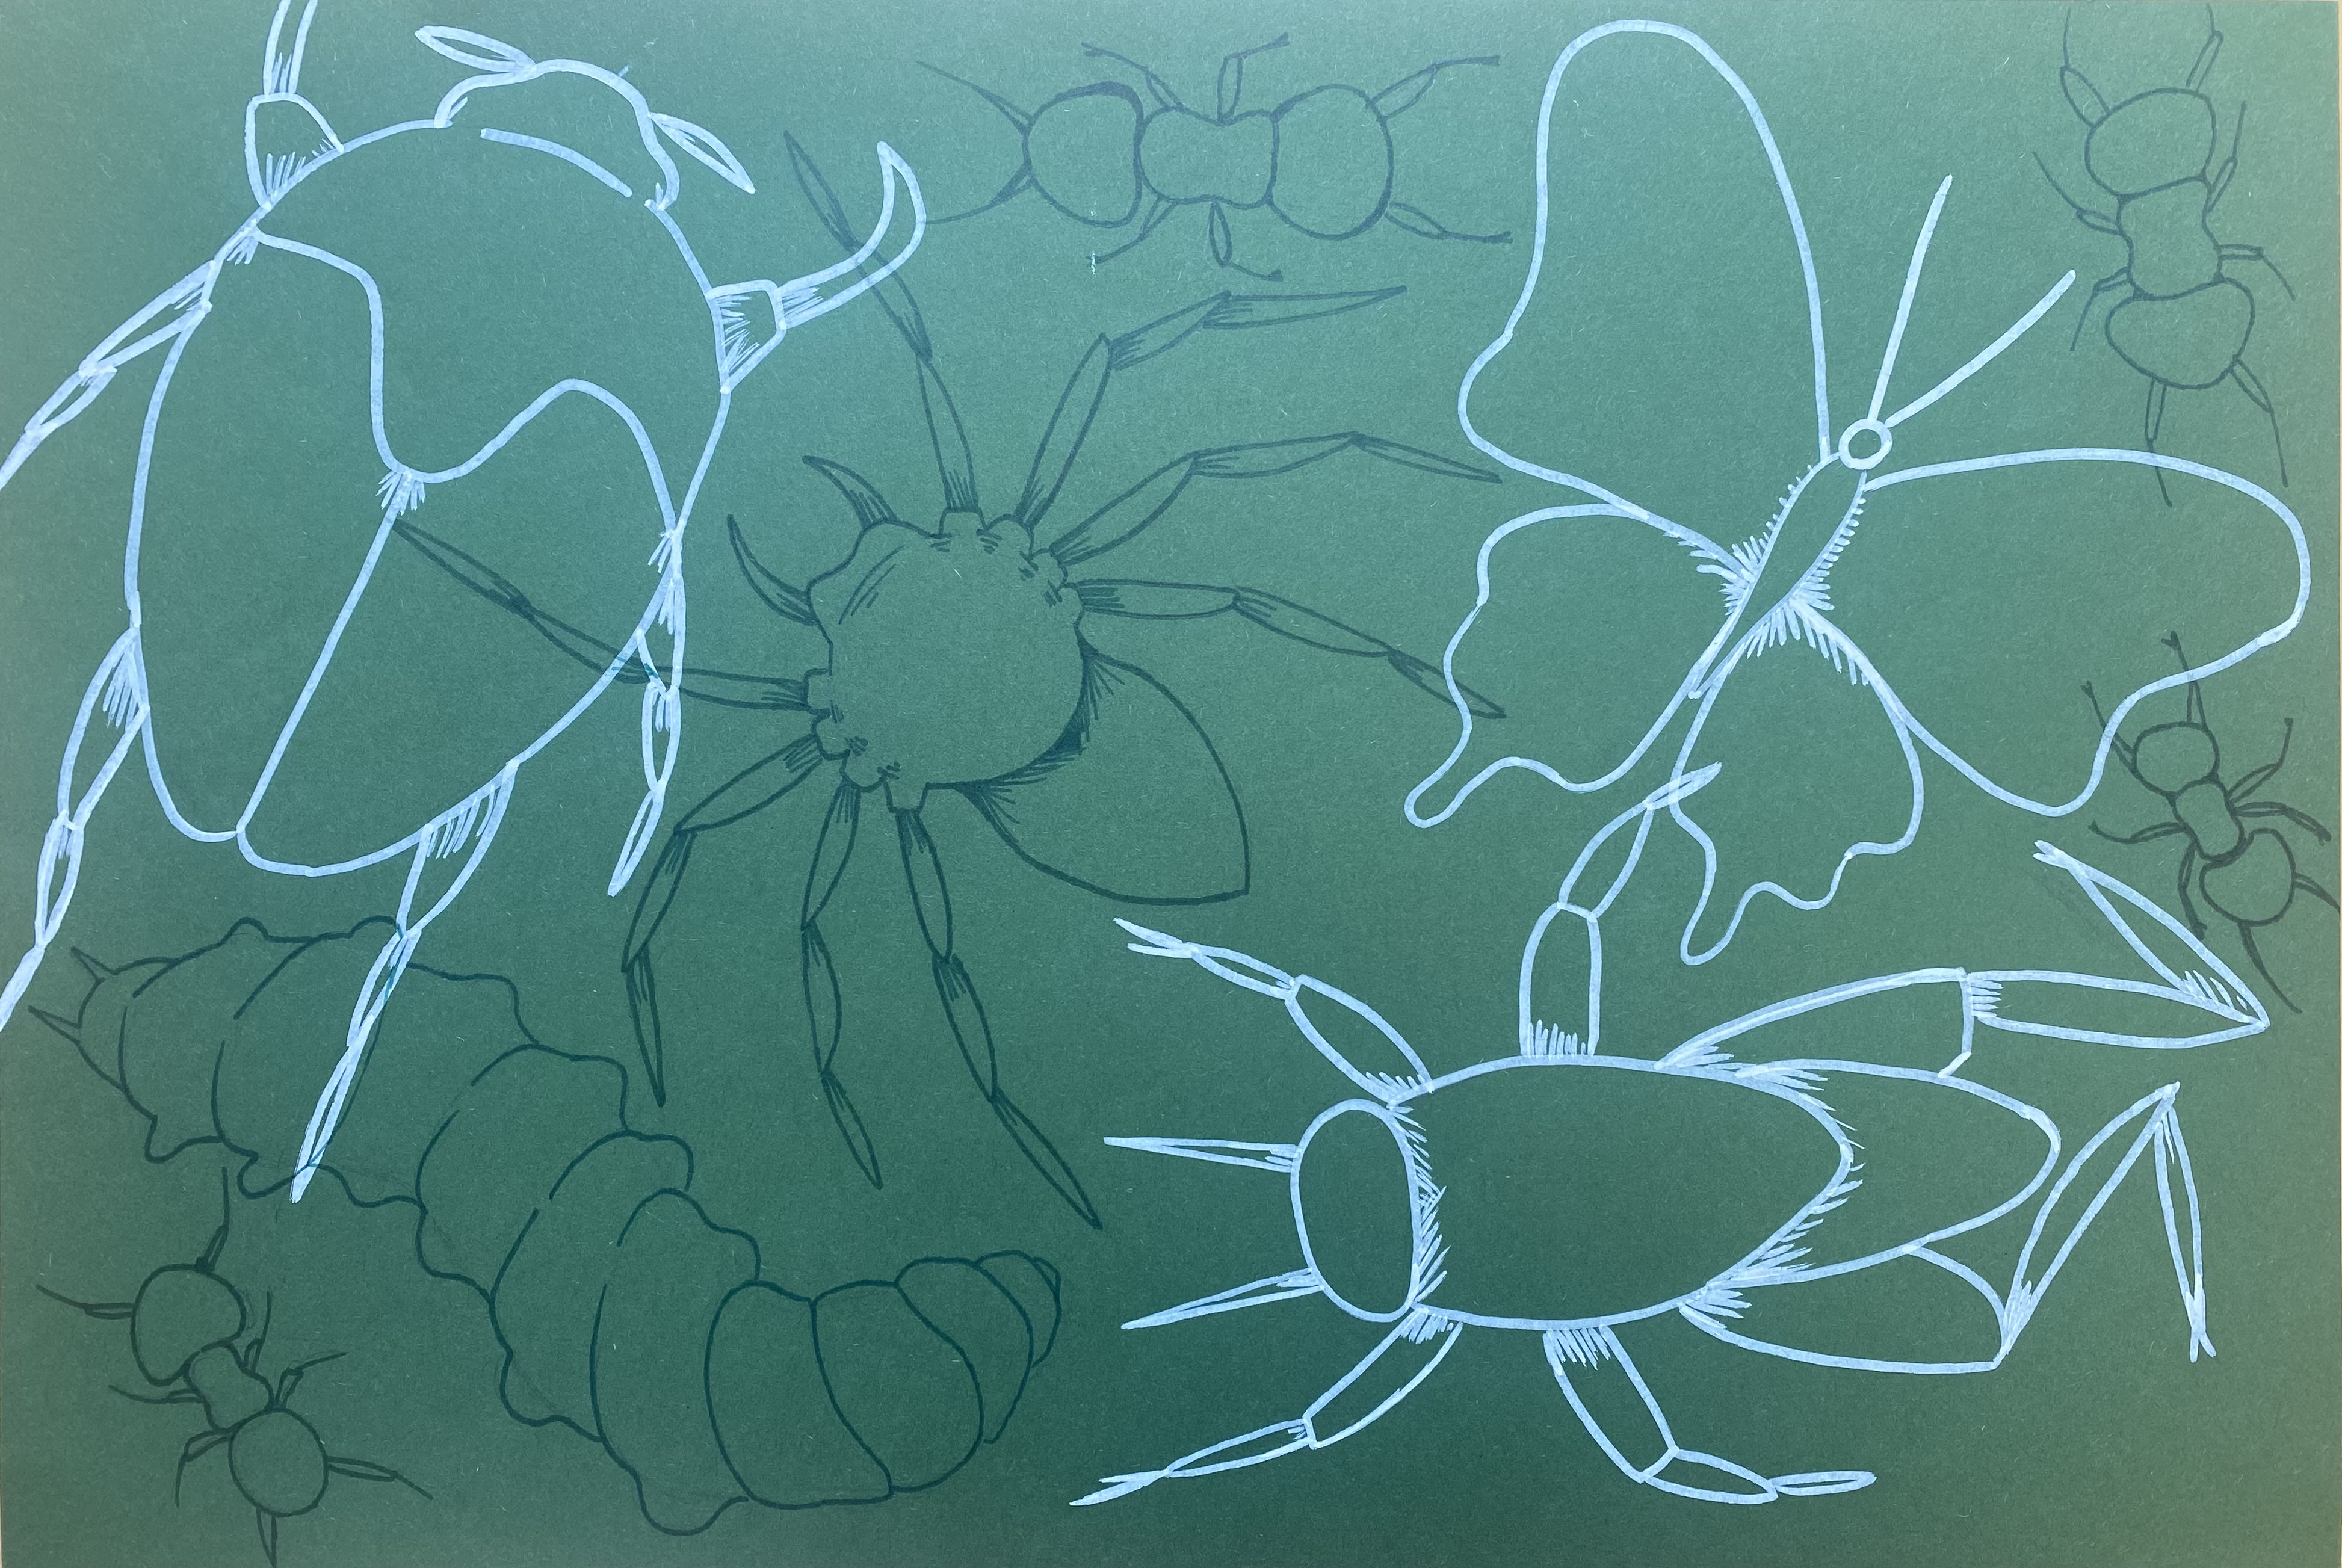
混合媒材聚焦绘画
原文链接:https://tabithaannthelostsock.blogspot.com/2019/03/drawing-with-tabby.html
日期: 2019-03-18
标签: bell、colorful、Design、draw、drawing、lessons、marker、mixed media、paint、supplies、taco
聚焦绘画(FOCAL DRAWING)
本项目是一项趣味十足的混合媒材绘画活动,让你能反复描绘自己钟爱的事物,并以多种不同方式呈现。那么,你最喜爱、也最乐于反复绘制的是什么呢?
我们先来看一些范例……
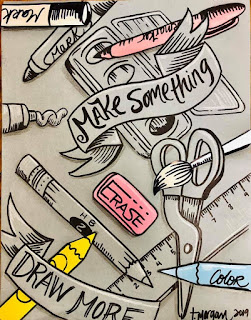
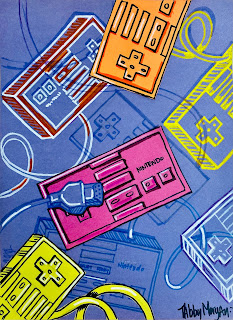
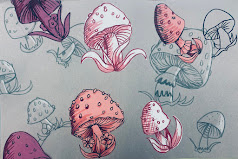
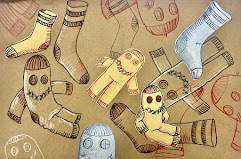
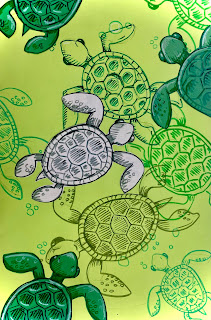
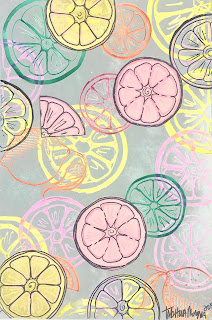
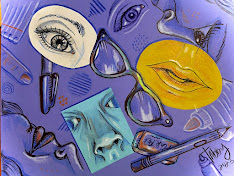
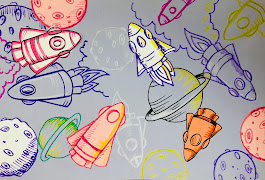
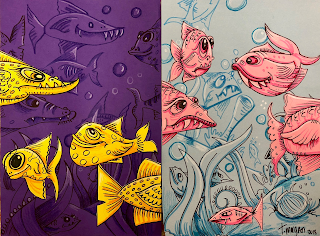
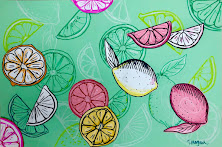
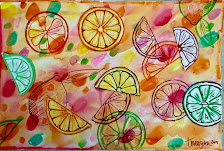
想画柠檬吗?
点击此处获取拓展课程:
https://tabithaannthelostsock.blogspot.com/2019/04/citrus-study.html
这个创意源自哪里?
灵感来源(INSPIRATION)
塔可钟(Taco Bell)的一张海报,作者不详。
若您知晓设计师信息,欢迎告知。
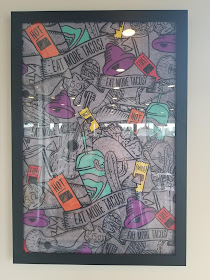
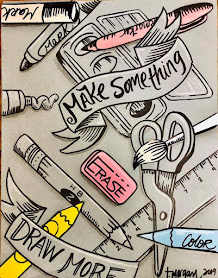
受德克萨斯州米诺拉市(Mineola, Texas)神秘塔可钟海报启发
无人知晓其真正设计者,但许多人渴望知道……
我并非唯一被吸引的人……
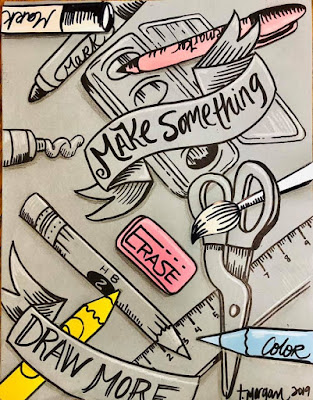
但本项目的主题并非“塔可用品”,而是——美术用品!
受启发的背景设计
伊洛伊斯·勒努夫(Eloise Renouf)版画作品
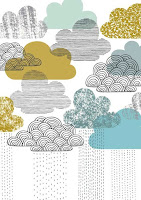
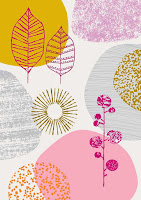
伊洛伊斯·勒努夫是一位居住在英国诺丁汉的纺织品与文具设计师。她曾在伦敦和纽约为各类研究项目设计印花图案,后与其搭档帕特里克(Patrick)共同创立了自己的文具品牌;其产品可在Etsy网店购买。她的图案风格高度 stylized(风格化),题材取自自然,如花卉、叶片与树木,均以几何形体勾勒而成。
http://www.etsy.com/shop/EloiseRenouf?ref=pr_shop
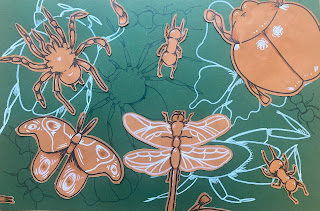
以上两位设计师启发我尝试全新创作。我喜欢他们主题一贯统一(如云朵、得州墨西哥风、自然元素),且通过重复构图与留白空间,结合重叠布局,并综合运用不透明、透明与彩色等多种表现手法。我也非常喜爱其中所用的色彩。
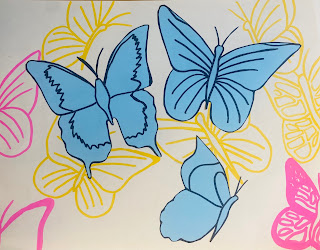
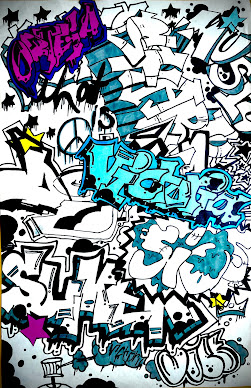
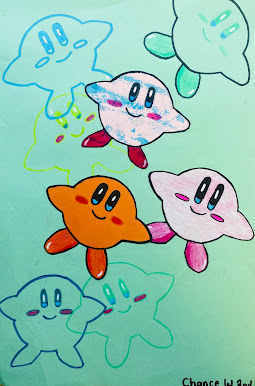
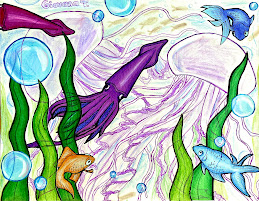
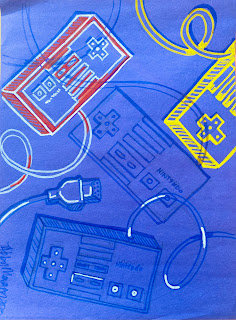
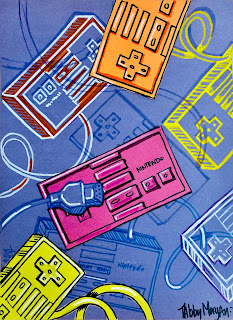
学生作品示例
**
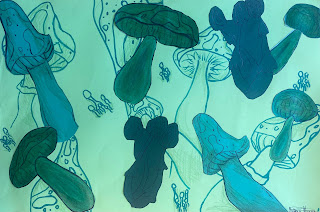
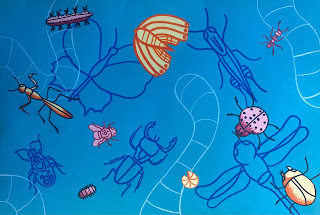
 **
**
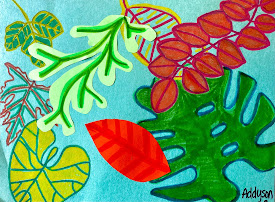 **
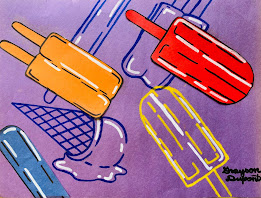
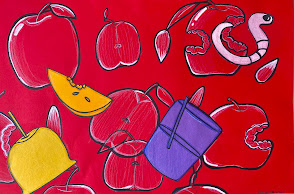
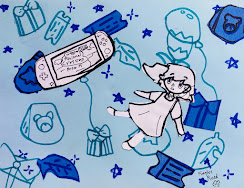
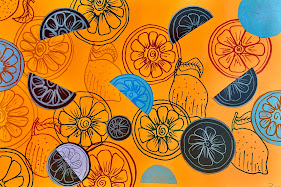
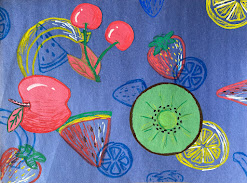
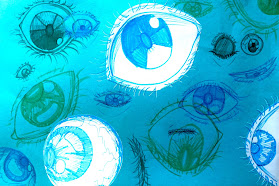
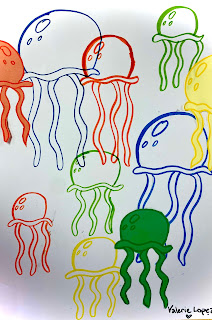
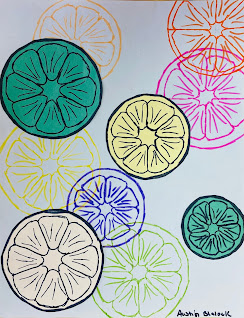
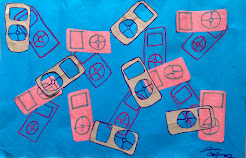
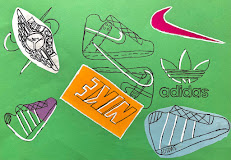
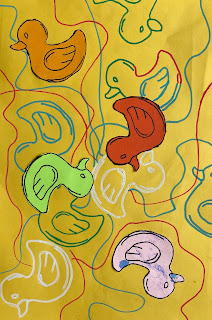
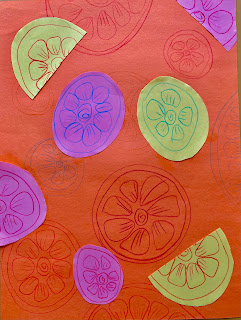
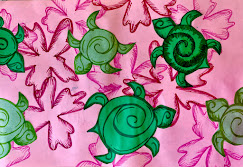
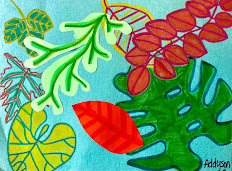
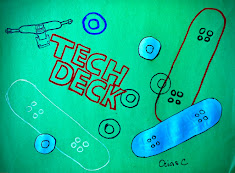
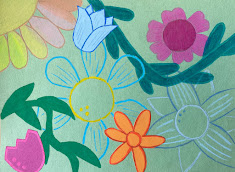
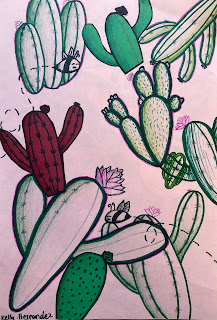
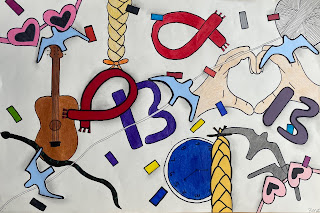
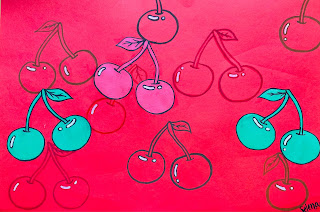
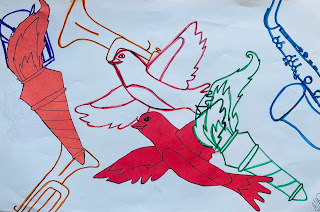
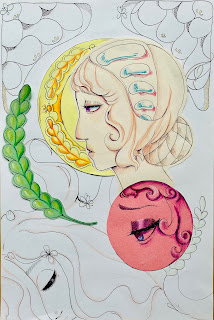
评价标准(CRITERIA)
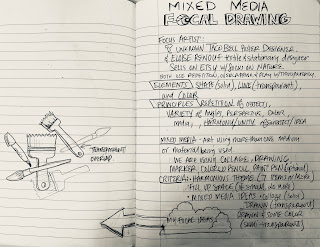
本项目要求你选定一个主题或物体。
- 至少绘制七个该主题物体,使其布满画面空间。
物体尺寸越小,所需数量越多。
你将使用以下三种表现方式:
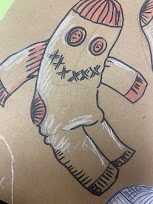
- 不透明式(SOLID):剪下实心形状并粘贴于画面上方;
- 透明式(TRANSPARENT):仅以线条形式绘制,与其他形状或线条重叠,且线条本身具有通透感;
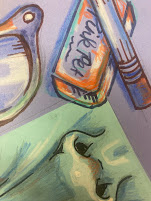
- 半透明式(SEMI TRANSPARENT):直接绘于背景之上,但仅局部着色。
所有这些表现方式均需围绕同一主题或物体,以多种富于创意的方式展开。
1. 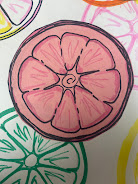 2.
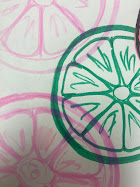
3.
进阶挑战(CHALLENGE):
- 半透明图形覆盖于不透明图形之上;
- 背景纸张覆盖于不透明物体之上。
4. 5.
请注意:
------现在,让我们开始创作吧!-------
从何处入手?
-
先绘制背景,在背景上直接画出物品。
(若使用深色纸张,可尝试用丙烯颜料笔(Paint Pens)或辉柏嘉彩铅(Prisma Colors)进行实验性创作)
-
然后,在其他彩色卡纸上分别绘制这些物品,剪下后粘贴于画面。
背景(BACKGROUND) 与 前景(FOREGROUND)(拼贴)
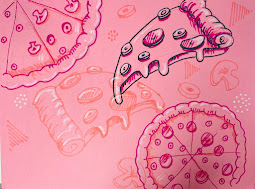
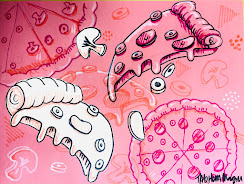
学生作品:绘制前 / 绘制后
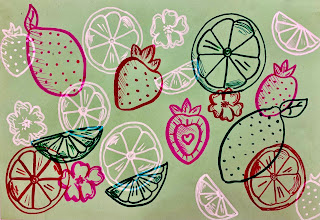
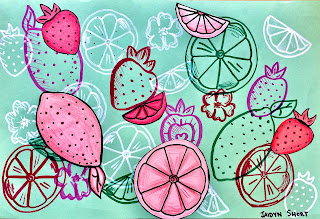
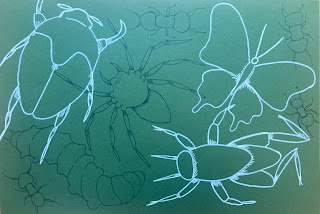
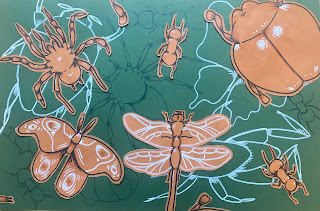
学生作品:绘制前 / 绘制后
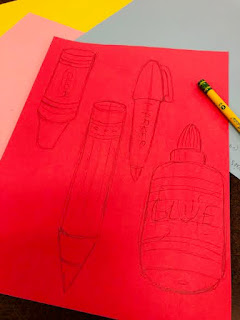
先用铅笔练习绘制你所选的美术用品。
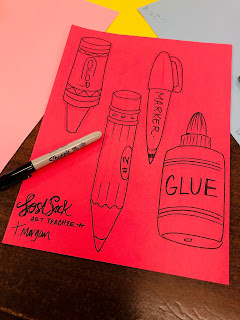
待铅笔稿轻淡、准确后,用永久性黑色记号笔勾勒轮廓,并擦去铅笔线。
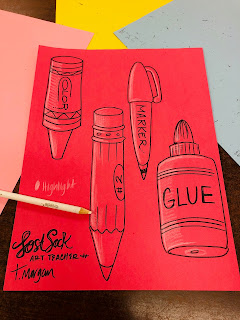
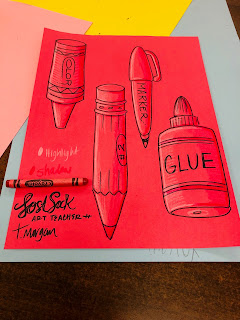
接着,添加高光与阴影。
想要独特背景效果?
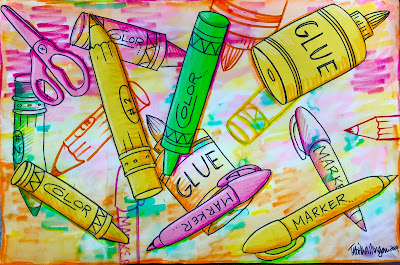
首先,我们用马克笔制作背景。选用可水洗马克笔,在纸上涂画约一英寸见方的随意色块。
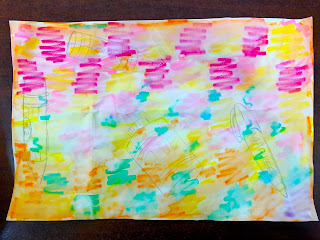
待整张纸布满色块后,用大号水粉笔将纸面整体打湿。注意切勿过度刷洗,否则会使各色混为一片单调色晕。
我称此技法为“渗色马克笔法(bleeding marker technique)”。
此前我曾多次运用该技法,为画面营造出独特而缤纷的背景虚化效果。
参见此处:
http://tabithaannthelostsock.blogspot.com/2014/09/color-burst-cactus.html
等待背景晾干期间,请另取练习纸,开始练习绘制圆柱体。随后将圆柱体逐步变化为蜡笔、马克笔、铅笔与胶棒等美术用品。务必练习绘制各种类型的美术用品。
待背景完全干燥后,再于其上叠加更多美术用品图像。
先用铅笔起稿,待构图满意后,再用记号笔描边定稿。
使用蜡笔为美术用品添加明暗,所选蜡笔颜色应与背景中的色彩相呼应。
此外,若在画面上再用彩色马克笔直接绘制更多美术用品,也会产生良好视觉效果,使画面更具层次感与趣味性——这将呈现出“绘于纸面”的真实感。 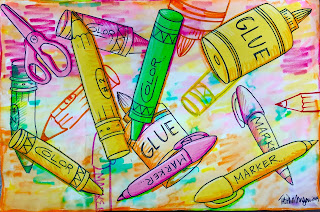
最后,将你在卡纸上绘制并剪下的美术用品,按视觉美感进行构图排列;粘贴固定后,再用与画面色彩相呼应的蜡笔,在每件物品下方添加投影。
混合媒材聚焦绘画
Original: https://tabithaannthelostsock.blogspot.com/2019/03/drawing-with-tabby.html
Date: 2019-03-18
Tags: bell, colorful, Design, draw, drawing, lessons, marker, mixed media, paint, supplies, taco
FOCAL DRAWING
This project is a fun mixed media project allowing you to repeatedly draw something you LOVE over and over in a VARIETY of ways. So, what is something you love that you are comfortable with drawing repeatedly?
Let's look at some examples...
Want to do Lemons?
Get extended lesson here..
https://tabithaannthelostsock.blogspot.com/2019/04/citrus-study.html
Where did I get this idea from?
INSPIRATION
This poster at Taco Bell, unknown artist.
Please let me know if you find the designer.
INSPIRED by the mysterious Taco Bell Poster in Mineola, Texas
Nobody knows who actually designed it, but many wish they did...
I'm not the only one...
But instead of Taco Supplies, the theme is Art Supplies!
INSPIRED Backgrounds
Eloise Renouf prints
Eloise Renouf is a textile and stationery designer living in Nottingham, England. After designing prints for studies in London and New York, she has created her stationery line with her partner Patrick; her products are for sale on her Etsy shop. Her patterns are very-stylized, with natural subject such as flowers, leaves and trees, drawn with geometrical shapes.
http://www.etsy.com/shop/EloiseRenouf?ref=pr_shop
Both of these above designers inspired me to do a new thing. I like they way their theme is constant (clouds, Tex Mex, nature) and how it is REPEATS and has SPACE with overlapping &
uses a VARIETY of opaque, transparent and colored. I love the COLORS used too.
Student Examples
**
**
**
**
CRITERIA
This project will require you to pick one THEME or OBJECT.
-At least SEVEN object that fill up the space.
The smaller you make them, the more you will need.
You will use
- SOLID (collaged cut shape glued on top) ,
2.TRANSPARENT (line only overlapping another shape or line and see through),
and 3. SEMI TRANSPARENT (drawn on the background but partially colored in).
All of these will go with a THEME OR OBJECT in multiple creative ways.
1. 2.
3.
CHALLELNGE:
-
SEMI TRANSPARENT OVELAP of a solid.
-
BACKGROUND OVERLAP (make background paper overlap a SOLID object.
4.5.
Take Note;
------Let's get stARTed!-------
Where do I start?
1.Start with the background first. Draw the items there.
(if you use dark paper, try experimenting with Paint Pens or Prisma Colors)
- Then, draw them on separate colored scrap paper, cut out, and glue down.
BACKGROUND AND FOREGROUND (collage)
Student before/after
Student before /after
Begin drawing the art supplies you practiced with a pencil.
After you draw light, when it looks right, outline with a permanent black marker and erase pencil lines.
Now, add highlight and shadow.
WANT A UNIQUE BACKGROUND?
First we will use markers to create a background for our drawings. Using washable markers, color scribbly blobs all over paper about an inch wide and high.
After you have covered the paper with scribbles, get entire paper wet using a large paint brush. Be careful not to over brush. This will cause the colors to become one monotonous wash.
I call this the bleeding marker technique.
I've used it times before to give the paper a unique and colorful blur in the background.
See here...
http://tabithaannthelostsock.blogspot.com/2014/09/color-burst-cactus.html
while waiting for the background
to dry, find some practice paper. Begin practicing drawing cylinders. Start changing those cylinders into crayons, markers, pencils and glue. Practice drawing all kinds of art supplies.
Now, add more supplies onto the painted paper (when dry).
Use a pencil first, then when it looks right, go over it with the marker.
Add shading to the supplies using crayons that mimic the colors in the background.
It also looks nice and adds dimension and interest if you draw in more supplies using colored markers on the surface as well. This will look like the drawing on the paper.
Then, cut out the art supplies you drew on the construction paper and arrange them in a visually pleasing composition. Glue down the supplies and add a shadow beneath using crayons that mimic the colors in the painting.


 **


 **


 2.


 5.