用意大利面制作陶土浮雕壁挂袋
原文链接:https://createartwithme.com/clay-slab-wall-pockets-with-pasta-noodle-designs/
日期: 2018-03-07
作者: Michelle East
分类: 二年级、三年级、四年级、五年级、六年级、课后美术班与美术夏令营、美术课程、陶艺课程、陶土泥板成型课程、小学美术、精选内容、幼儿园至一年级、肌理
标签: 陶瓷壁挂袋、陶土壁挂袋、用意大利面压印图案、意大利面图案、用意大利面印刷、泥板陶艺项目、带肌理的壁挂袋、意大利面种类
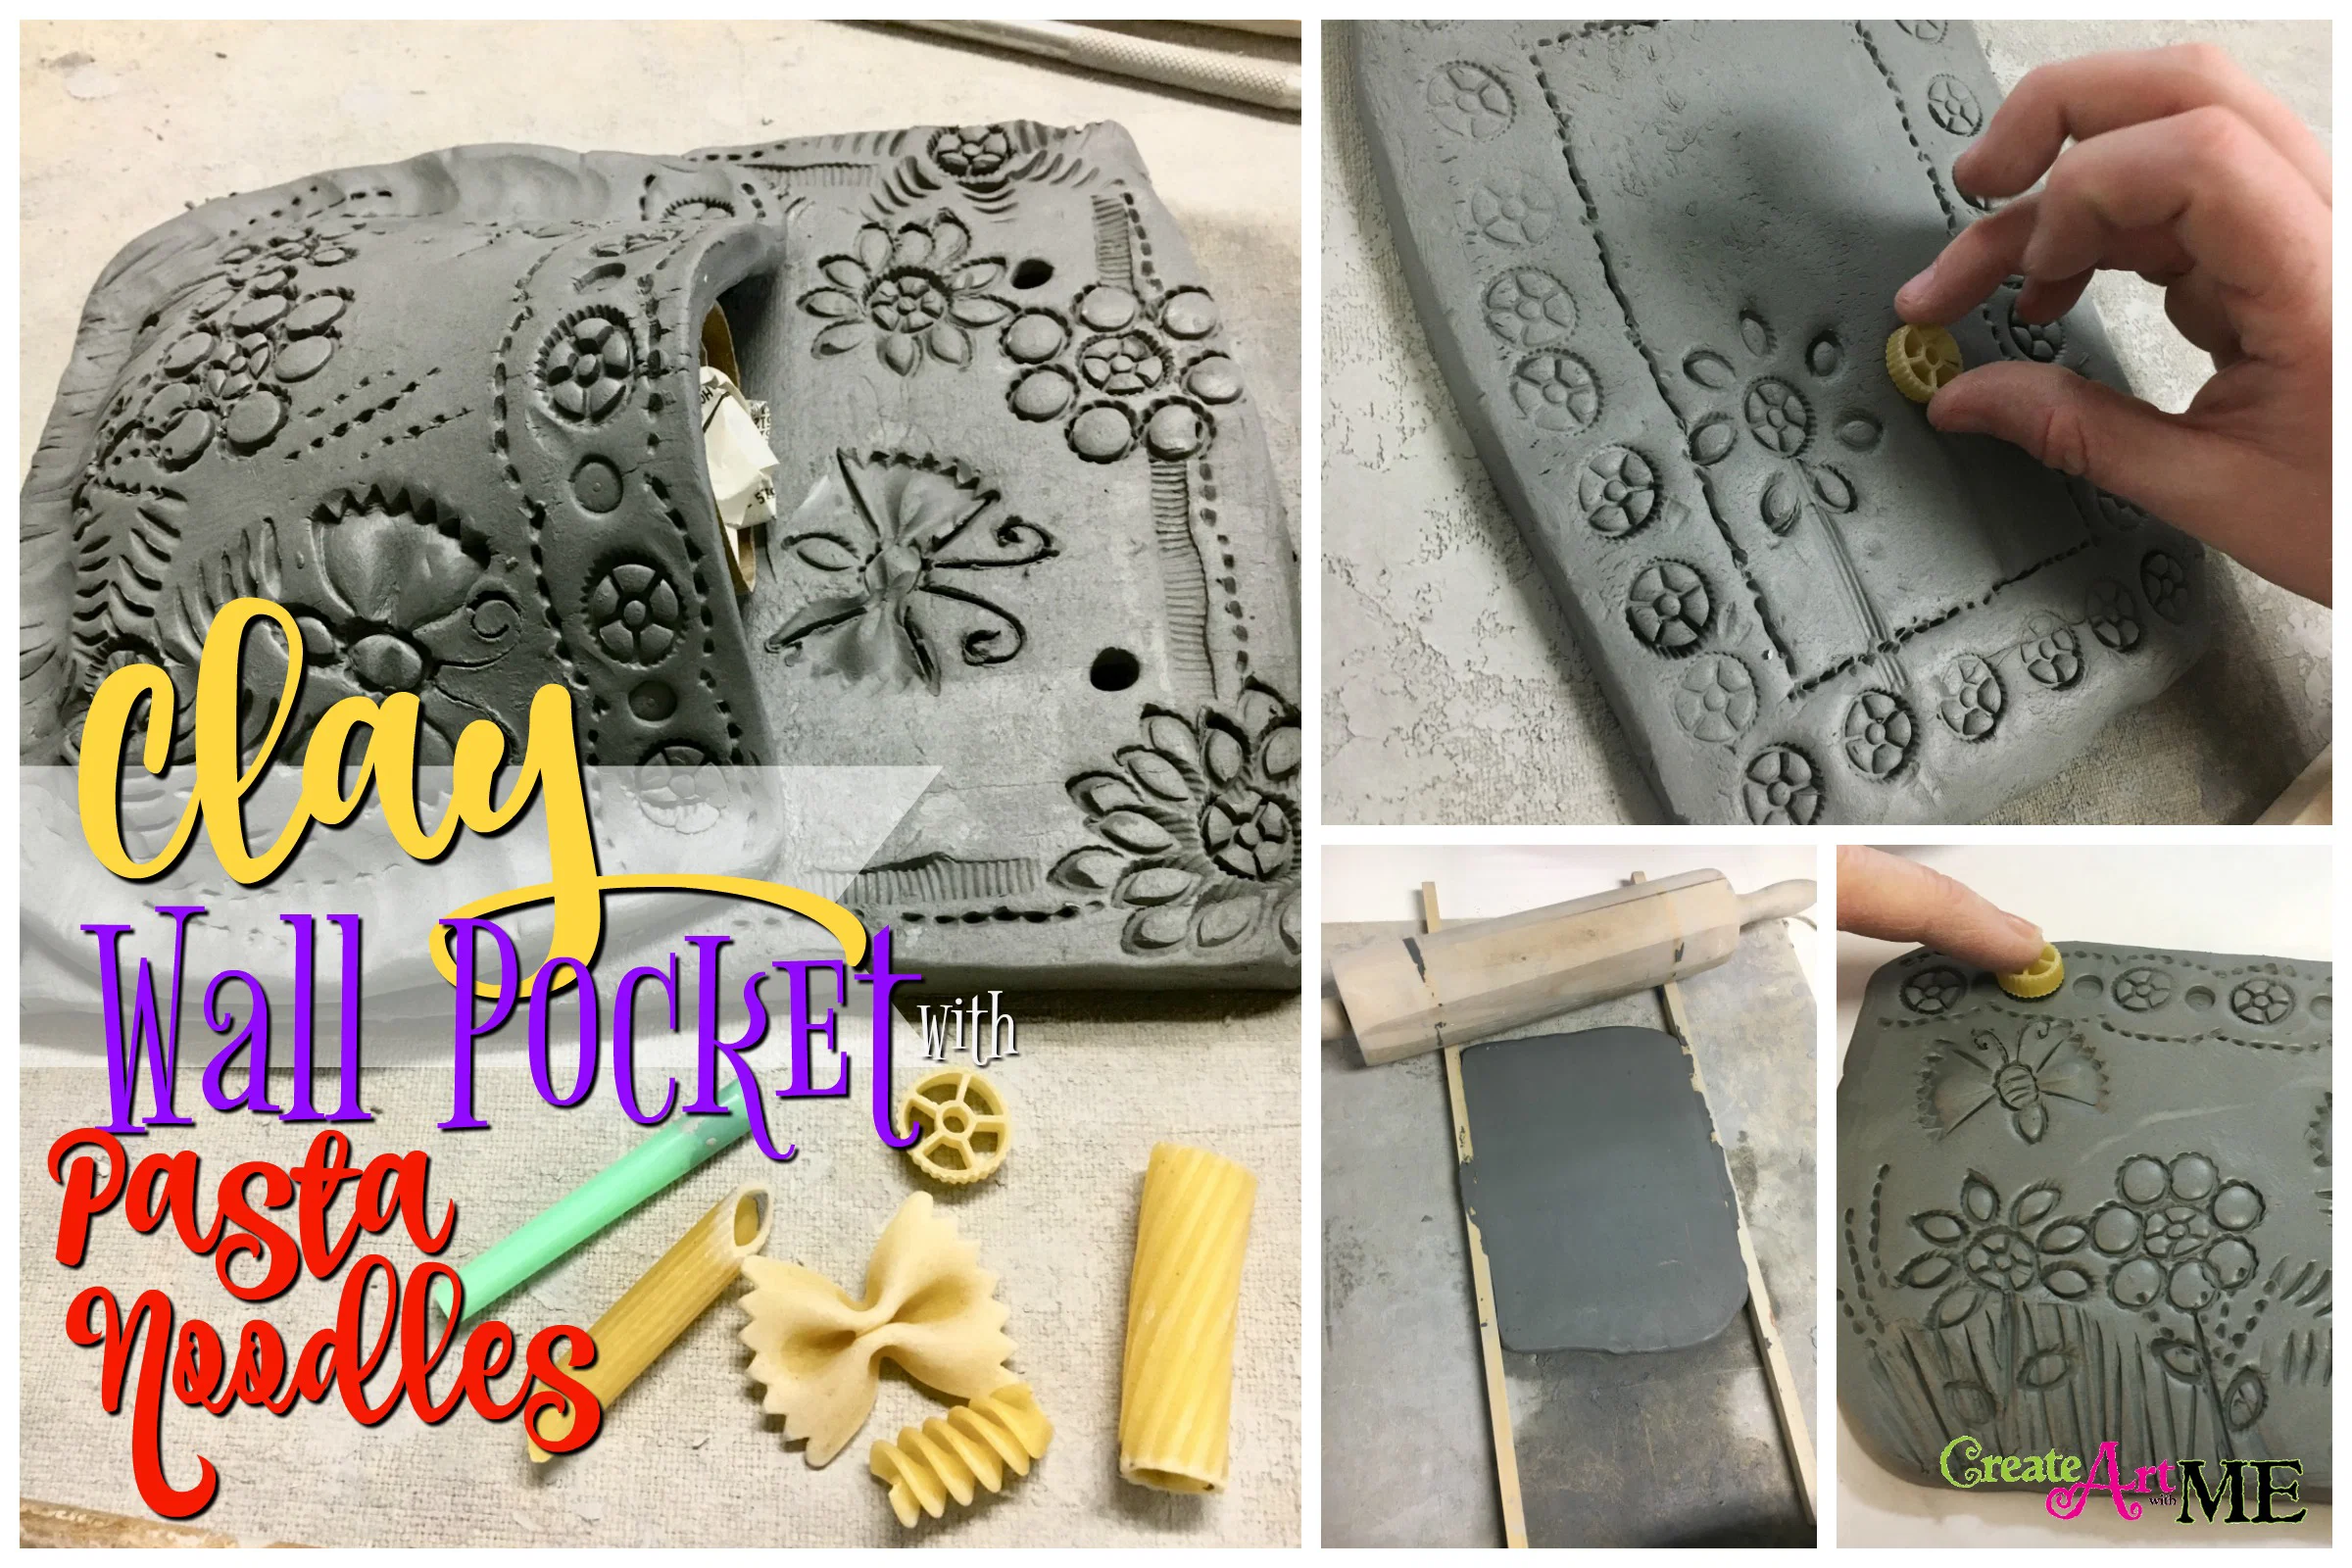
用意大利面制作陶土浮雕壁挂袋|陶土壁挂袋
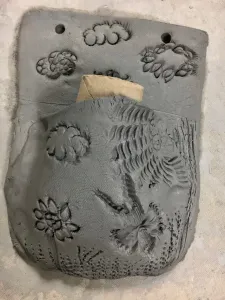
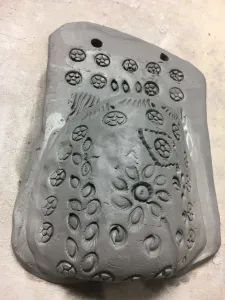
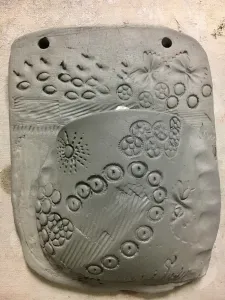
壁挂袋非常适合为家居增添一抹亮色,或将自然气息引入室内。我的课后美术班刚刚完成了泥板成型的壁挂袋,并用意大利面压印出图案。“用意大利面印刷”这一创意灵感源自Arte a Scuola 的博文《用意大利面压印瓷砖》。欢迎欣赏她那些精美的意大利面压印瓷砖,并向她致以诚挚谢意——正是她提出了用意大利面压印图案的绝妙点子!
所需材料:
*Sax 低温釉陶泥(湿润型)、¼ 英寸厚木条组、擀面杖、*刮刀、针具、水杯、塑料吸管、约 4 英寸长的纸巾卷筒、填充纸巾卷筒用的废报纸
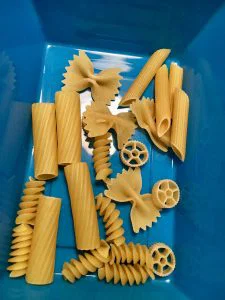 我们使用的各类意大利面:
Rotelle 或 Ruote(*车轮面)、直筒通心粉(rigatoni)、蝴蝶结意面(Farfalle)、斜管面(penne)、螺旋细面(fusilline)、星形意面(stelline)等。


麸质过敏替代方案: 干擦白板笔两端(模拟车轮面)、笔帽、拉直的回形针或竹签、蕾丝垫、纽扣、印章等。
 观看本视频教程,了解我们如何制作壁挂袋:
壁挂袋制作步骤:
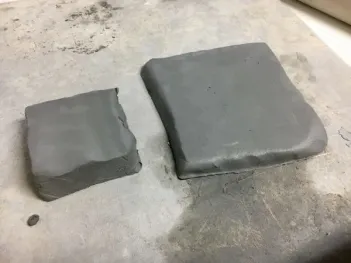
- 给每位学生发放两块陶土泥板:其中一块面积应为另一块的两倍。由于我所带的课后美术班中包含年龄较小的学生(学前班至五年级),我特意将泥板预先裁切至接近成品尺寸;但为了让他们体验泥板擀制过程,我并未直接提供已备好的泥板。
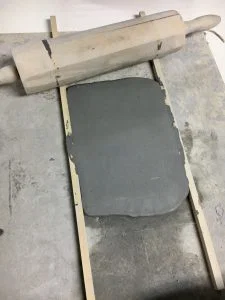
- 先制作壁挂袋的背板。将木条按所需宽度摆放,再用擀面杖将泥板擀平至与木条高度一致。在背板背面写上自己的姓名与年份。
-
使用塑料礼品卡抚平陶土表面。
-
用塑料吸管在距顶部约一英寸处打两个孔。
-
将第二块较小的泥板擀至与背板同宽。
用意大利面压印图案
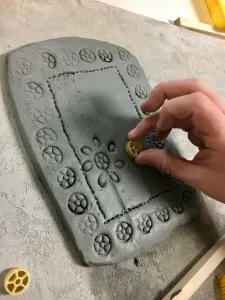
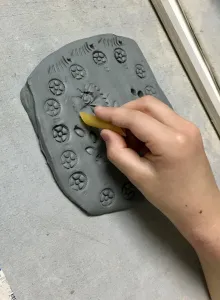
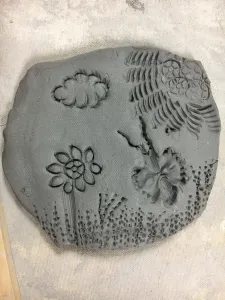
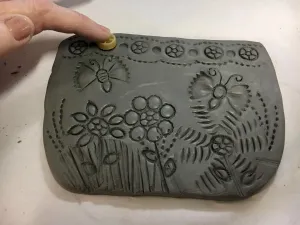
- 将意大利面按压进陶土表面以形成图案。注意下压力度,避免过深。
-
用废报纸塞满纸巾卷筒的一端。
-
在两块泥板待粘接处分别划痕(scoring)并涂上泥浆(slip)。
-
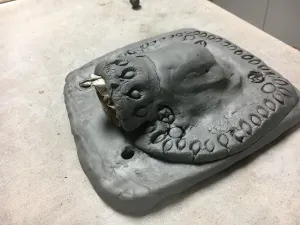
将纸巾卷筒置于背板上,再将前片壁挂袋覆盖其上。
-
用拇指沿边缘用力按压,确保粘合牢固。
-
轻轻覆盖一层保鲜膜,以延缓干燥、防止开裂。
-
入窑烧成,施釉后再烧一次。
待施釉完成,我将发布成品照片。
*亚马逊联盟链接
若您选用本博客中的任何内容(图示、图片或文字),请务必附上原文链接回指 Create Art with ME!
Clay Slab Wall Pockets with Pasta Noodle Designs
Original: https://createartwithme.com/clay-slab-wall-pockets-with-pasta-noodle-designs/
Date: 2018-03-07
Author: Michelle East
Categories: 2nd Grade, 3rd Grade, 4th Grade, 5th Grade, 6th Grade, After School Art & Art Camp, Art Lessons, Ceramics Lessons, Ceramics Slab Construction Lessons, Elementary Art, Featured, K-1st Grade, Texture
Tags: ceramic wall pockets, clay wall pockets, imprinting designs with pasta noodles, pasta noodle design, Printing with pasta, slab clay project, texture wall pockets, types of noodles
Clay Slab Wall Pocket with Pasta Noodle DesignsClay Wall Pockets
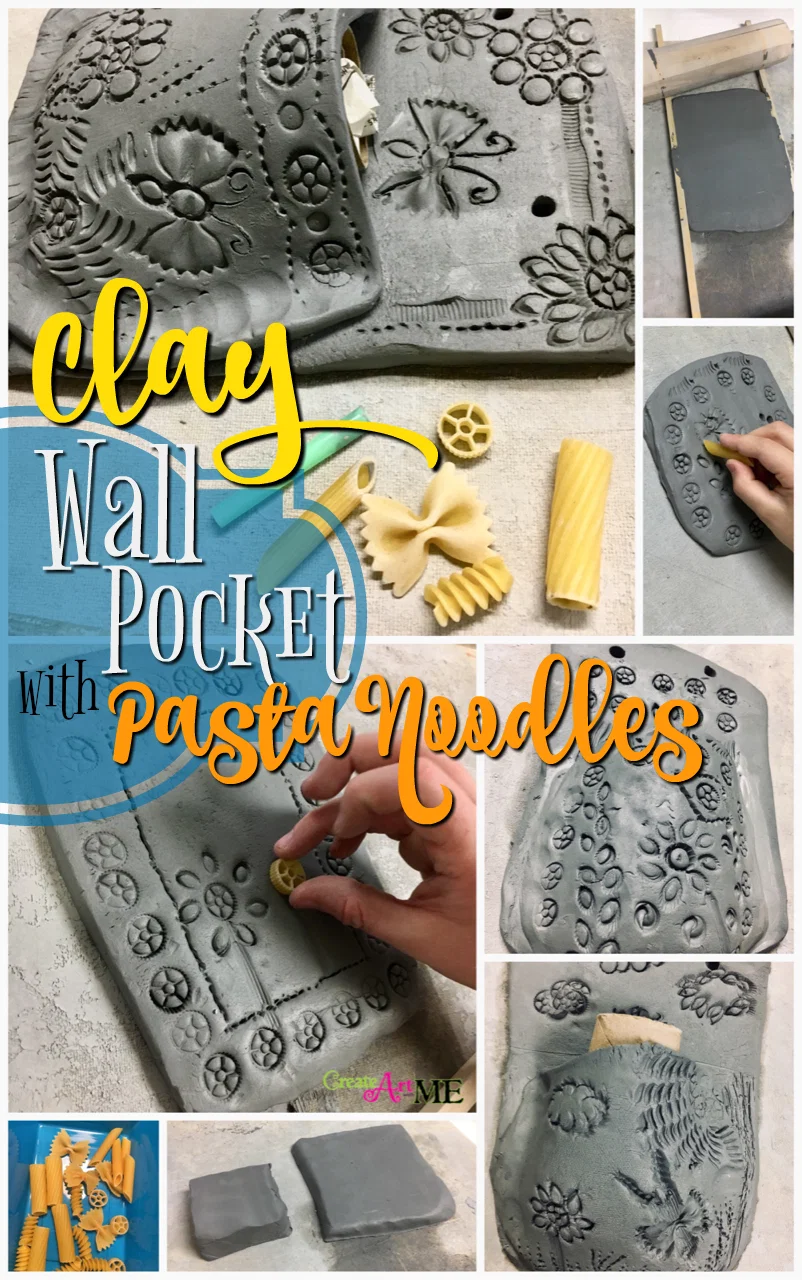
Wall pockets are perfect for adding splashes of color and bringing nature either inside your home. My after school art class just completed their slab constructed wall pockets and printed designs with pasta. Printing with pasta was inspired by Arte a Scuola’s post Tiles imprinted with pasta. Please check out her beautiful pasta printed tiles and give credit to her for the fantastic idea of imprinting designs with pasta noodles!
Supplies: *Sax Low Fire Moist Earthenware Clay, set of slats 1/4″, rolling pin, *scratch tool, needle tool, water cup, plastic straw, paper towel rolls cut to about 4″ long, newspaper to stuff paper towel roll
Various types of noodles we used: rotelle or ruote (*wagon wheel), rigatoni, Farfalle (bow-tie), penne, fusilline, stelline, etc.
Gluten allergy alternatives: the ends of dry erase markers for the wagon wheel, marker caps, straightened paper clips or bamboo skewers, doilies, buttons, stamps, etc.
Watch this video tutorial to see how we made our wall pockets:
Wall Pocket Instructions:
- Give each students 2 slabs of clay. one should be 2x the size of the other. Because I have some really young students in my after school art class (prek-5th grade) I purposely cut the slabs so they would be close to the finishing size. I still wanted them to experience rolling slabs so I did not give them ready slabs.
- Start with the back slab of the wall pocket. Place the slats so they are the width you desire and use the rolling pin to flatten the slab to match the height of the slats. write your name and the year on the back of the back of the wall pocket.
-
Use a plastic gift card to smooth out the surface of the clay.
-
Use the straw to punch two holes about an inch from the top.
-
Roll the second small slab of clay to the width of the back slab.
Printing with Pasta Noodles
- Use the pasta noodles to imprint designs into the clay. Be careful to not press to deeply into the clay.
-
Stuff one end of the paper towel roll with newspaper.
-
Score and slip where both pieces will attach.
-
Place the paper towel roll on back slab and lay the front pocket on top.
-
Press around the edges with your thumb firmly.
-
Lightly cover with plastic wrap to slow drying time & prevent cracking.
-
Fire in kiln, then glaze and fire again.
I will post glazed pieces when they are finished.
*Amazon Affiliate Links
If you choose to use ANY part of this blog (graphic, pictures or written text), please link back to Create Art with ME!

