吹泡绘画花朵课——实验性绘画技法
原文链接:https://createartwithme.com/bubble-painting-flower-garden/
日期: 2013-10-09
作者: Michelle East
分类: 美术课第一日、二年级、三年级、四年级、五年级、六年级、课后美术班与美术夏令营、美术课程、拼贴课程、小学美术、幼儿园至一年级、综合材料课程、绘画课程、版画课程、水彩课程、水彩抗蚀技法
标签: 气球绘画、气球印画、吹泡绘画、吹泡绘画花园、版画、水彩加盐、刮涂颜料、剃须膏印画
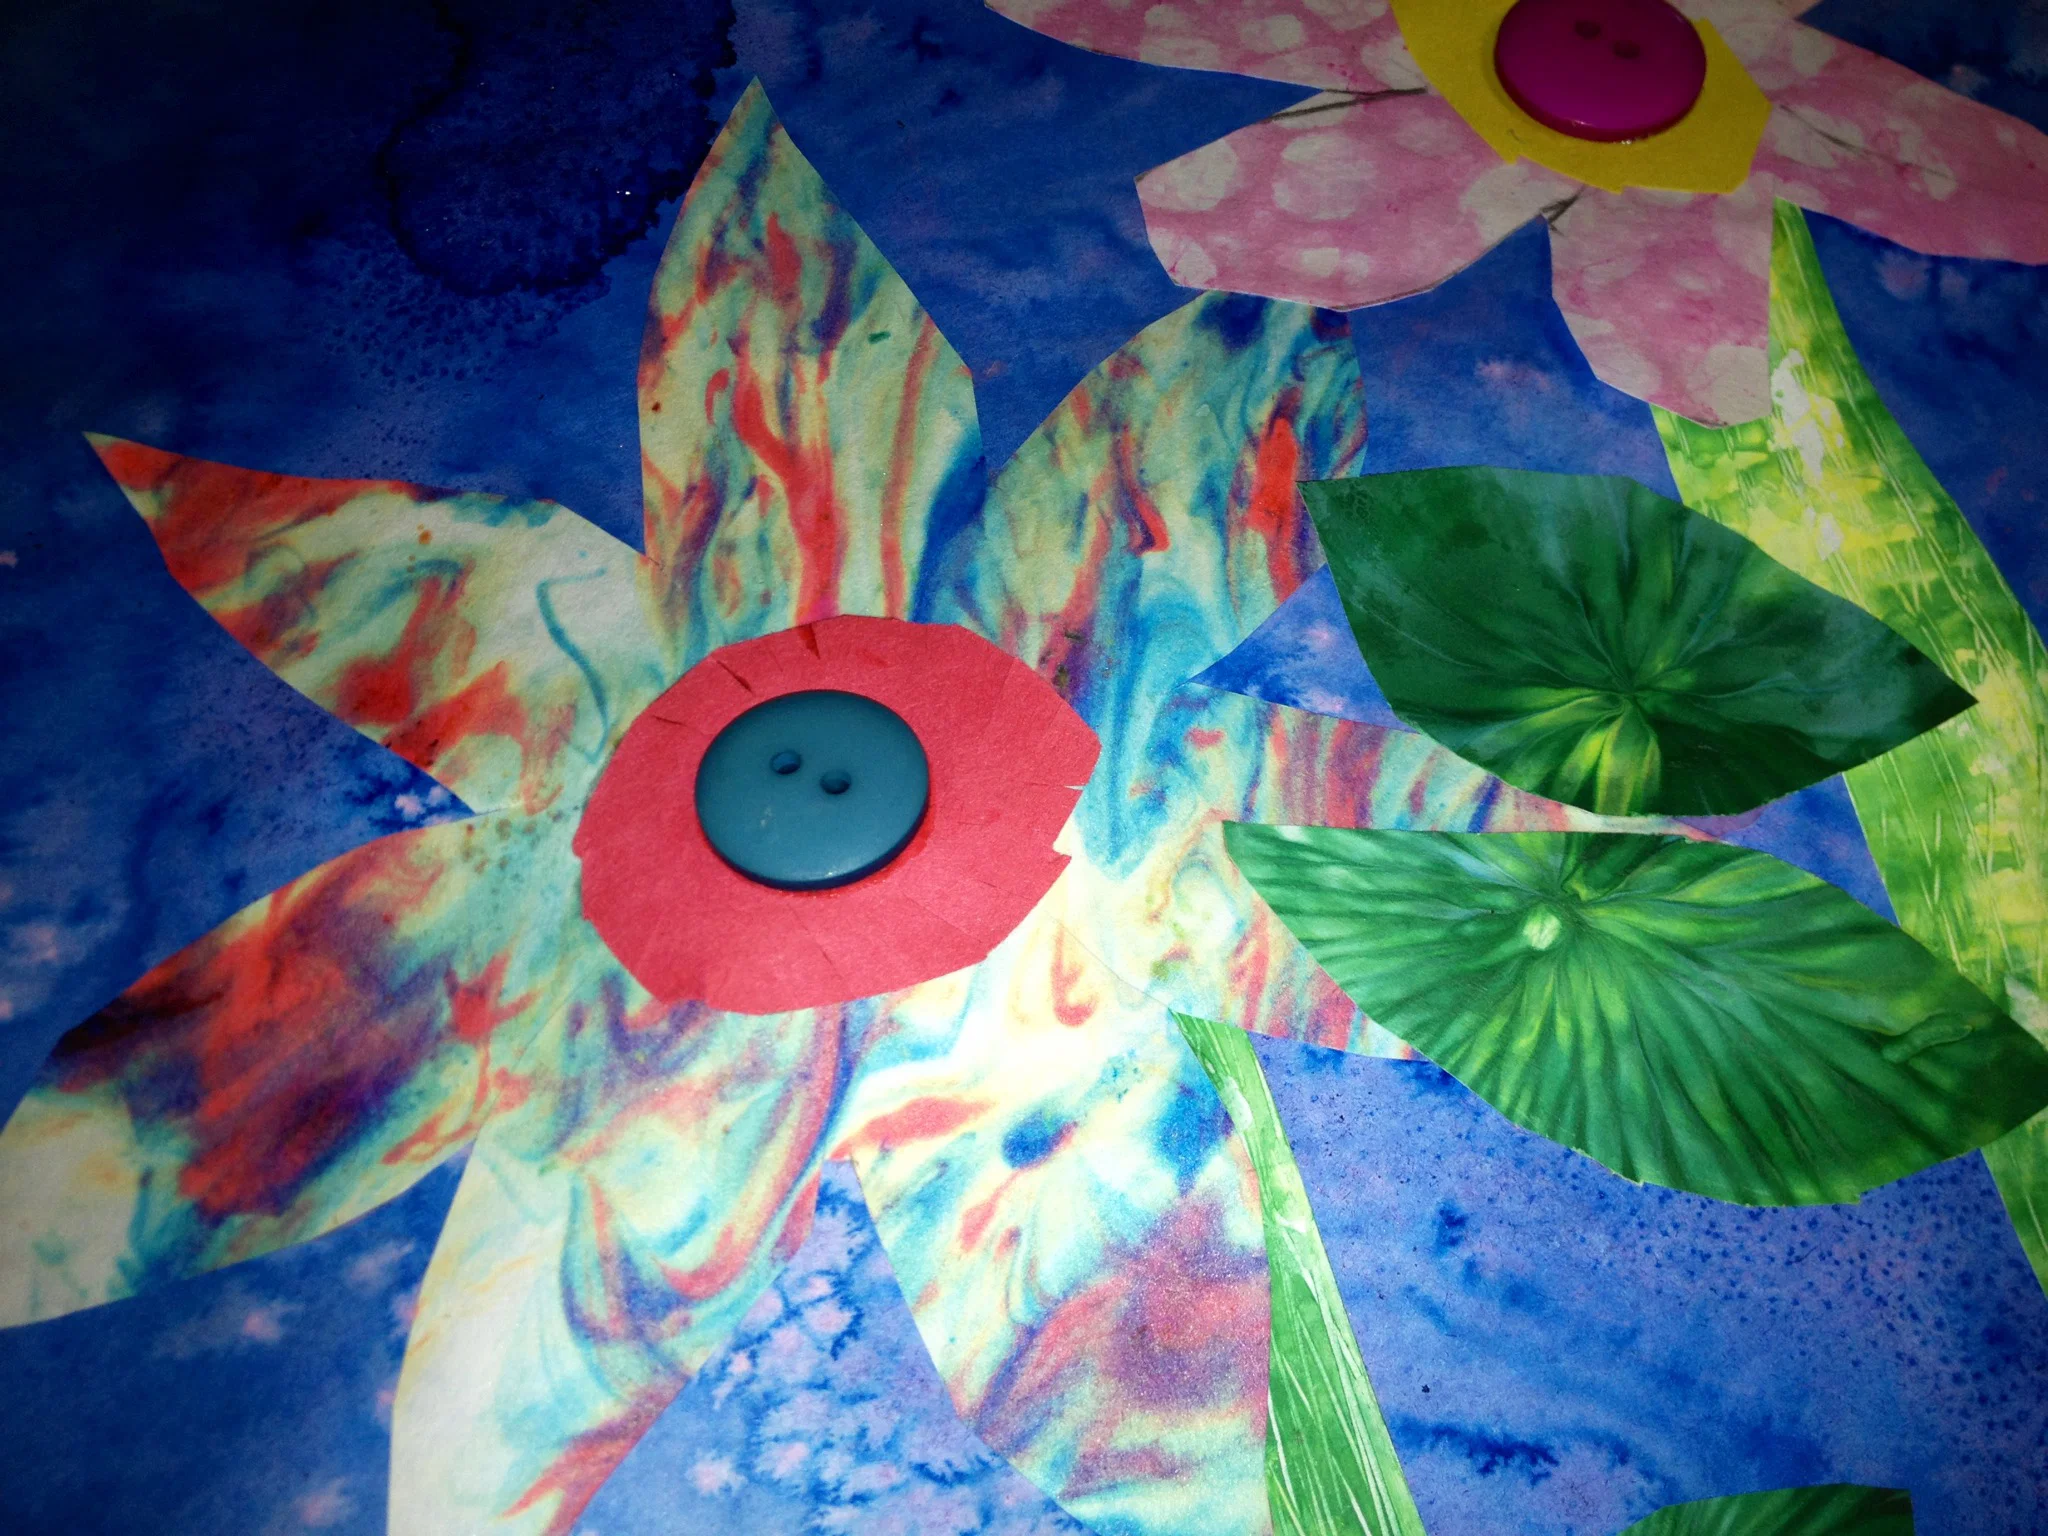
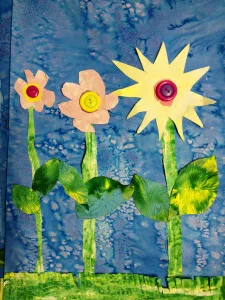
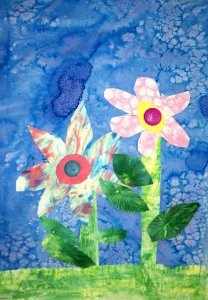
我们使用的实验性绘画技法:
吹泡绘画
配制吹泡液时,我将泡泡液、洗洁精、食用色素与蛋彩颜料混合,直至获得理想色彩浓度与丰富色量。实践发现,用吸管吹出泡泡后,再用泡沫塑料盘舀起泡泡,轻轻覆于画纸上效果最佳。随后静置,耐心等待所有泡泡自然破裂——请务必保持耐心!!!手指画纸效果最佳,能最清晰地保留泡泡的轮廓边缘。
气球绘画
材料: 蛋彩颜料或手指画颜料、气球(充气至较小尺寸)、画纸
将数种颜色的蛋彩颜料滴在泡沫塑料盘上,切勿混色。将已充气的小气球轻压入颜料中,再按压到画纸上。可直接印在最终画纸上,也可先印在另一张纸上,再剪下所需形状,粘贴至最终画纸。
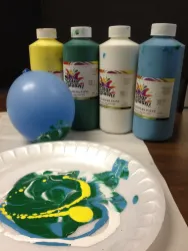
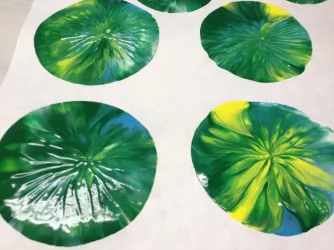
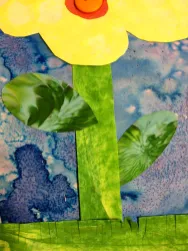
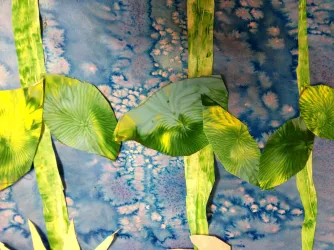
用于绘制叶片
剃须膏印画
材料: 剃须膏、托盘(尺寸至少与画纸相同)、食用色素、液体水彩或蛋彩颜料、画纸
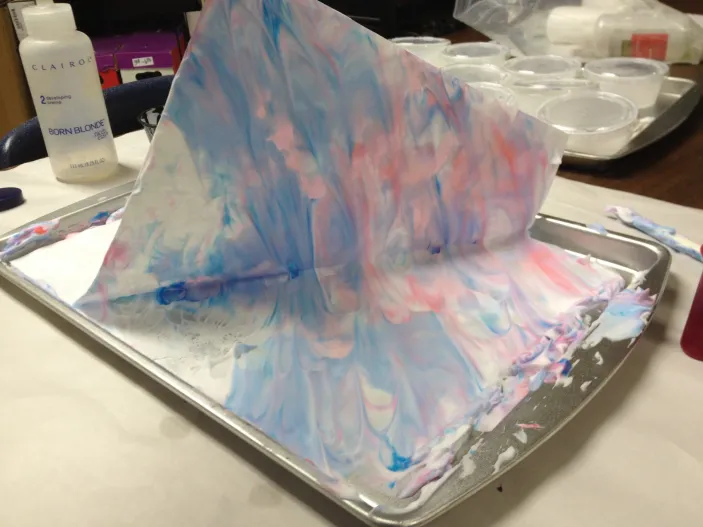
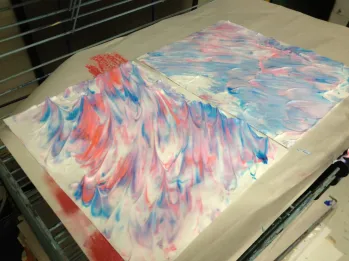
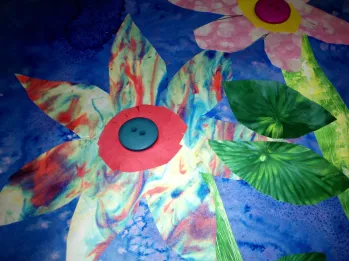
在烤盘上均匀铺开一层薄薄的剃须膏。滴入数种食用色素或未稀释的液体水彩。用木棒(竹签)搅动各色,直至形成理想图案。将画纸平压于剃须膏表面,取下后正面朝上晾干,至少需12小时。可直接用作背景,亦可剪出所需形状,粘贴至最终画纸。
水彩加盐
材料: 食盐、画纸
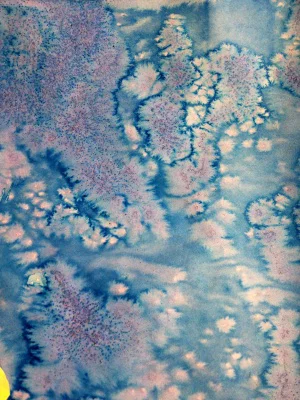
以水彩颜料作画后,趁颜料未干时,立即撒上食盐。约45分钟后,盐粒吸水形成的肌理效果将完全显现。
刮涂颜料
材料: 刮刀、蛋彩颜料或手指画颜料、手指画纸
若您选用本课程内容或转载(文字或图片),请务必附上回链至我的博客:Create Art with ME*
Bubble Painting Flower Lesson – Experimental Painting Techniques
Original: https://createartwithme.com/bubble-painting-flower-garden/
Date: 2013-10-09
Author: Michelle East
Categories: 1st Day of Art Class, 2nd Grade, 3rd Grade, 4th Grade, 5th Grade, 6th Grade, After School Art & Art Camp, Art Lessons, Collage Lessons, Elementary Art, K-1st Grade, Mixed Media Lessons, Painting Lessons, Printmaking Lessons, Watercolor Lessons, Watercolor Resist
Tags: Balloon Painting, balloon printing, Bubble Painting, Bubble Painting Flower Garden, Printmaking, Salt with Watercolors, Scraping Paint, Shaving Cream Printing
Experimental Painting Techniques we used:
Bubble Painting
To make the bubble mixture, I mixed bubbles, dish soap, food coloring & tempera paint until I got the desired look with a good amount of color. We found it best to blow the bubbles with a straw & then scoop it up with a Styrofoam plate to put it on our papers. Then set it aside & let all the bubbles pop on their own-BE PATIENT!! Finger painting paper seemed to work best- it kept the outlines of the bubbles the sharpest.
Balloon Painting
Supplies: Tempera or finger Paint, balloon (blown up small!), paper
Place several colors of Tempera paint on a styrofoam plate. Do not blend the colors together. Lightly press small blown up ballon into the paint. Press the balloon on paper. You can either print directly on the final paper or print on a separate paper and then cut out desired shapes and glue onto final.
for leaves
Shaving Cream Printing
Supplies: shaving cream, tray that is at least the size of your paper, food coloring, liquid watercolors, or tempera paint, paper
Spread a thin layer shaving cream onto a cookie sheet. Drop several colors of food coloring or liquid watercolor (undiluted) onto the shaving cream. Use a wood stick (bamboo skewer) to swirl around the colors until you have the desired look. Press a piece of paper on to the top of the shaving cream. Lift and let dry face up for at least 12 hours. Use as back ground or cut shapes out and glue on a final sheet.
Salt with Watercolors
Supplies: table salt, paper
Paint paper with watercolors and WHILE THE PAINT IS STILL WET sprinkle salt into paint. It will about 45 minutes for the effect to fully start to show on the paper.
Scraping Paint
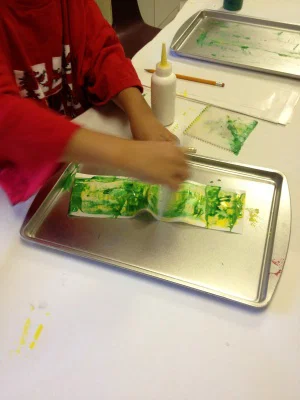
Supplies: paint scrapers, tempera or finger paint, finger paint paper
If you choose to use this lesson or to repost it (written info or photos), please link it back to my blog. Create Art with ME