泡沫塑料雕塑——花艺泡沫
原文链接:https://createartwithme.com/styrofoam-sculpture/
日期: 2013-05-03
作者: 米歇尔·伊斯
分类: 六年级、美术史课程、美术课程、美术元素课程、高中美术、初中美术、非具象、雕塑课程、肌理
标签: 亨利·摩尔、高中雕塑课、野口勇、初中雕塑课、针锉、正空间与负空间、雕塑家、钢制锉刀、泡沫塑料减法雕塑(花艺泡沫)、减法雕塑、教授雕塑
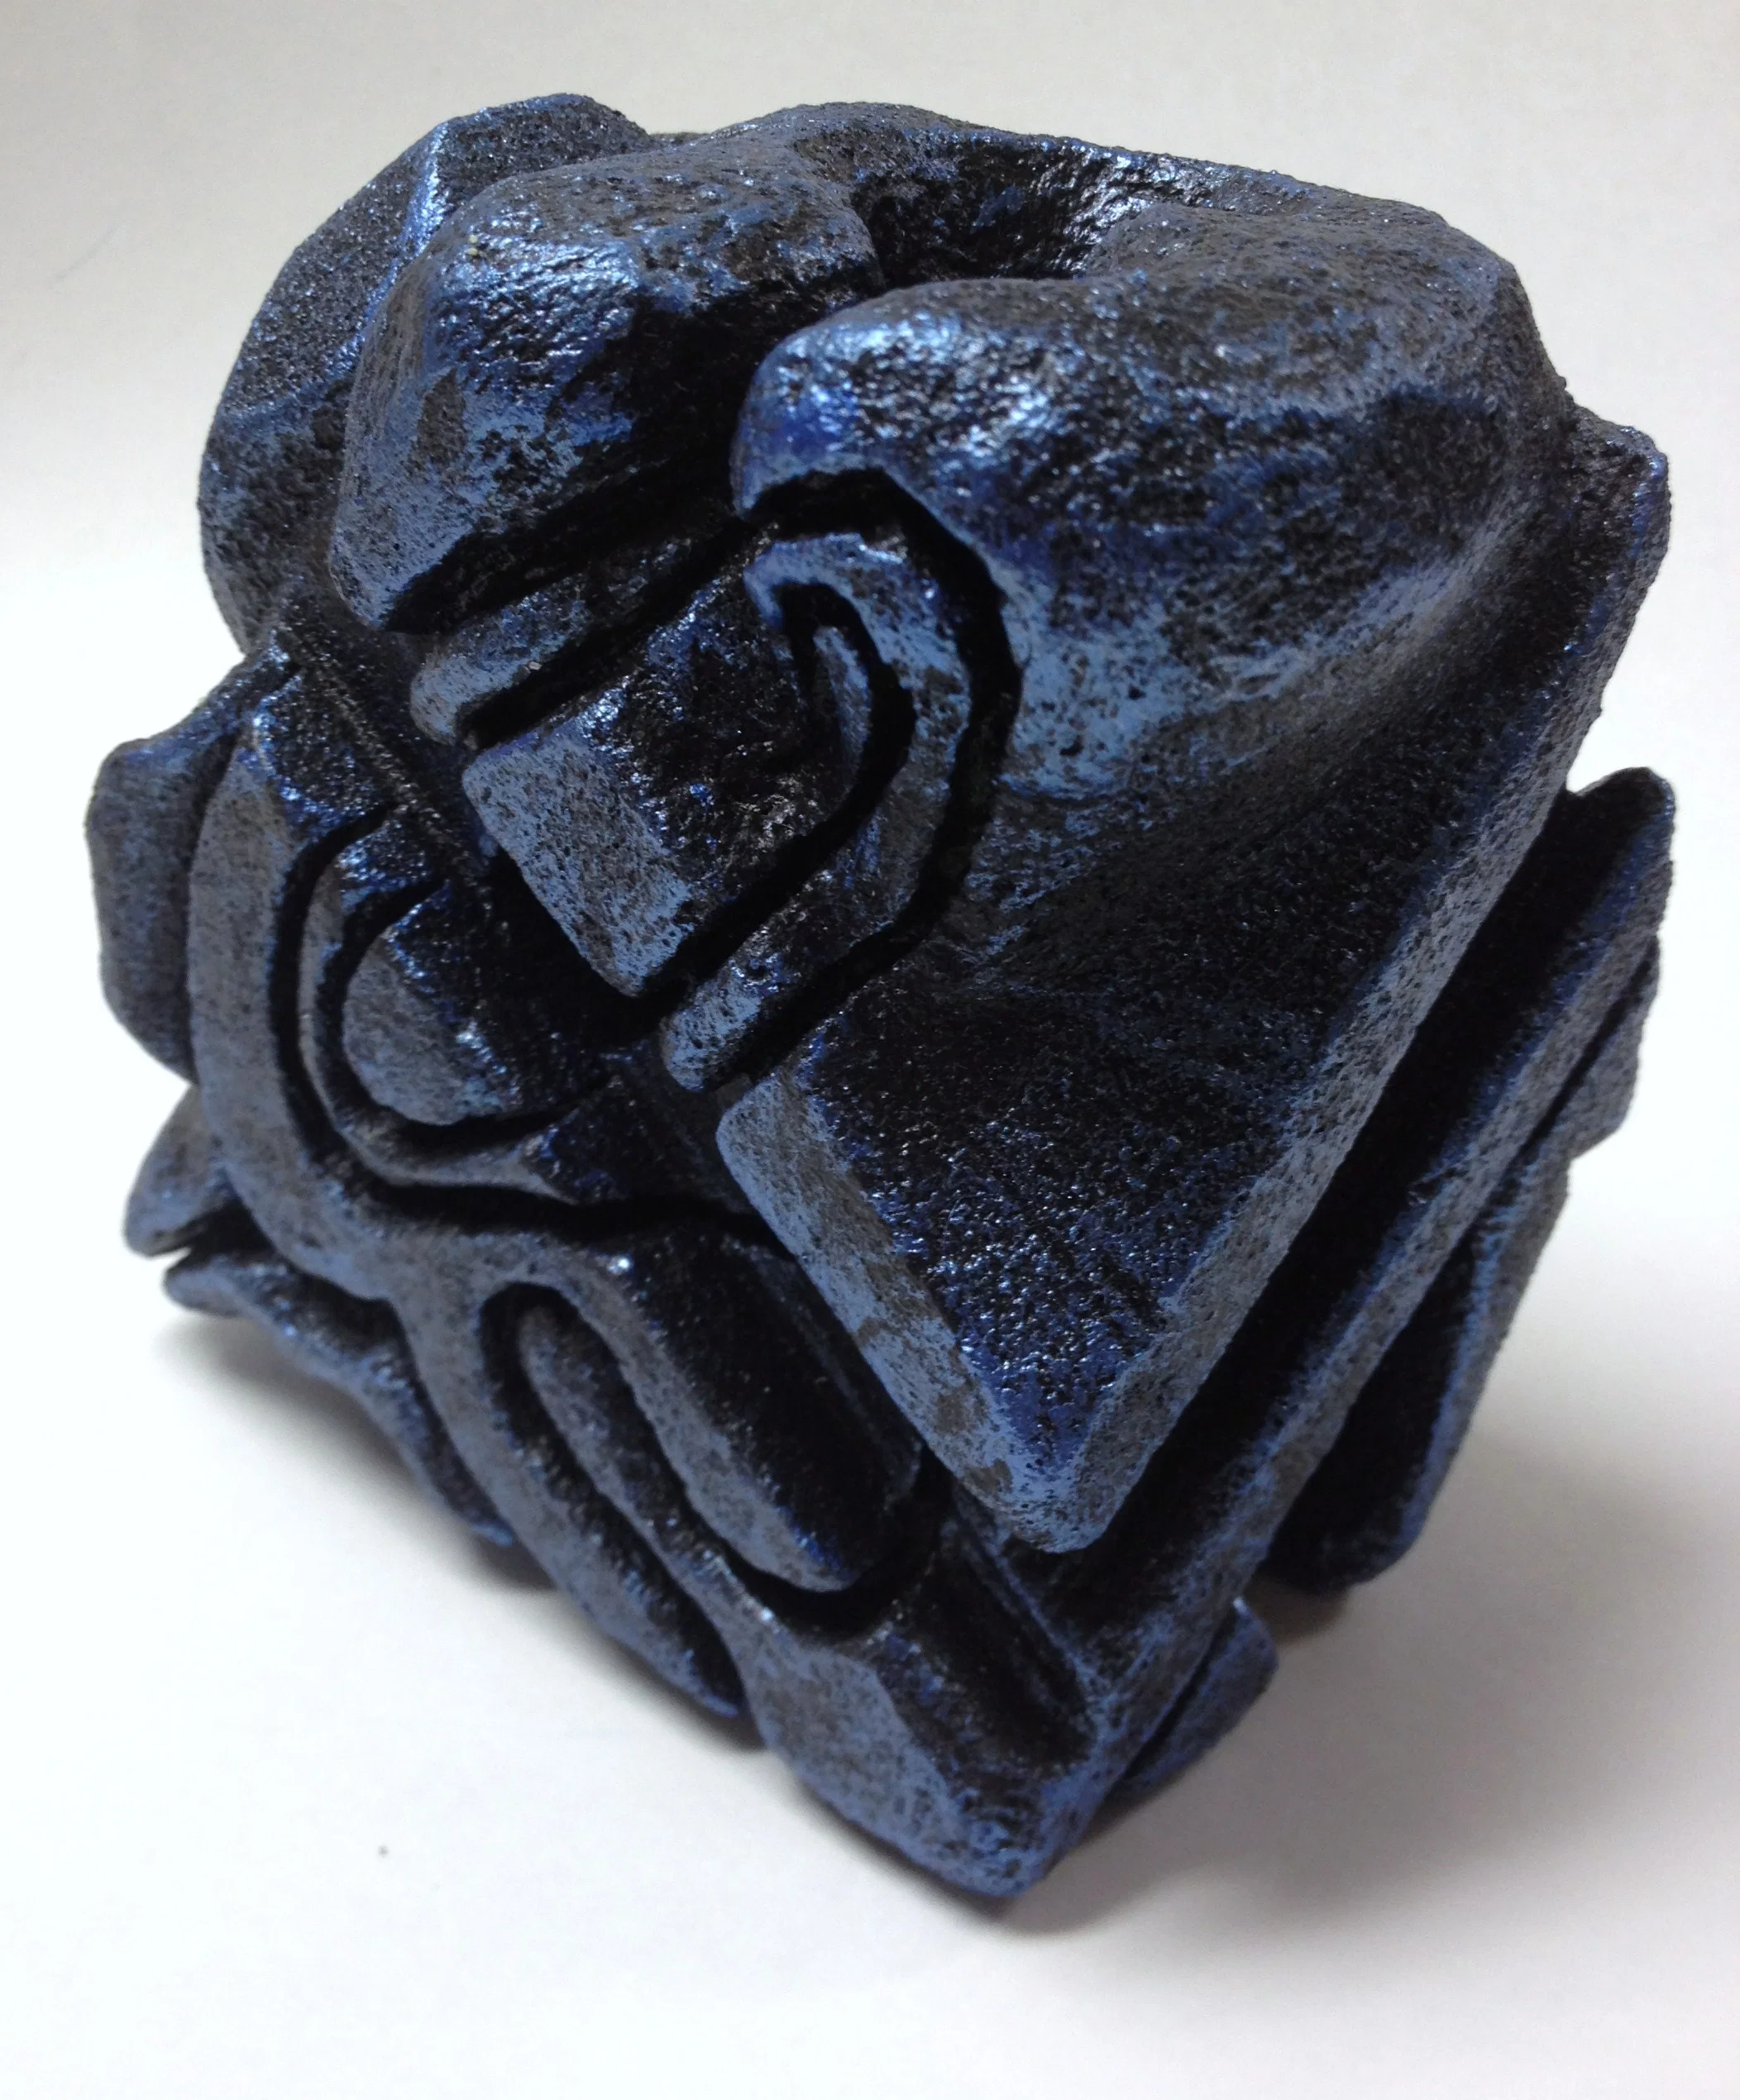
切割、凿刻、刮削、锯切、打磨——用花艺泡沫制作减法式雕塑,既有趣、简单,又经济实惠!本项目非常适合探索抽象或非具象设计,同时学习正空间与负空间概念。学生还可挑战在作品中融入肌理或其他元素/物体,正如尼科莱特高中一名学生所作的泡沫雕塑所示。
原教案出自 “SMART美术教师”——乔迪·赫特的《表现性雕塑》。(请务必注明本教案作者为乔迪·赫特!)我们基本遵循乔迪的指导步骤,并做了少量调整。以下是我们的具体实施方式……
***下方为新增范例!
所需材料:
花艺泡沫、钢制锉刀(含针锉)、胶水、丙烯颜料(金属色更添精彩!)、木质底座与热熔胶、丙烯金属色颜料


教学目标: 学习并实践雕塑家常用的减法式雕塑与塑造技法(刮削、切割、凿刻、锯切、打磨);通过创作一件受野口勇与亨利·摩尔启发的非具象减法式雕塑,展现良好的工艺水准;学生需借助形体、线条、形状与色彩来象征某种情绪;运用减法式雕塑技法,界定一个抽象或非具象的形态。
第一课时 授课主题: 减法式雕塑与空间
- 减法式雕塑指通过从整块材料中去除部分物质——即经由切割、凿刻、剥落或刮削等方式完成创作。
- 木雕、石雕或石膏雕塑是主要的减法式雕塑工艺。
- 其他可用于减法式雕塑的材料: 黏土、粉笔、石膏、木材、软质盐块、人造砂岩、肥皂、蜡等。
- 减法式雕塑是历史最悠久的雕塑形式。
- 有史以来最伟大的石雕大师米开朗基罗,直接在石块上雕刻人物形象,不依赖前期黏土或石膏模型,亦未使用定位工具。(展示相关范例)
- “每一块石头里都藏着一尊雕像,而雕塑家的任务,便是将它发掘出来。” ——米开朗基罗
- “我在大理石中看见了天使,便不断雕琢,直至将他释放。” ——米开朗基罗
- 正空间与负空间
- 空间指艺术品中主体物上方、下方、之间、内部及周围的区域;空间存在于二维与三维艺术作品中。
- 正空间——艺术品中的形状或形体(即主体物)
- 负空间——环绕主体物的空间;即主体物之间与周围那些空置的、或看似“无关紧要”的区域
- 向学生介绍雕塑家野口勇与亨利·摩尔。(观览两位艺术家作品时,请留意他们对正空间与负空间的运用)
- 野口勇(1904–1988)是二十世纪最重要、最受赞誉的雕塑家之一。他毕生致力于艺术实验,创作涵盖雕塑、园林、家具与灯具设计、陶瓷、建筑及舞台布景。其作品兼具含蓄与大胆、传统与现代,为艺术门类的重新融合树立了新标准。(展示其代表作)
- 亨利·摩尔(1898年7月30日–1986年8月31日)是一位英国雕塑家与艺术家。他以半抽象的大型青铜雕塑闻名于世,这些作品作为公共艺术遍布全球。其造型多取材于人体形象,常表现为母与子或卧姿人物;摩尔的作品通常是对女性身体的抽象化呈现,唯1950年代曾短暂转向家庭群像题材。其造型普遍穿孔或留有中空空间,以凸显负空间。(展示其代表作;摩尔雕塑视频)
小组活动: 全班共同头脑风暴,列出一系列情绪词汇;讨论不同线条与形状如何影响情绪表达(例如:快乐 vs. 愤怒或悲伤)。探讨各类线条所传达的情绪(曲线与螺旋线令人愉悦;折线与斜线充满动感,易引发紧张感;垂直线与水平线则予人平静之感)。
讲解项目任务单——非具象表现性雕塑
项目目标: 运用减法方式创作一件非具象雕塑。通过形体的操控营造动感,并借助色彩表达某种情绪。
- 重点打造以下效果:
- 丰富的纵深层次——富有张力的正负空间(至少包含2个孔洞),
- 引导视线环绕雕塑流动的视觉动势,
- 借线条/形状类型传达情绪:
- 圆润、弯曲的线条与形状 = 愉悦/宜人的情绪;
- 锯齿状、尖锐的线条与形状 = 愤怒/不快的情绪。
制作步骤:
- 在素描本中完成至少2幅缩略草图,构思你的雕塑设计。**必须包含至少2个孔洞
- 使用钢锉刀对雕塑进行塑形与雕刻。
- 使用砂纸将表面打磨至极为光滑。
- 为整件雕塑均匀涂覆一层胶水。
- 先用丙烯颜料为雕塑涂刷一层纯色底色。
- 运用干笔刷技法,在底色上轻扫深一阶明度的颜料或金属色,以强化凹槽的立体感或呈现金属光泽。
- 用丙烯颜料为底座上色。
- 用胶水将雕塑牢固粘接到底座上。
活动 第1天:素描本草图绘制
学生需在素描本中完成2幅缩略草图,用于规划聚苯乙烯泡沫块雕塑的设计方案。
第2天 教学/活动:练习与教师示范指导
课前准备: 预先裁切好1×3英寸聚苯乙烯泡沫块——每人一块
- 工具介绍——雕刻工具:
- 钢锉刀: 用于雕琢较大面积;
- 针锉: 用于精细修整小区域及细节;
- 刻刀(可选): 用于快速削去大块材料;
-
砂纸: 用于进一步打磨与精修。
-
教师示范指导:
- 先用铅笔在泡沫块表面轻轻勾勒设计轮廓;
- 演示如何使用各类工具进行雕刻(刮削、切割、凿刻、锯切、打磨);
- 如何处理大量绿色碎屑: 投入垃圾桶——切勿朝他人面部吹散! 请用鬃毛刷将碎屑扫入托盘,再倒入垃圾桶;
- 切记要分小块逐步雕刻大面积区域! 若试图一次性削去大块材料,极易导致局部断裂!
- 如何在泡沫中开孔而不破坏整体造型;
- 若不慎削掉一大块,切勿丢弃——可用铁丝重新固定(可能需对原设计稍作调整)。
活动 第3–6天:减法式聚苯乙烯泡沫块雕塑——非具象 表现性 雕塑
**完成雕塑后,先涂胶并晾干;再以黑色丙烯颜料打底,最后用金属色丙烯颜料干笔刷技法罩染。
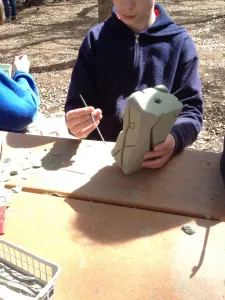
: 使用钢锉刀与针锉雕刻泡沫
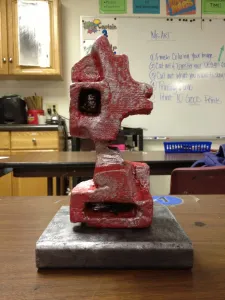
: 运用酷炫绘画技法,如在底色上干刷金属色
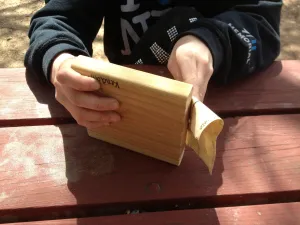
: 打磨底座
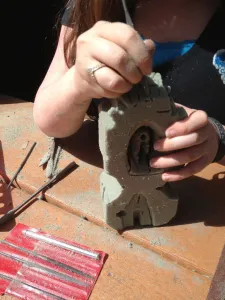
: 使用钢锉刀与针锉雕刻泡沫
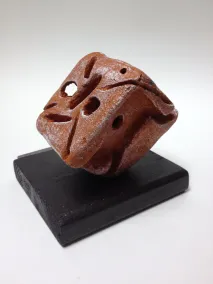
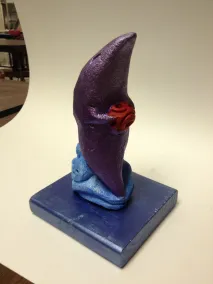
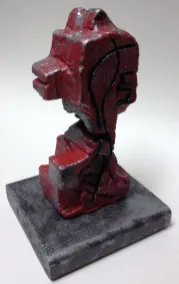
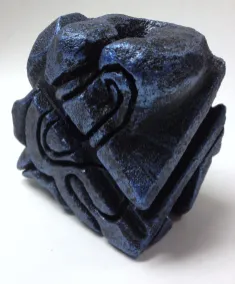
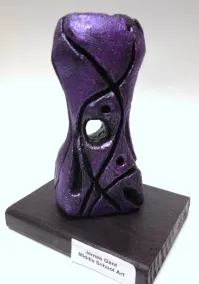
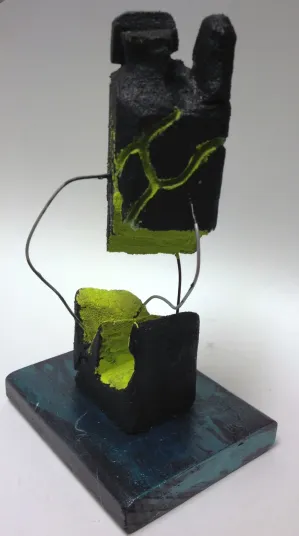
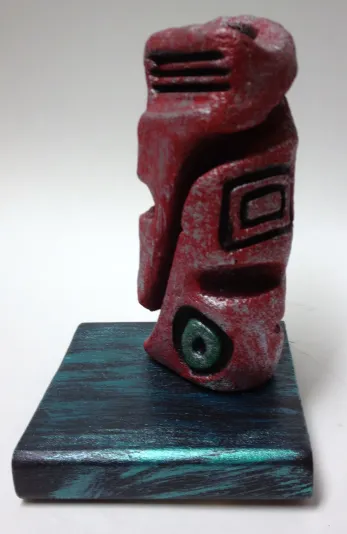
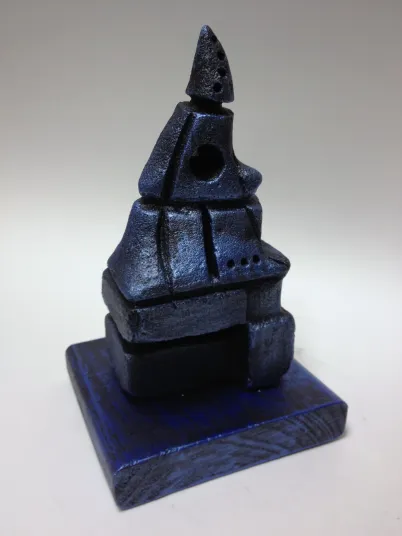
八年级 2016年学生作品范例
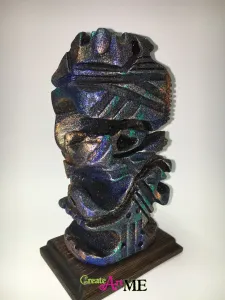
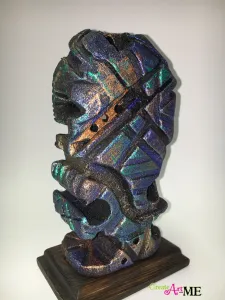
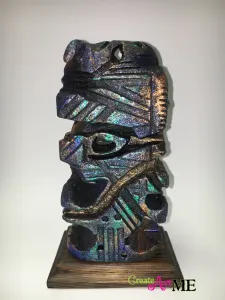
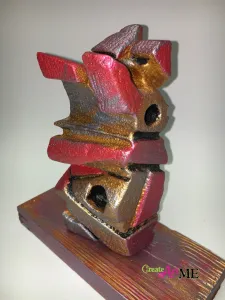
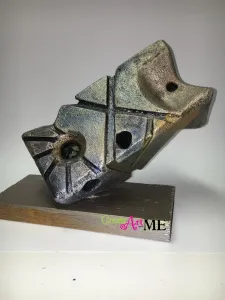
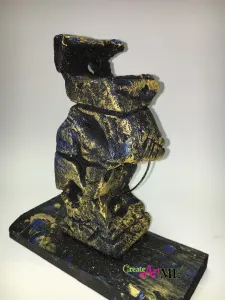
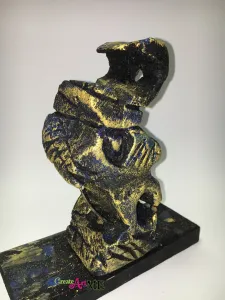
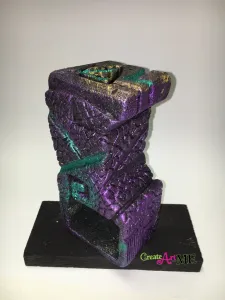
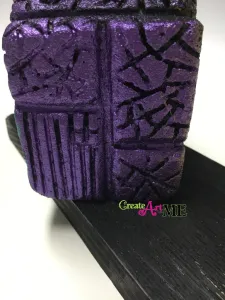
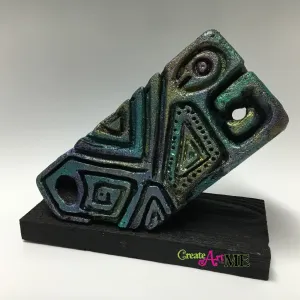
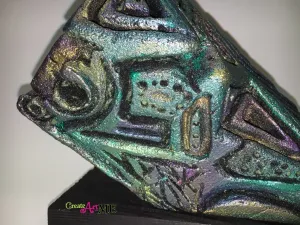
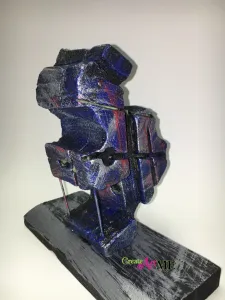
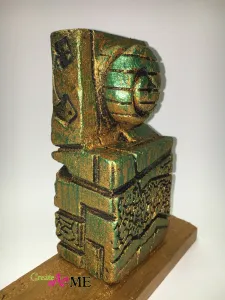
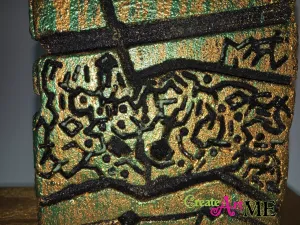
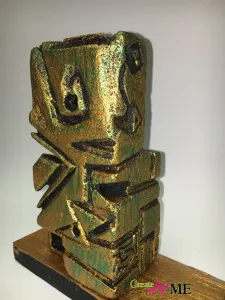
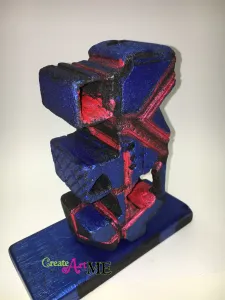
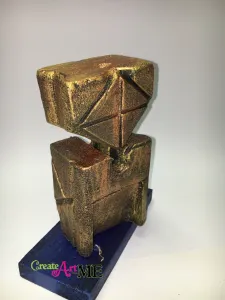
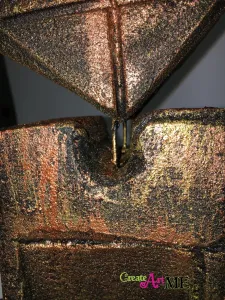
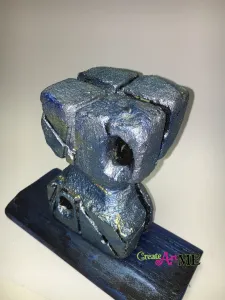
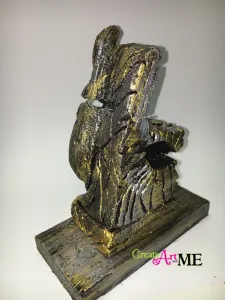
同类项目的其他范例:
The smART teacher – Jodi Hurt 的表现性雕塑
受亨利·摩尔启发的雕塑——项目 #104
尼科尔特高中——进阶课程
若您选用本教案,或转载其中文字内容与图片,请务必链接回我的博客:Create Art with ME*
Styrofoam Sculpture – Floral Foam
Original: https://createartwithme.com/styrofoam-sculpture/
Date: 2013-05-03
Author: Michelle East
Categories: 6th Grade, Art History Lessons, Art Lessons, Elements of Art Lessons, HS Art, MS Art, non-objective, Sculpture Lessons, Texture
Tags: Henry Moore, HS art sculpture, Isamu Noguchi, MS art sculpture, needle file, POSITIVE and NEGATIVE SPACE, sculptors, steel rasps, Styrofoam Subtractive Sculpture Floral Foam, subtractive sculpture, teach sculpture
Cut. Chisel. Scrape. Saw. Sand. Creating subtractive sculptures out of Styrofoam floral is fun, easy, and inexpensive! This is a great project to explore abstract or non-objective design as well as leaning about positive and negative space. Student’s can be challenged to incorporate texture or other elements/objects into the sculptures as well as seen in this foam sculptures by a student at Nicolet High School.
Original lesson by The smART teacher- Expressive Sculpture by Jodi Hurt. (Please give credit to Jodi Hurt for this lesson!) We followed Jodi’s directions closely with a few changes. Here’s how we did it…
***NEW Examples Below!
Supplies:
Floral Foam, Steel Rasps-Needles Glue, Acrylic Paint (Metallic adds awesomeness!), Wood Base & Hot Glue, Acrylic Metallic Paint
Objective: Learn and practice subtractive sculpting and modeling techniques used by sculptors (scraping, cutting, chiseling, sawing, sanding). Demonstrate good craftsmanship by creating a non-objective subtractive sculpture inspired by sculptors Isamu Noguchi & Henry Moore. Students will symbolize an emotion through form, line, shape and color. They will use subtractive sculpting techniques to define an abstract or non-objective form.
DAY 1 Delivery: Subtractive Sculpture & Space
- Subtractive sculpture involves the removal of material from a block – through cutting, chiseling, chipping, or scraping away.
- Wood carving, stone or plaster sculpture are the main sculptural processes which are subtractive.
- Other Subtractive Materials: Clay, Chalk, Plaster, Wood, Soft salt blocks, Artificial Sandstone, Soap, Wax, etc.
- Subtractive sculpture is the oldest form of sculpture.
- The greatest stone sculptor ever known, Michelangelo, created his works carving figures directly out of stone without the aid of a preliminary work (sculpting out of clay or plaster first) and pointing devices. (Show examples)
- “Every block of stone has a statue inside it and it is the task of the sculptor to discover it” Michelangelo
- “I saw the angel in the marble and carved until I set him free.” Michelangelo
- POSITIVE and NEGATIVE SPACE
- Space is the area above, below, between, within and around the main objects in a piece of art. Space is present in 2D & 3D works of art
- Positive Space-the shapes or forms (main objects) in an artwork
- Negative Space- the space that surrounds the main objects. It is the empty or non-interesting space between and around the main objects
- Introduce students to the sculptors Isamu Noguchi & Henry Moore. (As we look at these artists, observe how they used positive and negative space)
- Isamu Noguchi (1904–1988) was one of the twentieth century’s most important and critically acclaimed sculptors. Through a lifetime of artistic experimentation, he created sculptures, gardens, furniture and lighting designs, ceramics, architecture, and set designs. His work, at once subtle and bold, traditional and modern, set a new standard for the reintegration of the arts. (Show examples of his work.)
- Henry Moore (30 July 1898 – 31 August 1986) Henry Moore was an English sculptor and artist. He was best known for his semi-abstract monumental bronze sculptures which are located around the world as public works of art. His forms are usually abstractions of the human figure, typically depicting mother-and-child or reclining figures. Moore’s works are usually abstracted views of the female body, apart from a phase in the 1950s when he sculpted family groups. His forms are generally pierced or contain hollow spaces showing negative space. (Show examples of his work.Video of Moore’s Sculptures)
Group Activity: As a group, brainstorm a list of emotions. Discuss how emotions can vary based on what types of lines and shapes an artist used (Ex. feeling happy vs. angry or sad). What types of lines express different emotions (curved & swirly are happy lines, Angular lines: zig-zag & diagonal are active and can have a feeling of tension, Vertical & horizontal lines are calming)
Go over project handout –Non-objective Expressive Sculpture
Project Objective: Create a non-objective sculpture using subtractive methods. Design a sense of movement by manipulating form, and expressing an emotion through the use of color.
- Focus on creating:
- Variety of Depths-Interesting Positive & Negative Space (at least 2 holes),
- Visual Movement leading your eye around the sculpture
- Show emotion through type of line/shape:
- rounded, curved lines & shapes= happy/pleasing emotions
- jagged, angular lines & shapes= angry/unhappy ones,
Instructions:
- In sketchbook, do at least 2 thumbnail sketches for a design for your sculpture. **MUST have at least 2 HOLES
- Use rasps to mold & shape your sculpture.
- Use sandpaper to get it really smooth.
- Coat entire sculpture with glue.
- Paint with acrylic paint a SOLID Color first.
- Use the Dry Brush technique to brush on a darker value or metallic color to help exaggerate the crevasses or metallic sheen.
- Paint base with acrylic paint.
- Attach sculpture to base with glue.
ACTIVTY Day 1: Sketchbook Sketches
In sketchbooks, students are to work on 2 thumbnail sketches for their Styrofoam Block sculpture design.
Day 2 Delivery/ACTIVTY: Practice & Teacher Guided Demo
Preparation: Pre-Cut 1×3” Styrofoam blocks-one per student
- Go Over Tools-Carving Tools:
- Steel Rasps: for carving larger spaces
- Needle Files: for small spaces and refining your design
- Knives (Optional): for cutting away larger blocks
- Sandpaper: for additional smoothing and refining
- Teacher Guided Demo:
- Lightly draw your design onto Styrofoam
- How to carve using various tools (scraping, cutting, chiseling, sawing, sanding)
- What to do with ALL THAT GREEN DUST: throw it in the trash-NEVER blow it in someone’s face!! Use a bristle brush to brush the green dust into your tray, then into the trash can.
- Remember to carve large areas in SMALL chunks! If you try to cut away a large block to quickly it will most likely break off!
- How to cut holes in the foam without breaking the design.
- If you accidentally break a large section off, DON”T THROW IT AWAY–use wire to attach it (may require some redesign of your idea).
Activity DAY 3-6: Subtractive Styrofoam Block Sculpture: Non-Objective Expressive Sculpture
**Finish sculpture by coating it with glue (let dry). Paint with black acrylic paint, then dry-brush paint over the black with metallic acrylic paint.
: Sculpt foam using steel rasps & needle files
: Apply Cool Painting Techniques like brushing on metallic paint over base coat
: Sand the base
: Sculpt foam using steel rasps & needle files
8th Grade 2016 Examples
Additional Examples of this type of project:
The smART teacher- Expressive Sculpture by Jodi Hurt
Henry Moore-Inspired Sculptures – Project #104
Nicolet High School-Advance Level
If you choose to use this lesson or to repost it (written info or photos), please link it back to my blog. Create Art with ME

