水晶宝石创作
原文链接:https://tabithaannthelostsock.blogspot.com/2017/04/crystal-gem-creations.html
日期: 2017-04-10
标签: 水晶宝石创作 小学美术 宝石 岩石 闪亮宝物 防水彩 美术教案 Tabitha lost sock 教师 美观 有趣 简单
你将在此学习如何绘制
立体造型(三维形体)。
你将在彩色纸上运用明度,使每个造型的各个面呈现出
略微半透明的效果(光线穿透感)。
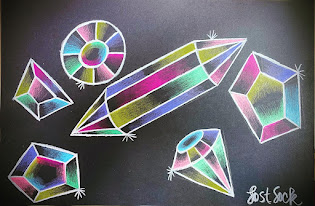
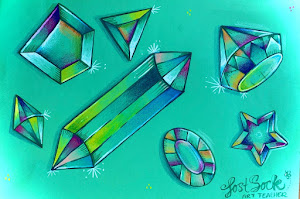
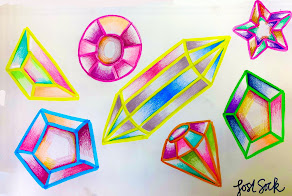
**艺术替代方案
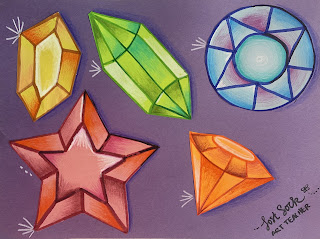
在单独的彩色纸片上分别绘制每颗水晶,
剪下后粘贴!
你需要准备:
开始前,
请先练习明度阶调:
http://tabithaannthelostsock.blogspot.com/2019/09/value-scale.html
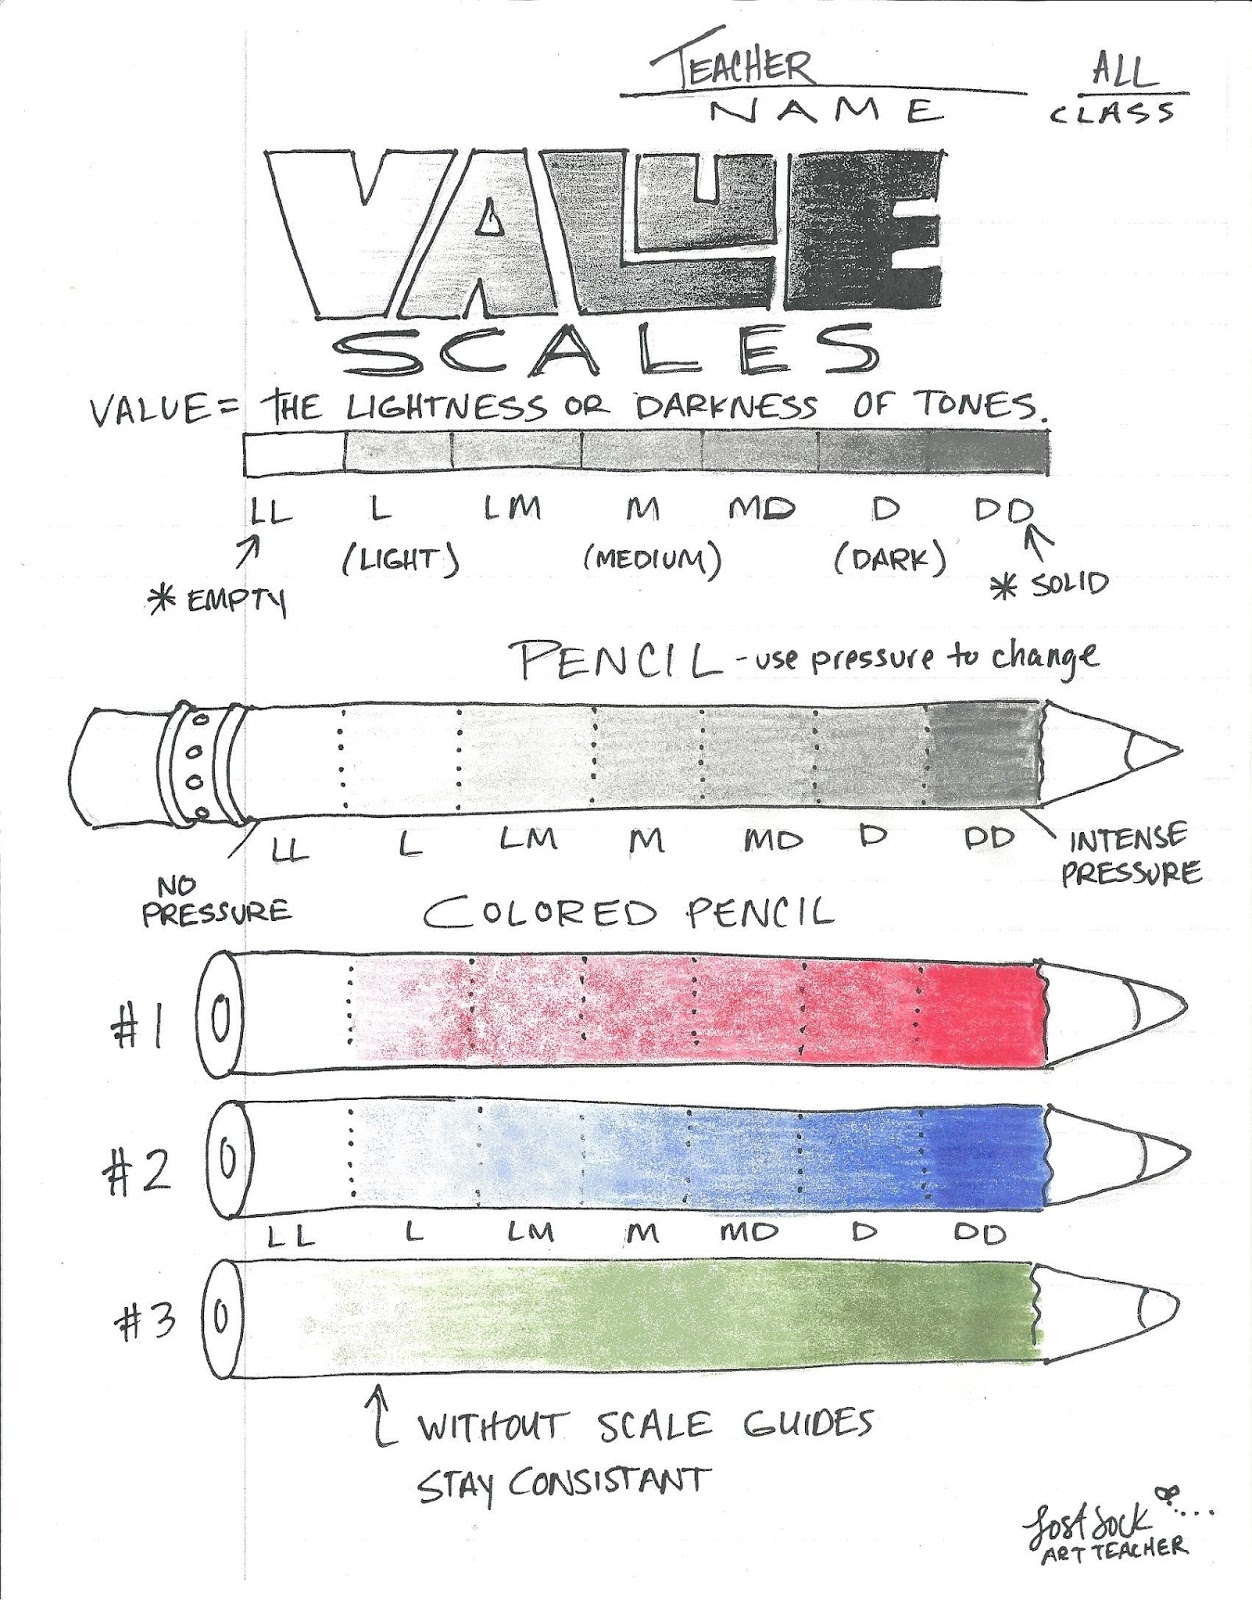
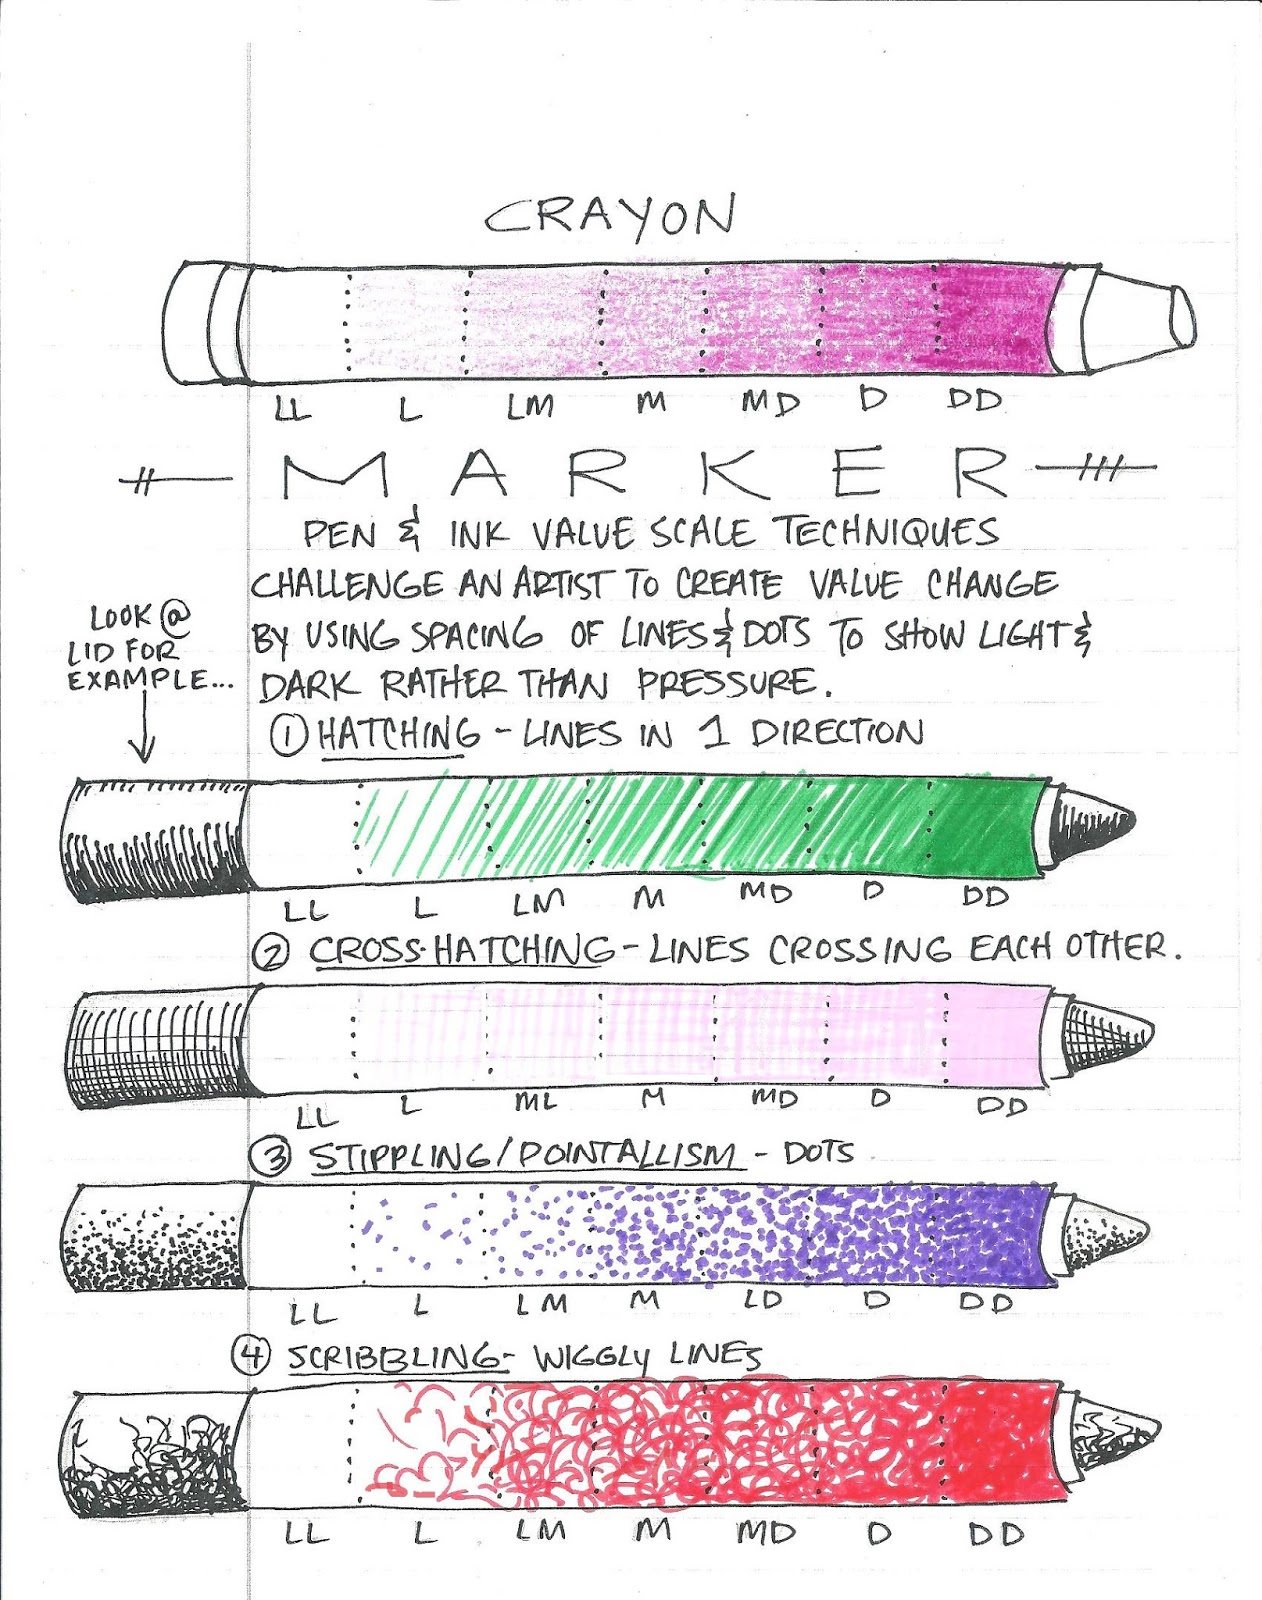
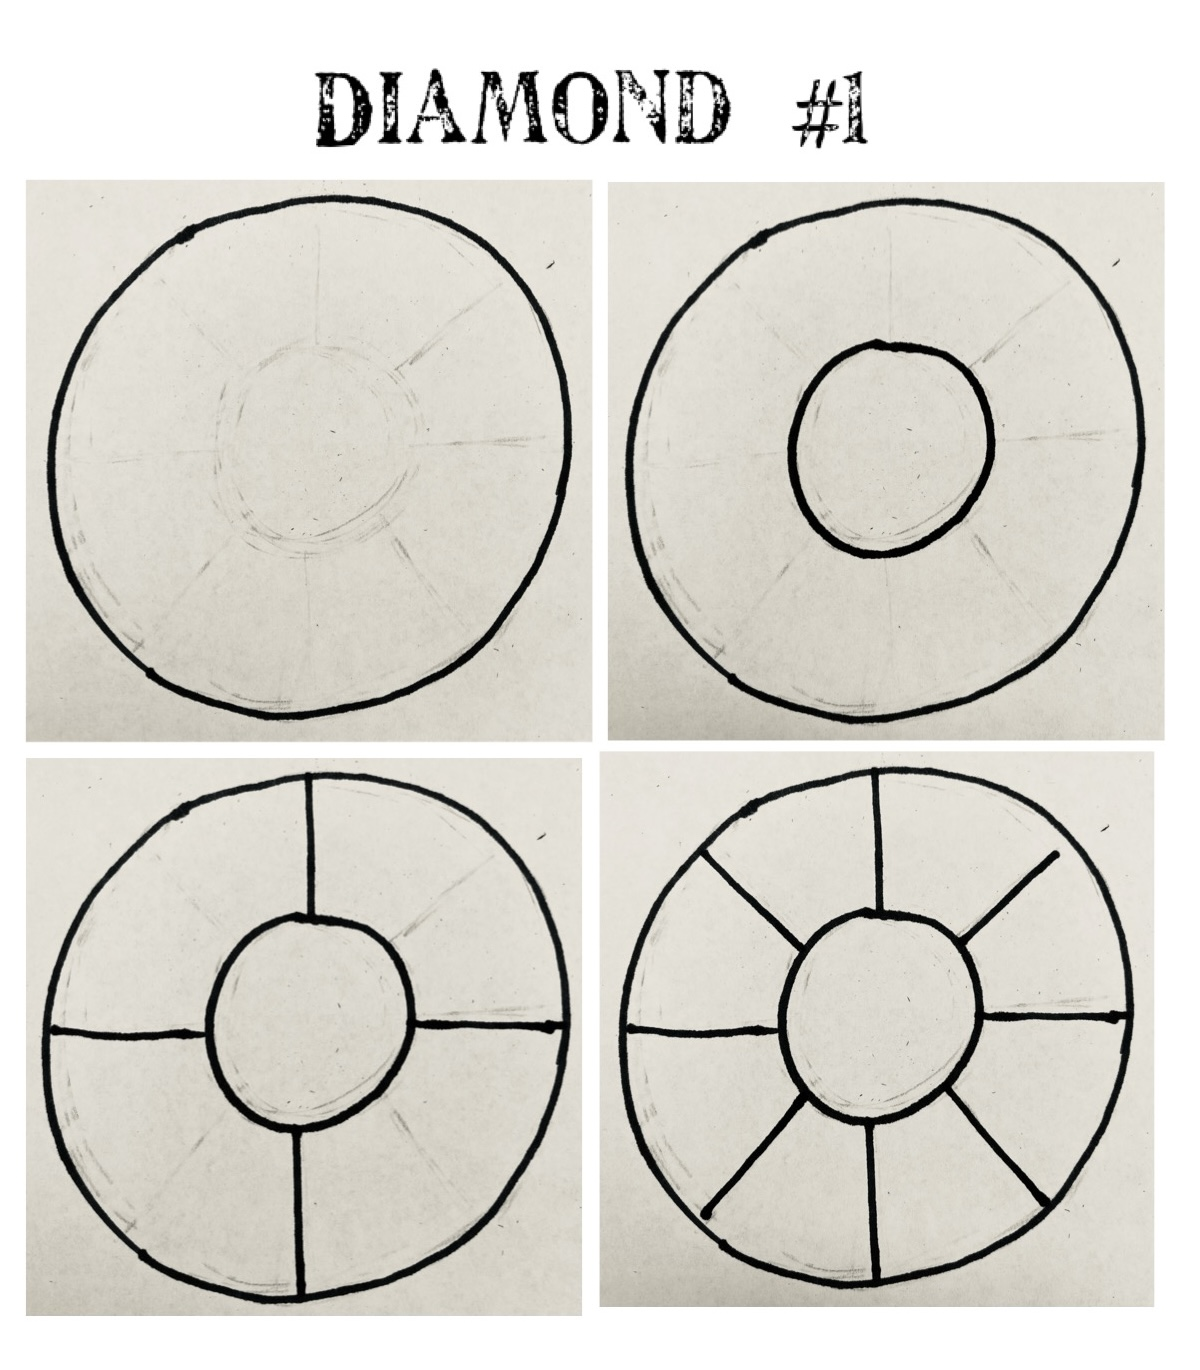
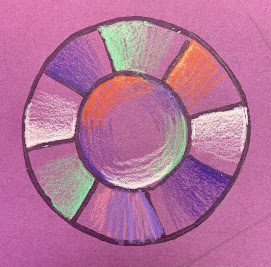
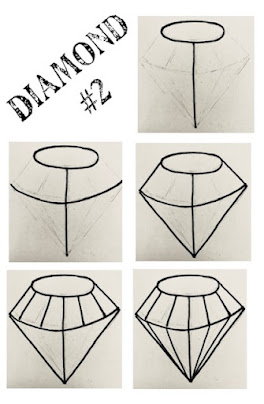
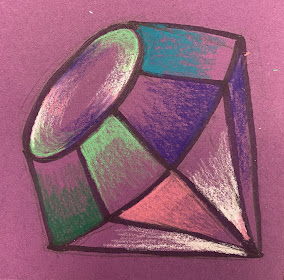
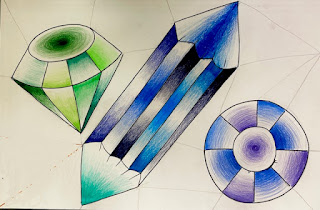
水晶宝石拥有“面”。
例如,下方这颗有 9 个可见的面。
这种结构称为“多面体”,即“多个面”。
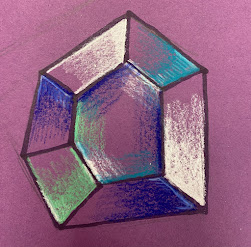
每个面的明度需呈“明暗交替”分布。
目标是形成强烈对比——任意两个深色区域不可相邻。
请尽量使你的明度阶调符合
“S.E.C.”标准:
Smooth(平滑)(过渡自然)、
Even(均匀)(各阶明度清晰均衡)、
Contrast(对比)(最深与最浅并存)。
宝石与明度入门
从此开始
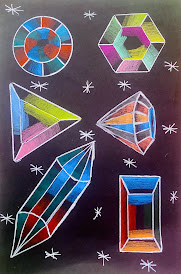
2023 年春季 六年级美术课
艾迪森·米勒,玛德琳·西顿
塔图姆·詹姆斯,安德鲁·维加
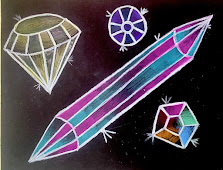
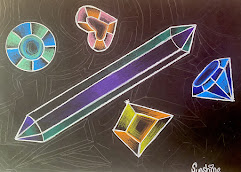
阿莉萨·米勒,阳光·V.
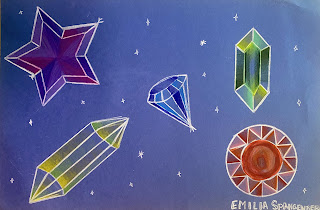
埃米莉亚·斯潘根贝格
2022 年秋季 六年级美术课
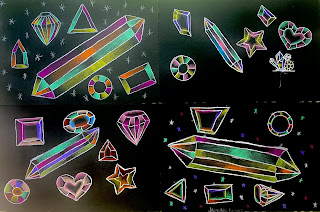
克里斯托尔、佩顿、
凯莉、杰奎琳
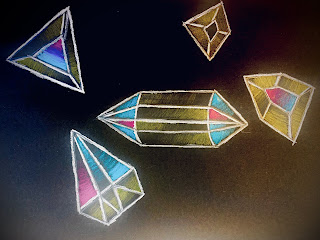
萨姆·A.
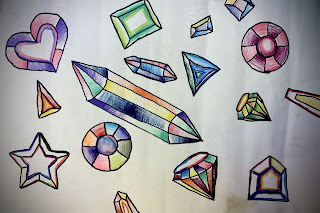
基尔斯汀
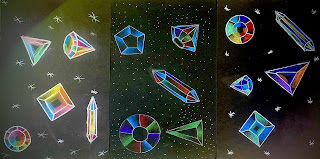
奥布里、卡森·T.、佩顿
莱弗
基阿拉
2021 届六年级学生初试水晶创作……
佩斯利 & 阿什莉(六年级)
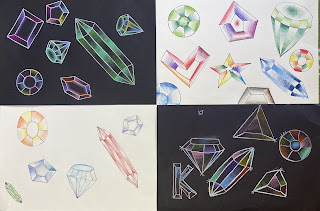
爱德华多、埃尔瓦、卡尔 & KJ
更多宝石作品
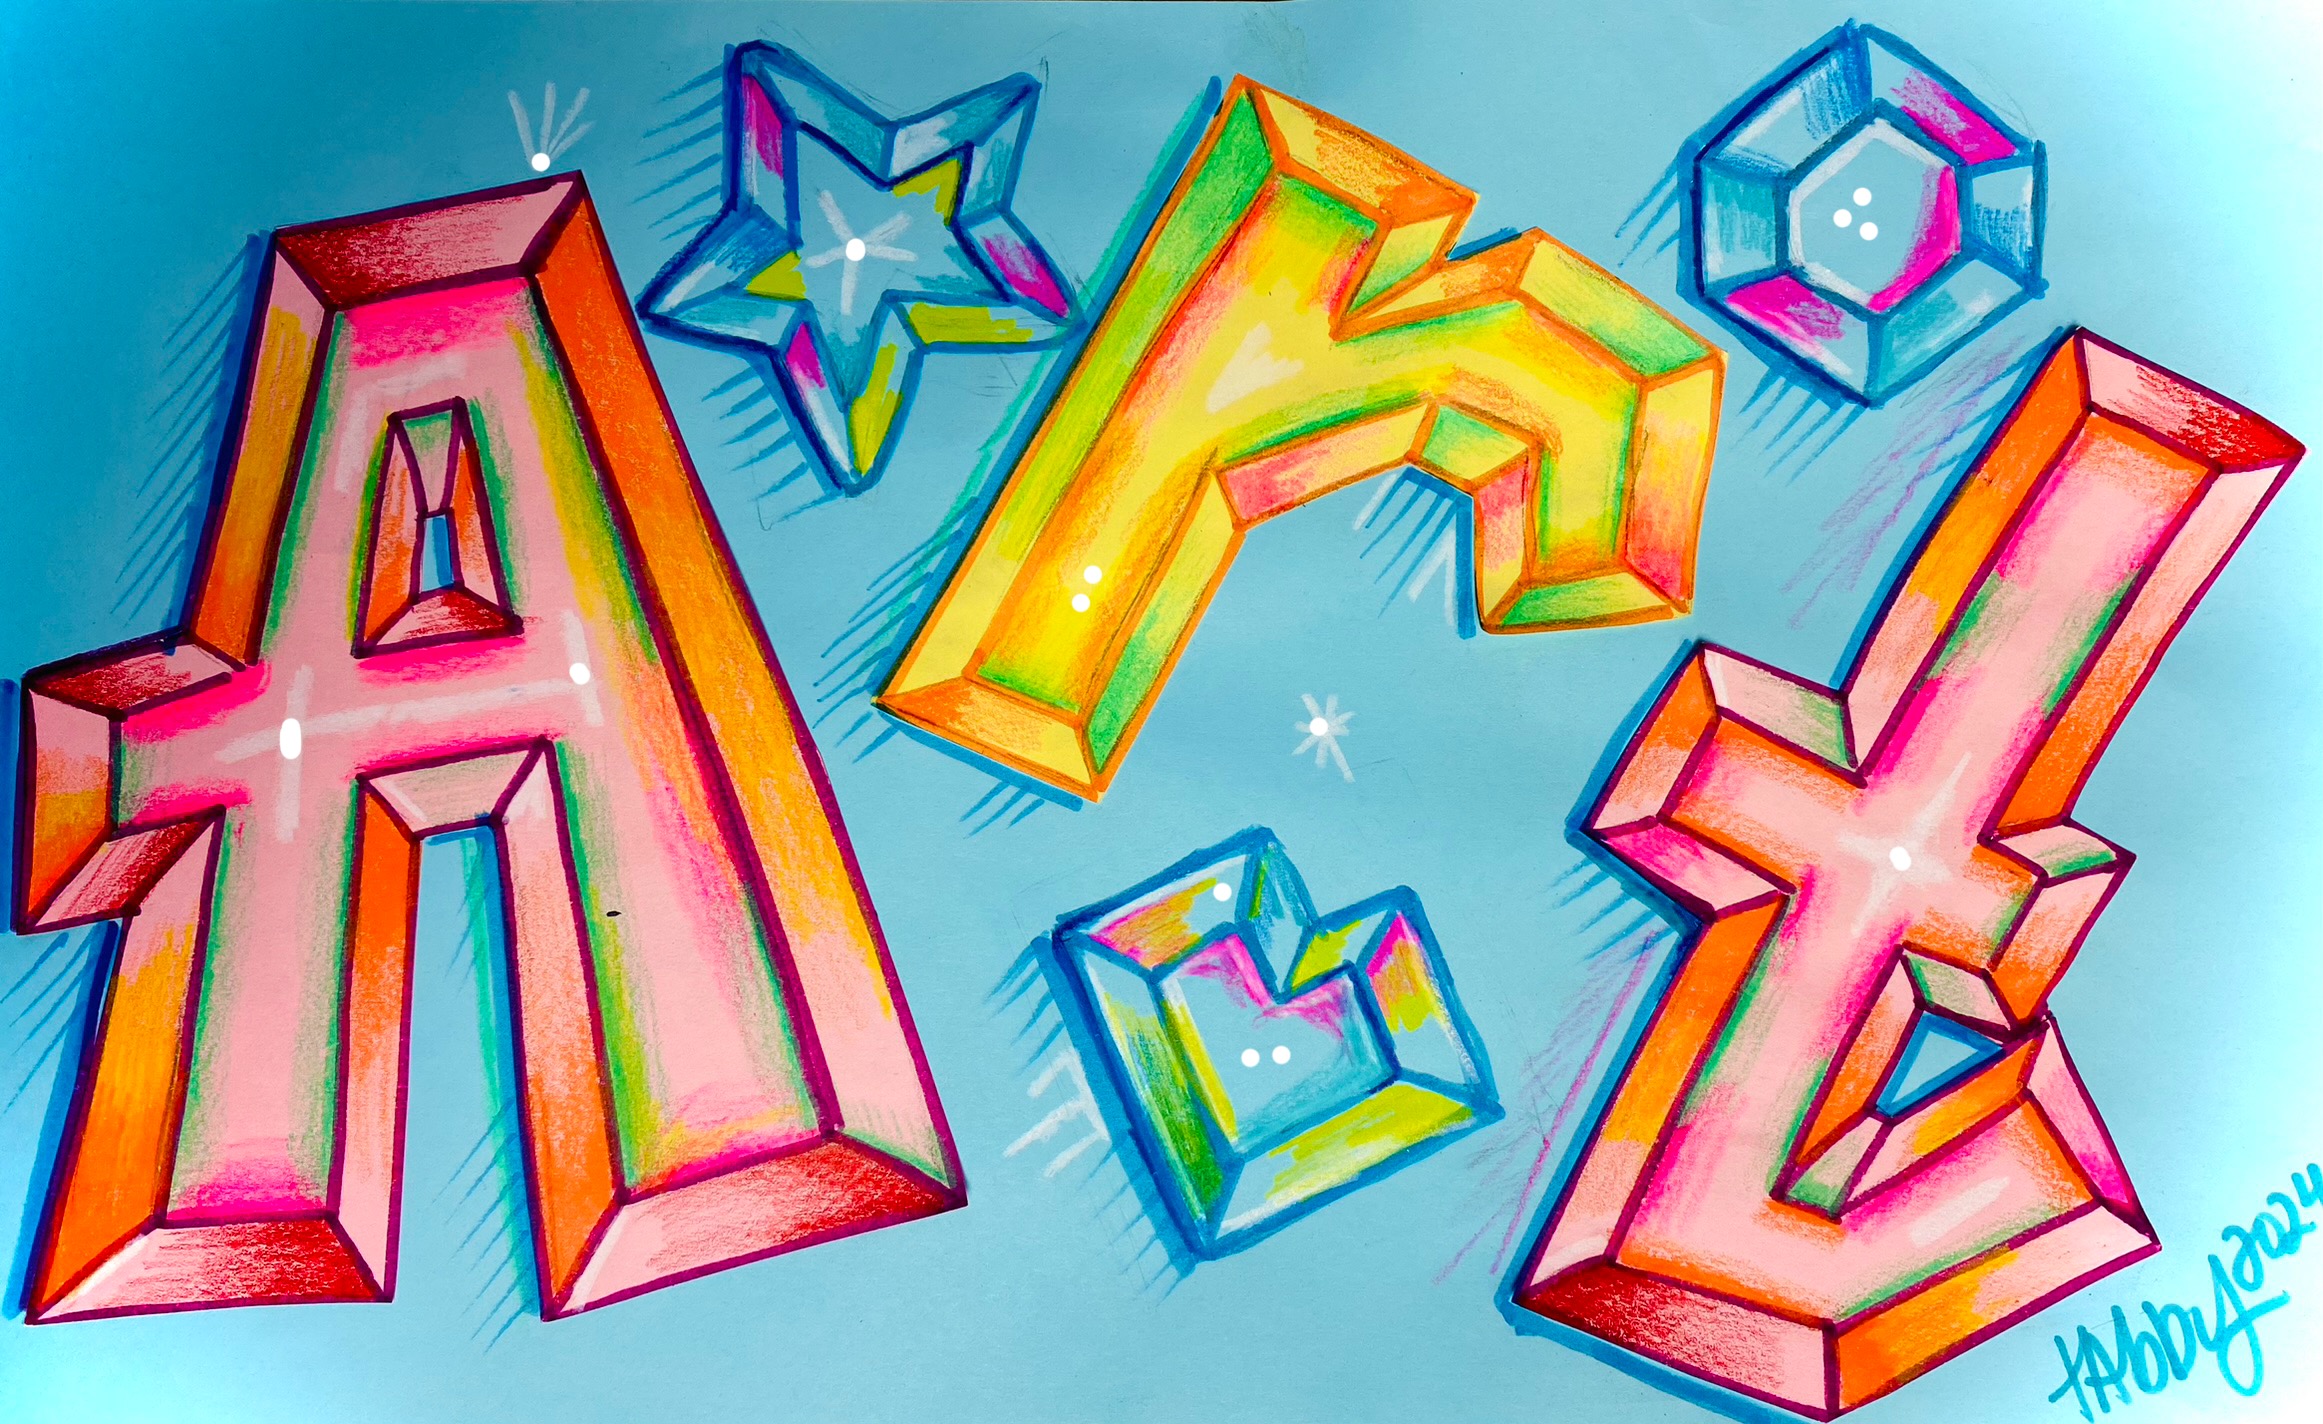
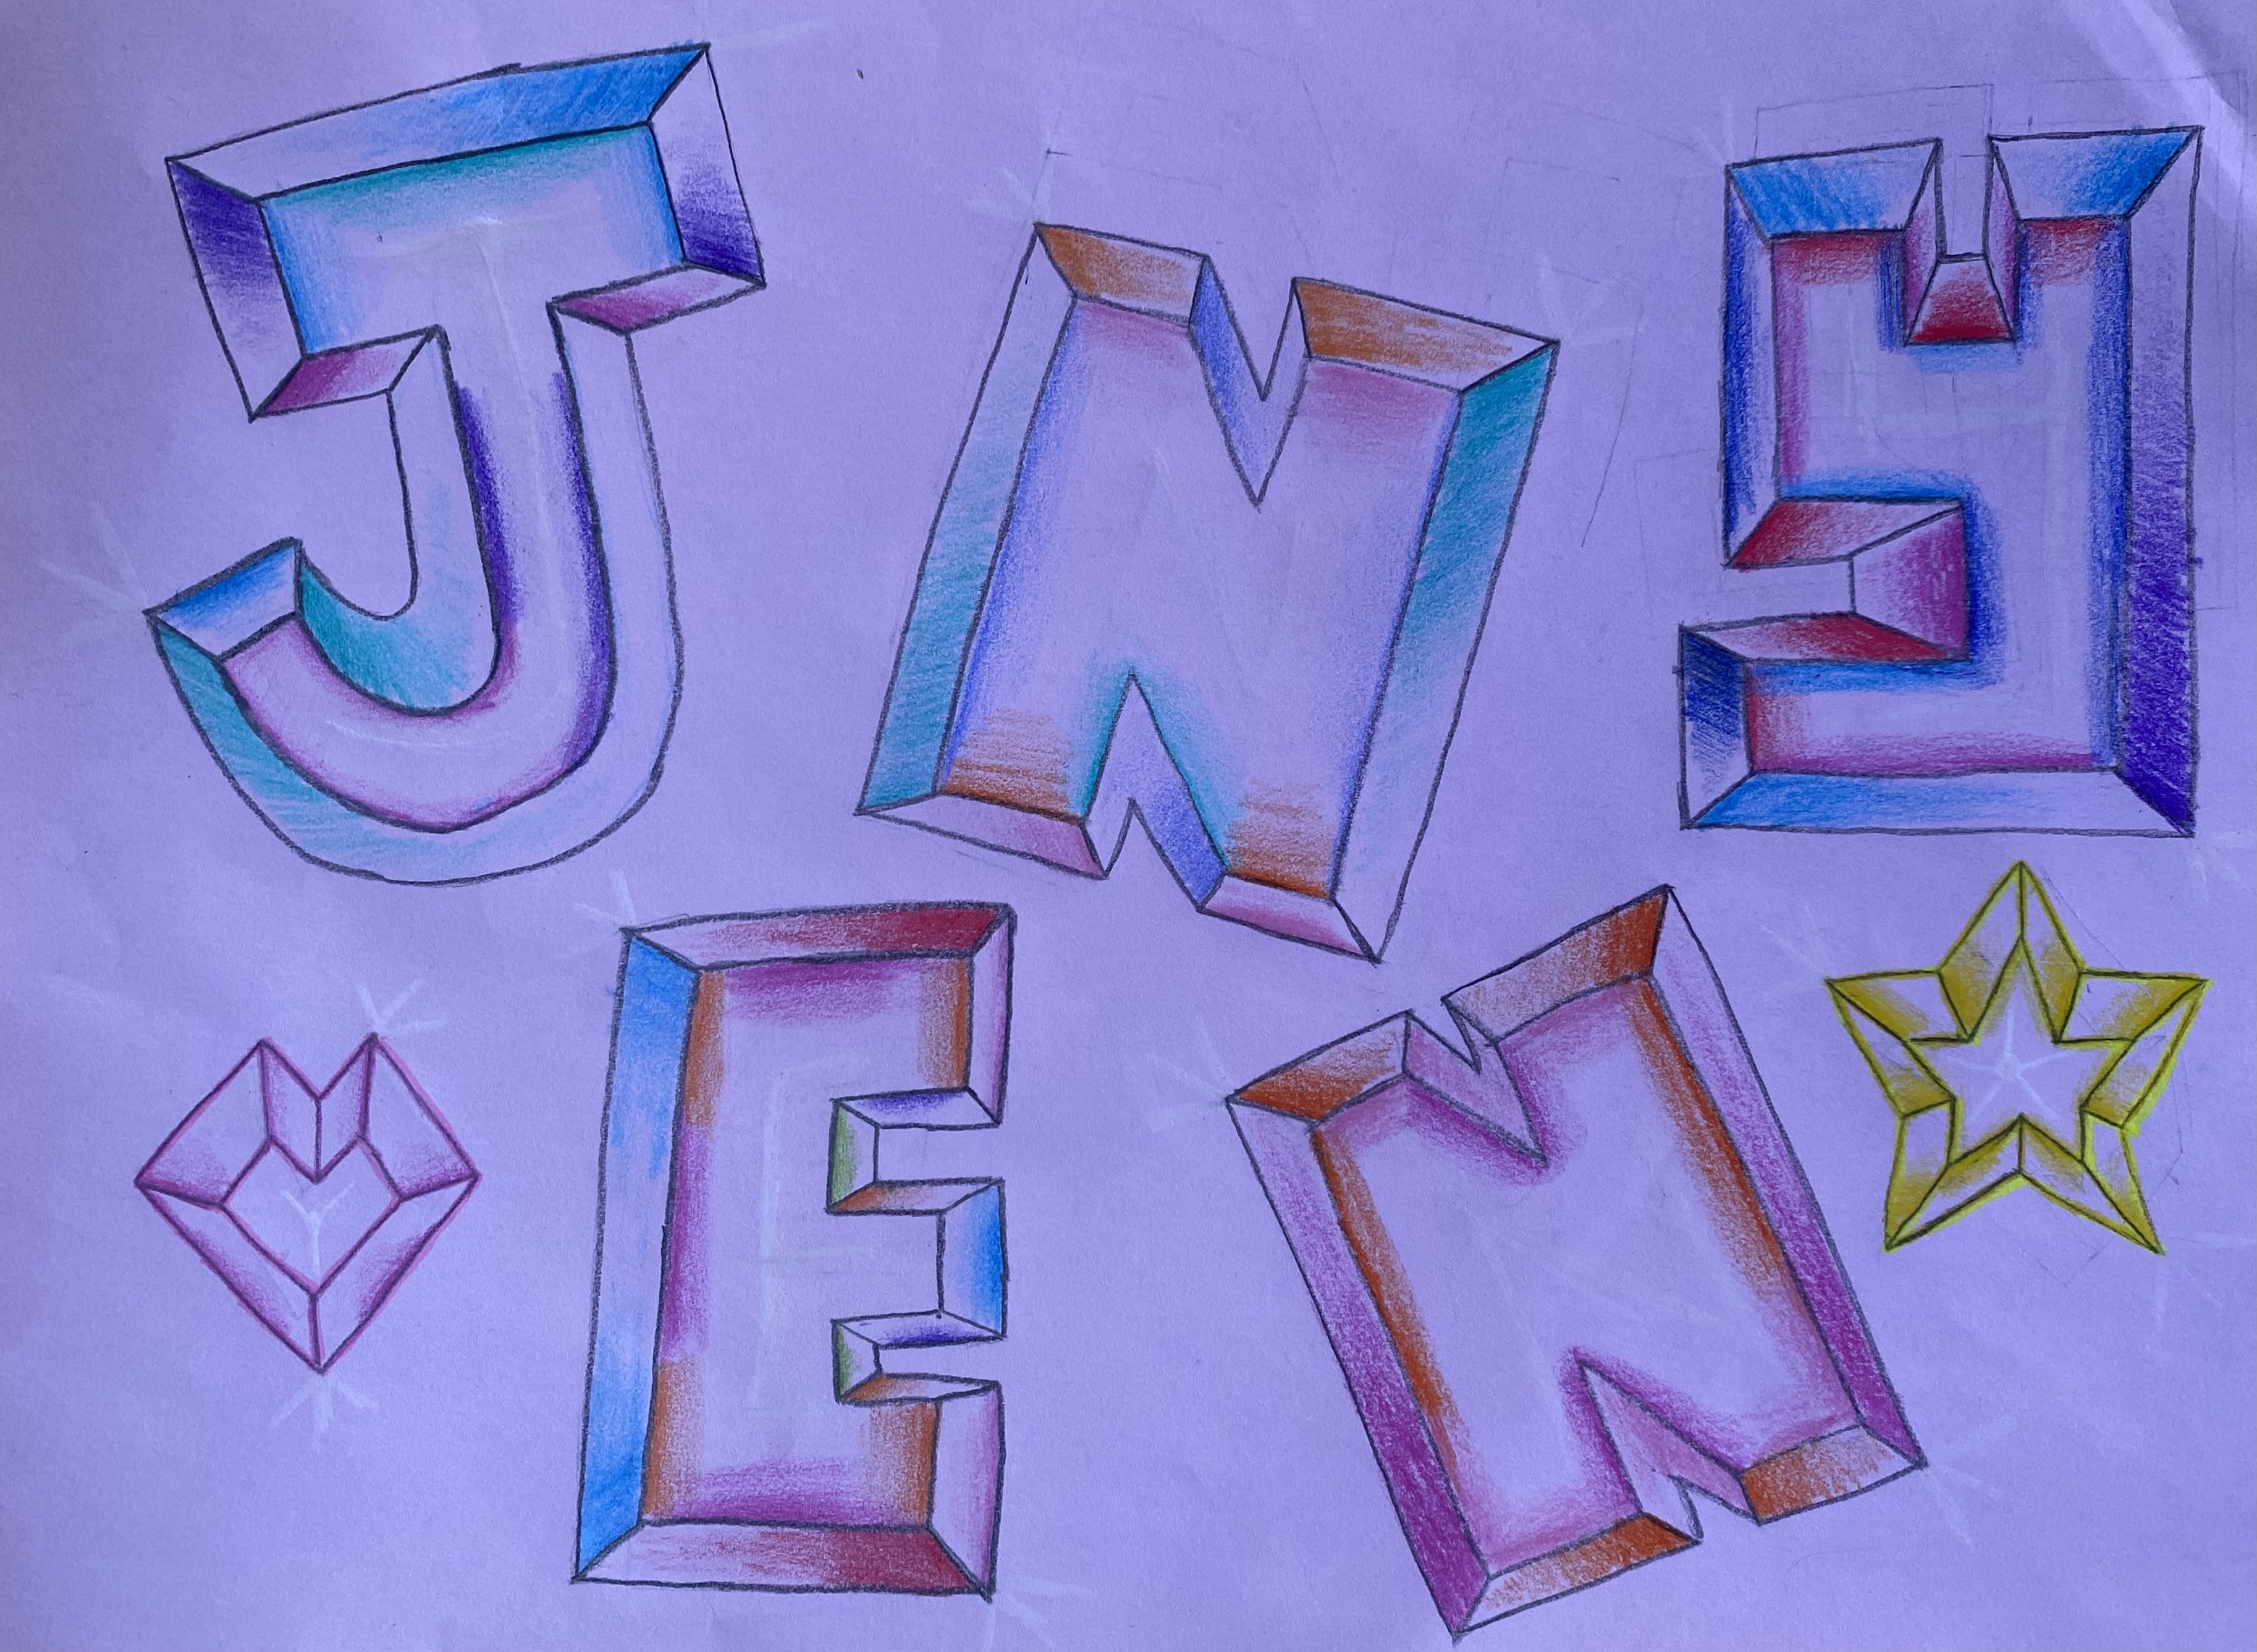
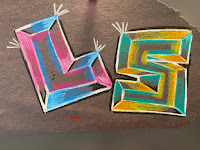
宝石字体设计
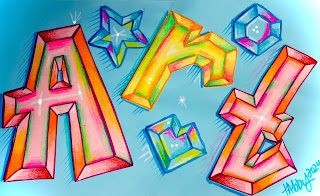
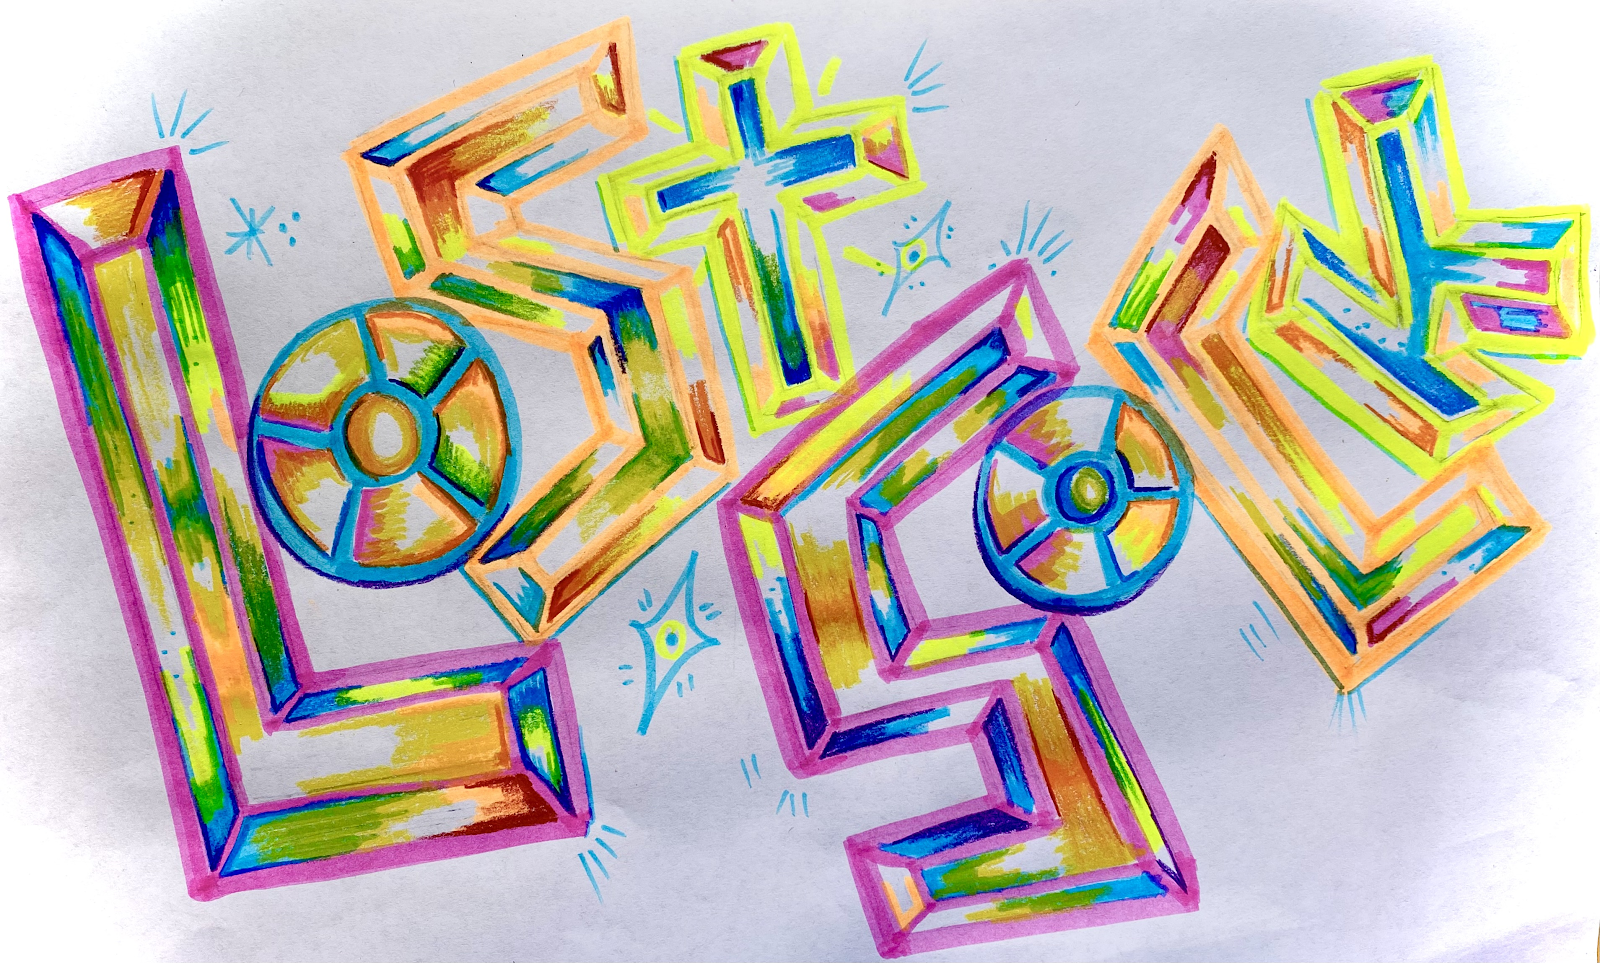
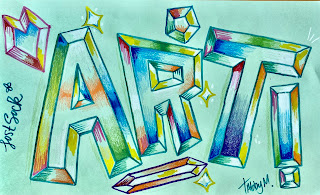
学生作品
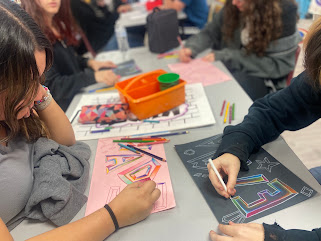
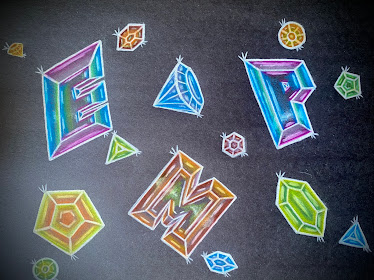
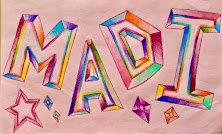
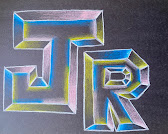
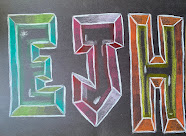
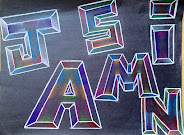
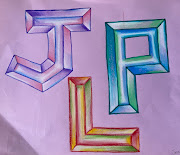
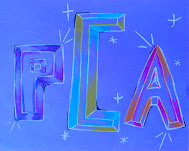
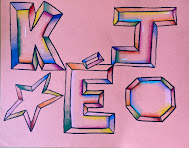
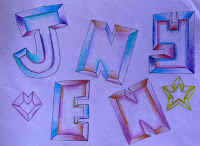
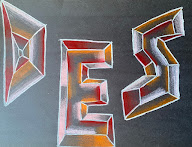
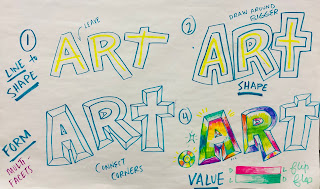
在小纸片上先行练习……
步骤
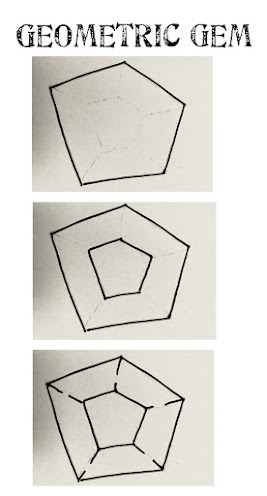
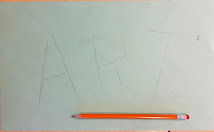
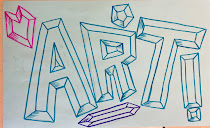
- 使用“描摹—擦除法”绘制方正字体(轻用铅笔),
字间留空,后续将向外延展。
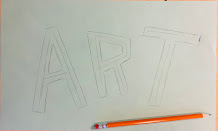
- 擦去最初画出的内部线条。
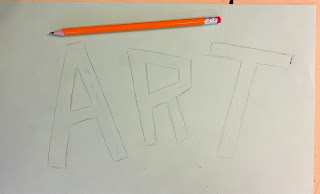
- 在每个字母外围绘制一个略大的相同形状。
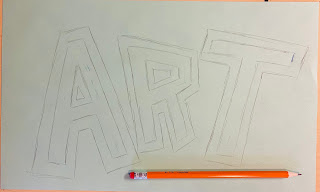
- 连接内侧小形状与外侧大形状的对应角点。
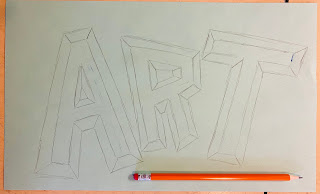
可选步骤:在空白处添加更多水晶(参见上方“几何宝石”范例)。
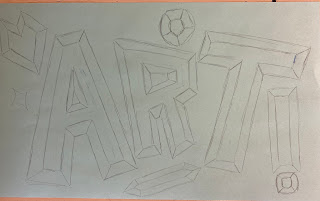
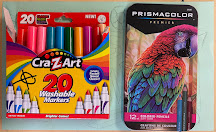
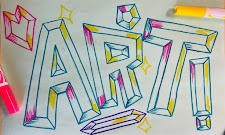
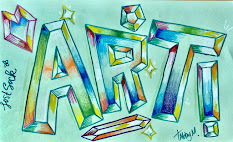
- 用记号笔强化轮廓,再用彩铅添加明度(若画于彩色纸上,推荐使用辉柏嘉彩铅)。
================================================================
进阶版宝石
(绘制于彩色纸上)
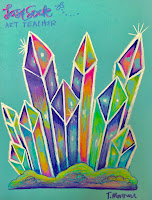
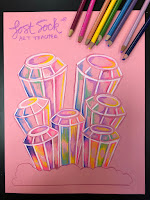
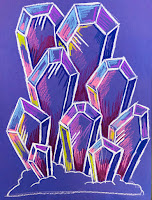
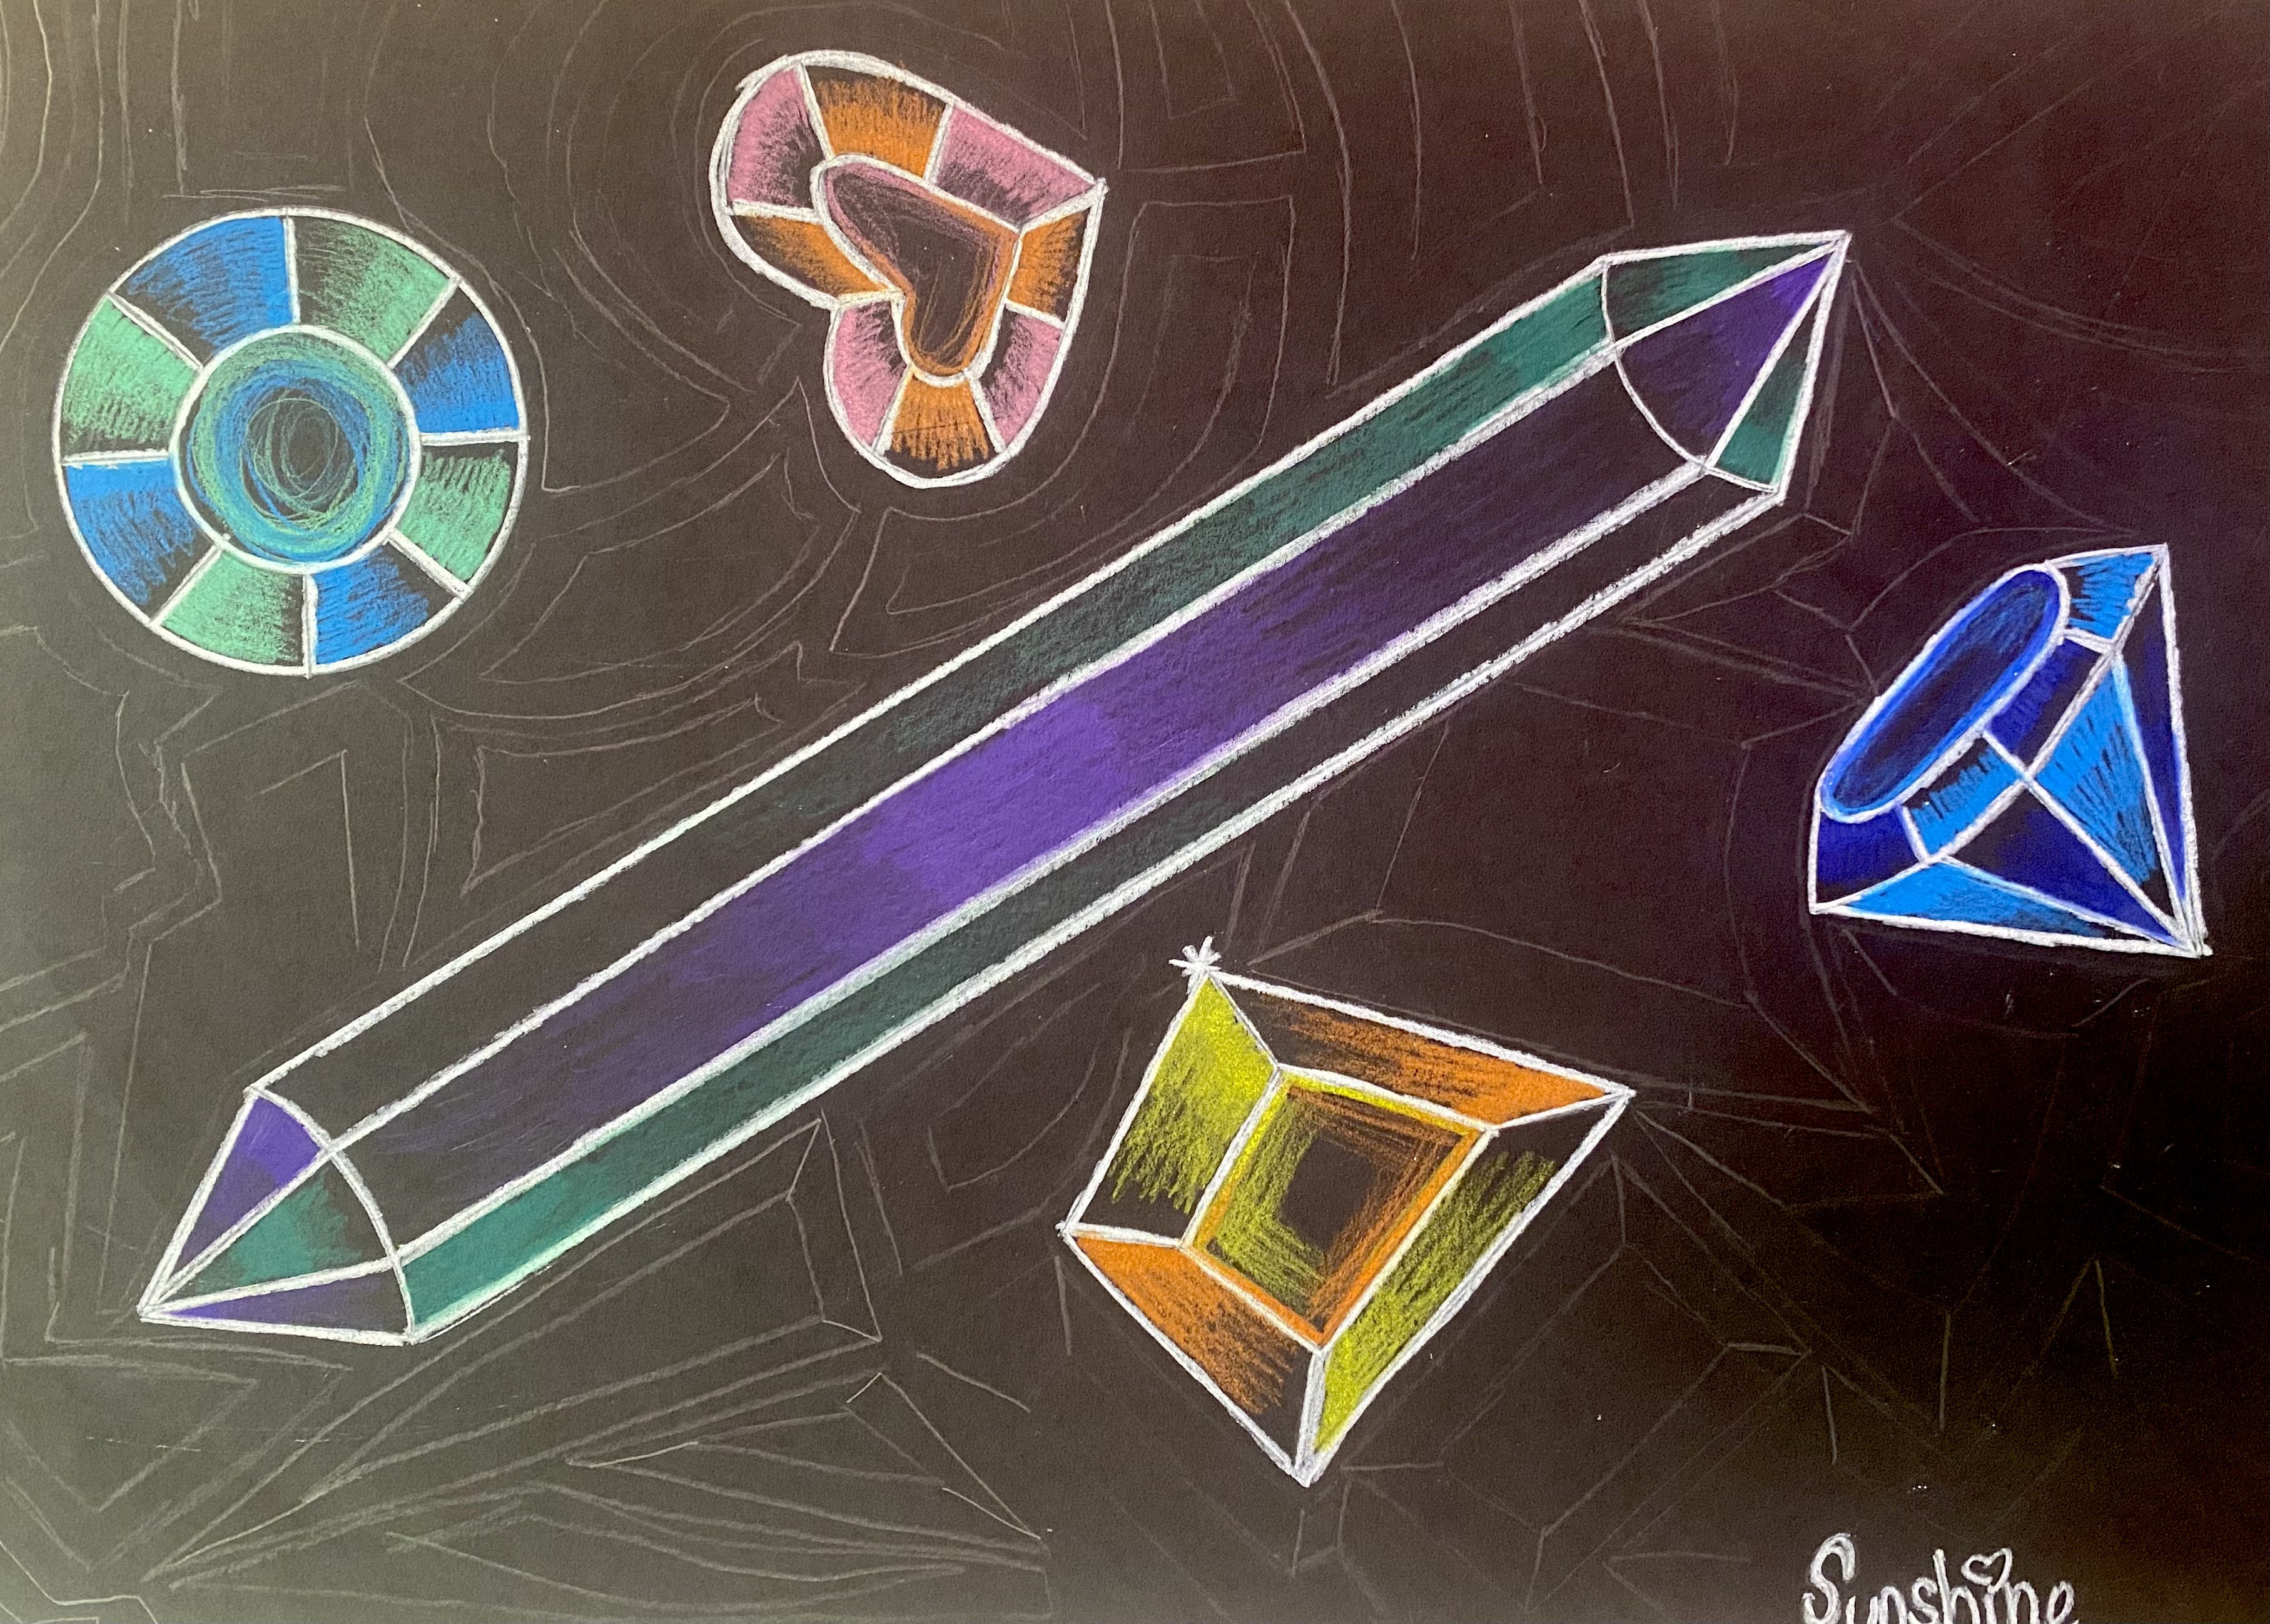
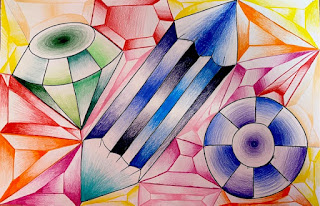
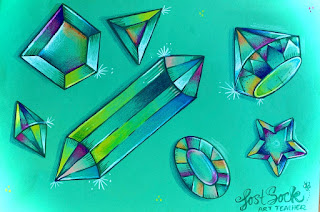
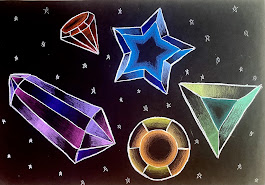
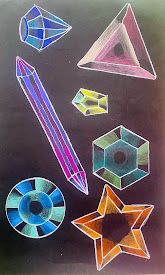
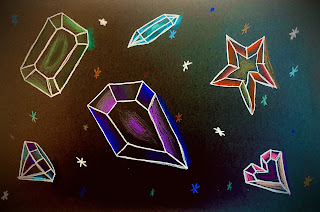
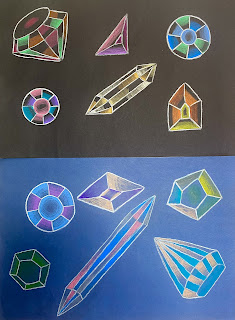
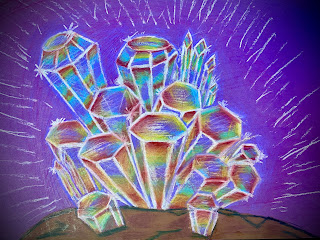
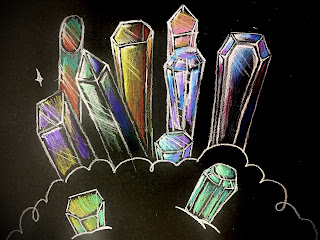
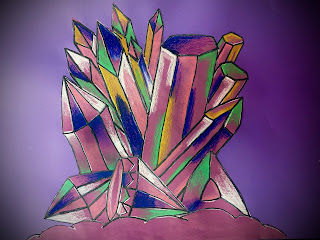
以上全部 5 幅作品均采用
彩铅绘于彩色纸
完成,作者:摩根老师
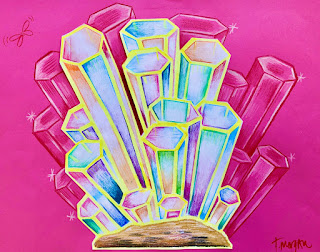
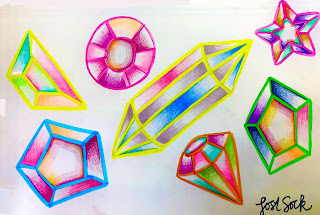
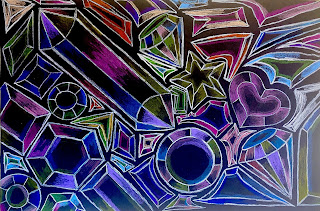
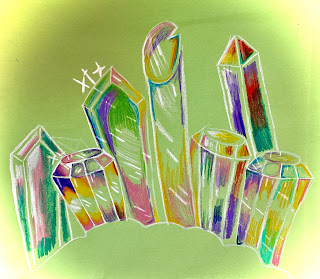
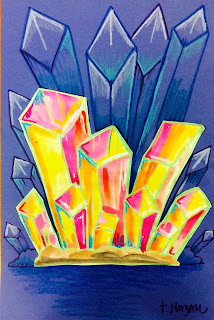
上图作品采用
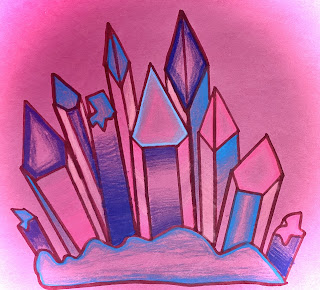
荧光笔勾边 + 彩铅填充,
剪下后粘贴于彩色纸底板,
再以彩铅在底板上添加细节。
作者:摩根老师
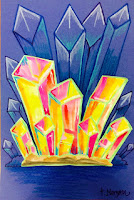
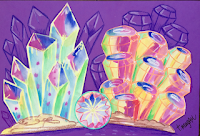
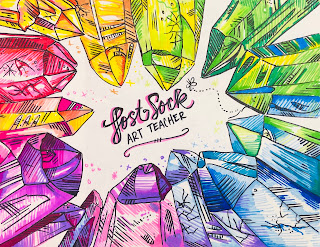
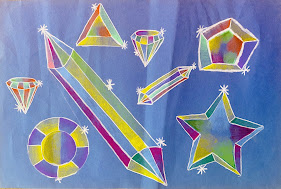
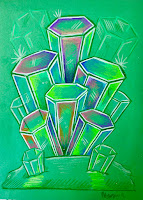
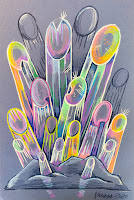
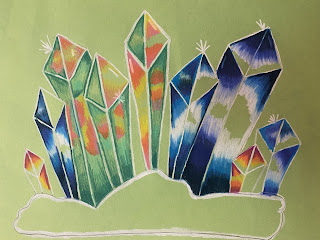
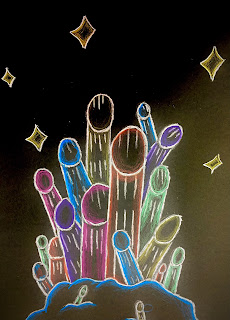
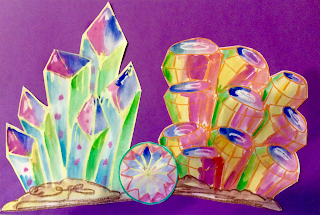
上方两幅作品采用
蜡笔防染 + 水彩 技法,
剪下后粘贴于彩色纸底板,
背景细节以彩铅绘制。
2022 年进阶水晶创作
凯登·琼斯
玛丽·阿代尔
萨拉·卡尔德隆
杰西·琼斯
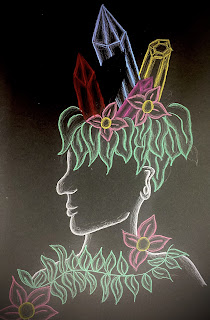
娜塔莉·莫拉莱斯
艾弗里·赫拉蒙特
维多利亚·怀特
格雷森·杜邦
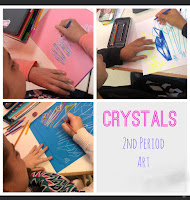
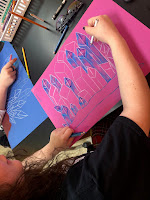
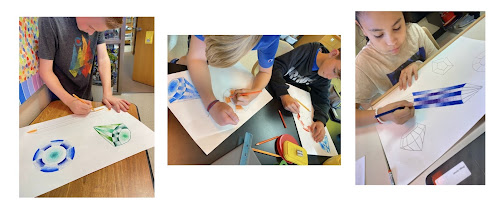
布丽安娜(及西德尼):制作中与完成稿
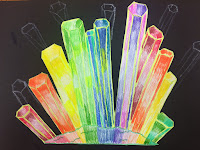
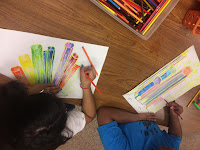
阿尔宾(五年级):制作中与完成稿
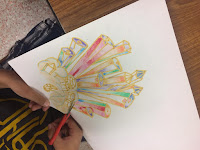
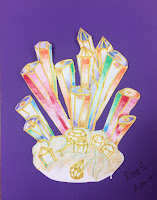
梅茜(四年级):制作中
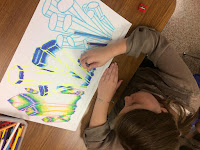
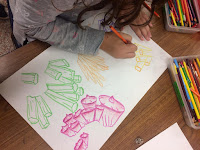
汉娜(五年级):上色中
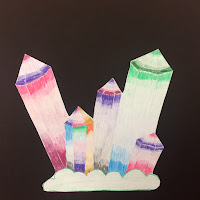
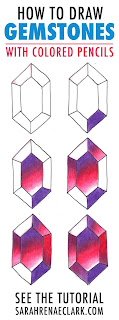
先练习绘制各类造型,
看看自己最擅长哪一种。
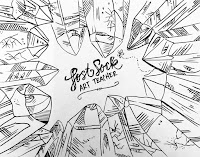
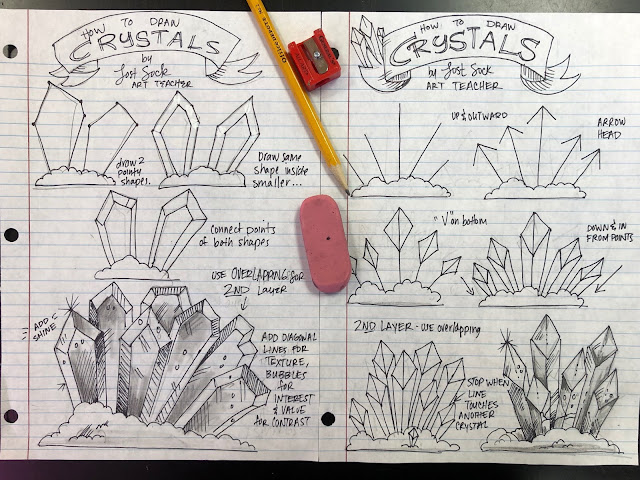
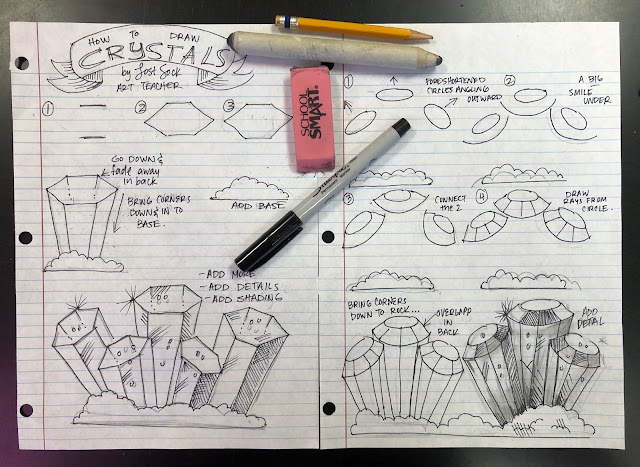
可观看教学视频:
《如何绘制水晶……》
https://easydrawingguides.com/how-to-draw-crystals-really-easy-drawing-tutorial/
选择一种技法
彩铅绘于彩色纸
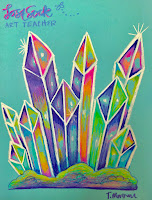
箭头型水晶
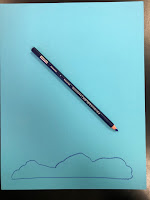
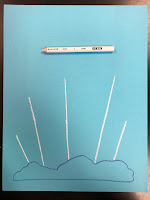
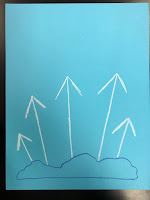
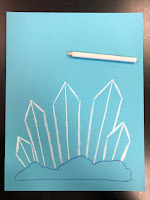
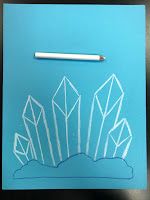
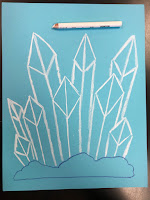
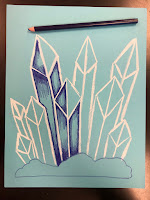
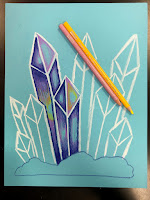
钻石尖型水晶
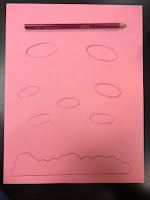
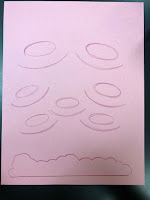
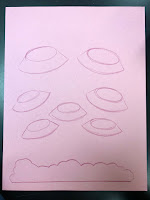
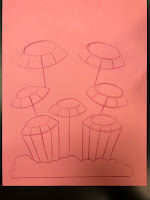
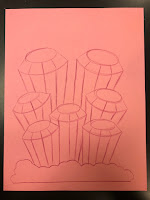
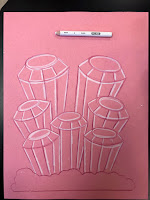
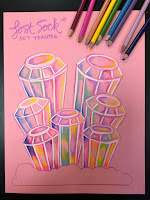
我们的技法选项视频
蜡笔防染 + 水彩
荧光笔 + 彩铅
开始本项目前,我尝试了多种媒材:
先用蜡笔与油画棒绘制水晶造型,再以防染绘画法在轮廓内涂色;
又尝试用水彩铅笔与水彩蜡笔绘制水晶,再用湿画笔沿可溶性笔迹晕染填色。
(参见下方两例)
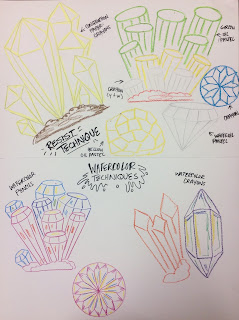
防染处理后 + 湿笔晕染效果
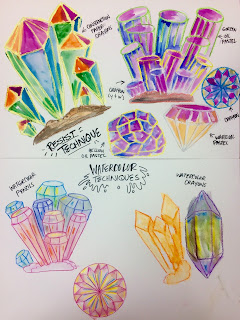
我个人最钟爱蜡笔防染法——它最不易弄脏画面,且学生此前已掌握该技法。
下方即采用此法完成最终作品。
你可自由选用适合自己的方法。
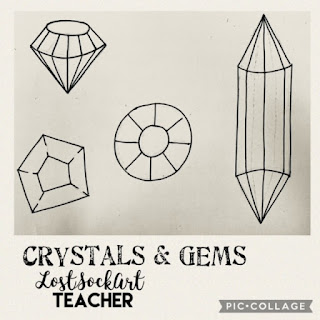
我通过谷歌搜索关键词“水晶宝石剪贴画 黑白”,获取图像素材,
帮助学生更准确地自主绘制几何造型。
我鼓励学生用蜡笔大胆画得更大、更粗重,
以便上色时呈现更丰富的色彩细节,并确保蜡质防染效果理想。
_______________________________________________________________________
示例一
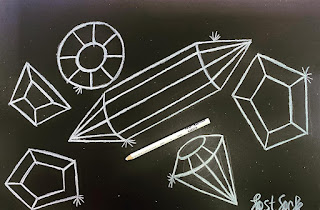
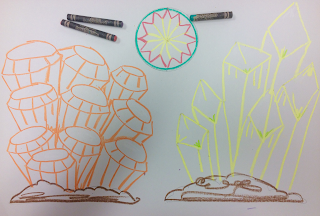
使用建筑纸专用蜡笔绘制后(上色前)
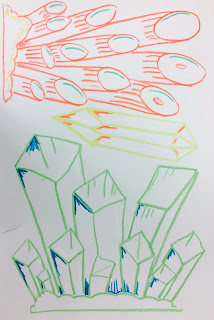
示例一
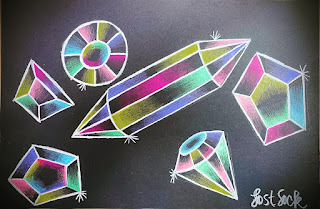
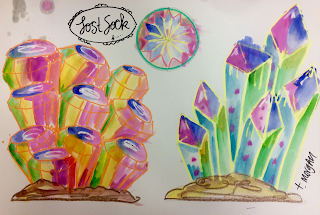
使用水性广告颜料上色后
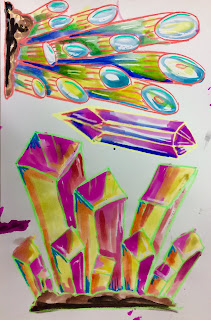
示例一
剪裁、粘贴并添加细节后
示例二
使用建筑纸专用蜡笔绘制后(上色前)
示例二
使用水性广告颜料上色后
示例二
干燥后剪裁、粘贴至建筑纸底板
示例二
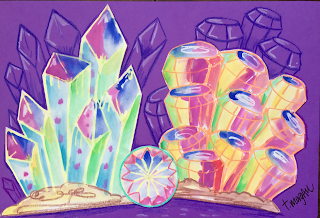
以蜡笔补绘更多背景水晶。
荧光笔 + 彩铅
(选项二)
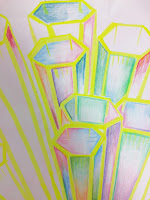
用荧光笔勾勒水晶的轮廓线。
线条越粗,下一步就越容易保持干净整洁。
接着,选用与荧光笔颜色形成对比的彩铅,在水晶两端开始表现明度变化。
两端应画得较深,中心区域则较浅,以营造出水晶半透明的视觉效果。
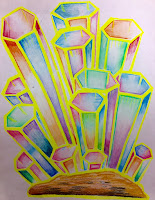
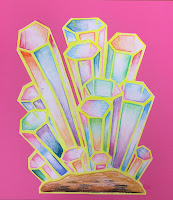
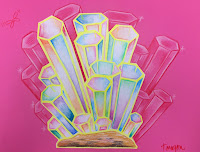
荧光笔与彩铅
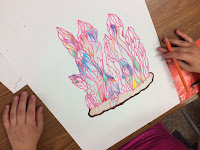
四年级学生瑞安娜(Reanna),来自托马斯(Thomas)老师班级,正在创作她的宝石作品。
谷歌图片搜索关键词:
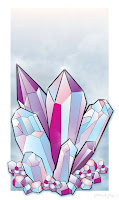
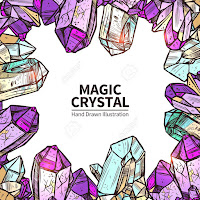
Crystal Illustrations(水晶插图)、Crystal Vector(水晶矢量图)或 Crystal Clipart(水晶剪贴画),
以获取属于你自己的灵感参考。
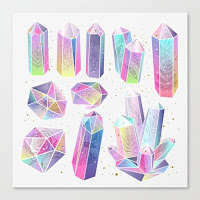
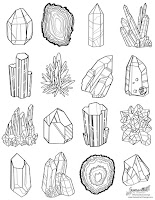
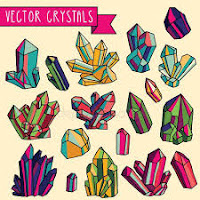
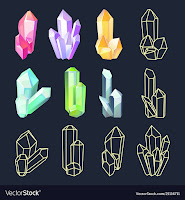
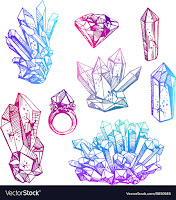
以下是我所参考的部分图例……
水晶宝石创作
Original: https://tabithaannthelostsock.blogspot.com/2017/04/crystal-gem-creations.html
Date: 2017-04-10
Tags: crystal gem creation elementary art jewels rocks shiny treasures resist watercolor art lesson plan Tabitha lost sock teacher pretty fun easy
You will be learning here how do draw
FORMS (3D shapes).
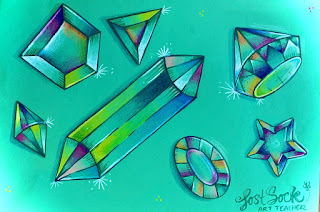
You will be using value on colored paper to make the faces of each form look
slightly TRANSLUCENT (light shining through).
**Artistic Alternative
Draw each crystal on individual pieces of colored paper.
Cut and paste!
YOU NEED:
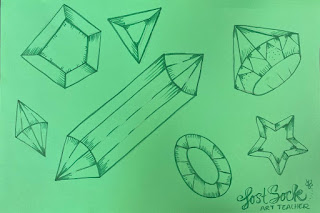
-5 Geometric Gem forms
(fill up the space).
-Emphasize the forms
(outline with marker or white colored pencil if on black paper.)
-Use Value in each face of the forms
(keeping contrast with flip flop value)
Before you begin,
practice Value Scales
http://tabithaannthelostsock.blogspot.com/2019/09/value-scale.html
Crystal Gems have "faces".
For example, the one below has 9 visible faces.
This is called "multifaceted", meaning "many faces".
Each face will need value that is "flip flopped".
The goal is to have contrast, where no two darks touch each other.
Try to keep your value scales
Take a "S.E.C." to check.
Smooth (gradual changes), Even (all values shown evenly) , and have Contrast (very dark and very light).
Intro to Value
WITH GEMS
Start Here
Spring 2023 6th grade Art
Addison Miller, Madelynn Seaton
Tatum James , Andrew Vega
Alissa Miller, Sunshine V.
Emilia Spangenberg
Fall 2022 6th grade Art
Cristol, Peyton,
Kaylee, Jacquline
Sam A.
Kierstin
Aubrey, Carson T., Peyton
Ryver
Kiara
2021 6th graders beginning their crystals...
Paisley &Ashley 6th grade
Eduardo, Elva, Carl & KJ
More Gemstones
Gemstone Lettering
Student Art
Practice on small Paper…
STEPS
- Use Trace and Erase method to make blocky letters (use pencil lightly).
Keep space in between them, they will grow.
- Erase the inner line you started with.
- Draw an identical shape around each letter a little bit larger than before.
- Connect corners from smaller innner shape and larger outer shape.
Optional- fill in empty areas with more crystals (see geometric gems above on page).
- Using markers to emphasize and color pencils to add some value (Prisma colors if on colored paper).
================================================================
ADVANCED GEMS
(on colored paper)
All 5 Artworks above done with
Colored Pencil on Colored paper
by Mrs. Morgan
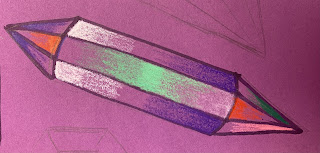
Above done with
highlighter outline and colored pencil
inside.
Cut out and glued onto colored paper.
Detail added to colored paper with colored pencils.
by Mrs. Morgan
Above 2 images done with
crayon resist and watercolor,
cut out and glued onto colored paper with colored pencil background details.
2022 Advanced Crystals
Cayden Jones
Mary Adair
Sara Calderon
Jaecey Jones
Natalie Morales
Avery Geramonte
Victoria White
Grayson Dupont
Brianna (and Sydnie) Working and Complete
Albin in 5th grade in progress and completed..
Maisy working (4th grade)
Hannah Coloring (5th grade)
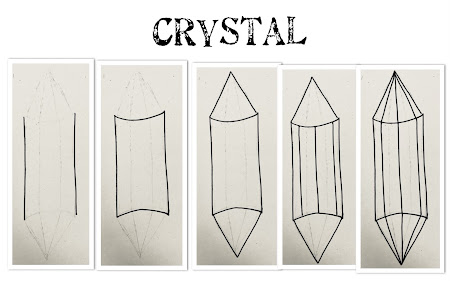
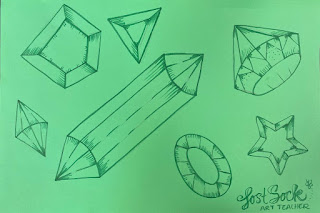
Practice drawing the forms first.
See which one you're best at.
Try a video.
How to draw Crystals...
https://easydrawingguides.com/how-to-draw-crystals-really-easy-drawing-tutorial/
PICK A TECHNIQUE
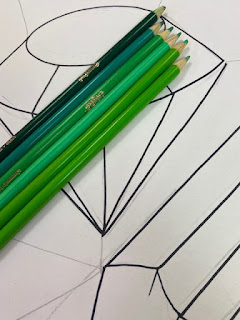
Colored Pencils on Colored Paper
ARROW POINT CRYSTAL
DIAMOND TIP CRYSTAL
Our Technique Options Video
WaterColor on Crayon Resist
Highlighter and Colored Pencil
Before Beginning this project, I sampled out different types of media. I tried drawing the crystal forms with crayons and oil pastels, then painting inside the drawing using a
Resist Paint Method.
Then, I tired using watercolor pencils and watercolor crayons to draw the crystals, the using the wet brush to fill in the gems using the soluble drawing edge.
(see both below)
After Resist and Water Brush
I personally liked the crayon resist method best. It was the least messy and my students have a grasp on the technique from previous projects.
Below I am using this method to finalize the projects.
You can use what suits you.
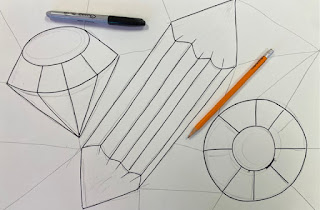
I googled imaged "Crystal Gem Clipart Black and White"
Images in order to help the students draw the geometric forms better on their own. I encourage them to draw bigger and darker with crayons in order to get more color detail when painting and have the wax resist work correctly.
_______________________________________________________________________
Example One
Before Paint with Construction Paper Crayon Drawing
Example One
After Tempera Water Paints
Example One after cut, glued and added detail
Example Two
Before Paint, after Drawn with Construction Paper Crayons
Example Two
After Tempera Water Paints
Example Two
After Dry, cut and glued down to construction paper
Example Two
Drawn in more background crystals with Crayons.
HIGHLIGHTER and COLORED PENCIL
(Option 2)
Use highlighter to emphasize the line of the crystal.
The thicker the easier it will be to keep the next step clean and neat.
Then, Using colored pencils in a contrasting color, create value starting on the ends of the crystal.
It should be darker on the ends and lighter in the center to make it appear as though they are translucent.
HIghlighter and Colored Pencil
4th grader, Reanna, from Mrs. Thomas's class
creating her gems
Google Image Search
Crystal Illustrations, Crystal Vector or Crystal Clipart
to get your own inspirational references.
Here are some that inspired me...