Watercolor Pouring and Masking Portrait Art Lesson
Original: https://createartwithme.com/watercolor-pouring-masking-portrait-art-lesson/
Date: 2015-12-08 Author: Michelle East Categories: Art Lessons, HS Art, MS Art, Painting Lessons, Watercolor Lessons, Watercolor Resist Tags: "tight" painter, “Save the Whites”, adult facial proportions, art lesson, benedict cumberbatch, Define Space, Experiment with pouring watercolors, Experiment with watercolors, Free Online Photo Editor, high contrast of values, Liquid Watercolors, Masking, Masking Fluid, Masking Fluid to “Save the Whites”, Negative Space, Portrait, Portrait Art Lesson, Positive & Negative Space Portrait, positive negative space, Positive space, pouring watercolors, watercolor lesson, Watercolor Pouring, Watercolor Pouring and Masking Portrait Art Lesson, www.FreeOnlinePhotoEditor.com
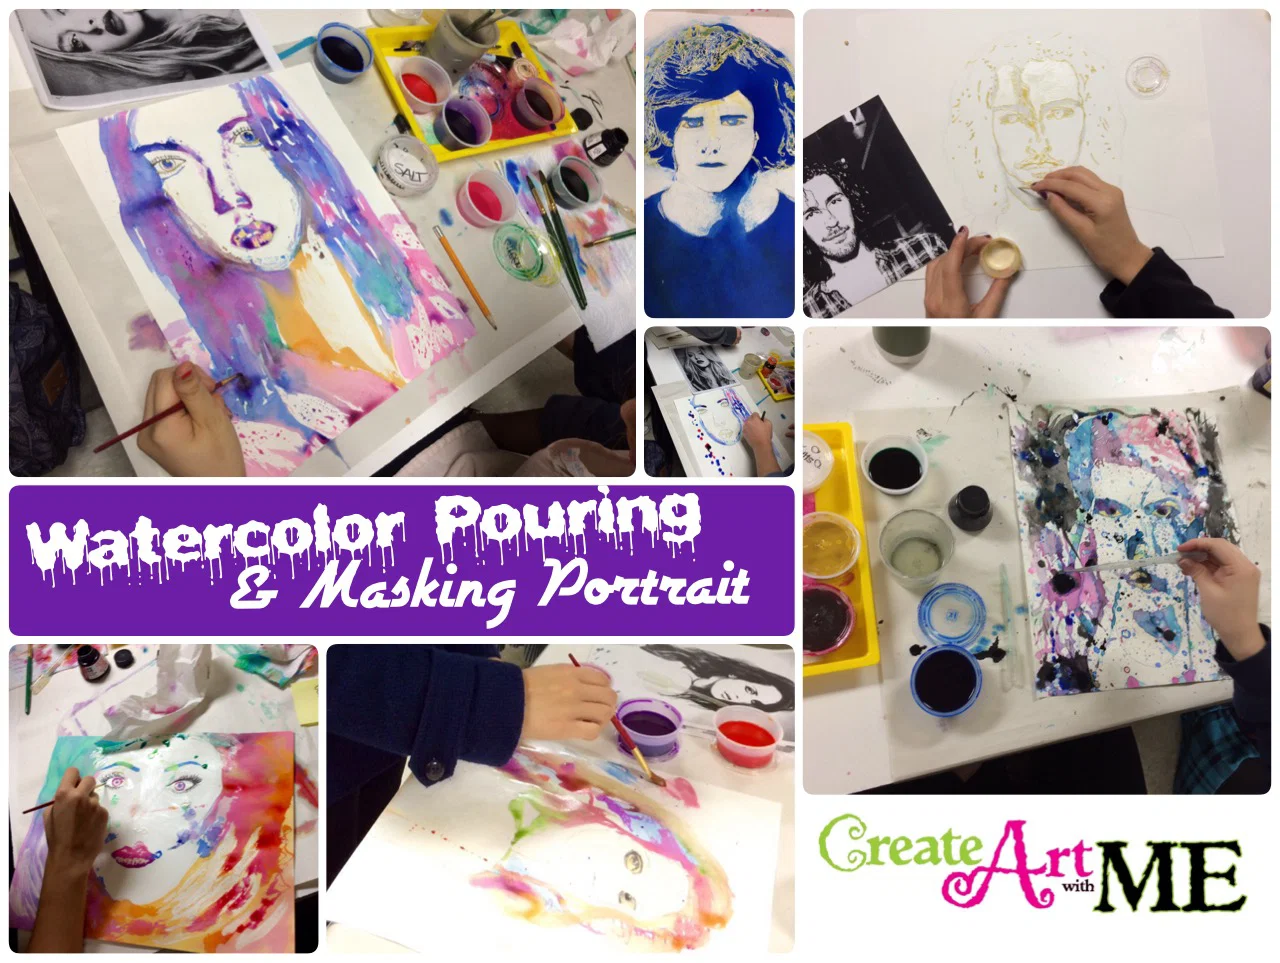
imageAre you or your students super tight when it comes to painting? I know I am!! Trying to loosen up a “tight” painter is HARD to do-it takes practice, trial & error.
This HS art painting lesson is a great exercise in loosening up and letting go of control. We learned how to draw correct adult facial proportions PRIOR to this project and then jumped into reviewing Positive & Negative Space and experimenting with watercolors (which was super FUN!).
Resources: Easy Watercolor Portrait by Do Small Things with Love, http://www.craftster.org/forum/index.php?topic=301135. (more resources/examples at end of post)
Overall Objectives: Students will review positive and negative space. The will use a photo editing program to transform a portrait to show high contrast values (black or white only). They will experiment with different watercolor techniques such as pouring, masking and splattering.
Lesson 1: Extreme Positive & Negative Space Portrait
Delivery:
- Define Space-the element of art that refers to the emptiness or area above, below, between, within, and around objects.
- Positive Space-the shapes or forms (main objects) in an artwork
- Negative Space– the empty or non-interesting space between and around the main objects
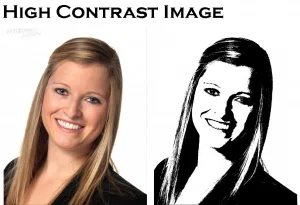
- Show images with high contrast of values (black or white only).
- Teacher Guided Demonstration on how to:
- Turn a picture into a digital image (if photo is in print form-scan or take digital photo).
- Use photo editing software to reduce the image to a black and white image (not gray-scale). Step by step instructions below for iPad using www.FreeOnlinePhotoEditor.com
 Activity: (3 -45 min classes) Edit & Draw Portrait
Create an accurate drawing of a person (from shoulders up) from a frontal or 3-quarter view. The picture needs to show a high contrast of values (black or white only).
Instructions:
- Find a picture or take a picture of a person (from shoulders up) from a frontal or 3-quarter view.
- Turn to the picture into a digital image (if photo is in print form-scan or take digital photo of it).
- Use photo editing software to reduce the image to a black and white image (not gray-scale).
- www.FreeOnlinePhotoEditor.com
Instructions (for iPad):- Find a photo (frontal or ¾ view)
- Save photo to Photos App (tap on picture & hold until “save image” button pops up
3.Open www.FreeOnlinePhotoEditor.com - Click on “Browse”, from Photo Library. Click “OK”
- click on “Color”-> Black/White
- Click on “Basic” -> Brightness/Contrast
- Adjust the Brightness & Contrast until you are happy with the image.
- To save the image – tap on picture & hold until “save image” button pops up, “Save Image”
- Print the Picture-open Photos, open picture, click on the share icon
and select Printer
- Print out picture as an 8×10.
- Draw the picture (Contour Line ONLY) onto 10×15” Watercolor Paper. (1.5x the size of the 8×10)
Supplies:computer or tablet, 10×15″ Watercolor Paper (140 lb recommended)-Canson Bound Watercolor Pad, 30-Sheet

Lesson 2: Watercolor Pouring Experiments (2 or 3 -45 min classes)
Objective: Students will experiment with pouring watercolors. They will play with what color combinations work best or create the look they are going for.
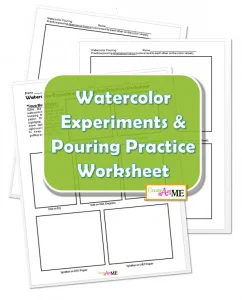 Delivery: Teacher Guided Demo-Watercolor Experiments & Pouring Practice Worksheet
- How to use Masking Fluid to “Save the Whites”- How to use masking fluid & rubber cement
- Wet on Wet, Dripping wet into wet
- Wet on Dry
- Salt in Wet
- Splatter
- Spray the paper with water before and after applying the paint
- Experiment with pouring watercolors.
- Experiment with color combinations (remember analogous colors work & blend well together-harmony; complementary colors blend to make dull values-contrast, dark mood)
Materials: Tube watercolors in liquid form or Liquid Watercolors-Sax Concentrate Washable Liquid Watercolor Paints – 8 Ounce – Set of 8 – Assorted Colors

Watercolor Pouring Portrait (3)PROJECT: Watercolor Pouring and Masking Portrait Project
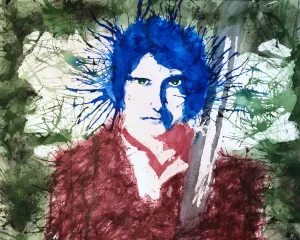
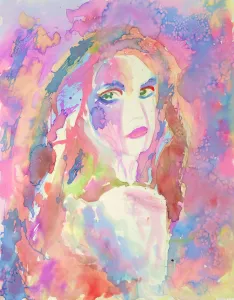
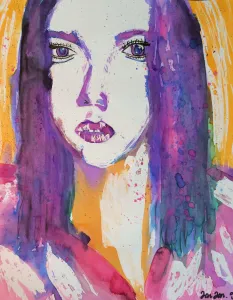
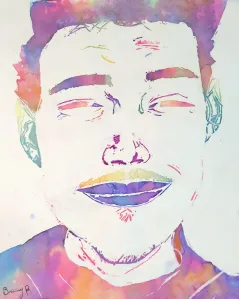
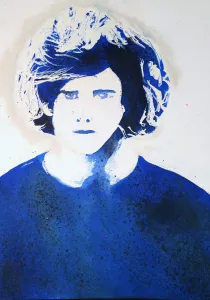
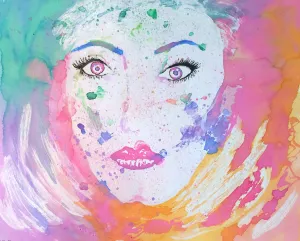
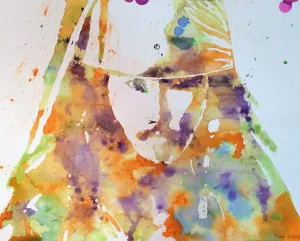
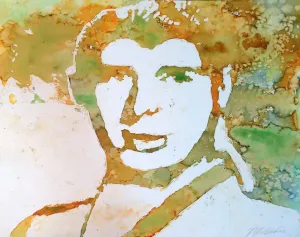
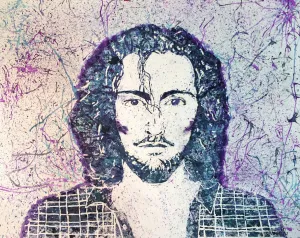
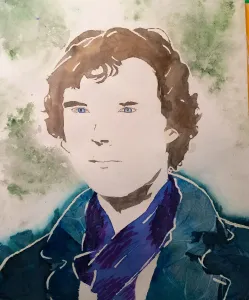
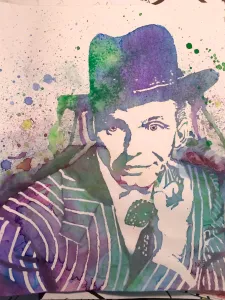
Project Objective: Create an accurate portrait of a person from a frontal or three quarter view point. Exaggerate the positive and negative space by creating a high contrast image. Use various watercolor techniques (masking fluid & rubber cement, pouring, salt, splatter) to color the portrait.
Instructions:
- Find an image of a person from a frontal or three quarter view point.
- Use photo editing app to exaggerate the positive and negative space by creating a high contrast image.
- Draw the image LARGE on the Watercolor Paper in pencil.
-
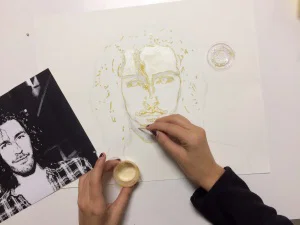
Apply Masking Fluid & Rubber Cement anywhere you want to stay WHITE. **TIP: Apply 2-3 coats of the Rubber Cement. One layer is not thick enough!!! Also, be careful of the brand of masking fluid-the kind we used stained the paper yellow 🙁
-
Use various watercolor techniques to paint the portrait:
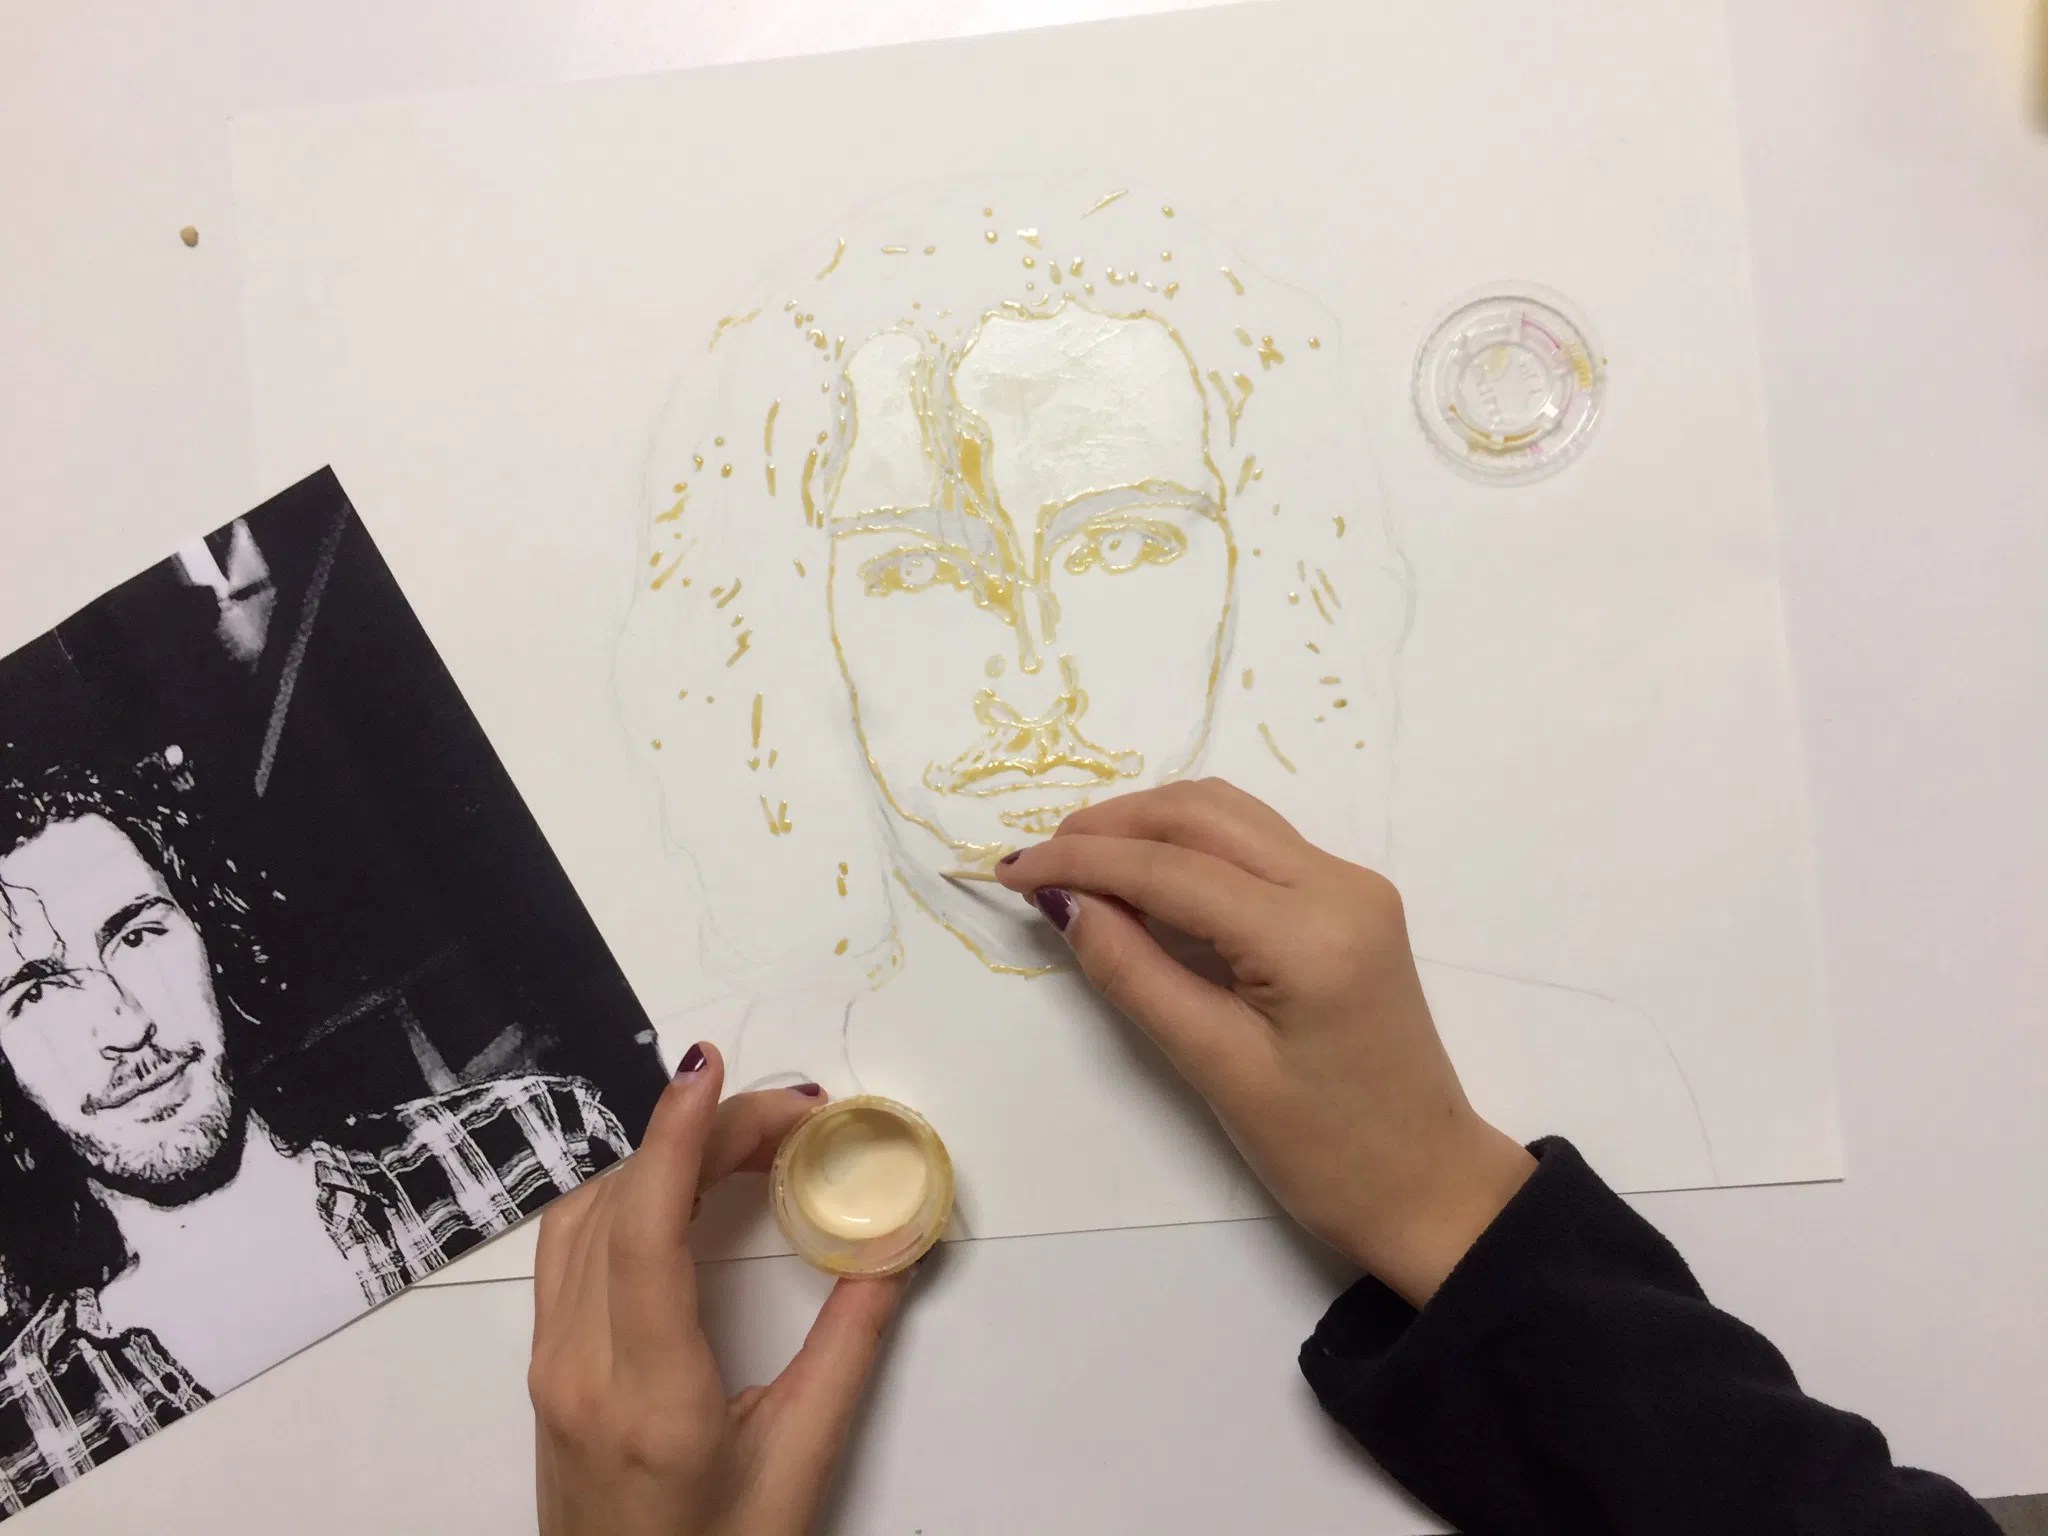


- Masking Fluid & Rubber Cement (on ALL areas to stay white)
- Pouring
- Dripping
- Splatter
- Salt
- Spray (with water)
- Splatter
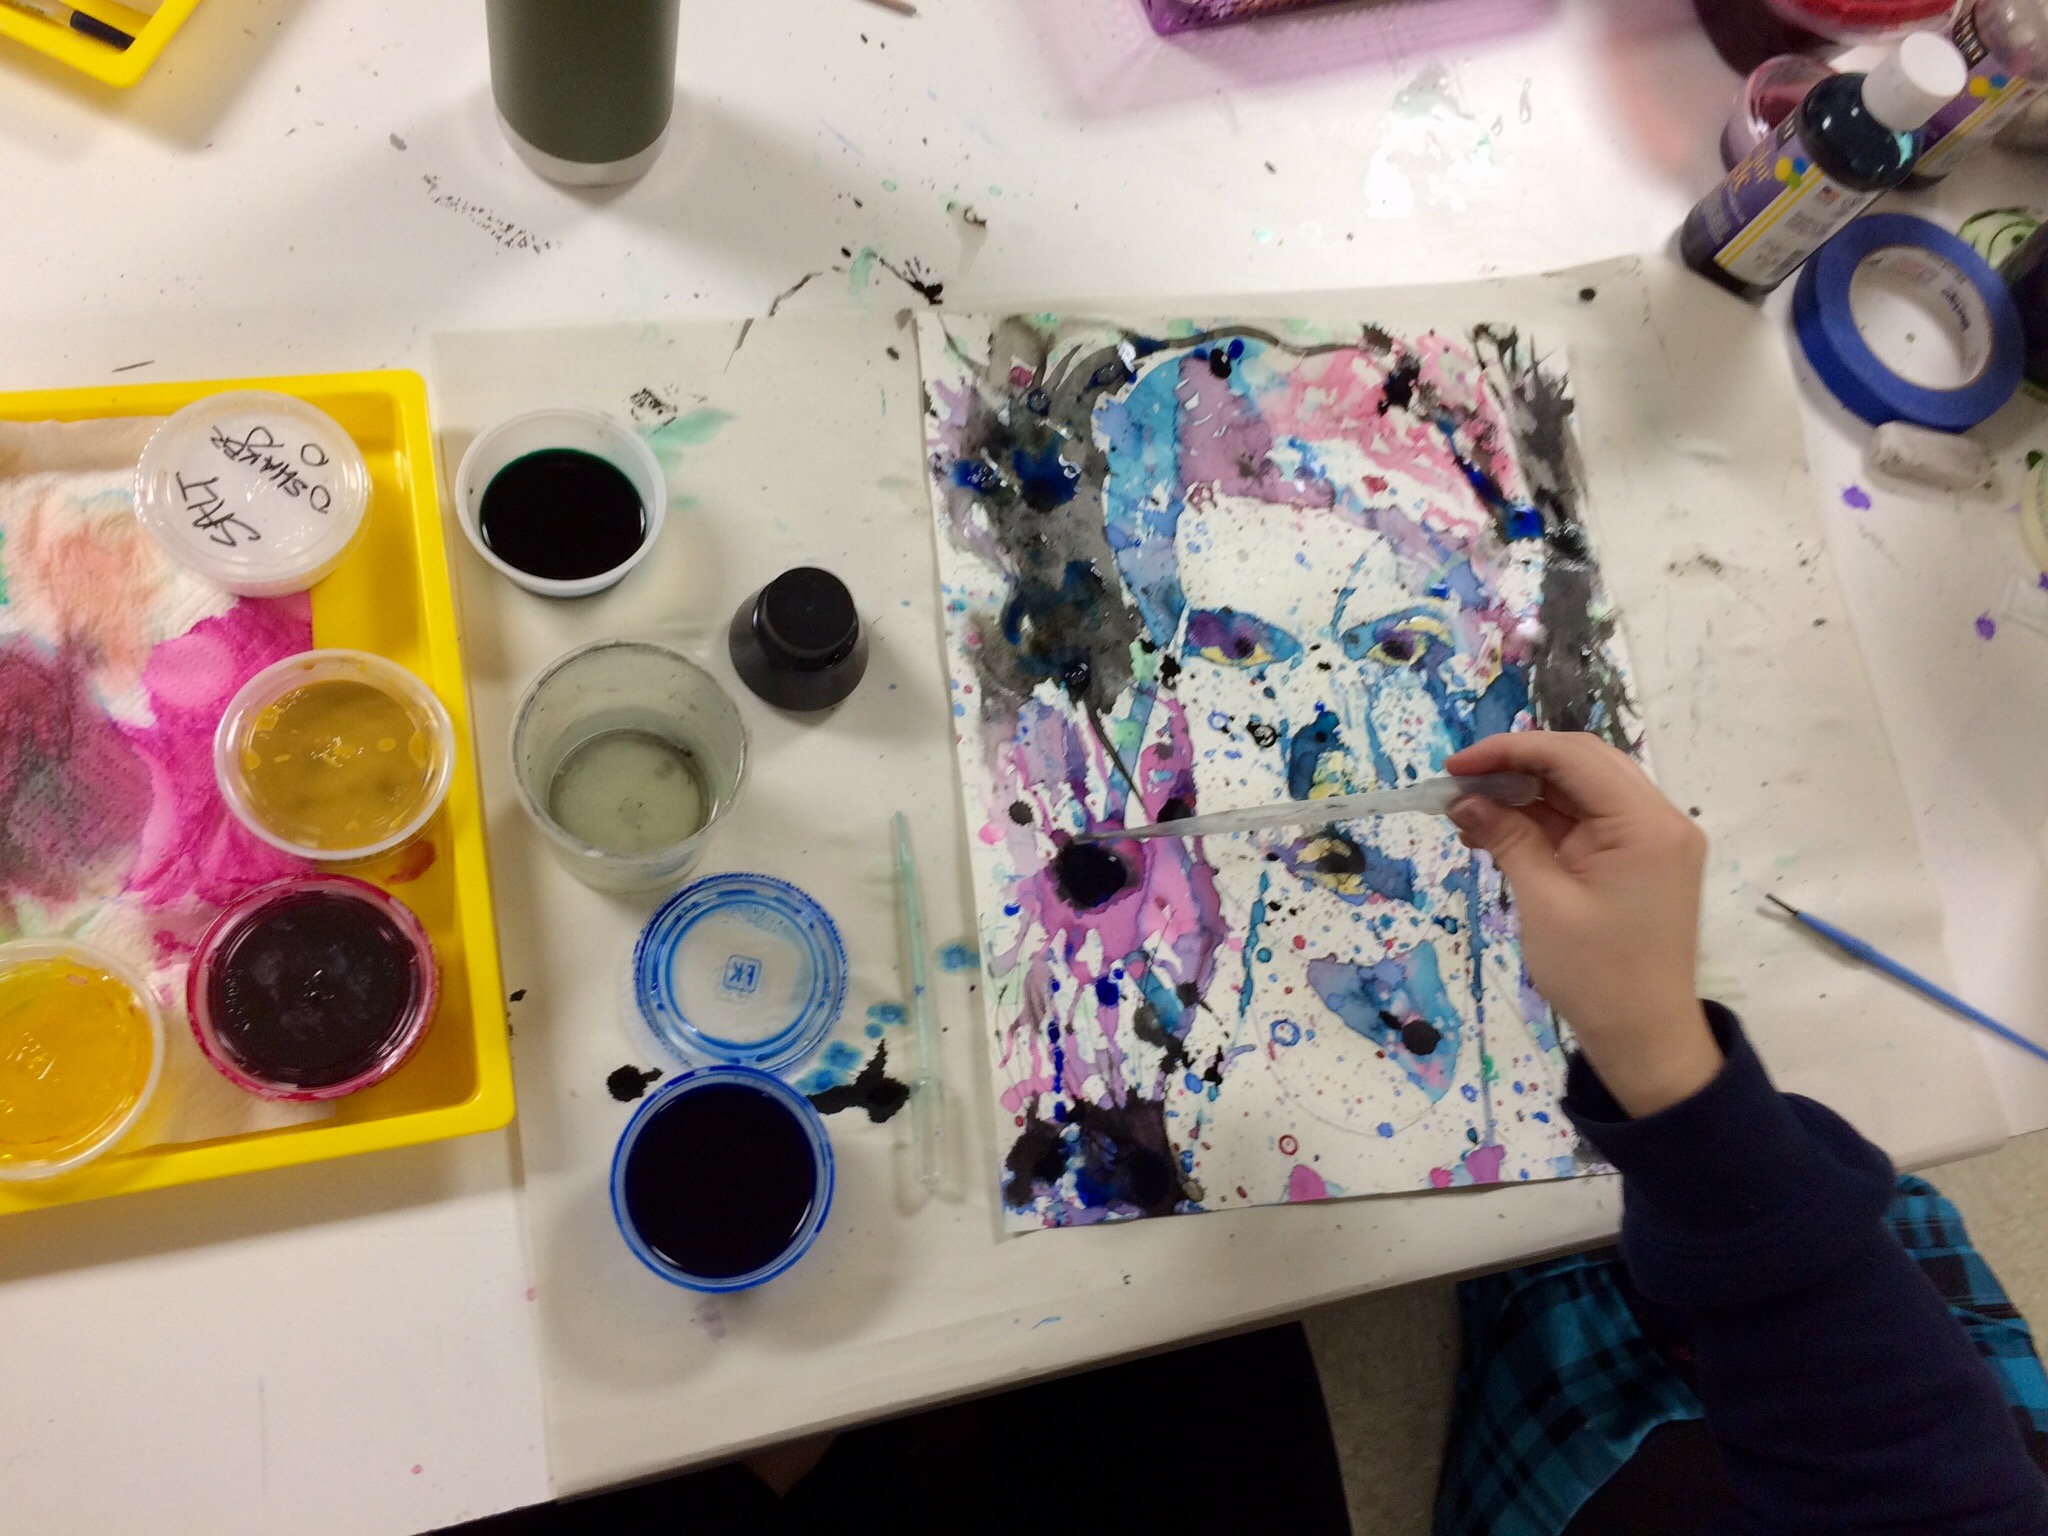
- Finally, when it is completely dry, remove masking fluid.
- Optional: Use a paintbrush to define some areas. Add in some India Ink for interest (ex: eyes)-use this on a limited basis.
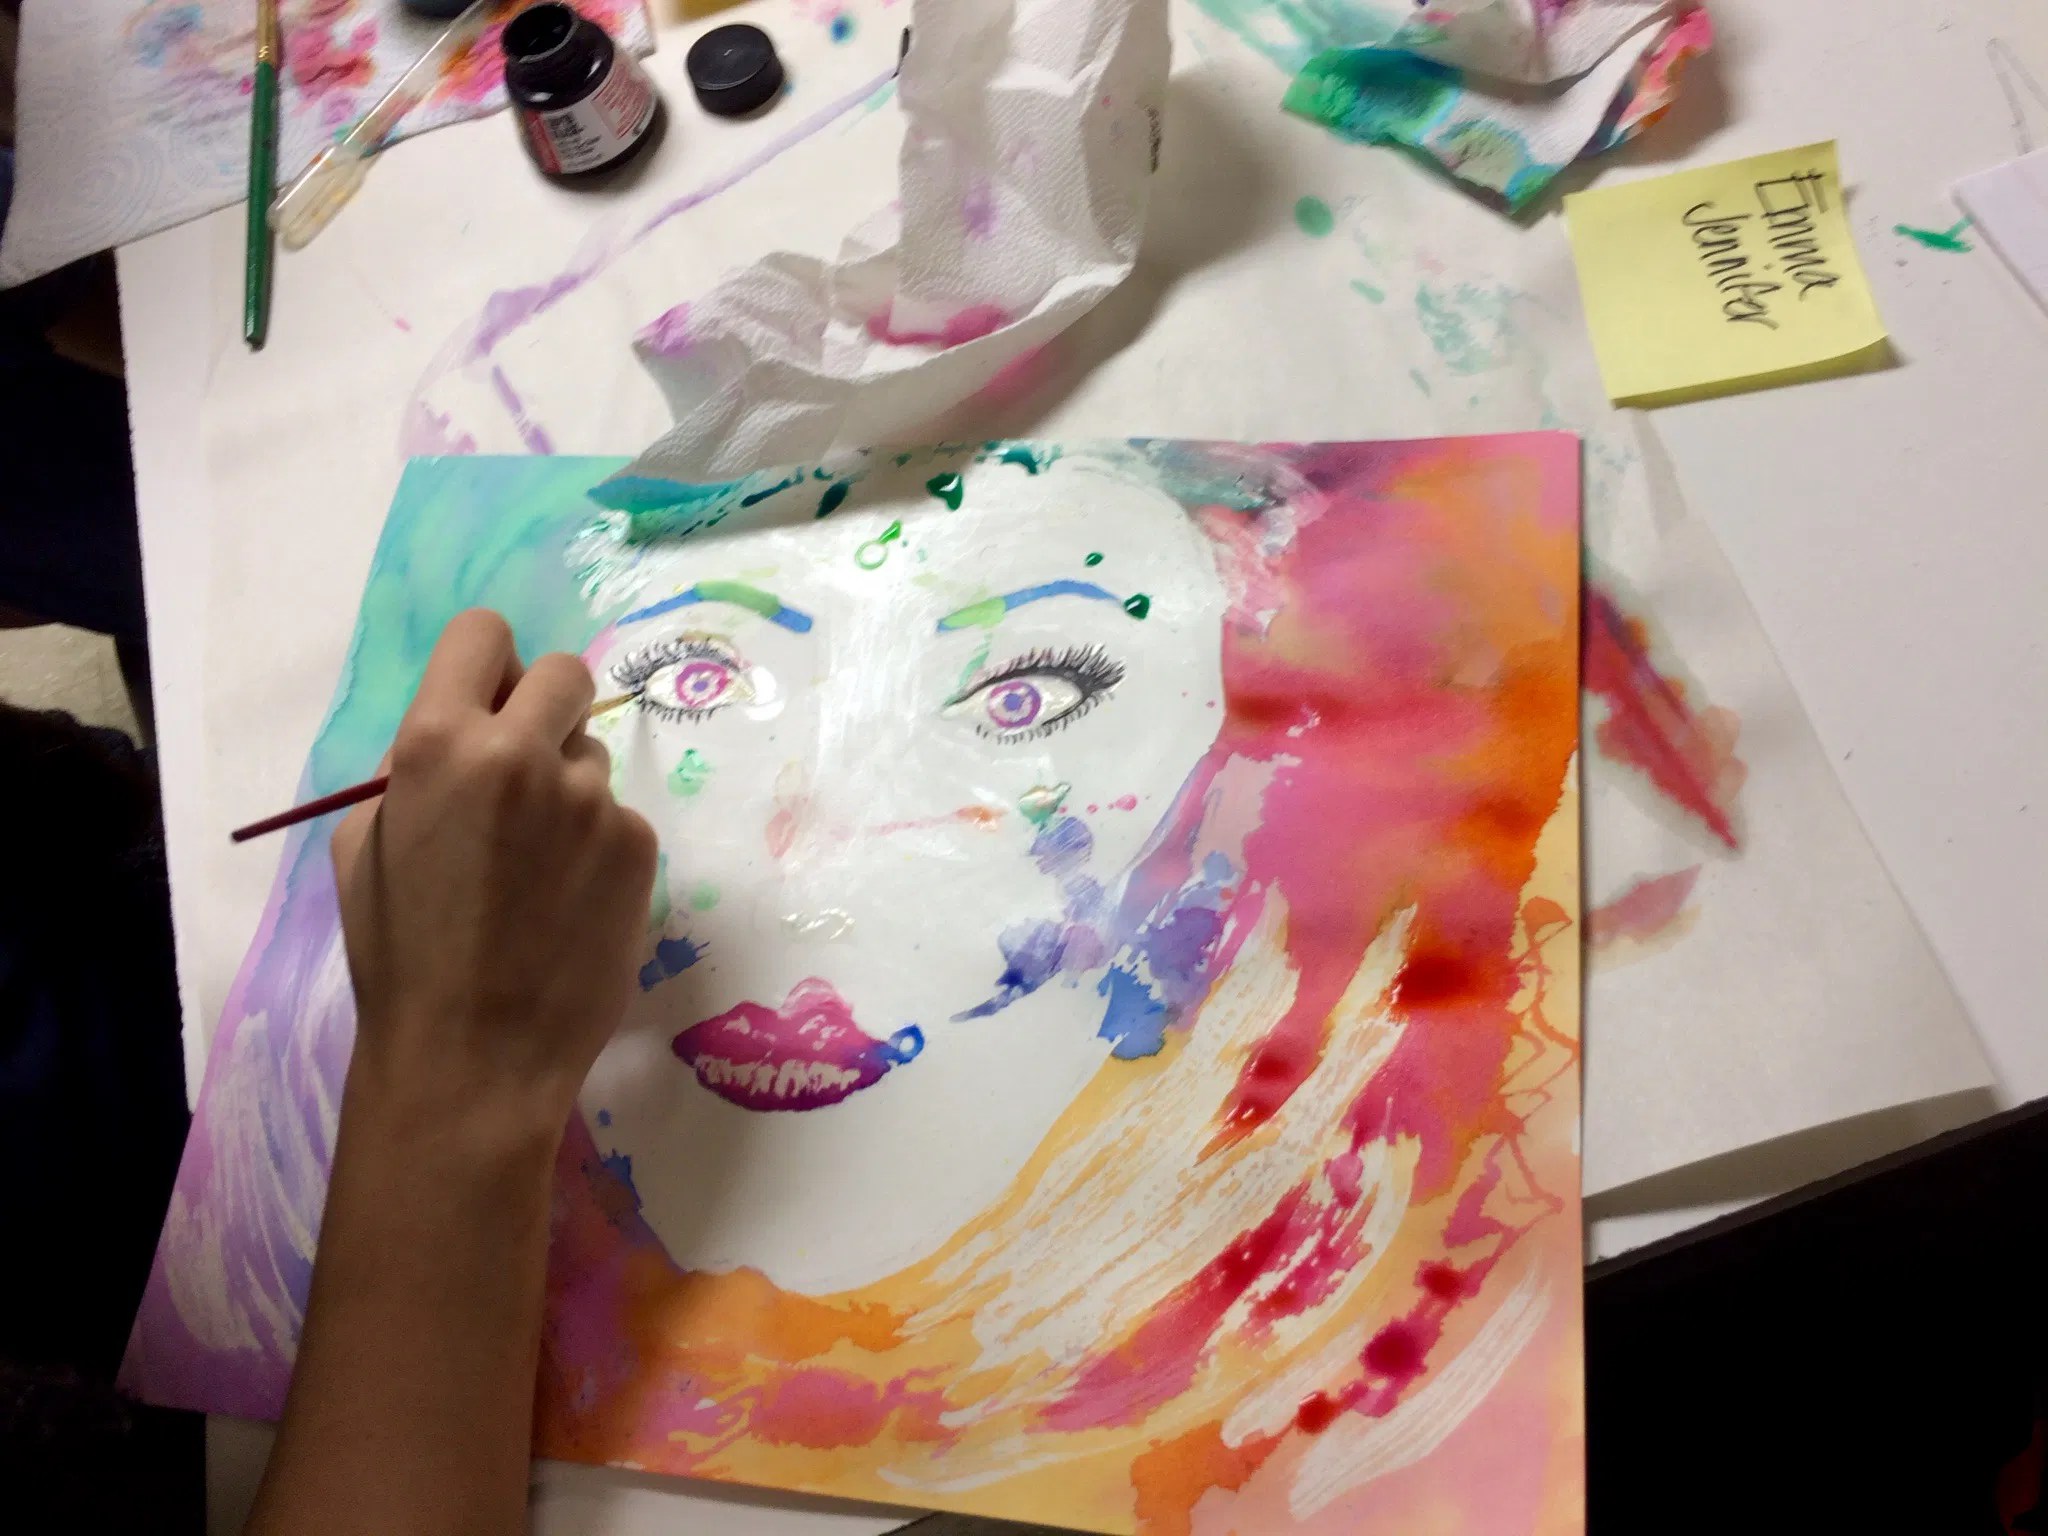
Watercolor pouring portrait Watercolor pouring portrait
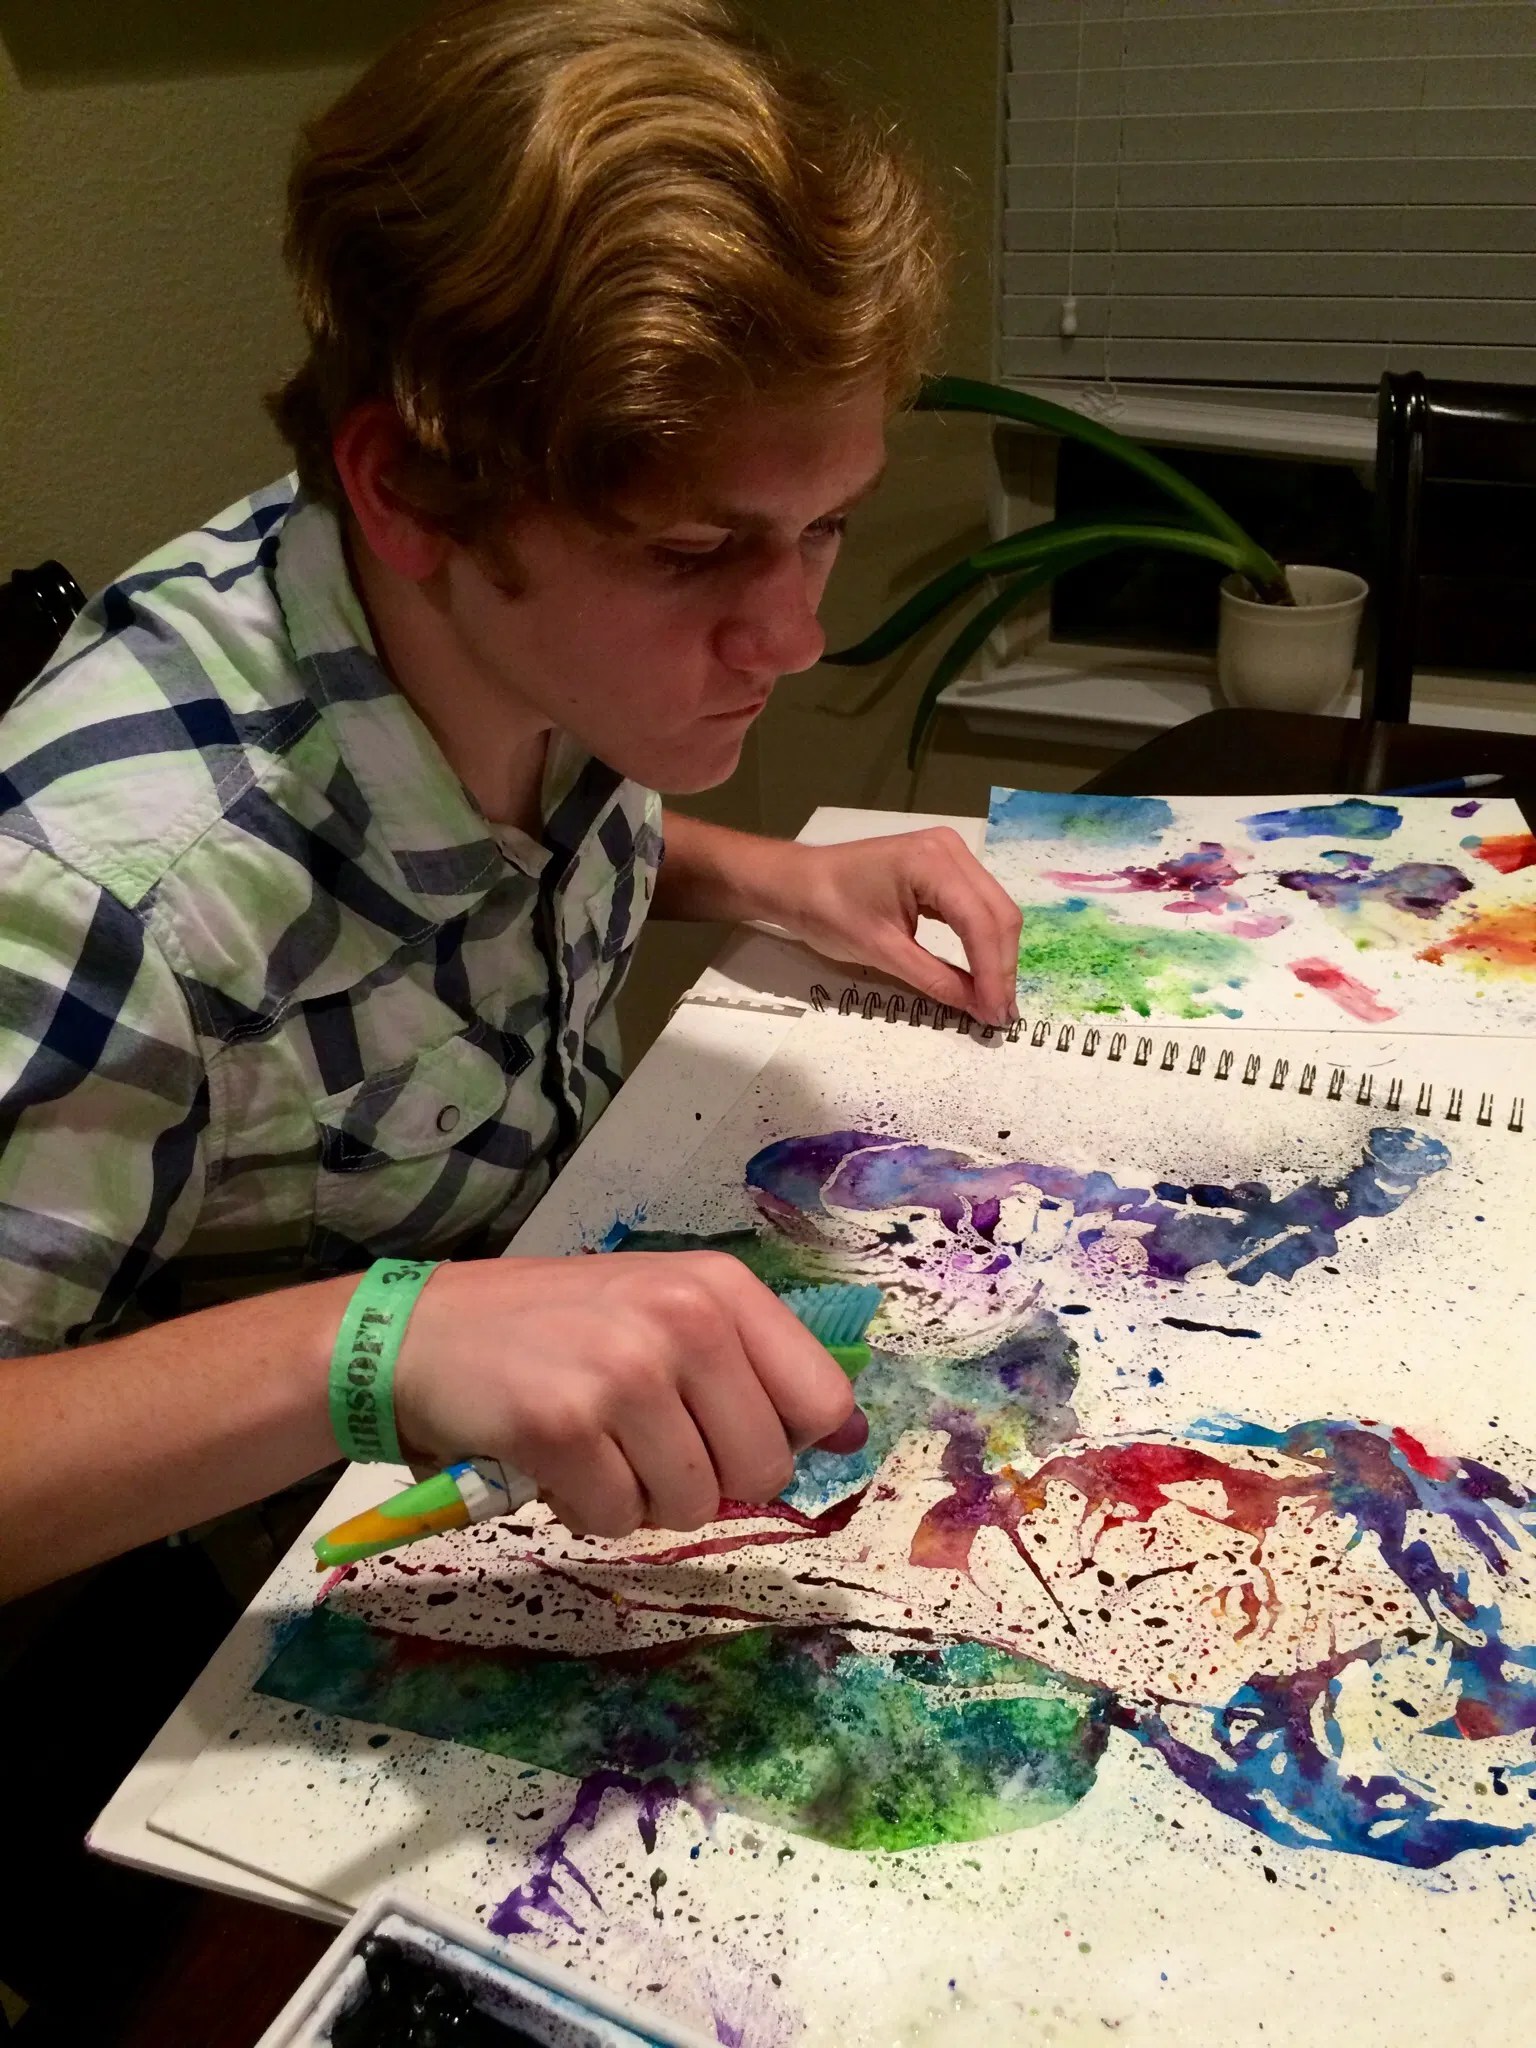

Student Artwork: (click on picture for full view)
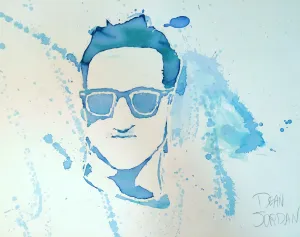
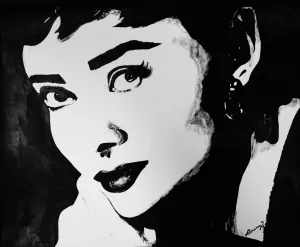
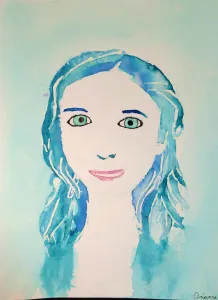
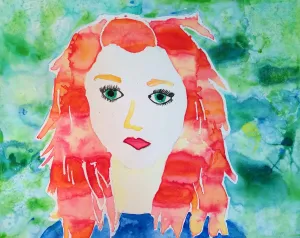
Additional Resources for this lesson:
Additional Artwork by Parr on Esty silverridgestudio
Watercolor Stencil Portrait + TUTORIAL
Unknown Artist Self-Portrait (great example)

Jimi Hendrix Time Lapse Project (Melted Crayon Art with Masking)
Additional Watercolor Technique Worksheets
Basic Watercolor Painting Techniques Lesson Plan & Worksheet
If you choose to use or share any of this post, please link back to my blog Create Art with ME!