正负空间反转拼贴
原文链接:https://createartwithme.com/positive-negative-space-collage/
日期: 2012-11-10
作者: Michelle East
分类: 五年级、六年级、美术课、平衡原理课、拼贴课、元素:空间、小学美术、美术元素课、高中美术、初中美术、美术原理课
标签: 四年级美术、五年级美术、六年级美术、七年级美术、儿童美术课、美术课、儿童美术课、少儿美术课、美术项目、画家绘画材料、拼贴、剪纸、少儿剪纸艺术项目、小学美术、正方形拓展(Expansion of the Square)、适用于高中、高中美术、以拼贴开展的儿童美术课、儿童美术课、少儿校园美术项目、初中美术、负空间、构成(Notan)、正负空间反转、正空间、重复、节奏感、美术中的空间、对称式平衡、教师用少儿美术项目、少儿美术教学、X-Acto刀
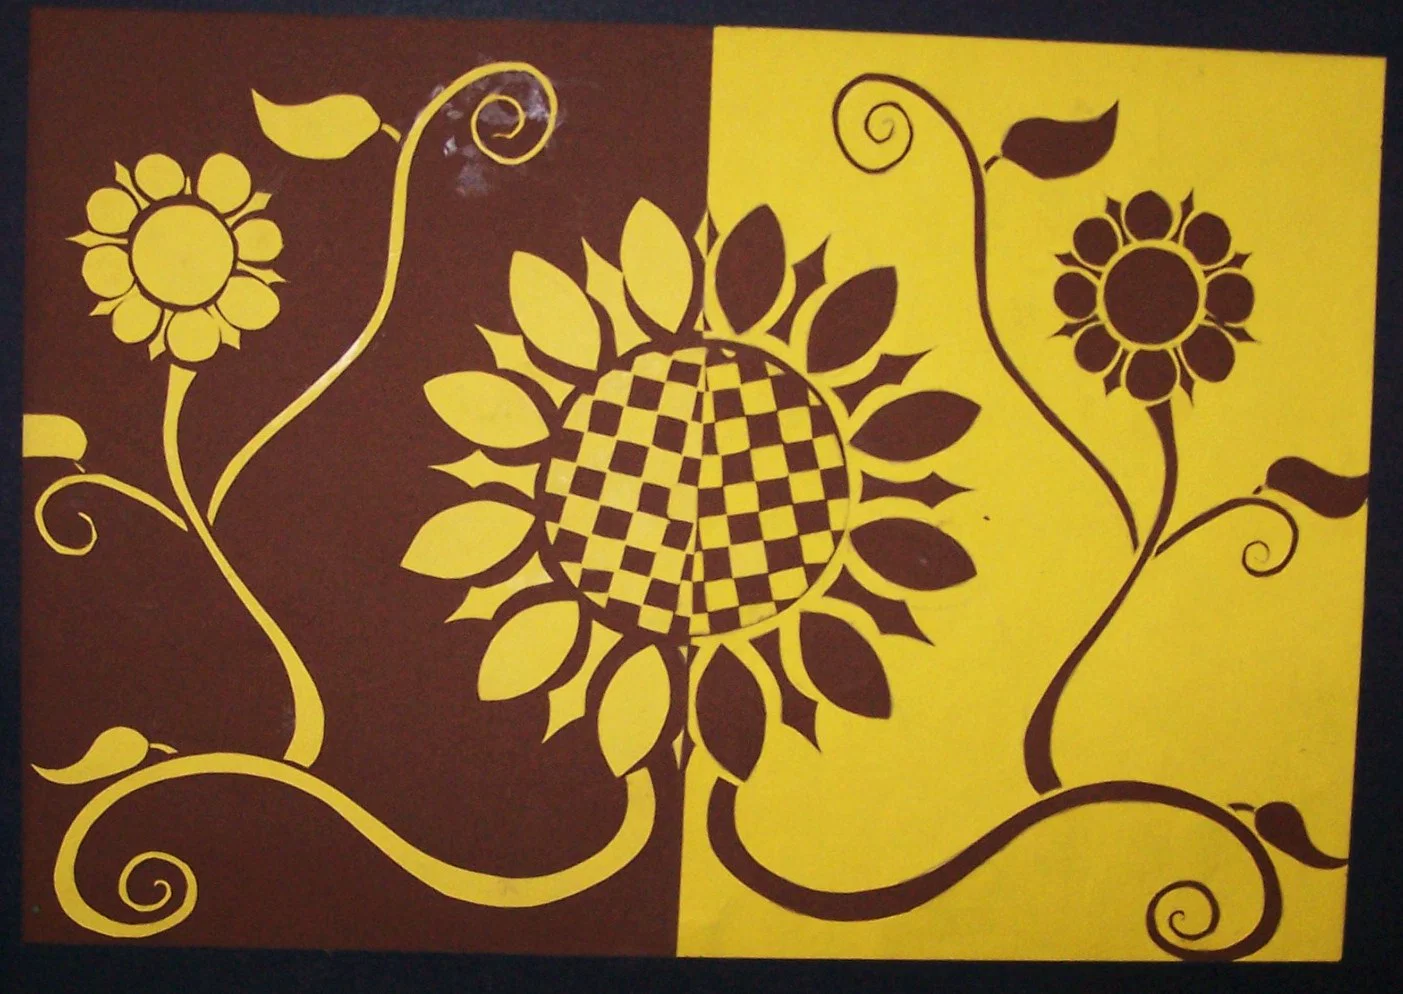
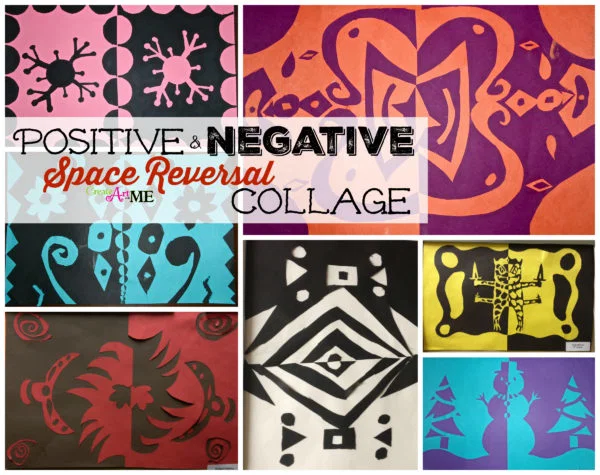
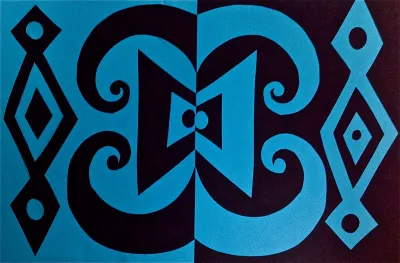
正负空间反转拼贴是一堂面向四至八年级学生的优秀课程。针对高年级学生,可通过探索构成(Notan)艺术使本项目更具复杂性与挑战性。面向高年级学生授课时,请务必强调使用美工刀(Exacto Knife)的安全规范!以下是一堂更具挑战性的构成课(供高年级学生使用):构成——正方形拓展
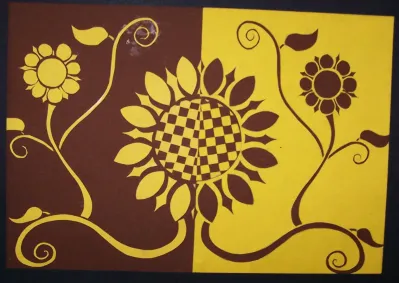
: 正负空间反转


构成:设计中的明暗法则(Dover美术教学系列)
这是一本极佳的读物,详述了构成的历史渊源及其内涵。
核心词汇:
- 空间:美术作品中物体上方、下方、之间及穿行其中的区域。
- 正空间:美术作品中主要的形状或形体(即主体物或主体形状)。
- 负空间:主体物之间及周围空余的、非重点表现的区域。
- 正负空间反转:在视觉上反复切换正空间与负空间的角色——正空间转为负空间,反之亦然。
- 对称式平衡:画面左右两侧完全相同,或几乎完全一致。
所需材料:
12×18英寸彩色美术纸、9×12英寸彩色美术纸、铅笔、剪刀、可选:美工刀(Exacto Knife)、固体胶棒、加仑装密封袋(用于收纳剪下的纸片)
制作步骤:
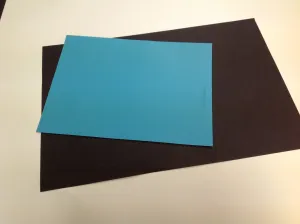
- 学生各选一张9×12英寸与一张12×18英寸的彩色卡纸,颜色需形成鲜明对比。
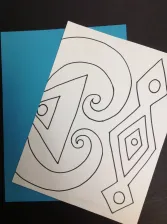
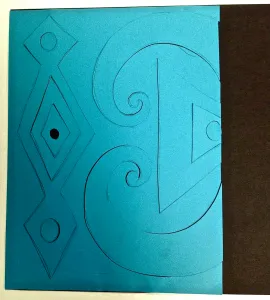
- 将9×12英寸纸张竖向放置,用铅笔绘制图案——必须为完整闭合的形状,不可仅为单一线条;部分形状可延伸至纸张边缘。(本示例将图案画在白纸上以便清晰呈现,实际应直接绘于青绿色卡纸上。)
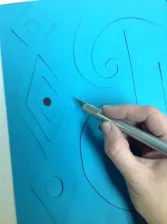
- 将9×12英寸纸张置于切割垫板上,用剪刀或美工刀精准裁剪出所绘图案。每位学生配发一个加仑装密封袋,务必妥善保存所有裁剪下来的纸片——切勿丢弃任何一片!
- 先铺开12×18英寸卡纸,在其上粘贴9×12英寸纸张裁剪后的主要部分(即最大块的图形)。请使用胶棒粘贴,以防纸张起皱变形。
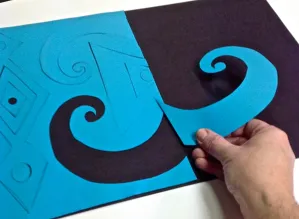
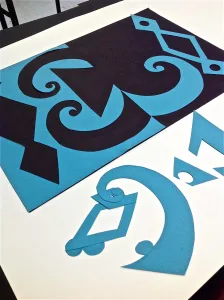
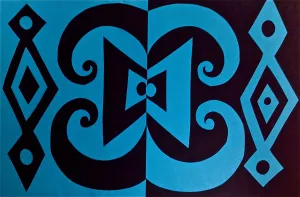
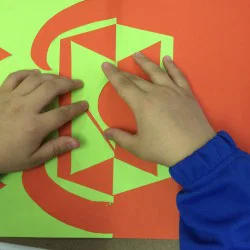
- 将全部裁剪纸片重新摆回原9×12英寸纸面上(暂不粘贴)。逐个拿起每一片,将其翻面,再以镜像方式贴于12×18英寸卡纸的“空白面”上。若某图形内含嵌套图形,则保留内层图形于原纸面,仅将外层图形翻面粘贴;依此类推,直至所有纸片均被粘贴完毕。
 若您选用本课教案或转载相关内容(文字或图片),请务必附上原文链接回溯至我的博客:Create Art with ME.
更多拼贴美术课:
 构成(Notan)
 平衡类型拼贴
综合媒介静物与拼贴
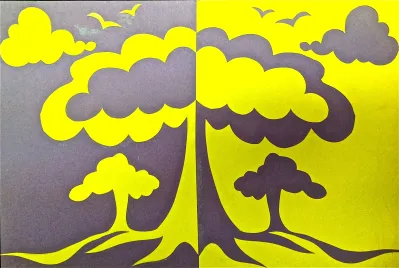
以下为部分学生作品示例:(点击图片可查看高清大图)
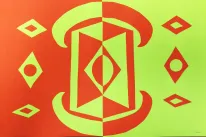
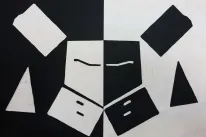
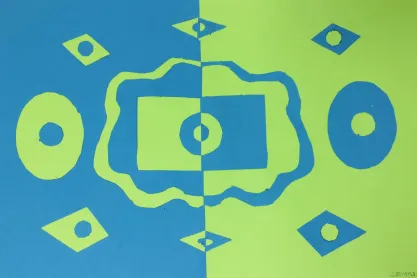
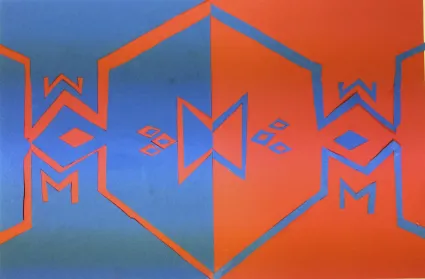
Positive & Negative Space Reversal Collage
Original: https://createartwithme.com/positive-negative-space-collage/
Date: 2012-11-10
Author: Michelle East
Categories: 5th Grade, 6th Grade, Art Lessons, Balance Art Lessons, Collage Lessons, Element: SPACE, Elementary Art, Elements of Art Lessons, HS Art, MS Art, Principles of Art Lessons
Tags: 4th grade art, 5th Grade Art, 6th grade Art, 7th Grade Art, art class for kids, art lesson, art lessons for children, art lessons for kids, art projects, artist painting supplies, Collage, cut paper, cut paperart projects for kids, elementary art, Expansion of the Square, for high school, HS art, kids art class art with collage, kids art lessons, kids school art projects, MS Art, Negative Space, Notan, Positive Negative Space Reversal, Positive space, repetition, rhythm in art, Space in art, Symmetrical Balance, teacher art projects for kids, teaching art to kids, X-Acto
The Positive and Negative Space Reversal Collage is an excellent lesson for 4th-8th grades. This project can be made more complex & challenging with older students-explore the art of Notan. For older students, make sure to emphasize safety using the Exacto Knives! Here’s a more challenging Notan Lesson for older students: Notan Expansion of the Square
: Positive & Negative Space Reversal
Notan: The Dark-Light Principle of Design (Dover Art Instruction)
This is a great book that explains the history & meaning behind Notan.
Key Vocabulary:
- Space: the area above, below, between & through objects in a piece of art.
- Positive Space: the main shapes or forms (main objects or shapes) in an artwork
- Negative Space: the empty or non-interesting space between and around the main objects
- Positive & Negative Space Reversal: visually switching back and forth between the positive and negative space. Positive space becomes negative and visa versa.
- Symmetrical Balance: a design is the same or almost exactly the same on both sides
Supplies: 12×18 sheets of colored art paper, 9×12″ sheets of colored art paper, pencils, scissors, optional: exacto knives, stick glue, gallon ziplock bags for cut pieces
Instructions:
- Students select 1 sheet each of 9×12″ & 12×18″ construction paper of contrasting colors.
- On the 9×12″ sheet placed vertically, use a pencil to draw in designs-they must be full shapes, not just a single line. Some shapes can come from the edges as well. (this example shows the design on a white sheet of paper so you can see the design-it was actually drawn onto the turquoise paper).
- Place 9×12″ sheet onto a cutting board & use scissors or an exacto knife to precisely cut the design out. Give each student a gallon size ziplock back to keep all the pieces in. DO NOT THROW ANY PIECES AWAY!
- Place the 12×18″ paper down first, glue the main piece of 9×12″ cut paper on to it. Use a glue stick so the paper doesn’t warp.
- Place all your pieces back onto the 9×12″ paper-DO NOT GLUE THEM. Pick each on up, flip it over & place it so that it is mirror image on the “blank” side of the 12×18″ paper. If you have a shape within a shape, you will leave the next shape on the first side & glue it. Continue placing the shapes until you have all of your pieces glued down.
If you choose to use this lesson or repost it (written or photos), please link back to my blog Create Art with ME.
MORE Collage Art Lessons:
Notan
Types of Balance Collage
Mixed Media Still Life and Collage
Here are some more student examples: (click on image to see FULL view)


 若您选用本课教案或转载相关内容(文字或图片),请务必附上原文链接回溯至我的博客:Create Art with ME.